Introduction:
This week we were tasked with milling a PCB and soldering the circuit that would turn it into a programmer.
Workflow
Plan: Use the PCB Mill at Harvard and the fts_mini files to cut a piece of copper.
Milling
I began by downloading the relevant PNG files. I wanted to make the trace custom, so I added my initials to a blank space on the bottom of the PCB.

I quickly realized that the mill would not be able to cut out the fine lines in this font, and I was asking it to do too much with two letters. I found the thinnest font and replaced it with only one letter.
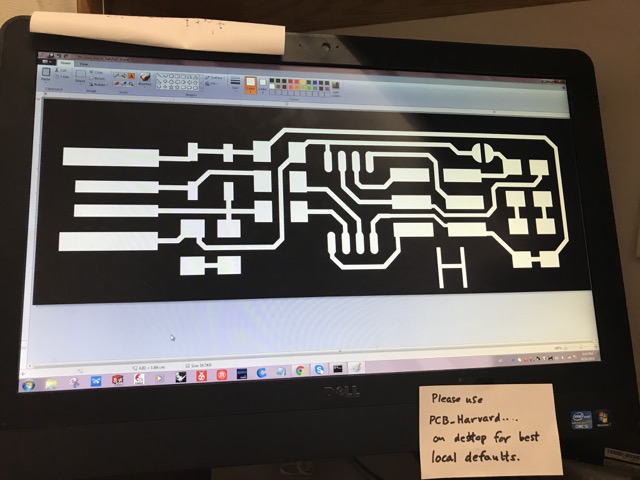
Then I was ready to go, and sent the command to the printer.
This was a terrible picture, apologies for that.
The first trace cut seemed to be good from the outside. I didn't look at it too closely before I started cutting it. Halfway through, I saw the peice had become unstuck from the sacrificial layer. I quickly stopped the job and saved the bit, but I saw that I had not taped the piece well enough. It also looked like my trace did not cut deep enough. I increased the cut depth to 0.005 mm and tried again.
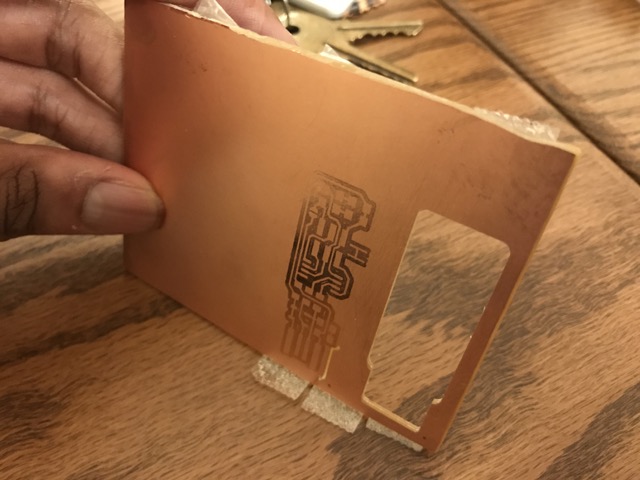
On the second try, things looked much better. I forgot to take a picture of this stage.
Soldering
I picked out the parts (they were so small and I was terrified of picking up the wrong parts), and taped them to my printout.


Then I began soldering. I found that the easiest way to do it was to first put some solder on one of the copper landing spots, then melt it while using tweezers to force the part down, then solder the other end, and remelt the first end while applying downward force. This made for some clean solders.
This was the halfway point. I was pleased!
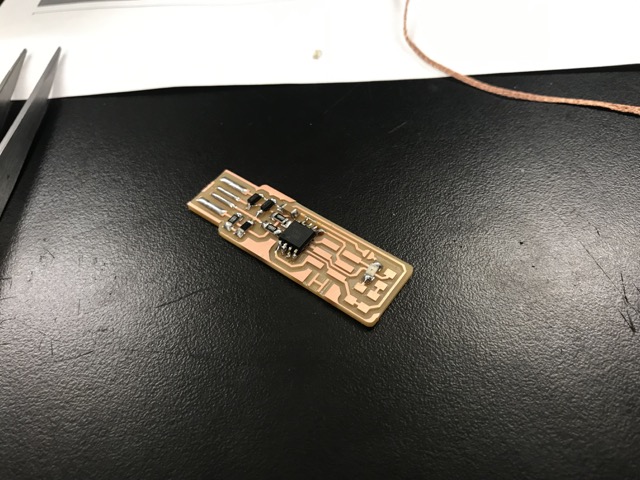
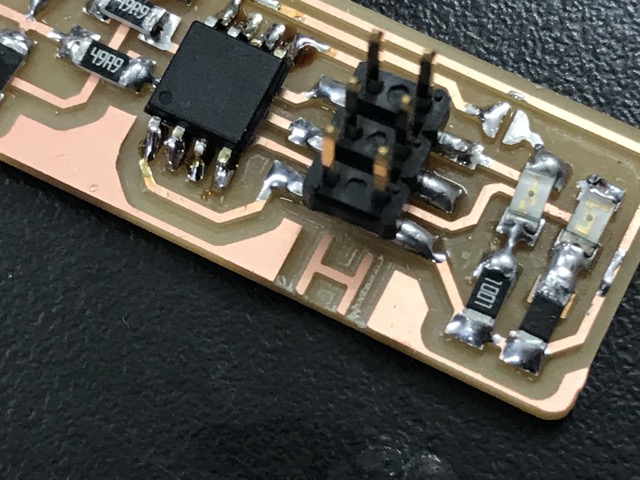
And this was what it looked like in the end.

Programming
I plugged it in with baited breath, but my LEDs lit up, and I followed the instructions on how to set up the programmer. I actually used Lincoln's recently finished programmer to program my own, and it worked on the first try! A rarity for sure.
The success screen:

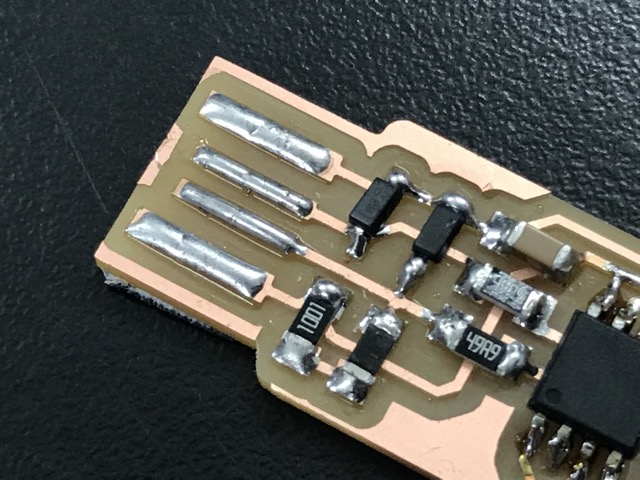
I then desoldered the final fuse, and was done with producing this PCB.
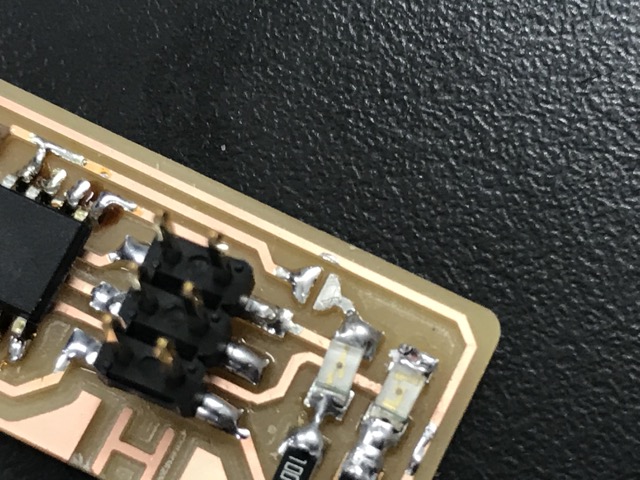
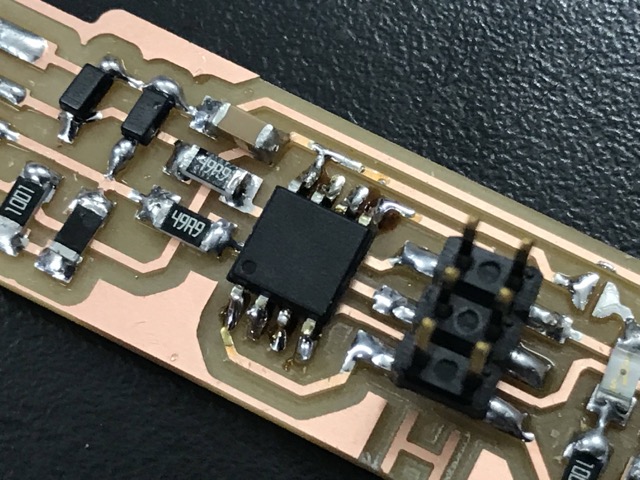
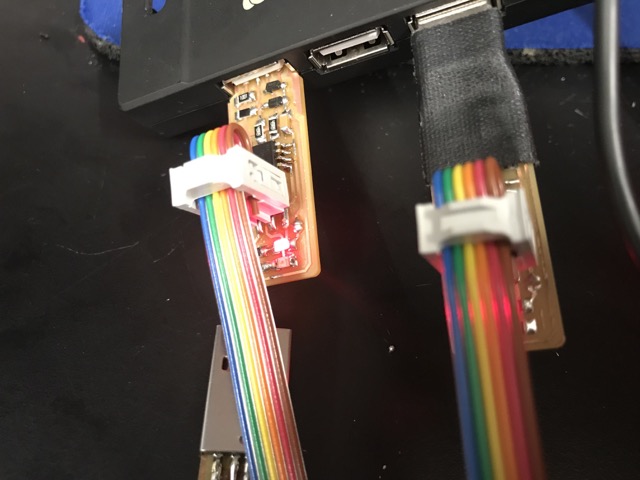
Some closeups: