Introduction:
This week we were tasked with scanning some 3D object and printing something else.
Workflow
Plan: Scan and print using the Harvard Lab equipment.
Scanning
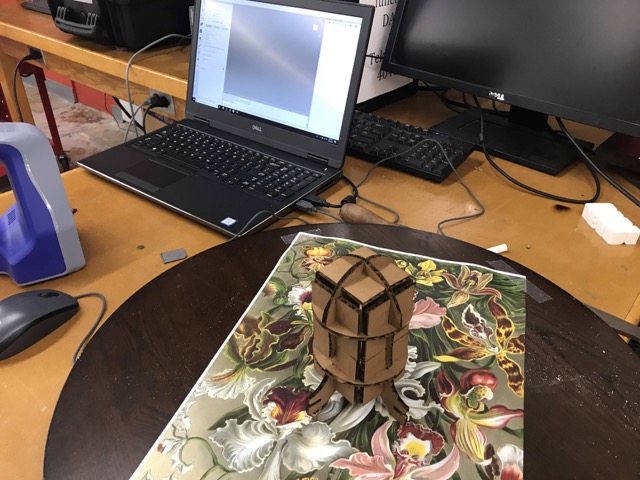
This week we were lucky to have Jeremy Guillette with his Artec Space Spider to help with scanning the rocket I made in Week 1. He walked us through the steps and helped us get our objects scanned.
After moving the scanner around the object, I tried to stitch the different profiles together. This meant identifying points on each scan that matched up.
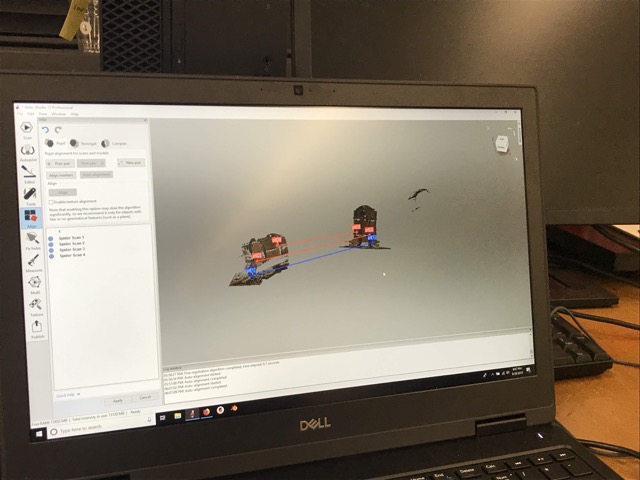
This was what it looked like after aligning.
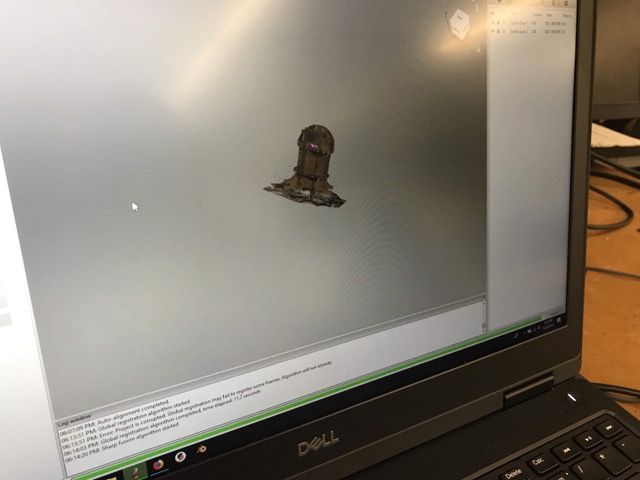
And after the post processing was complete, this was the final product.
One thing to note was that the cardboard displayed some interesting properties with the scanning. The scanner saw the gaps between the cardboard sheets as holes and tried to fill them in. The shadows created by my specific design also posed a lot of problems. I could have fixed this with more scans, but too many people were waiting in line.
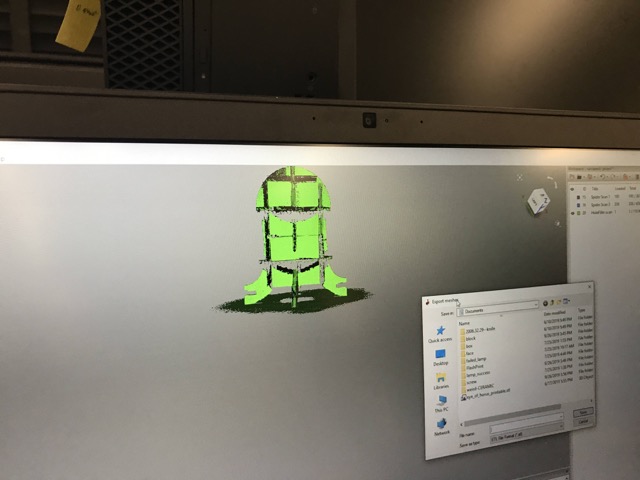
This was what the final STL looked like in Fusion.

Printing
This week I wanted to print out something to test the limits of the 3D printer. I began by printing a simple characterization model I found on Thingiverse.

I printed it on the Prusas we had in the lab, and in 2 hours, it was ready to go.
These were the takeaways I had.
Design
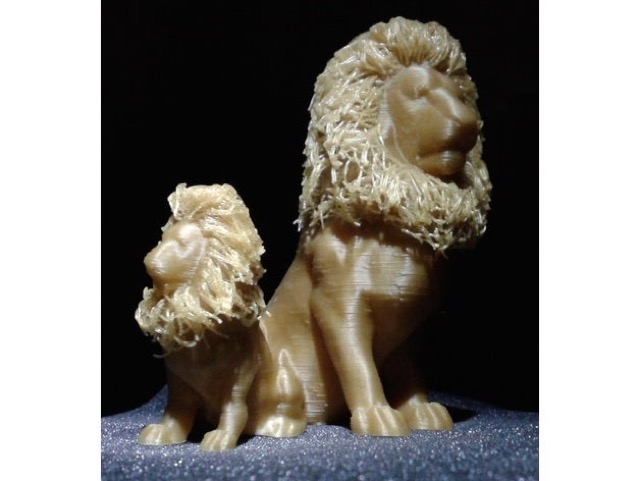
I was inspired by the Lion Hair design that has been floating around the internet, and wanted to design something along those lines (from scratch), to see what melted plastic could make.
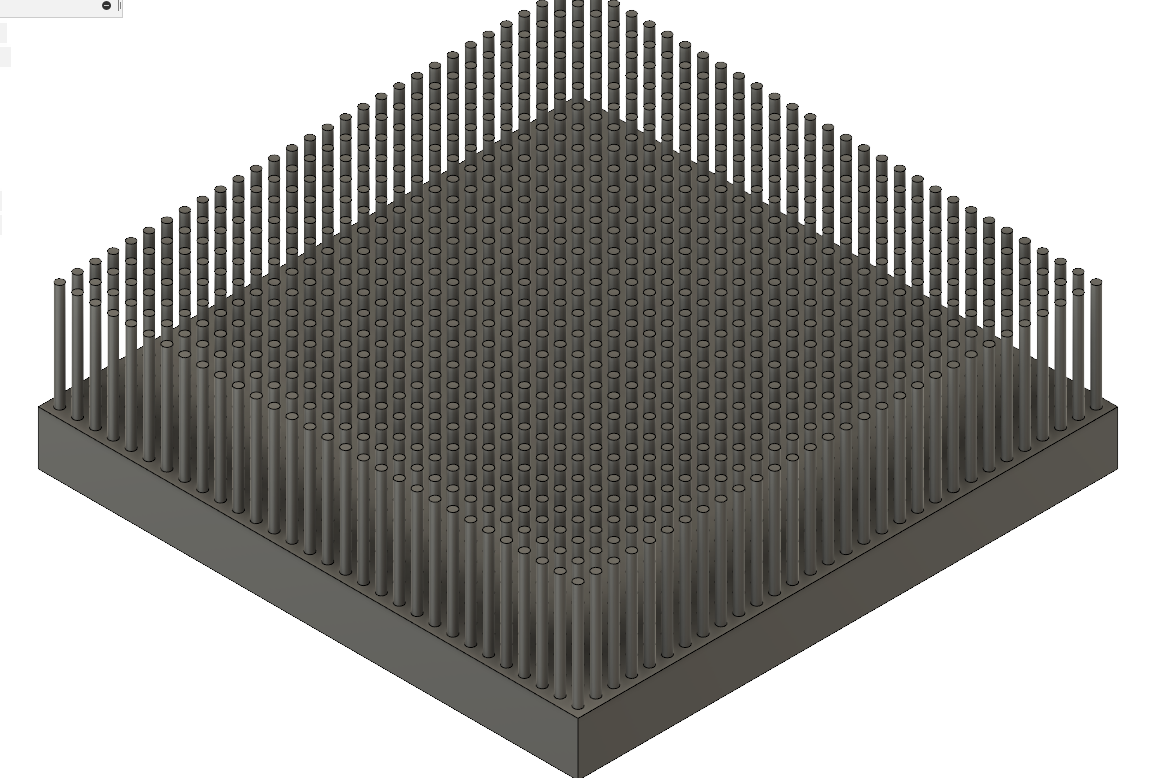
I decided to make a small patch of grass. I began by designing the soil, and adding the blades of grass on top. Thanks to the magic of rectangular patterning, I could do this pretty easily. I had to take note that the thickness of each blade was equal to .2mm, which was the stated lower bound of printing thickness on the Prusa.

An interesting thing about Fusion is that you cannot extrude an entire sketch. To do the grass, I had to individually select each small blade. I was not pleased, as there were 90 blades.

I then wisened up and simply made the base taller, and used a cut operation on the negative of the blades.
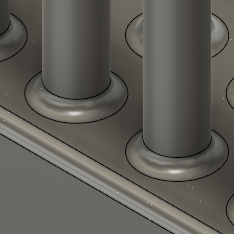
I decided to add a fillet to each blade, so that when I heated the print, the base would stay attached.
Not pictured here, but I also added a wall on the top of the grass. Like in the lion, there needed to be something to hold the print on the end of the gap, as I would be printing this sideways.
Nothing happened after the first print! I think the thickness wasn't enough for the slicer to recognize.
I tried it again by changing all the blades to have a thickness of 0.3mm, and it worked much better.