Introduction:
This week we were tasked with making something big.
Workflow
Plan: Design and manufacture a shelving structure made for Troav products.
Design
I wanted to create a housing structure that could store a specific brand of speaker, as well as general purpose items. I began by sketching a few basic shelving designs, with the idea that our round circular speakers would sit at a 45 degree angle outside from the shelving. I began by sketching a base. I was sure to consider the limits of the CNC mill, and made sure the maximum dimension was less than 46 inches.

After the base, I added some small legs.

Then was the side panel. I sketched out the profile of the speaker so I knew where certain wood slots would have to be. The base of the speaker was given a "footrest" to stand on. I also added two shelves on the top to serve as misc. storage.
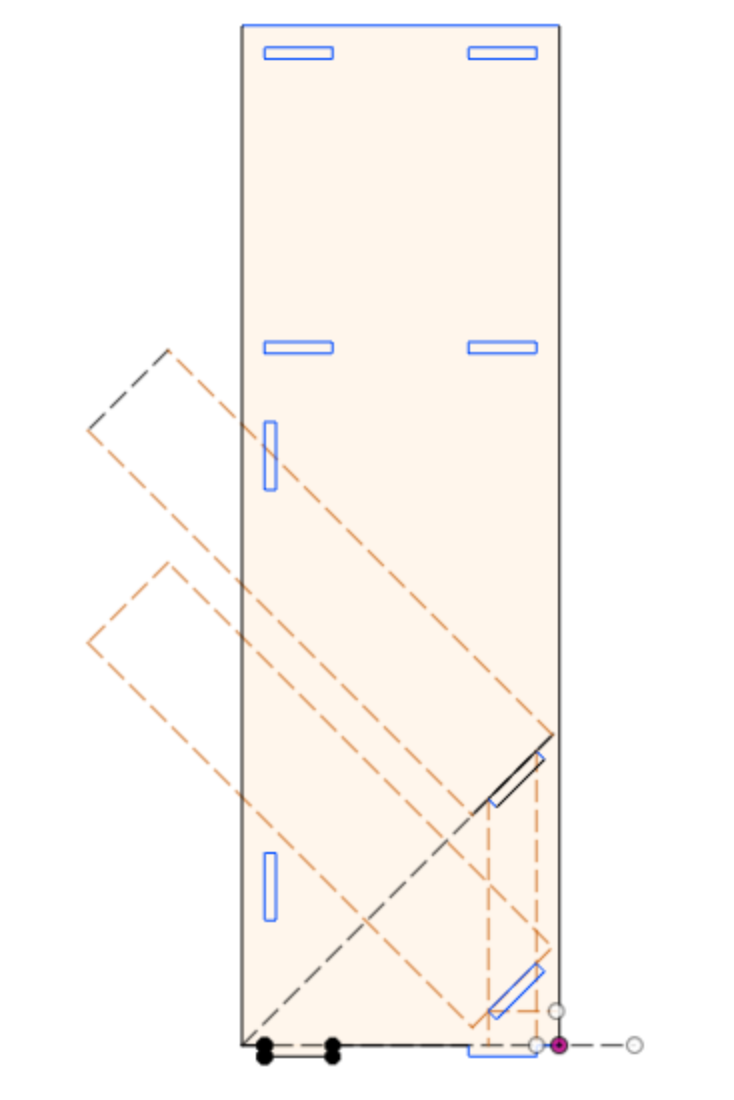
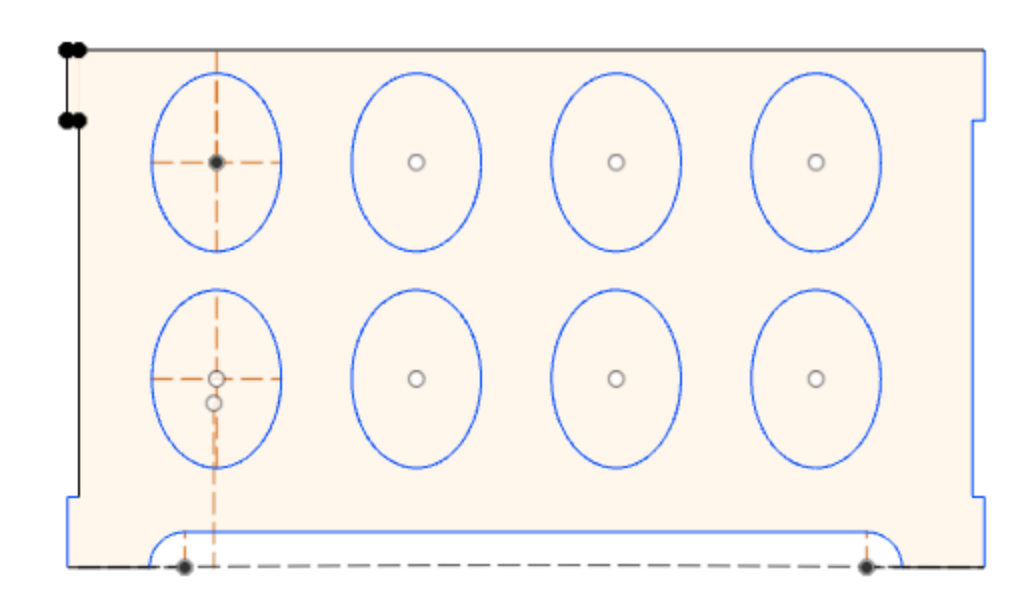
I then added the front profile for the speakers. I knew they had to be elipses as the speaker profile was a circle at a 180 degree angle. Some quick trig got me there.
This is the finished product!

Manufacturing
I first made a small kerf comb to see what thickness of slot would give a nice, snug fit to the pieces. I liked the 0.45in slot. I also made a small scale model of this using the laser cutter, so I could visualize the relative sizes of my parts.
I then started cutting out my parts. I layed out around half of my peices on Aspire, added tabs, and ensured that the cutting was going to be done on the outside of the borders. I also added dogbones to all slots directly in the software.

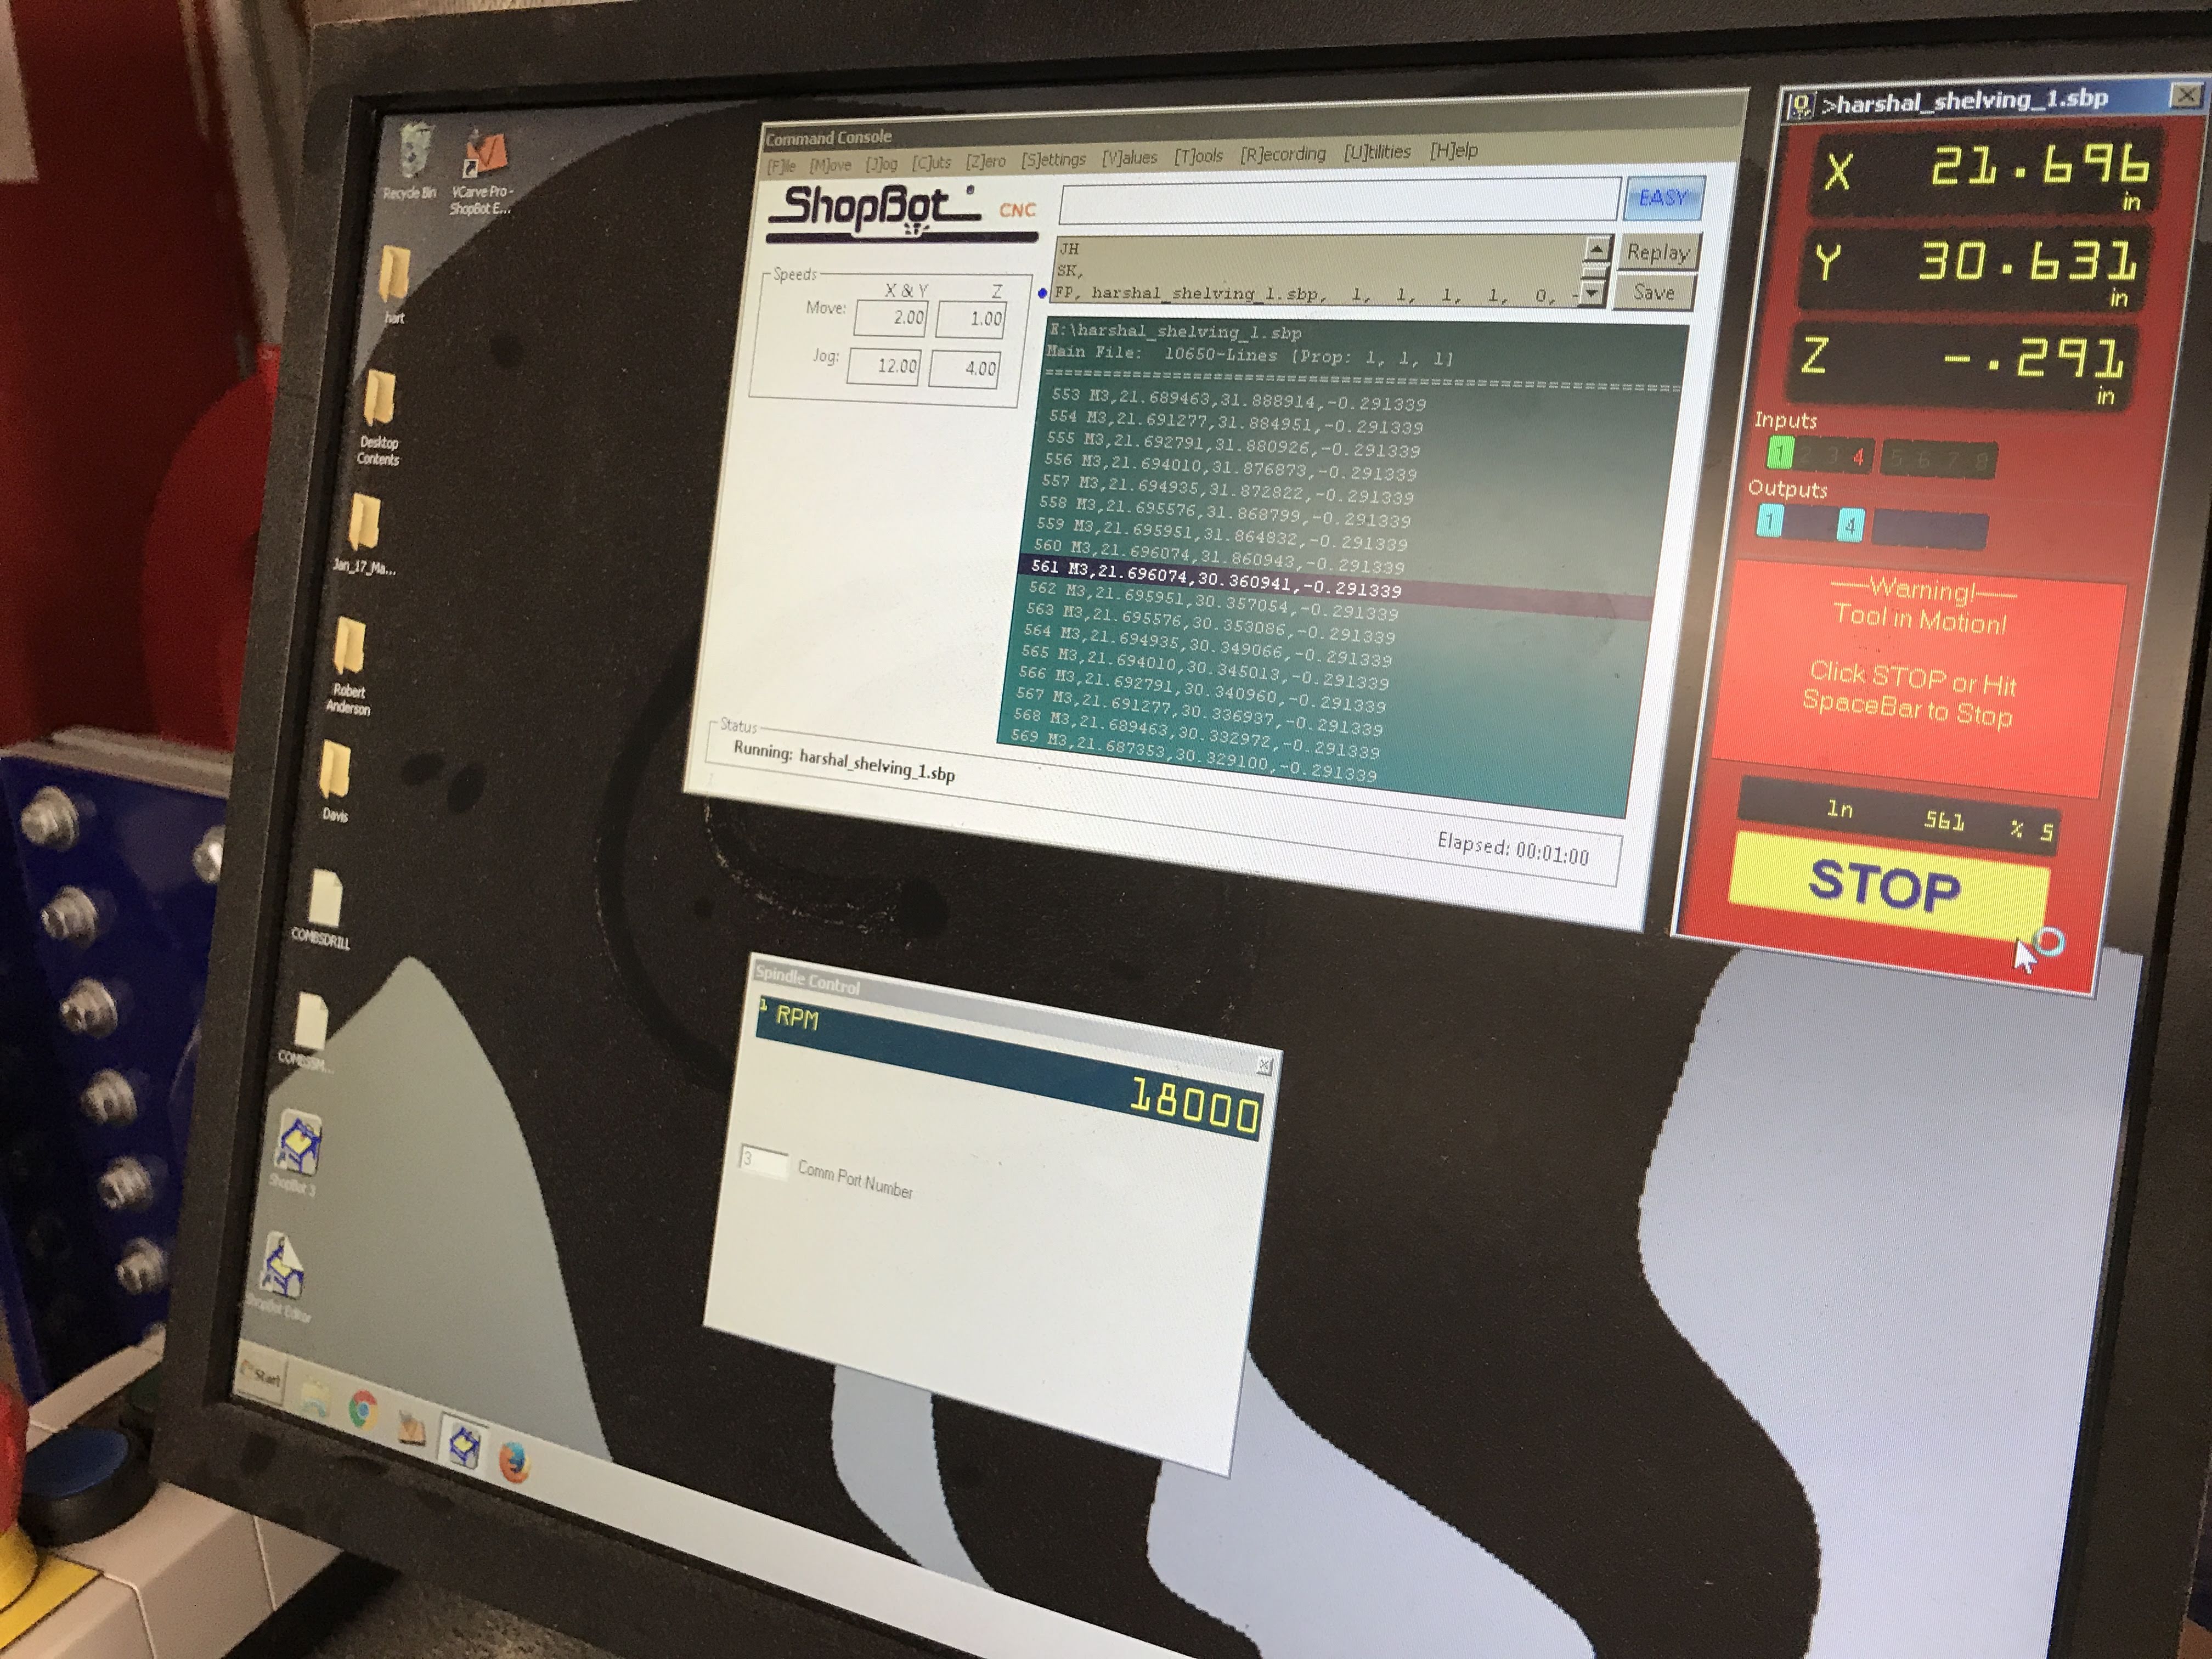
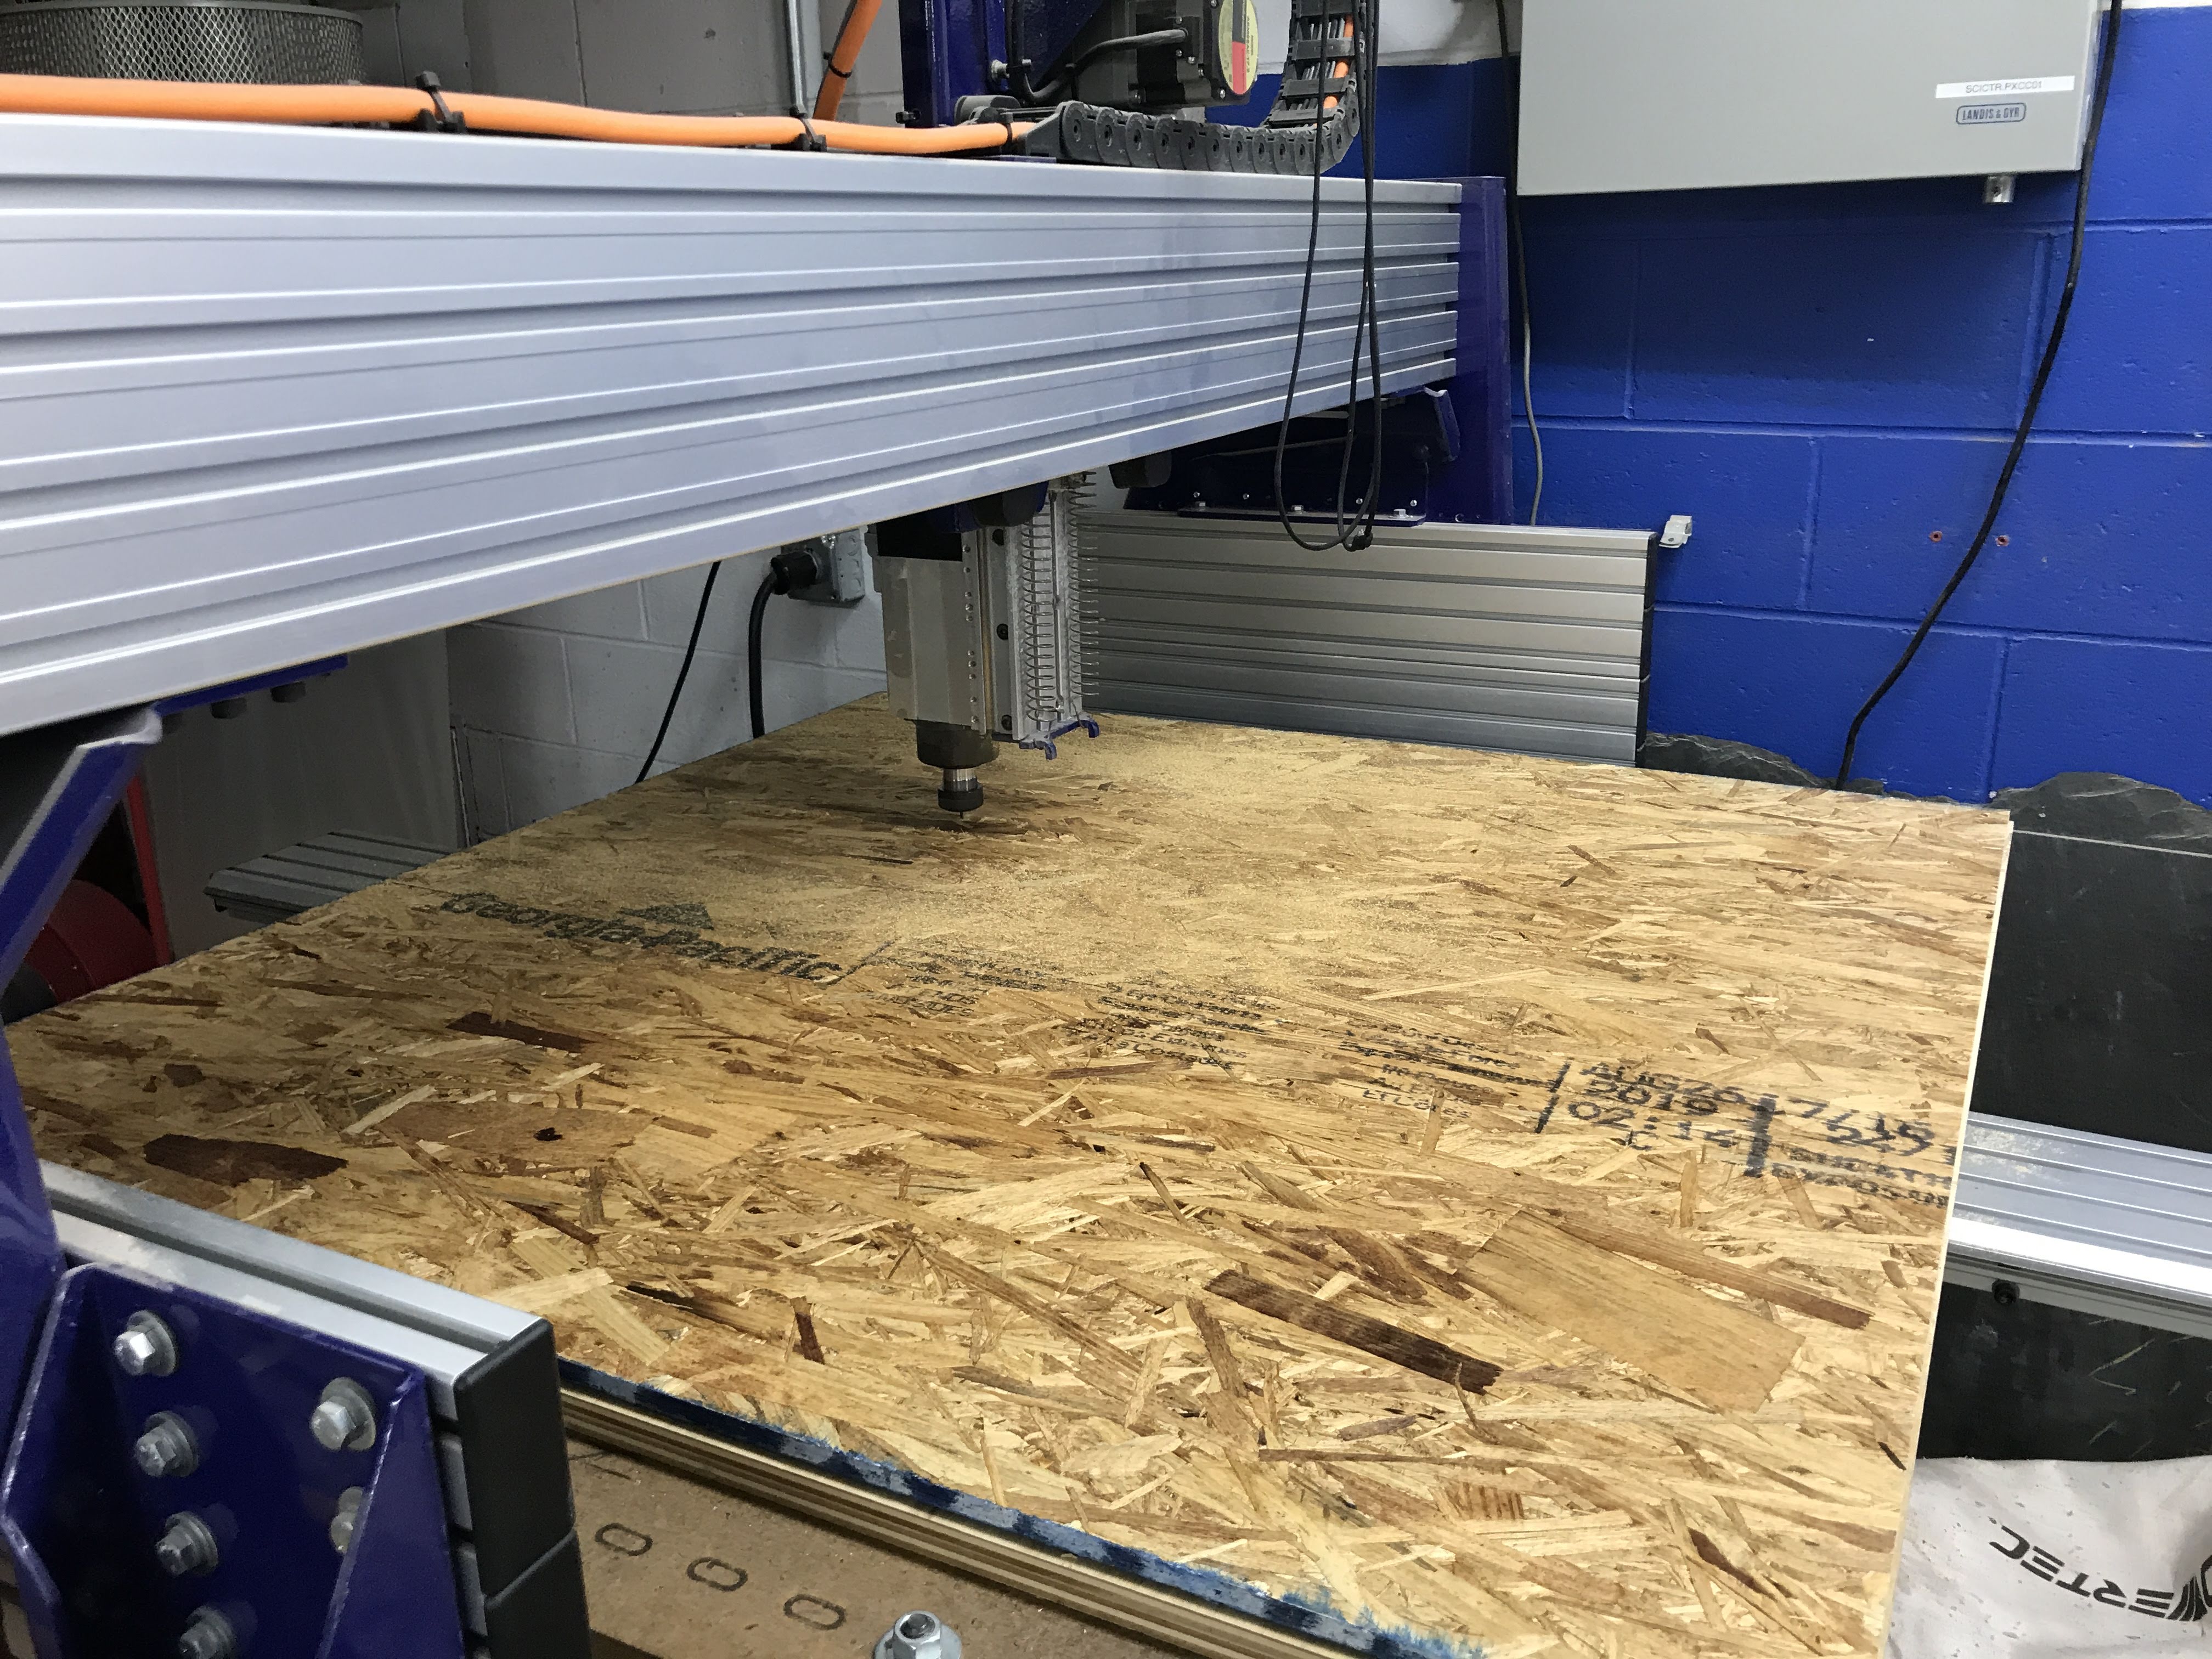
Then I went to the larger, 4x4 CNC mill to cut it all out.
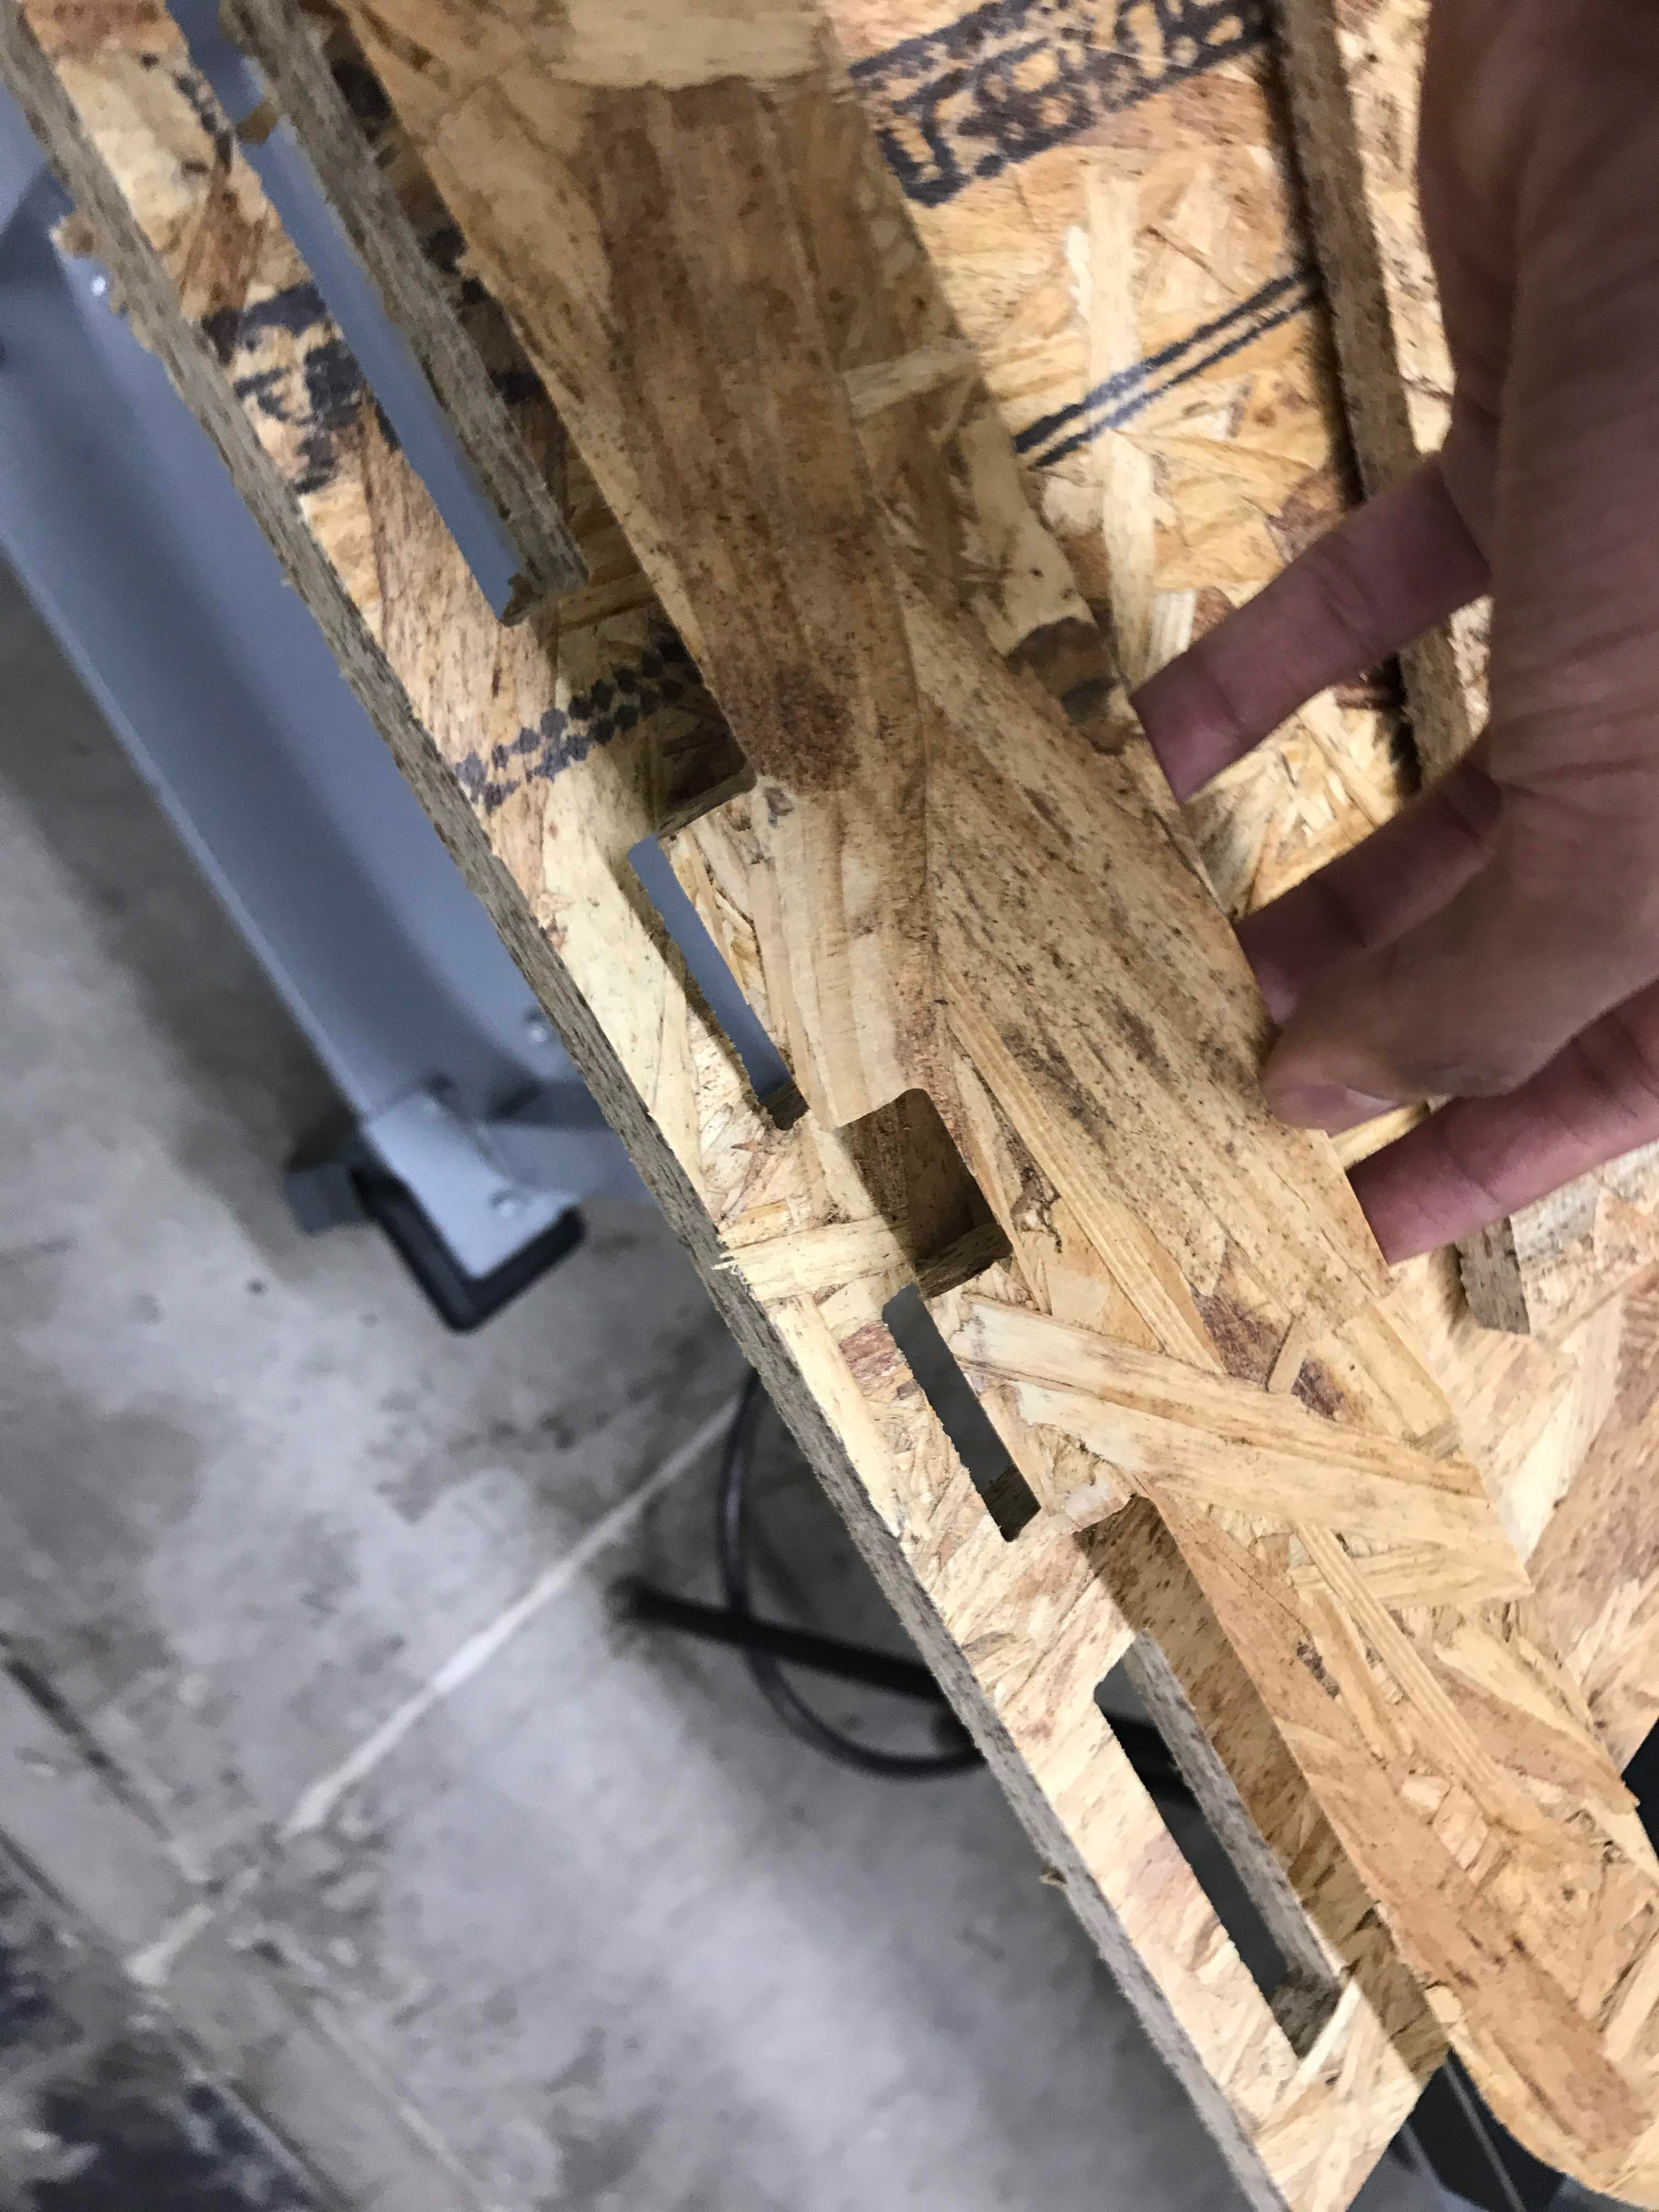
After cutting out the parts, I saw that the slots would not fit together. My slot size of .45in was a bit too small. However, when I measured the slot with calipers, I found that each slot actually had a width of around .42in. I'm not sure what caused this, but I ended up increasing the slot width to .5in.
This meant I had to cut out my base again. After doing that, I found that the width was an acceptable .47in, but I'm still not sure why the width is consistently off, and the lab staff was similarly confused. However, the problem arose again when the length of the slots were slightly too big. Thankfully I had all these set as parameters so it was easy to adjust. Unfortunately, I had run out of time with the larger CNC machine. I plan on finishing this up the next time the lab is open.

However, the elipses came out great!

I will try this again on Thursday.