Introduction:
This week we were tasked with creating some kind of model using molding and casting.
Workflow
Plan: Design something to create an insert mold around, and use a semi-clear silicon to surround it. Potentially add LEDs inside.
Design
I've done casting of parts before, and I wanted to build something that I could incorporate with neat electronics. I settled on desiging a desk art piece that would be a glowing display of a mountain at night. The idea is that the mounted would be surrounded by a semi clear silicon that I could then illuminate with an integrated LED.
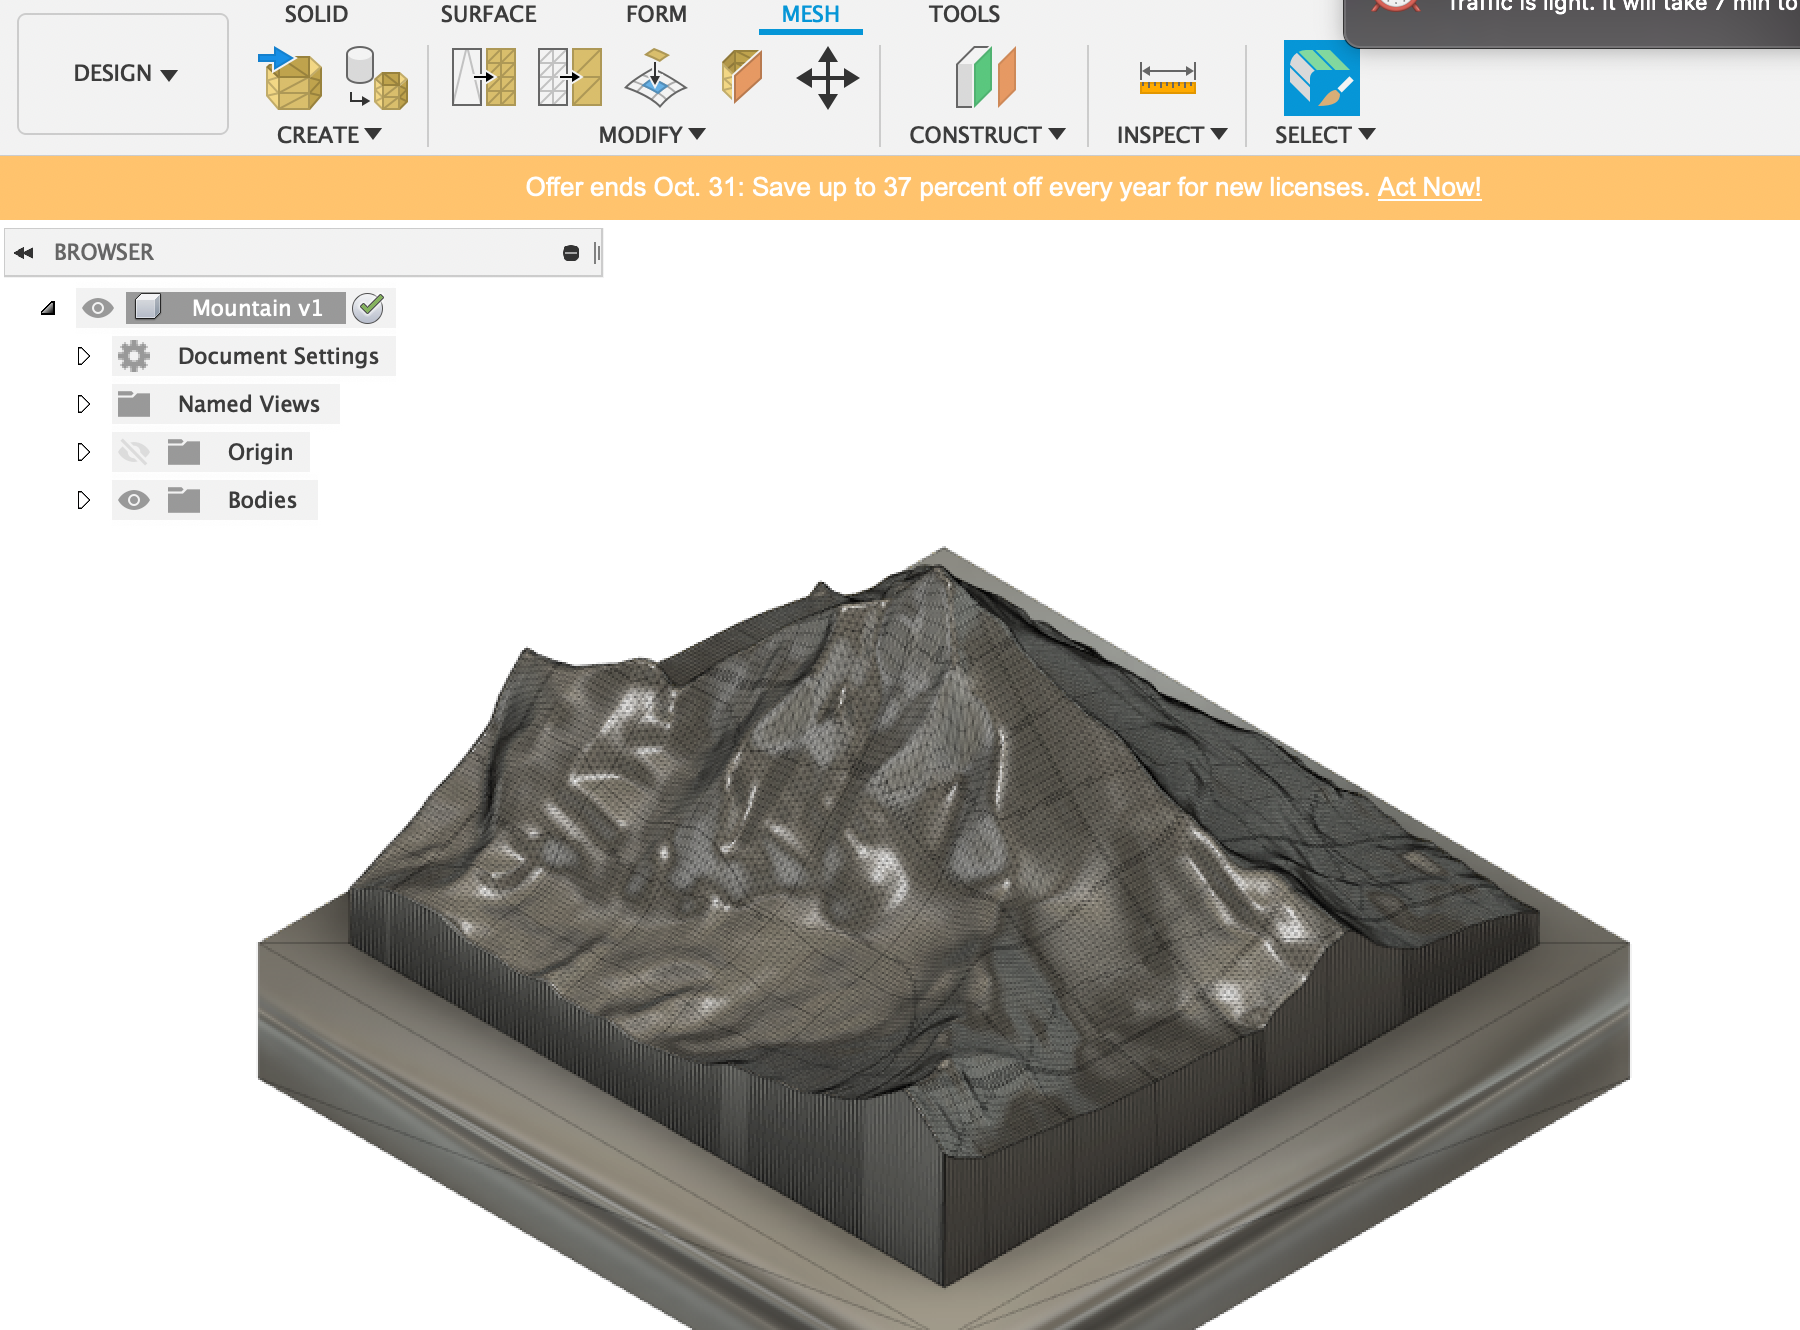
I found the following mountain model online. I made a few adjustments do it, just to test out my ability to edit meshes in Fusion 360. I smoothed out some of the ridges, and added a small ledge below the mountain.
Cutting
I wanted to find a soft material that would look nice and visible when surrounded by a semi-clear silicon. I found the following 3x3inch block of balsa that was soft and had a nice finish.

I used Aspire to scale the mountain to fit the stock I was using. I didn't want any shell around it, so I added an offset for the software to cut out around the stock. I then added a rough cut, and a fine cut. I also had to adjust the machine speeds, because that doesn't get set from Aspire. Wierd.

I was worried about the feeds and speeds, and I found an online forum of people discussing cutting balsa. It seemed to have similar characteristics to wax, and for my first experiment, I just ran a sweep across the top with the previous spin rate. It worked great! I then started my rough cut.
As I was waiting for the rough cut to finish, I noticed that the head of the mill was coming close to the actual part. Thankfully it never hit the mountaintop, but that the model been even slightly steeper, it would have.

The rough cut looked nice! I love the topographical map it creates. I then let the fine cut run its course.

I was pleased with the final result. Balsa mills nicely.
Molding
I first stained the wood with a dark wood stain.

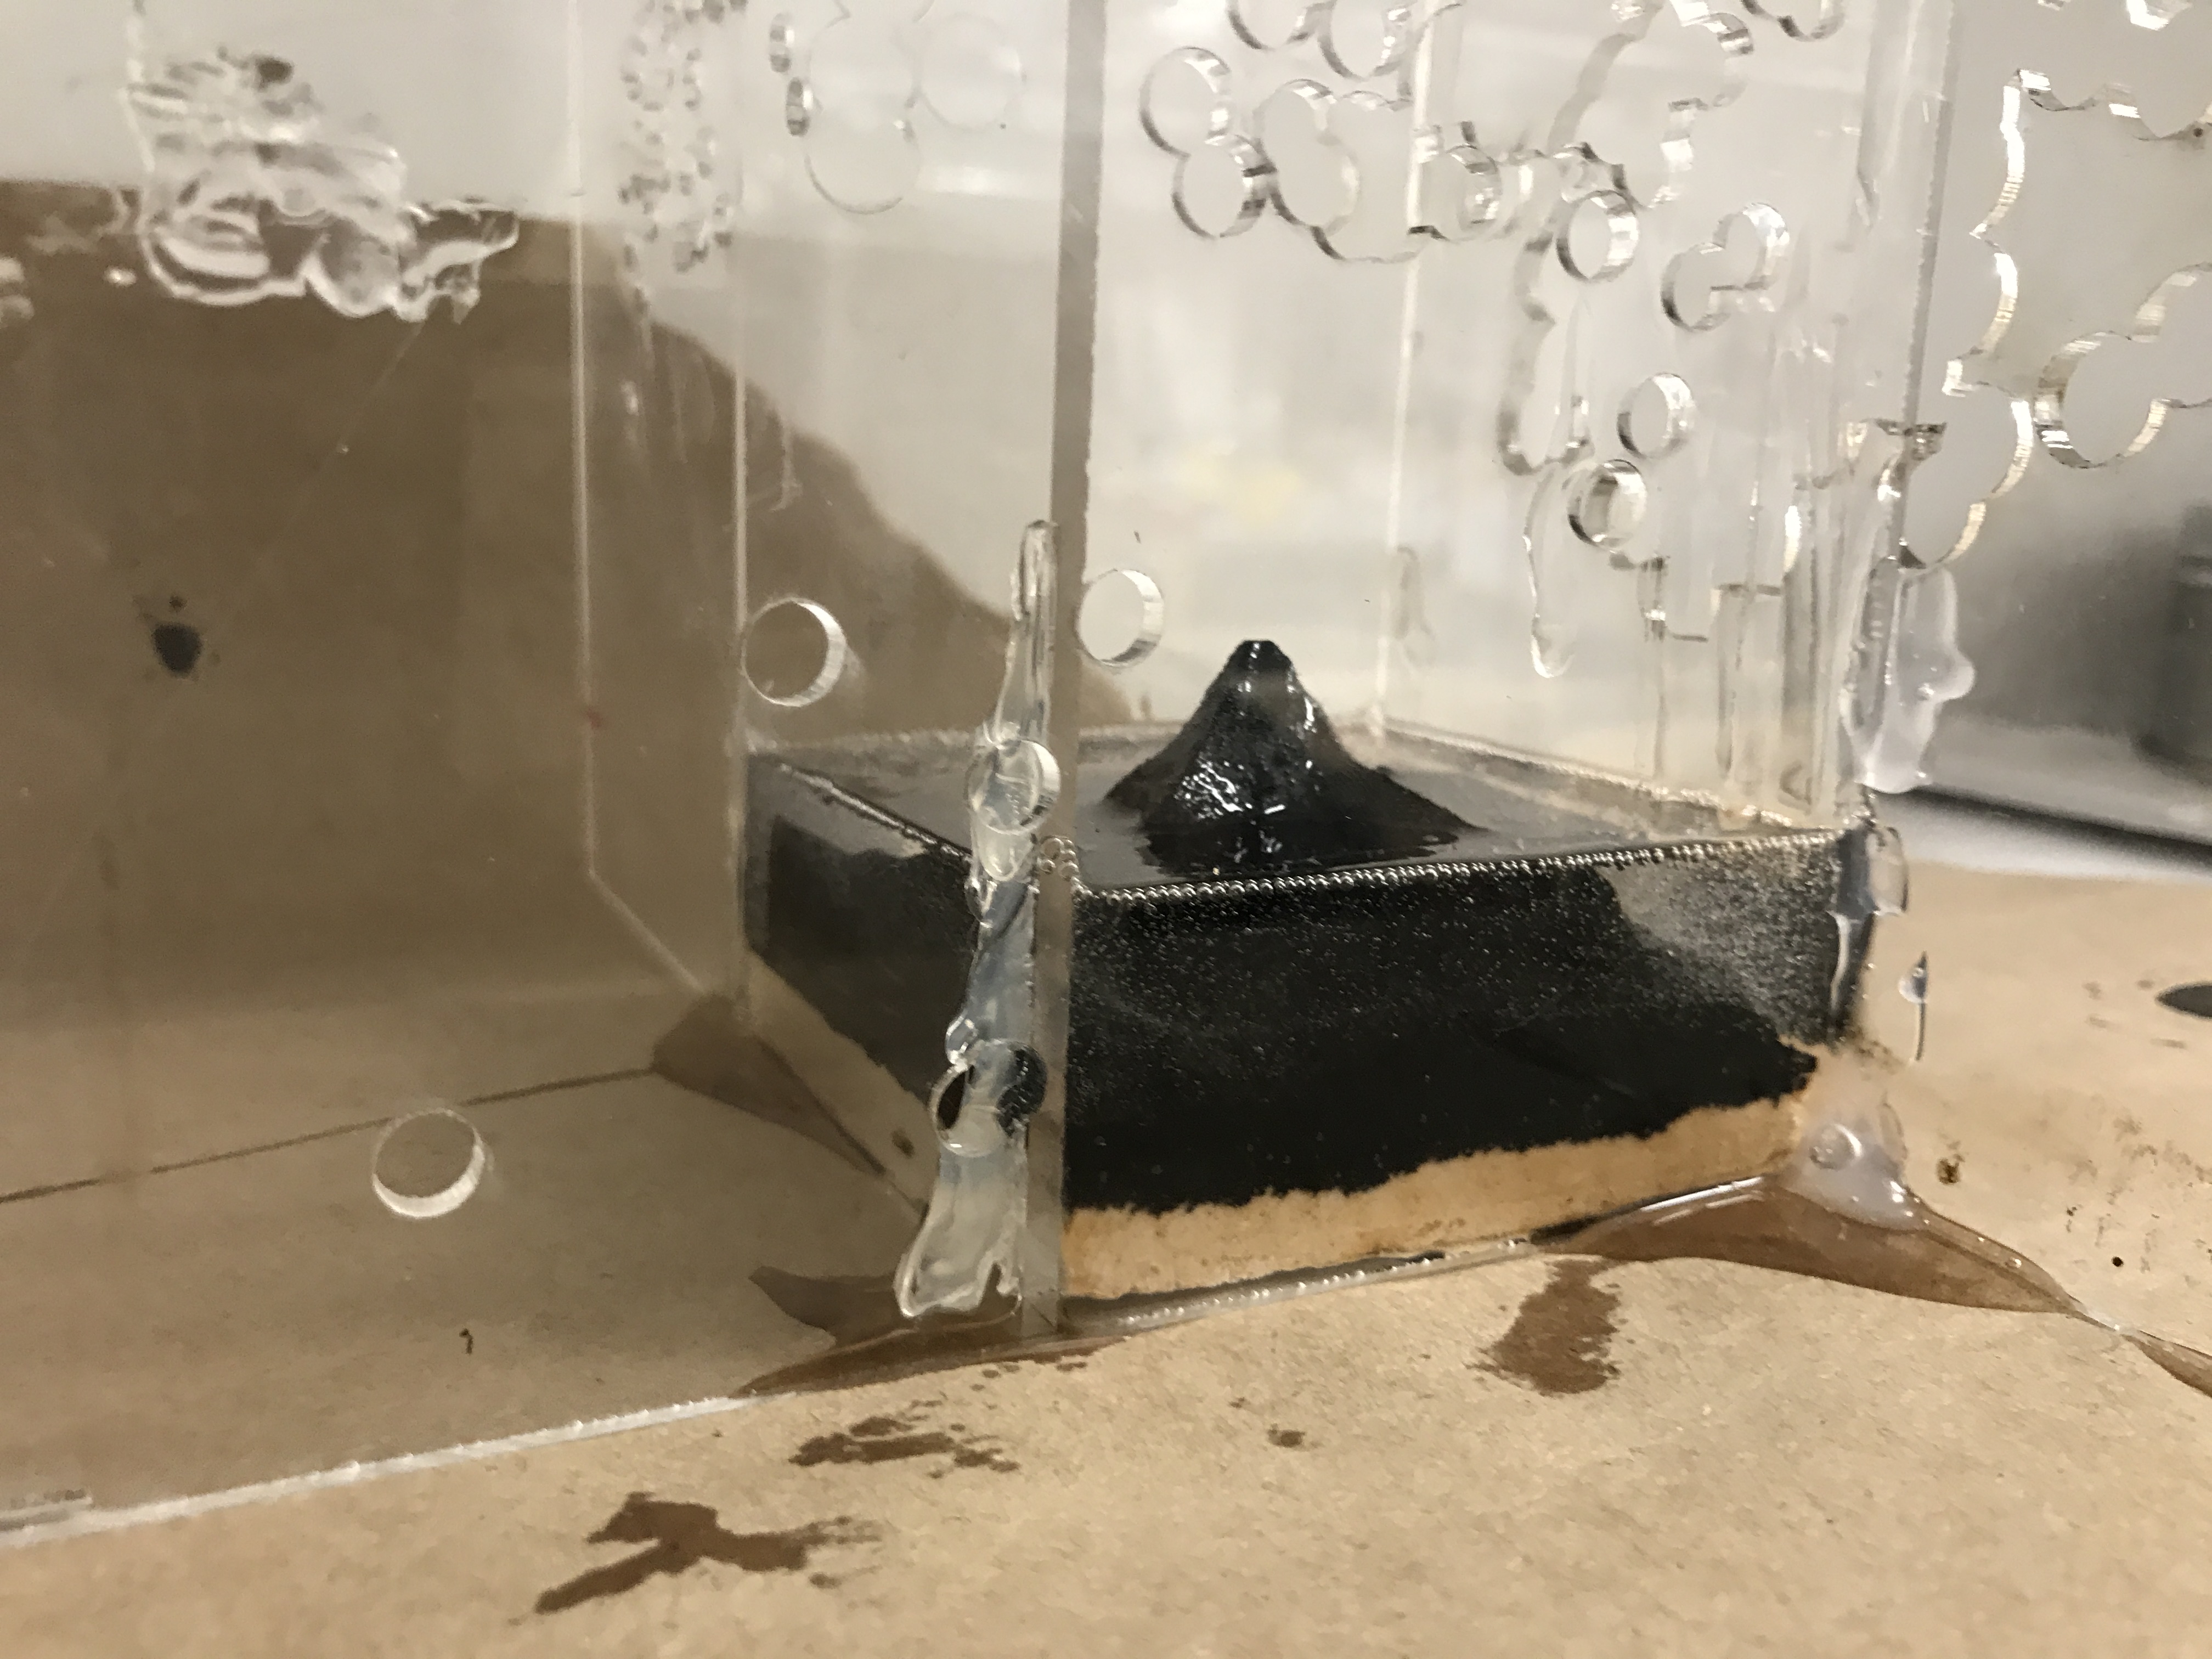
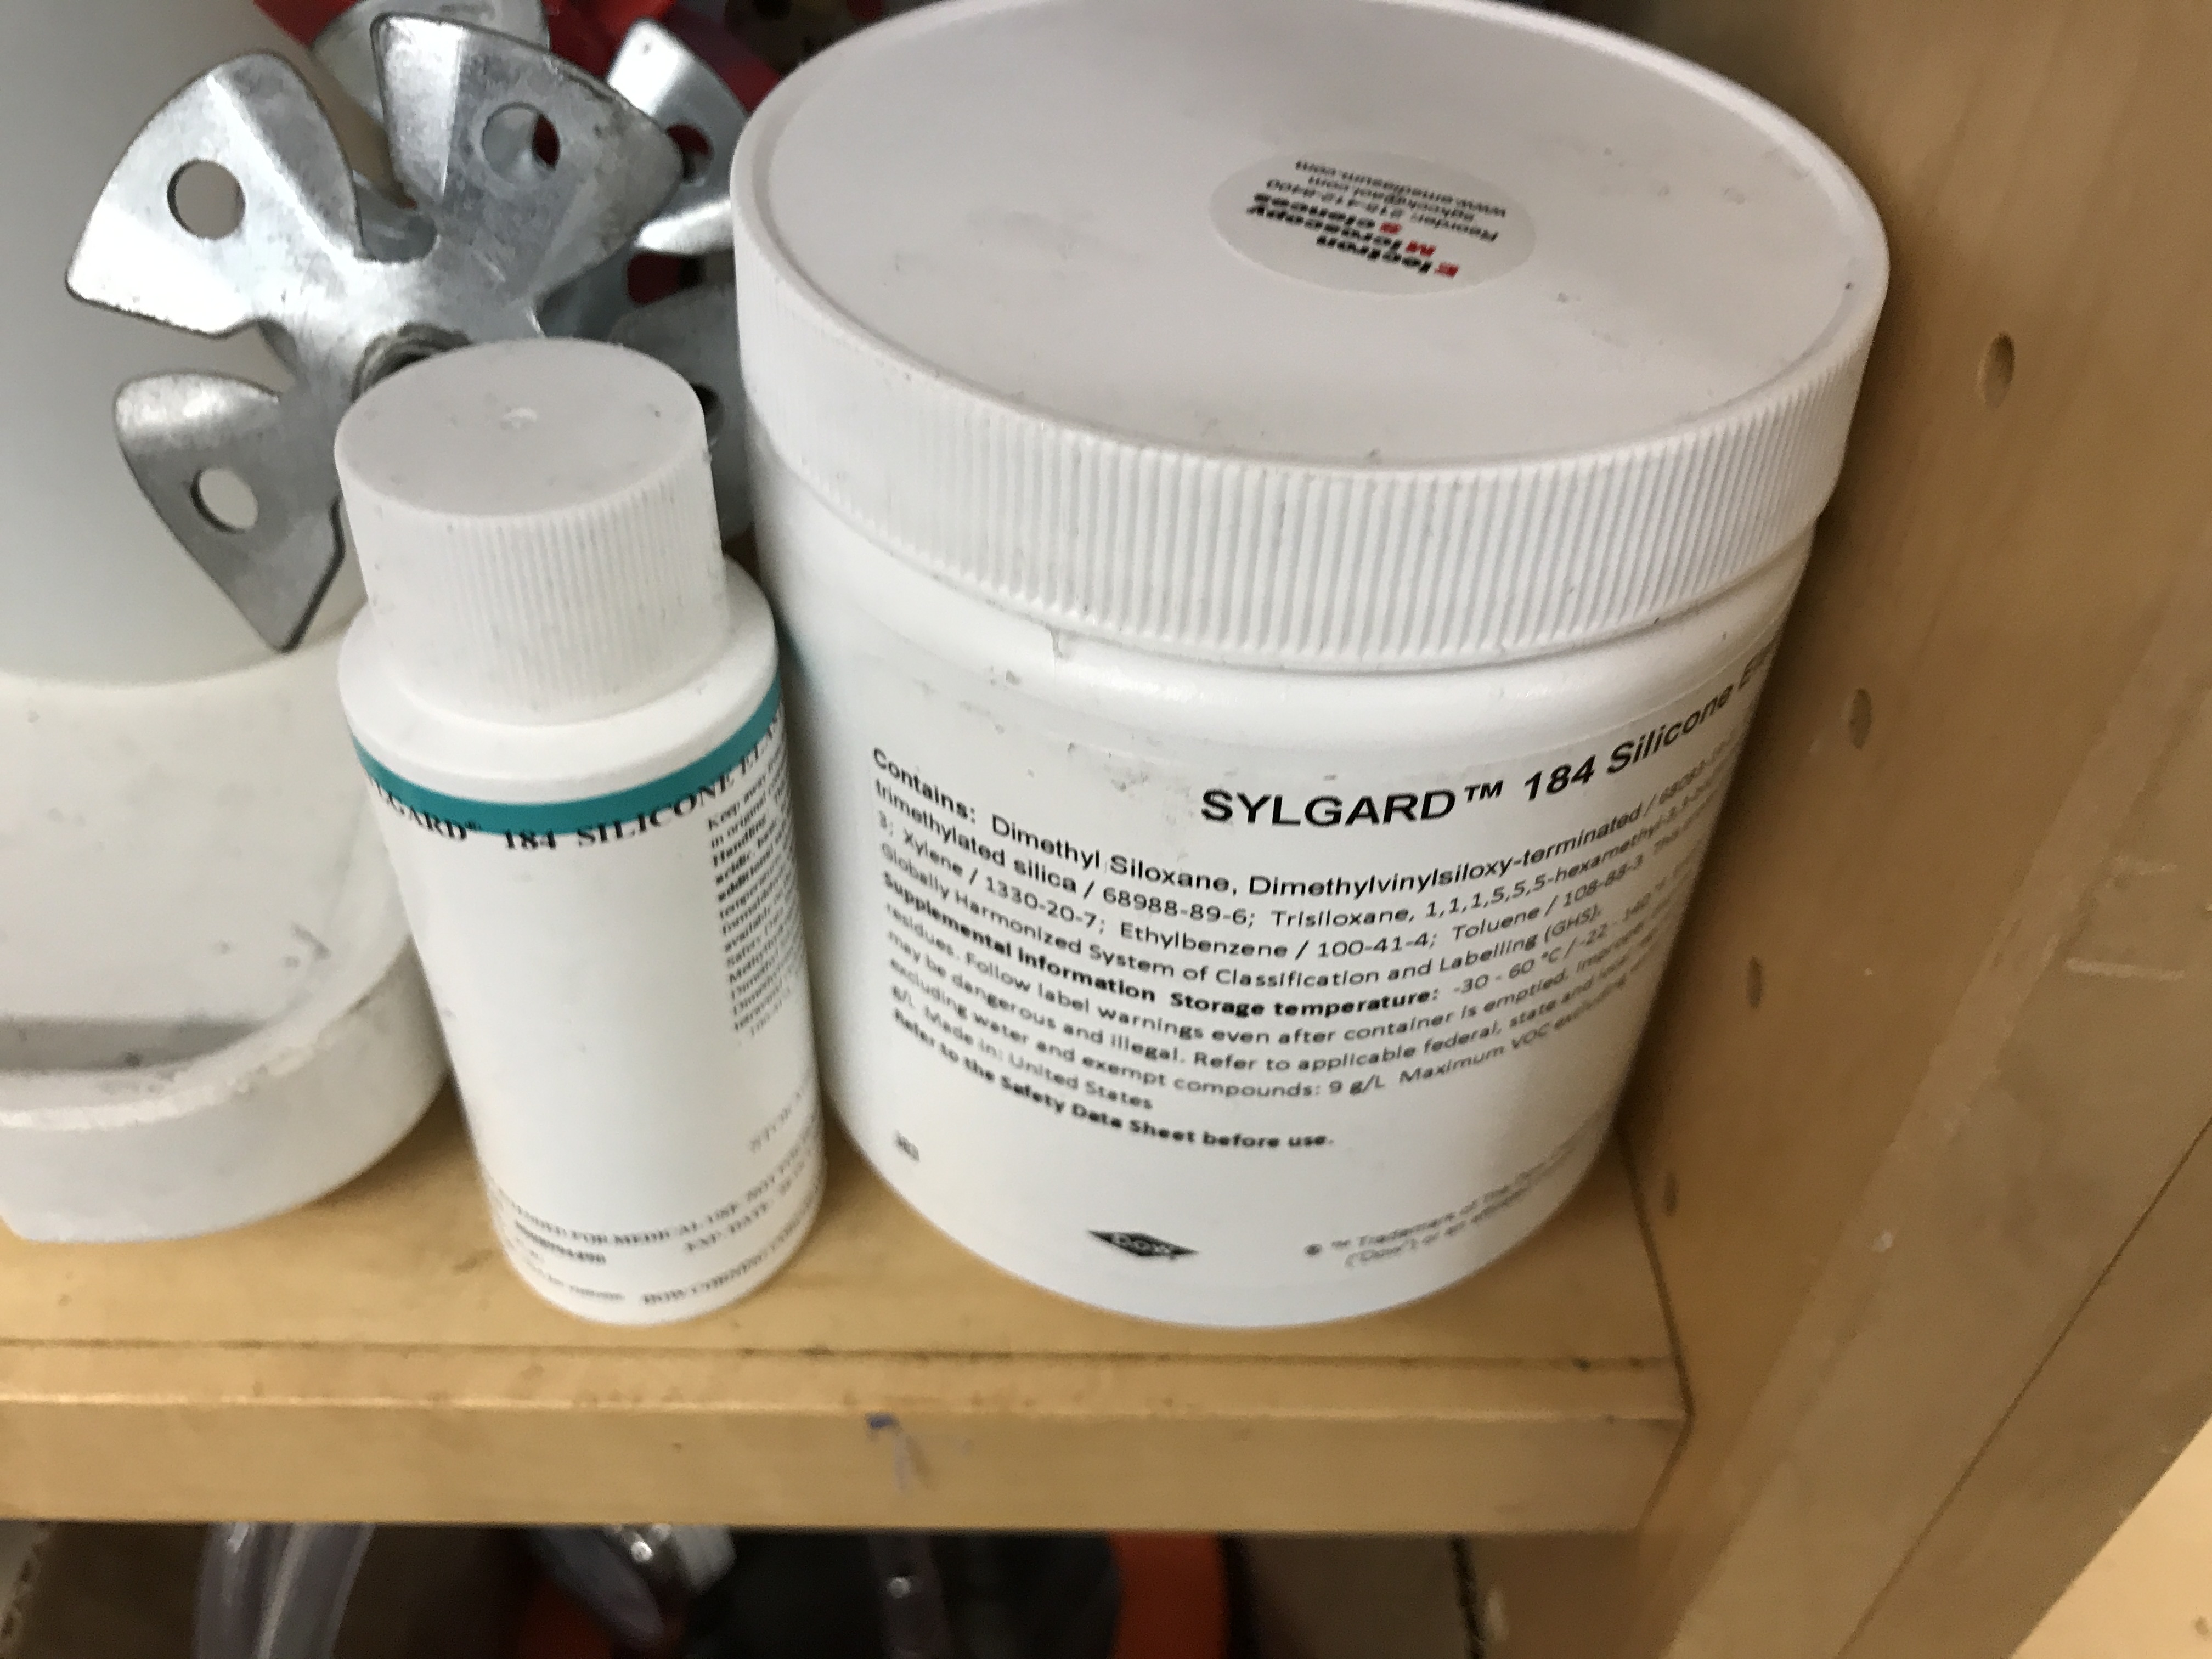
In my search for the most transparent silicon I could find, I came across Sylgard 194, which was supposed to be semi clear. I saw some samples and thought it would look nice. After setting it, I was thinking about putting it in the vacuum chamber, but I liked the way the bubbles looked. I think the LED will interact with them in a neat way.
I miscalculated how long it would take to cure, as I had based my estimates on other types of silicon I had used before. As of Tuesday night it, still needs more time to cure. I plan on adding the LED right after.