This week I am feeling a little burnt out. I have spent to much time designing a USB-C to FTDI board (which entailed a lot of time mucking around in 100 page long technical specification documents & required that I learn how to make footprints from data sheets in KiCad) and I am kind of tired. Also, I can't think of a way to fit this week into my final project.
So I am not going to do anything crazy. Hopefully, just learn the basics of the milling machine.
I am going to use FlatFab to make the design. I want to cut out a 3D Fox.
After quickly exploring the FlatFab interface, it seems like I can import an .obj file and the program will convert the geometry into a set of 2d cut outs.
Never mind. This just imports the file as a guideline for making the model yourself.
I found a nice model online here. The file I downloaded from thingiverse was a .stl file and the FlatFab program only accepts .obj files. I converted it online with meshconvert.com
Side note: FlatFab is roasting my computer. Just having it open makes my laptop noticably hot. I'm wondering if I can just use any slicer to do this.
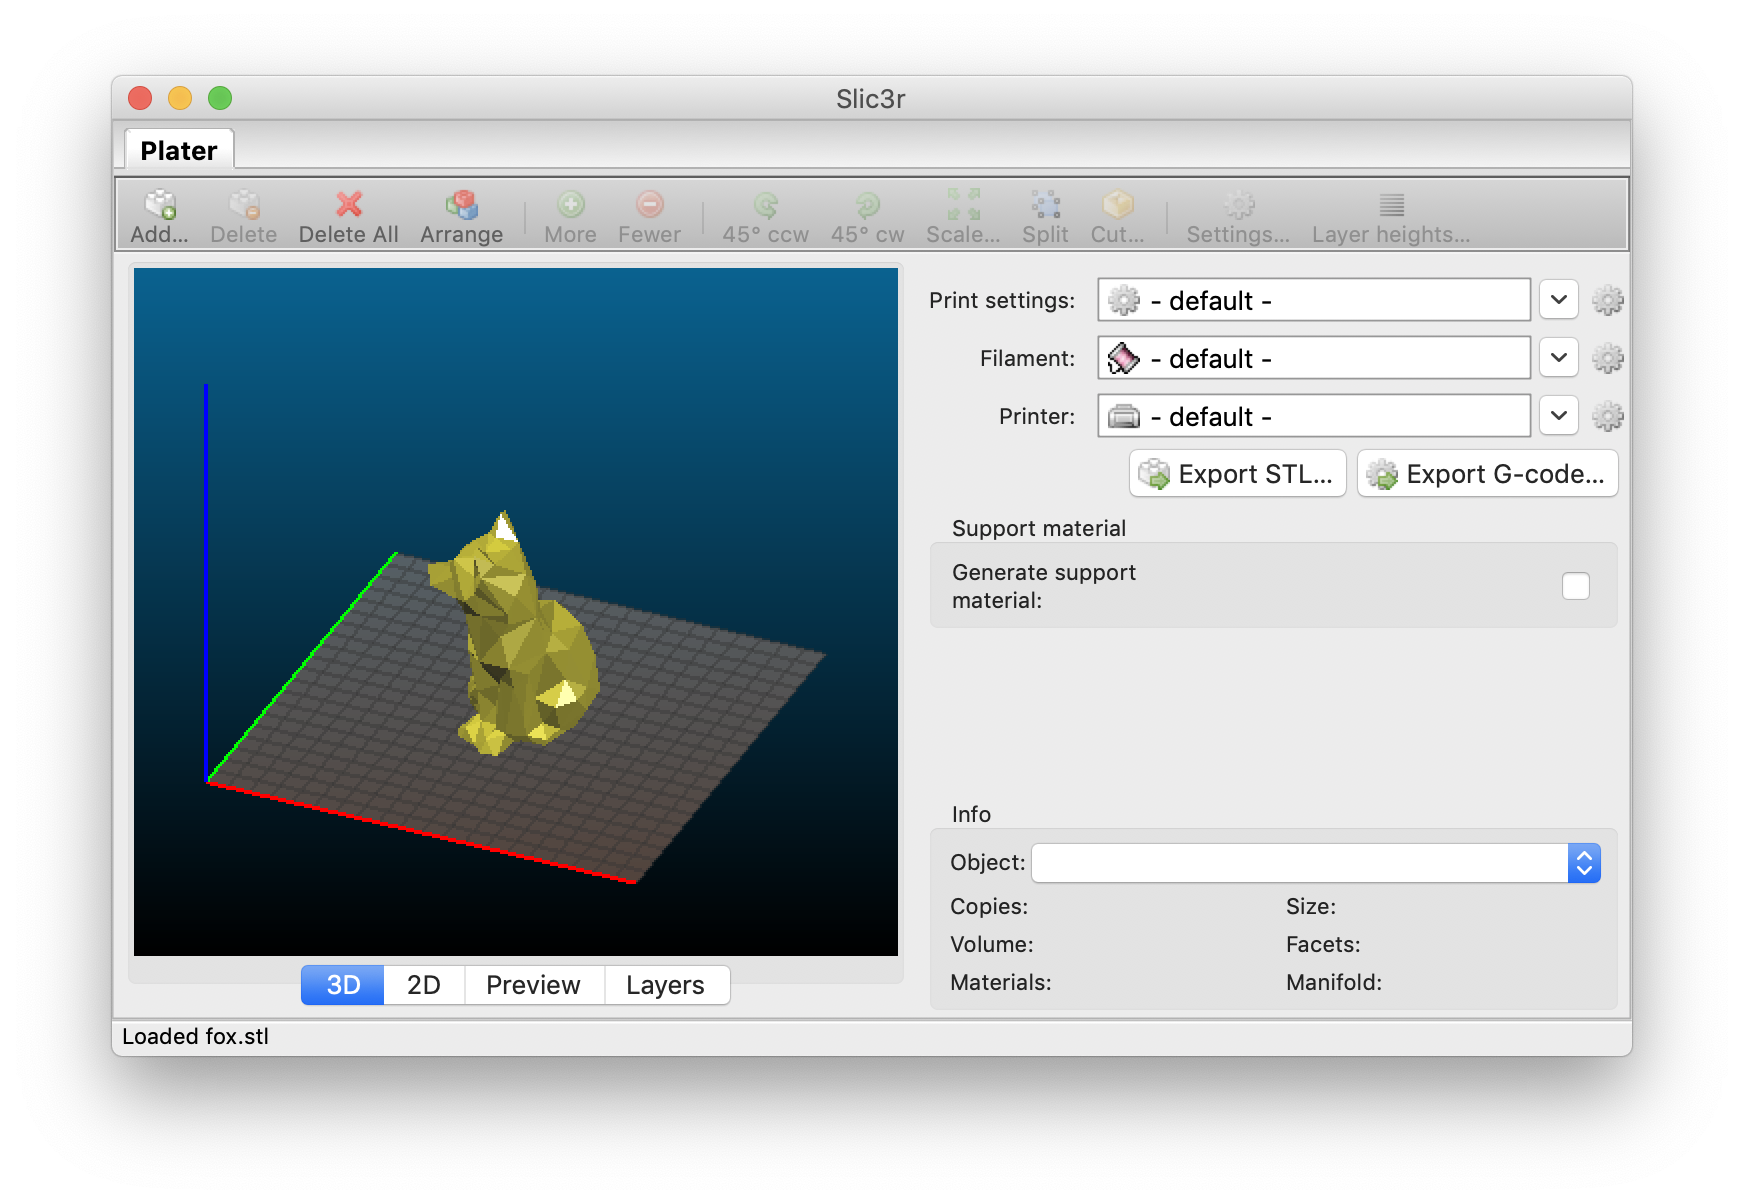
I'm switching to Slic3r because FlatFab wasn't cutting it for me. (Heheh, this is a pun.)
brew cask install slic3r --no-quarantine
I tried the normal brew cask install slic3rbut was getting an error "Error: Failed to quarantine one or more files within /usr/local/Caskroom/slic3r/1.3.0." so I tried adding the flag because I saw it sugested here.
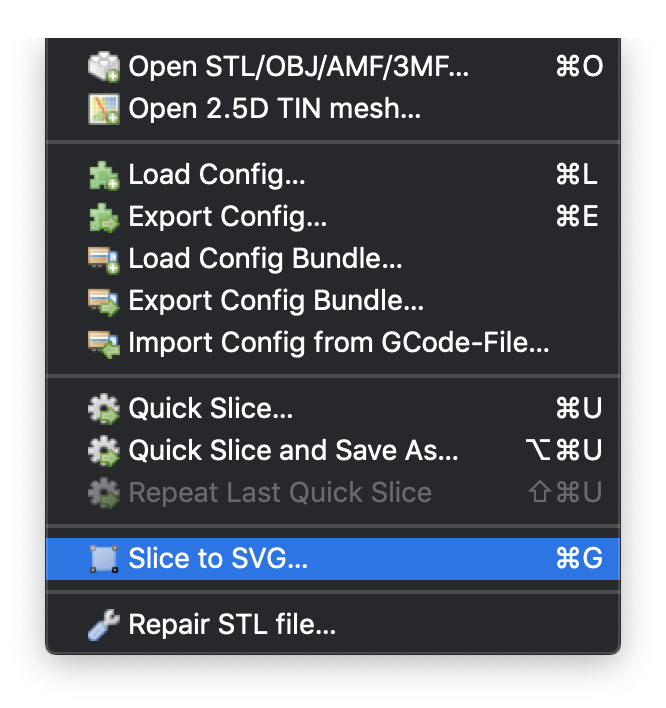
There are a bunch of configuration options, but the seemed to apply mostly to 3D printing. I just want to go from a 3D file to a bunch of SVG layers so I just clicked "cancel".
I found some documentation on exporting SVGs from Slic3r. And I'm just going to follow along.
At first, I thought it didn't work because the svg file appeared empty. But it turns out the slicer, just creates white polygons for each layer.
The layers can be viewed at this website.
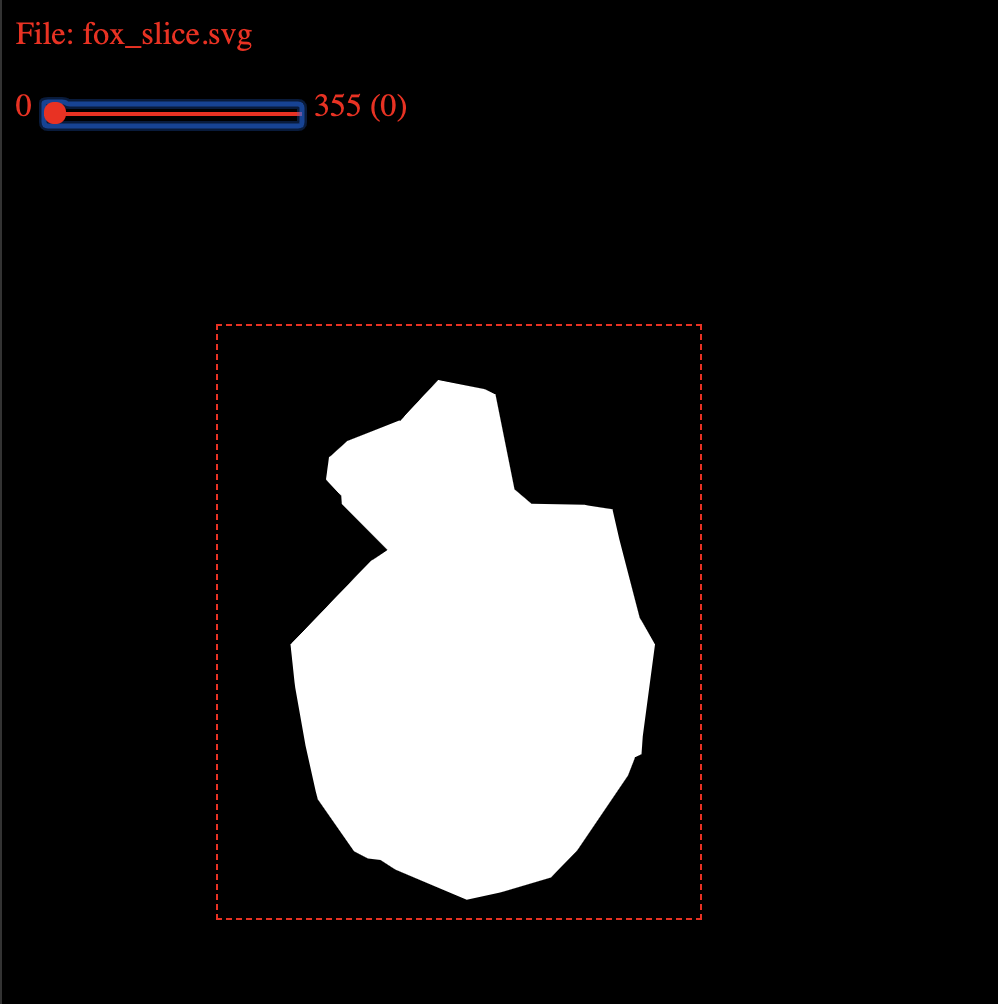
Right now, there are 355 layers in my model which I think is too many. I need to adjust the layer thickness.
This can be done within Slic3r.
I think I may have made it too big. There are 900 layers and each is 10mm, so the fox would be nearly a meter tall (and use a ton of material).
What qualifies as big?
Andrew Zuckerman told me that the wood is 11.2mm thick. I only want to make on the order of 50 unique pieces. So the ultimate size of the stature will be around 56cm (560mm) tall.
I ended up actually scaling it to 40cm because it used a lot of material.
Nothing is ever easy. This became a huge hassle due to what I believe to be a bug in Slic3r. Updating Layer Height has no effect on the output SVG.
http://forum.openscad.org/using-openscad-as-a-slicer-to-export-dxf-files-td10984.html
I am going to try using the Slic3r CLI to see if that makes a difference. I think this is the command: slic3r --export-svg --layer-height 11.2 --nozzle-diameter 11.2
To use the CLI on OSX, you need to use the app directory /Applications/Slic3r.app/Contents/MacOS/slic3r because Mac apps are bundled.
/Applications/Slic3r.app/Contents/MacOS/slic3r --export-svg --layer-height 11.2 --nozzle-diameter 11.2 --save sliced.svg fox-scaled.stl
That was a rabbit hole that I didn't need to go down. I'm just going to use the slicer that AutoCad built for Fusion 360 instead.

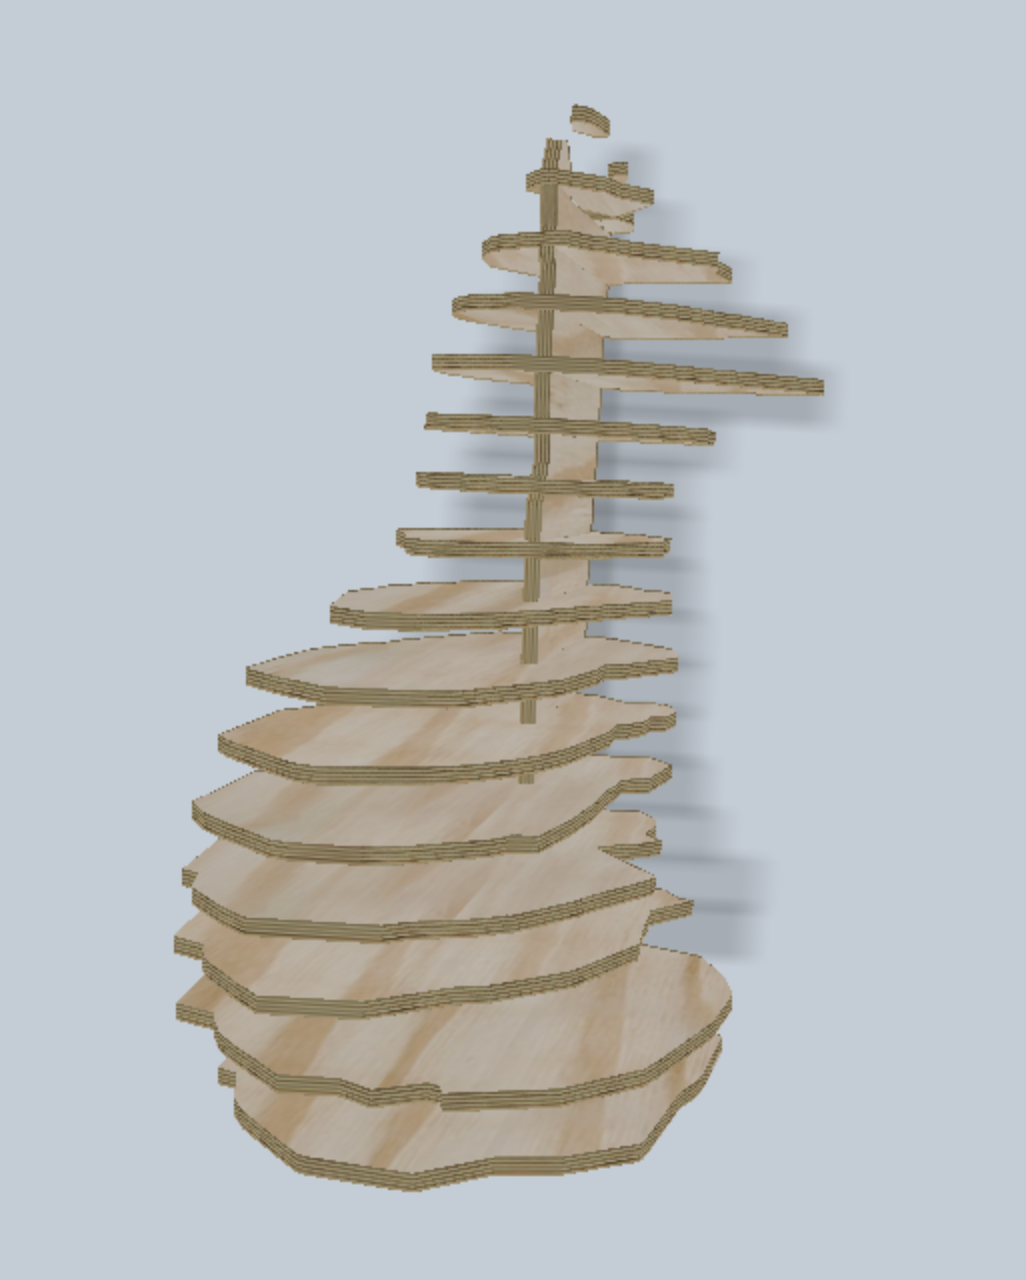
I imported the fox model and selected the Radial Slice option and tweaked the settings until I liked the effect. I was able to set the dimensions of the material, so the software could correctly size the joints and fit them into a single board.
Measure a range of boards wood + 0.5mm oversize for each slot
Test cut
First, import the .dxf file into Aspyr. I set the size of the board to 600mm x 450mm. I had to resize and move the .dxf file so that it fit properly. I made sure to check the sizing of the joints. They needed to be 11.2mm in order for the pieces to fit together.
Create toolpath for traces:
.shb file Create toolpath for drill holes:
Add circles in areas absent of the main cuts
Select all and create a new tool path
Create a Drill cut with cut depth of 11.3mm.
Save as .shb file
Add screw to hold down wood. Make sure the screw isn't in the way of a tool path.
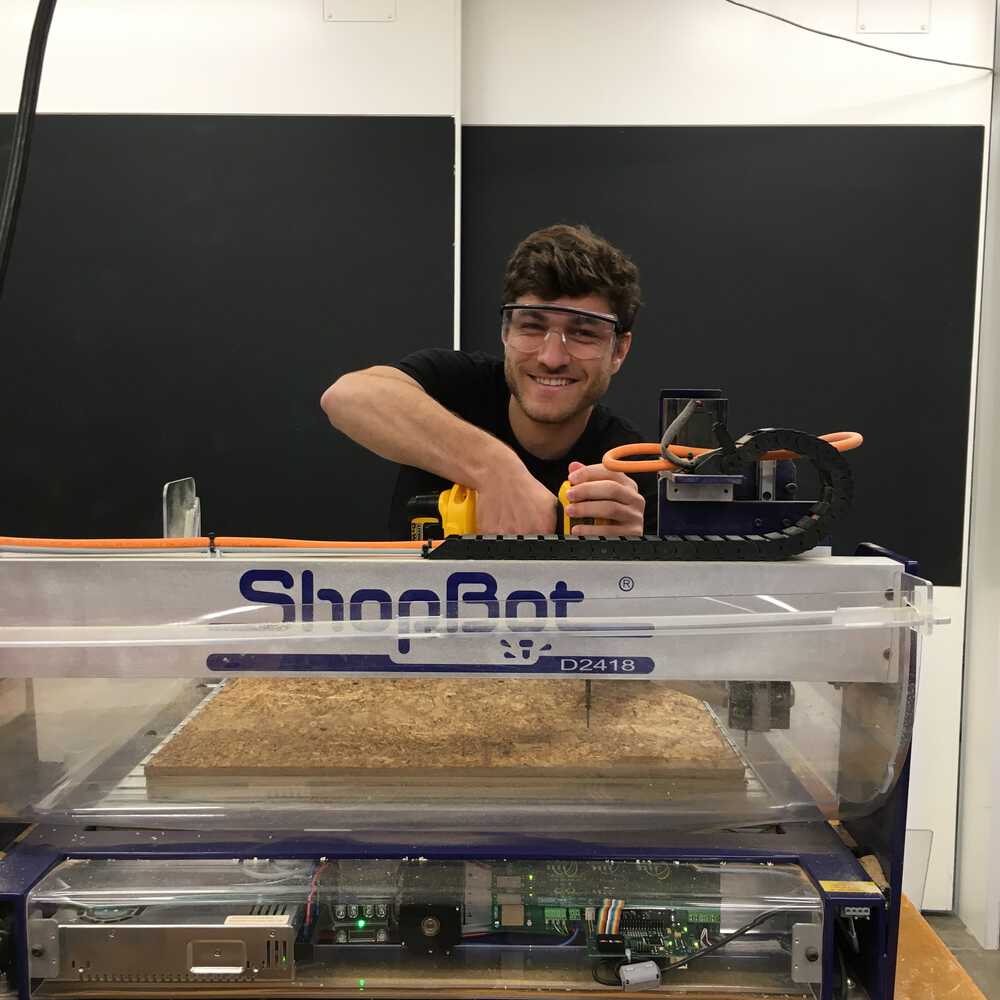
Zero the machine using the yellow control panel. (Note: that you can zero the x,y axis separately from the z axis.)
Run an air cut to make sure everything looks okay.
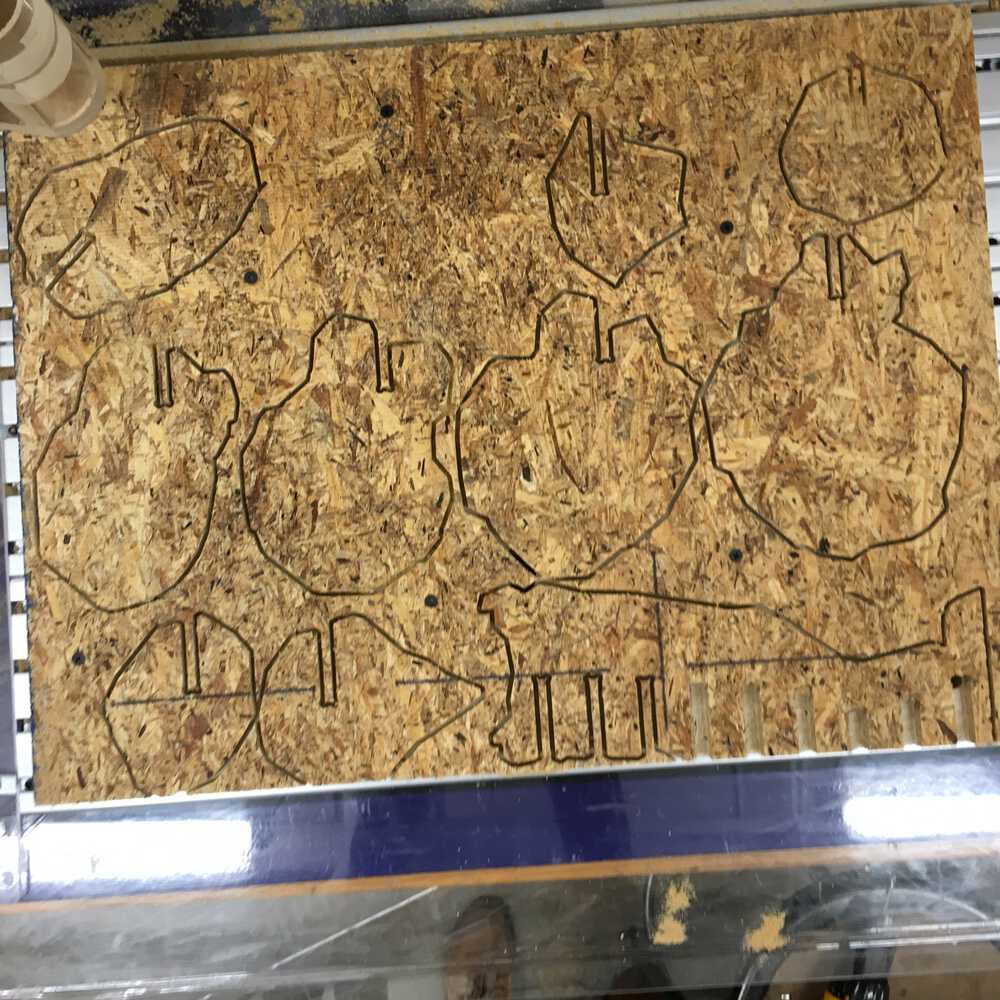
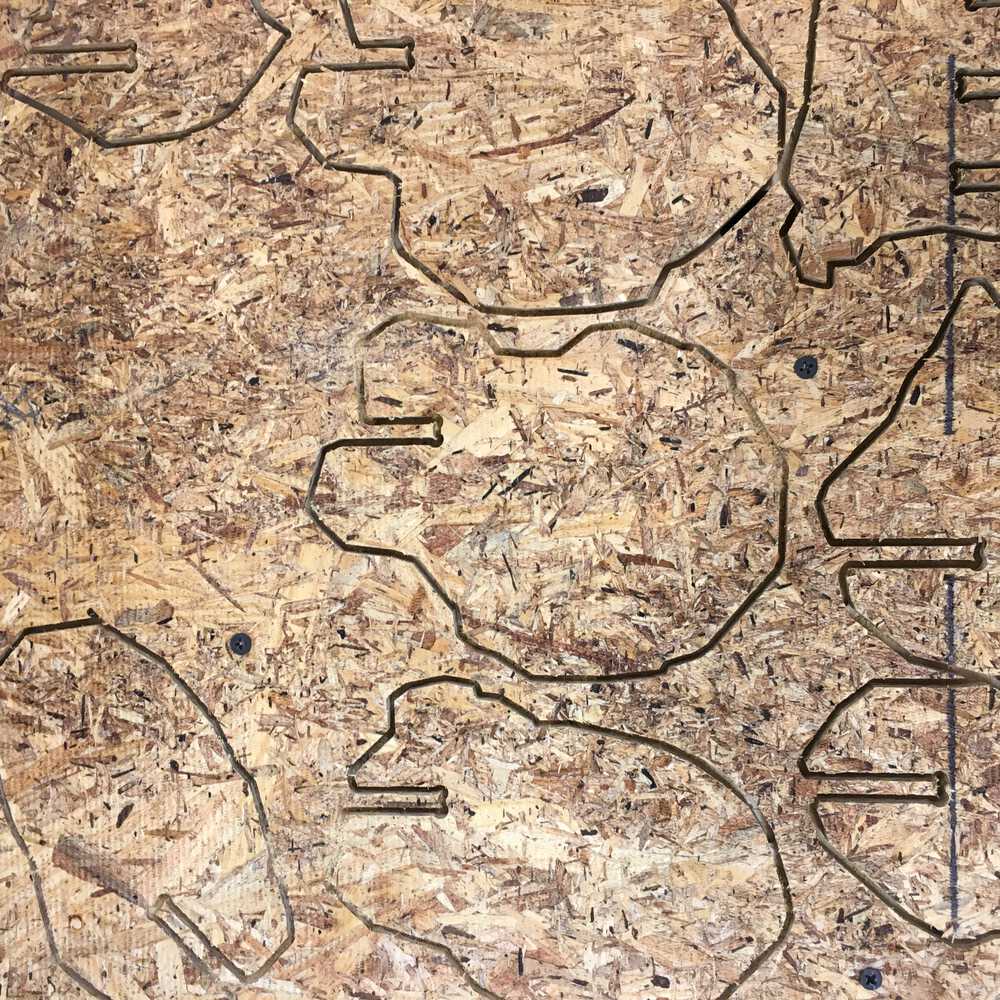
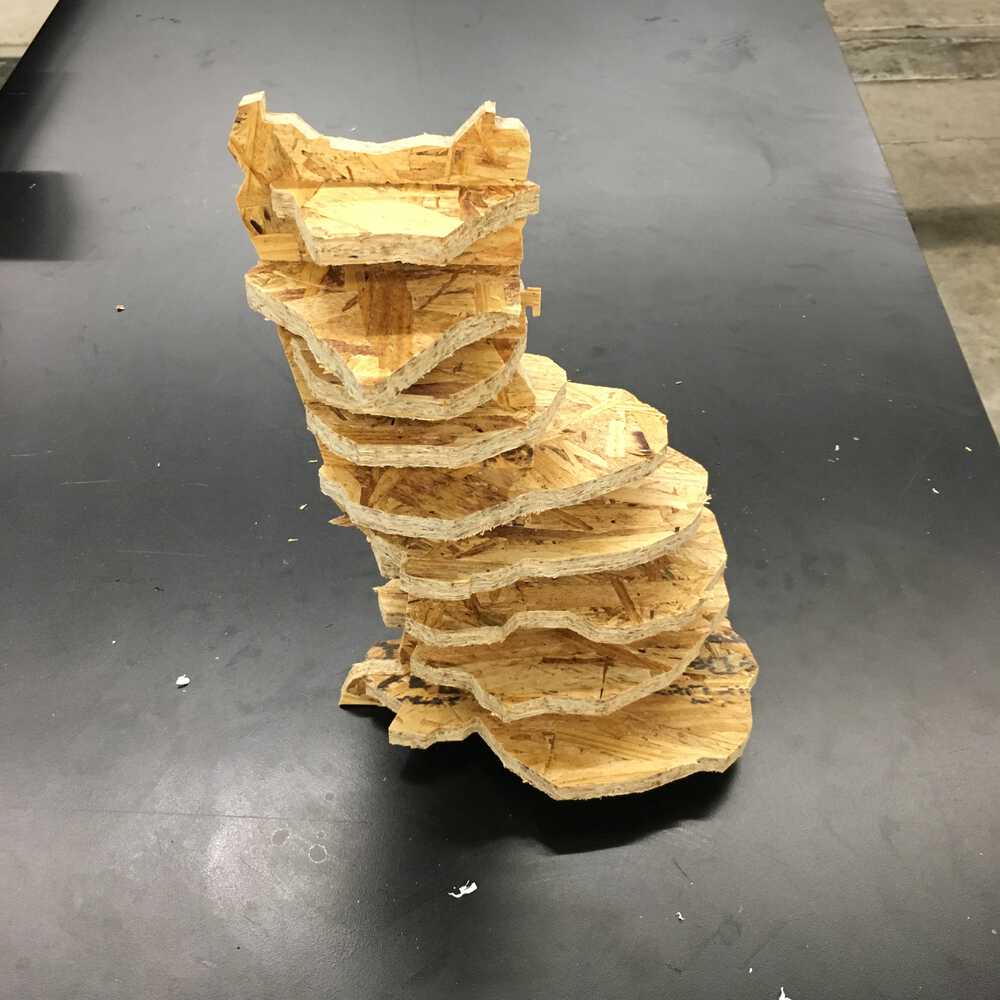
While I was watching the cutting, I was worried that my joints wouldn't fit together. This turned out not to be an issue and the joints fit together perfectly.