This week is the first time I'll be able to build something for my final project. I am going to experiment with casting a soft plastic bracelet.
I'm going to start off by finding a tutorial that can help me through the basics.
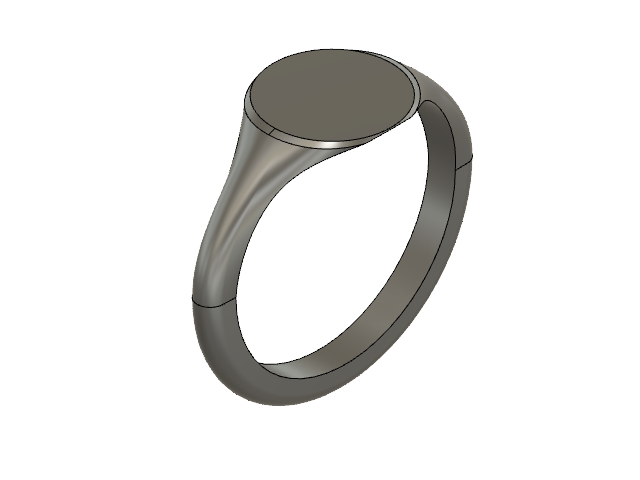
The first version of the bracelet looks like this.
A little too watch-like and definitely not enough space for my circuit board!
I redesigned it.
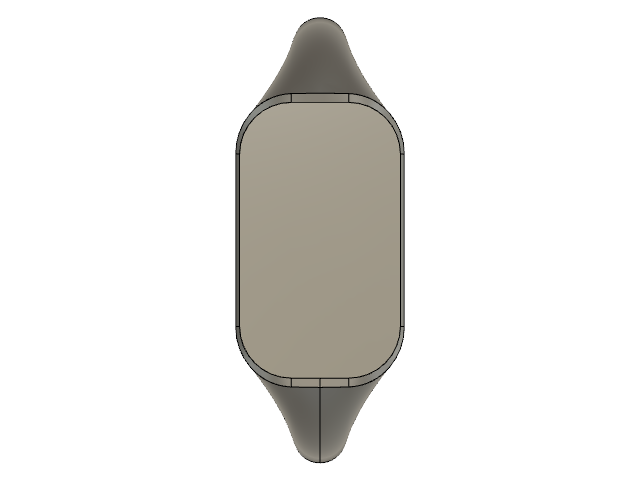
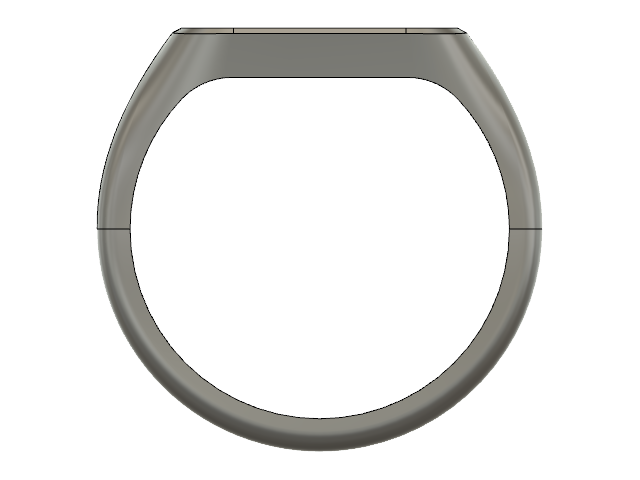
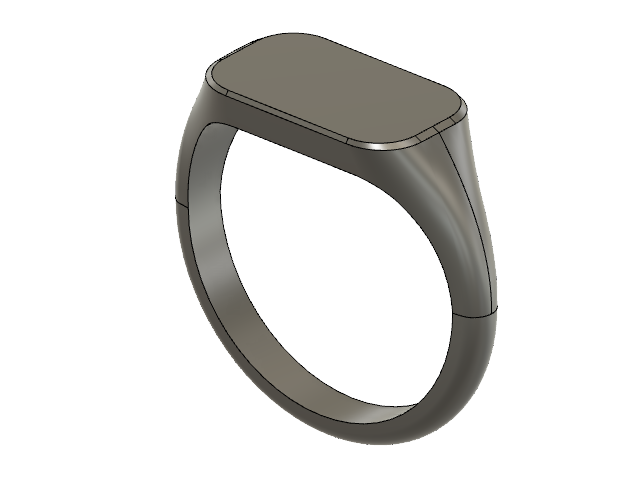
Looks better, but I'm still not sure how big my circuit board will be so I went back and redesigned it again.
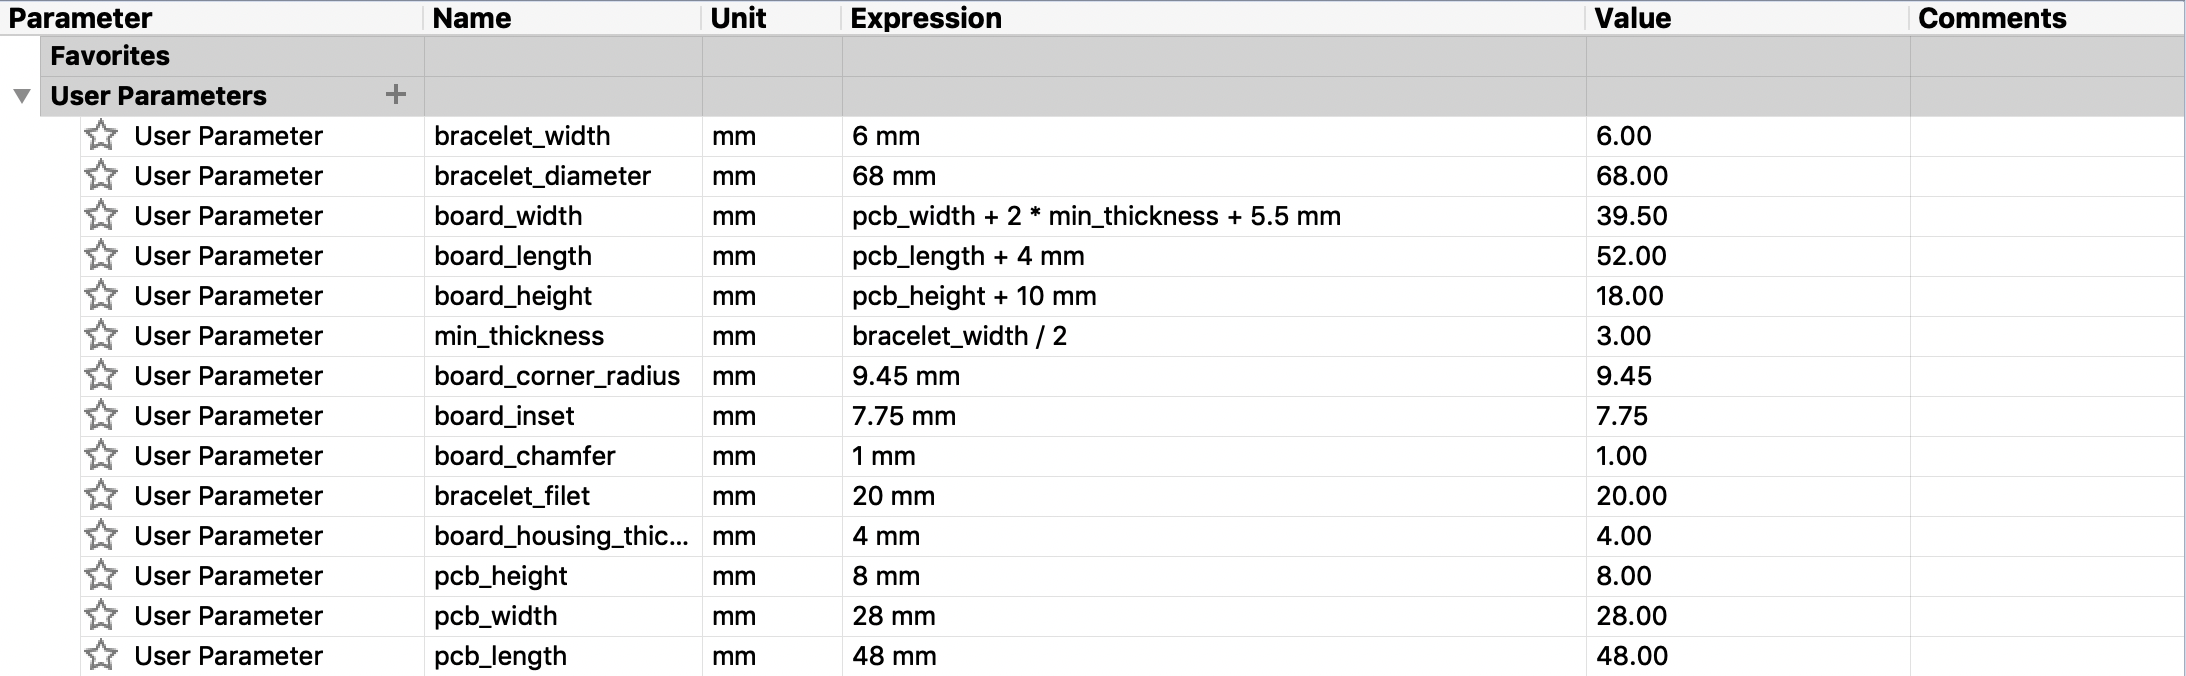
This time I parametrized the design so that I can tweak various features, like the height and with of the interior cavity.
The ShopBot's end mill has a diameter of 0.125 inches and it is __ long. I need to make sure my design conforms to those tolerances.
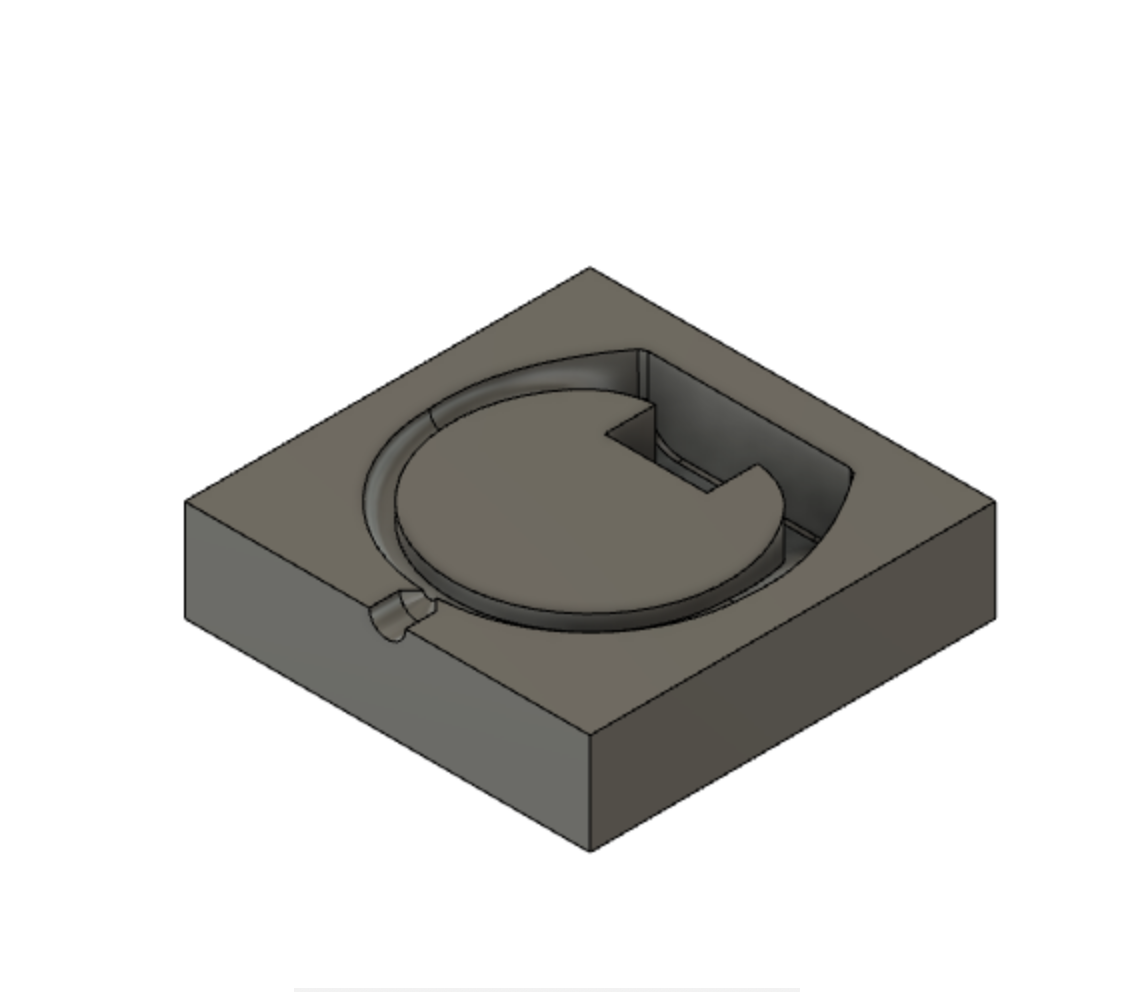
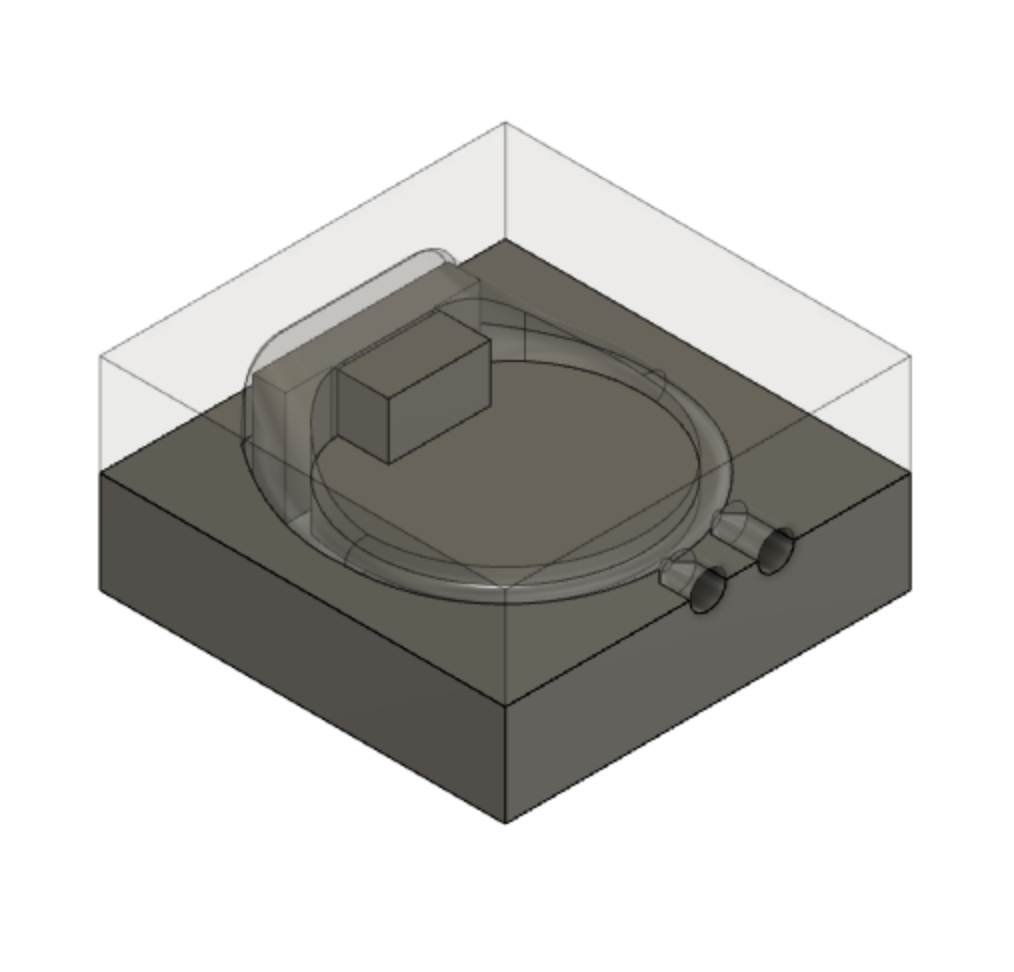
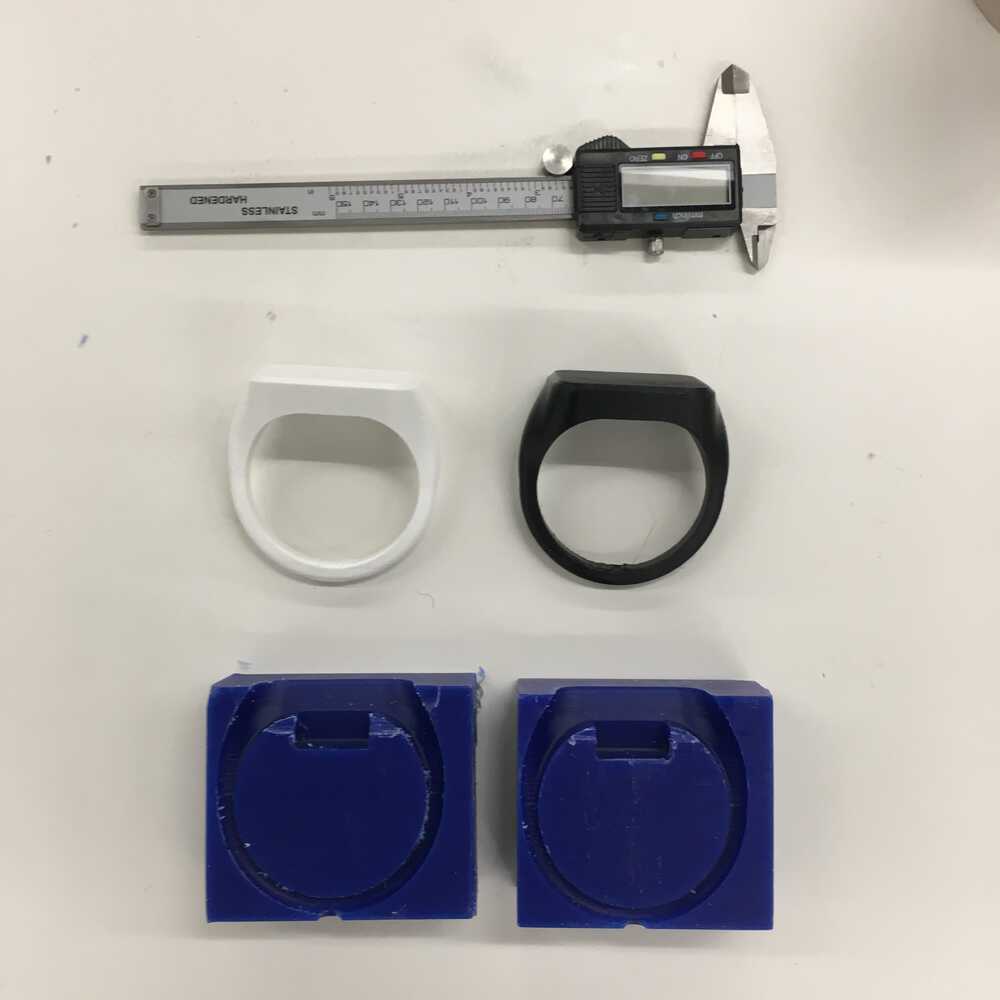
I made a 3 part mold. A top and bottom layer that capture the exterior of the bracelet and then an insert that creates the interior cavity.
I have added a pour vent and an air vent as well.
I found another tutorial that was really helpful for making the 3D model of the mold in Fusion 360, that you can find here.
I finished the 3D model of my mold, but didn't have a chance to actually mill it.
I had a flight out of Boston on Saturday for an interview in San Francisco and just got back on Tuesday.
I'll finish the rest of this project in the upcoming week.

Some useful video tutorials:
Switch from Design to Manufacturing mode.
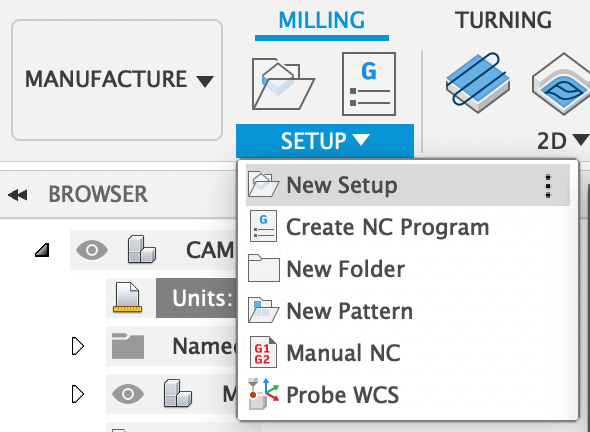
Create a New Setup
Choose an operation. Either 2D or 3D. There are a number of specialized modes that you can choose from. I used 3D Adaptive Clearing and Contouring.

You will need to create a new a tool to perform the operation.
Use a set of calipers to measure the tool.
And tweak the feeds & speeds depending on the material you are cutting.
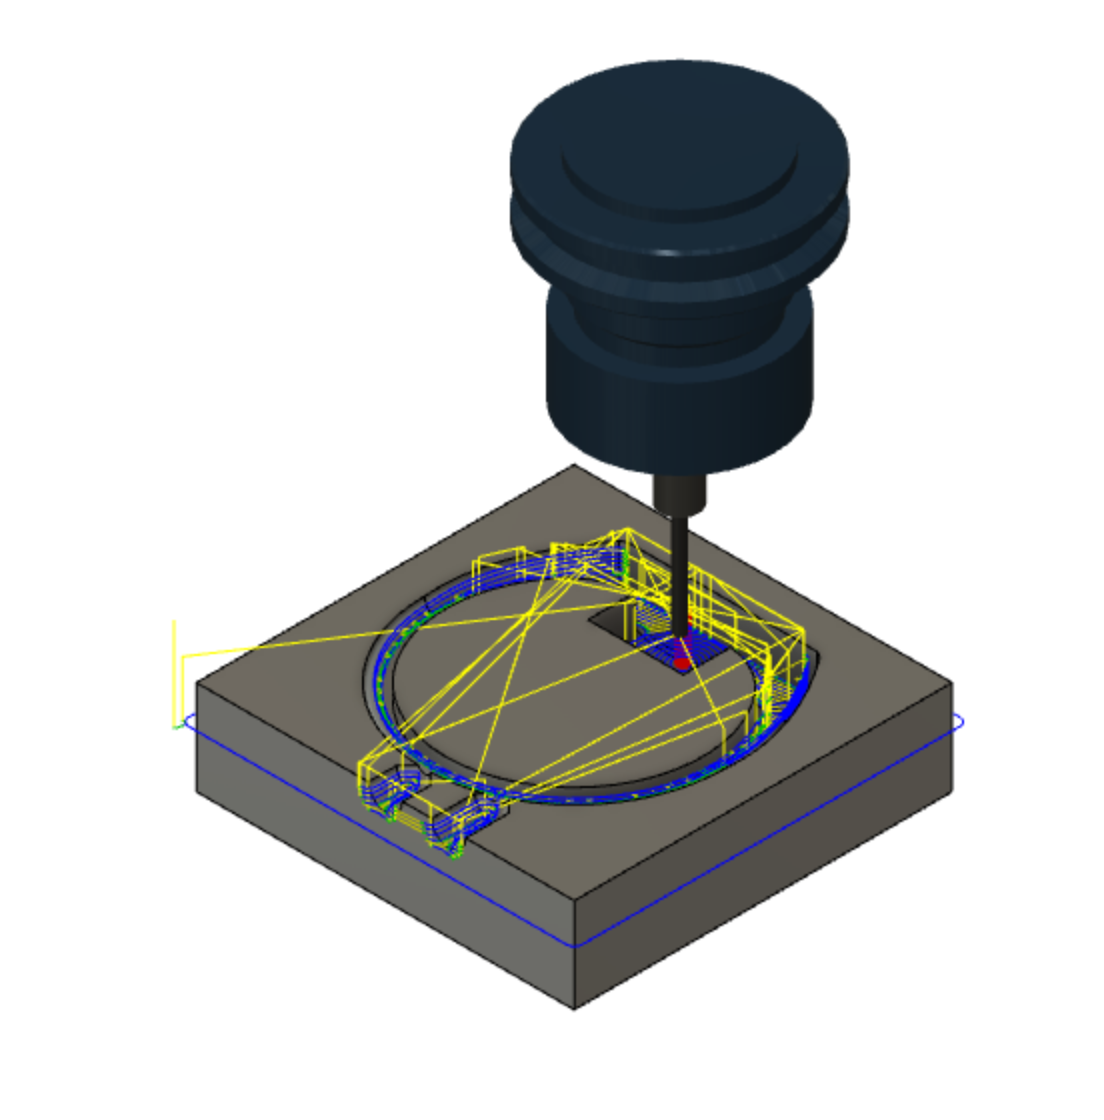
Simulate the operation.
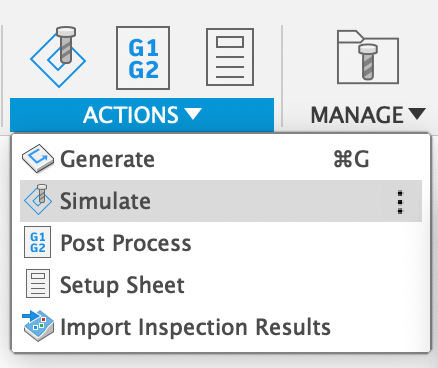
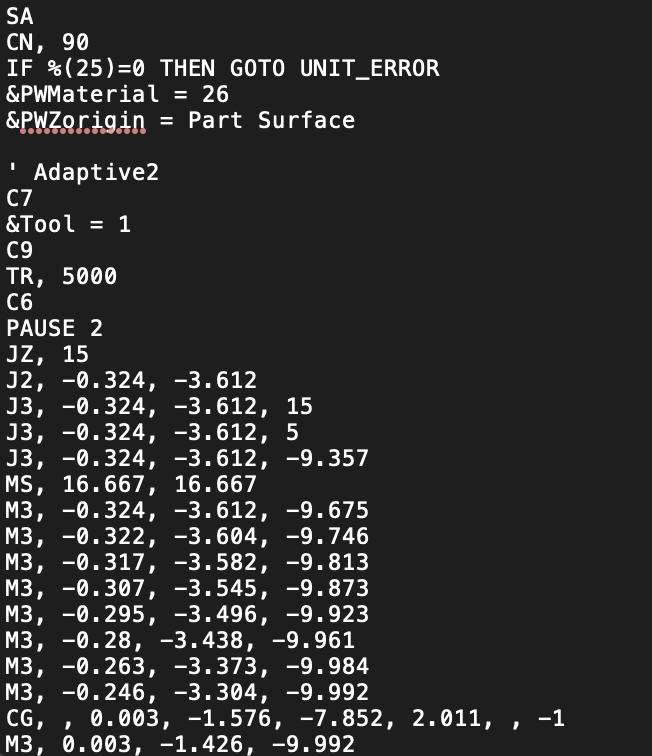
Export gcode for processing on the ShopBot. (source)
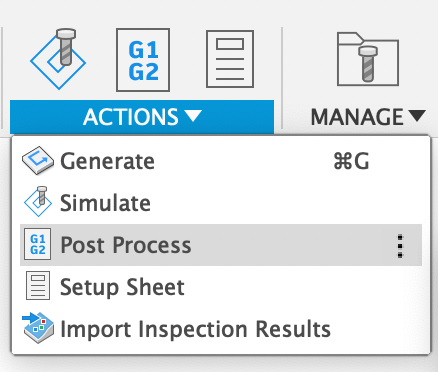
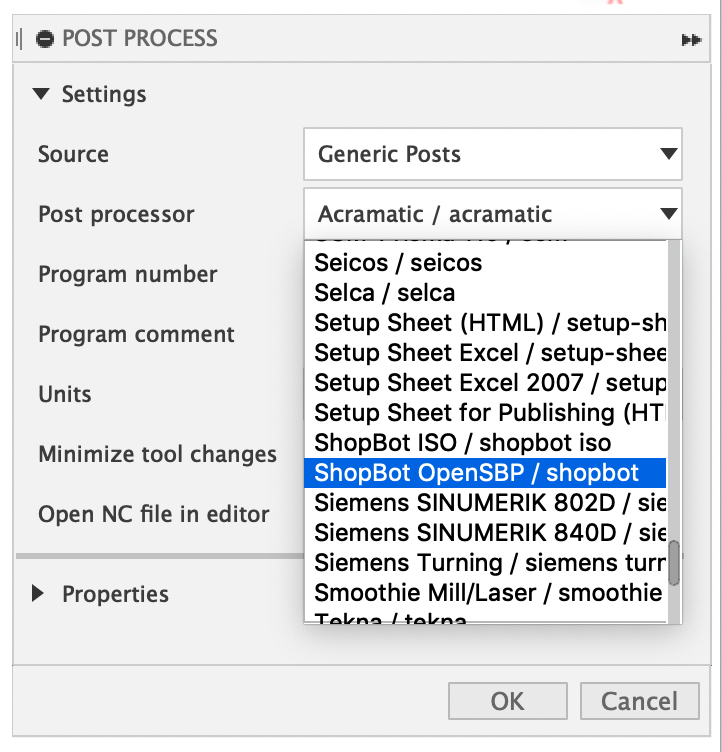
I selected ShopBot Open SPB as the post processor.
There is another option ShopBot iso, and I wasn't sure what the difference was.
Do this for every cut.
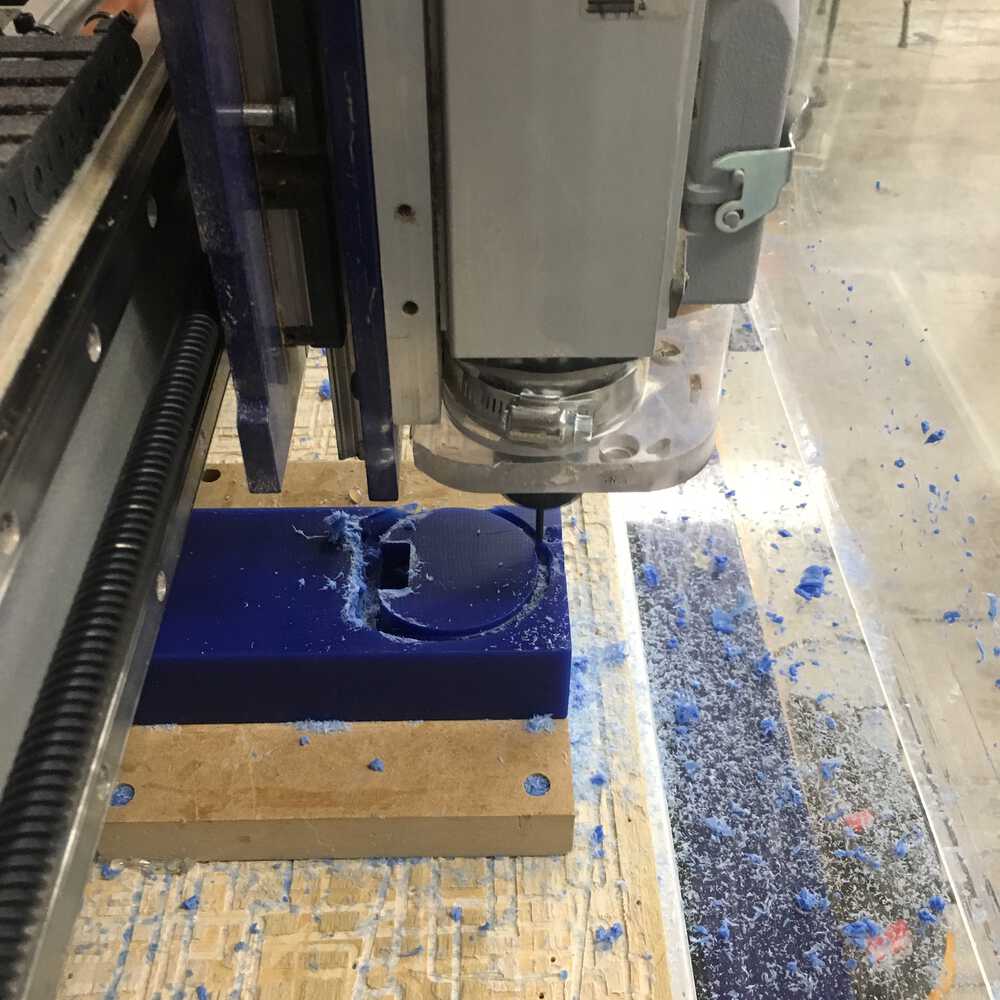
Once I had the ShopBot file exported from Fusion360, it was relatively easy to mill the mold. I just had to zero the origin on the bottom left corner of the stock.
The job took about 30 minutes to complete. I used the vacuum to make sure the waste wax didn't gunk up the end mill.
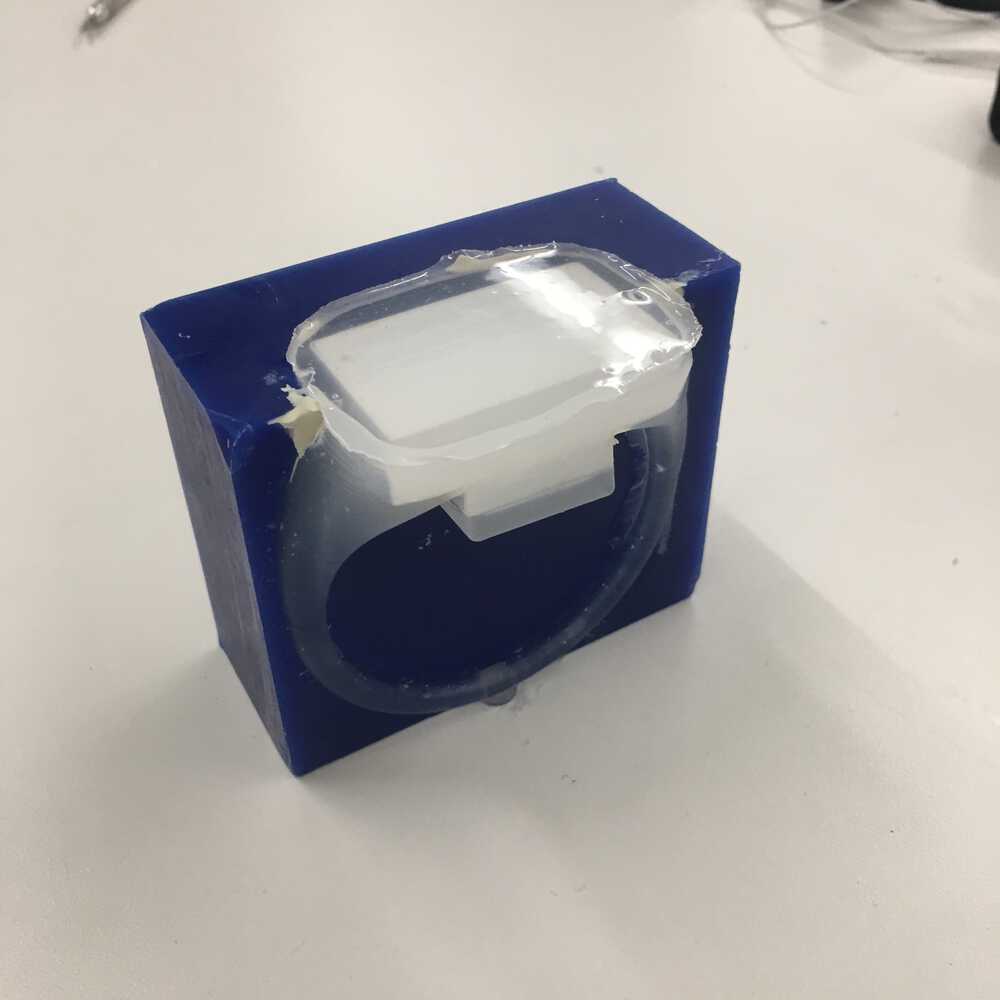
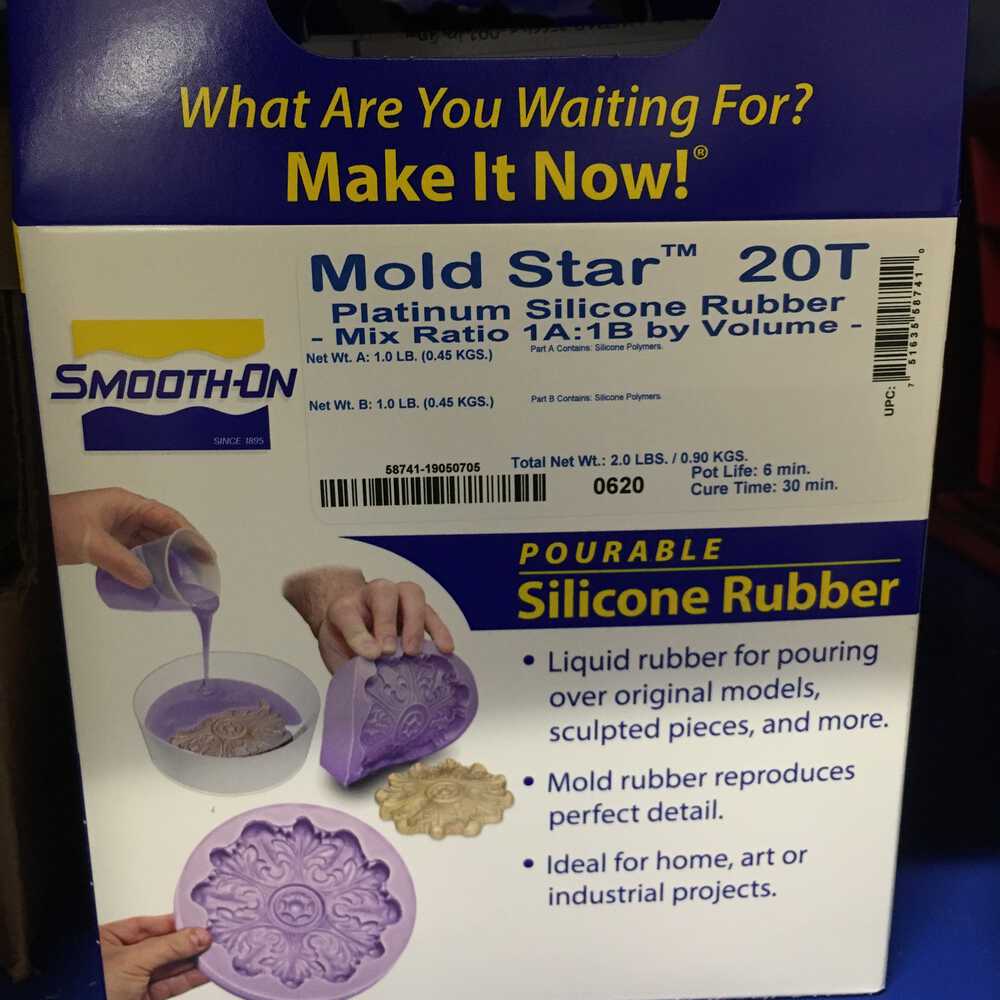
At Robs suggestion I used Mold Star 20T, which I would highly recommend for other projects like this. It has a very fast cure time (~30min) and a delightful texture. A and B are mixed 1:1 by either weight or volume.

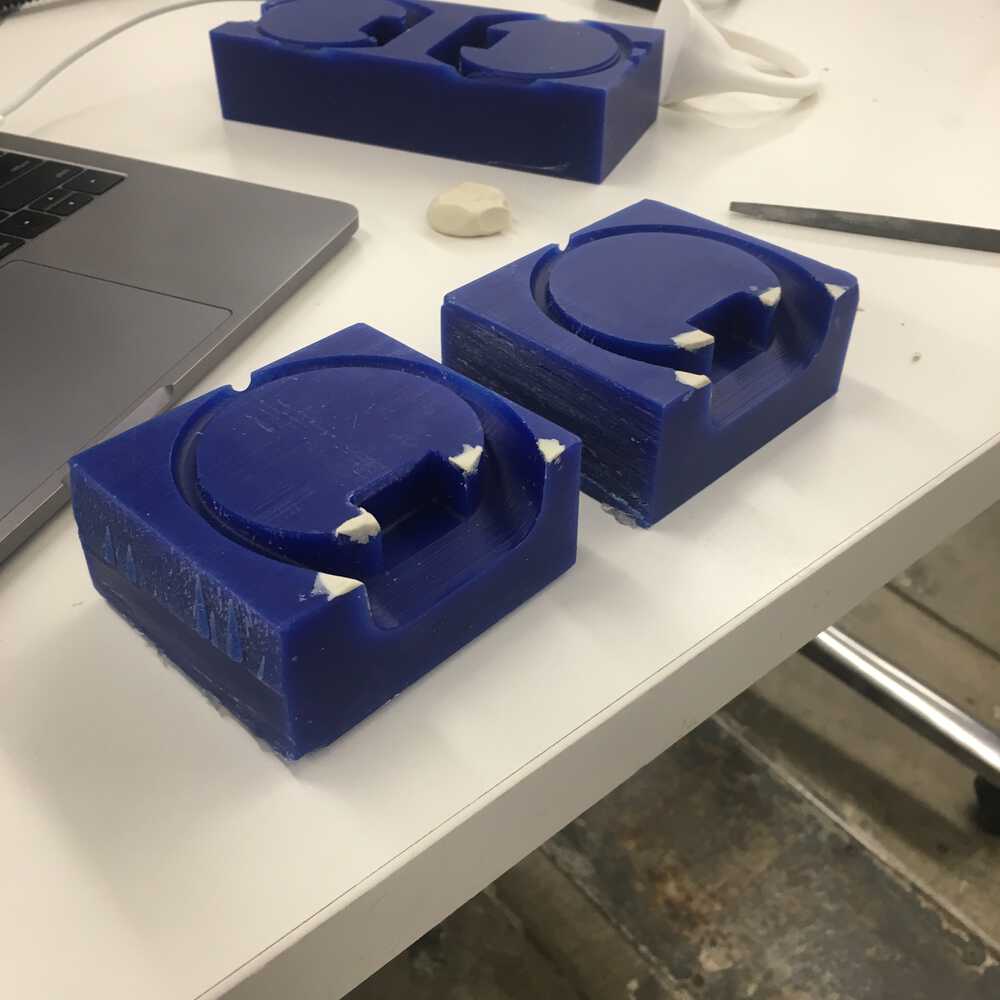
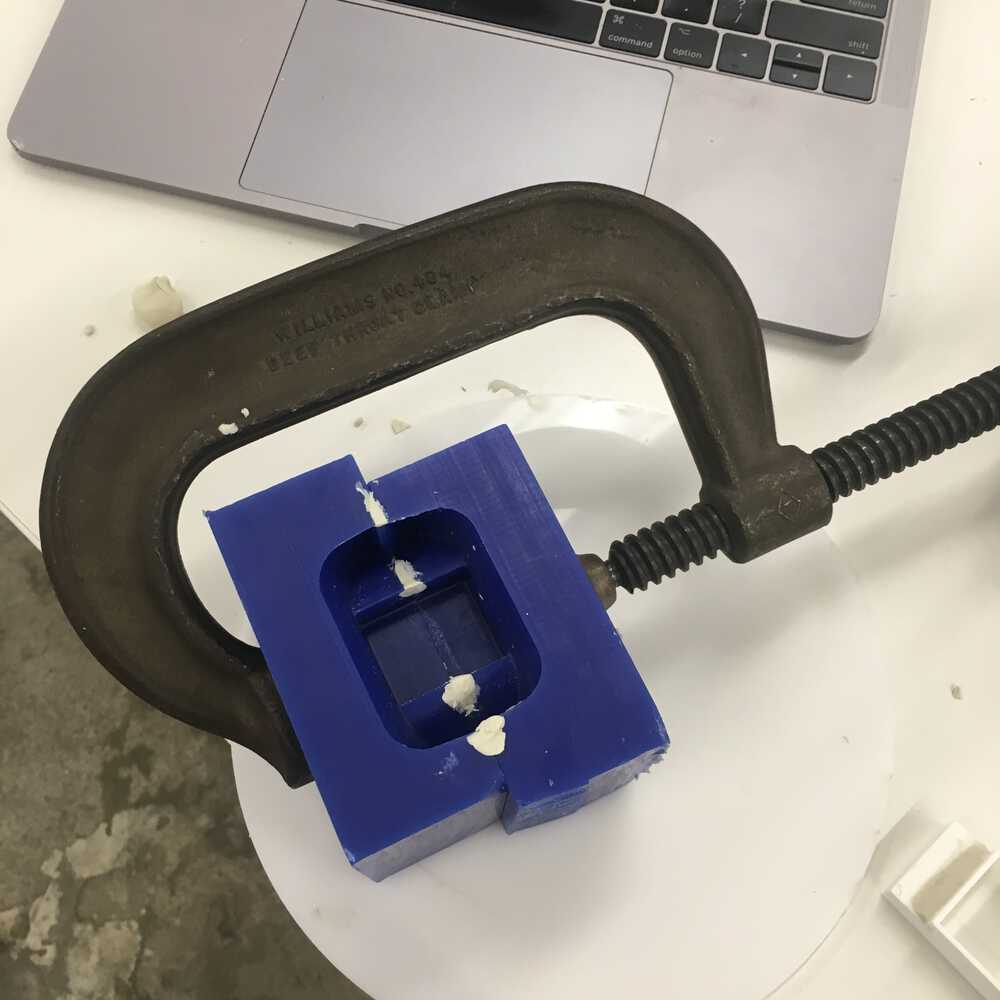
I cleaned up the mold a bit by using clay to fill some surface imperfections. Then I used a clamp to hold the mold together. I used a 3D printed insert to create the hollow interior for the bracelet. It also helped with alignment and registration.
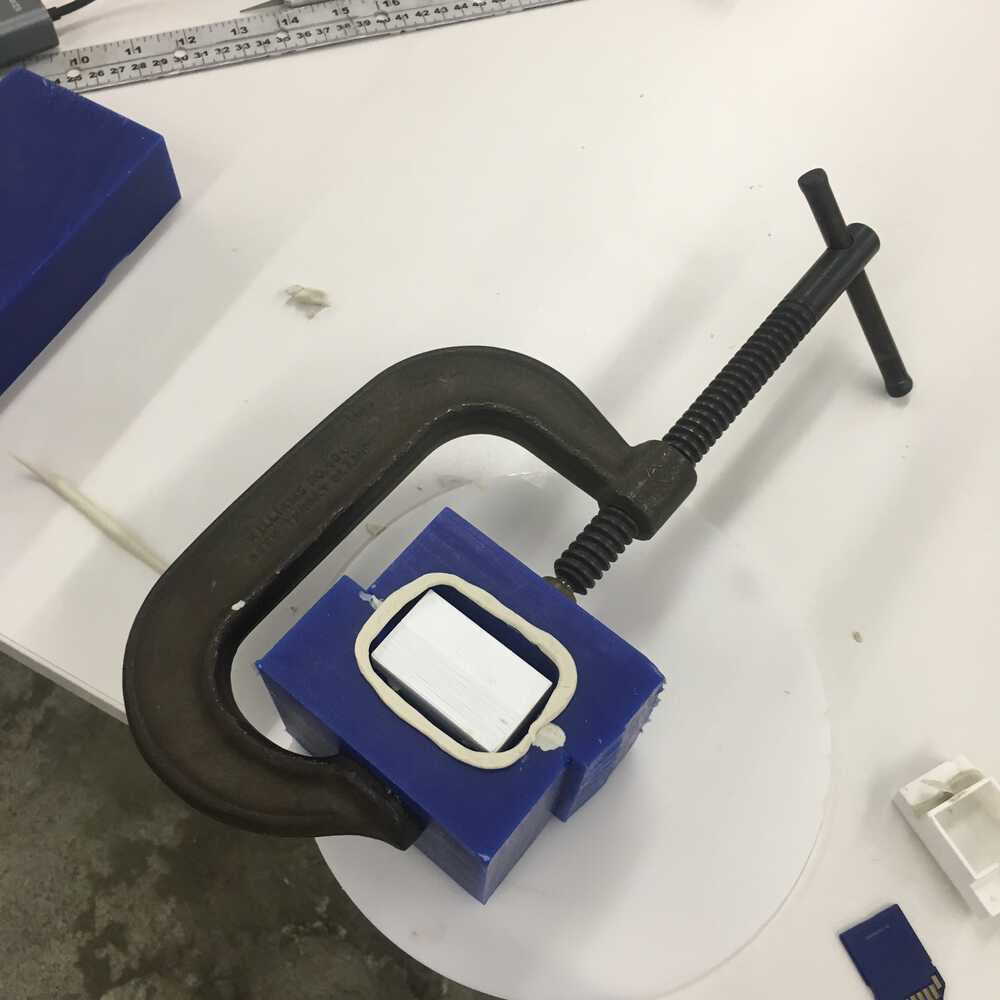
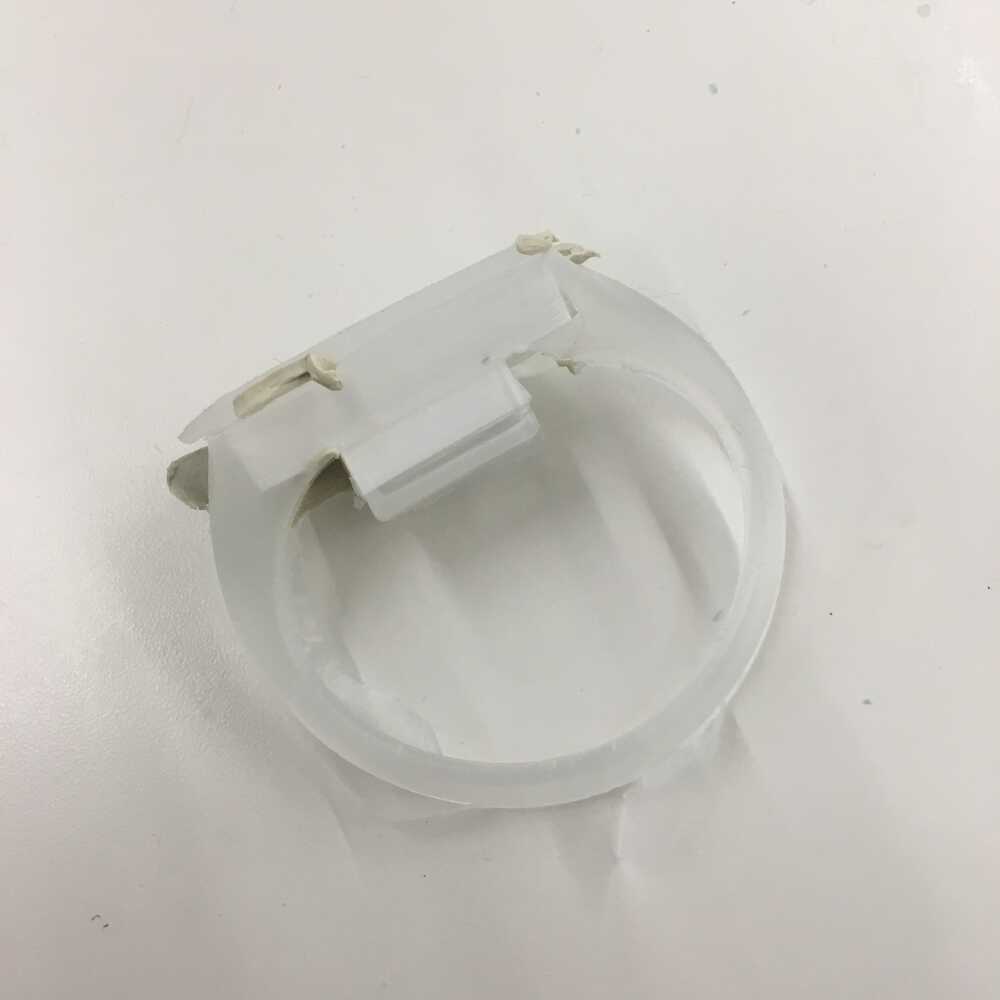
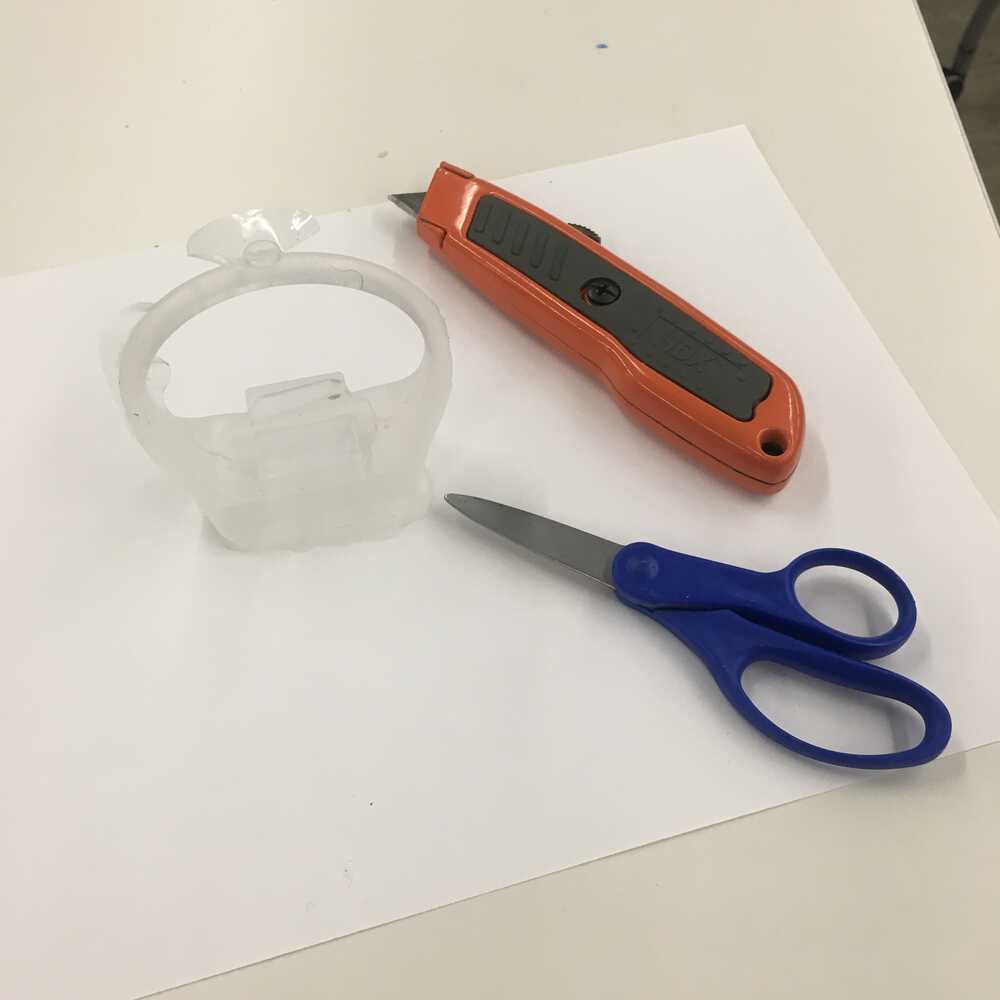
The rubber took about 30 minutes to harden which was very nice. My first attempt came out much better than I expected. I just had to cut off some flashing and I essentially had the case for my final project.