Week 02 - 3D Printing and Scanning
This week's assignment was: design and 3D print an object that could not be made subtractively and 3D scan an object.
3D Printing
I really love October and halloween, so I decided that I wanted to 3D print a ghost. I'm hoping that I'll also be able to put some lights or a tea light
candle under it so that it glows.
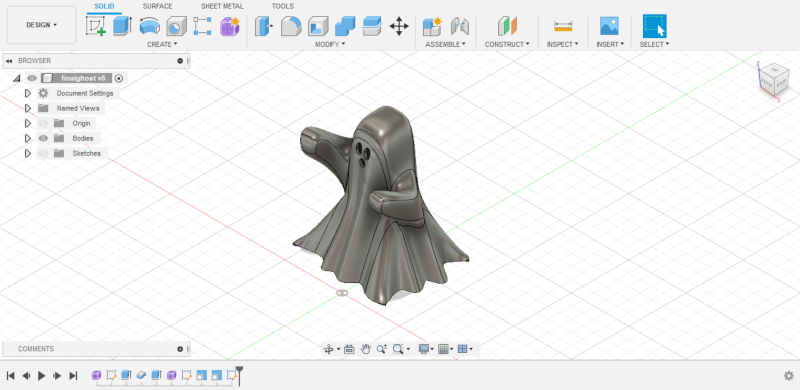
I started by using Fusion 360 to model my design. Last week, I gained a lot of experience using fusion for parametric designs and regular shapes. I wanted to try to make something more free form this week. I used the create form feature to model my design this week. I created a plane and used the tools to move the faces/edges/points around until I was happy with how the ghost looked overall. I made a sketch with 3 circles for the eyes and mouth and extruded it using the cut operation to cut out the features from the form. Once I was happy with the overall form, I clicked finish and then went to create - thicken to add thickness and make a body. I wanted the ghost to be hollow, so I didn't thicken it very much. Here is the final model:
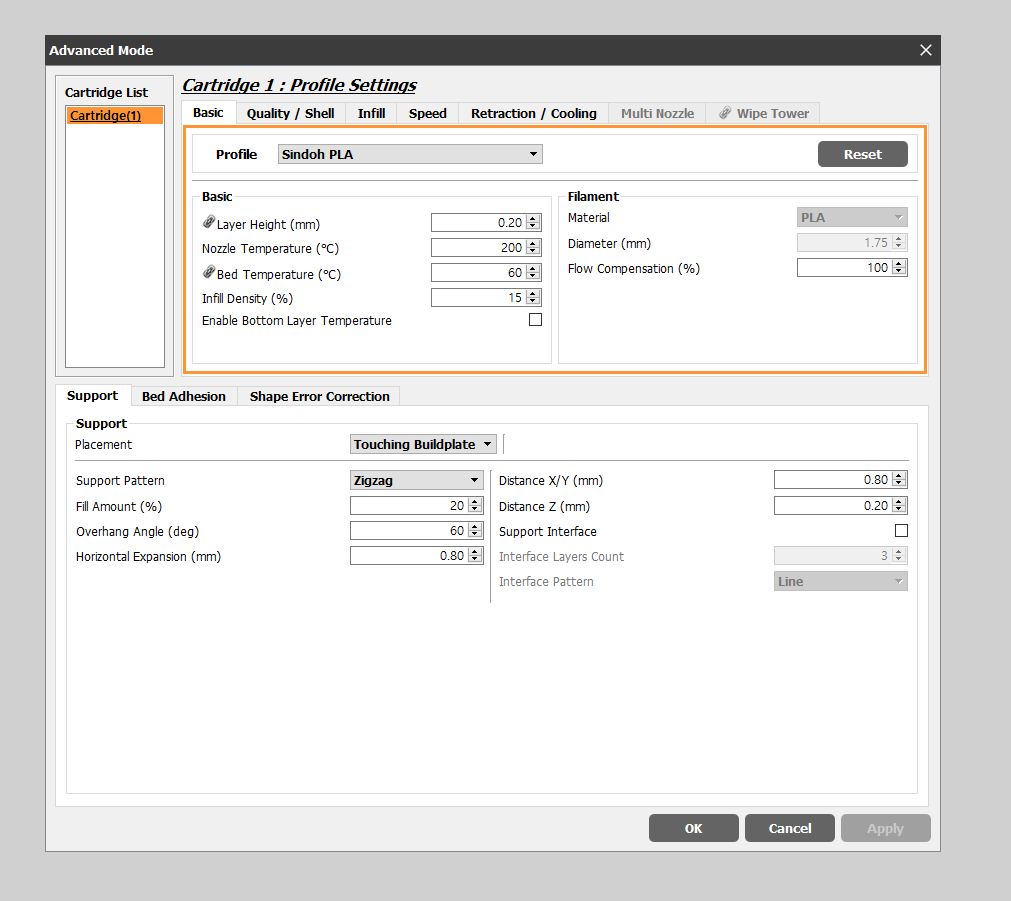
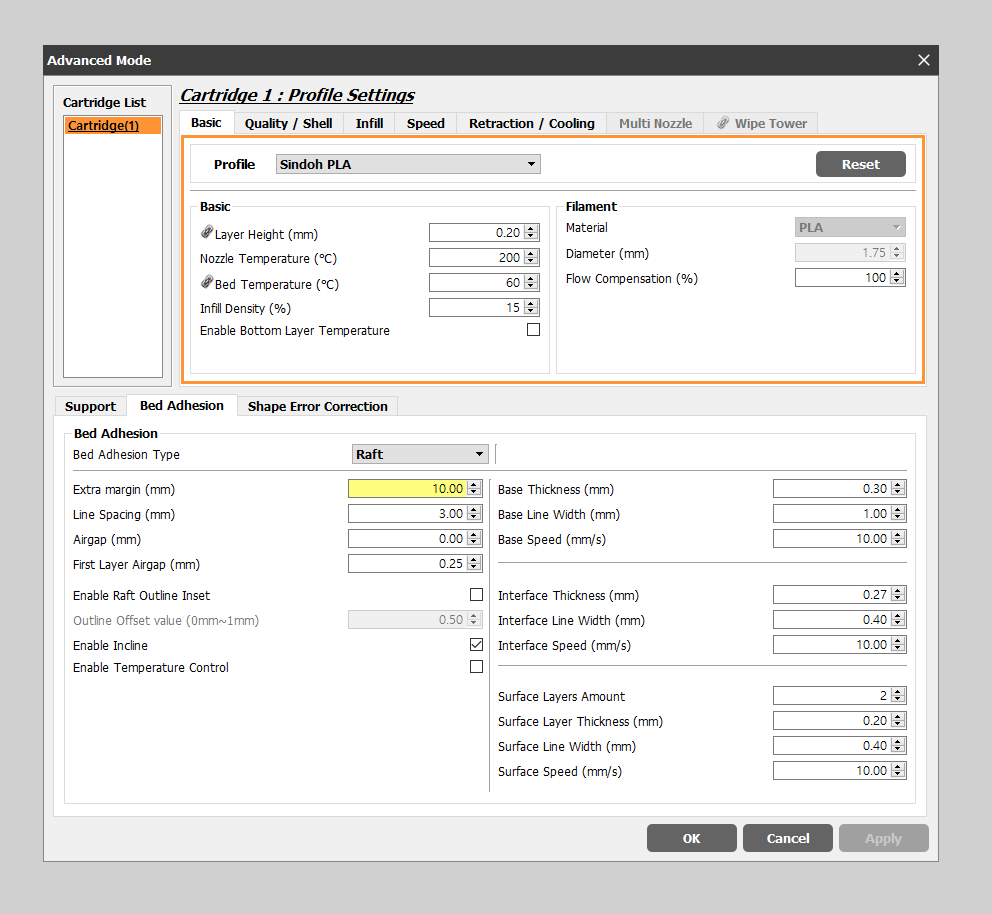
Once I had the model all set, I saved it as an stl. I then opened it in the Sindoh 3d print software. One of the main takeaways from our group assignment
this week was to make sure you add the appropriate supports and raft so that your print is more likely to succeed. You can adjust your support/raft
preferences in the settings. Since my structure was hollow and didn't have much surface area in contact with the print plate, I went for a larger raft. These are the settings I ended up using:
The software lets you visualize what your print will look like with the added supports and raft by generating a layer by layer image. This is what mine looked like:
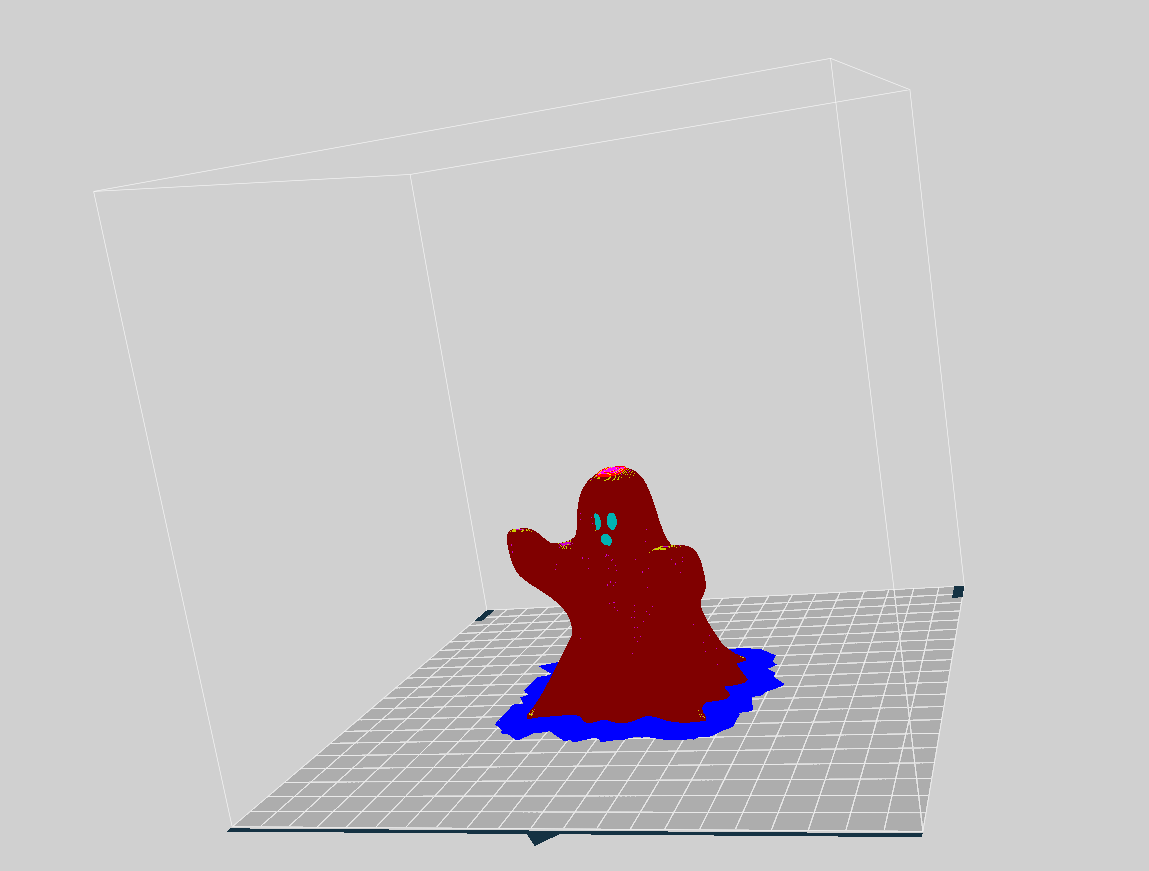
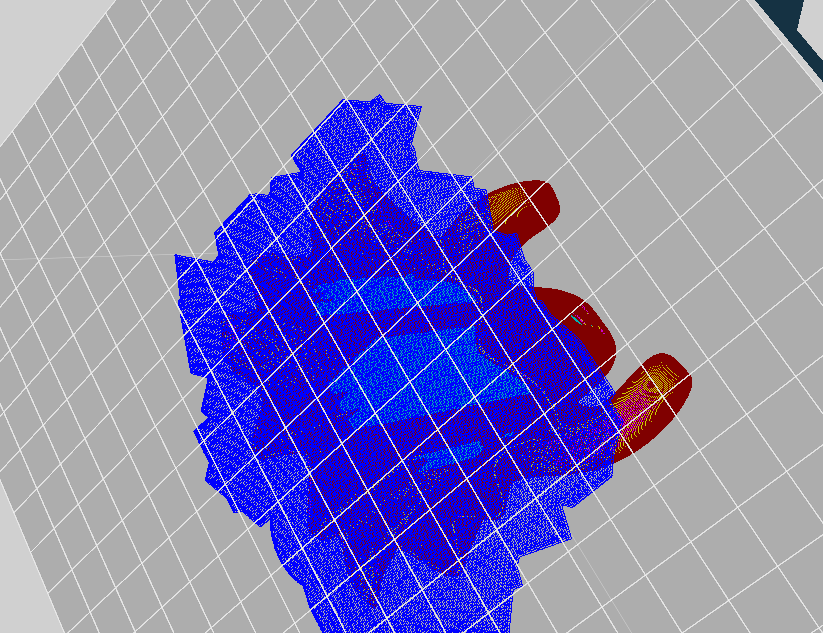
The darker blue shows the raft and the lighter blue shows the supports. You can see inside that there is a support holding up the head and two holding
up the arms. You can also see that the raft extends reasonably far outside the design. When I designed this, I was thinking that making it hollow would
save a lot of printer time. I didn't really think about how the time would be added right back due to the need of supports. I could have probably made the head a bit more rounded to minimize the need of a head support. I probably could've done without the arm ones as well. You can manually adjust the supports you want to be used in your design, but I ended up just using the software recommendation. Next time, I would like to look more into customization. I was happy with how the design looked, so I used a usb to export the file and bring it over to the printer. I watched the first stages
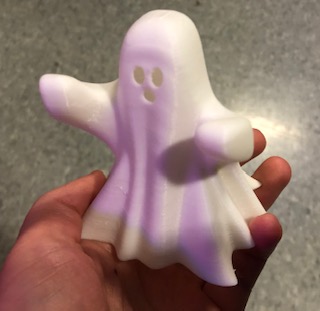
of the print to make sure the raft and first few layers were sticking to the base. Then, I came back a few hours later to check on my print. The ghost ended up coming out really well, and the raft and supports ended up being really easy to remove. Here is the final print:
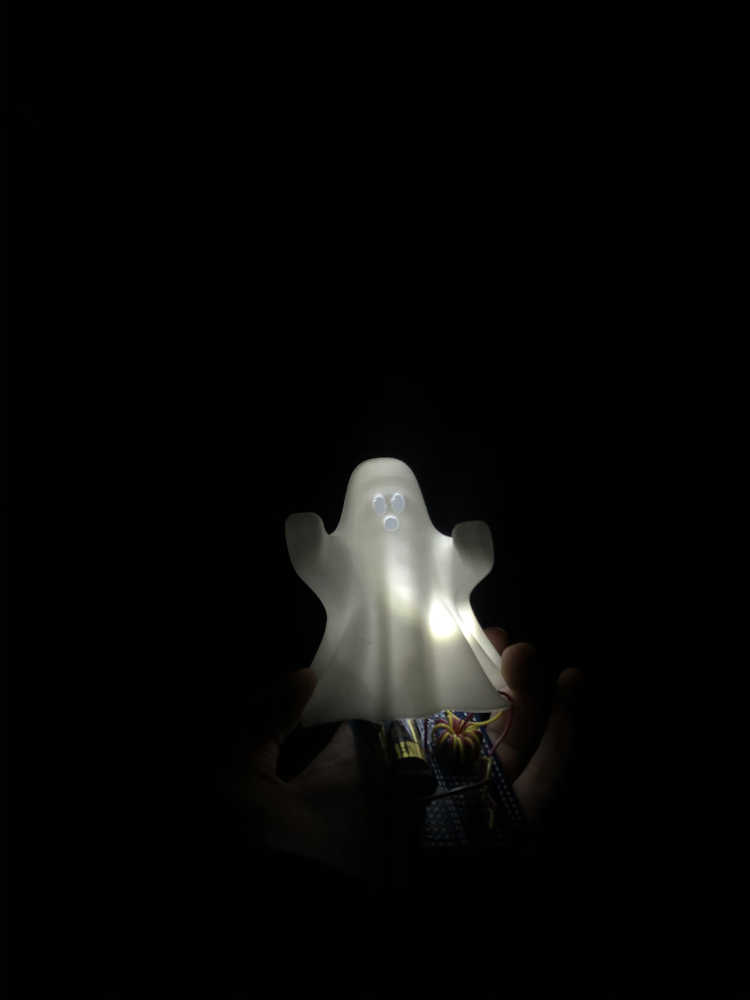
And here it is with a light inside!
3D Scanning
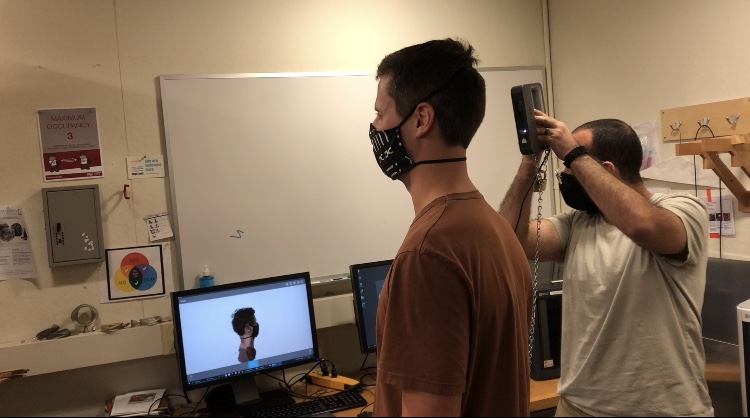
There's a 3D scanner in the Architecture shop that we all got to try out. We decided to try to scan each other's heads! Here is us scanning:
I tried to scan Jordy's head. Here is the original un-cleaned up scan:
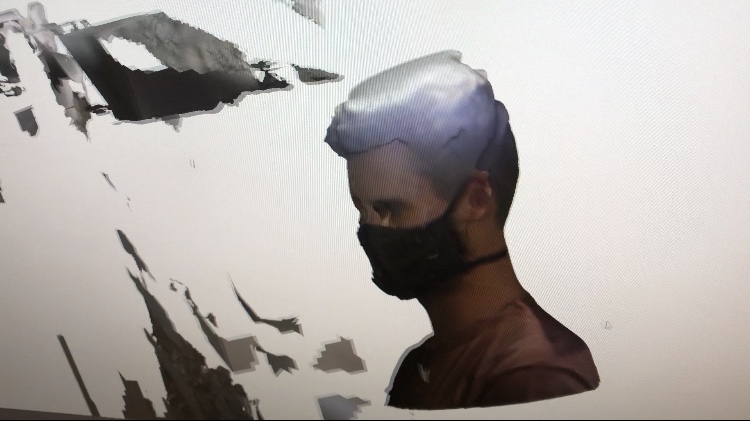
And a cleaner scan:
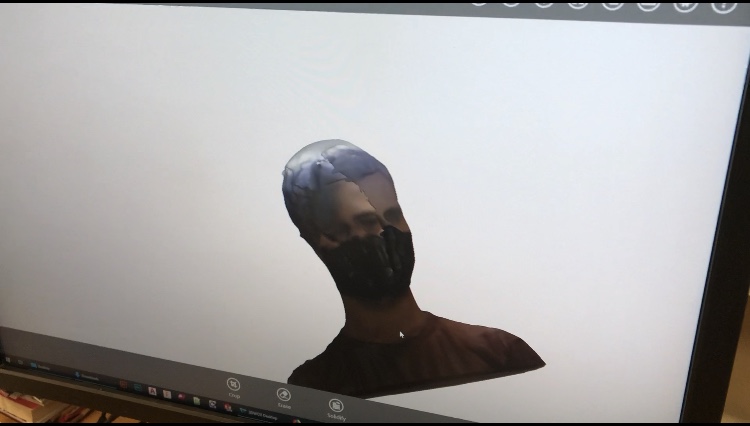
It was really difficult to get a nice scan. The scanner would lose track of the object fairly often. We found that working together gave better results.
The software did have a lot of interesting tools to help improve the scan quality, like erase and delete tools as well as a patch tool that would
try to patch any gaps in the scan.