This week's assignment was: make (design+mill+assemble) something big.
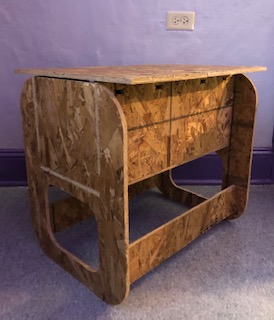
I was looking online trying to get inspiration for what to make. Then I saw a table where the top can be pulled out to reveal an inner part.
I thought something like this could be a fun board game table for my hall's lounge, so I decided to try to make one!
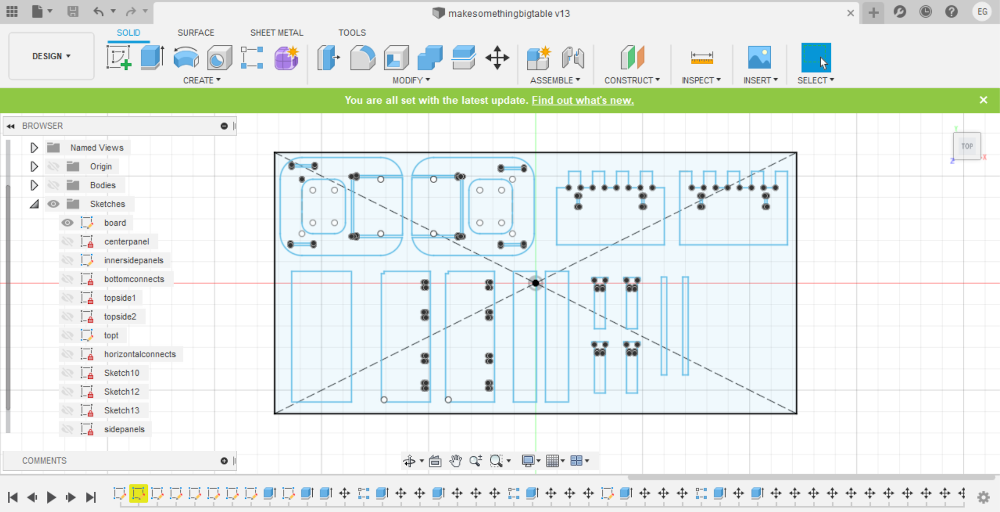
I sketched out my design on paper, and then went to Fusion 360 to start modeling. Here is my sketch of all of the components in Fusion:
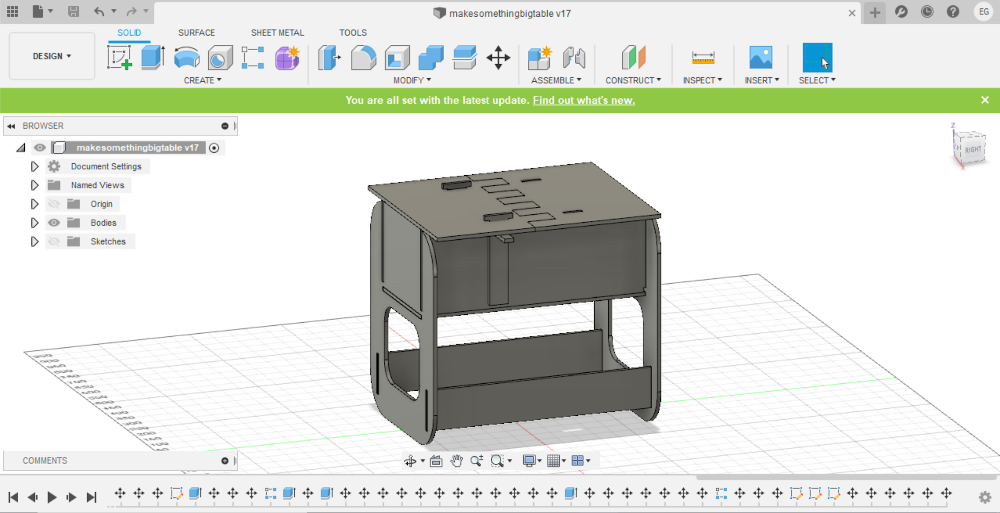
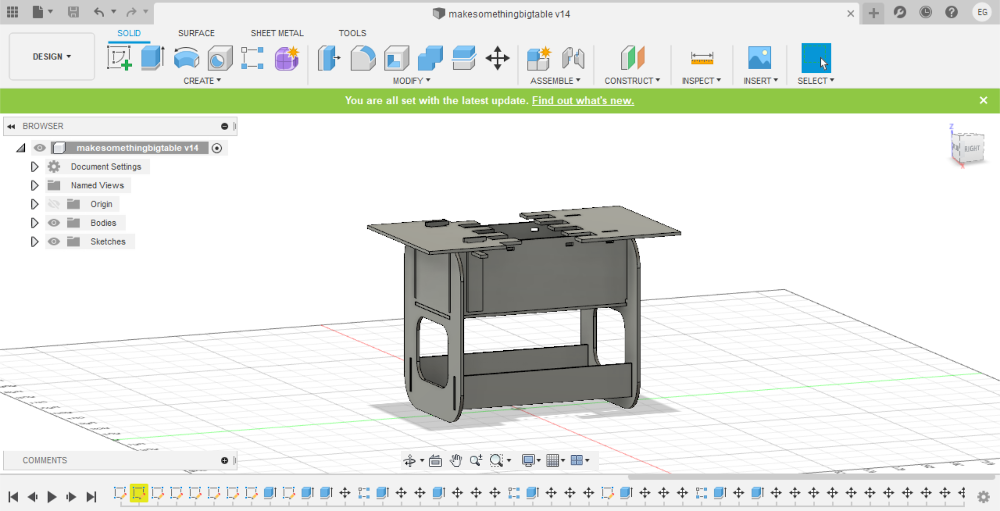
And here is what it looked like (mostly) assembled in Fusion!
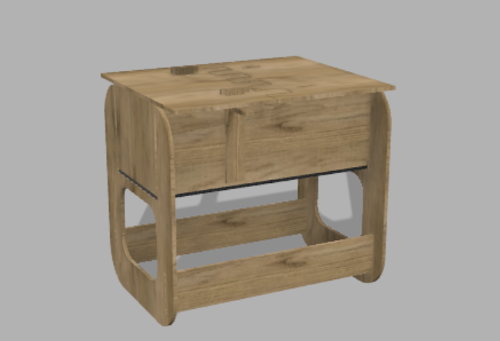
And the rendered image:
And an animation of how I'm thinking it'll work:
Once I had that done, it was time to meet on zoom to set up my mastercam tool path file. During our group assignment, we learned a little bit more
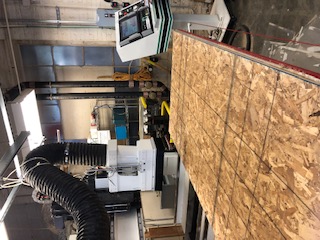
about how to set this up. We had one layer that would drill holes in all of the interior corners to create the dog bone shape. We had another layer for interior cut outs and another for exterior. We also went with an onion skin. Once the file was set up, I could then head over to N51 to cut. Here's
what the overall setup looked like:
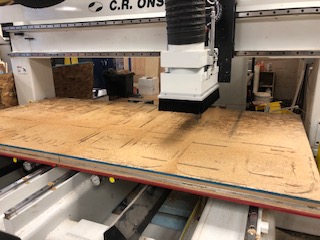
And then what the board looked like with most of my design cut out:
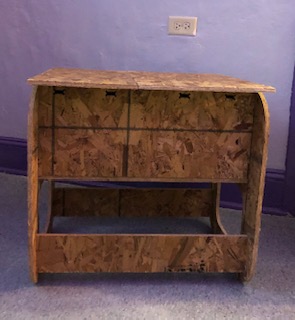
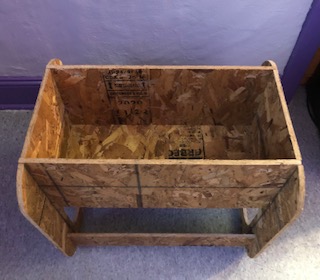
It was very close to lab closing time, so I took my parts home to assemble them. They were definitely press fit sized, and a bit hard to put together.
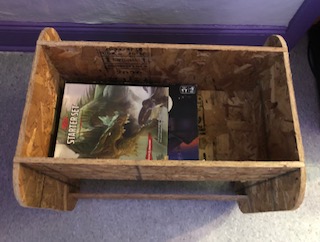
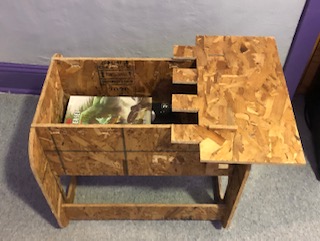
But, once it was assembled it seemed pretty sturdy. Some of the components of my design were intended to be removed and inserted pretty easily so that
whether the top was on or not/whether it's open or closed could be easily adjusted. These pieces are a bit tight right now and difficult to take apart/insert many times. I'm planning to sand the sides down a bit more to hopefully make the assembly easier. Here's the finished product: