Week 05 - Electronics Production
This week's assignment was: make an in-circuit programmer by milling and stuffing the PCB,
test it, then optionally try other PCB processes.
This week, we got some lab kit supplies to build our own Clank machines. I heavily followed along with Jake's tutorials to assemble Clank. Unfortunately, I was only able to finish the hardware assembly and wiring this week. I wasn't yet able to finish the software and try to mill something. I'm hoping I'll be able to get this done in the next few days. Here are some updates of my work for this week!
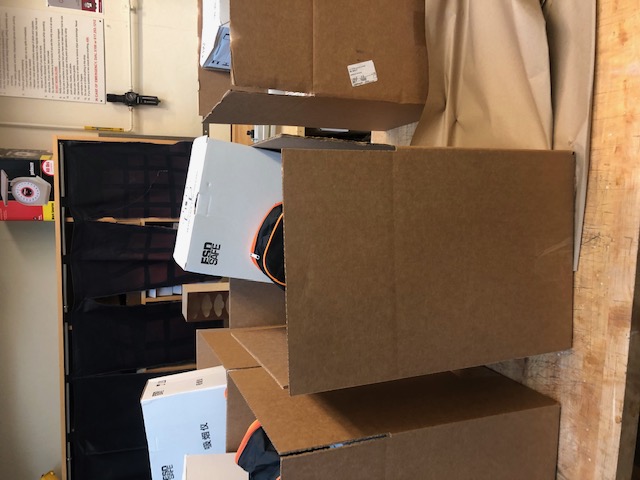
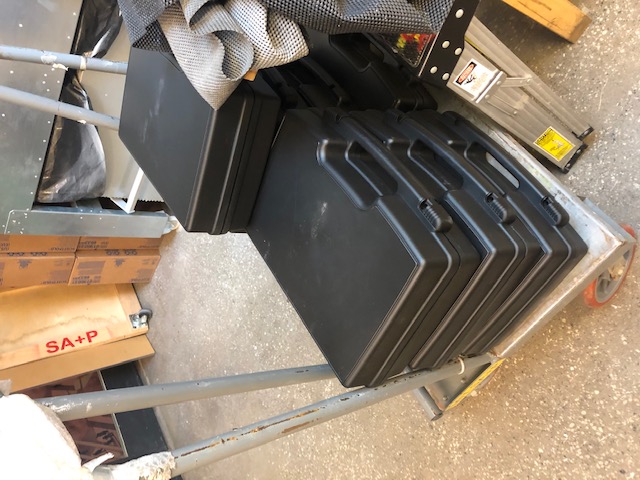
First off, the supplies:
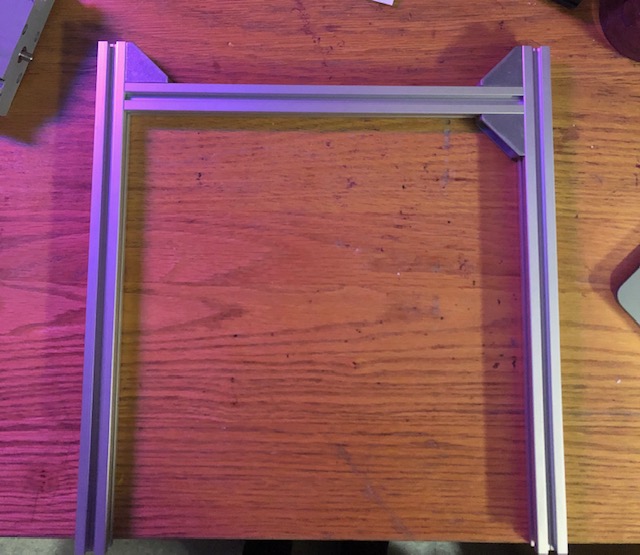
I followed Jake's video tutorials for the assembly in order. The first step was the frame:
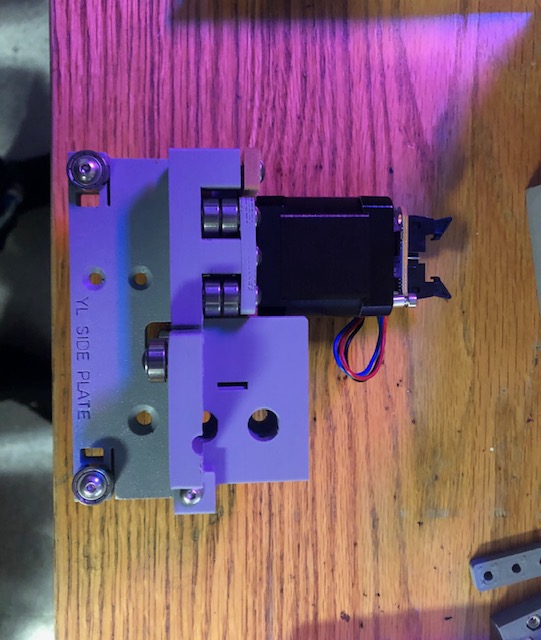
The next step was the Y left build:
Then the Y right:
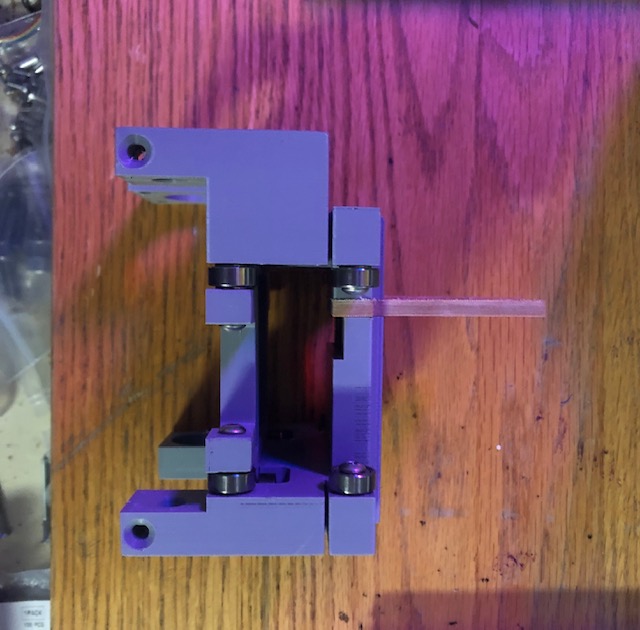
Next step was the X build:
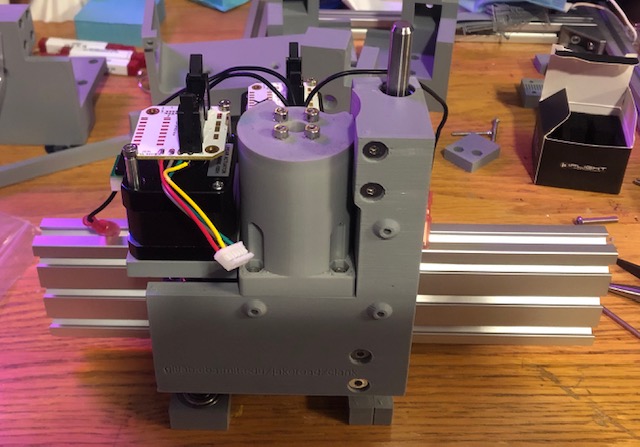
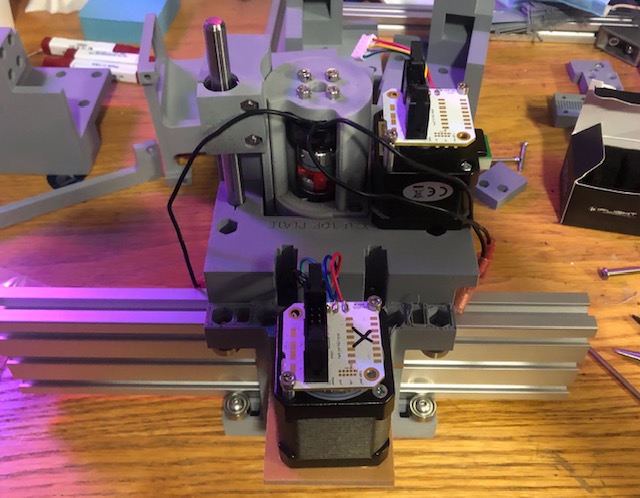
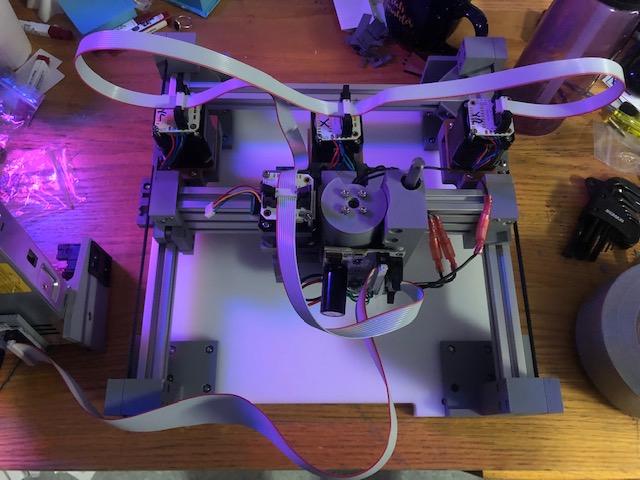
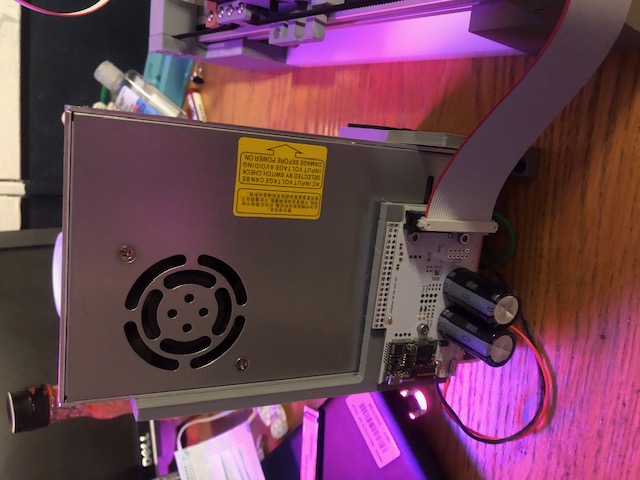
Then the Z and spindle builds to create the overall assembly. After doing the wiring as well we had the final build:
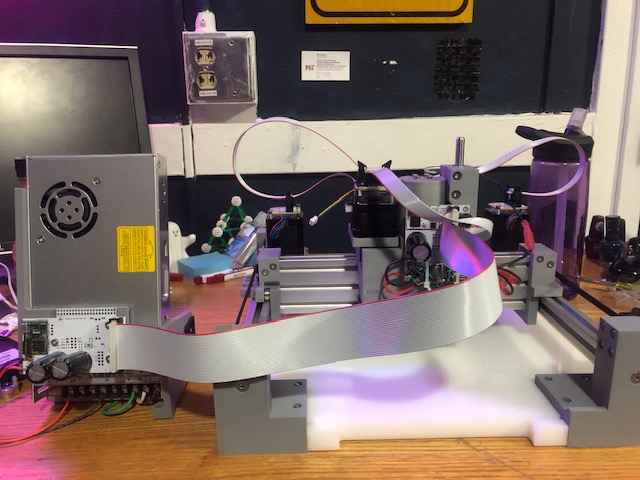
Will update here once I finish the software and do my first milling attempt!
--------------------------------------------------------------------------------
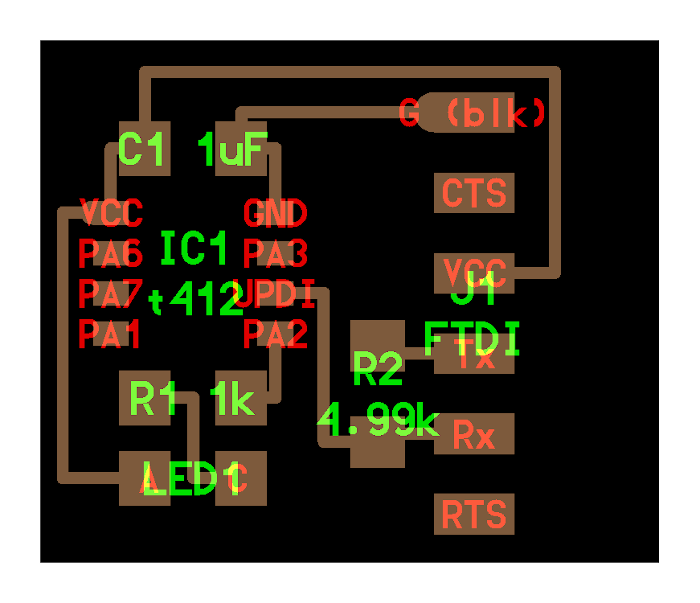
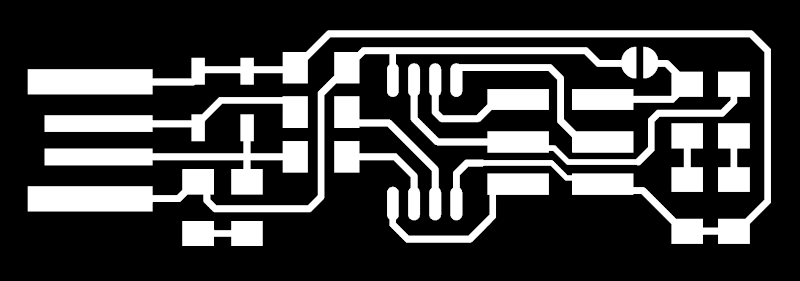
I was having a lot of trouble getting my computer to connect to Clank. I tried reinstalling the firmware and checking all my connections, and it worked! First, I used the 1/8" bit to flatten the bed. Then, I used a v-bit and an example png trace of the ATtiny412 board (shown below) to load into mods and test different settings to find out what worked best for my Clank. Shown below is a couple of different tries.
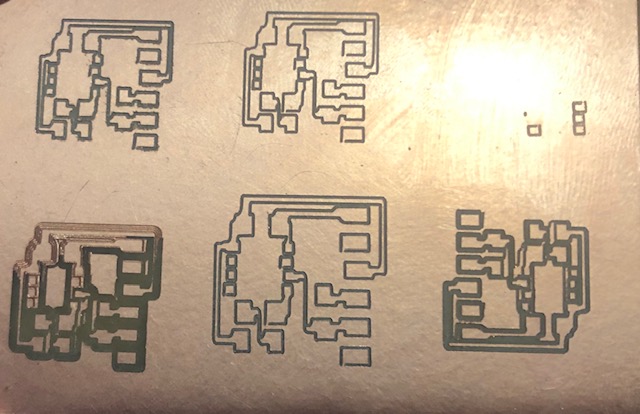
The top right was my first attempt, but it wasnt deep enough so I tried again. The next attempt was the bottom left. I used a depth of 0.006 and that seemed to work well! However, the cutting was a bit uneven. It seems that my bed was still not totally flat. I tried to sand it down a bit and moved on to my next attempt which was the top left. I noticed that some of the vertical wired connections were not leaving enough space for the copper in the center. I then cut the top middle one to see if having an offset of just 1 would make a difference. I also tried making the tool size bigger in mods to see if I could trick it into leaving more room. Some of the connections became a bit wider (but I definitely need at least 4 offsets to solder so this could not be a permanent fix). There were also some gaps now since I lied about the bit size. I then cut the bottom middle, scaling the image size a bit. This didn't seem to fix the problem either. I think something may be uneven with my clank belts. I will look into getting this sorted so that I am able to create a stuff-able board from an already made png. In the meantime, I made a different board in the arch shops so that I could get some practice stuffing. Here are the traces I used and the finished board:

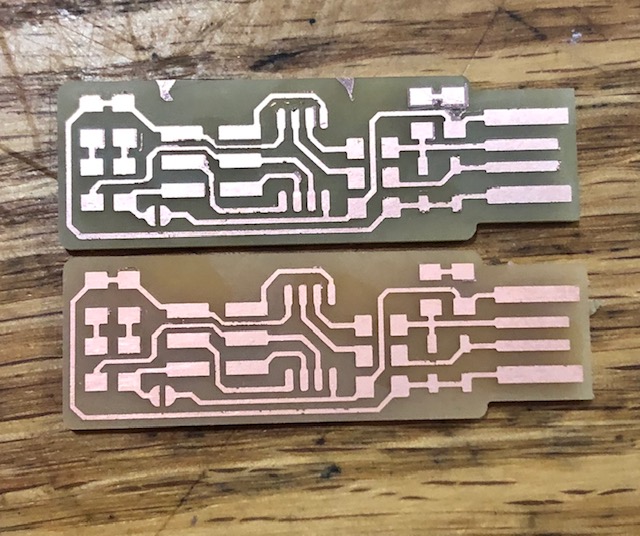

The soldering was not great, but I checked the connectivity using my multimeter and things seemed to be connected!