HTM(a)A Arch Section Group Work
Molding and Casting
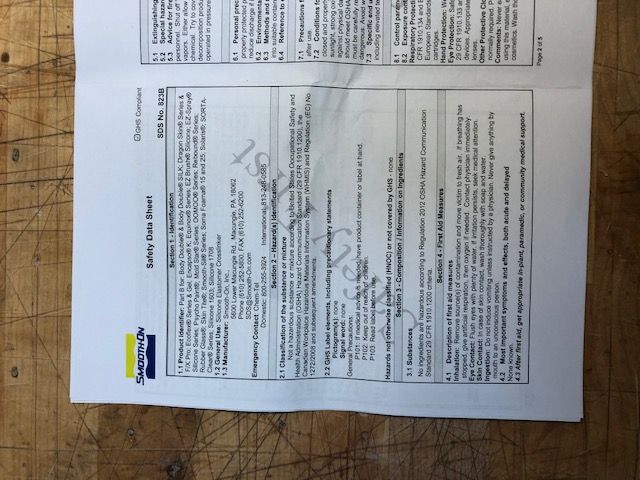
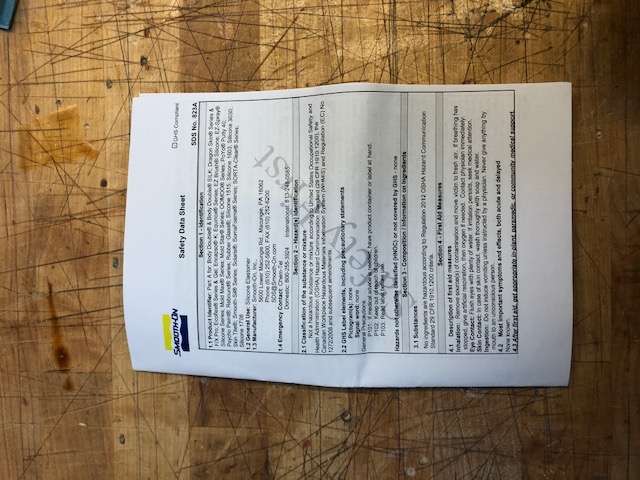
The group assignment was: review the safety data sheets for each of your molding and casting materials, then make and compare test casts with each of them.
We met with Jen on Thursday in the Architecture shop to get some practice casts in and to become more familiar with the materials we are going
to be using. There were some example molds already made, and we decided to use these sample wax cut outs for our test casts:
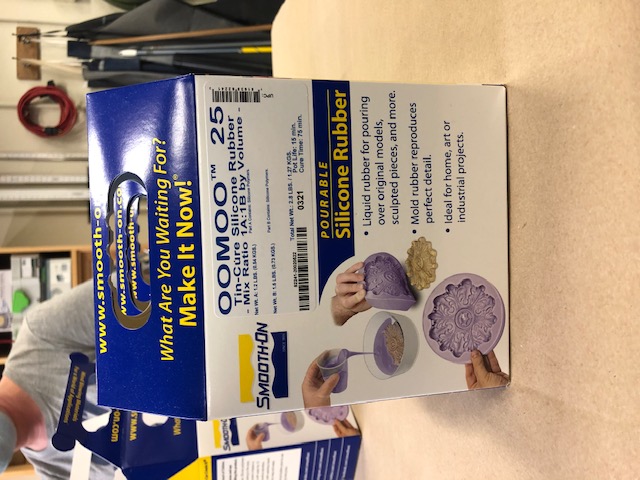
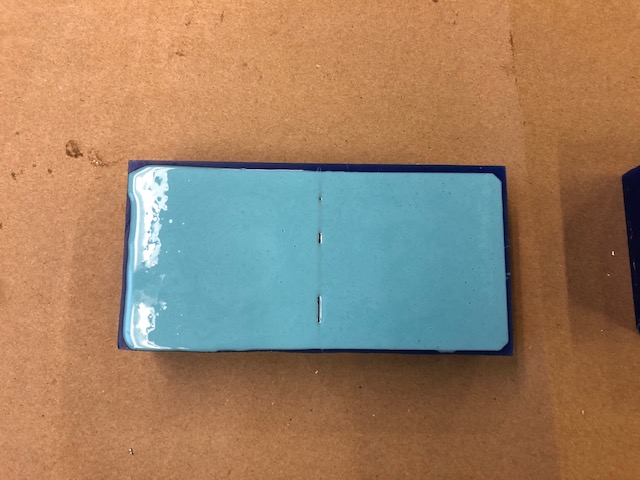
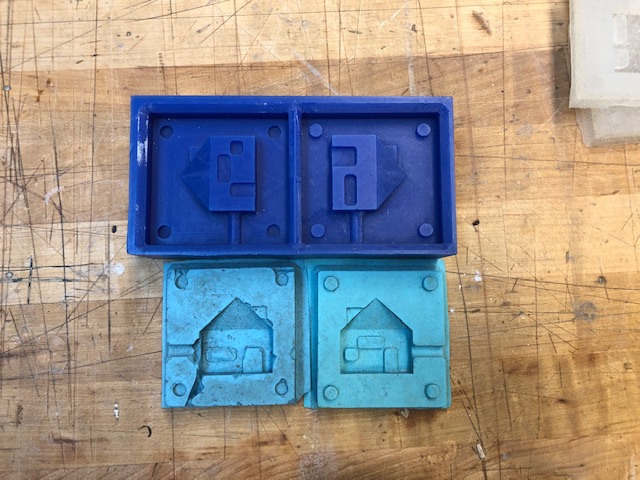 You can see that the mold on the left came out a lot better than the one on the right. The material we were using to create the final mold from the wax positive was OOMOO. This involved mixing the two components together in a 1:1 volume ratio. We made sure to read the safety data sheets for each of these two components before starting to mix!
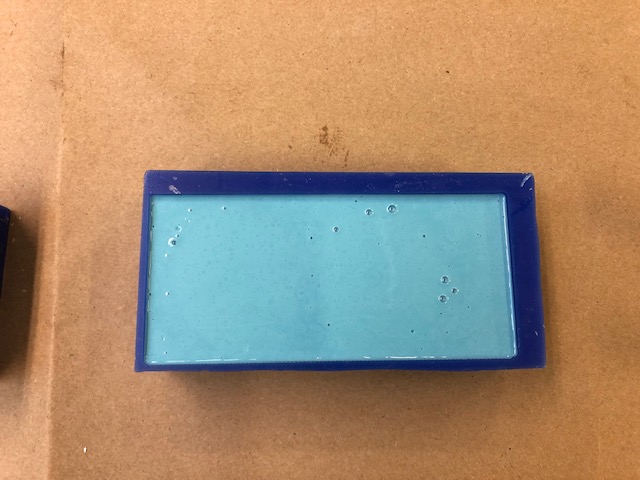
 We decided to make molds for both the house and the gears. We decided that for the house mold we would try to mix slowly to minimize bubbles and tap the wax once we poured the OOMOO in to even further minimize bubbling. We did not try to minimize bubbles for the gear mold. After pouring, the house looked like this:
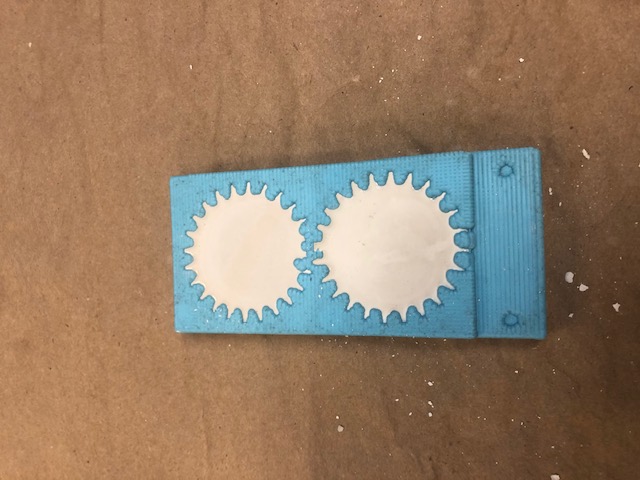
 And the gears looked like this:
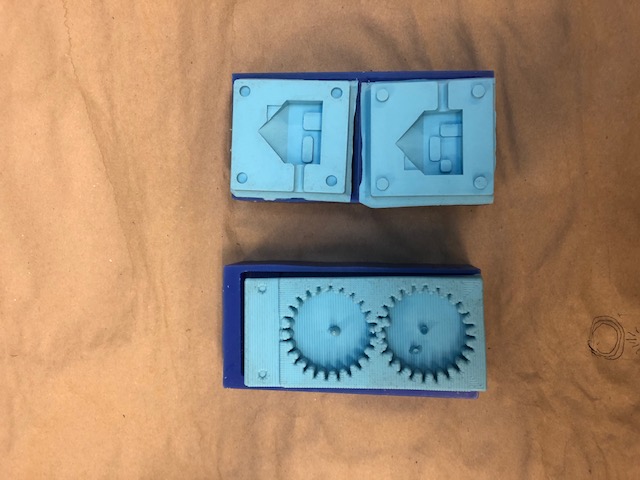
 We came back a few hours later once the molds had set. Both of them actually came out pretty well despite the fact that we didn't take any extra
precautions for the gear mold.
We came back a few hours later once the molds had set. Both of them actually came out pretty well despite the fact that we didn't take any extra
precautions for the gear mold.
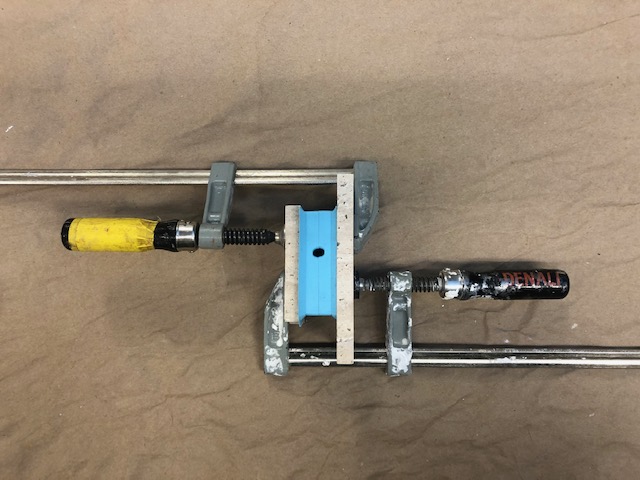
 Since we had the molds set up, it was time to prepare them for the final cast. Our final casting material was hydrostone (gypsum product). To prepare the hydrostone we just mixed the pouder with tap water until we got a thick but still pourable consistency. The gear mold was pretty simple to prepare since we just had to lay it out flat. For the house mold, we had to secure the two halves together using clamps. It's important to make sure you aren't putting too much force/pressure on one area of the mold or you could deform your design. Here's what the house mold set up looked like:
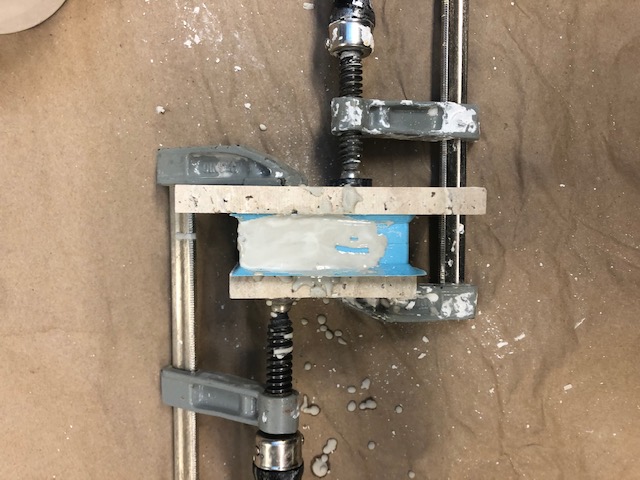
 And what both molds looked like after pouring:
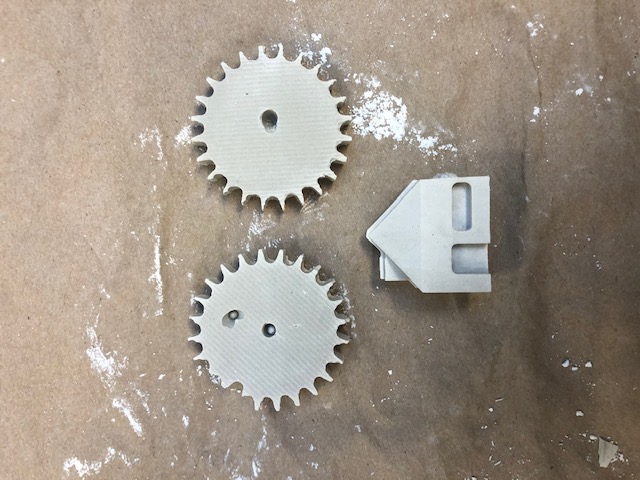
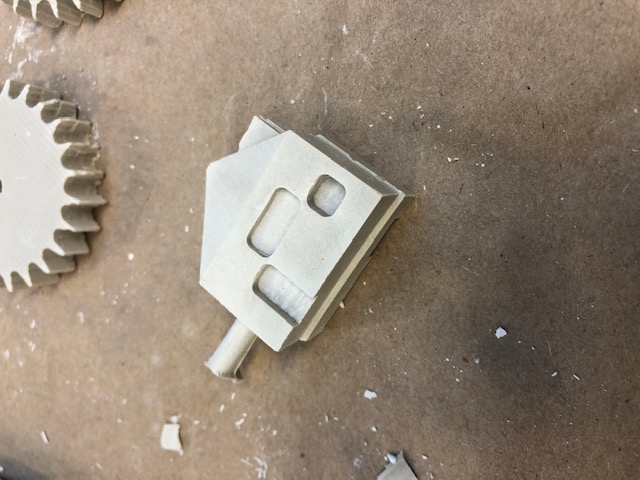
 The hydrostone was finished curing within 30 minutes. All of the objects were very easy to remove from the molds. This is what they looked like right after being removed:
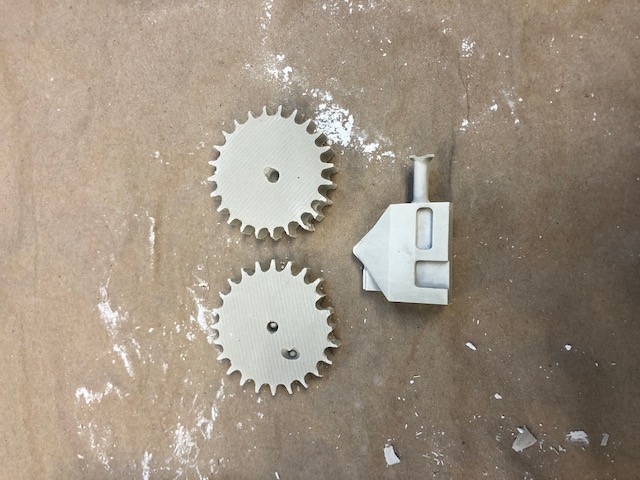 They came out very smooth and there were no signs of bubbles or gaps. However, if you look closely you can see that the two sides of the house are not perfectly lined up:
 This could've been due to some horizontal forces from the clamps causing misalignment. We then broke off the pouring cavity from the house. This was very easy to do and showed us that the hydrostone was pretty brittle. Here were our final casts: