This week's group assignment is a bit different in that we are all distributed, each working to get Clank up and running to mill PCBs. We are all at different stages in this process but what follows is an overview of the machine characterization completed by those who have made it to milling.
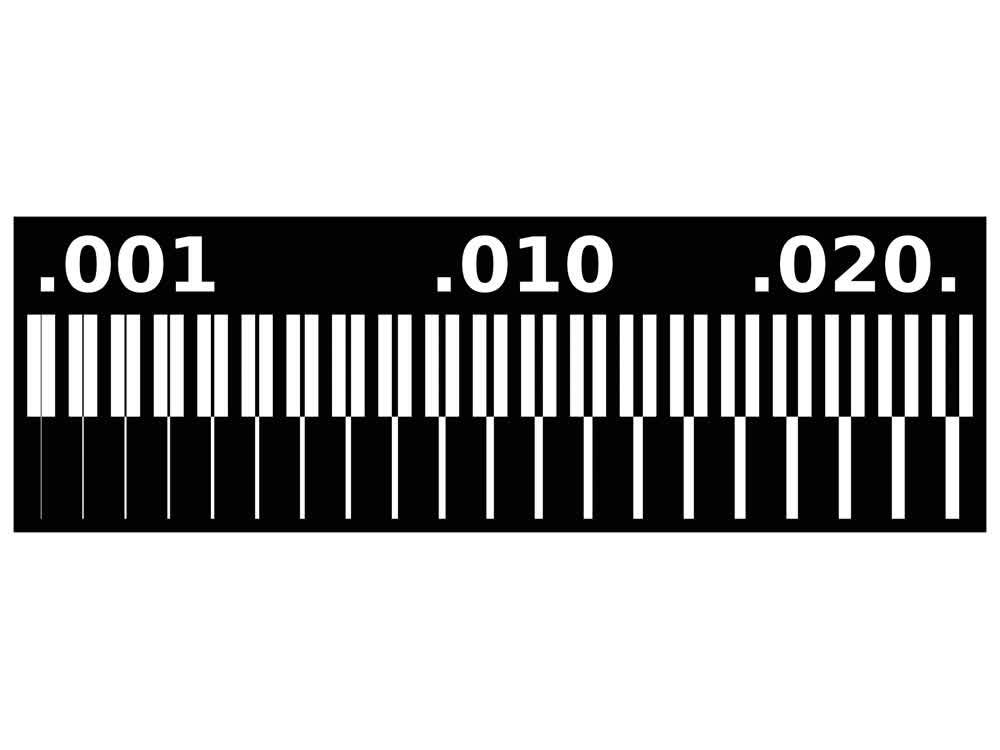
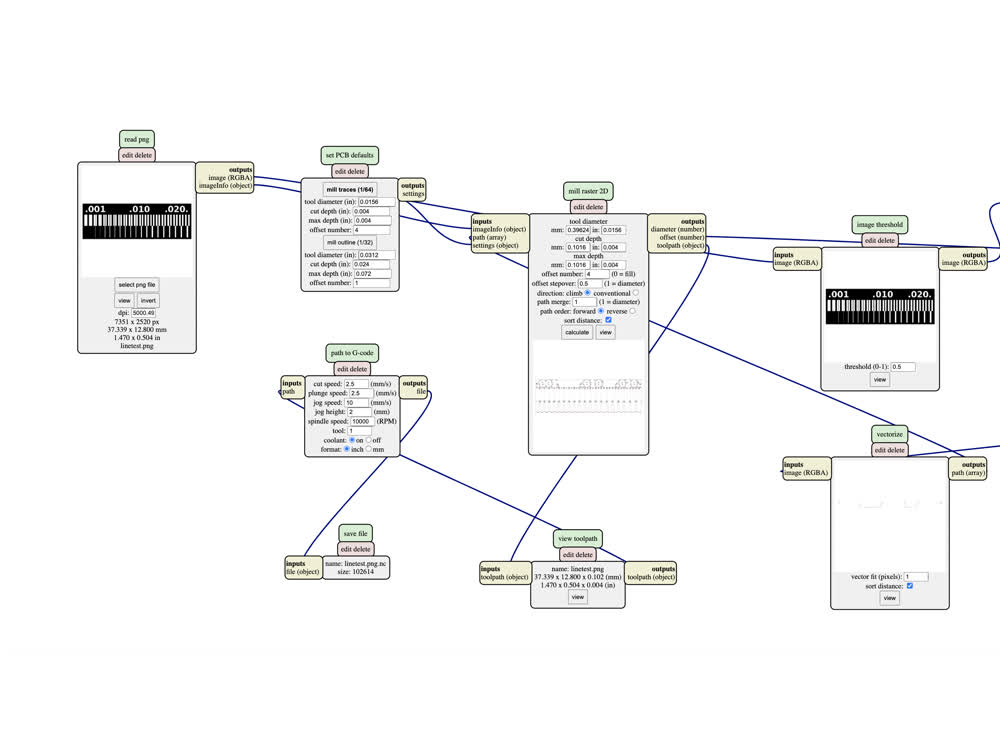
We each used the PNG provided for testing both internal and external cutting and used the default settings generated by mods for both engraving the traces and cutting out the boards.
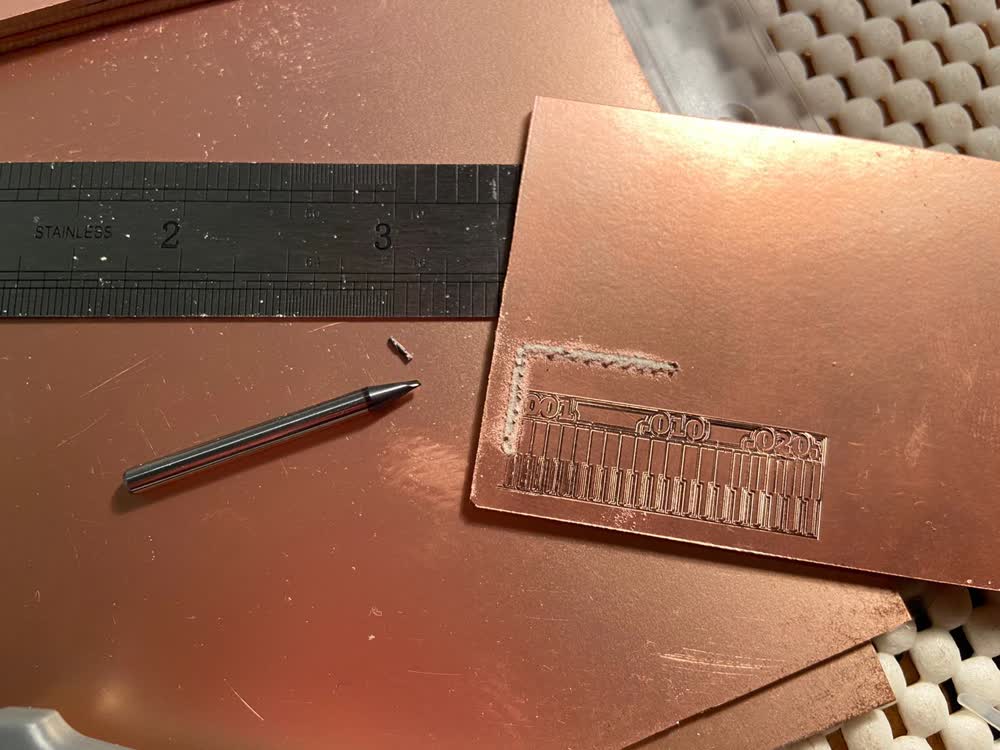
Jordan's first attempt can be seen below. Here there are two issue. First is that the Z origin of was set too high so that the copper isn't actually being milled away from the board. More obvious is the fact that on the cutout path with the 1/32" bit the tool snapped. This could either be again due to an issue with where the Z origin was set, or it could be because the feed rate was too high. A discussion of broken bits and feed rates can be found here.
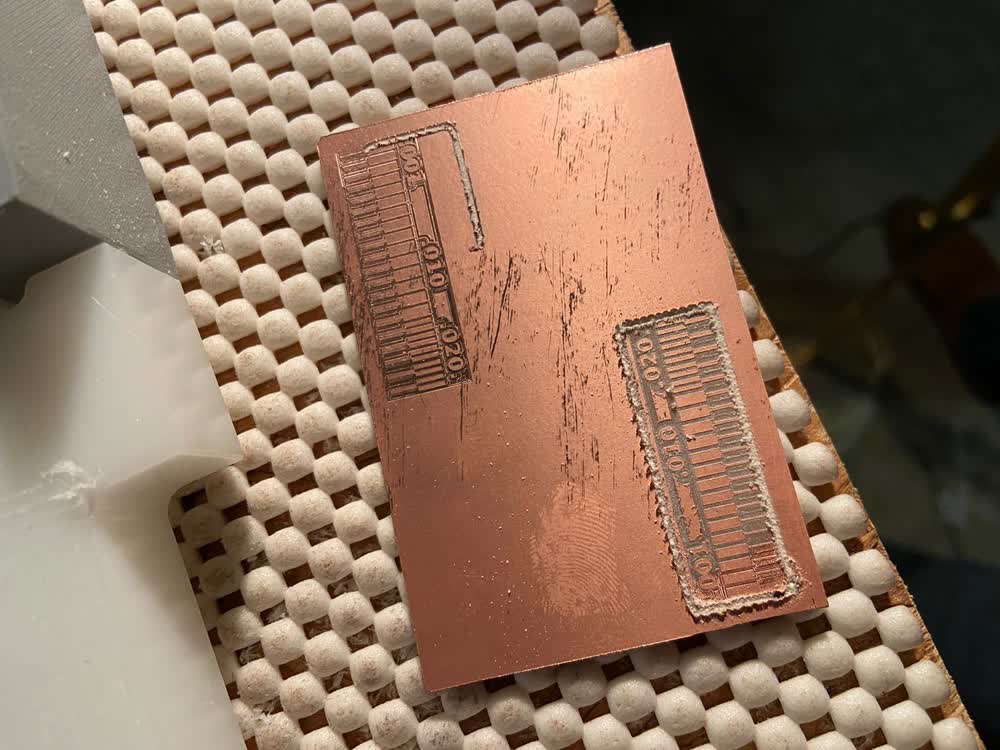
Jordan's second attempt was going well until on the cutout path the board came loose from the base. Luckily, no bits were harmed when the board started moving.
Gil's first attempt failed because the stock was not flat. This was because the size of the stock in one dimension was bigger than the flattened area on the HDPE base of Clank. This was simply fixed by rotating the stock 90 degrees and letting the excess material hang off of the front.
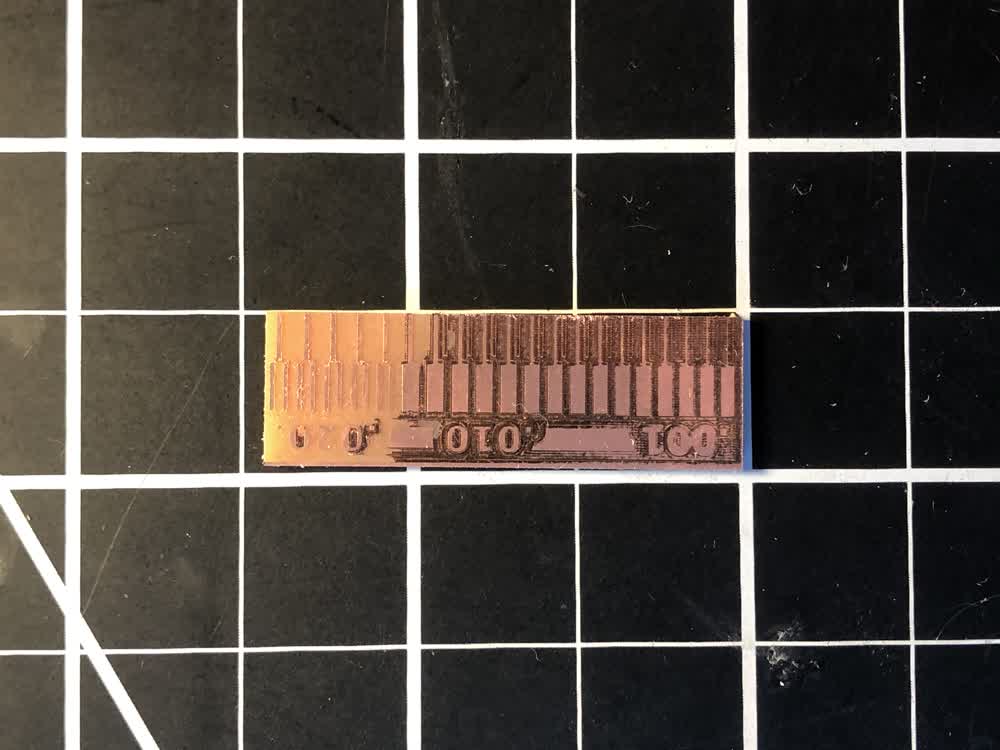
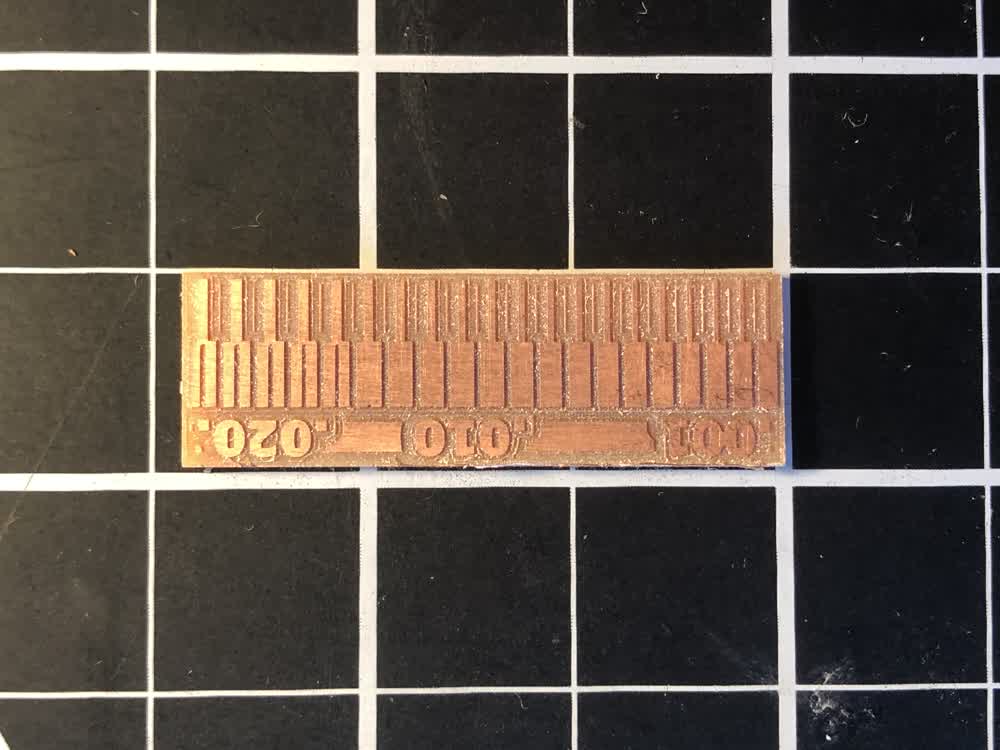
The next cut made with a 1/64" end mill worked but was quite fuzzy and the traces on the smaller end of the spectrum did not hold up well.
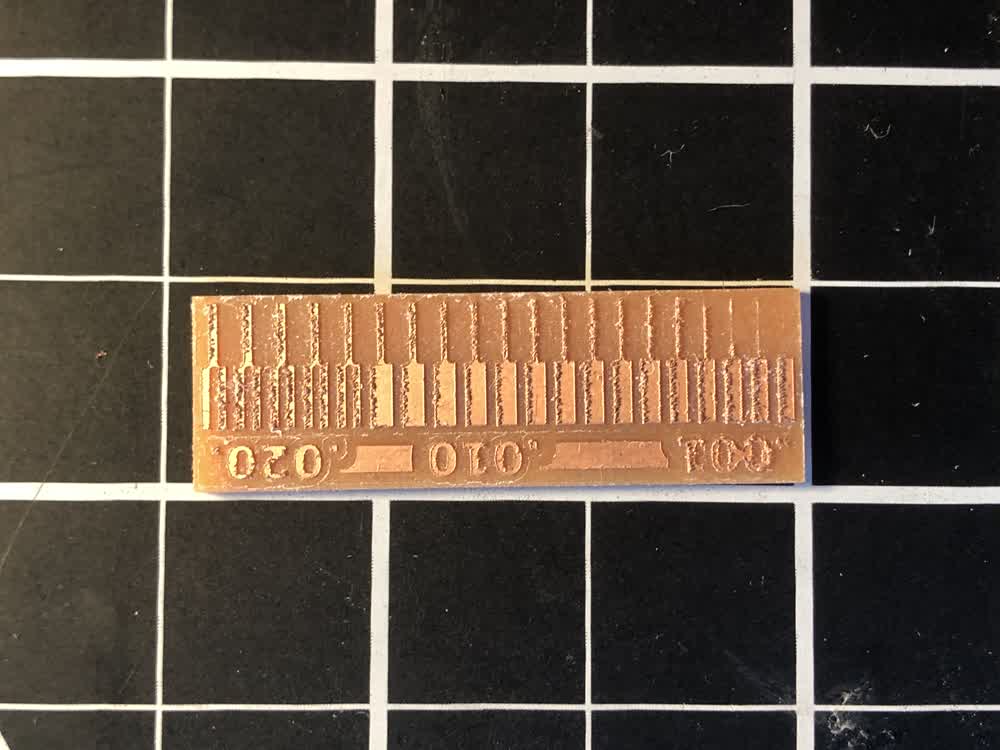
Next he tried using the v-groove engraving bit using the samegcode generated by mods for the 1/64" bit. The results were super clean. The engraving bits have the added bonus of being less likely to break and much cheaper.
Lots of little things were learned through the process of machine characterization: how to best apply tape to stick the board to the base, how to change the bit without stalling, etc. Next stop: milling boards!