W2 - 3D Printing & Scanning
Assignments:
- Design and Print Nested Piece
- Scan Object
3D Printer
This week I decided to make a gyrosculpture. The design is based on common gyroscopic designs. It is composed of four concentricly jointed pieces.
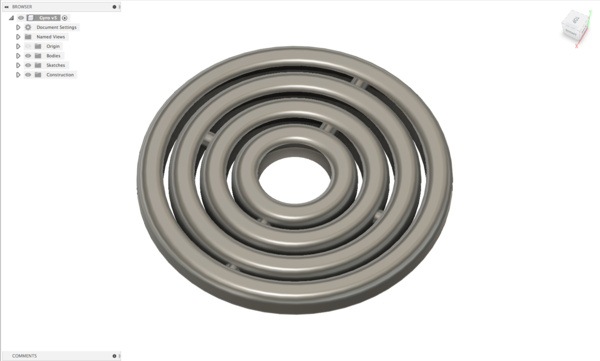
The design was made in Fusion 360. I continued to use fixed parameters in order to further develop the parametric skills that I learnt the past week.
The design is based on revolving concentric drawings around the same axis. Each component has a slot that houses a peg that comes from the pieza that it has on the inside.
I fisrt designed the rings and their cavities and then added the two pegs to each one of the rings. The design allows for each ring to rotate around its center axis as well
as perimeter wise rotation, meaning that each ring is capable of rotation on 2 out of its three axes.
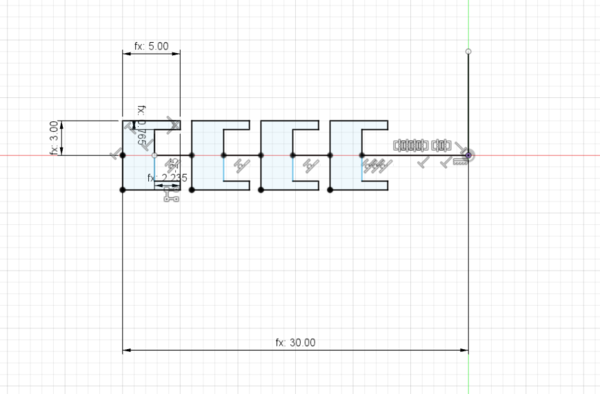
In order for the joint to freely move within their slot. I used a a parameter named "tolerance" that had a value of .235 mm. This value allowed me to properly print all pieces in one single print
and as well as allowing for proper rotations and fixing of the joints.

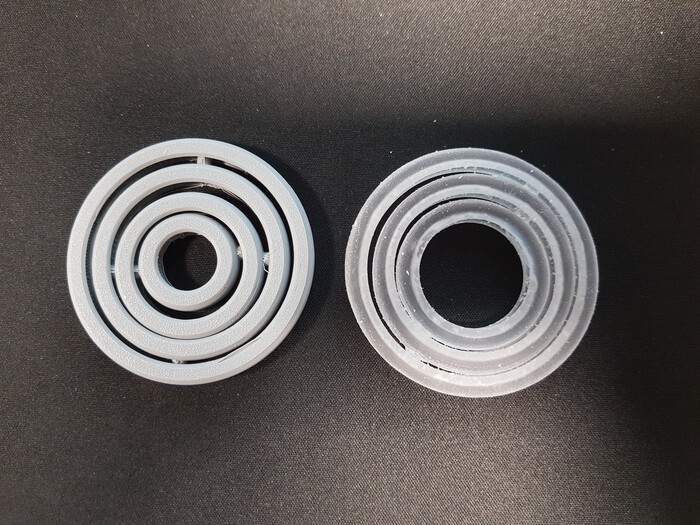
I used Prusa Slicer to create proper gCode for my file. No major changes were done to the basic settings for printing with PLA. The model was also printed on a Stratysis 260 Printer. In comparison,
the rotation and build quality of the Stratysis machine is much better but the quality from the Prusa is not bad at all. Both pieces can rotate properly on all of the intended axes.
Another thing to be careful about when post processing pieces printed on the Stratysys is the water pressure used to glean the support material. It can be easy to break fine features.
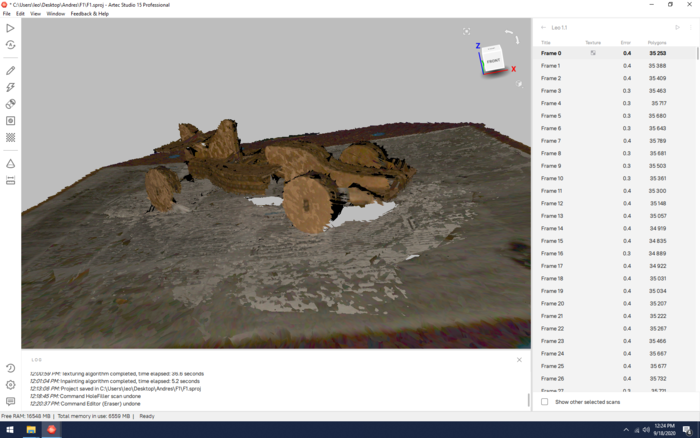
This was my first time using a scanner. I decided to run tests on scanning by scannning the cardboard parametric kit that I made last week.
I thought this would be a good test for the limitations of scanning due to the fact that, depending on the angle you have of the model, you can
clearly wide surfaces as well as significantly thin profiles. I supposed that wide surfaces would work much better in comparisson to the thin profiles.
In order to complete my scan I used an Artec Leo scanner along with Artec software to process poinclouds and edit edges.
I started by scanning the object. In order to make it easier for the software to build the 3d model from the images, I put newspaper under my model.
Sharp edges and contrast from the newspaper guide reconstruction in a satisfying manner. Once I scanned my model, I uploaded the file into Artec's software
and resolved the pointclod.
I then proceeded to solve the pointcloud as well as to add texture to my model. It took me some time to due this due to the fact that I did not cut any points from the pointcloud.
For a faster process it is recomended to cut out points from cloud so that solving and texturizing takes less time.
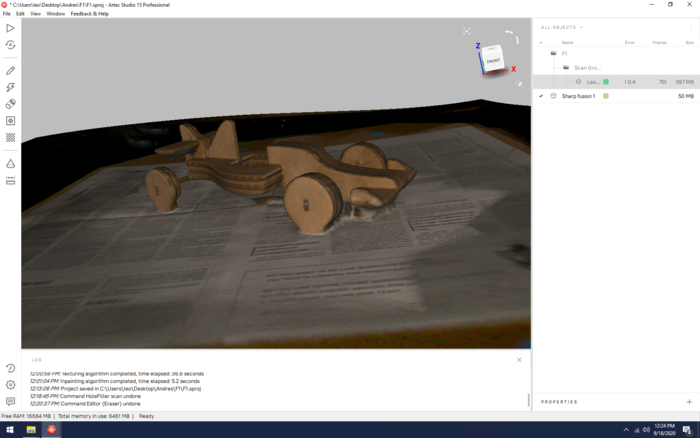
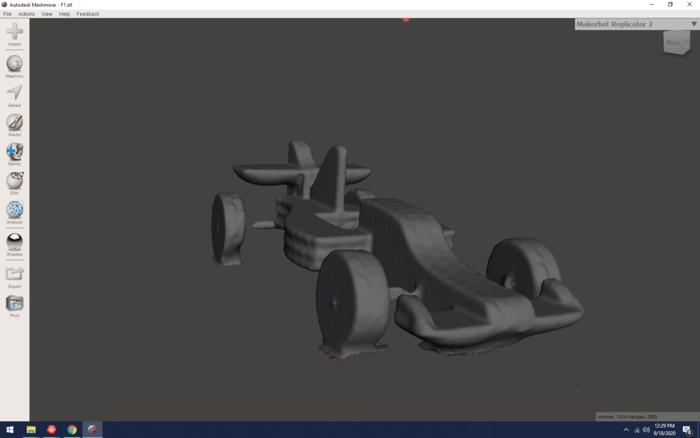
After solving, I did editing of all the features that I did not want on my model. I took out away all of the backgorund and surface area. I then proceeded to make my model
watertight.
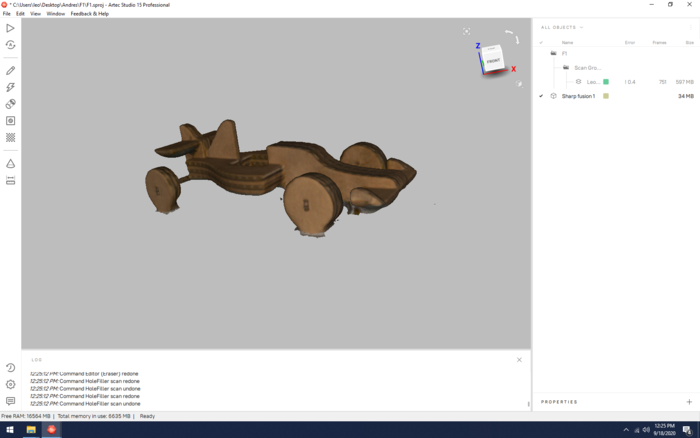
And this is the final model! Comparing my results to my assumption. Large surfaces worked properly all of the time. Small profiles did will as long as you could map them into a large
profile later on. Meaning that pieces that had at least one large side were scanned properly. As seen on the image below, the only pieces from the model that did not have any large surfaces
are the pieces that act as the axes to connect the wheels with the body. This pizes could not be recorded properly by the scanner.