The first thing our group did was review how to read and understand the saftey data sheets for the materials we were handeling. We also learned where they were located and how to proceed if we wanted to use a new material in the shop. Then we went into the materials. As a group we tried various materials the rest of the page will compare the casts and molds made.
The first material we looked at was drystone. We created the drystine mixture with two methods the first being the recomended method which was a 4:1 ration weighed on a scale. The other method called the island method is based on pouring the dry mixture into water until it becomes saturated enough to form an island like pile in the middle. The results are shown below.
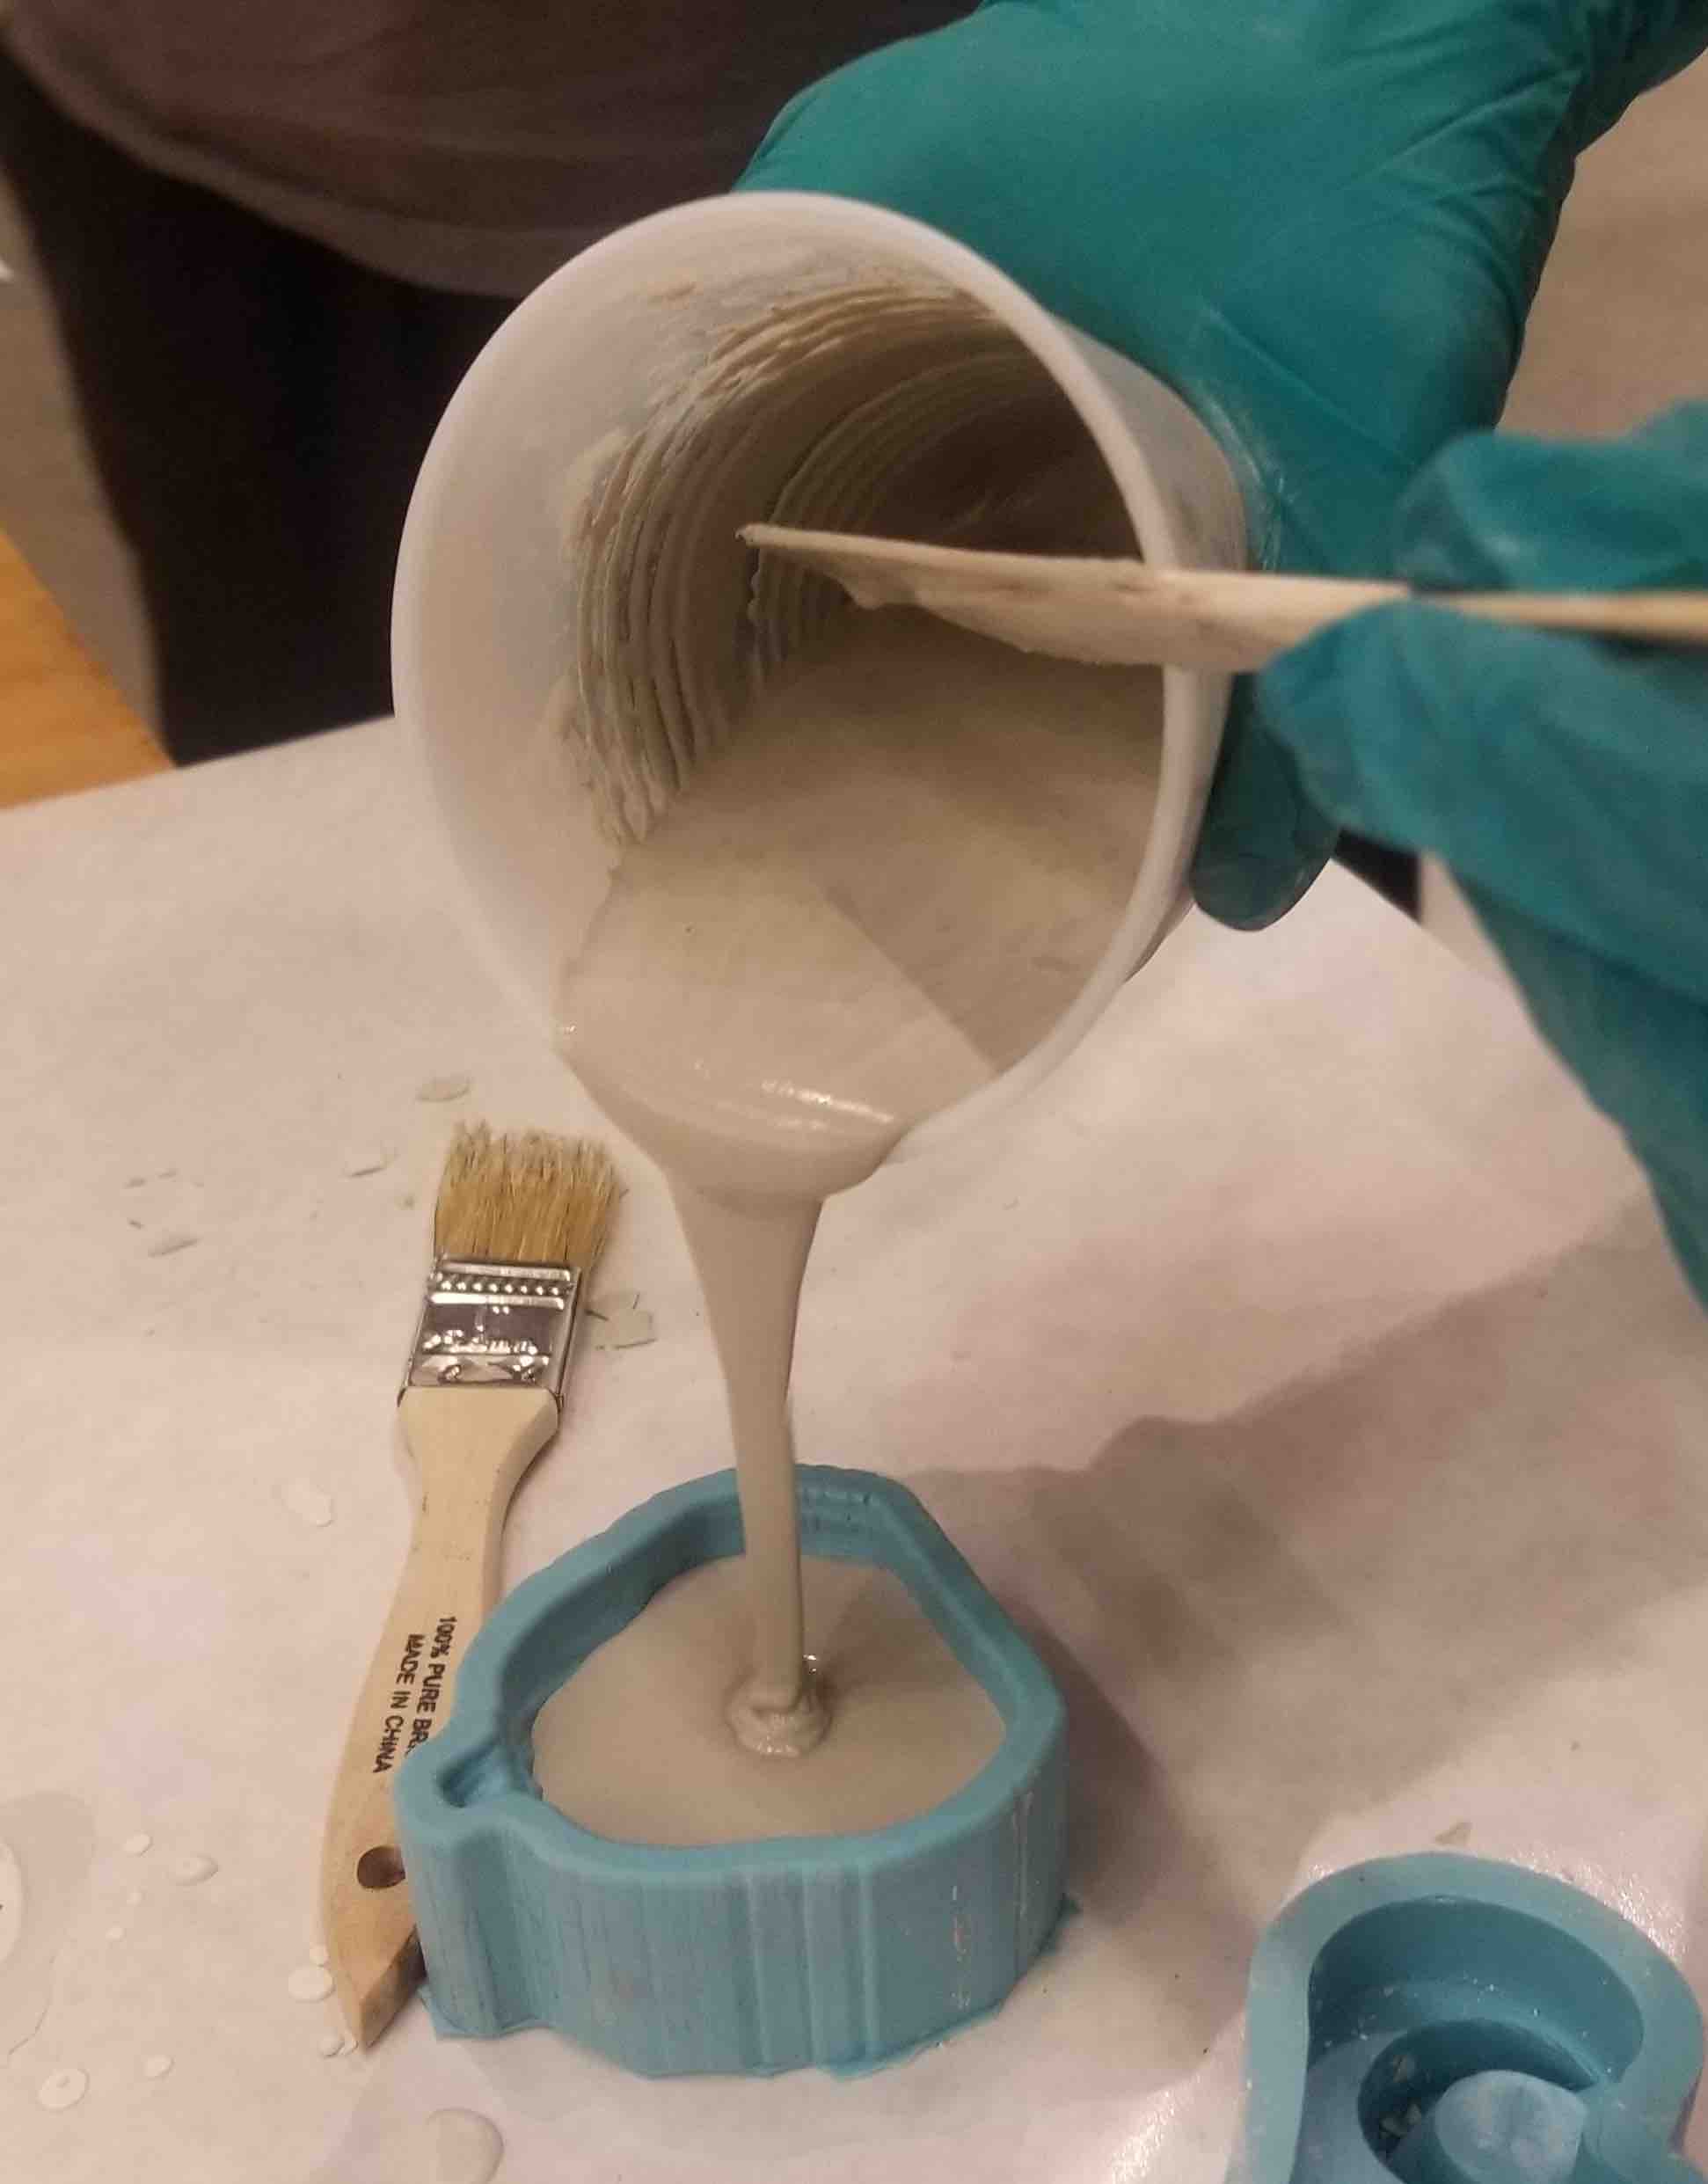
The pouring of a recommended mix ratio of drystone on left and Island Method on right.

The results: the recomended on top and the island method on bottom
Drystone: The island method has a much higher ratio of water to mix than the reccomended method. Both yielded good results, but the island method allowed for quicker mixing and ultimitlate easier to pour into the mold. Multiple members of the group used the island plus method if you will which added a bit more dry mix into the island method to thicken it.
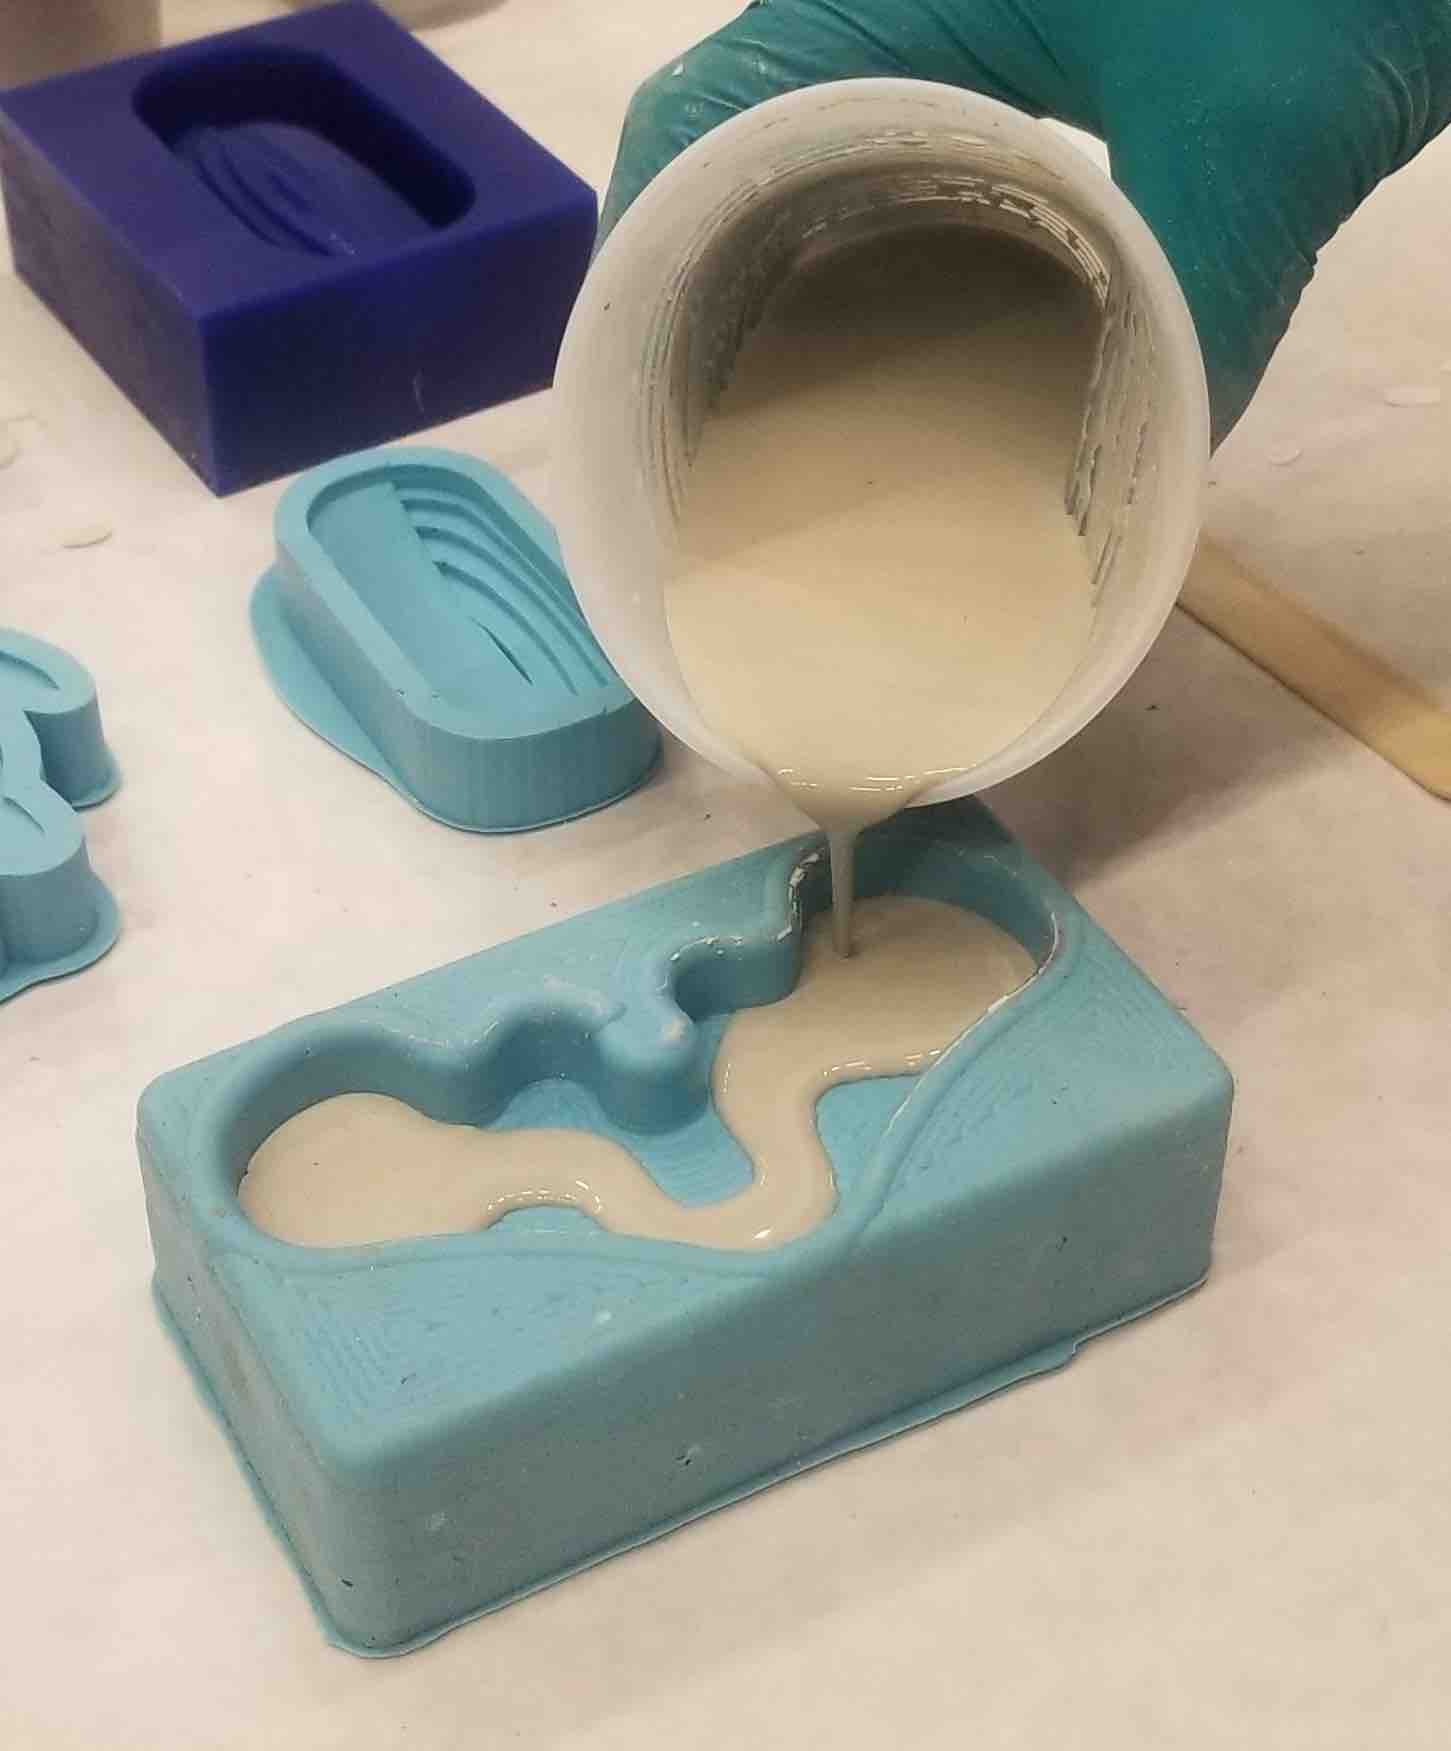
Creating Molds: To create molds we used two types of smooth on products. The first in blue oomoo seen above and the second red one below. The Red version has a higher heat tolerance and would be better for casting with materials that need a higher temperature. The blue above is made from two liquid components that are mixed with even volume. As a group we did not play around with that combination, but the longer after mixing the thicker it got making it difficult to pour if you waited too long. Below you will see that the initial attempt to make the mold did not go well which is most likely due to the materials being old. After getting a new batch the results improved dramaticly.
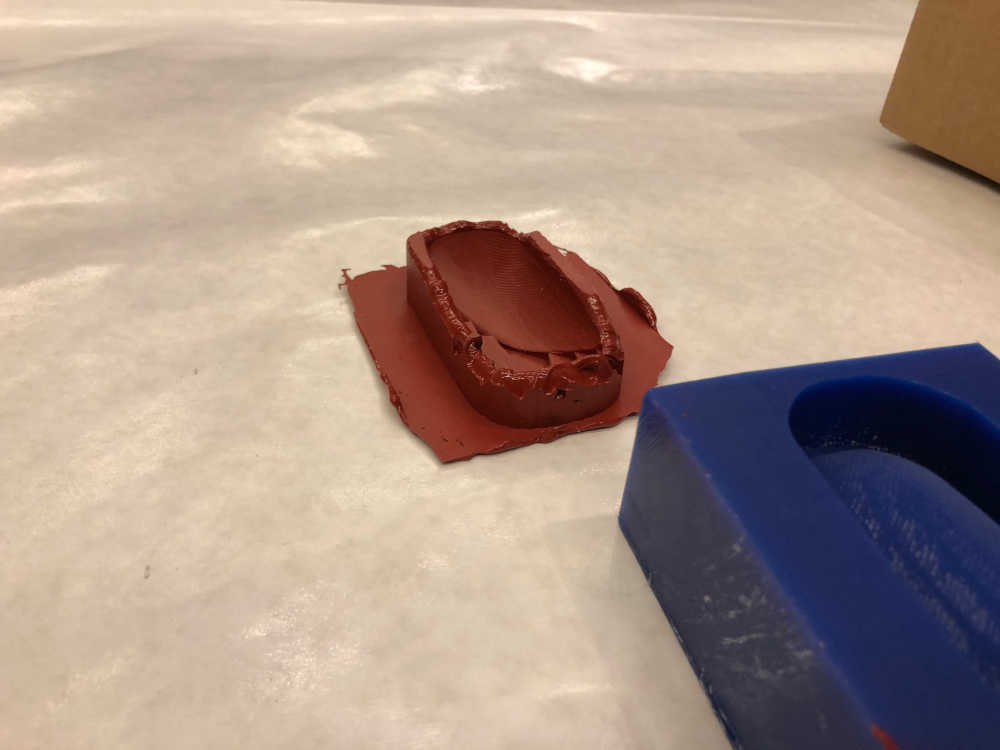
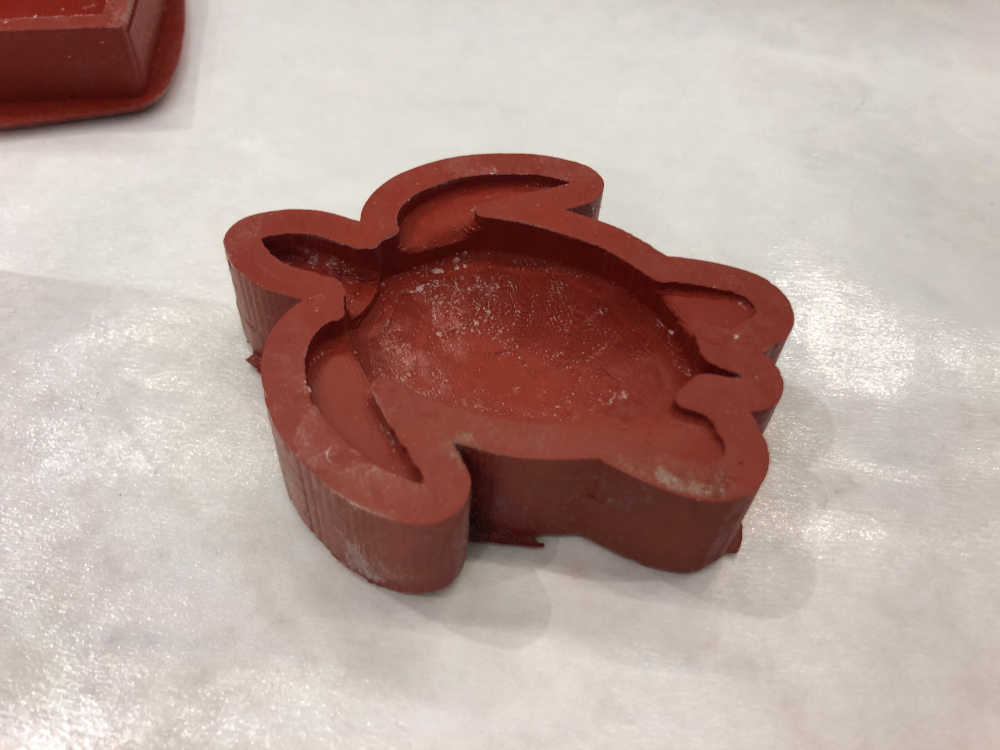
The left shows the initial attempt. The right shows the more succesful 2nd attempt.
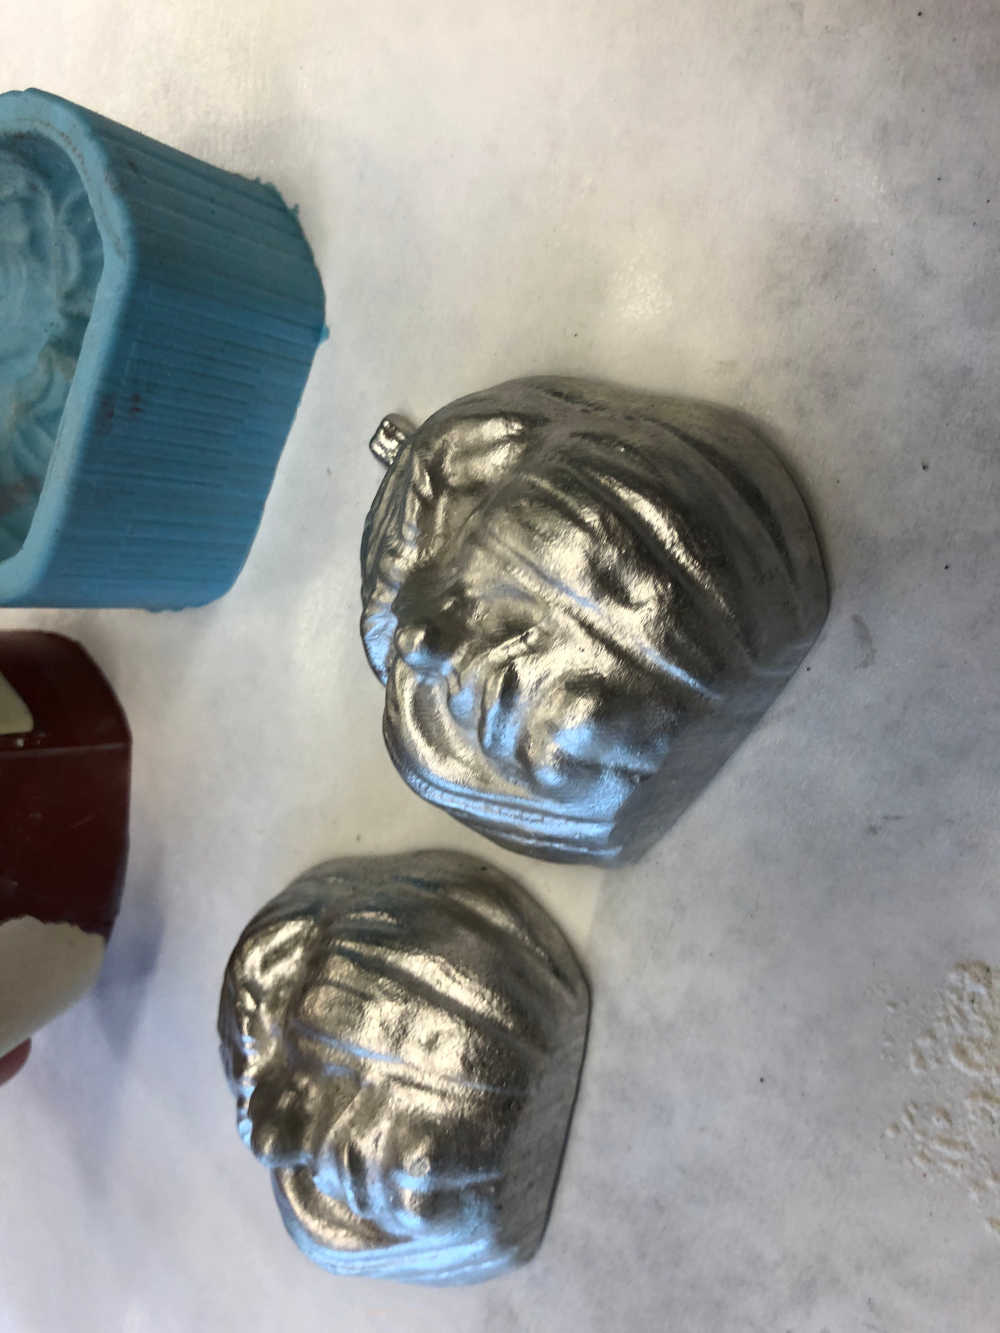
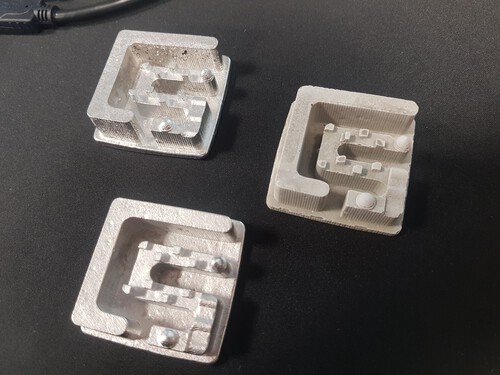
Alloys: Using molds we were able to cast with alloys. We ran different experiments with the same alloys but different molds and waiting times. In terms of molds, we used Oomoo and Mold Max 60 based molds with different shapes. Both Ommo and MM60 have good characteristics for casting with the low fusion point that our material has. MM60 is more rigit so it supports the alloy's weight much better. This is important to avoid deformations on the final piece. Otherwise, the performnace of both molds is comparable. Another test that we ran was cooling down the items with cold water. Cooling down items with cold water reduces waiting times for the piece to become solid but the reuslts were not optimal. The pieces that were cooled down had a pourus surface finish while the ones that were left at ambient temperature had a smooth finish. Trade offs in molds and waiting times can be taken into account depending on the piece that is being fabricated.