In order to characterize the CBA shop laser cutter, a group of us gathered to test various parameters, such as speed, power, and PPI (pulses per inch). We ran a test for each of those parameters, varying one parameter at a time over a series of four cuts. We had been given the typical optimal settings for a direct cut, so we used that as a baseline for our cuts, then added one or two data points above or below the optimal settings to see what changes. We were able to do this by copying the same cut multiple times by changing the "color" of the cut in CorelDraw and changing the cut settings for each color using the Pen tool. We would test how far the cut went through, as well as the width of the resulting piece (designed to be 50mm).
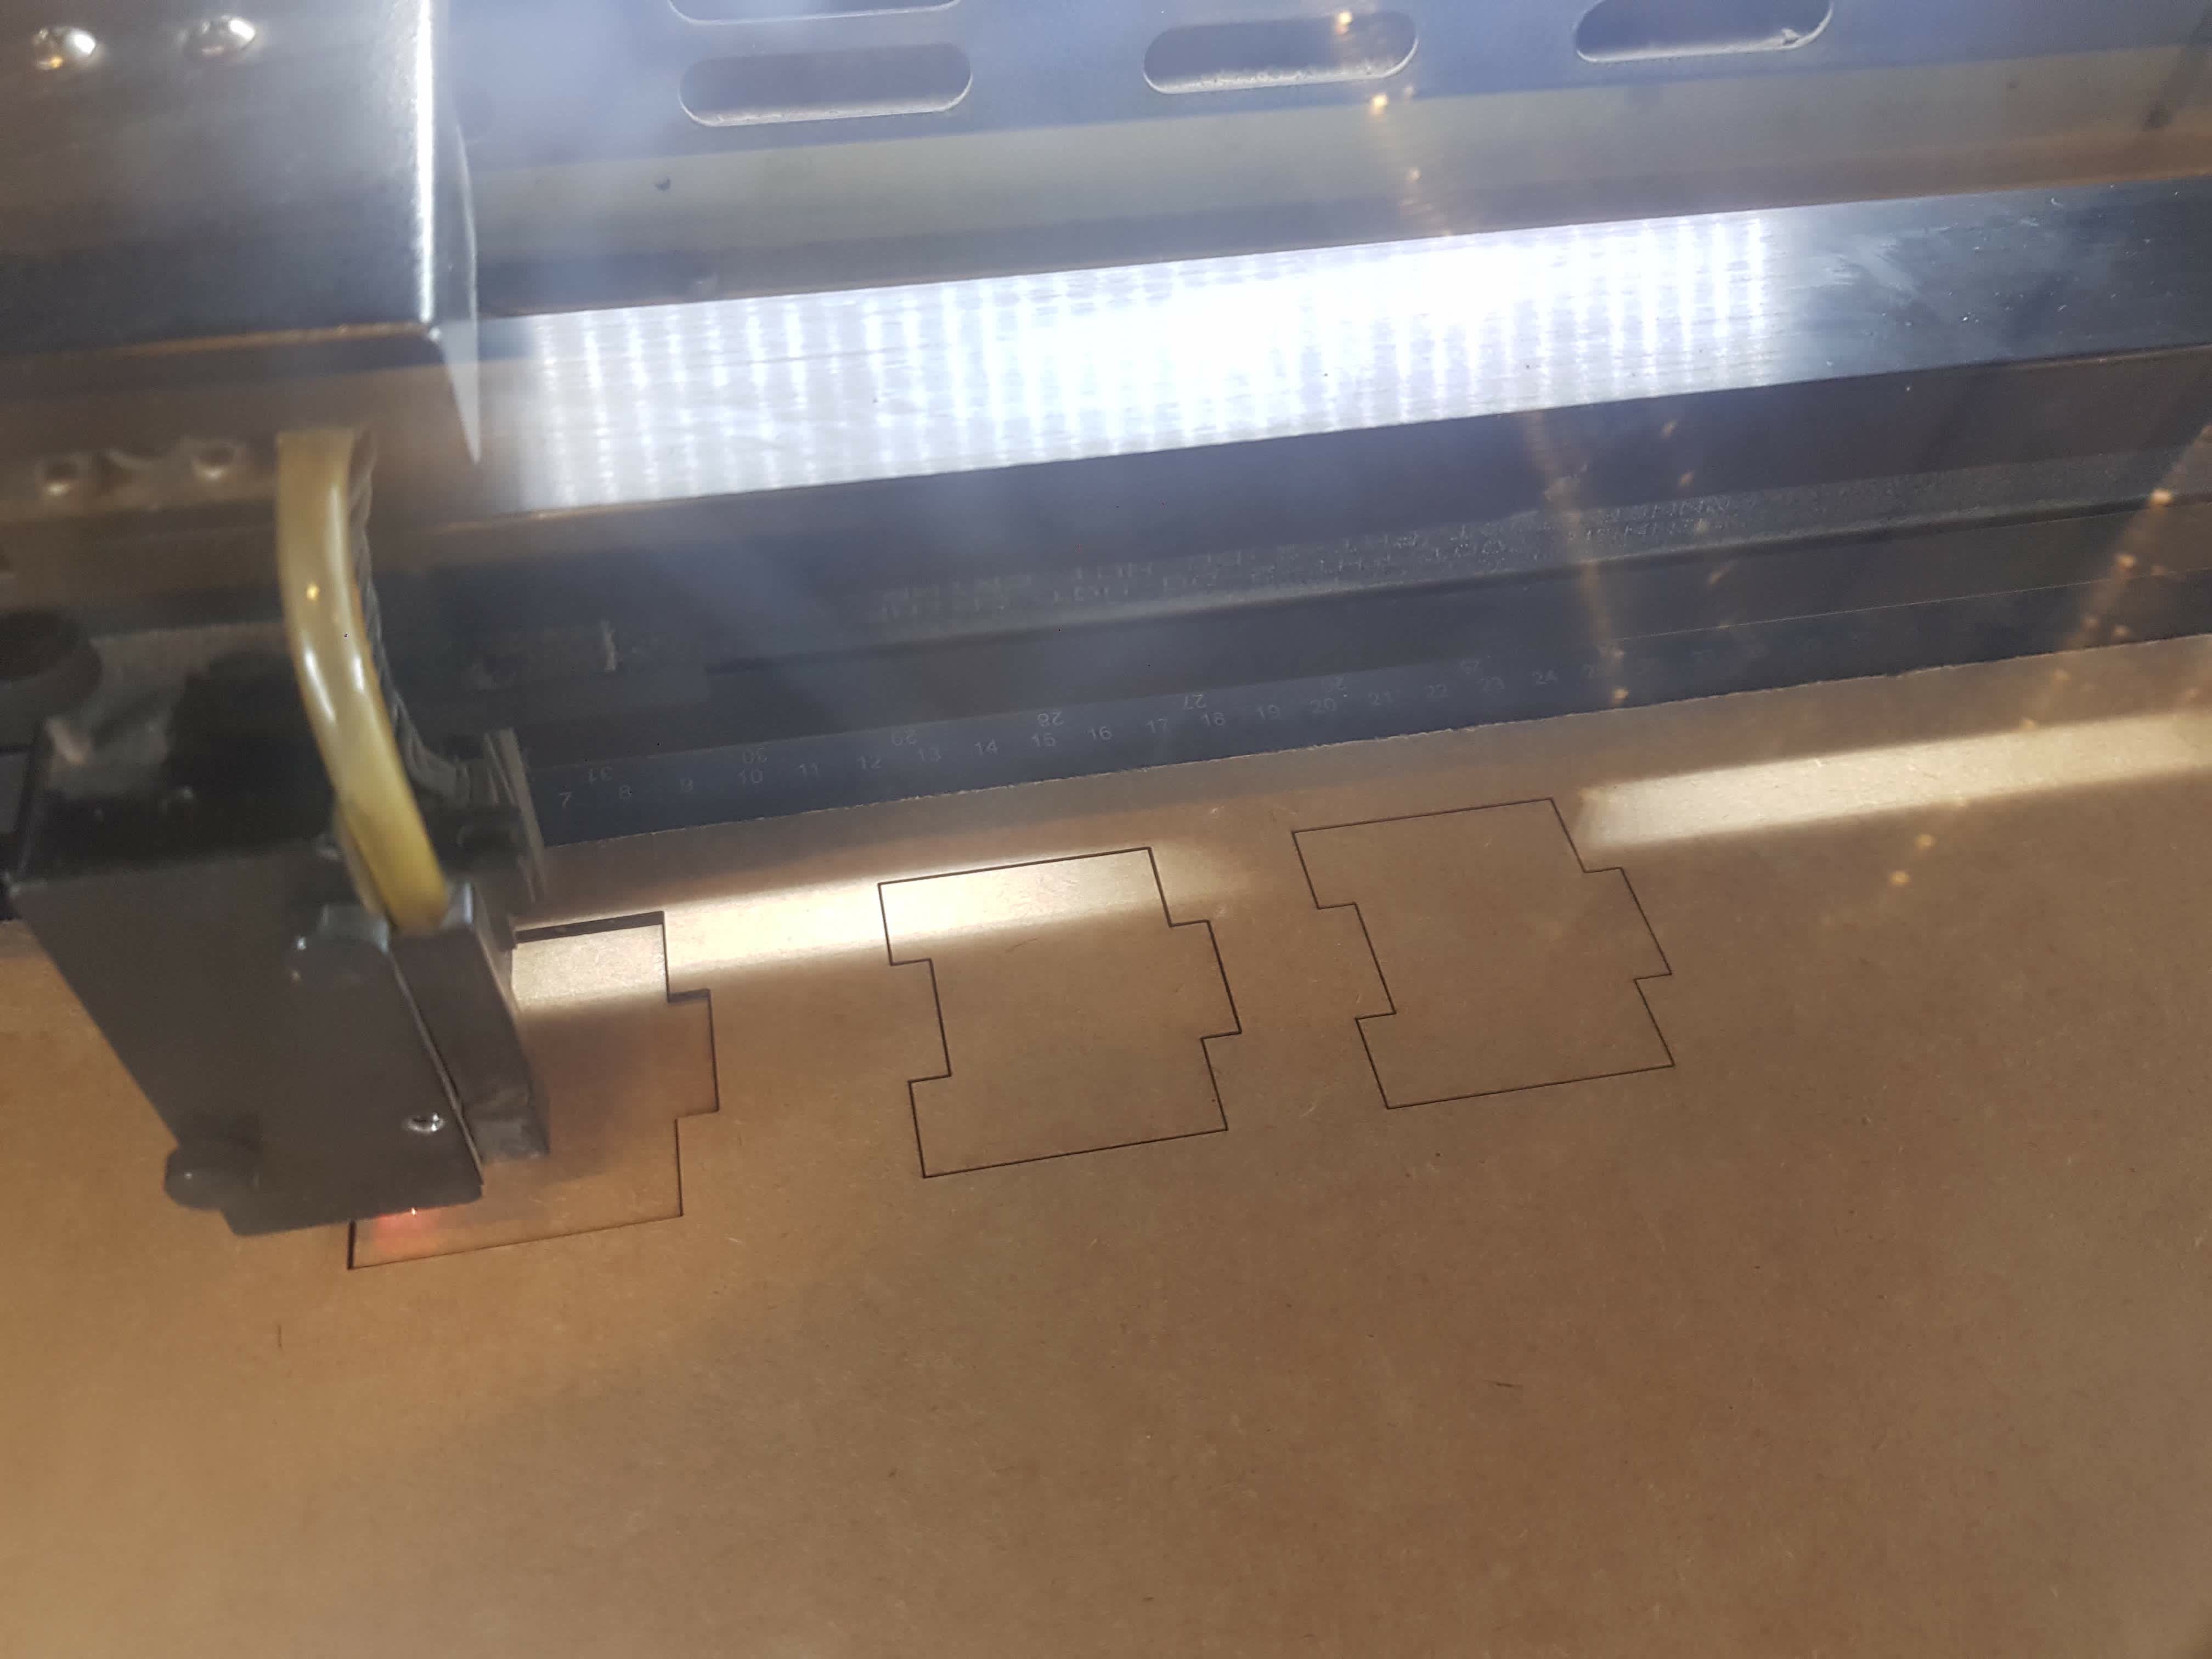
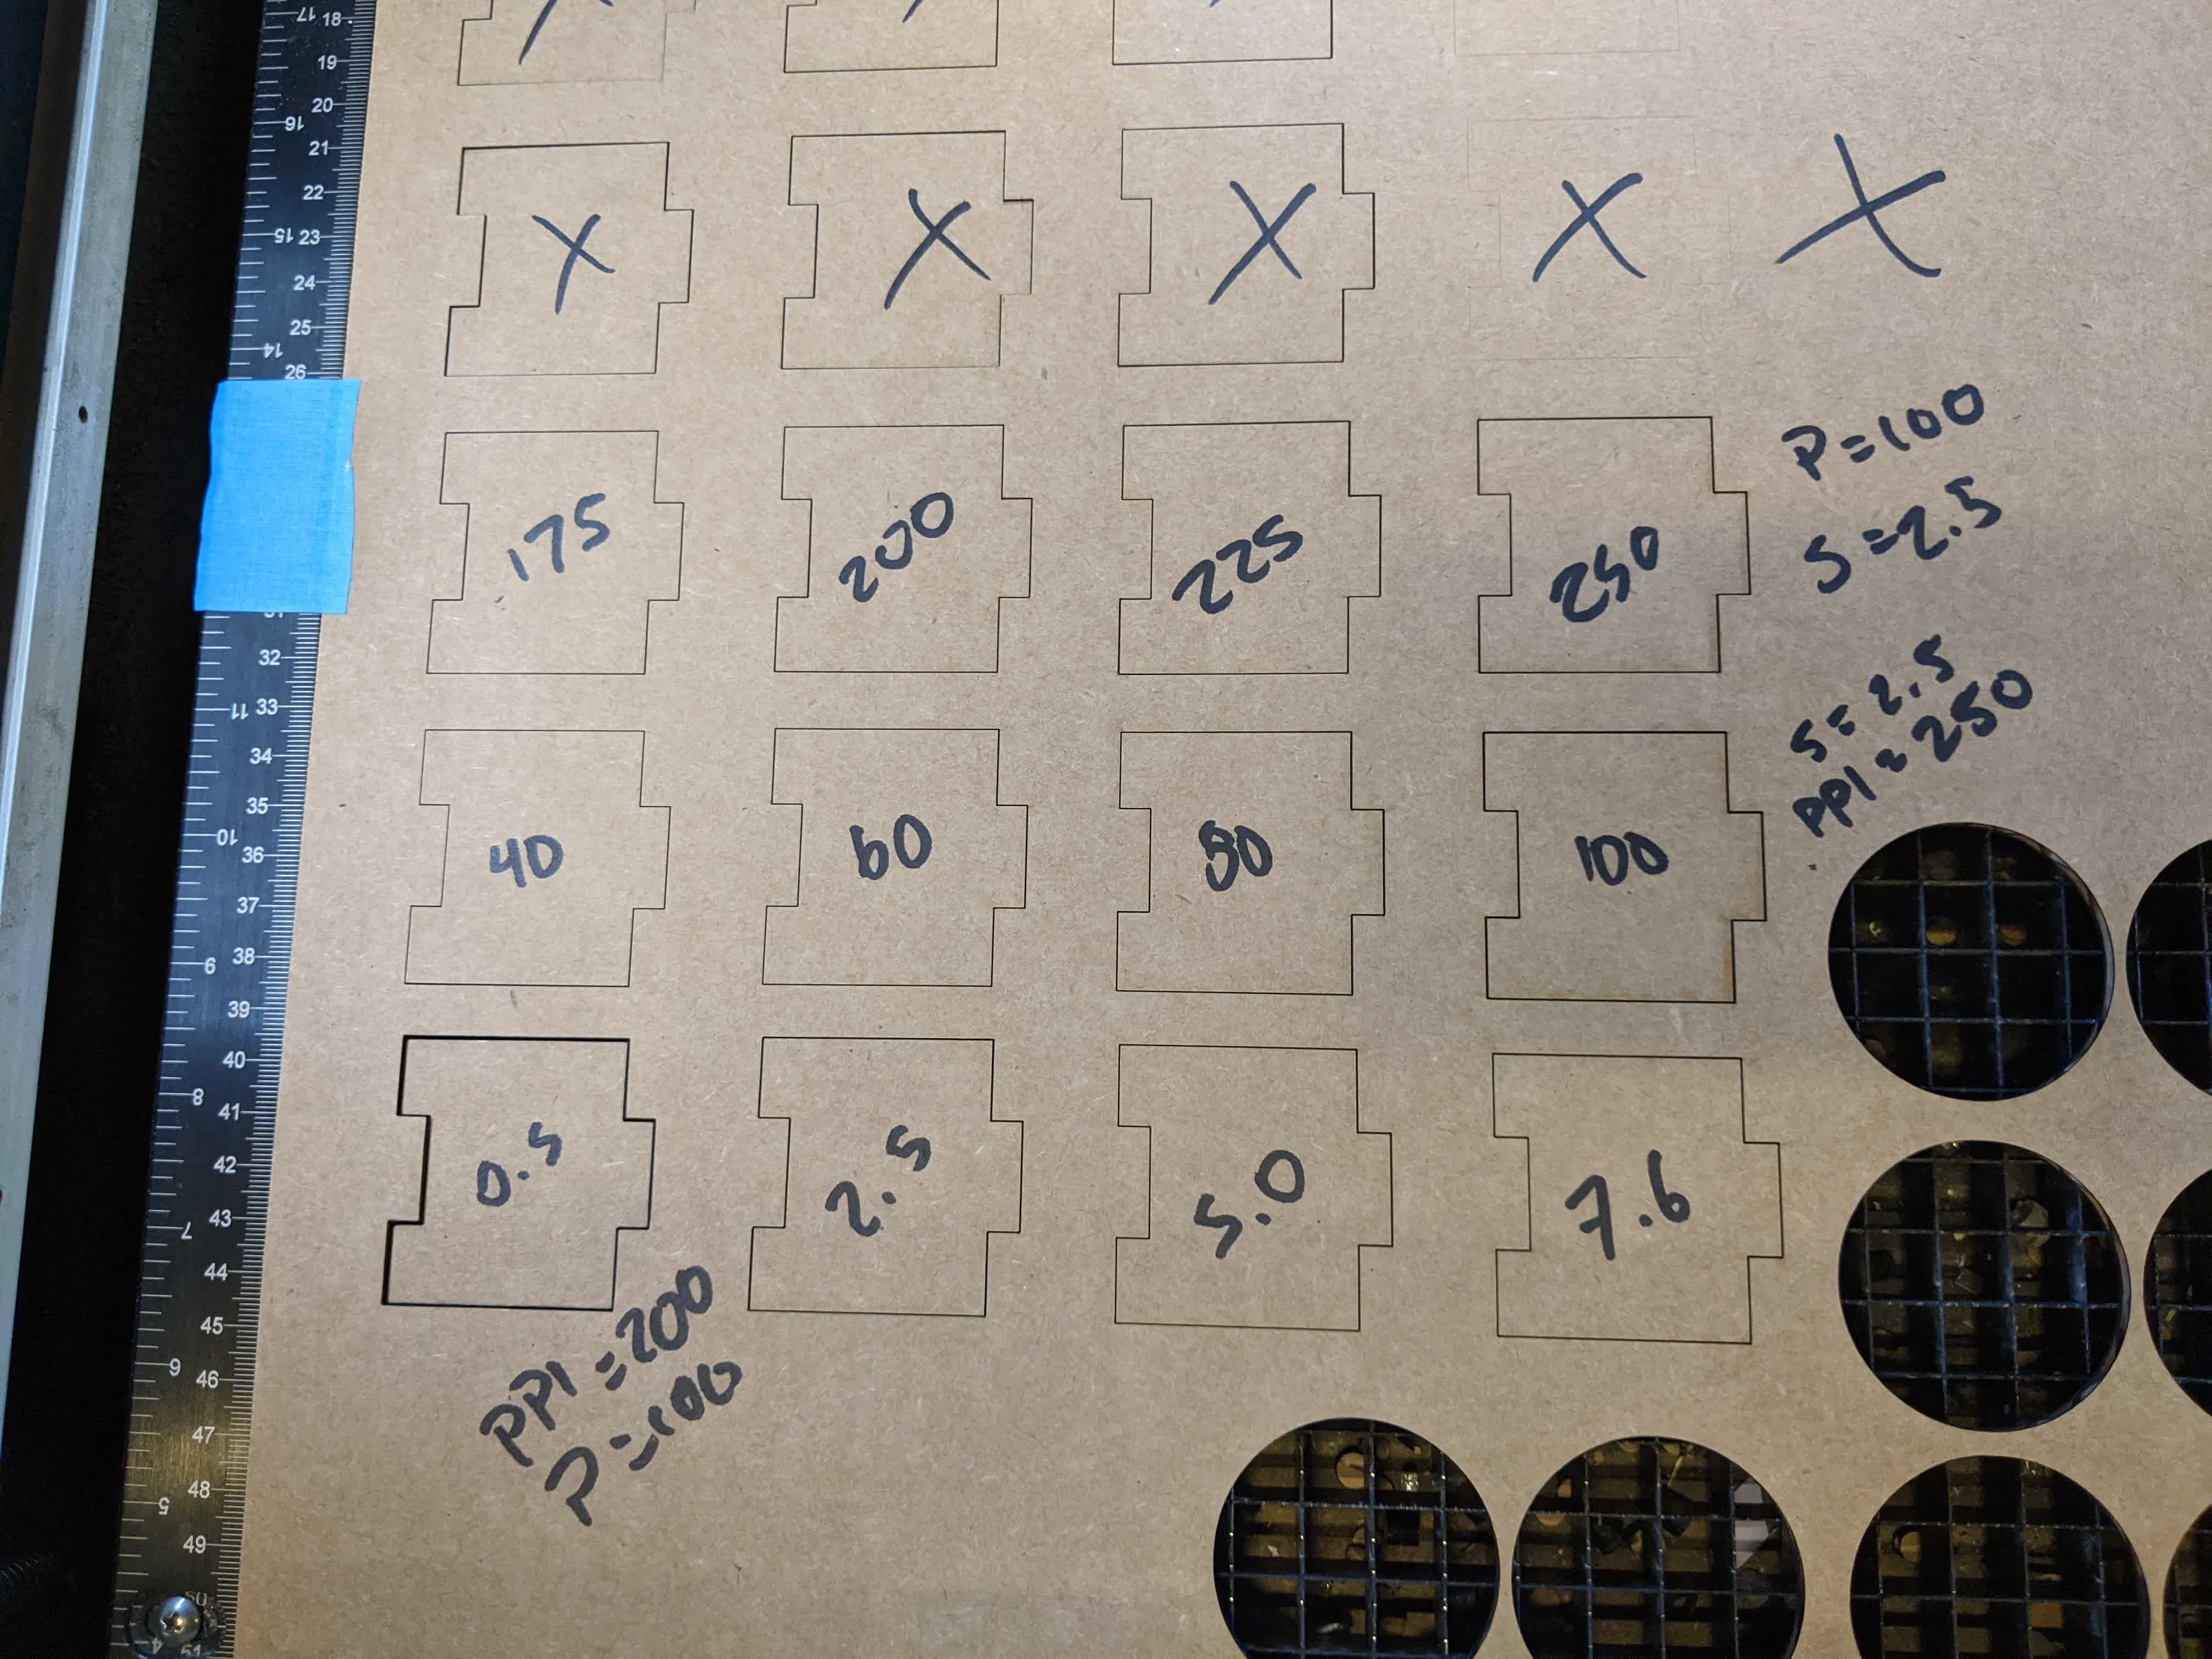
From the images above, you can see the exact layout of our tests. For the results, however, see the table below:
| Speed | Power | PPI | Width (mm) | Cut through? |
|---|---|---|---|---|
| 2.5 | 100 | 175 | - | No, but almost all the way through |
| 2.5 | 100 | 200 | 49.83 | Yes |
| 2.5 | 100 | 225 | 49.87 | Yes |
| 2.5 | 100 | 250 | 49.83 | Yes |
| 2.5 | 40 | 250 | - | No, didn't make it through top layer |
| 2.5 | 60 | 250 | - | No, but cut through top layer |
| 2.5 | 80 | 250 | - | Not, but almost all the way through |
| 2.5 | 100 | 250 | 49.80 | Yes |
| 0.5 | 100 | 200 | 49.43 | Yes |
| 2.5 | 100 | 200 | 49.89 | Yes |
| 5.0 | 100 | 200 | - | No, but cut through top layer |
| 7.6 | 100 | 200 | - | No, but cut through top layer |
First, we tested PPI. The lower setting didn't quite cut all the way through, but the rest of the cuts did. We didn't find much difference in terms of the kerf (amount of material lost due to the width of the beam), as we saw pretty consistent measurements. Next, for power, we basically found that at the recommended speed, the laser needs to be at full power in order to cut all the way through. Finally, for the speed test, we found that a faster cut won't cut all the way through, but a slower cut still will, obviously, but it also removes more material because it spends a longer amount of time at a given point of the material. One thing to note is that on top of losing more material, with something like cardboard like we were using, you also need to be aware that slowing the speed down too much, or even increasing the power or PPI too much, can result in your material completely catching on fire and burning. You definitely don't want that. Unless you do for artistic reasons, I don't know. Either way, uncontrolled fire is bad. Keep it under control.
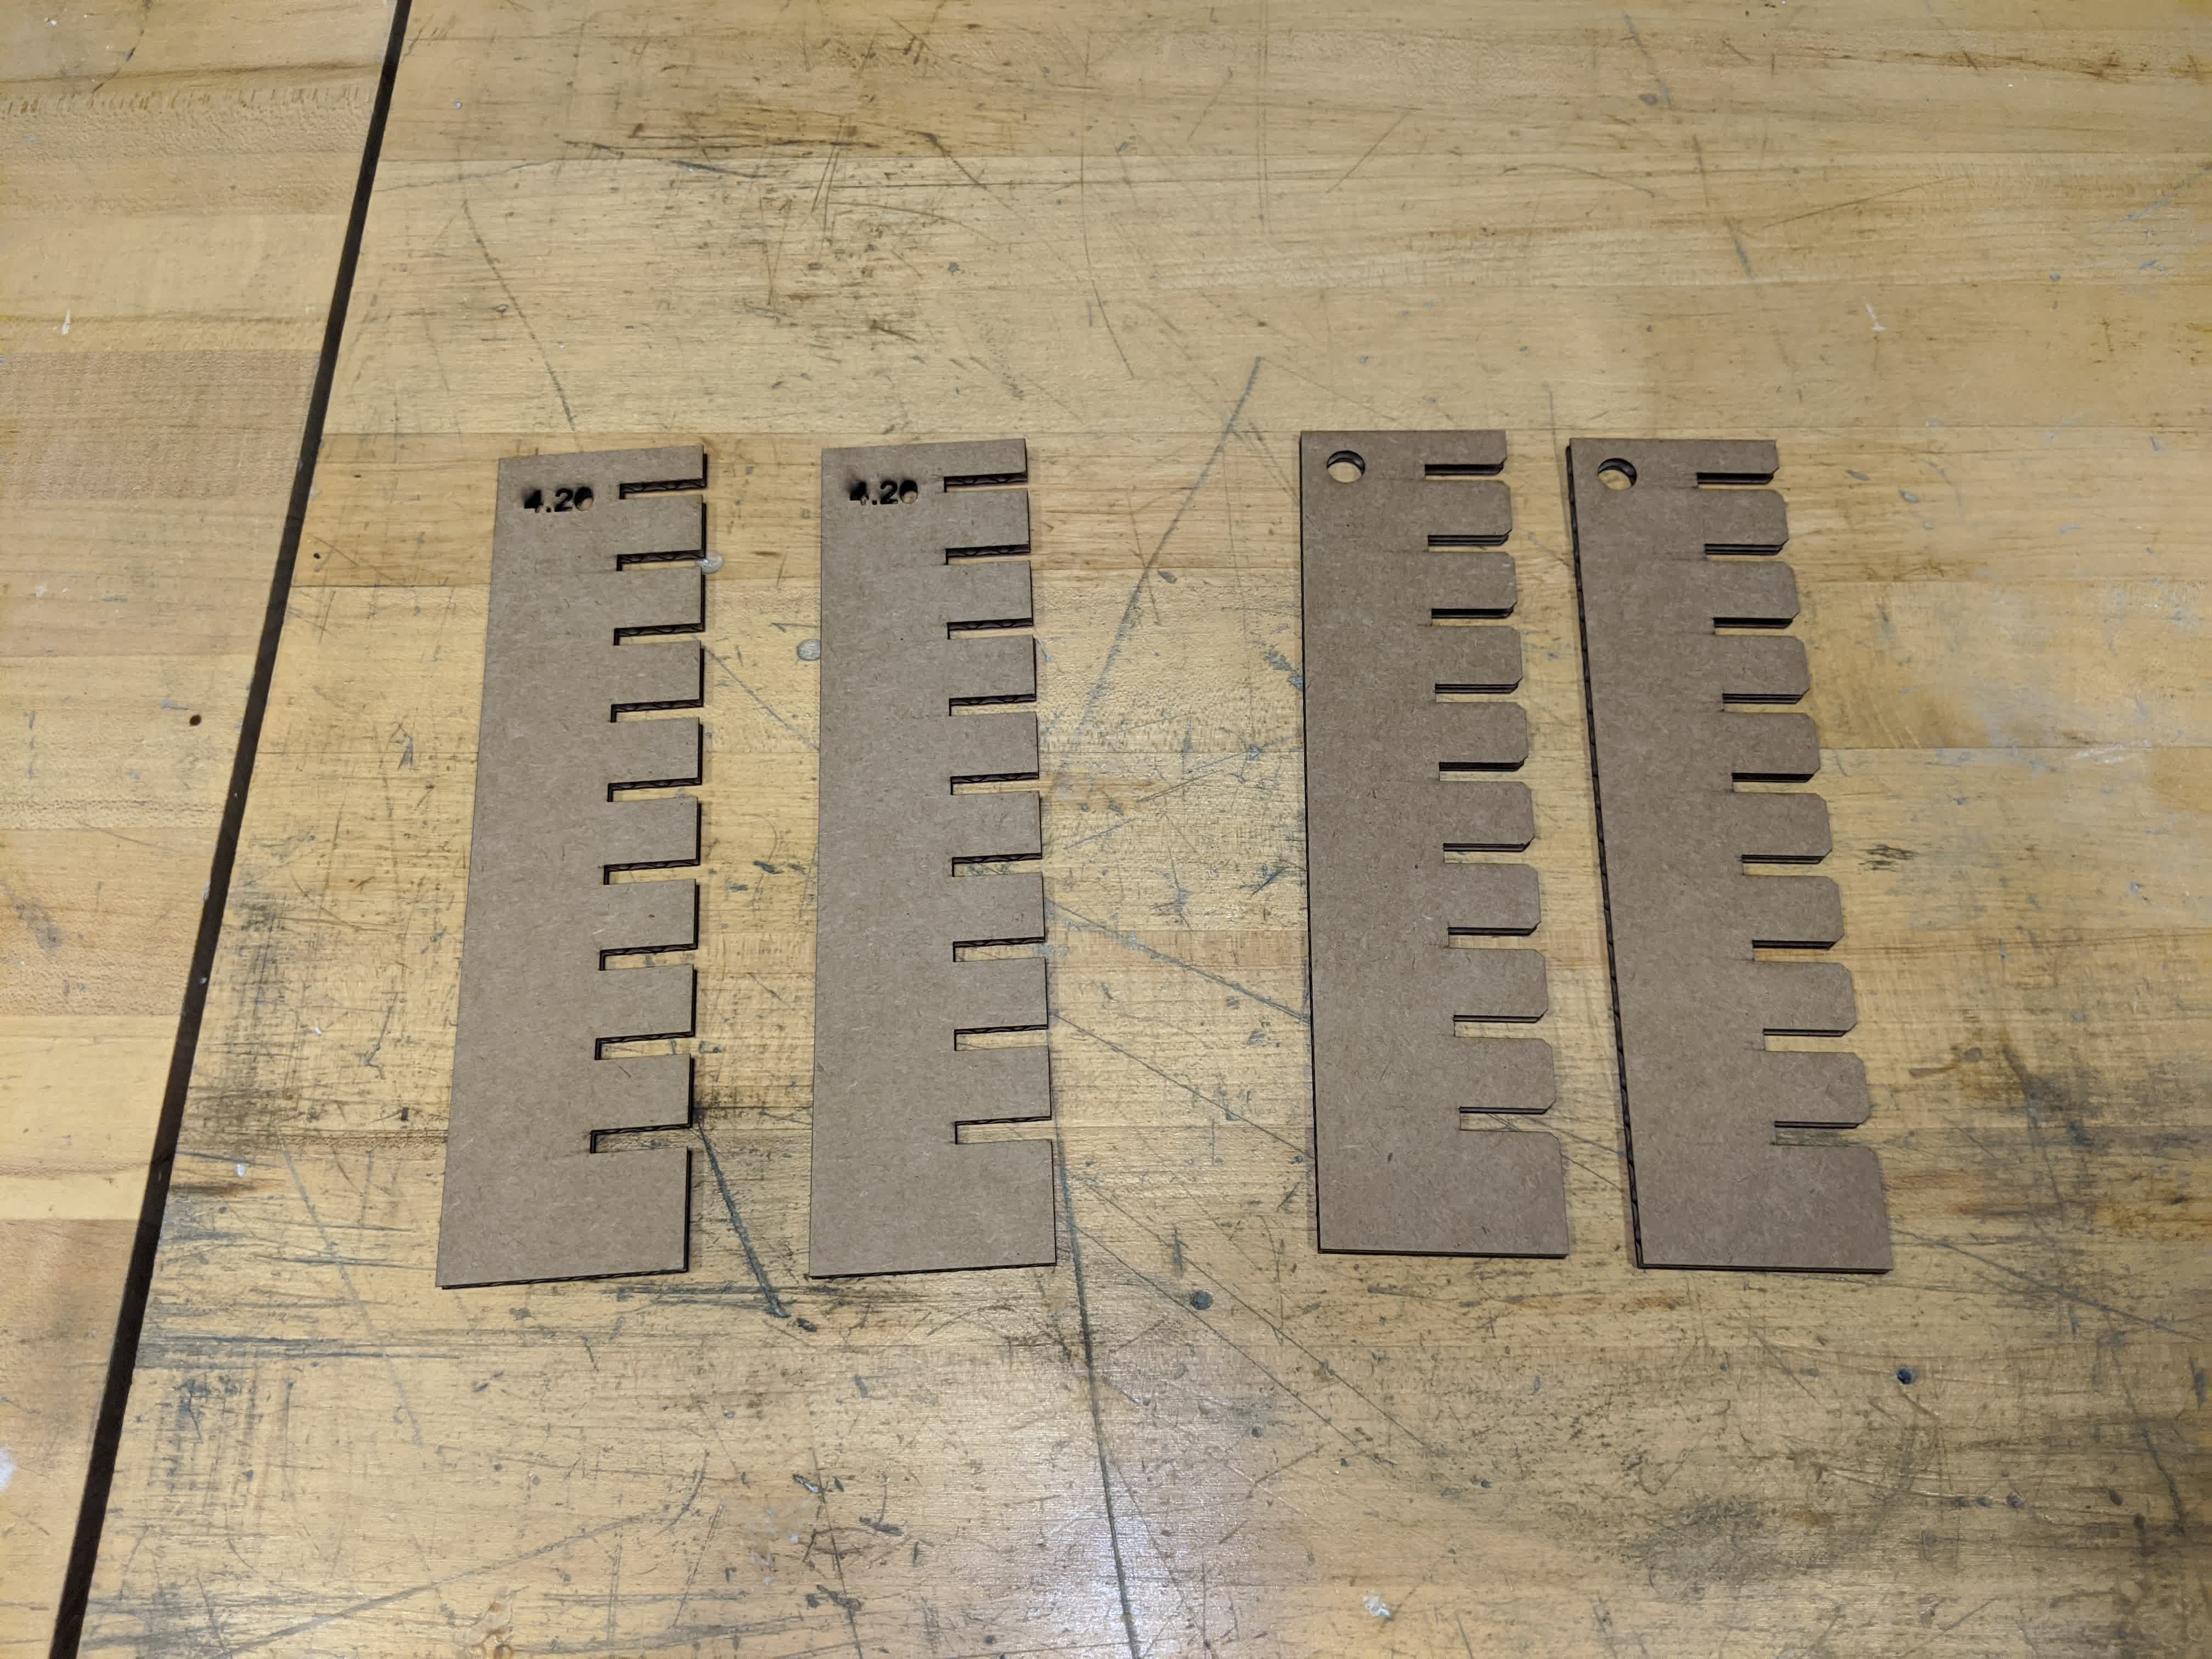
We also wanted to test out the proper spacing of slots to make press-fit joints with the cardboard. Using digital calipers, we measured the cardboard to have an average thickness of 4.40mm. Using that as a starting point, we created a comb-like testing piece with slots ranging from 4.20mm to 4.60mm at 0.05mm intervals. By cutting two of these, you can test to see which slot dimensions give the best joint fits. We also made another set of combs with chamfered edges on the slots to see the difference in ease of fitting the joints together.
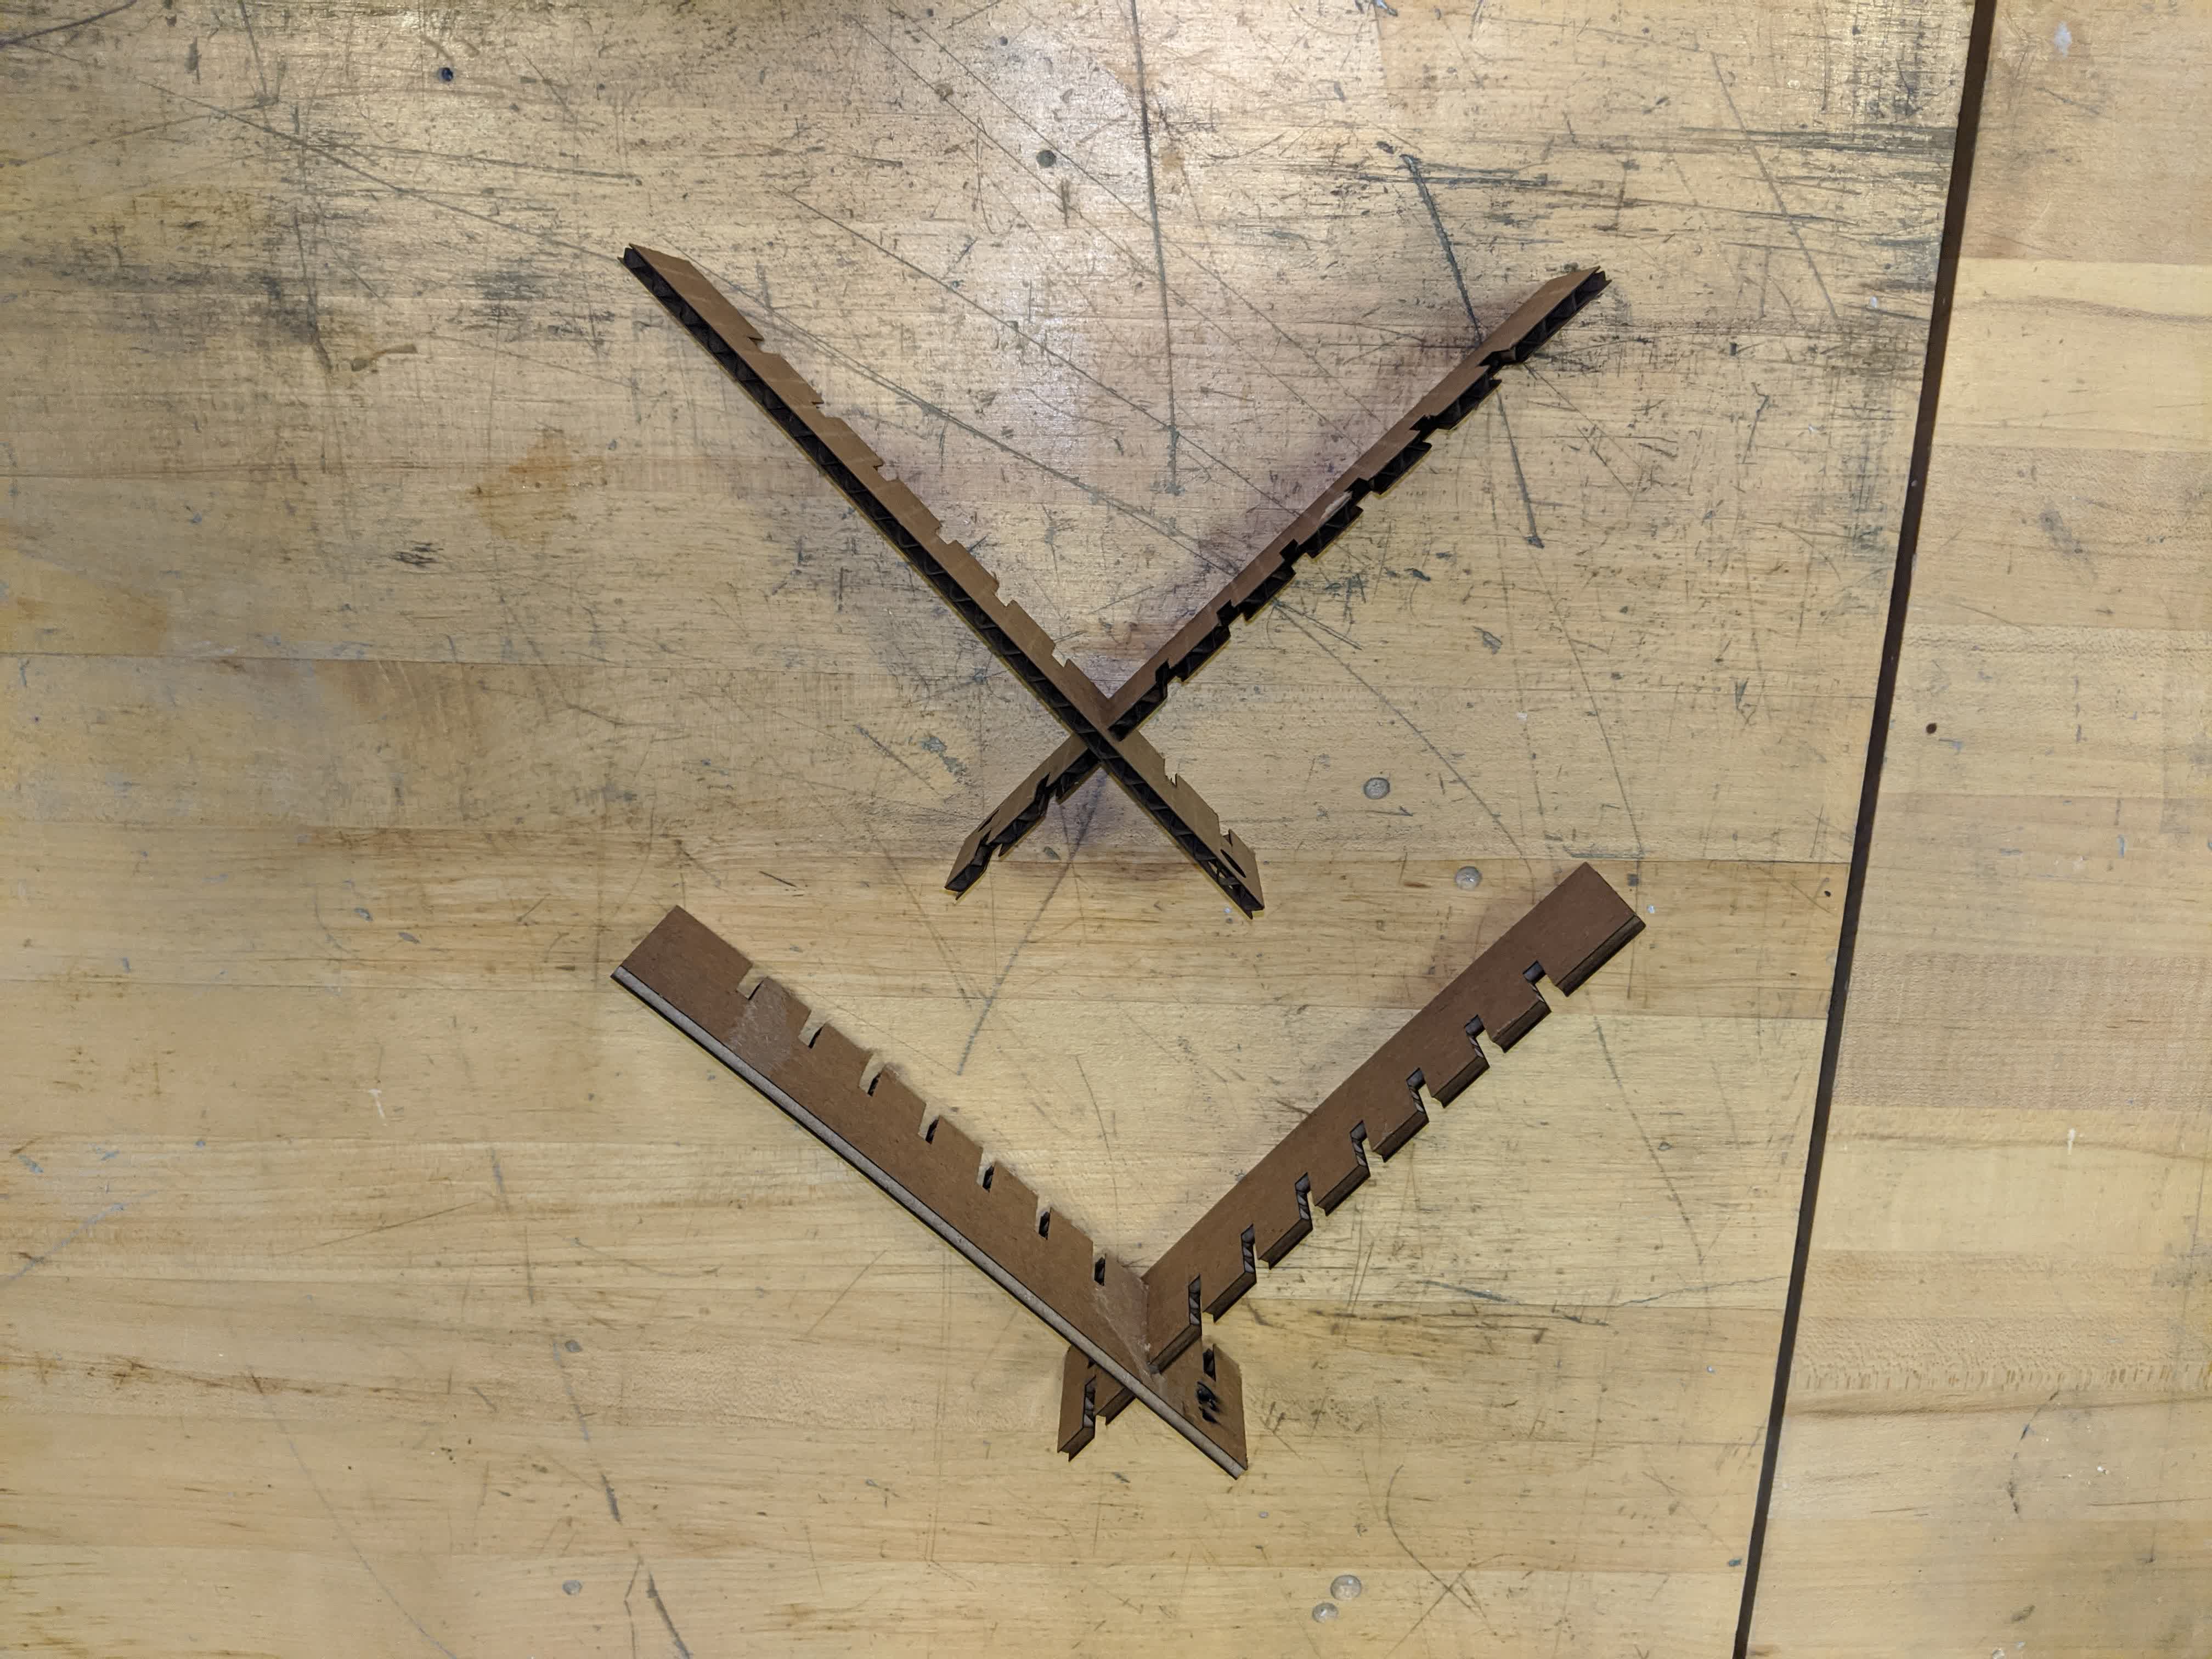
While our array of slots were all able to press together, you could definitely feel the difference in the tightness of the joint. At 4.20mm, it was pretty difficult to slide the joint together, but it did work. At 4.60mm, the joint was very easy to press together, but the resulting fit was fairly loose and wobbly. I personally liked the 4.25mm and 4.30mm slots the best, but it might depend on your project. If you only have a couple of joints, a tighter fit is best to keep everything from falling apart. Tom pointed out, however, that the more joints you have, if the fit is tight, that tightness compounds in a way, making laser joints increasingly difficult to actually press together.
The lesson we learned in all of this is that there are a lot of different things that can change that will make a difference when you're cutting or desiging something, and even if you've used the tool a thousand times before, it's a good idea to run some tests to dial in the parameters to exactly what you want to increase the quality of whatever it is you're making. Something as simple as a slight change in cardboard thickness, or the laser being slightly out of focus, could ruin your design, or at least not make it work as well as you'd like, so it's really important to get all of those things figured out.