We ran a few different tests in order to characterize some of the parameters for the ShopBot so that we can successfully design and cut pieces that fit well togther. The first test was focused on testing different spindle rotation speeds, pocket toolpath styles, and number of tabs required to keep a part in place. As a part of the test, we were also able to test the runout of the endmill by measuring the cut gaps. The second test was to see what size of gap worked best to slide to pieces together in a press-fit joint. The final test was to test if that same gap width was a good width for both finger joints and a slot press joint.
Speed (RPM): We tested three different spindle rotation speeds with test cuts at 10000, 11000, and 12000 RPM. At 10000 RPM, the cut just didn't sound like it was going as smoothly and quietly as it could be. Both 11000 and 12000 RPM did, and so we chose 11000 RPM as our preferred speed since it did the job and lowered the chip load (but not too low, of course).
Pocket Toolpath Style: The two different types of pocket toolpath styles we tried were Offset and Raster. Offset follows the outline of the shape with an offset that steps over until the whole shape is pocketed. Raster goes in a straight line back and forth, moving down row by row. For the specific shape we tested (a circle), offset is definitely the way to go. The raster cut took a lot longer than was necessary, and just sounded clunky. It even basically did an offset cut at the end to clean things up. There are probably many times that raster is more convenient, but for many of the things we're wanting to do, offset seems like the way to go.
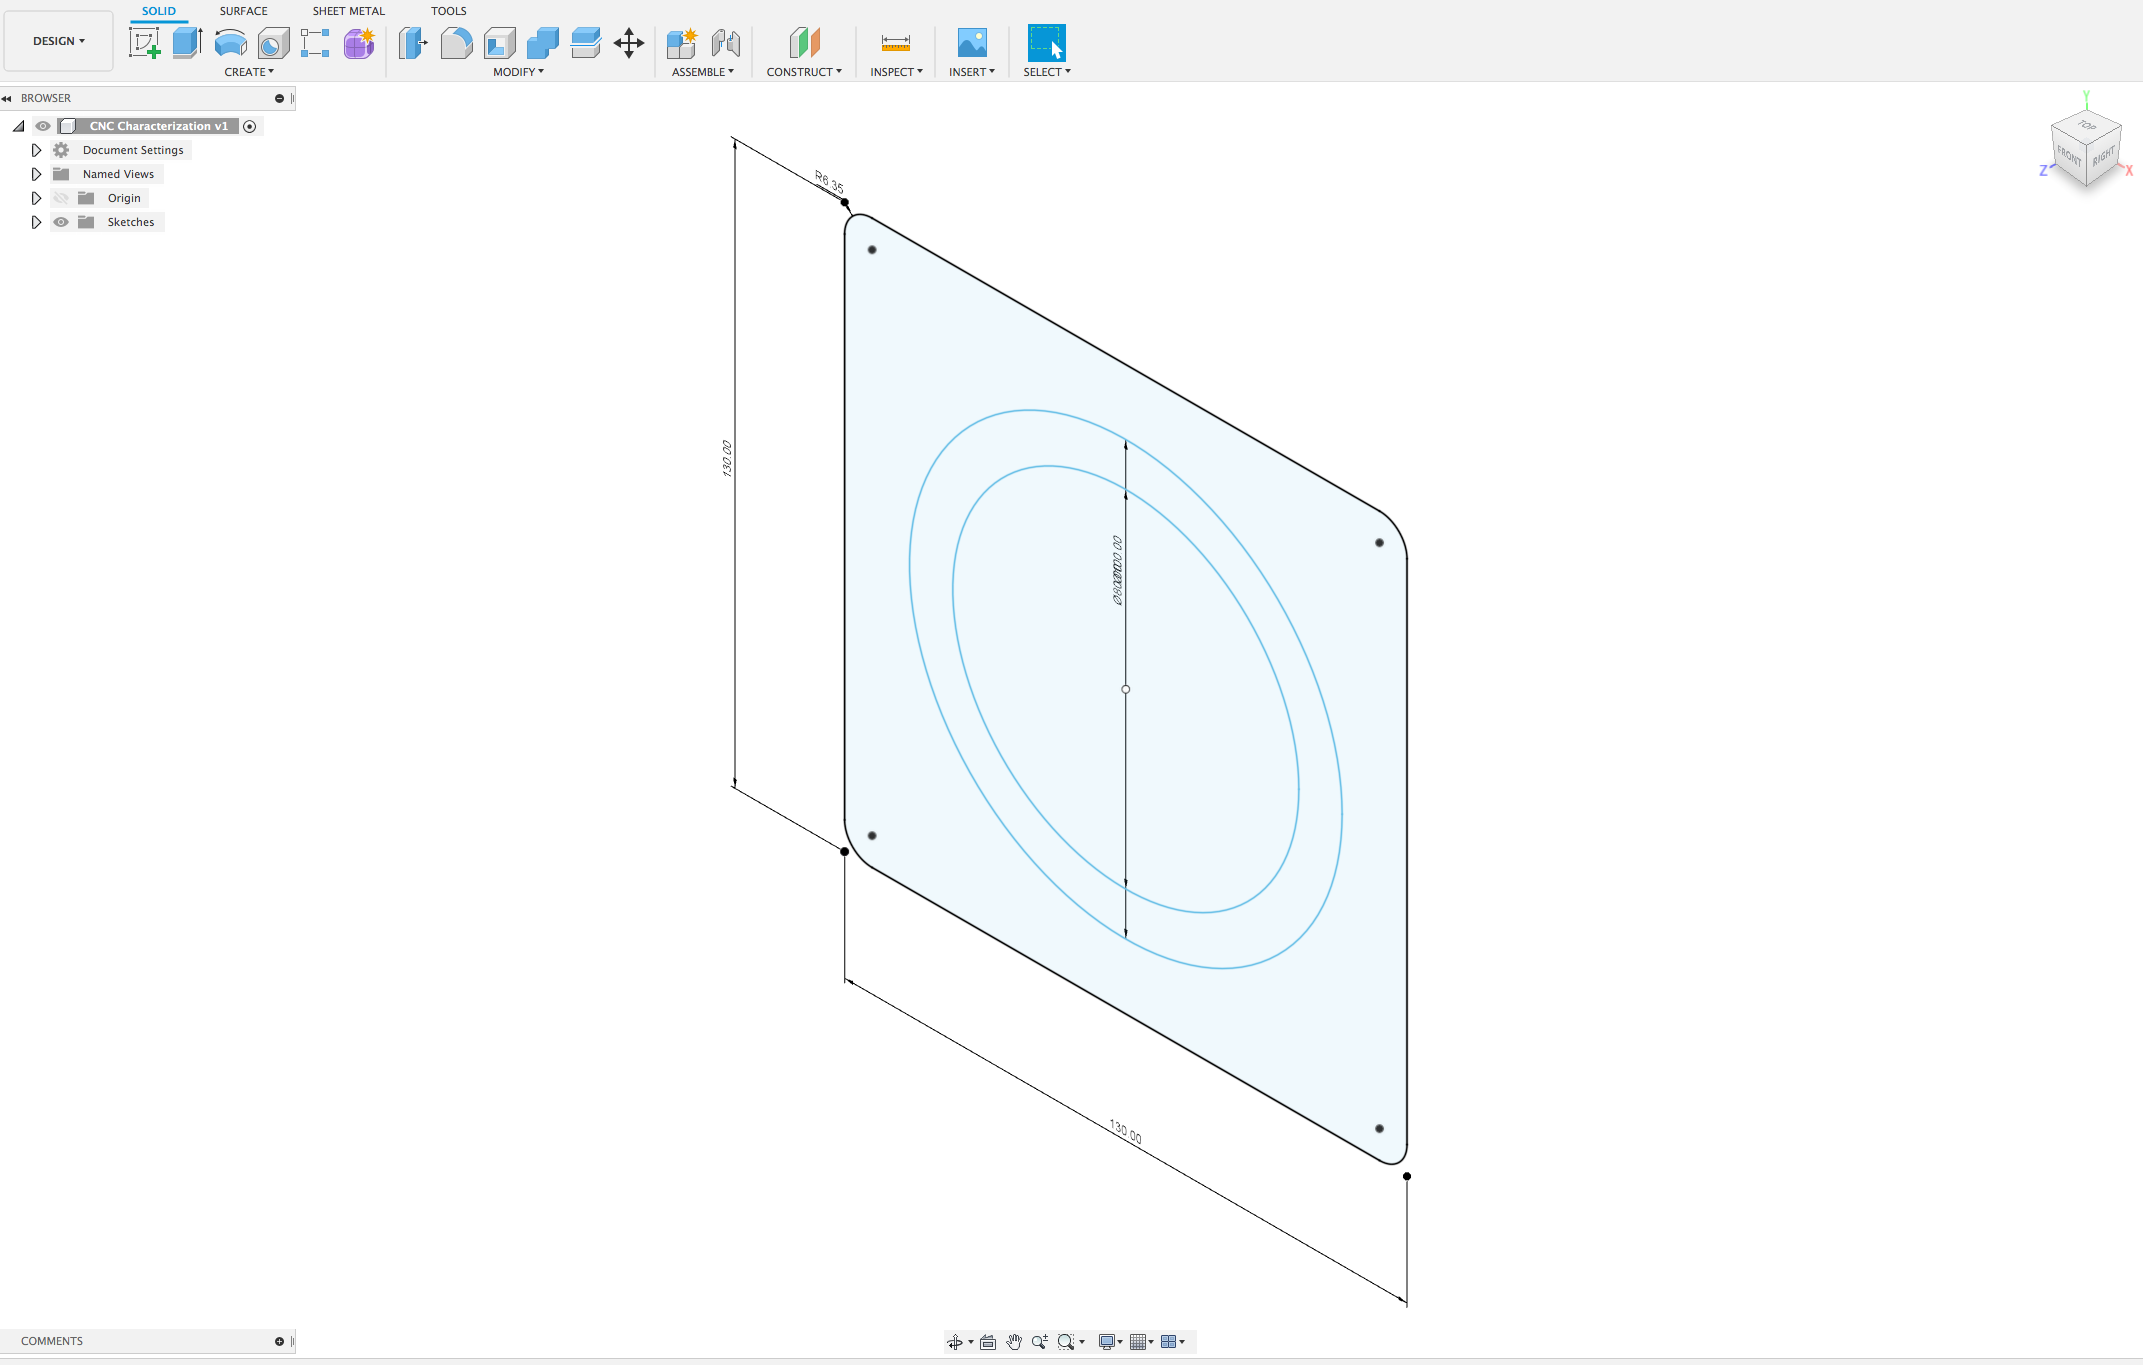
Tabs: We varied the number of tabs holding some simple shapes to see how many are necessary to keep the cut piece to stay on the sheet, but without going overboard and therefore making it harder to remove and clean up. We tried 1, 2, and 3 tabs to hold the circles down. Only one tab was very unstable. In fact, one of the pieces broke off and shot up the vacuum tube... Whoops... Three tabs was really strong, but was more than was necessary. Two was just right. We were also able to make the tabs a little thinner so they weren't so aggressive and hard to clean up.
Runout: We measured quite a few gaps made by a single path (in X and Y) cut in our different shapes and test cuts. The end mill we are using has a 1/4" diameter, and we were measuring gaps between 0.249" and 0.251". That's pretty good! It is worth noting, however, that none of the cuts were too complicated, so perhaps with more strenouse cuts, the spindle might not stay exactly in place, causing a bit more runout.
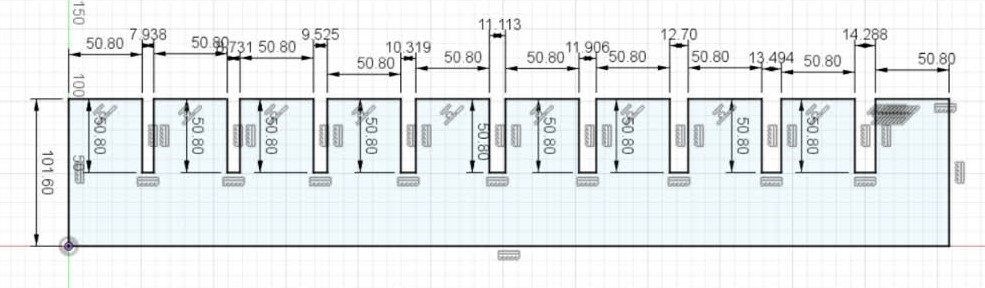
Comb Gap Width: For this test, we used the thickness of the material (7/16", or 0.4375") as a baseline, then incremented/decremented symmetrically by 1/32" up until 5/16" on one side and 9/16" on the other side. The narrowest gap that still would slide through was 15/32" (0.46875"). The next step down (7/16") just wouldn't quite slide through, but maybe would have if we would have included a chamfer. It would have still been extremely tight, though. So, while 15/32" (about 0.47") worked best for our test, it is still ever so slightly loose, so a gap of 0.46" or maybe even 0.45" would probably be perfect.
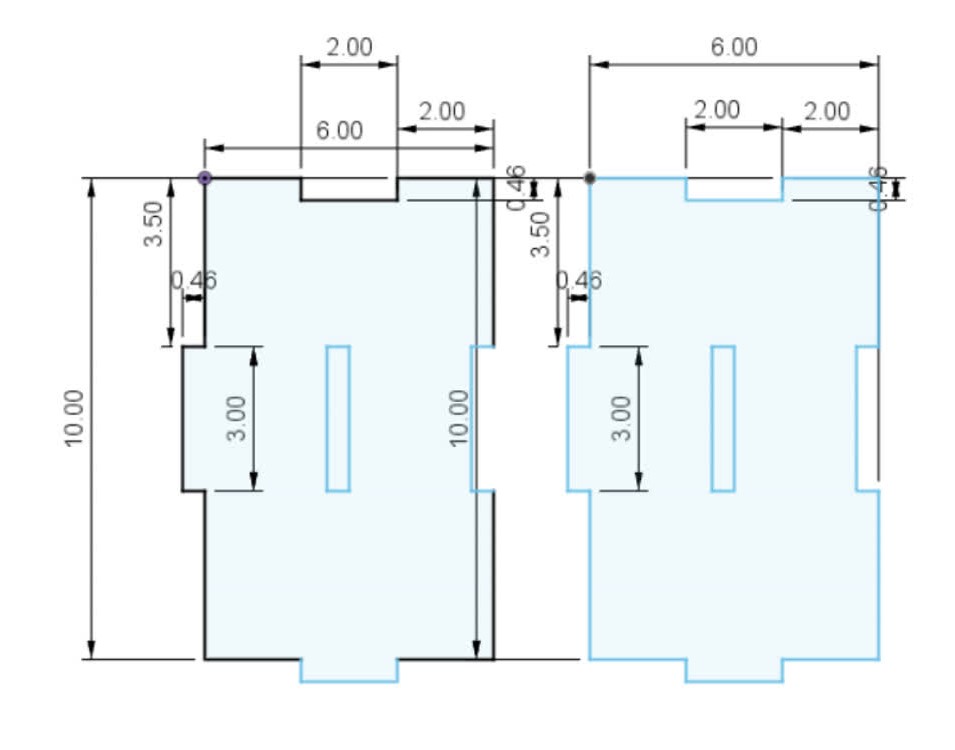
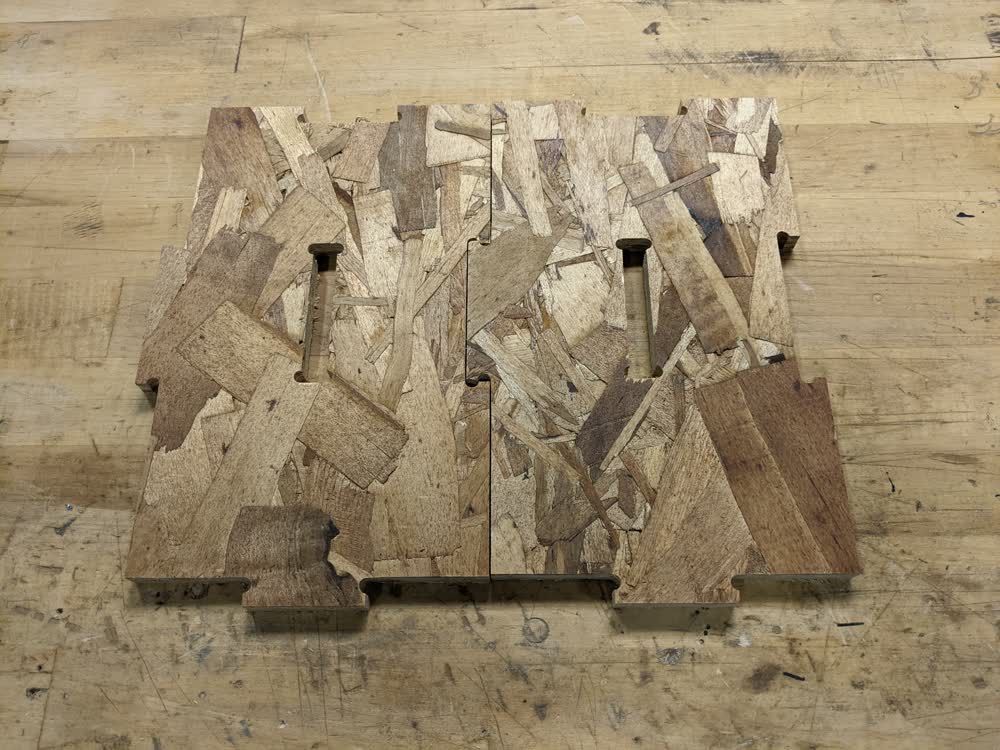
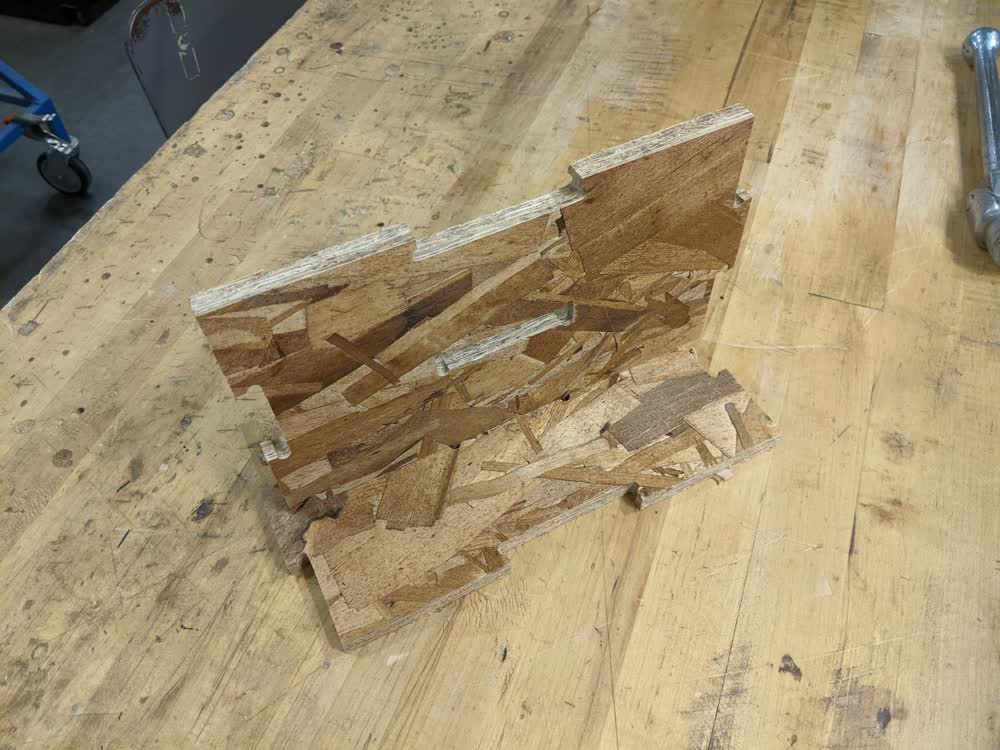
Finger Joint Width: With the ideal gap width determined to be about 0.46", we tested that spacing for finger joints. We didn't work on a tolerance between the protruding finger and the gap it would be inserted into, so there wasn't a tight friction fit, but the edge of the finger to meet up with the face of the inside of the gap, meaning that the finger joint thickness worked out well enough that the joint was flush.
Slot Gap Width: The last thing we tested was using that same value to create a slot in the material to press one of the finger joints into, but in the middle of a piece this time, instead of on the edge. The 0.46" gap was fantastic for this. It wasn't overly difficult to insert the joint, but held together by itself while handling it (it wasn't very easy to pull the joint apart at a variety of angles). As stated before, 0.45" might also work, but 0.46" seemed pretty perfect for such a tight fit.
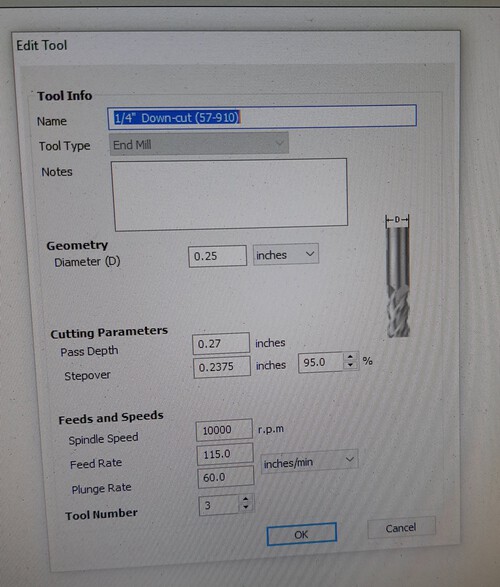

Finally, for good measure, here are some of the settings that we found worked really nicely for our cuts in general. We found that a cut depth of 0.52" went through our stock and slightly into the sacrificial layer, and a pass depth of 0.26" or 0.27" (which is just slightly above the recommended setting of equal to the end mill diameter) made it so it would cut through our material in two passes.