Networking and Communications
This week, we learned about *a lot* of different ways we could get our microcontrollers to communicate with other microcontrollers. There are a variety of protocols that allow devices to talk to each other, such as UART, Serial, SPI, I2C, and many more. Some devices even allow you to connect your projects and creations to the internet or other devices wirelessly using Bluetooth or Wi-Fi connections. There are obvious implications from this week that I'll need for my final project, so I was excited to get to work.
Unfortunately, this week and following weeks was the point in the semester when every other deadline came crashing down at the same time, and I opted to try something a bit more complicated than a simple "hello world" project with something supplied in our kits. I've mentioned before that I wanted to implement a Raspberry Pi Zero W into my project for its Wi-Fi capabilities, as well as its onboard memory functionality. The problem is, I couldn't figure out the best way to communicate between my microcontroller in my final project (an ATtiny3216) and the Pi.
We didn't talk too much about Raspberry Pis in class, and there wasn't any documentation linked to help figure out how to get these two devices talking, but I tried my hand at it anyway. Neil did mention that he was planning on adding a "hello world" for communication with Raspberry Pis, but that hadn't come along at this point.
After scouring the internet for ways to communicate between a Raspberry Pi and an ATtiny, I wasn't having a ton of luck. Most articles were about using the Pi to program the ATtiny, and for whatever reason, there was a lot of emphasis on doing so with the ATtiny85 chip in particular. However, I did notice on the Pi's pinout diagram that it had specific SPI ports, such as SDO/SDI (great article here as to why we're moving on from MOSI/MISO), which I knew were also included on the ATtiny3216 I was using. What I didn't anticipate, however, was how complicated SPI communication can be. SPI communication is really utilized to do synchronous message passing between devices, as they both sync their clocks together to ensure the message passing truly is synchronous. This adds in some complicated code that I frankly was just having a hard time understanding, especially because I just wanted to get simple values represented between the two chips. I knew that the Pi cannot read analog values, just digital highs or lows, and I didn't really need the Pi to talk back to the ATtiny at this point in my project.
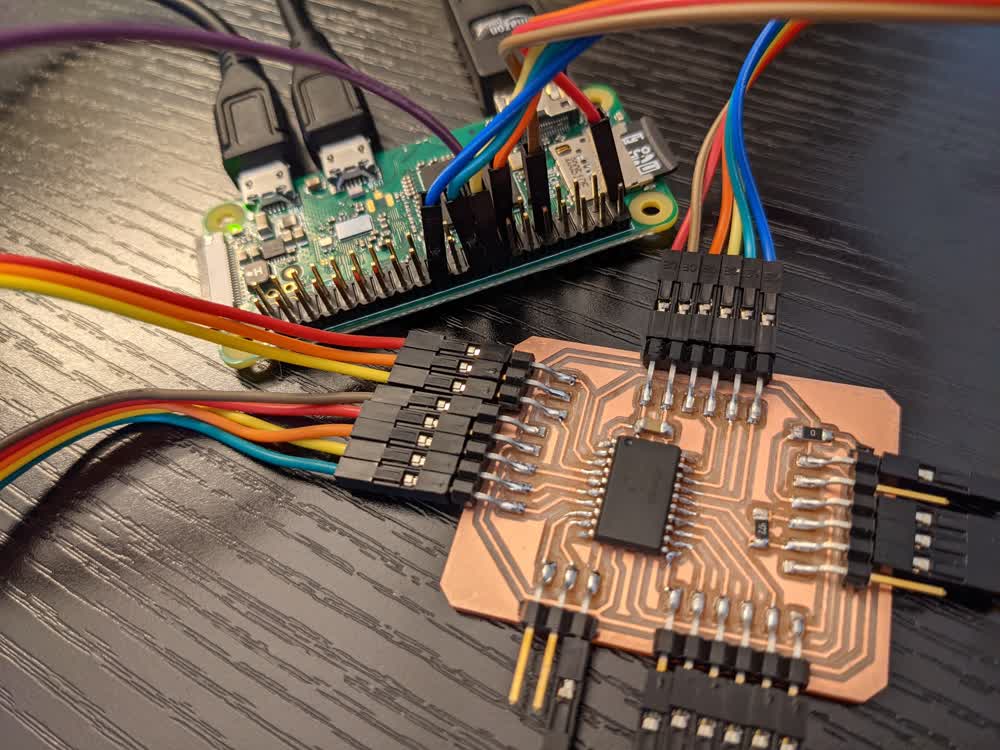
I hooked everything up between the Pi and the ATtiny3216 according to SPI protocol at first, but after struggling with that code for so long, I decided to just see if I could get the Pi to read the pins directly. I could encode the necessary information that I needed to pass between the two chips with the four pins on the ATtiny that weren't being used as pins anymore plus one remaining pin. I do realize that I could have just tried to use the serial line to go between the two devices, but I had already done that in a way with the Serial terminal on my laptop from the ATtiny, so I still wanted to try something new. I redirected the pins on the ATtiny to the Pi's GPIO pins and started changing up my code a bit to see what I could read off.
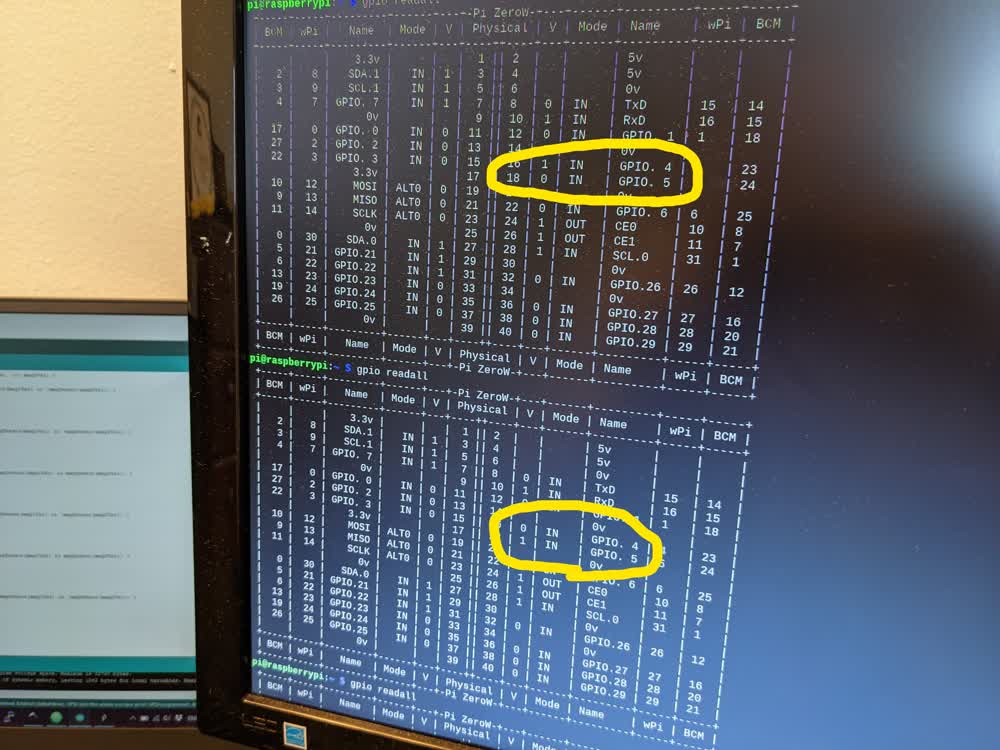
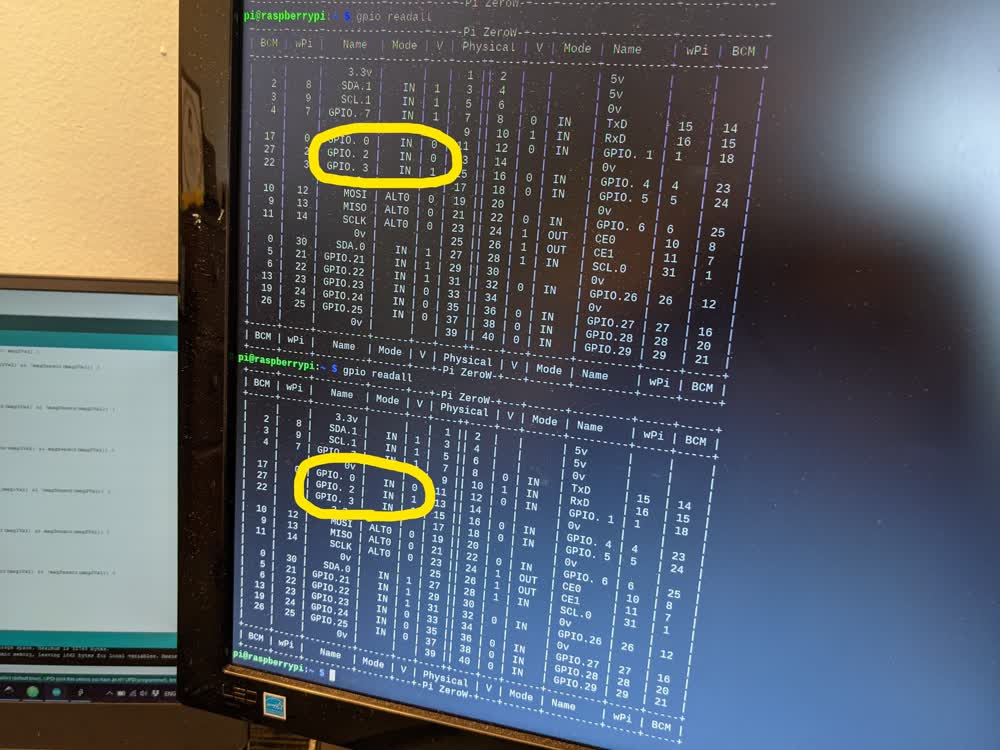
Again, time crunch in the semester. I was late with this week's assignment, and I was working it into the final project itself, so I didn't quite get the results I wanted. The best I was able to do was see the pins changing as I put in different blocks into my reader, as you can see above. I used the "gpio readall" command to see what was going on inside the Pi. With more time, I would have written an actual script to see what was going on and do something based off of what was being sent from the ATtiny. Eventually, the Pi will take that info to start and stop the microphone and speaker and also to upload/download audio files from the server I will have running.
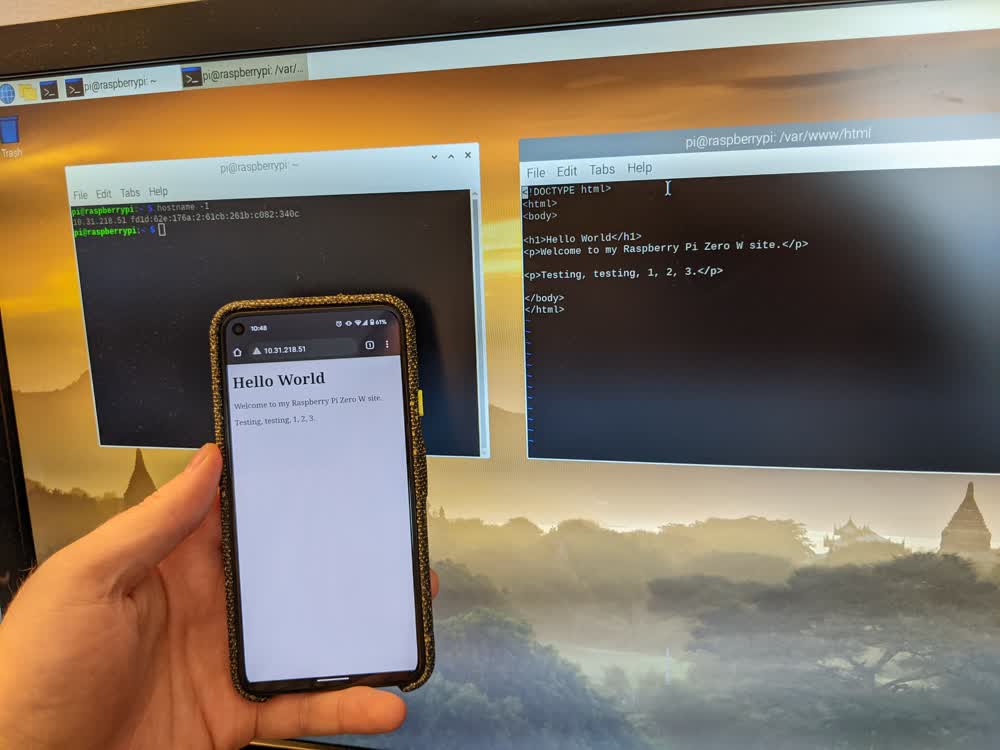
One final thing I wanted to try was using the Raspberry Pi to run its own web server. This was pretty easy using the Apache web server. I created my own hello world webpage, connected my phone the same Wi-Fi network, and was able to see the page using the Pi's IP address in my phone's web browser. That was pretty cool, and I'm so excited to see what I can come up with using that.
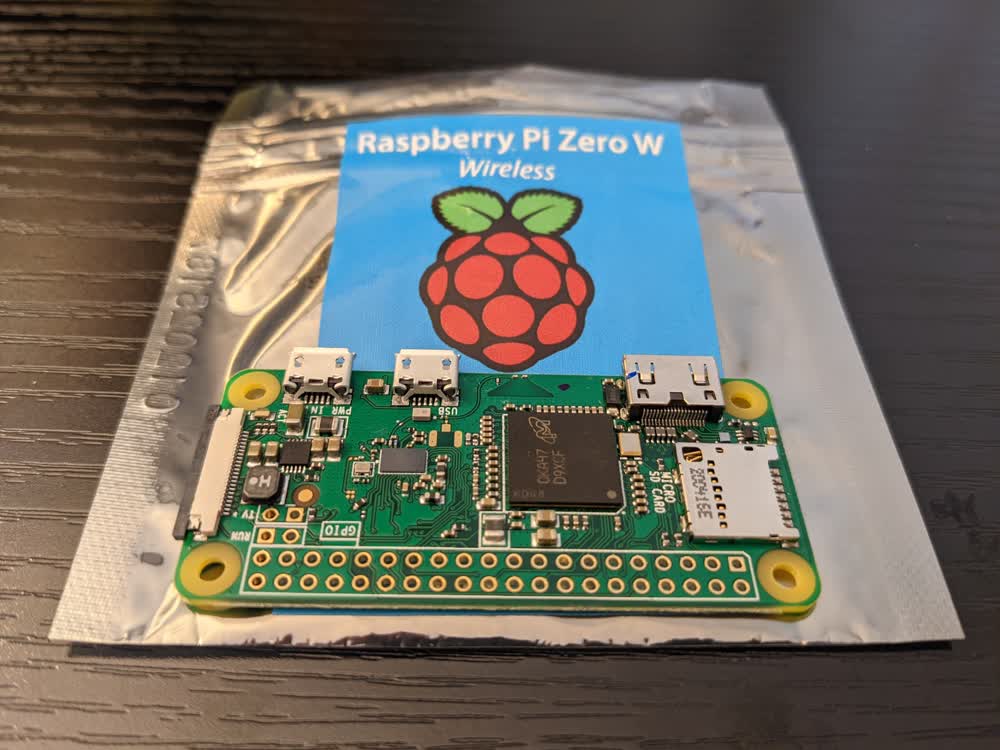
In the end, I wish I would have used one of the ESP chips provided in our kits to get comfortable with some simple networking concepts, as well as some simple node to node communication, but I was able to learn some good stuff through my failures. This is my first time ever using a Raspberry Pi, so I was absolutely amazed when I connected such a tiny device to my mouse, keyboard, and monitor, and had a whole other computer on my desk next to my laptop. Now that I'm understanding a little more of what those devices are capable of, I am really excited to try out some really awesome things with them!