

Printing the pattern onto the iron-on-transfer took me two attempts - mostly because the mods were being updated at the same moment as I was making my vinyl cut. This was the first time I was going to vinyl cut something so I uploaded the png, hit calculate on the mods and double-checked with the TA when something funky was going on. Once this was done, I picked a piece of iron-on-transfer paper (there was only a small piece of black). I cut the raw edge to make it nice and straight -- there was a corner cut out of it. I then put it in the cutter, shiny side down. If I had had writing in my design I would have had to make sure that the image was mirrored since the iron-on-transfer paper gets printed on the down-side of the paper. Using the 'Piece' selection on the machine, the size of the paper pops up. I took this size and put it into the Corel drawing and stretched my image to the full size of the page (a little bit of give at the edge). Then... PRINT

Next step was the transferring process which requires patience ensuring that the all the pieces of the vinyl have been transferred properly. This ensures that all the pieces come off and adhere to the new surface properly. I found it was best to gently pull back the excess pieces and use a small hobby knife to help to cut any of the transfer that didn't quite get cut through. The eyes/mouth were a bit tricky to keep on the sticky paper while taking out the excess, but holding it down with the tip of the knife while gently pulling off the excess seemed to work fine.

The final step was to cut out a section around the design and weed off the excess there. Now its ready to press onto my laptop!
I made my files on .ai because I am very comfortable with that software.
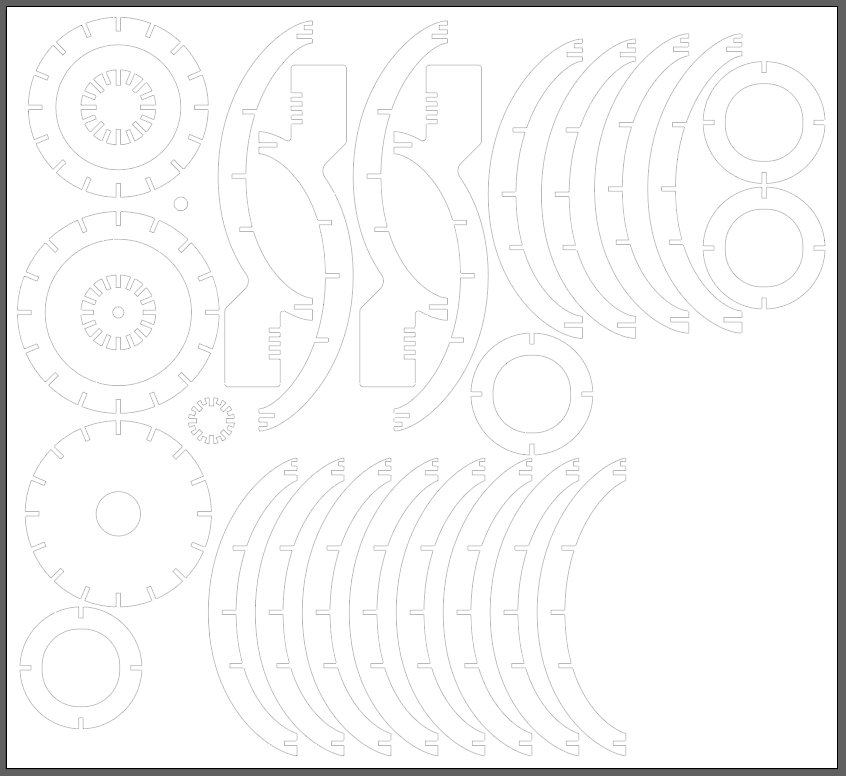
Next up I needed to turn this into a 2D image for path planning. The first thing we did was the group project which was to characterize the laser cutter, which you can find the results of that The Group Assignment is Here. I then completed sketches of each of my parts. To do this so that I was taking advantage of space appropriately, I copied the panel parts and set them up flat next to the central panel of the backpack. I linked all of these panels and sketches to make sure that if I changed any parameters down the road, they would all update automatically (tested this out when I updated the board thickness).


Here's an WIP assembly of the rocket. (Unfortunately, I have lost the images of the full assembly.)
 Here's a video of laser cutting: