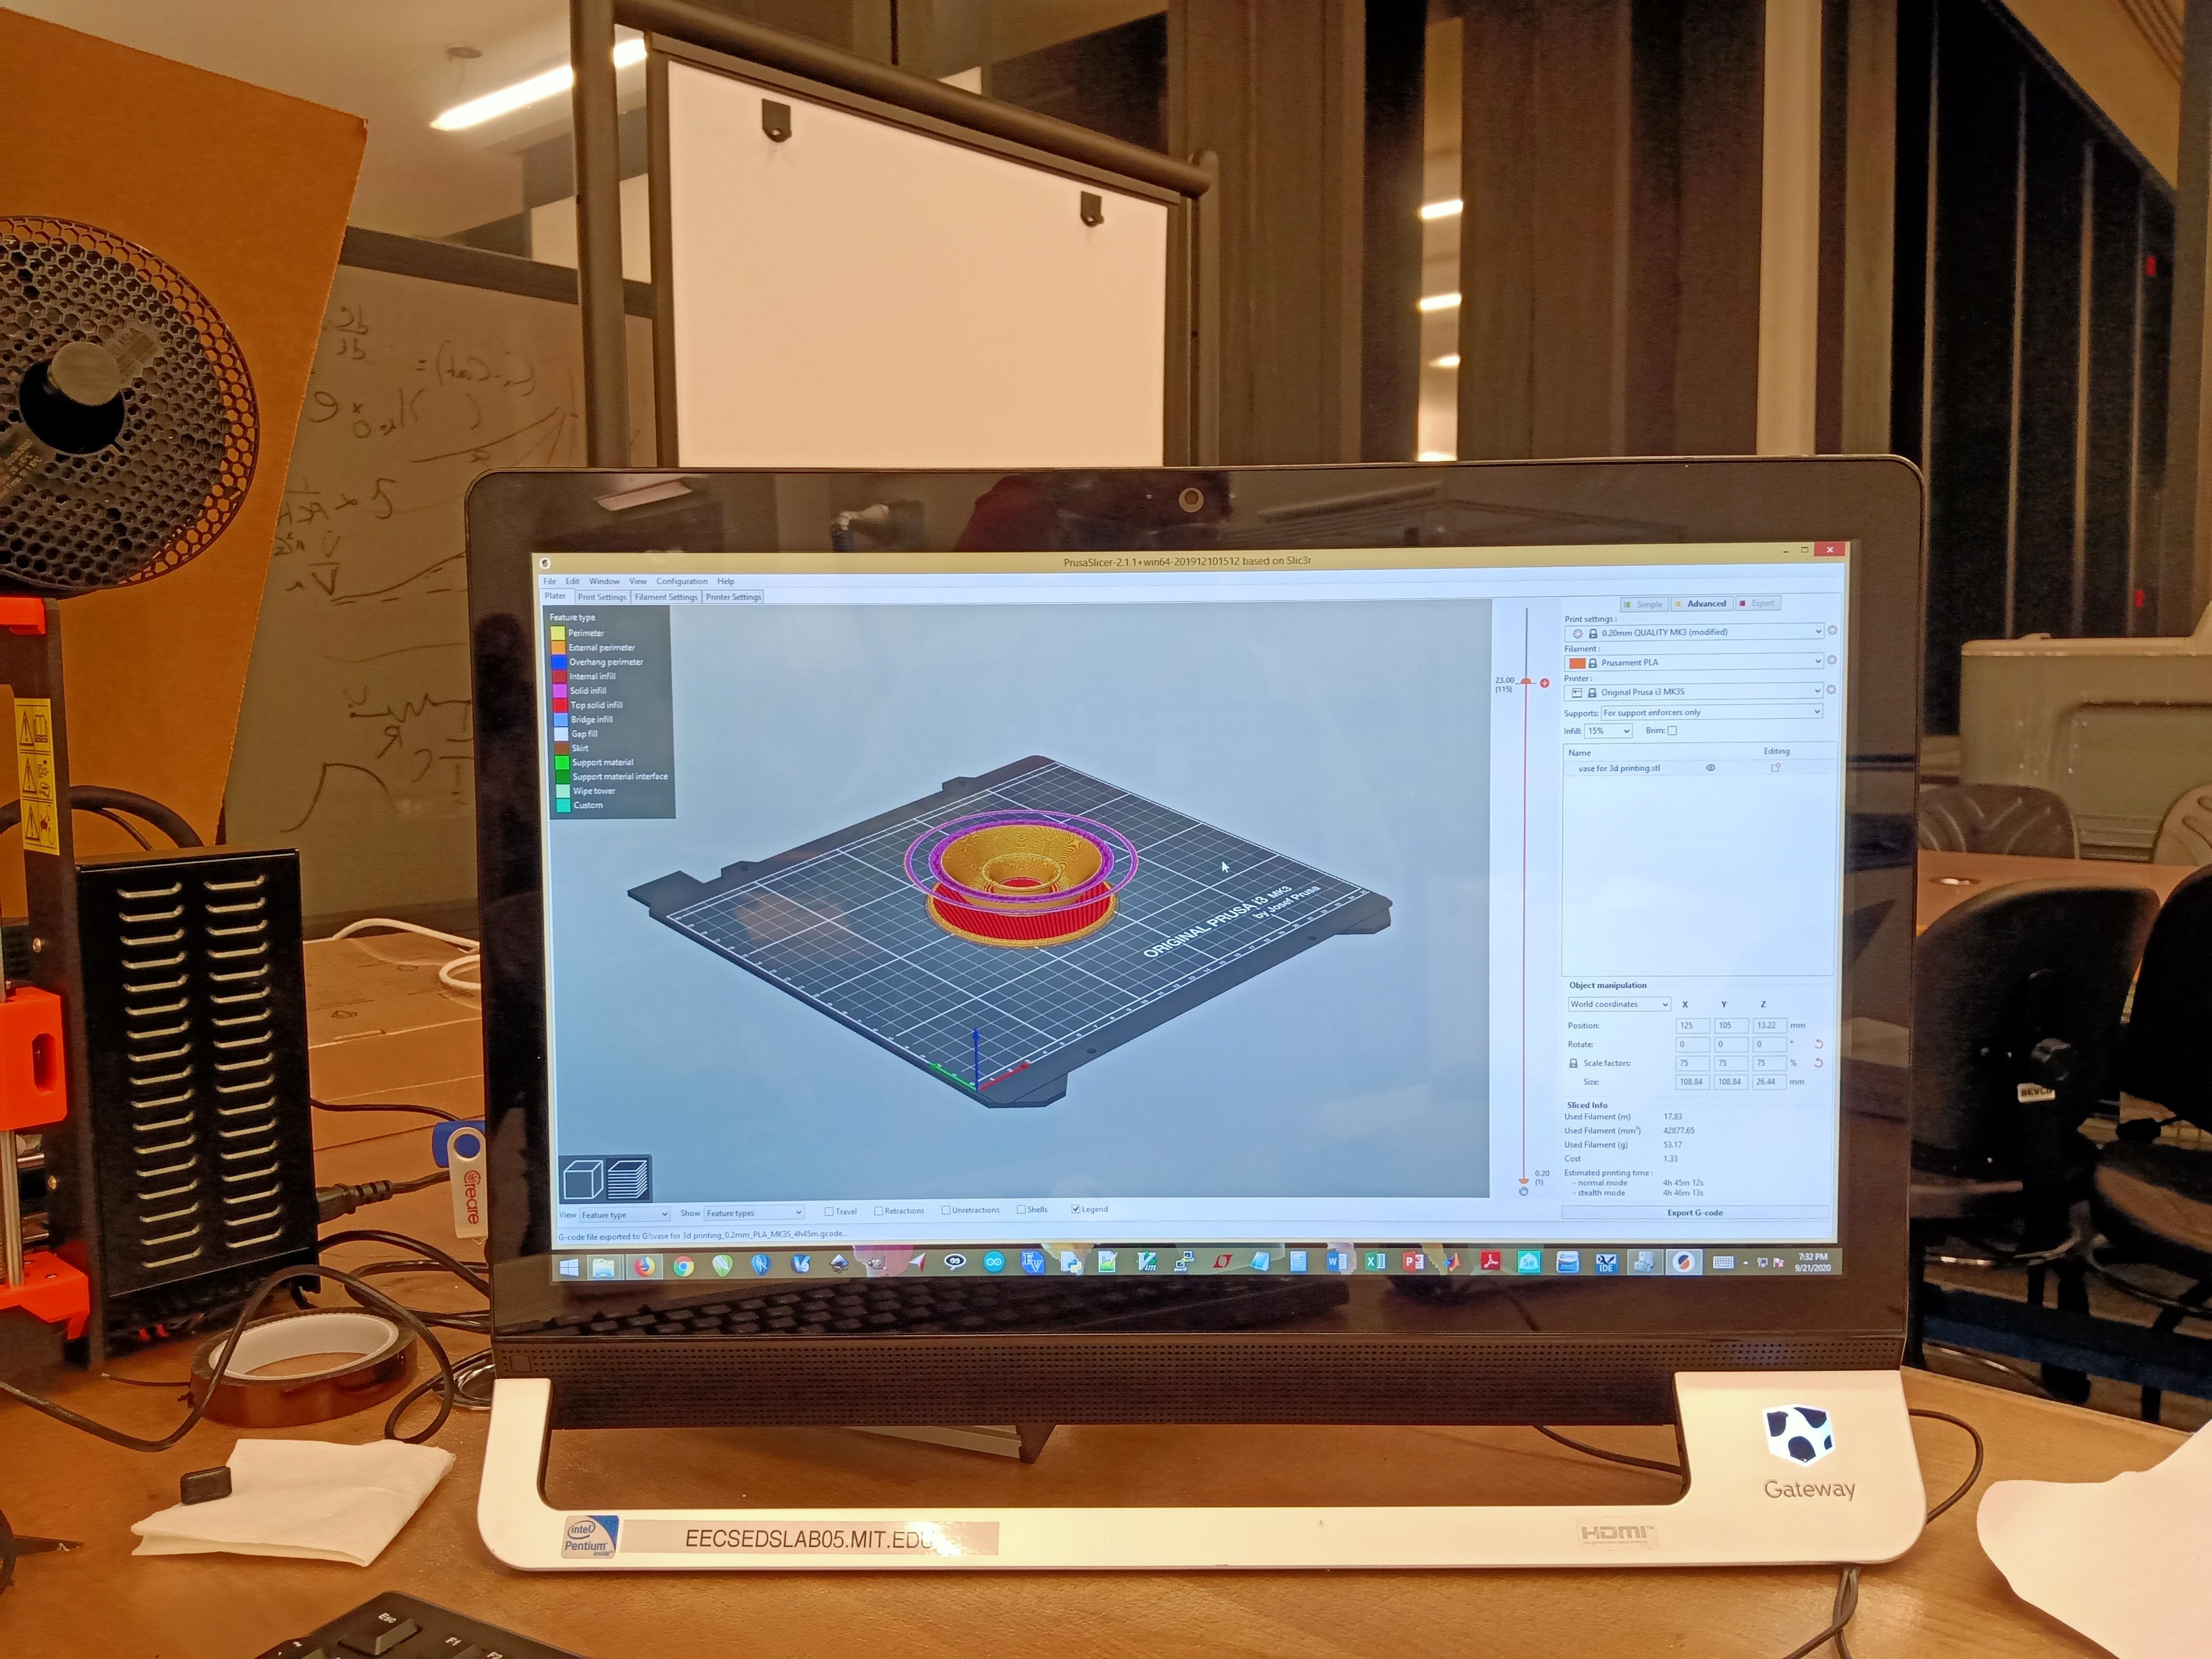
Next step was Generating the .stl for all the components. Using Fusion 360, I found that I had to go to File --> 3D Print --> and then select. After doing so, I simply generated the gcode from the Sindoh software, adding support material inside the spherical shells. Then loaded the gcode onto the printer,
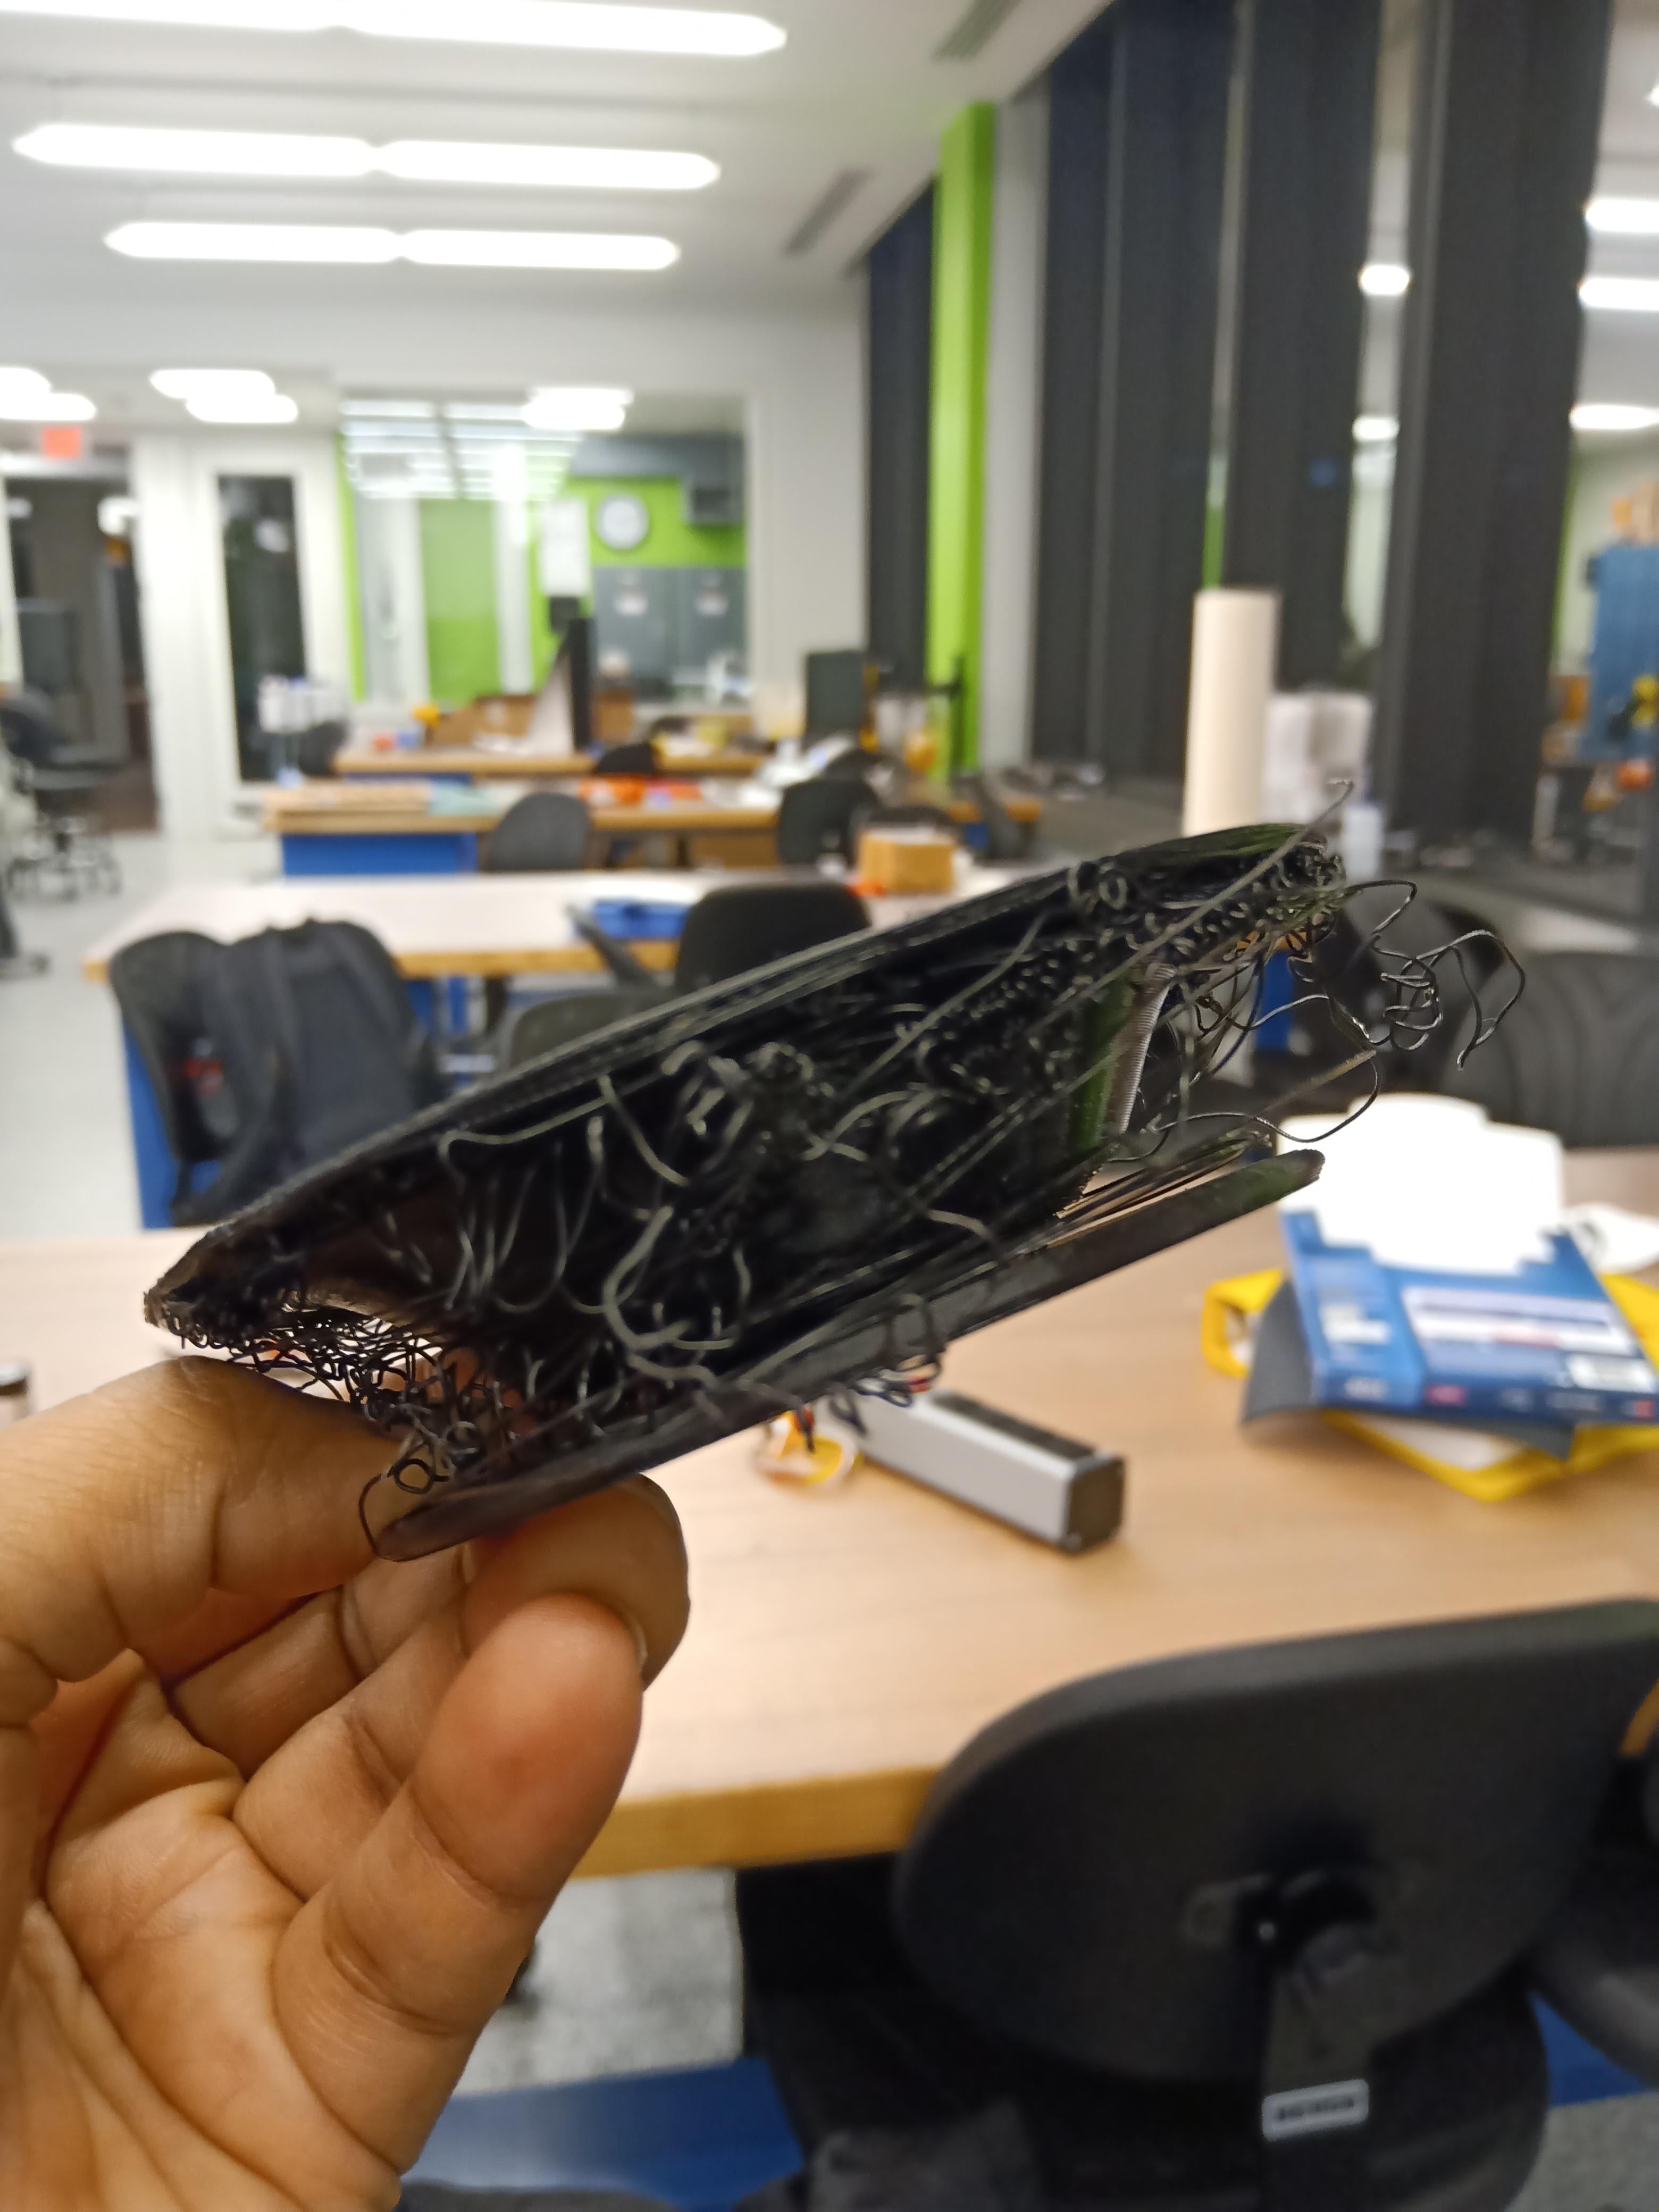
However, the first file failed because I had not given it enough support material in the settings, so I had to reprint. Here’s the failed print.
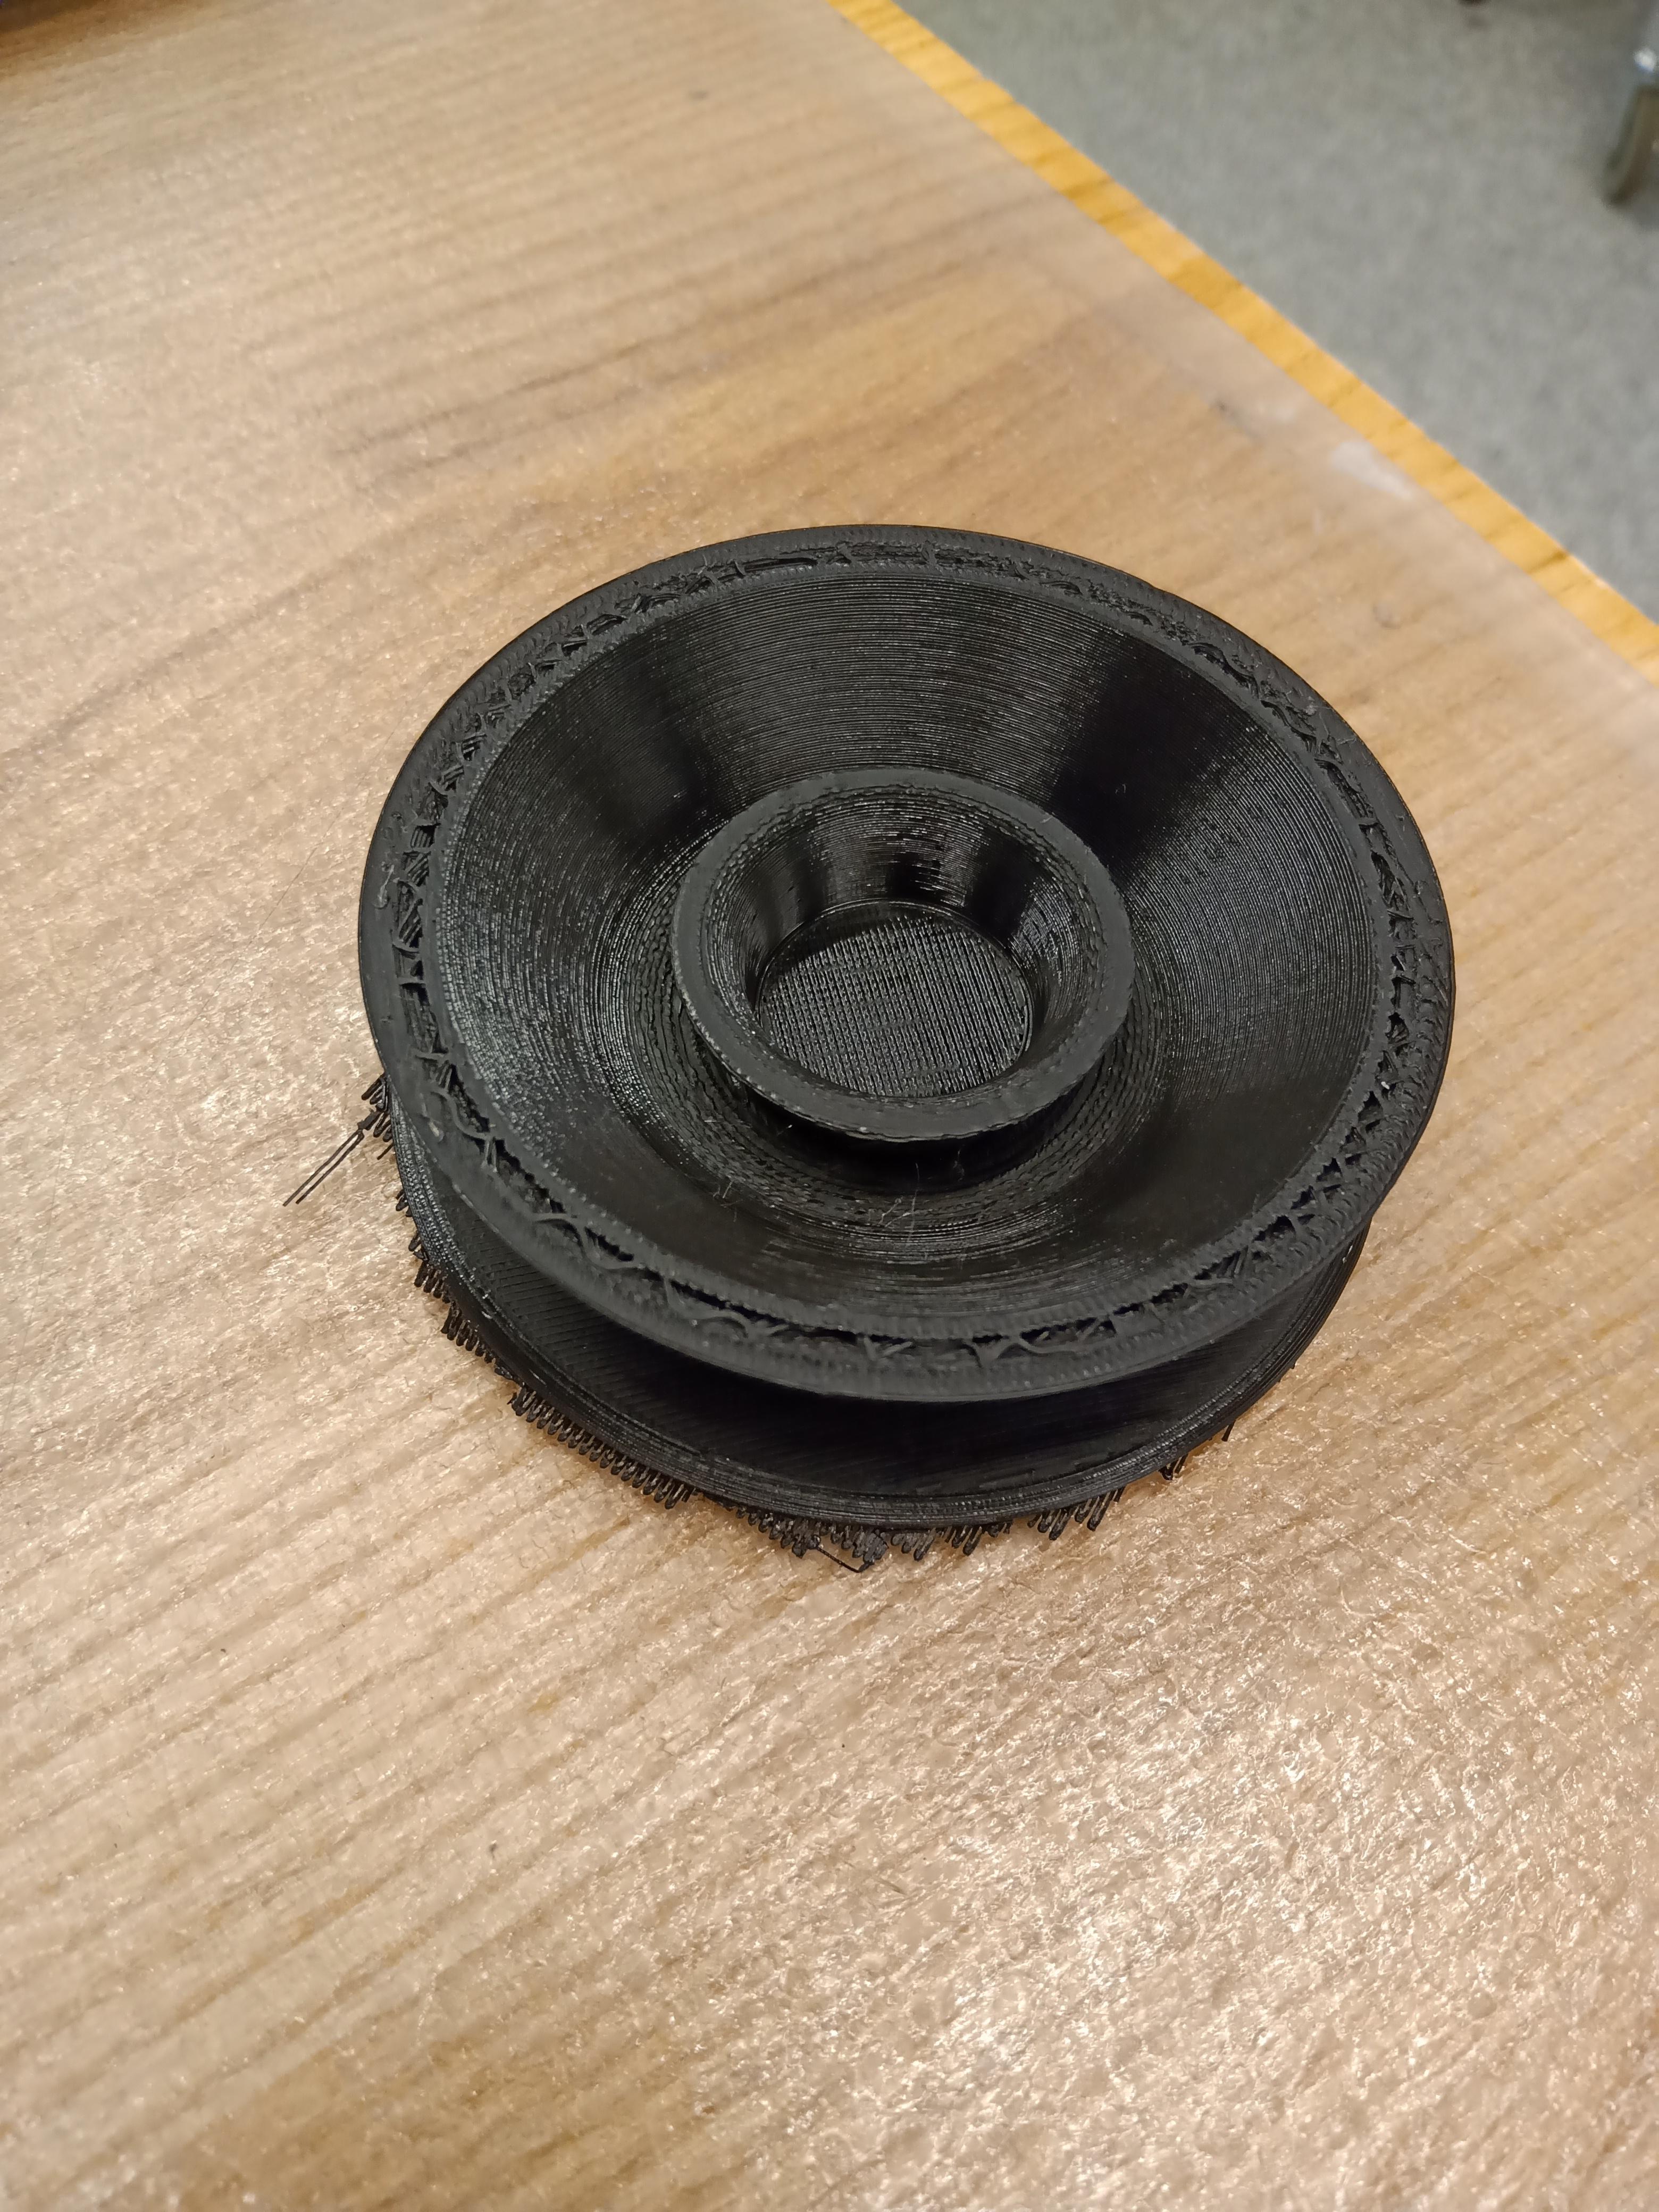
Here's the second attempt product fresh and hot out of the printer. I definitely wanted to do this while it was still warm to ease the process of removing the support material.
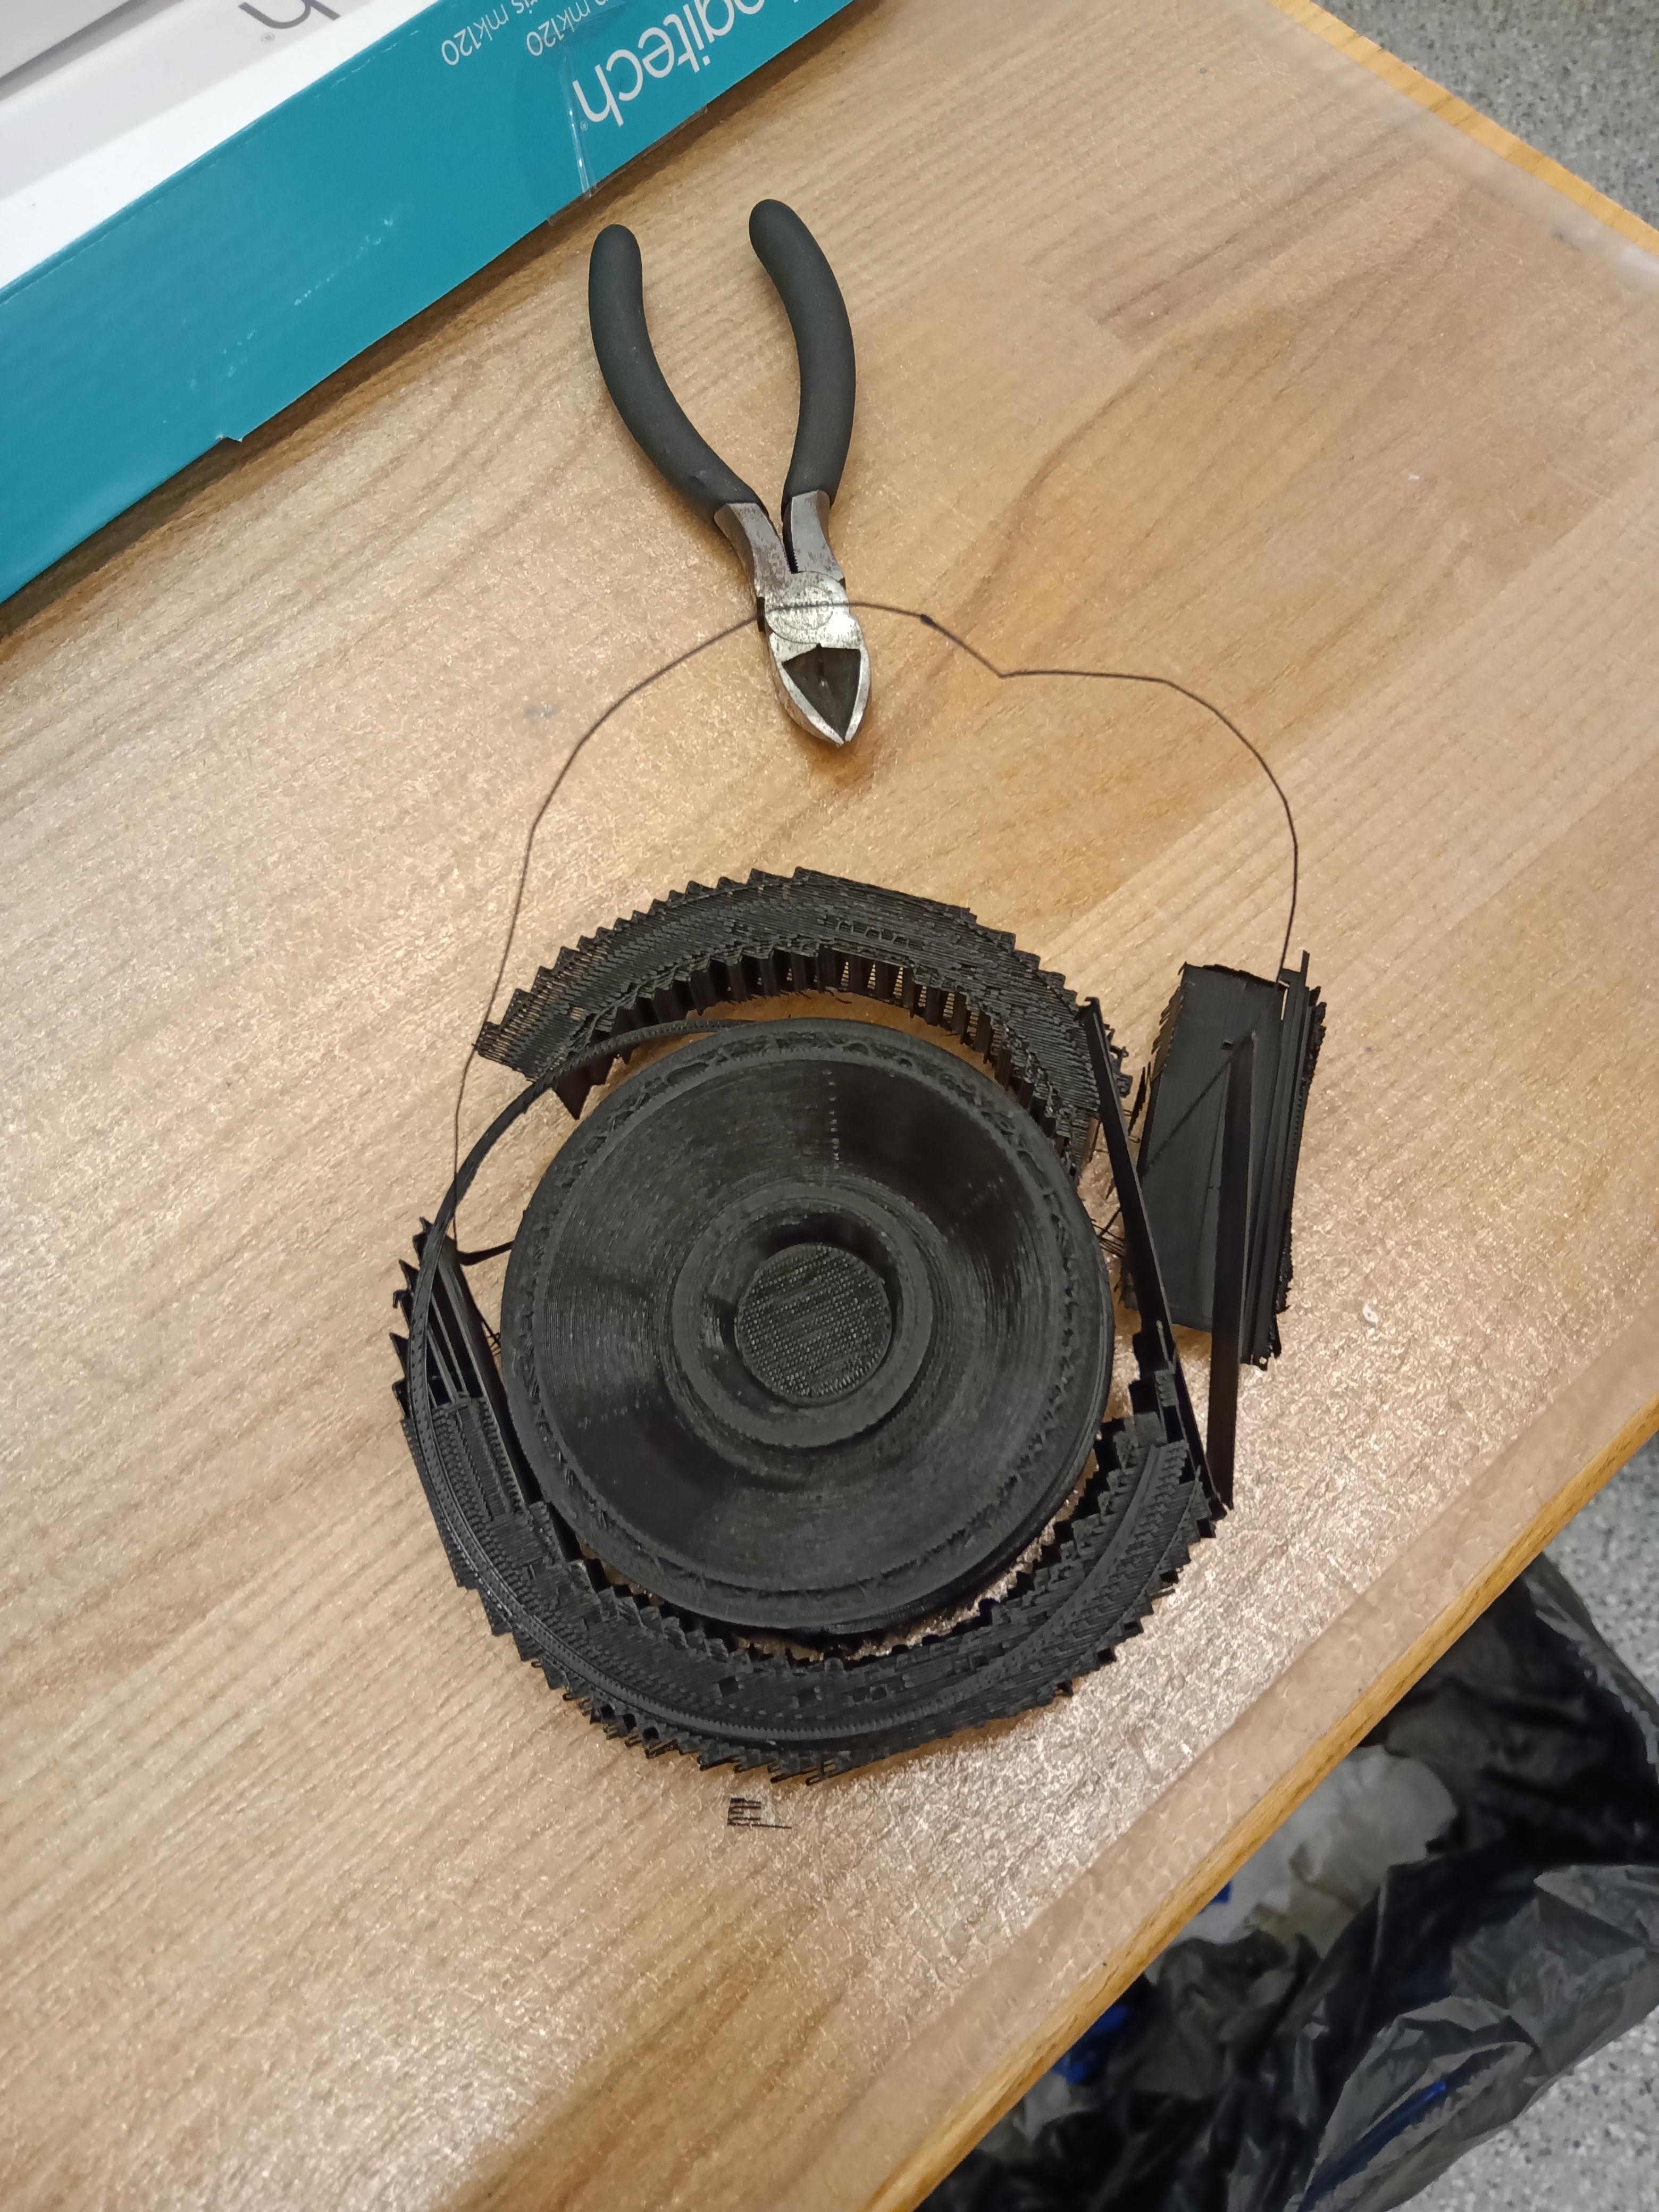
Removing the external support was easy. It just snapped right off.
I used a screw driver, a chisel, and shears. It took a while, but I cleared everything out.
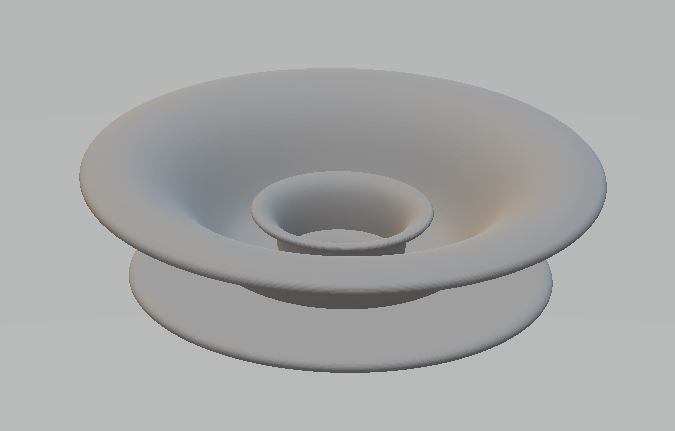
 Here's another item I made on Fusion360 for 3d printing.
It's the cap for a lamp circuit housing. However, I ran out of time to print this.
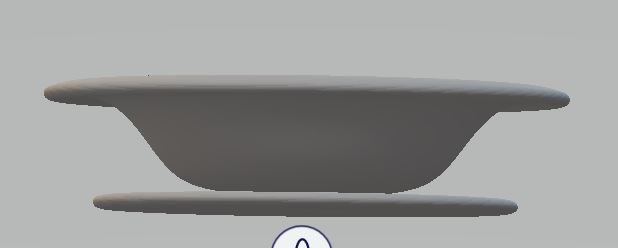
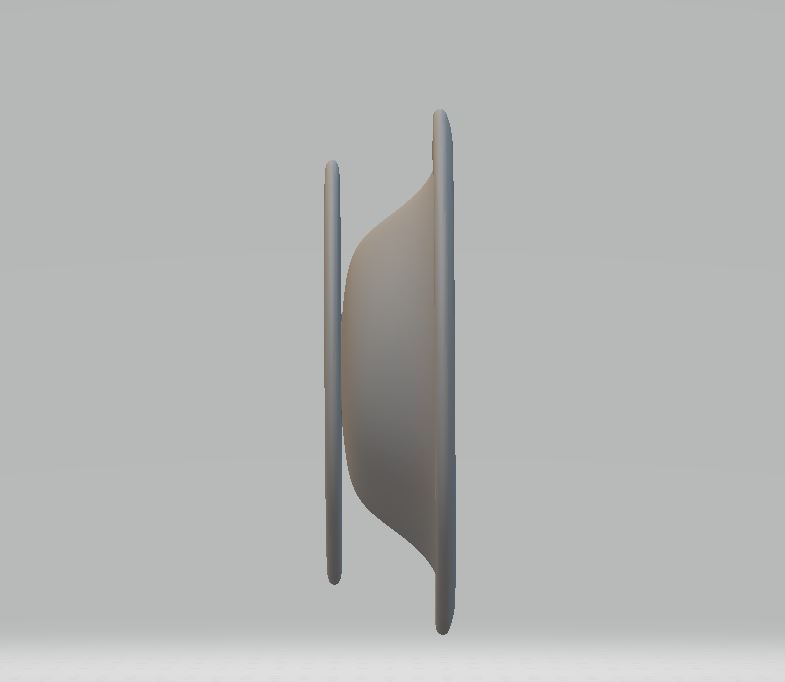
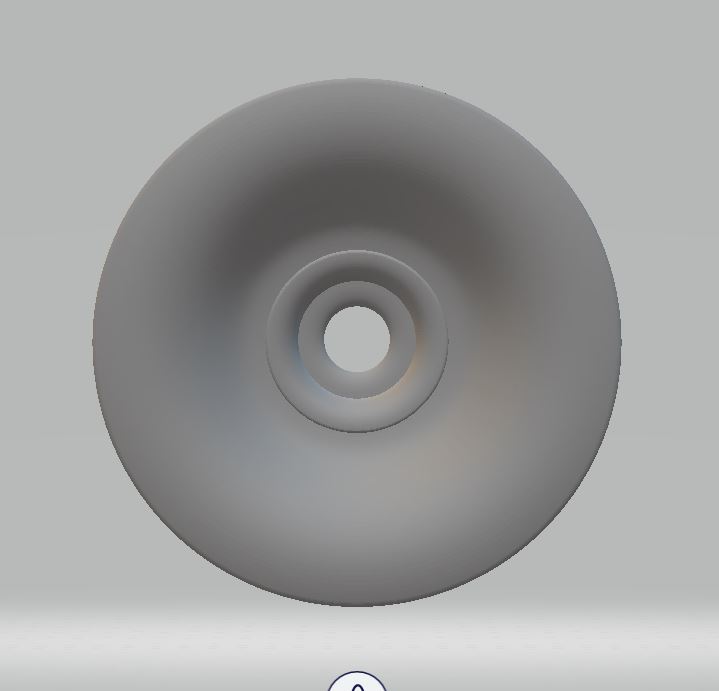
Here's another item I made on Fusion360 for 3d printing.
It's the cap for a lamp circuit housing. However, I ran out of time to print this.
![]()