Week 5: Electronics Production
For this week, our assignment was to build ClankTM and use it to mill a circuit board. It was my first time approaching a project like this but a few people in class said it took them 2-3 hours so I figured it would maybe take me 5. Turns out it was more like 12, but I learned a lot in the process and was extremely proud (aka relieved) when it came alive and actually cut something!
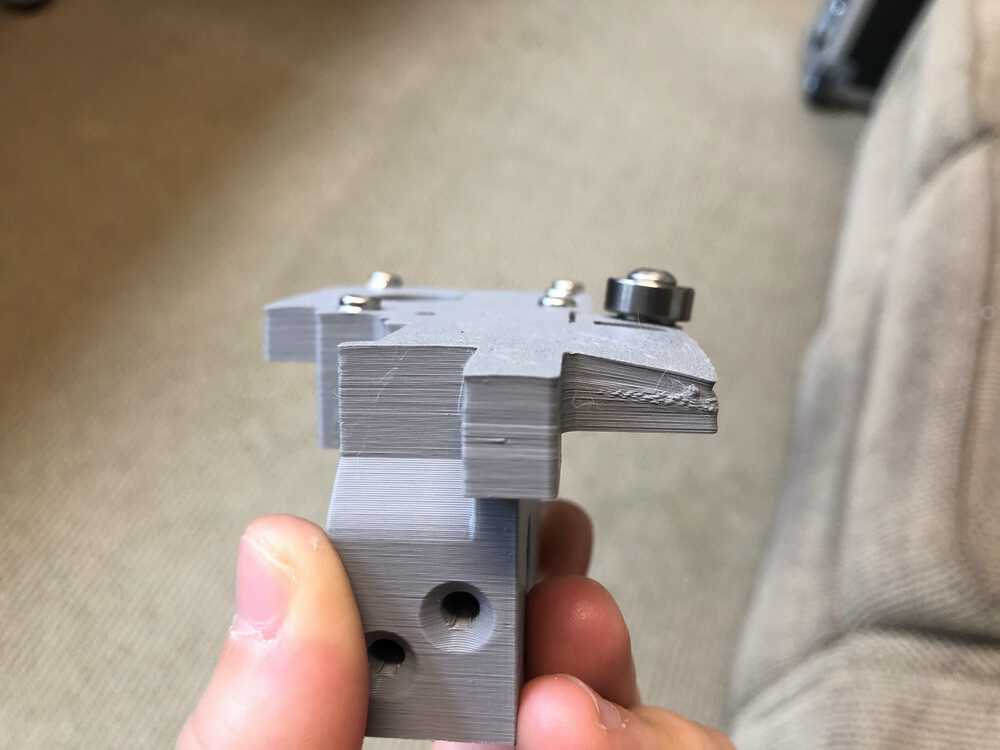
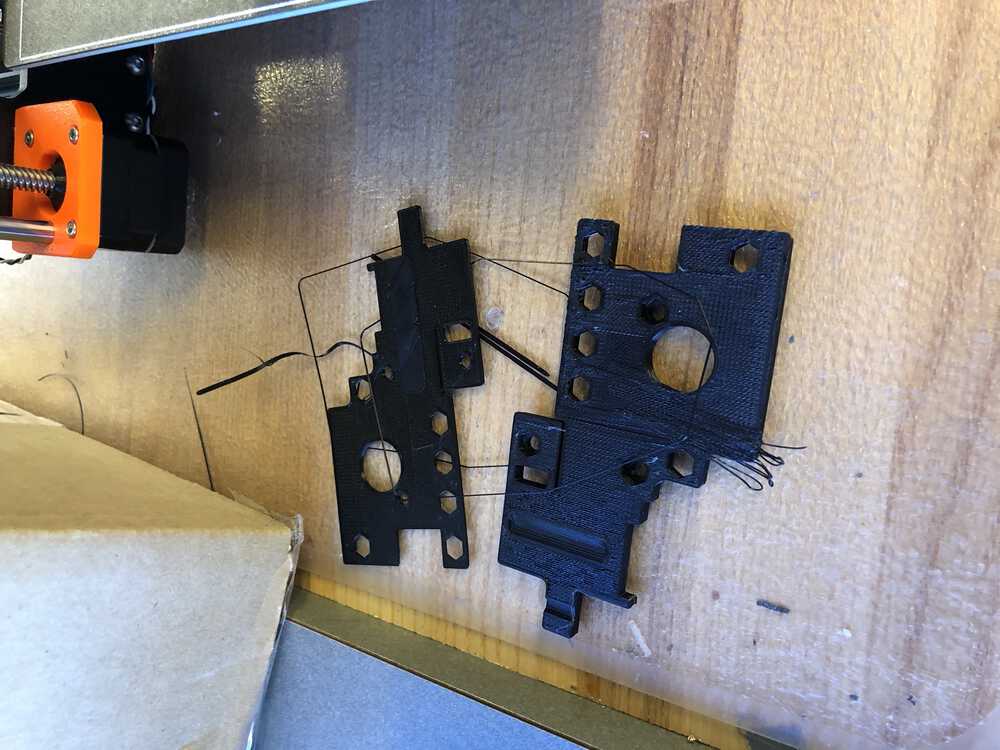
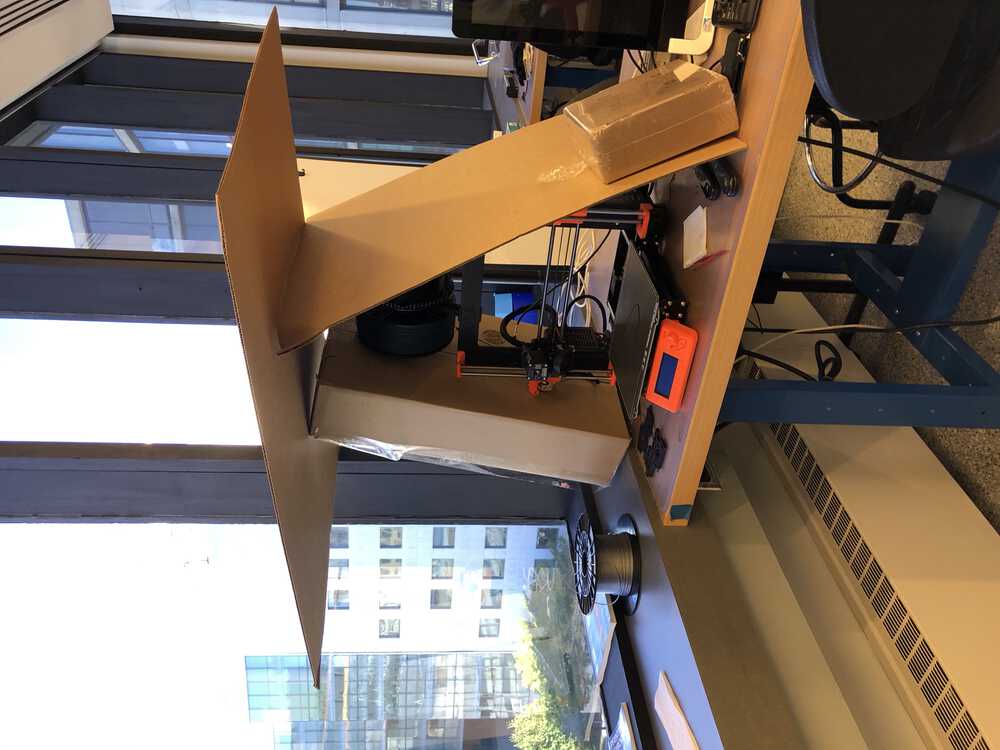
The first issue I ran into was that one of my parts hadn't printed properly and the piece made two of the bearings misaligned so I reprinted that part. There was some drama with the air vents being too cold which messed with adhesion when I left the job to run overnight, but Anthony built them a cozy little hut and then it worked fine.
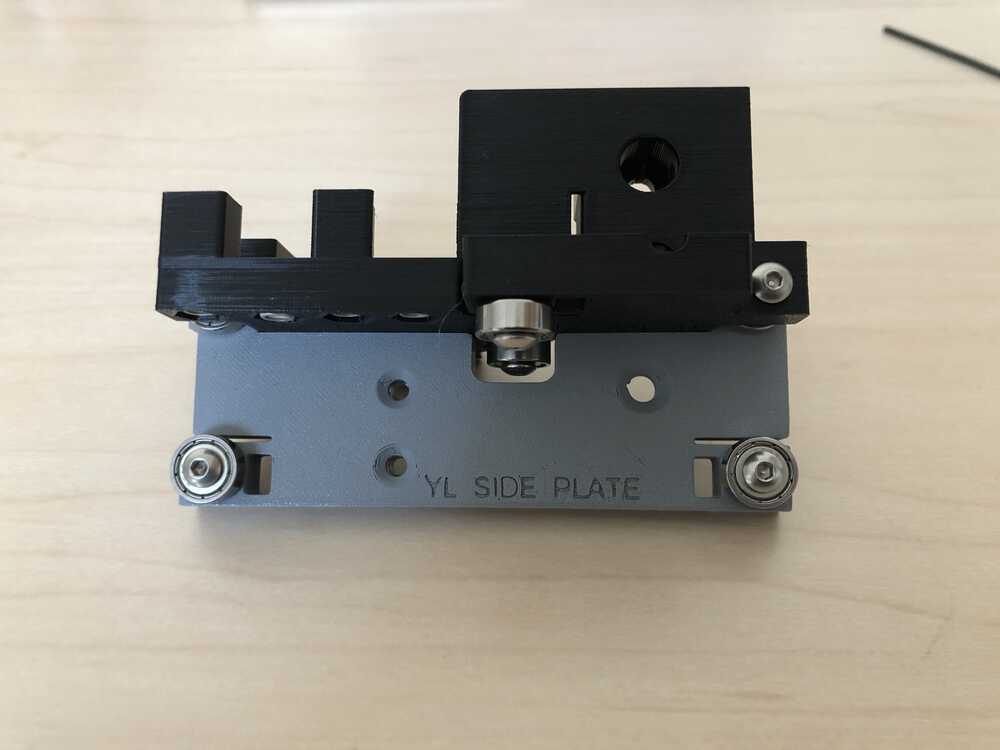
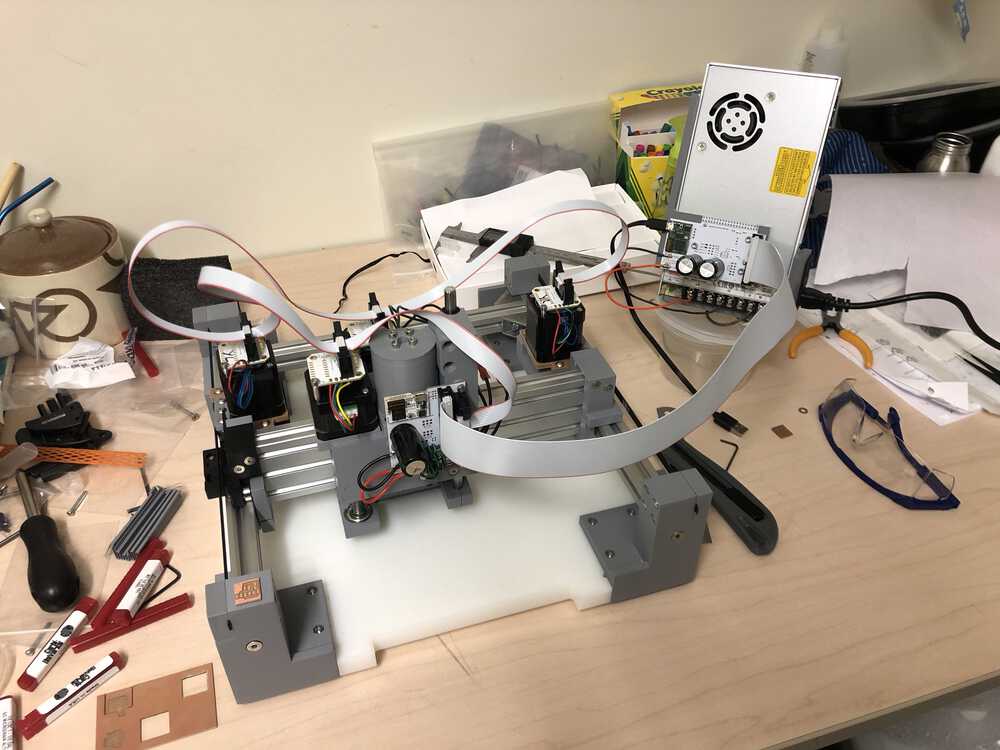
Then I got back to work buliding clank, slowly but surely! Here it is in its completed glory before I had the nerve to turn it on.
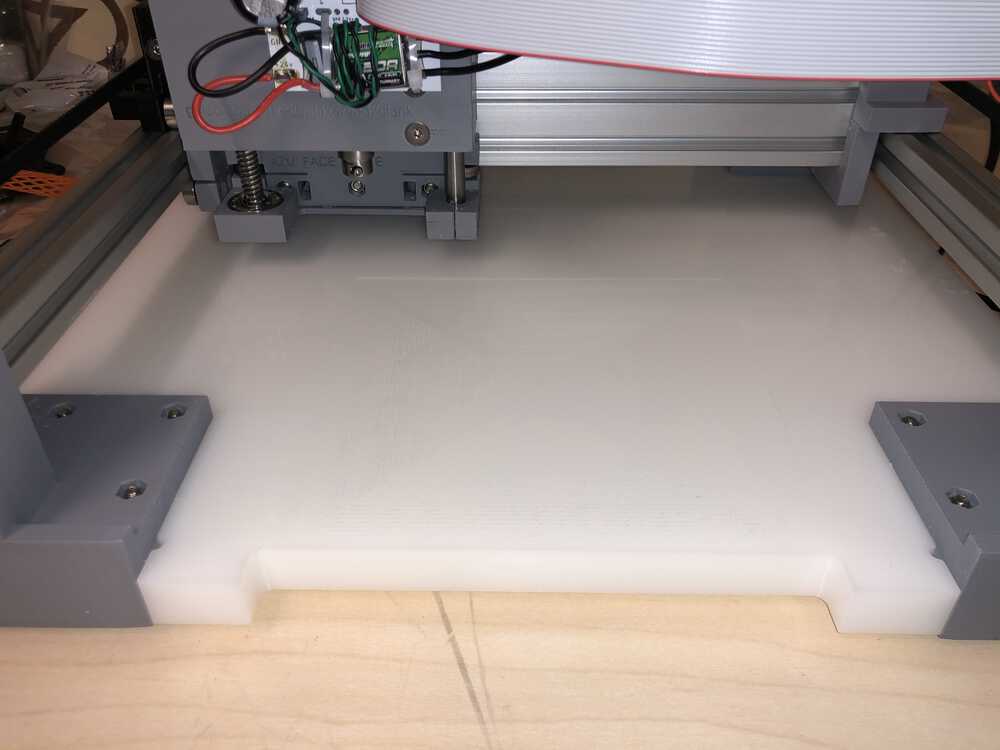
I am completly new to electronics so I went in to talk to Anthony about the different circuit boards we could cut and to ask about designing the next iteration (still haven't gotten that far yet but it was a helpful talk). After that I got up the nerve to plug everything and to my surprise it seemed to come alive. I had a small issue with the installation but my section came through to help (it ended up being that I had to click through the full init program rather than typing node clank right away). The first thing I did was face the bed of the clank using the preloaded gcode. Even though everything seemed to be going well I kept my hand on the power switch the whole time...but in the end it worked well!
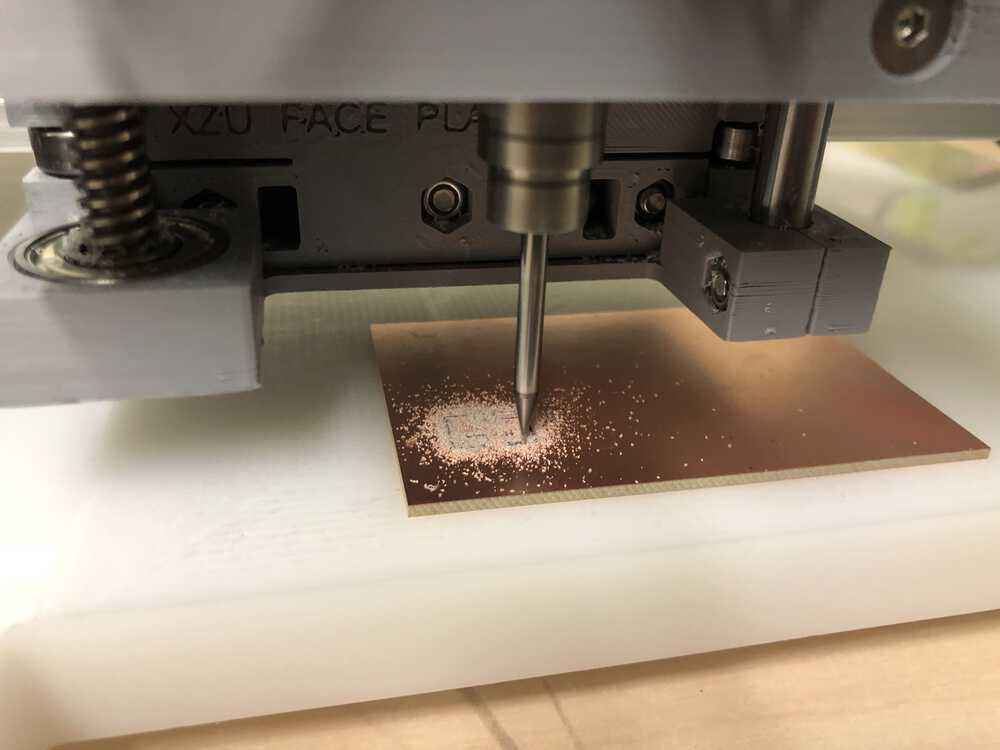
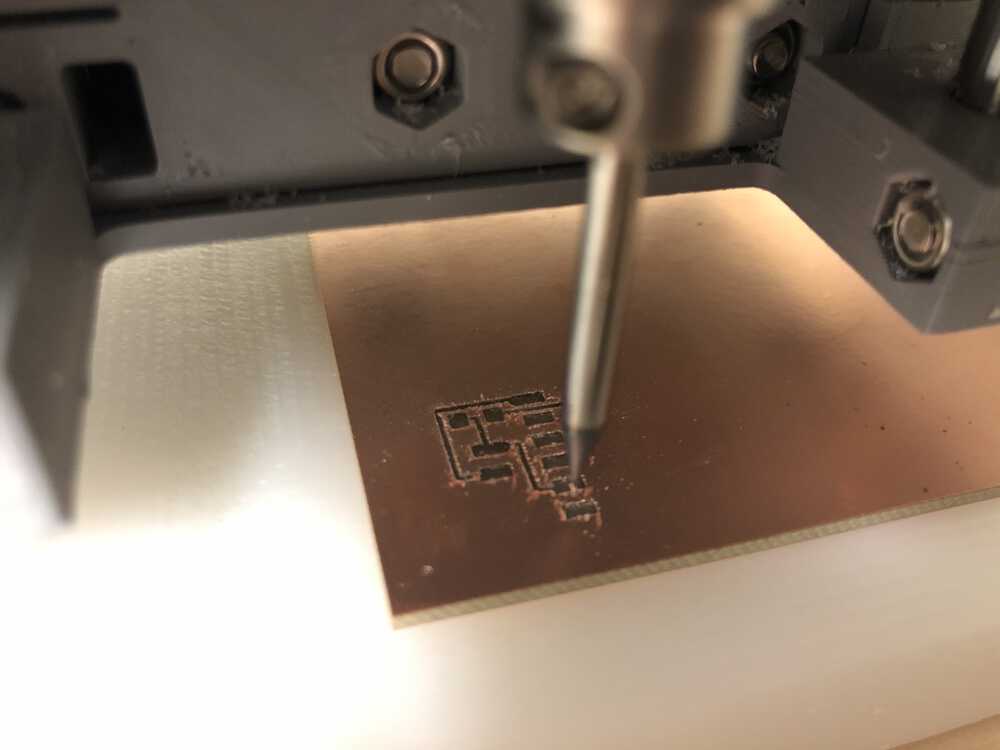
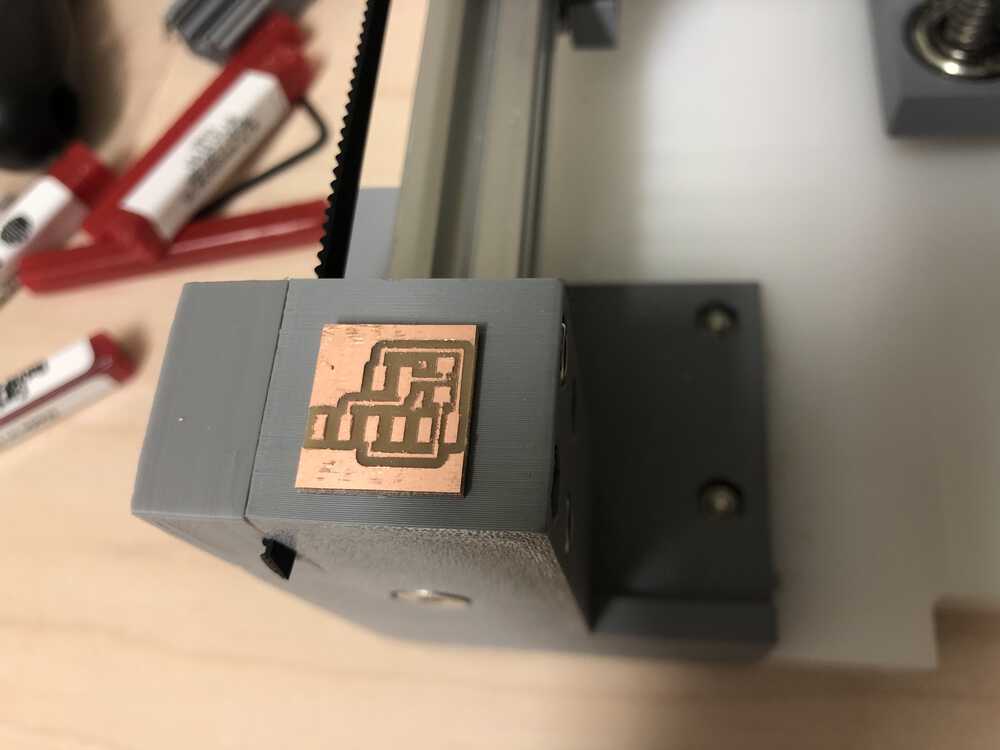
That success made me feel brave enough to move on to cutting my first circuit. I chose to do the hello.serial-UPDI.FT230X and thought everythign went great before Ryan pointed out (thank you, Ryan) that I had accidentally cut *out* the traces instead of cutting out around the traces. After a quick fix by inverting the image in mods it worked well. The only other issue was when I moved the machine to change the tip (from 1/64 for the traces to 1/32 for the outline) I seem to have messed up the y alignment so the outline cut through the traces and I had to start again. I was more careful not to disturb it during the next tool change (just moved it up in z until I could get undernreath to change it) and it aligned well.
It's true that this week was less creative than the molding and casting (still my favorite week so far..) but I'm excited to learn more about electronics and move forward with designing my own circuit.