Home
Project 3 - 3D Scanning and Printing
This week I learned how to use a 3D printer and scanner.
Goals
Class Assignment:
- make something with the 3D printer that can't be made substractively
- scan something with the 3D scanner
Things I took away from this week
- Got more comfortable with Solidworks.
- made a cute birb
- scanned something with the scanner
The Play-by-Play
- Solidworks! Yay
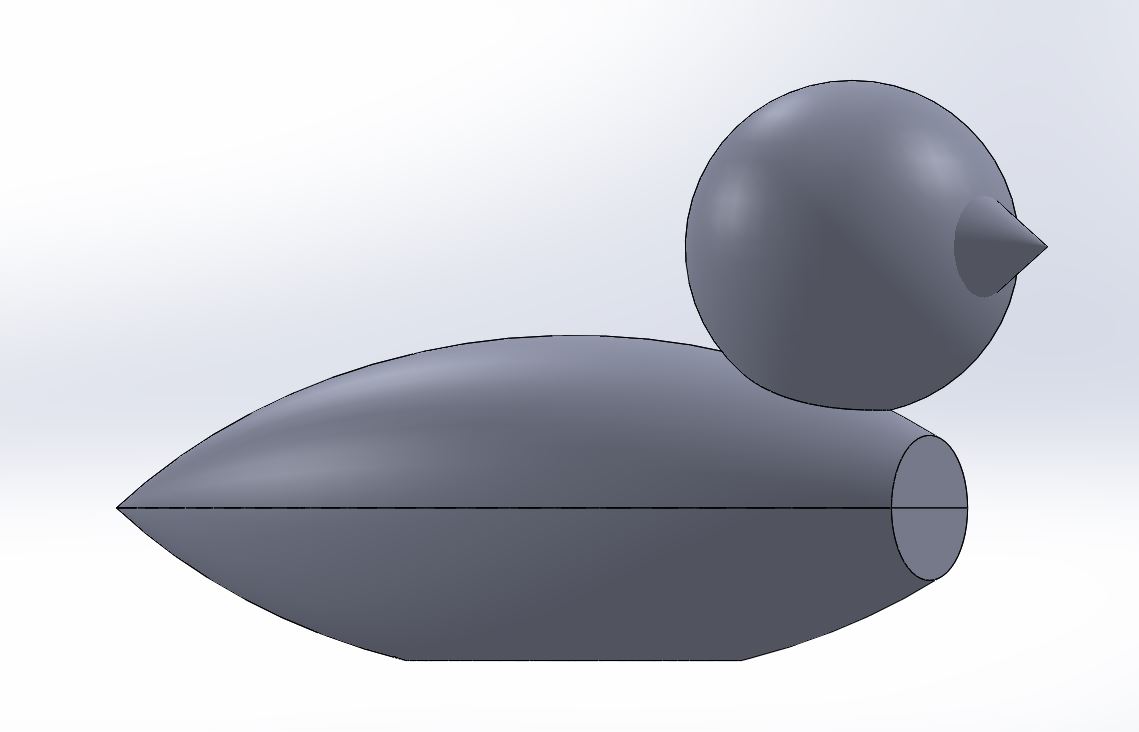
I wanted to make a smol birb. To make it somewhat useful, I decided to make a little Bird Box. I'd make the bird hollow and add a way to ensure that it stayed closed. To make it extra light, I made the head hollow as well.
- Printing!
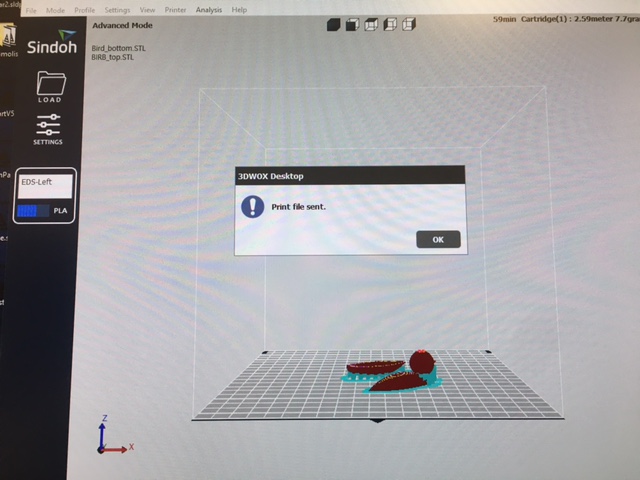
After ensuring that the bird didn't violate any of the design contraints discovered in the class assignment,it was time to click print and hope and pray that it worked. I kept all settings default, except I lowered the infill from 20% to 15% to make sure it was especially light. I added supports and clicked print. I stayed by the printer for a couple of layers to ensure that it was printing correctly, then just sat in the lab and waited for the job to finish.
 Once printed, I took the bird off of the plate with a putty knife (i think that's what that's called). The bird turned out pretty well! Save for a few imperfections in the surface, it was a pretty smooth boib. However, something strange happened on the bottom half. The rim was not perfectly level. I'm not sure why this happened, although perhaps the part was at a slight angle when I imported it to 3DWok and the angle was so slight that I didn't realize. Also, the notch in the top half of the bird was omitted, perhaps because the model was out of date? Unsure. I was supposed to scan something in this time, but got completely distracted and forgot entirely. I will update this page later in the week when I go back to scan my mouse. In the meantime, enjoy these *adorable* pictures of my boi.

- Scanning!
stay tuned for updates