Home
Project 4 - Computer-Controlled Machining
This week I learned how to make something big!
Goals
Class Assignment:
Things I took away from this week
- Got more comfortable with Solidworks.
- Made something more useful using wood.
- OSB sux
The Play-by-Play
- Solidworks! Pt. 37
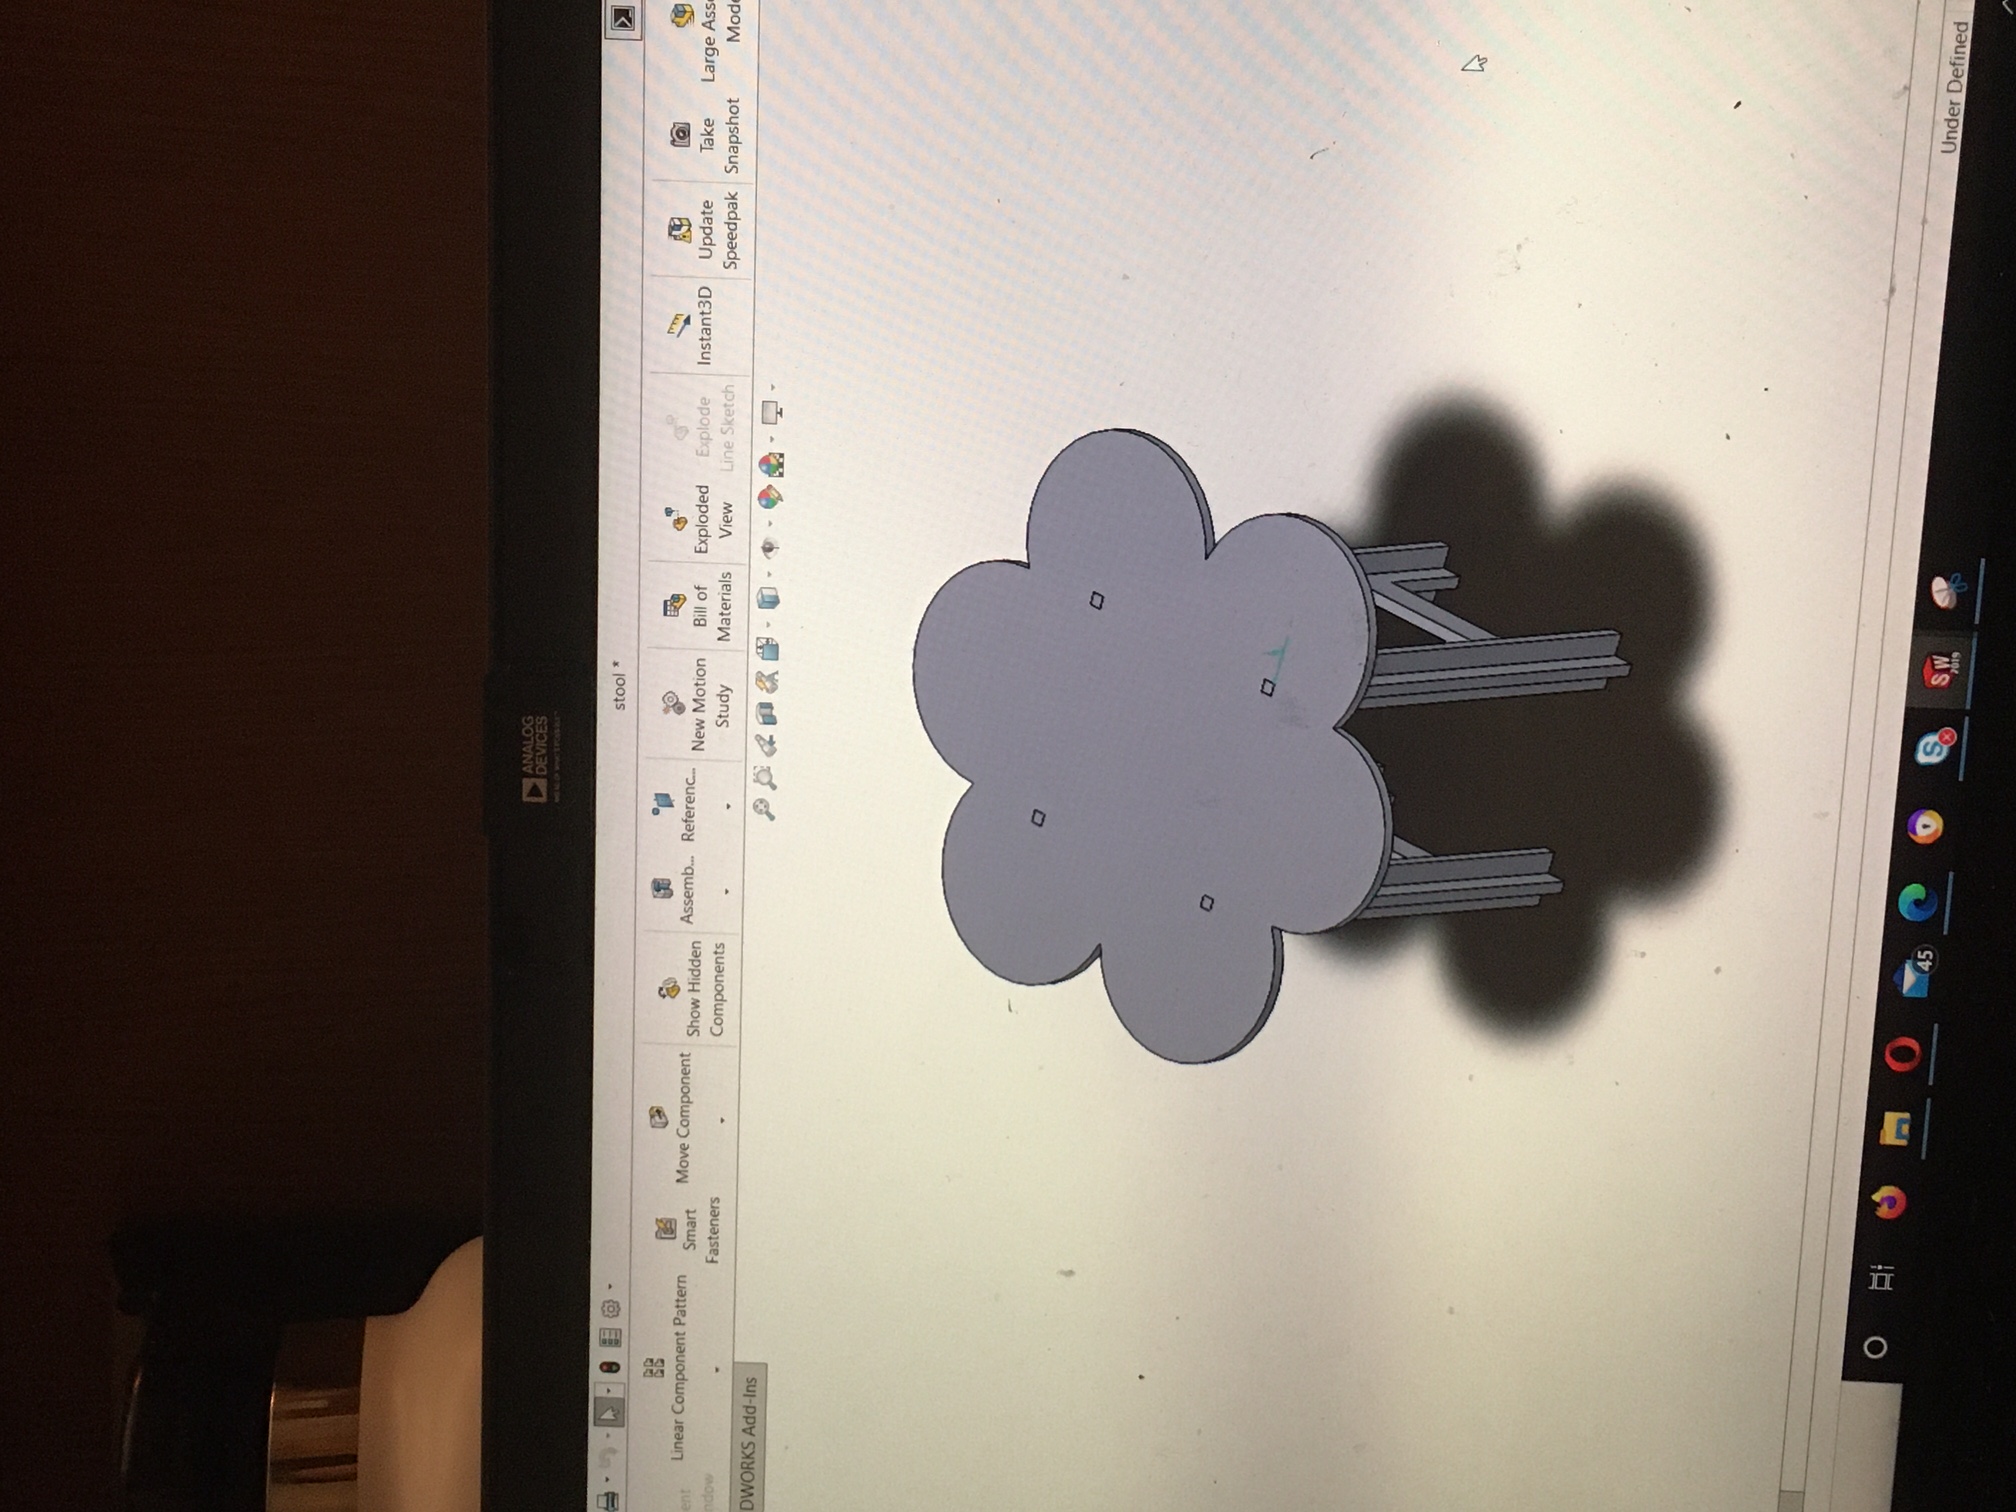
I wanted to make a bench for my dorm room. While most people got a double, I got a single so only had one chair to sit on, so none of the 5 friends I'm allowed to have in my room could sit anywhere. Anyways, I wanted to have a simple design that wouldn't depend too heavily on restrictions of the materials we were working with, since I decided to stick with the OSB. Here's a screenshot of what that ended up looking like.
 Once the model was made, I talked to Anthony about my design. I was worried about the thickness about the OSB and about the stability of the bench. 2.001? Never met her. Anthony suggested that I add additional slats between the horizontal ones and add one bar to attach the two legs to each other on the bottom so that the bench won't tilt when someone sits on it. However, this design used too much material and would've been heavy and would've also required ~a lot~ of post-processing work with all the glueing, so I went back to the drawing board. Rather than a bench, I decided to make a stool, since I recently raised my bed. I am rather short, so this means that everytime I want to get into my bed I need to jump. My sophomore year I got a concussion doing this, so I needed a solution. Hence, the stool. I wanted something that would require minimal glueing, so I decided on using press-fit finger joints to connect the legs and the top.
- Cutting
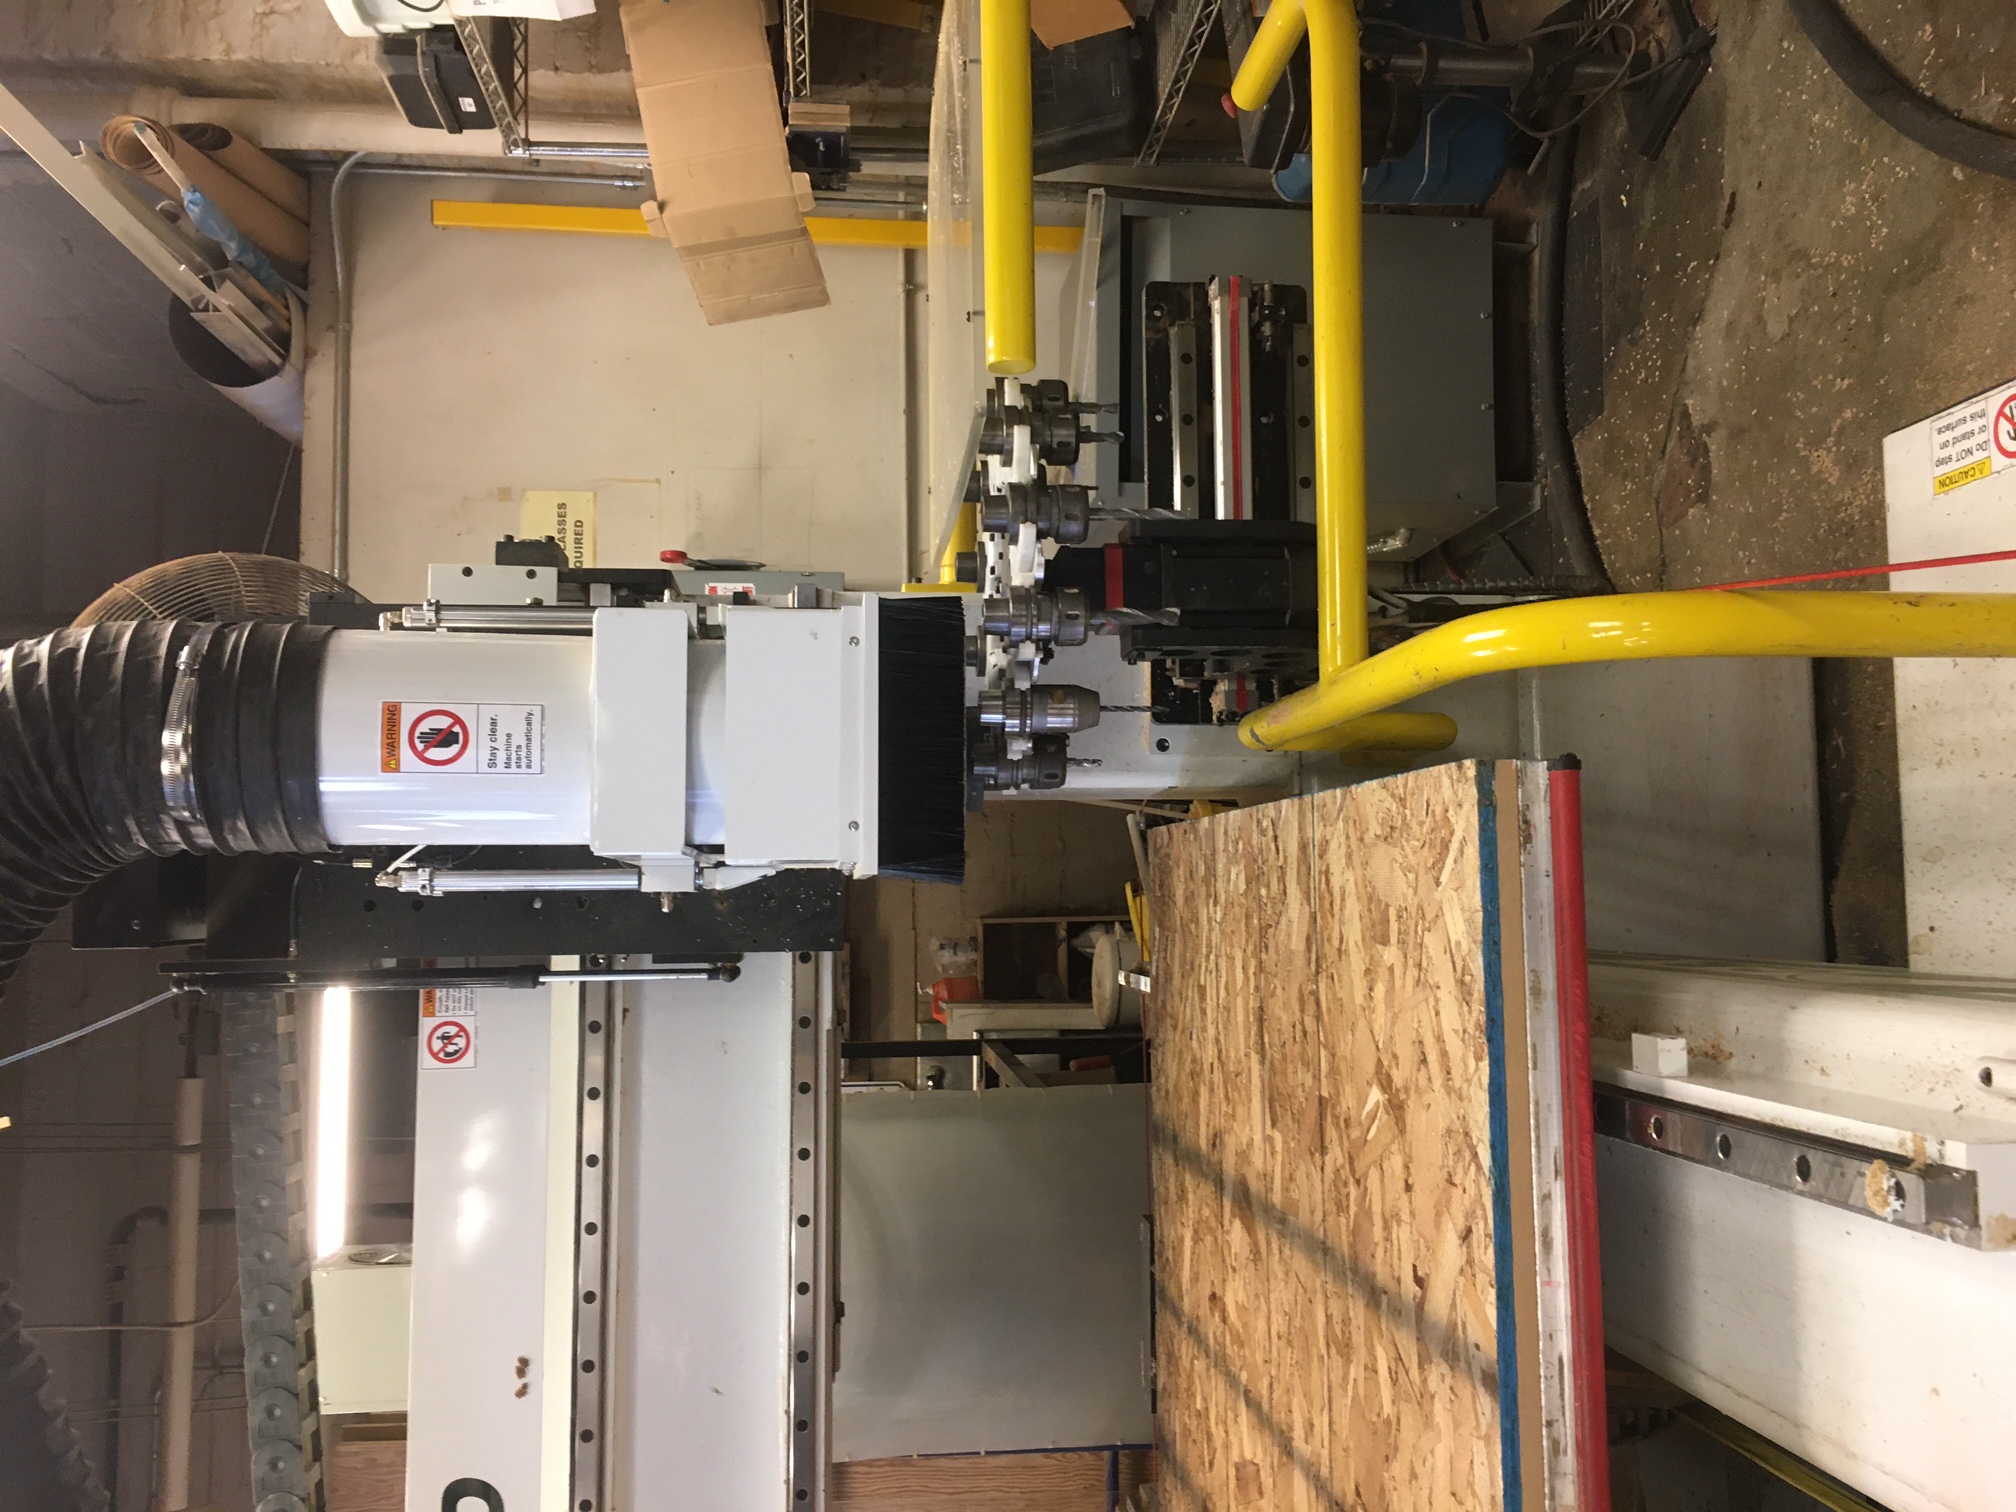
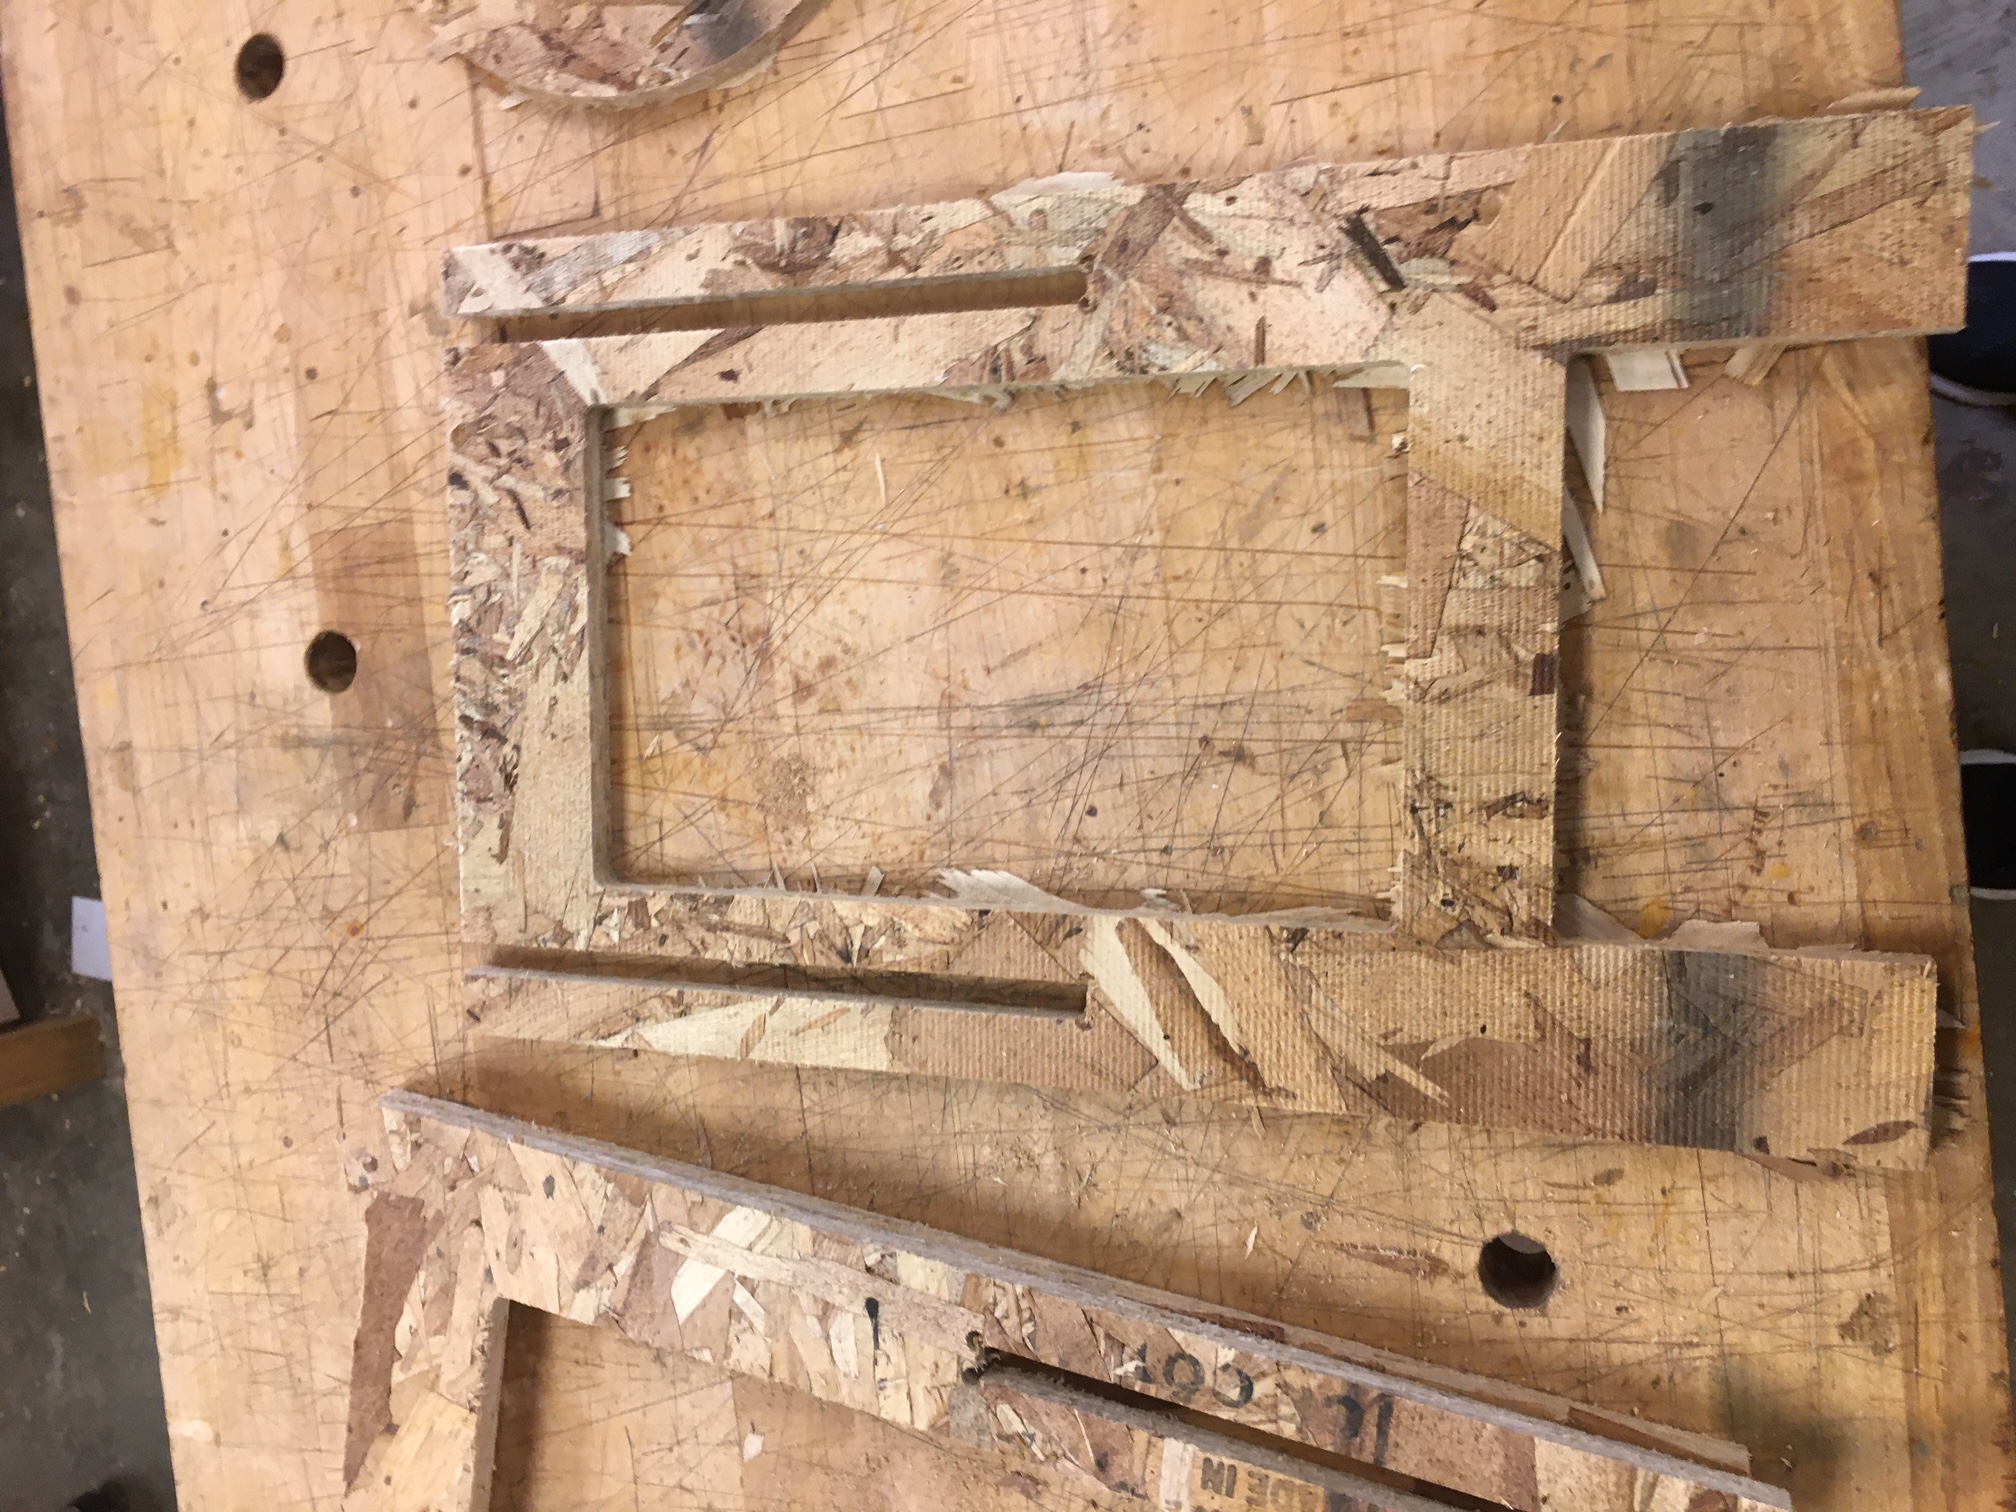
After working with other people in the EECS lab to test joints, I figured that I was ready to cut. Zain handled turning my step files into CAM files and then into G-code (shoutout to Zain for helping me so much). Then I stared at the ONSROD machine for about 10 minutes as it cut out the parts. Watching it switch drill bits was super cool. Once it was done, I pried out my parts. Unfortunately, I wasn't careful enough with one of my legs and broke it. :'( I came back later in the day and recut that part. This time, I was especially careful in getting the part out.

- Post-Processing!
Once everything was cut, it was time to glue everything together and make it *useable*. I filed down all of the parts to make them nice and smooth..ish. I made sure all of the joints were cleaned out. Then I (very carefully) began to assemble the stool. I then placed the flower on top of the legs to finish off the stool.
 As I was pressing together the parts, I realized that they were a very tight fit. In fact, 2 of the legs began to spread out from being forced into the opening on the other legs. This can be fixed by glueing the legs together and clamping it down.Luckily I have a floormate in course 4 that has glue and clamps!
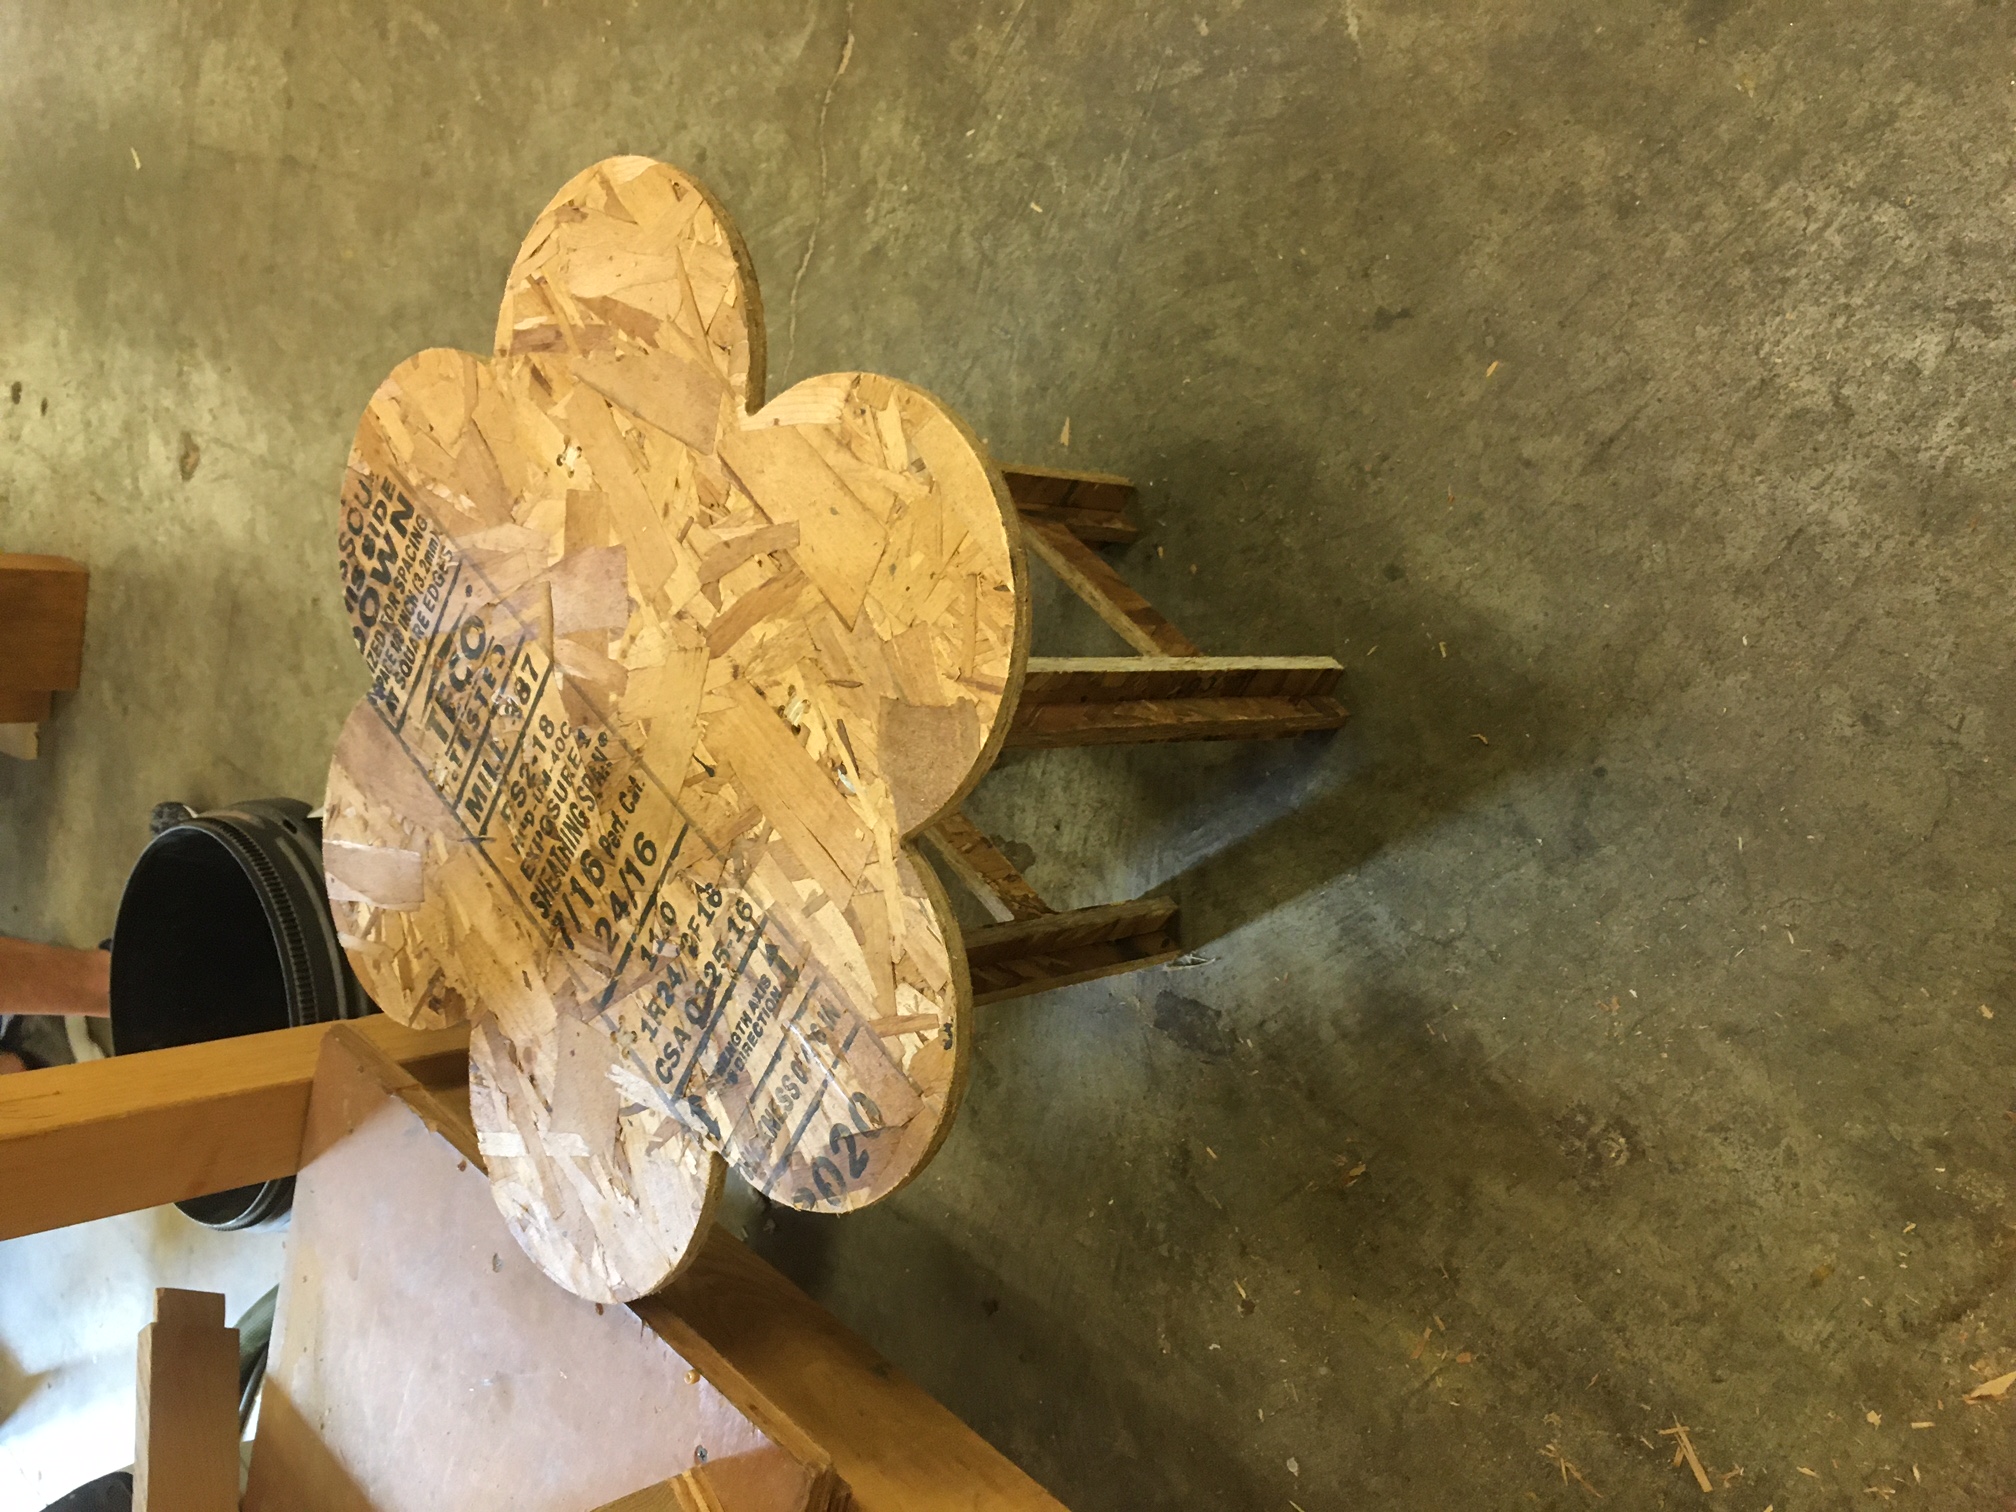
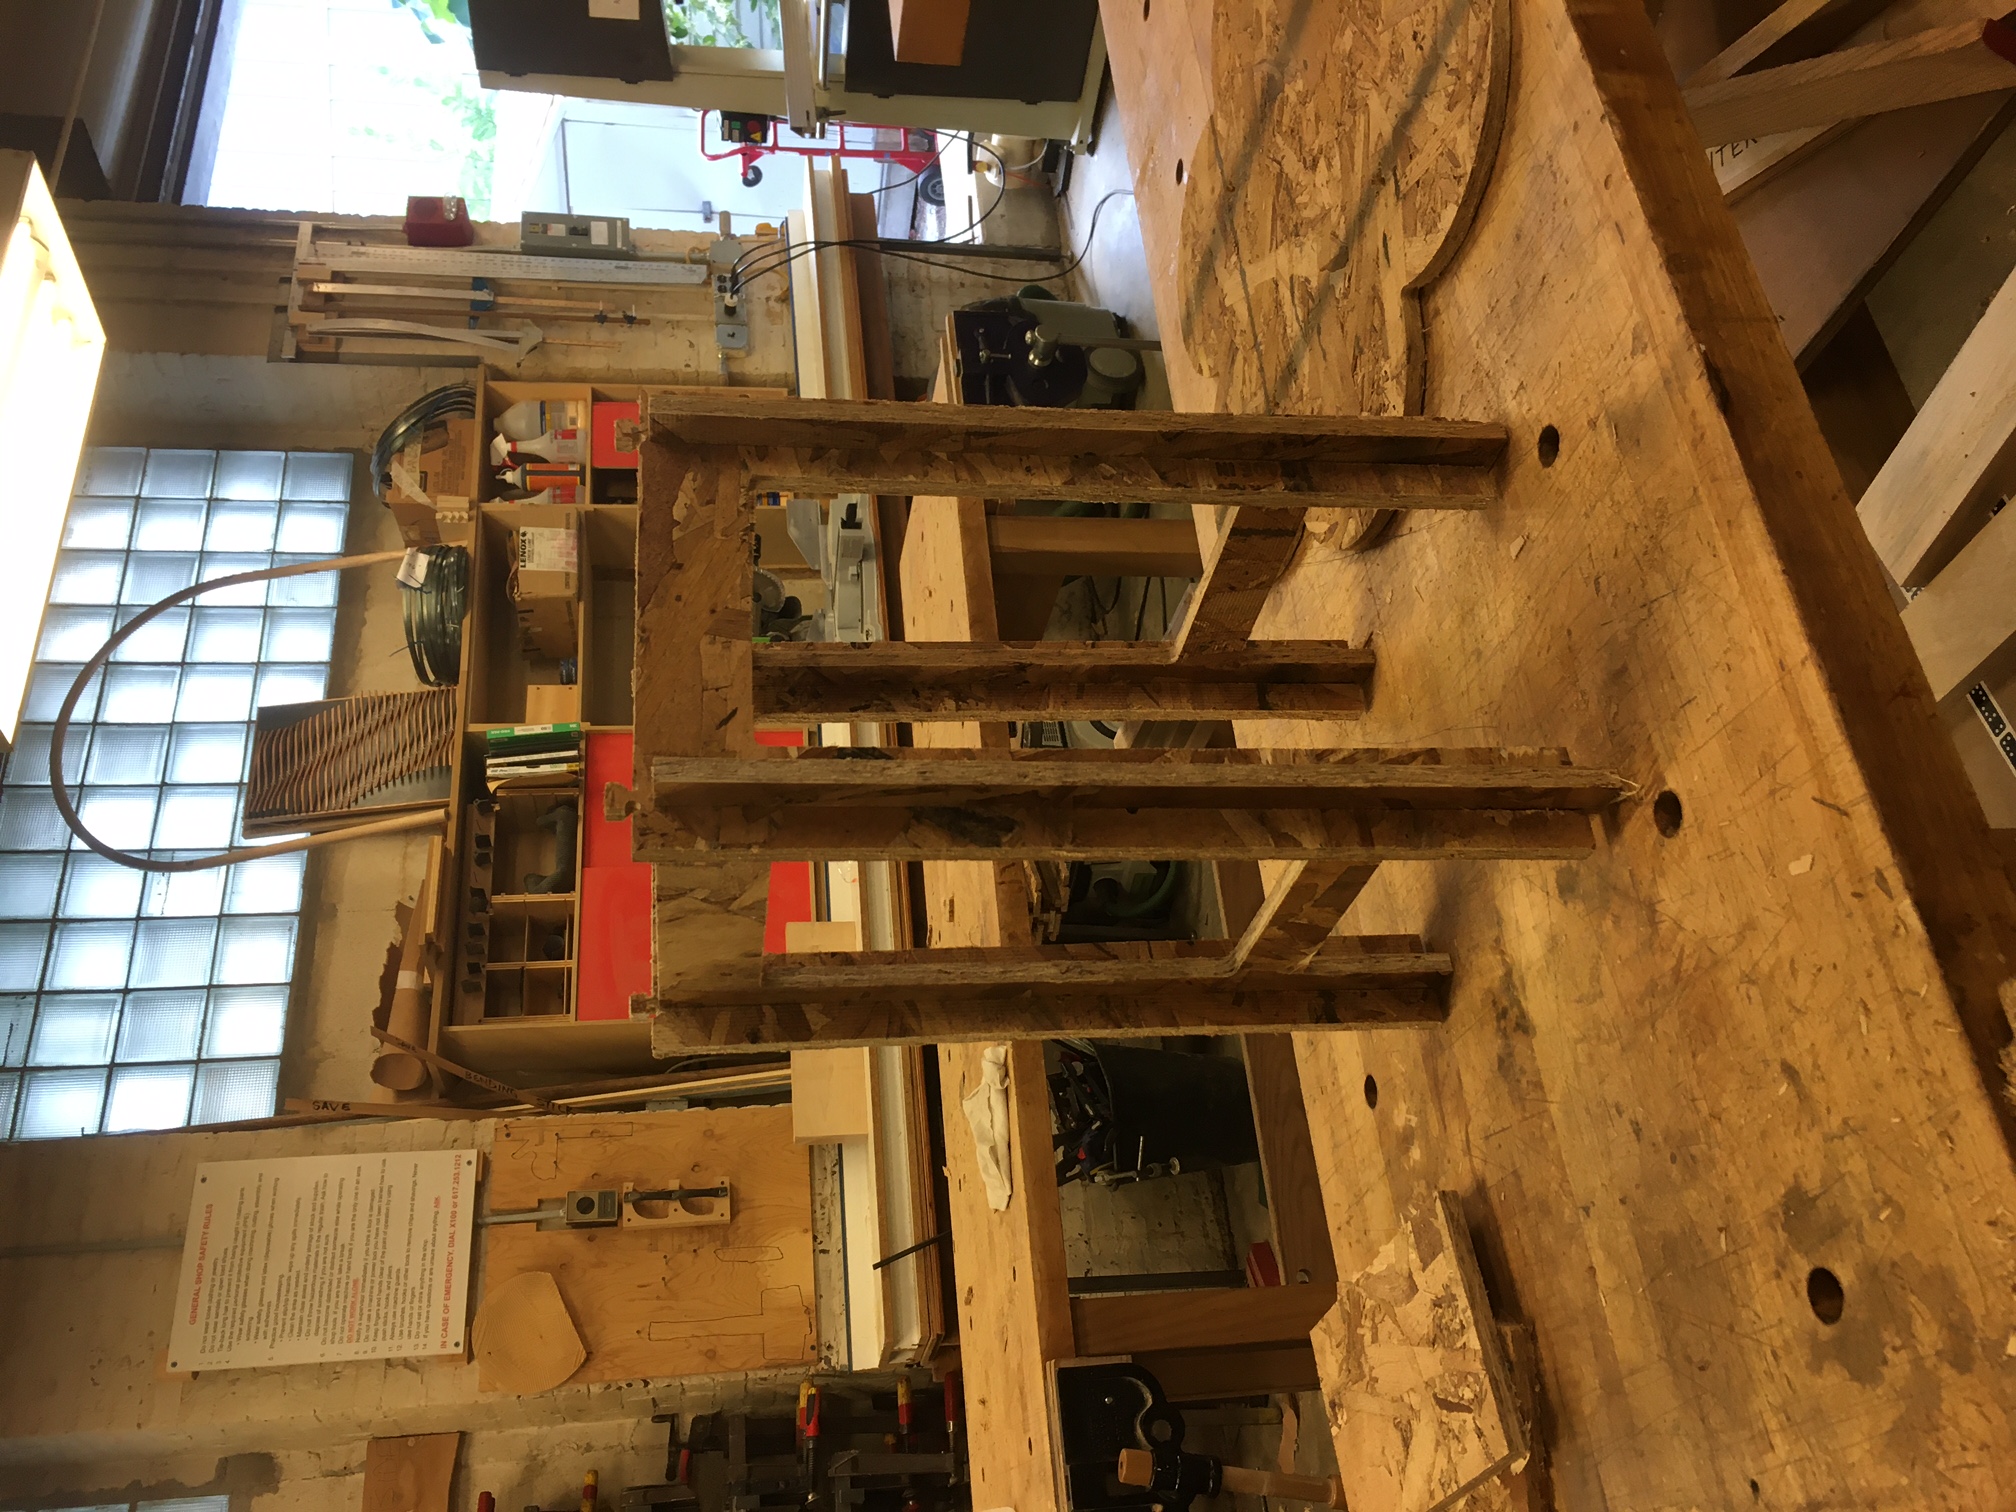 I had to rotate the flower to find the best orientation and squish one of the legs into the hole, but it overall turned out very nicely. Here is the final product!