The ~Process~
- Class Assignment Here is a link to the datasheet for the clear epoxy I used: https://www.smooth-on.com/msds/files/EpoxAcast_690.pdf
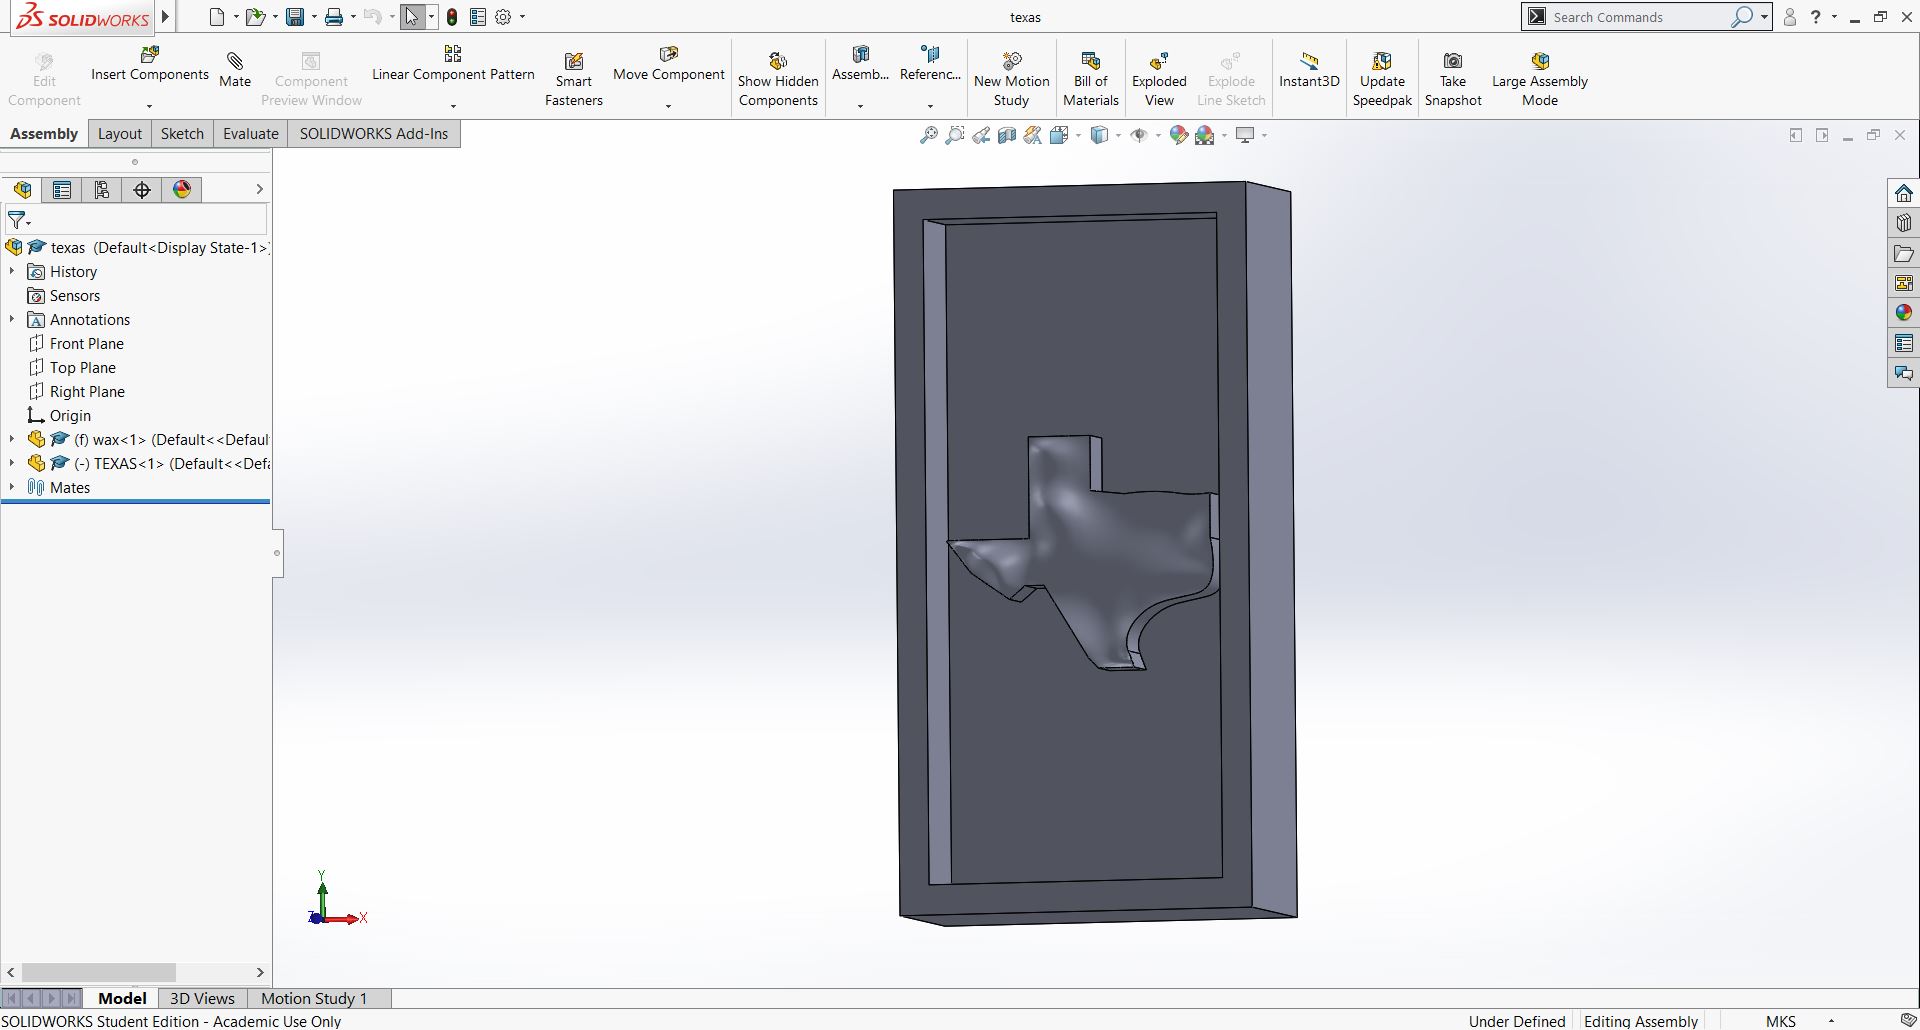
- Solidworks! Pt. 37 At first, I wanted to make a flower so that I could eventually make a food-safe version of the mold. Chocolate flowers and ice cubes sounded cool. However, in order to make the really thin petals and overhangs I would likely need to have two different halves of a mold. I would've rather had one mold so, in classic Nancy fashion I pivoted.
- CAM Once I finished the model, I got on a call with Anthony to do the CAM. The model was tweaked so that there was plenty of room for the dril bit to drill down and move around while not breaking the walls of the wax. The extruded cut was made smaller than it was originally to maximize efficiency. We ended up having two passes: one rough and one finishing pass. The rough pass needed to cut a depth of 0.75 inches with the quarter-inch bit. The finishing pass used the eigth-inch bit to cut the same depth. There was still some details that would be a little rough after the finishing pass, but on the scale of the part (less than 3 inches wide) these imperfections would be insignificant. Here is a picture of the CAM:
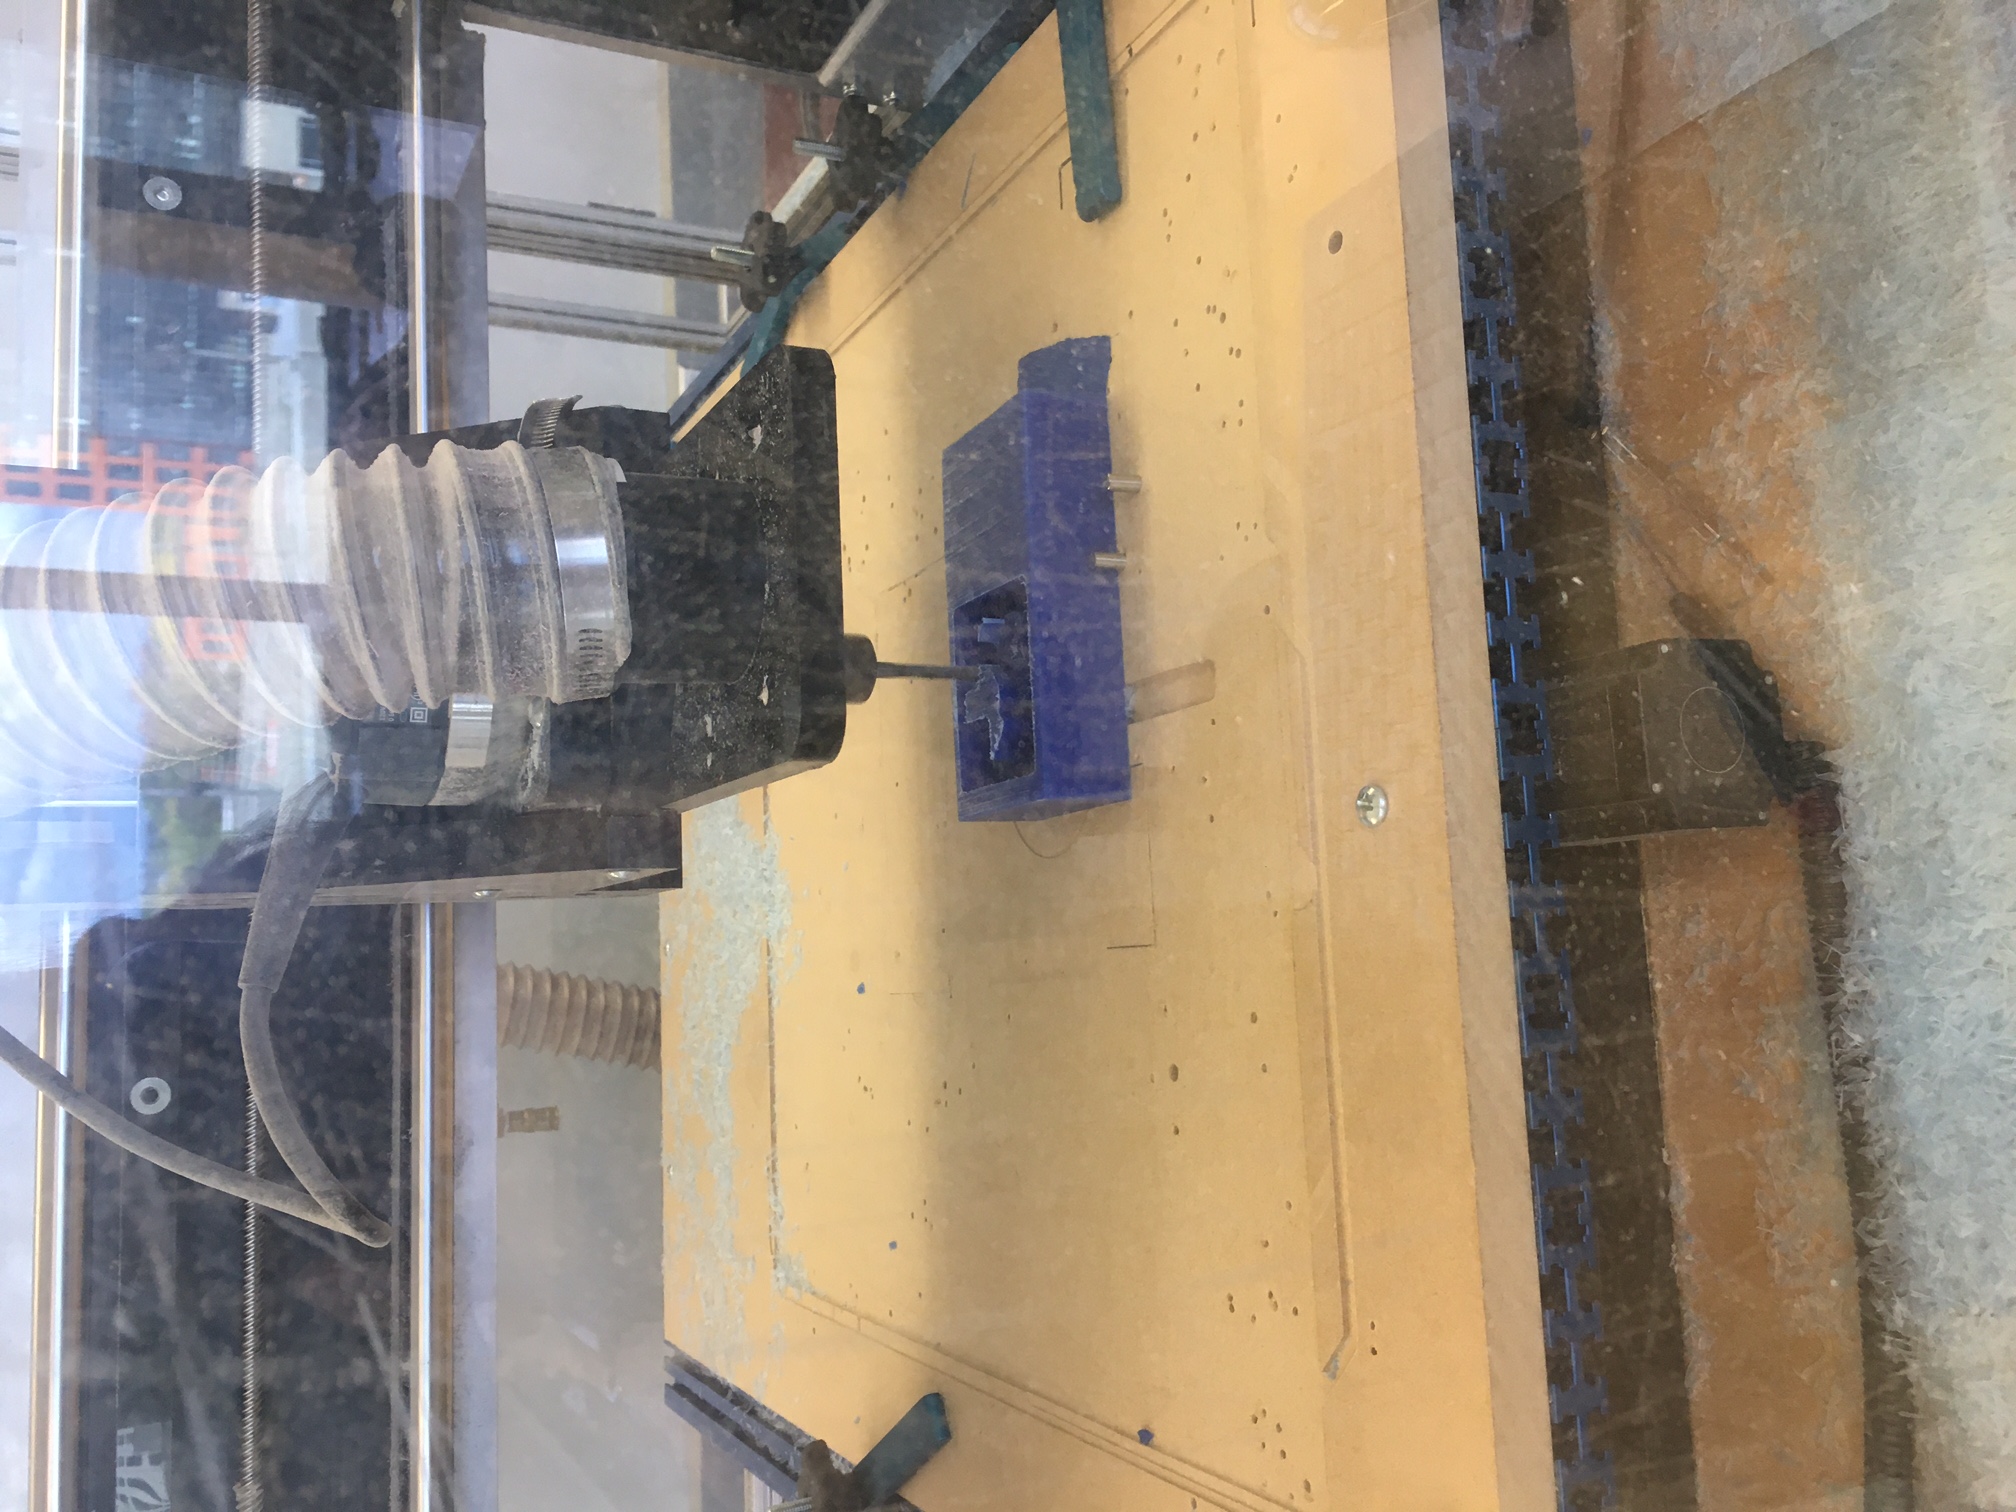
- Cutting! On Tuesday I went to EDS and Dave helped me set up the CNC for my part. Since the coordinate system of my part was perpendicular to most other jobs (x was the long side), we took extra care to ensure the block of wax was aligned and straight...we used tape to line things up. The rough pass only took approximately 20 minutes and the finishing pass took about 25. Once the Texas outline was cut out, the machine started to cut into Texas and I briefly freaked out, but it was just the top layer.
- Making the mold with oomoo Once the wax was cut, I mixed the Oomoo and slowly poured it into the wax positive. Here is a picture:
- Casting Finally, I decided I wanted to use clear plastic to cast my topographical Texas. I thought it might be cool if I could dye the plastic as it was setting in the mold. This way, I could try to get a diffusion gradient across the different features. This way, the height differences would look slightly different shades of whatever color I chose. I mixed the liquid plastic and got rid of the bubbles (as best I could). Then I poured it into the mold and began the tedious process of dyeing Texas. I used a popsicle stick to add dye from the planar face of Texas, then slightly mixed the place where I had added the dye. However, I wasn't able to do this for the entire Texas before the liquid plastics pot life expired. It just set too quickly. I still wanted it to be purple, so I just painted the dye on for the rest of the planar side of Texas.
Here is a link to the datasheet to the clear plastic I used: https://cdn.cast-techco.com/uploads/2020/04/crystal_clear_200_tb.pdf
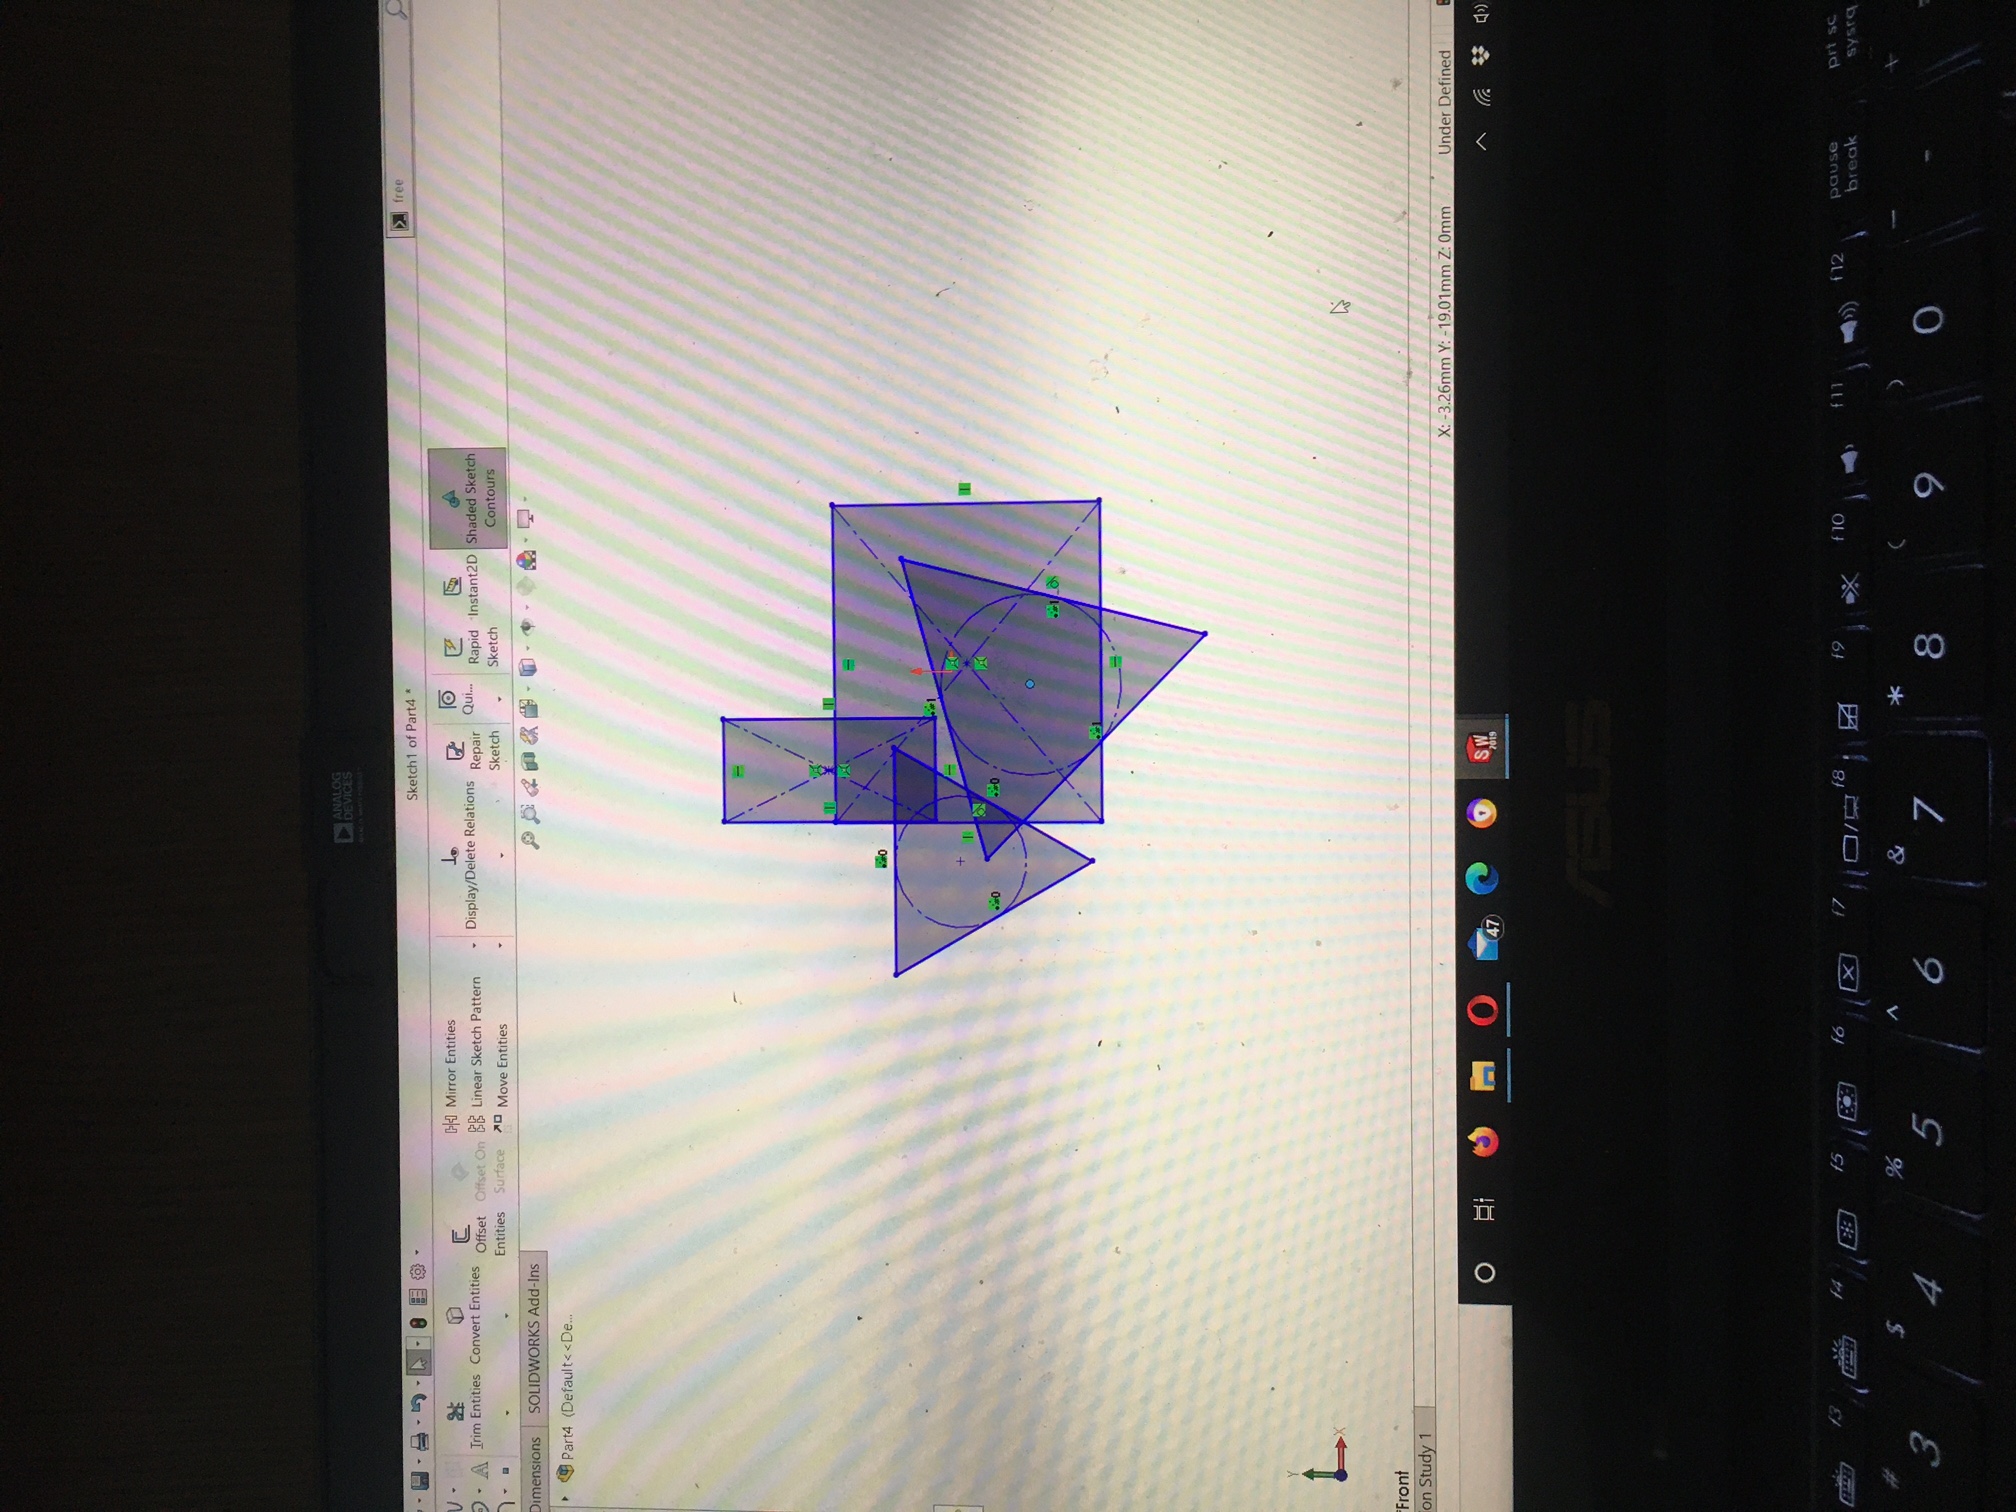
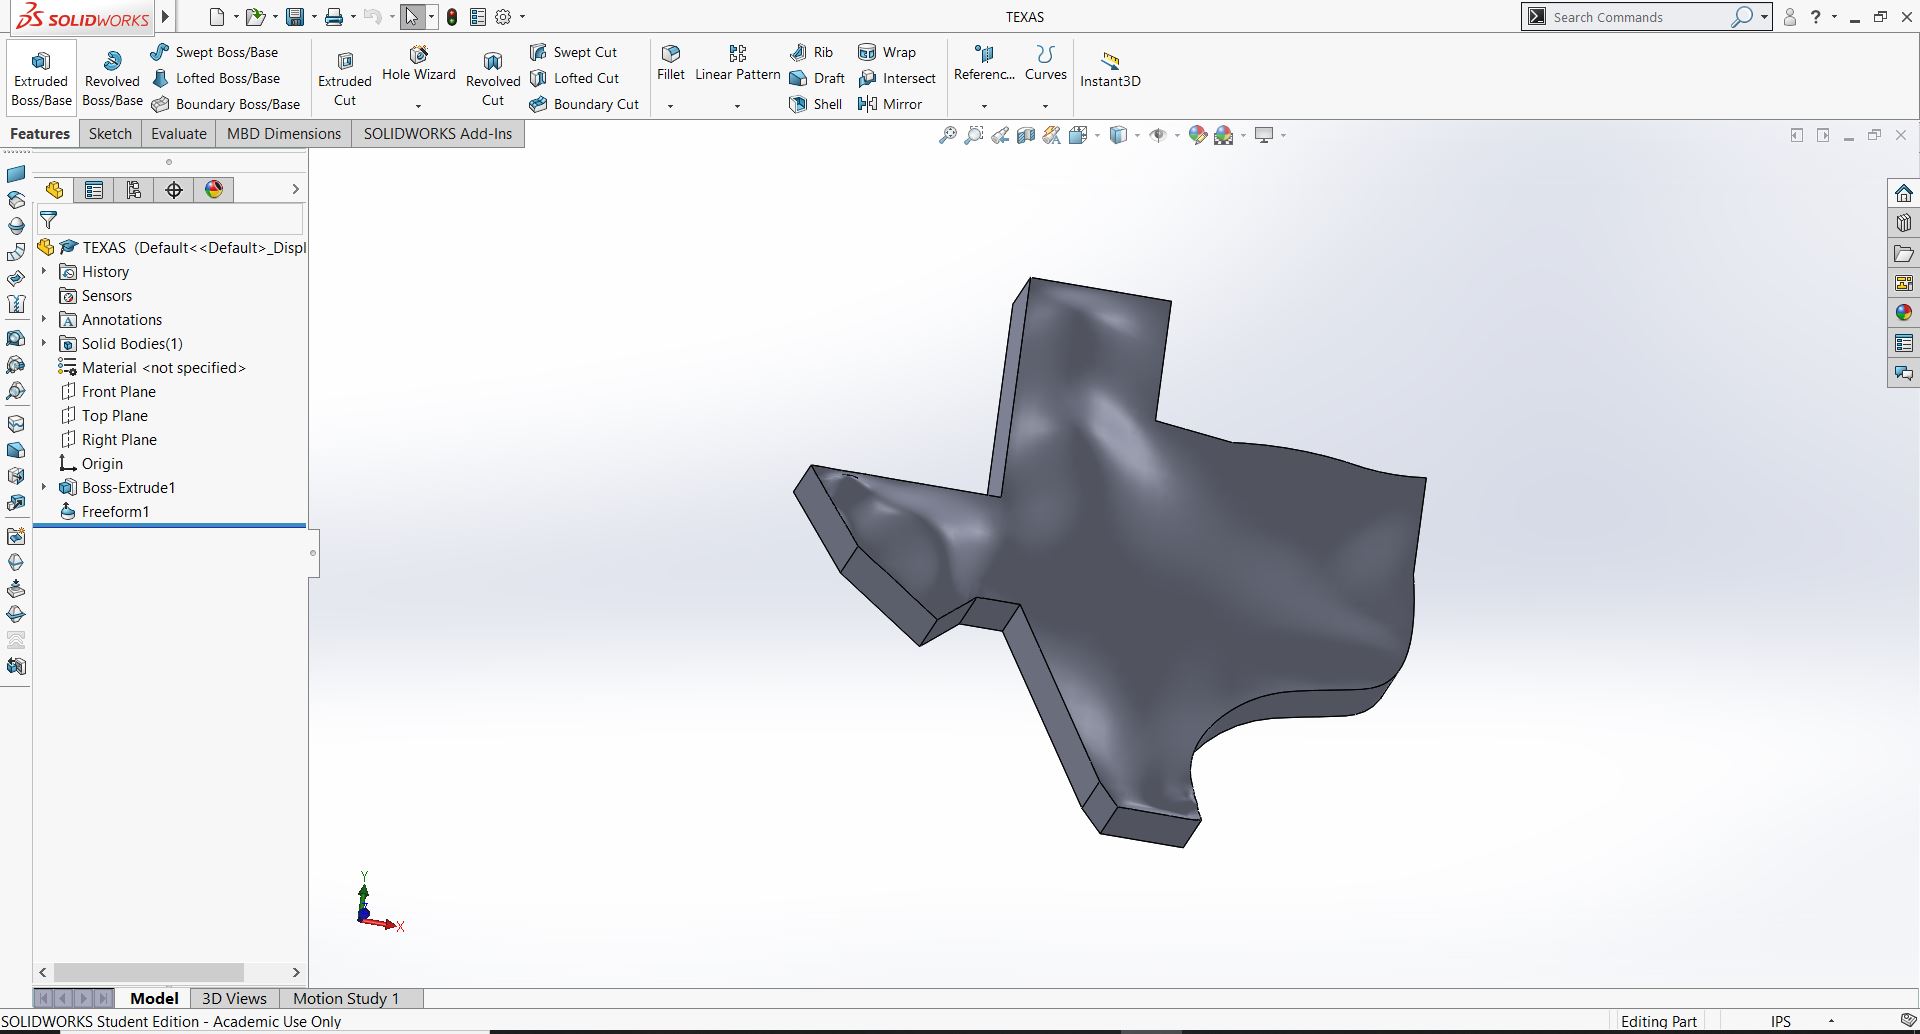
I decided to make a Texas mold instead. Like all Texans, I love Texas. It was fun making the outline of Texas, I just made a bunch of shapes, then used splines and lines to trace them out and add details. Once that was done I asked for Anthony's input. He thought I should add some non-planar features, so I decided to add some curves to mimic the topography of Texas. To do this, I used the freeform feature in Solidworks to add curves on the top plane. Then I added points to these curves and moved these points around to push/pull the surface of Texas. This is what Texas looked like after my poor computer struggled to model it.
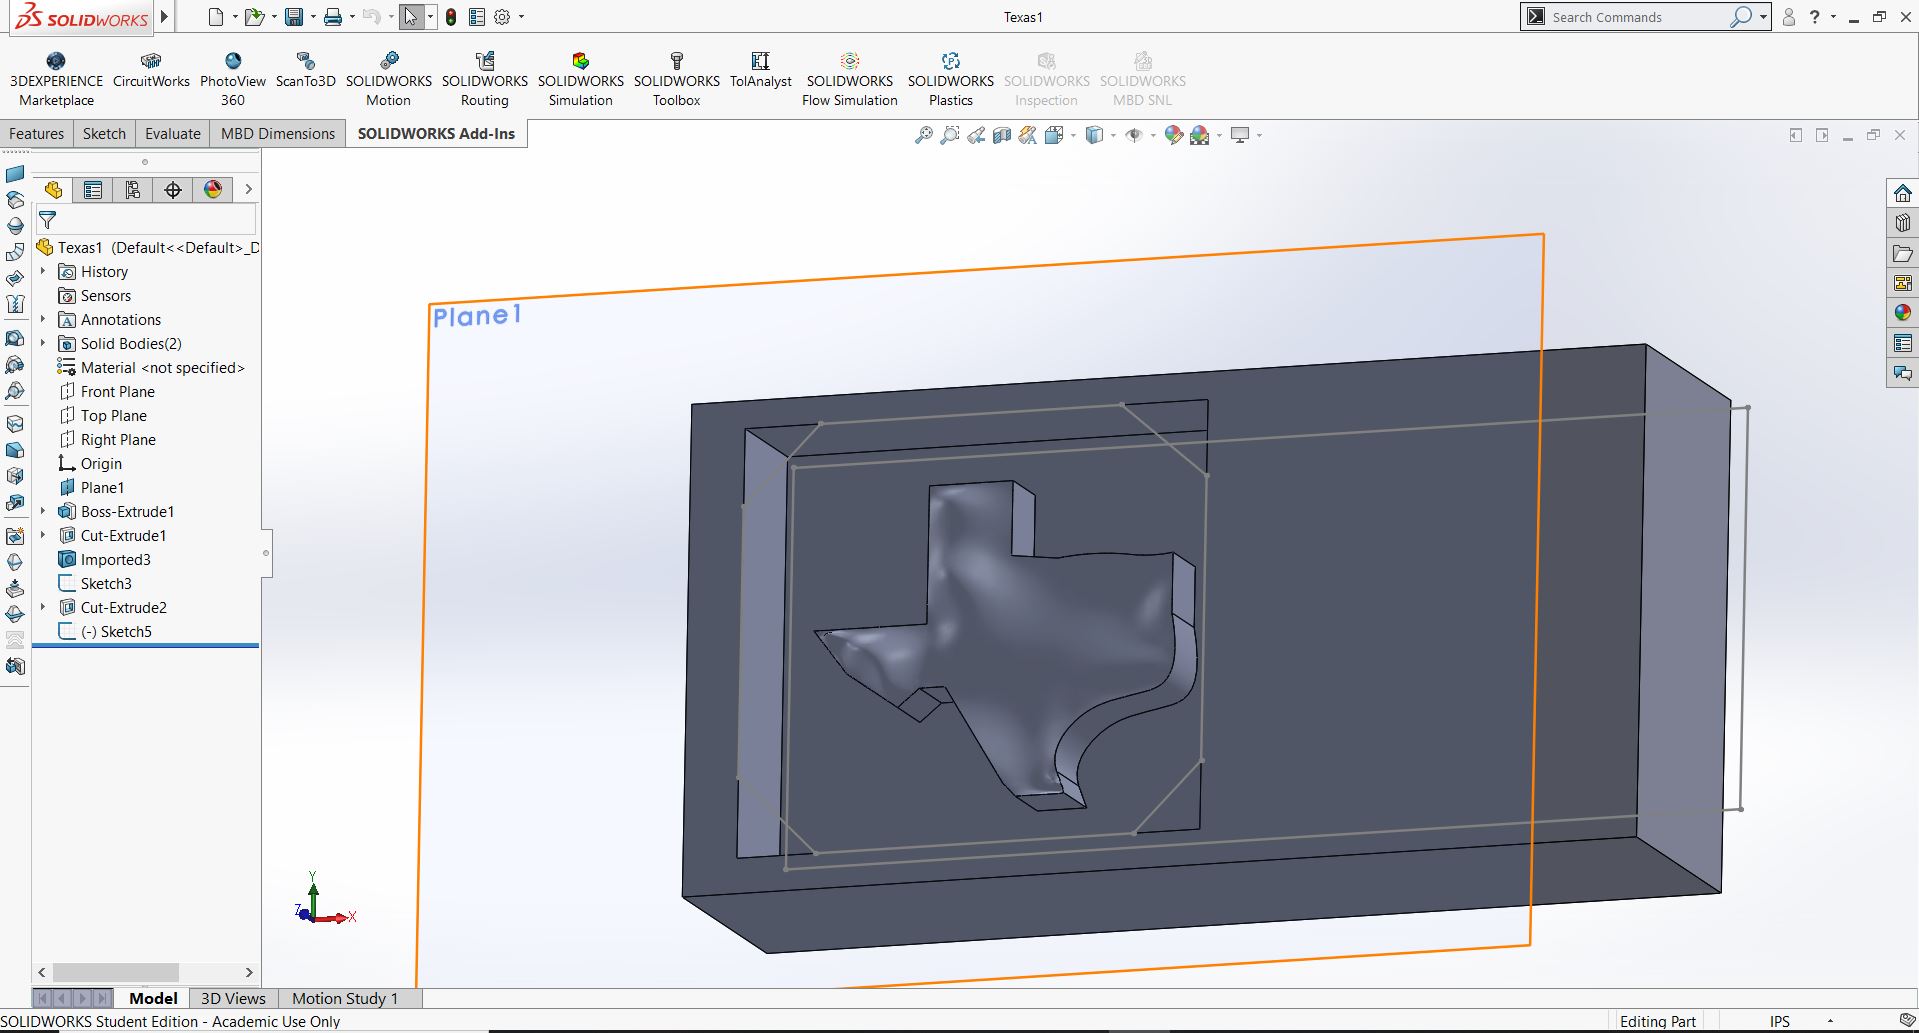
 After the model was done I needed to add the mold walls and base to then do the CAM. I spent *WAY* too many hours trying to figure out how to use Solidworks' mold tools to do this, before realizing that I could just model the block of wax, cut out a hole, and mate the two parts. In retrospect I should've asked for help after the first hour of struggling. Apparently, the mold tools in Solidworks are used to make injection molds. The more you know!
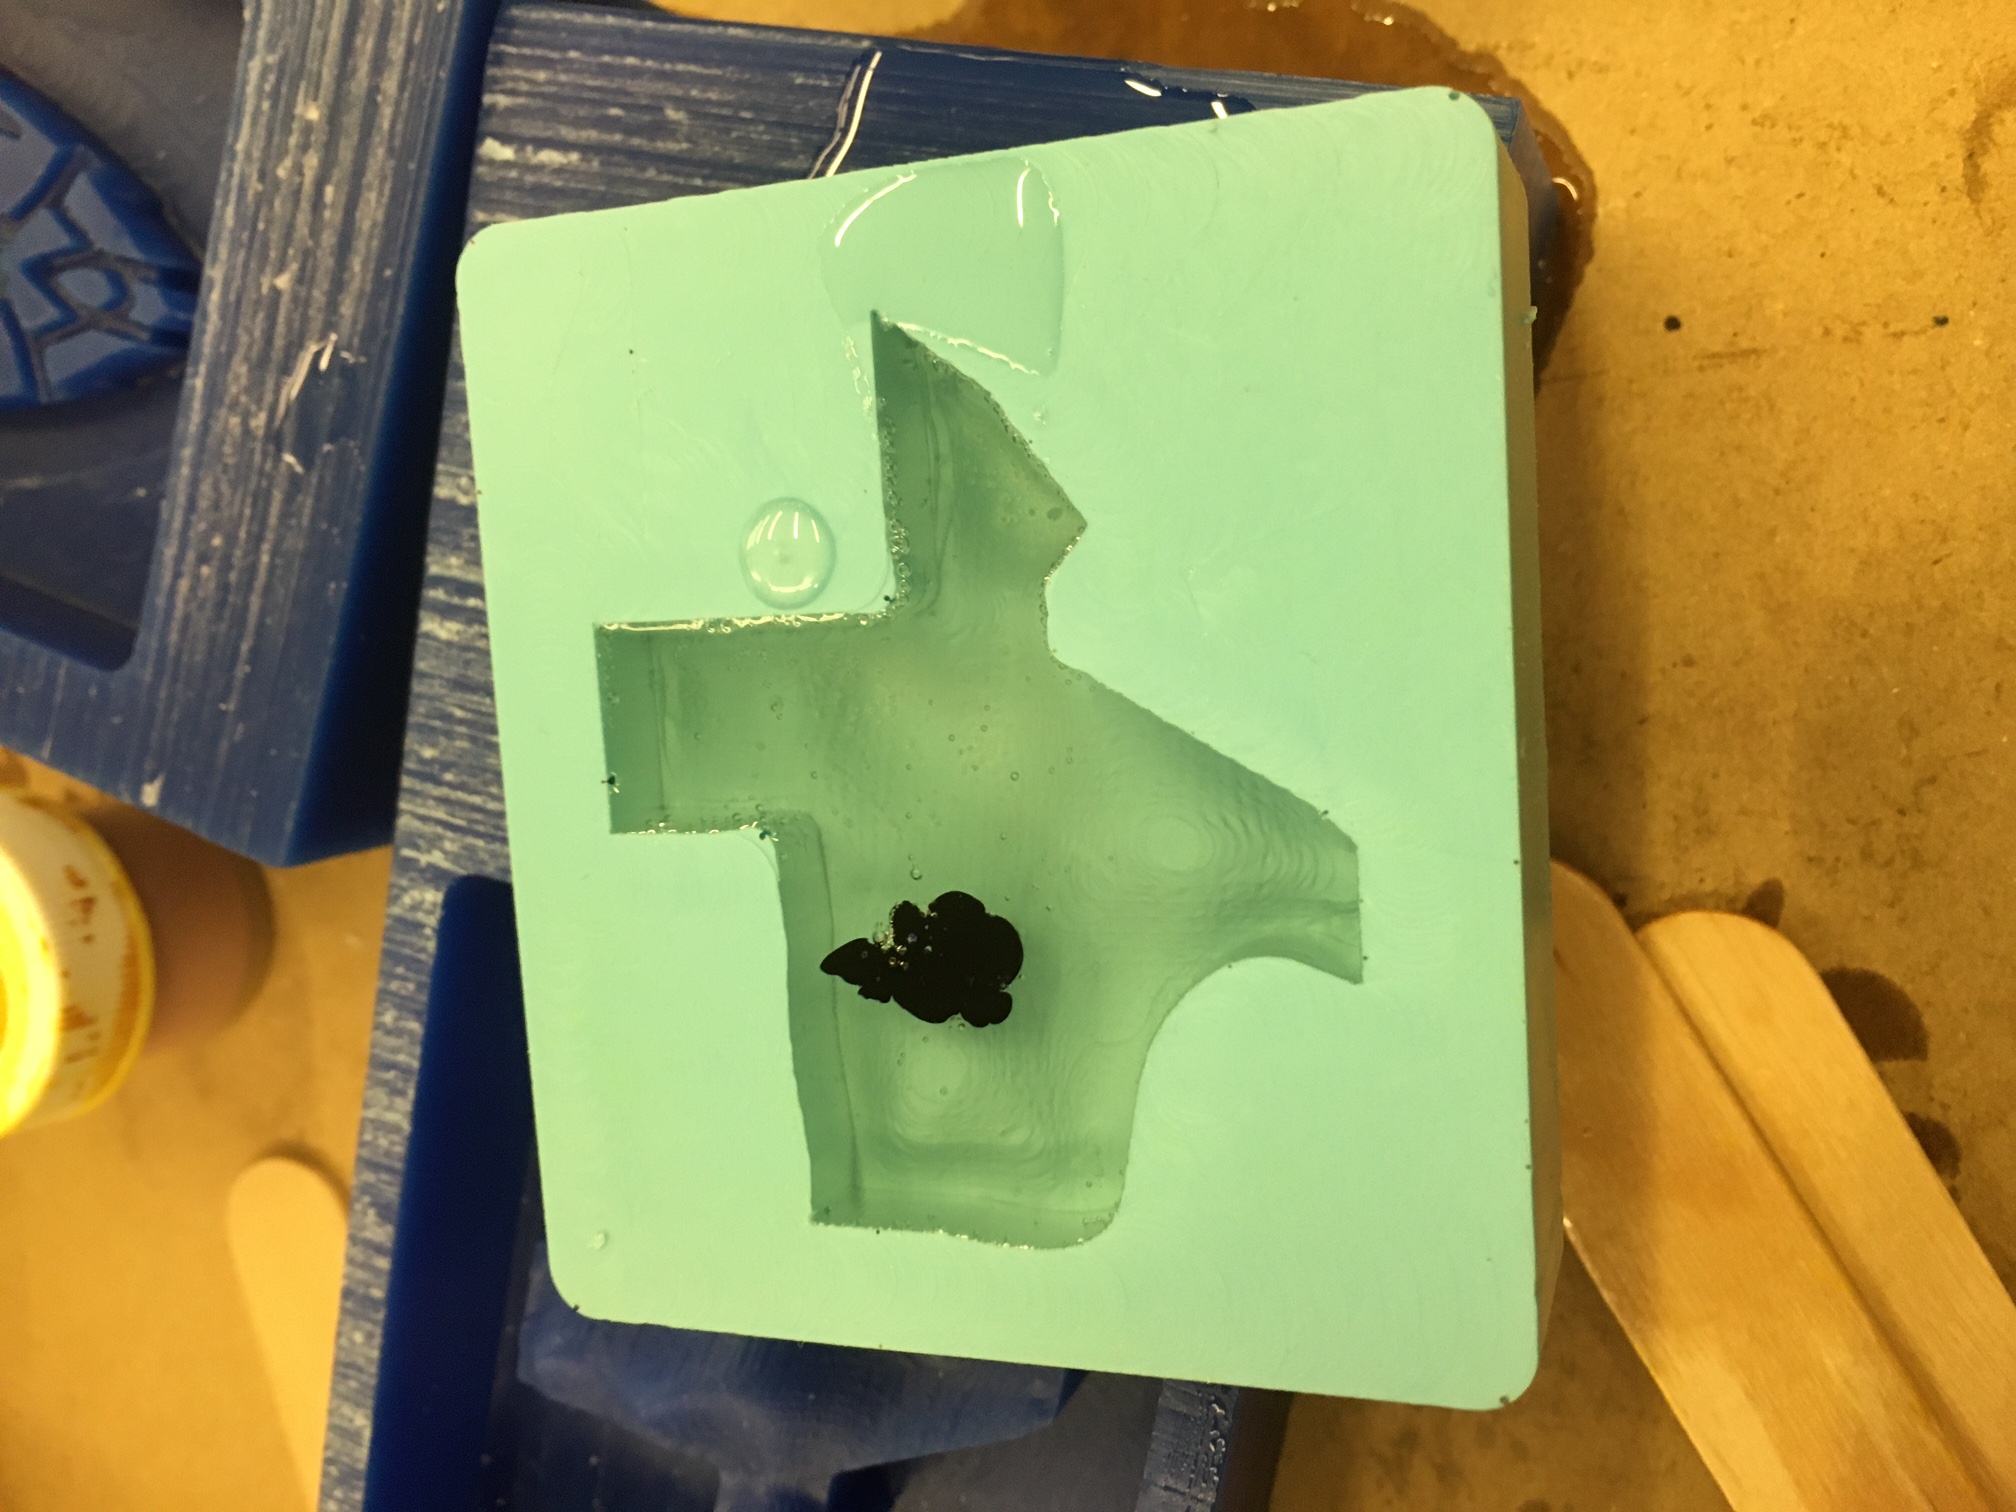
 About two hours later the oomoo was set and a ~very slowly~ pried the mold out of the wax. I was very scared I would mess it up or that there would be a bunch of bubbles waiting for me on the underside of the mold. But lo and behold, she came out beautifully!
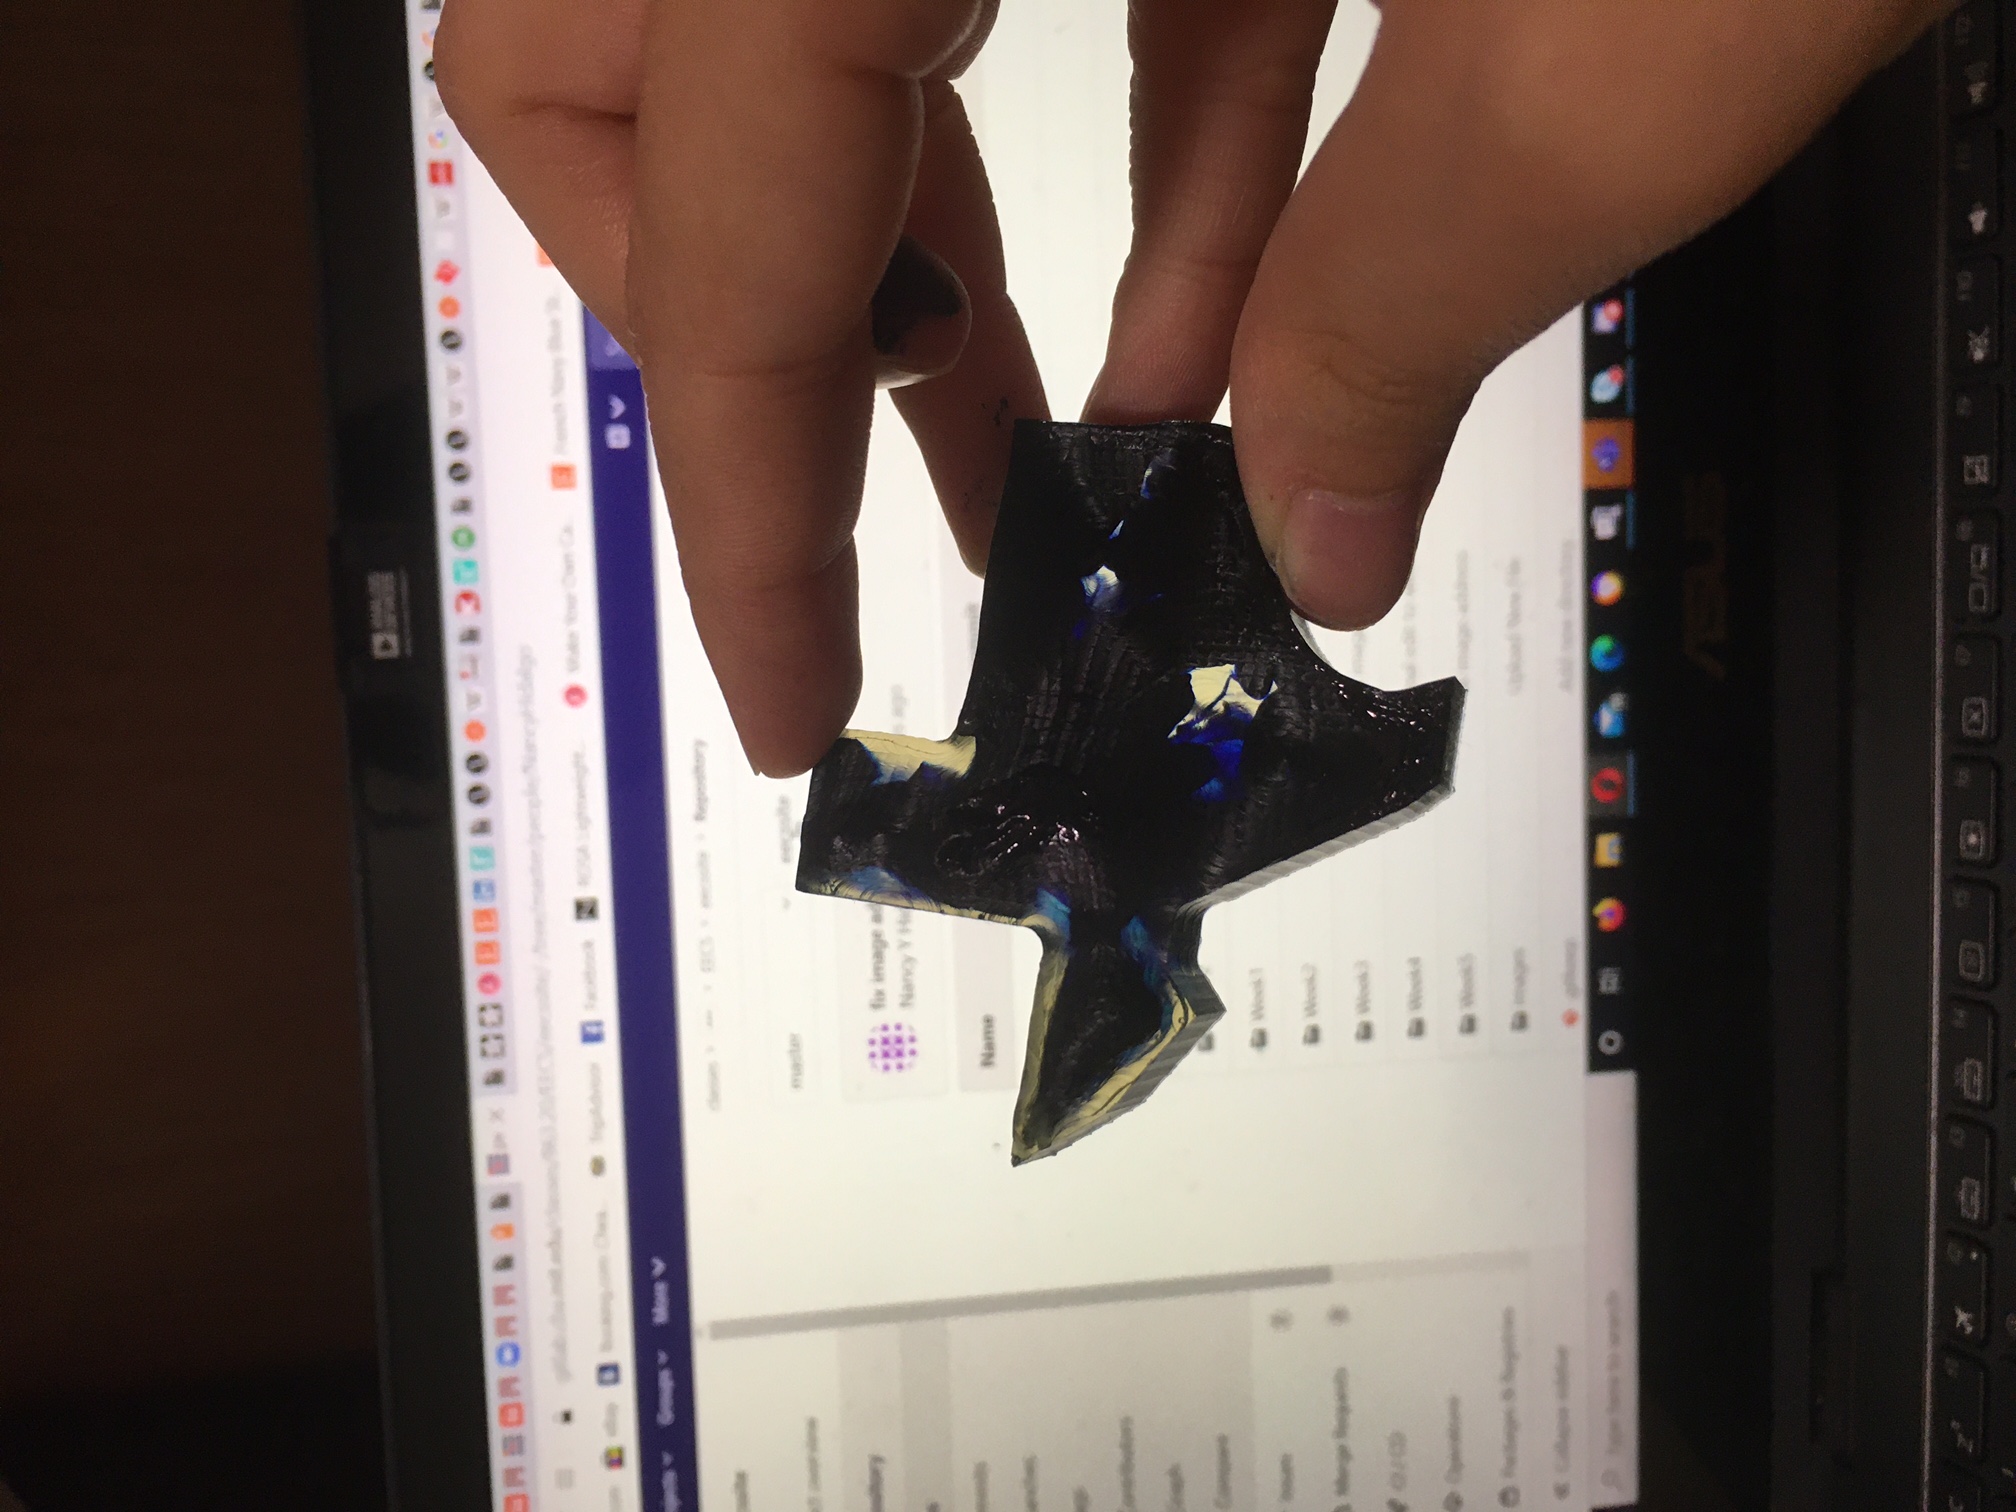
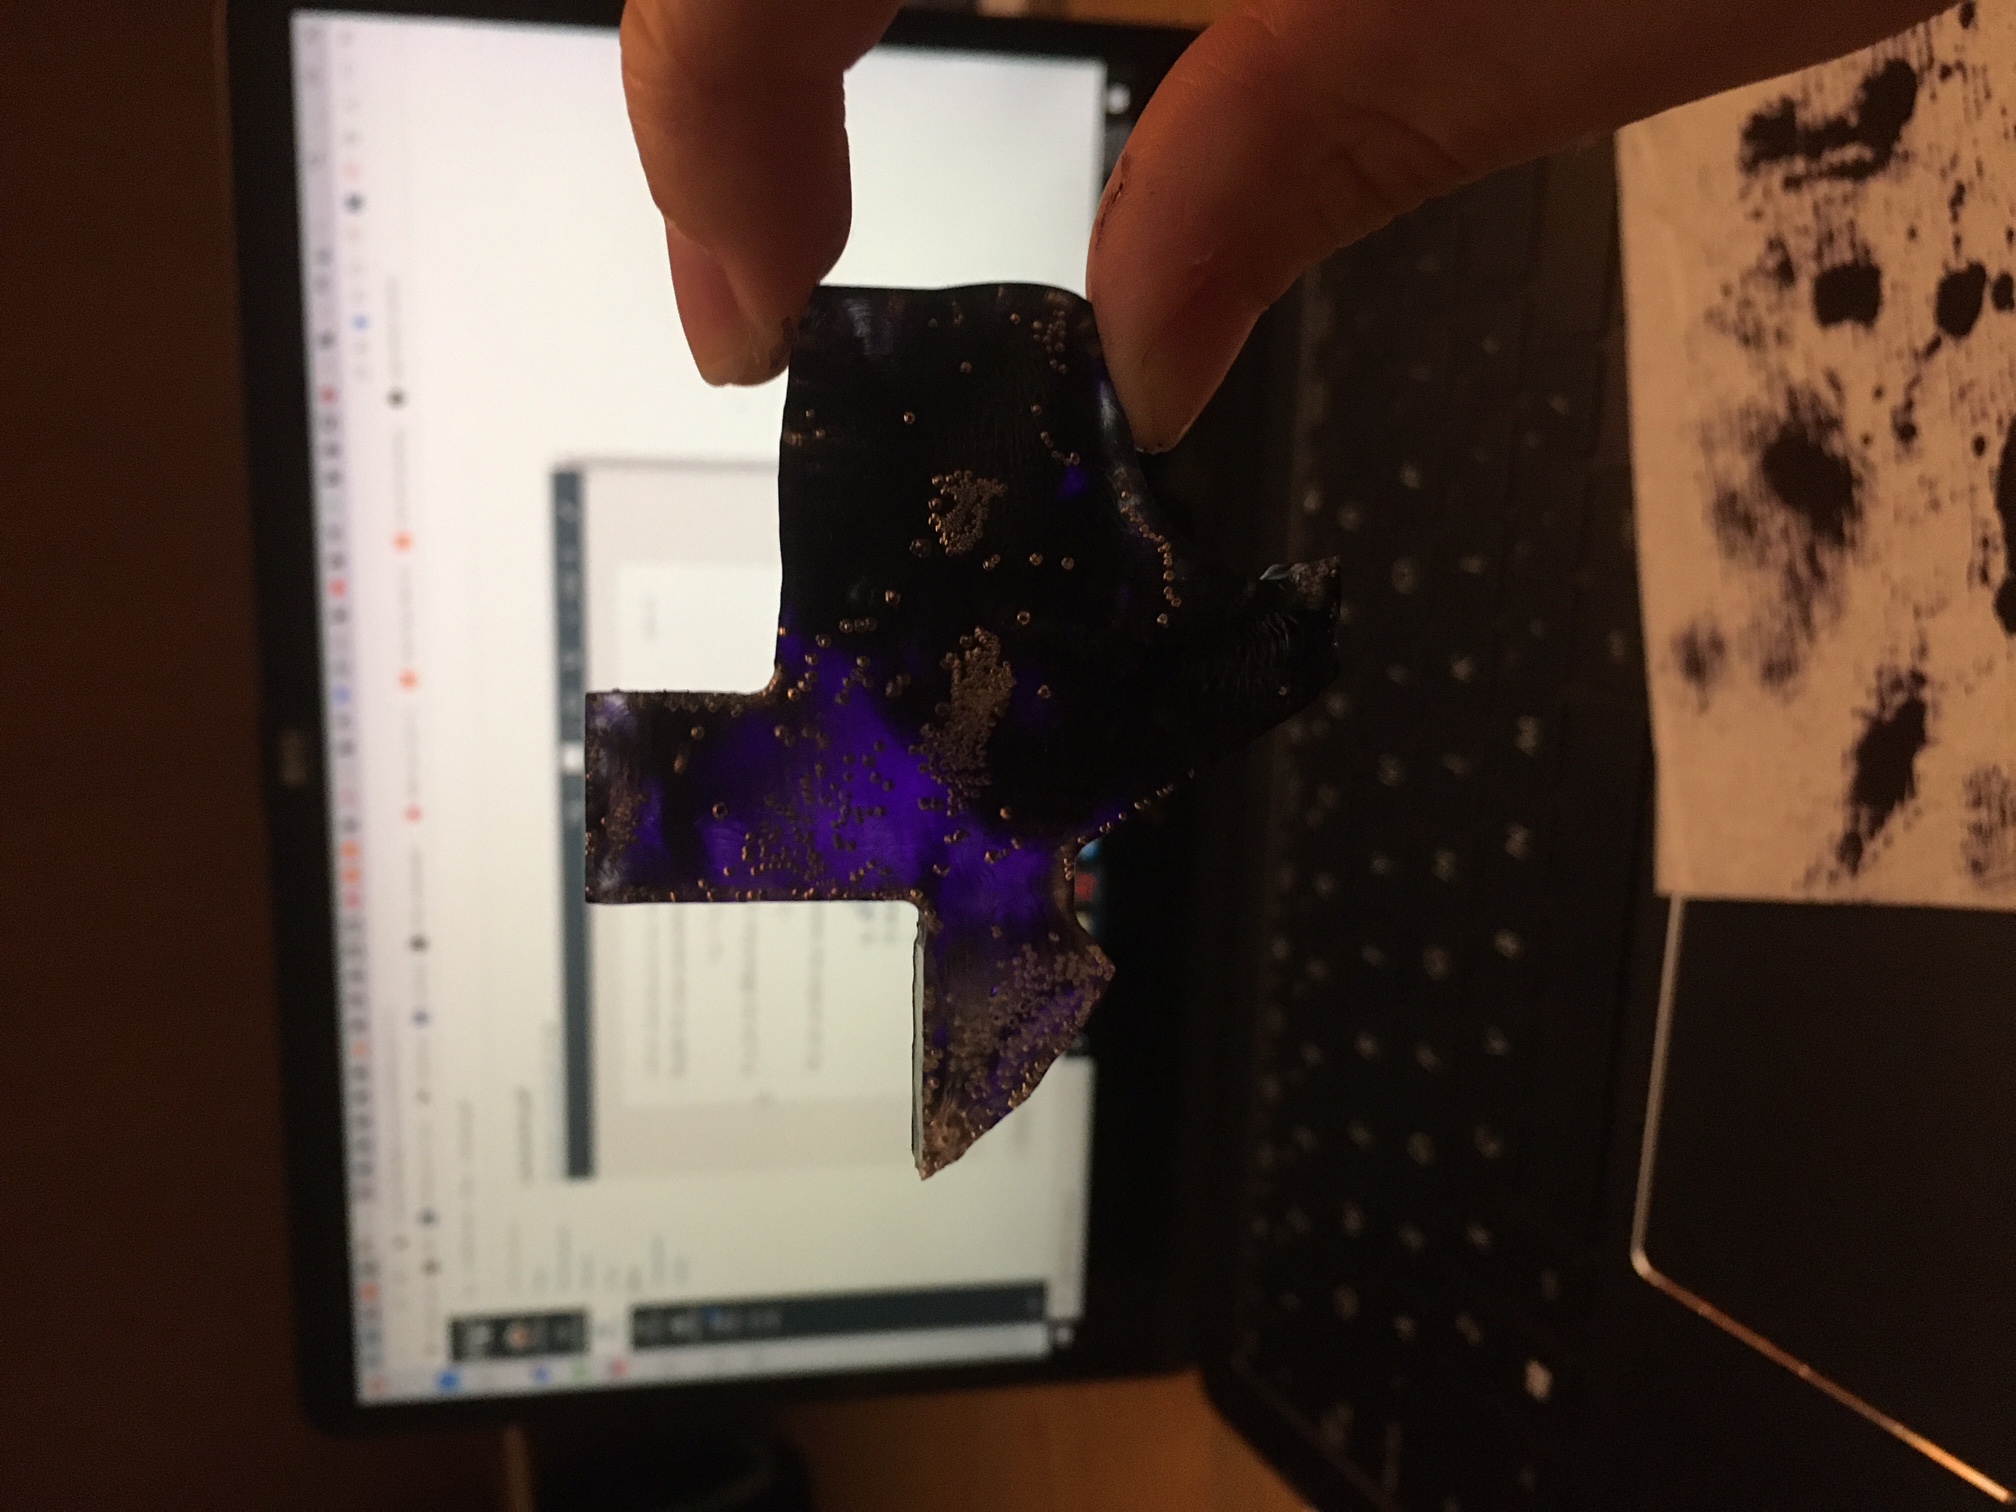
 About an hour later, I carefully peeled the plastic Texas out of its mold. The plastic wasn't *quite* set, so I actually deformed the plastic a little bit. There was also a lot of excess dye on the planar side that just made a big ole mess. However, there was a bit of diffusion in the places that I dyed earliest. Unfortunately, I didn't get the nice color difference that I hoped for, but when I hold it to the light I can see the higher parts are lighter and the lower parts are darker. I may try this out again, but with epoxy and probably with a different color, the purple is really dark. Nonetheless, here is the final product!
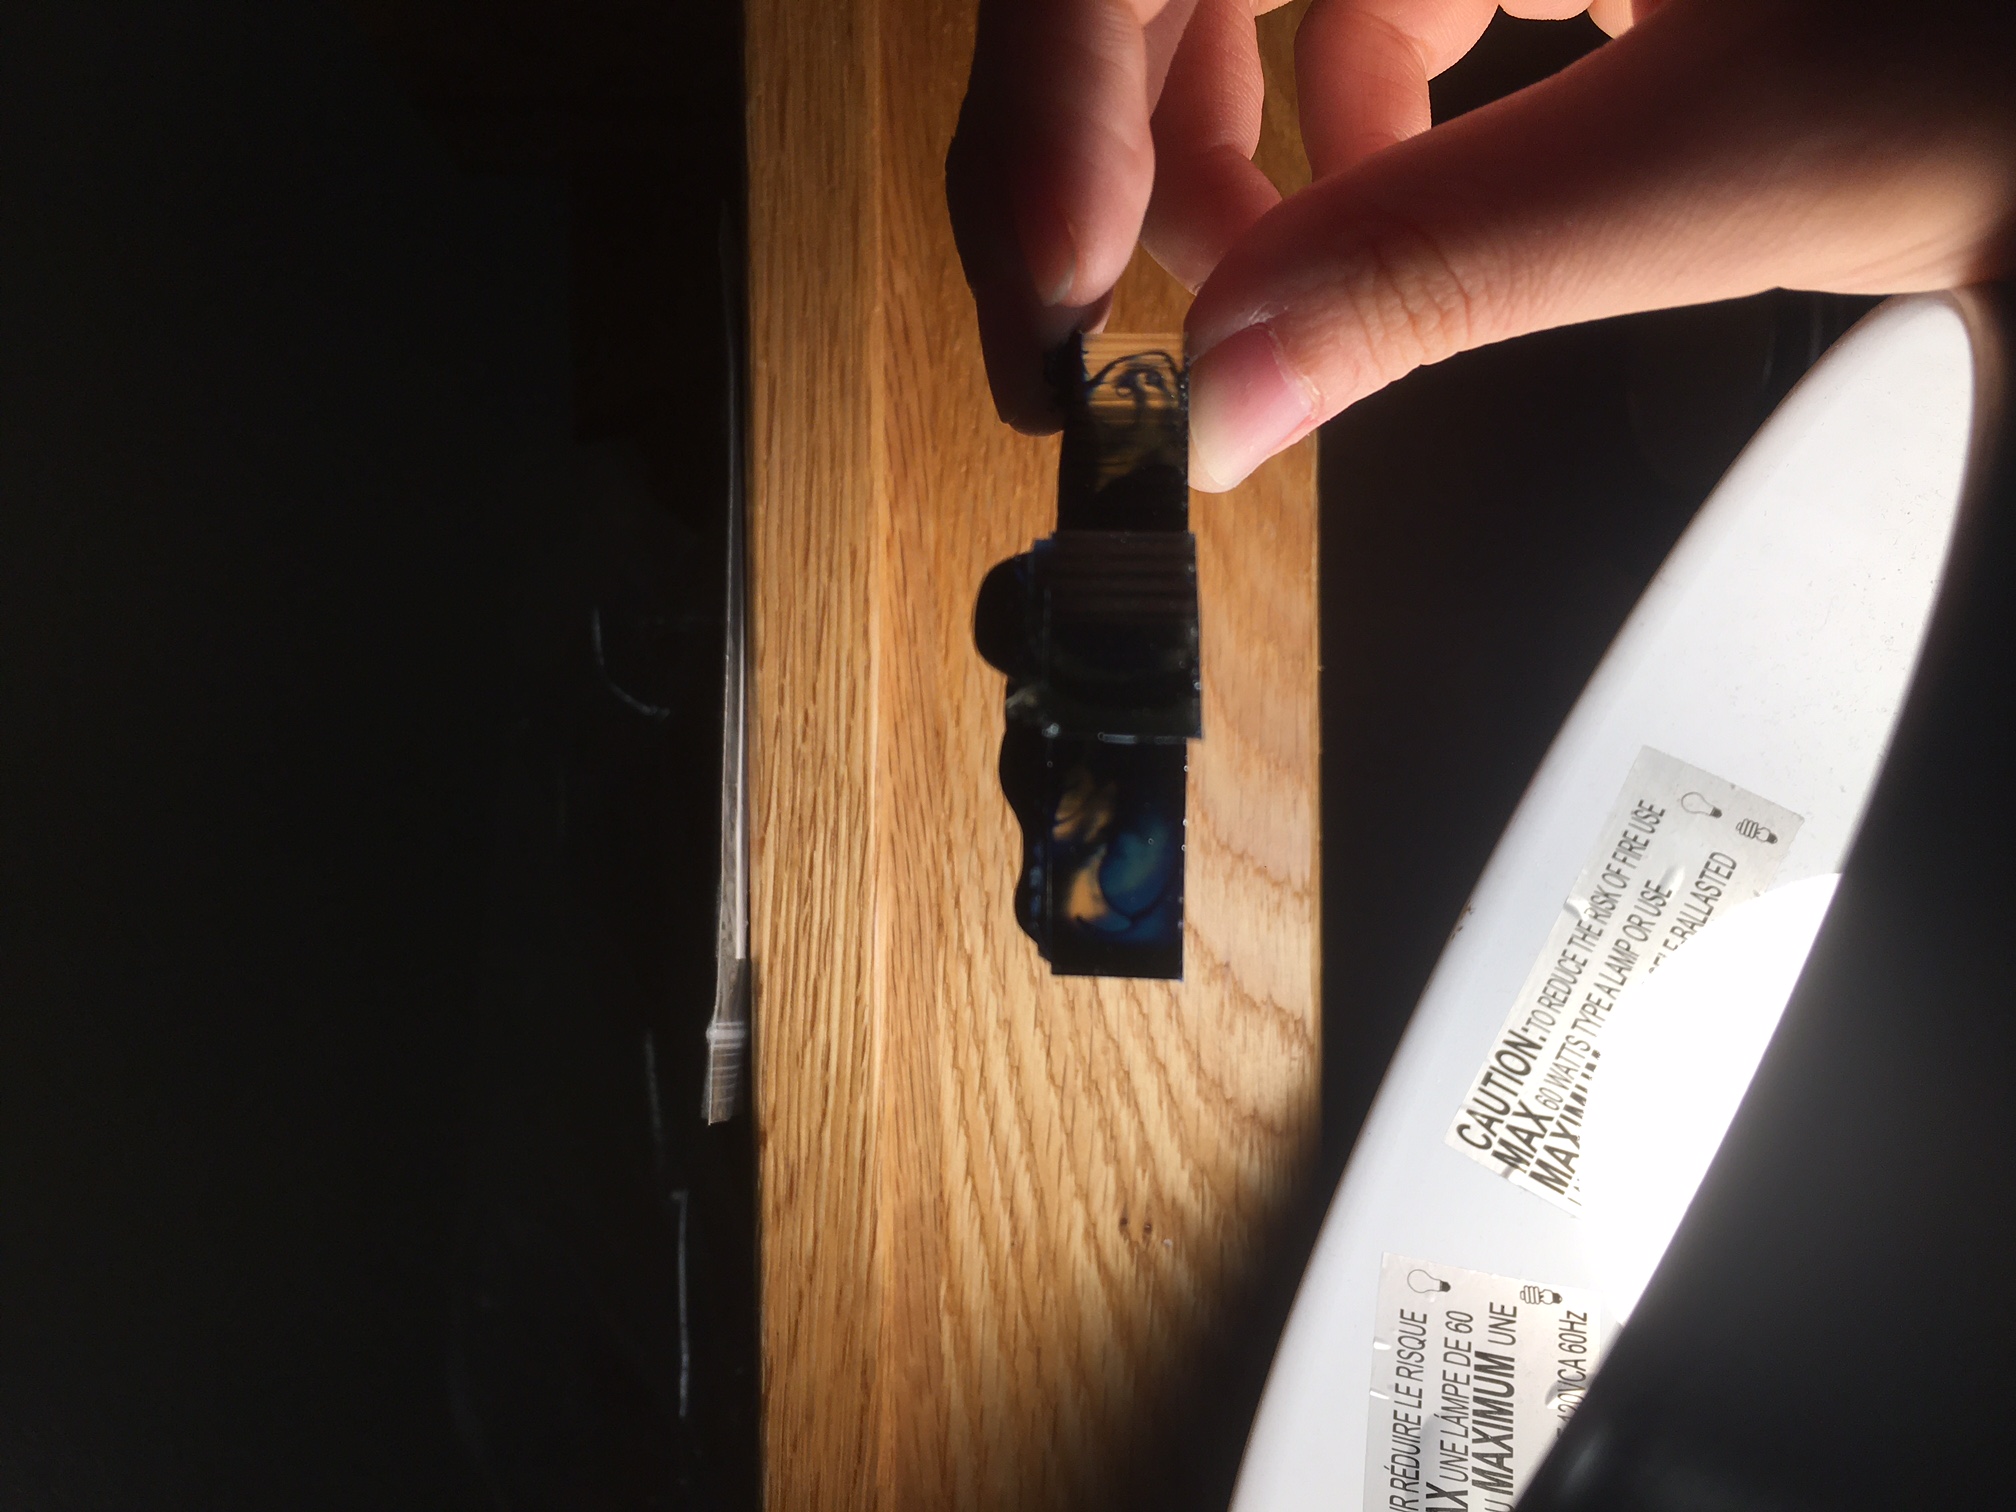
 On Friday, I tried doing epoxy to see if I could get some cool ~diffusion~ action going. This time, I used blue dye. As I put the dye on the epoxy sitting in the mold, the dye starting sinking almost immediately. The dye is more dense and the epoxy is less viscous than the clear plastic. This meant that I wouldn't get the diffusion gradient that I wanted. However, I could still get cool diffusion patterns. This is how they turned out!