final project: putting it all together
December 9, 2020
This was the final push to finish my final project. With electronics and programming sorted away, the last part of my project was to piece together all of the mechanisms and electronics into the housing.
problems
One thing I’ve learned throughout the class was that often, things don’t work on the first try when not enough design is considered. This is exactly what happened in my case. There were a few components that I didn’t think through before leaving campus and I had to pay for it when assembling.
problems pt1 - treats bouncing out of solenoid holder
The first problem I faced was that some of the treats would bounce out of the solenoid holder when dropped from the tube above the stepper. This was a problem because my machine wouldn’t be able to launch the treat if it wasn’t being set into the right position. To counteract this problem I included some cardboard walls that would prevent the treat from bouncing.
I first added two walls that were parallel to the solenoid housing. This would prevent the treats from bouncing off of the sides of the solenoid housing. This worked great for its purpose. However, after some testing, the treats bounced off the back of the solenoid housing behind the stepper motor. I then had to make another makeshift wall on the stepper motor housing. This allowed my treat to reliably fall into place.
I first added two walls that were parallel to the solenoid housing. This would prevent the treats from bouncing off of the sides of the solenoid housing. This worked great for its purpose. However, after some testing, the treats bounced off the back of the solenoid housing behind the stepper motor. I then had to make another makeshift wall on the stepper motor housing. This allowed my treat to reliably fall into place.
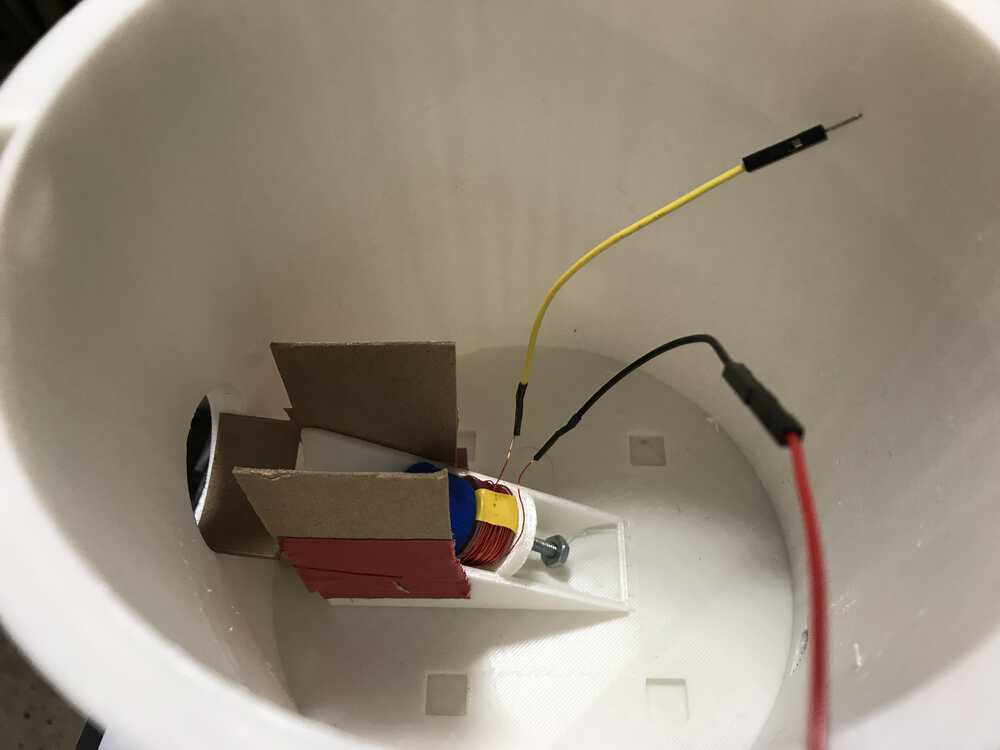
Makeshift cardboard walls on the solenoid holder
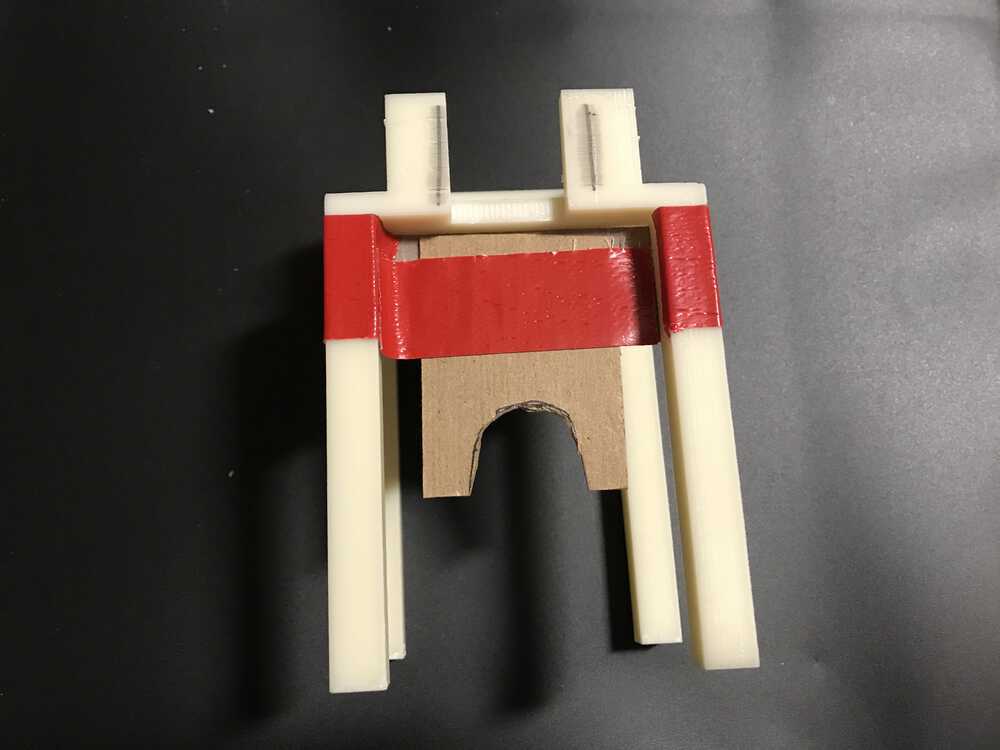
Makeshift cardboard walls on the stepper motor holder
problems pt2 - wires
One part I overlooked was the system integration of my electronics. Since I lost shop access and access to a 3d printer, I couldn’t print the casing for my PCB. Additionally, the wires were rubbing against the disk on the stepper motor. This caused the number of rotations to not be accurate due to the friction. So I made sure to tape some wires in place to prevent them from interacting with the disk on the stepper motor.
My disk was still rubbing against the base of the stepper motor that had the tube which would drop treats to the solenoid housing. Therefore, I had to go in and program that my stepper motor was 305 steps per rotation. After experimenting with different values, 305 steps per rotation made a full rotation with the slight friction between the disk and the base.
My disk was still rubbing against the base of the stepper motor that had the tube which would drop treats to the solenoid housing. Therefore, I had to go in and program that my stepper motor was 305 steps per rotation. After experimenting with different values, 305 steps per rotation made a full rotation with the slight friction between the disk and the base.
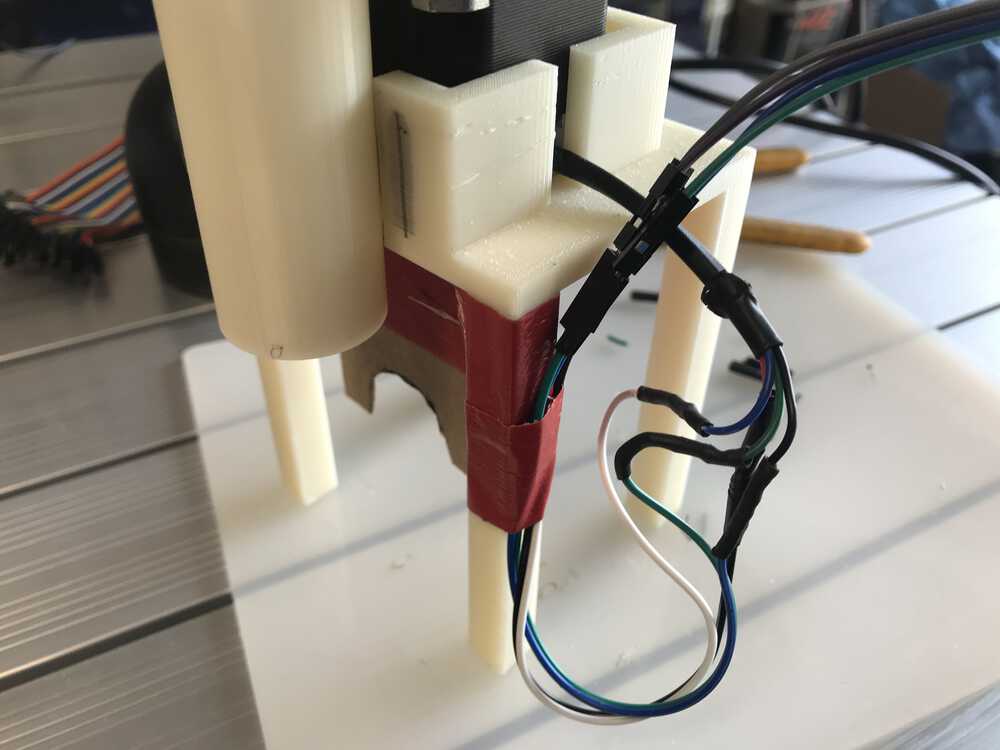
Making sure the wires from the stepper motor don't rub against the disk
problems pt3 - camera hole
An additional oversight was the camera hole. I did include a camera hole in my original design for my device, but it was too small and not in the right location as the ESP32CAM on my PCB. Therefore, I needed to drill another hole to feed the camera through.

New camera hole for the ESP32CAM
problems pt4 - funnel size
The last problem I ran into involved the funnel that would store the treats. This was a problem because my PCB was larger than I expected since I forgot to take into account that the PCB couldn’t be flush with the disk because if it was, there would be even more friction applied to the disk causing the stepper to be inconsistent. To solve this problem, I used an electric saw to cut off a section of my funnel. This was fine since my PCB was still small enough to go below the lip of the funnel.
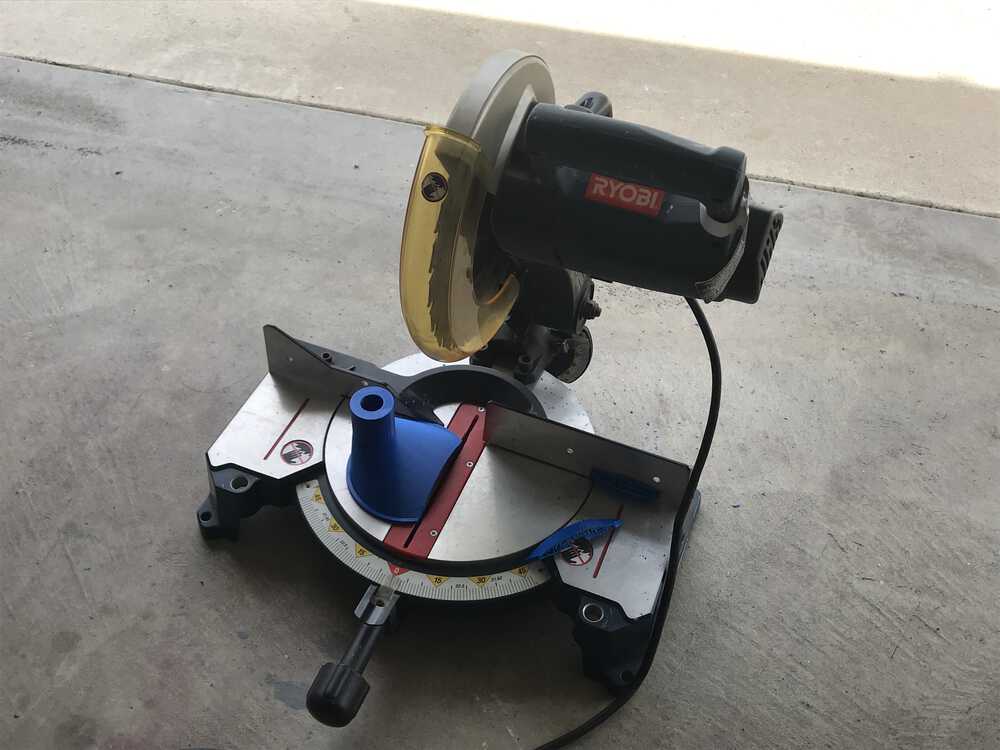
Using an electric saw to cut the funnel so my PCB will fit
testing
Like I noted before, there was lots of experimentation needed to get the settings correct for the number of steps per revolution, locations to place the wires, and treat dropping mechanism. But after lots of trial and error (and many launched dog treats), I was able to get the correct that would make my treat launcher work!
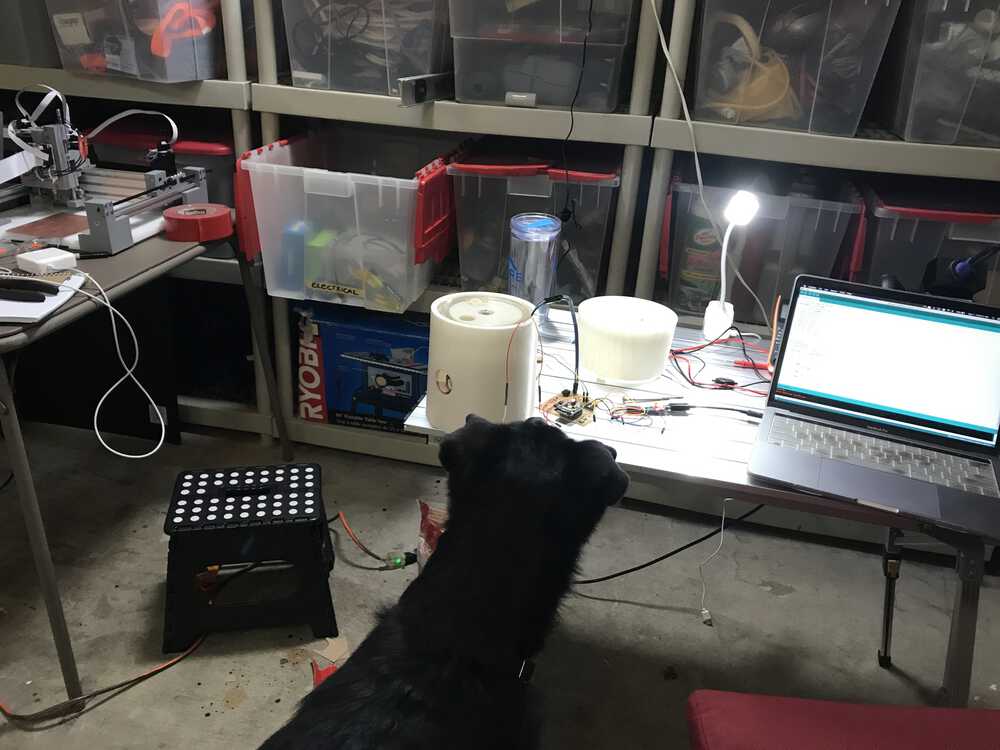
My dog quickly learned treats were coming out of this odd device!
One of the first demos of the launcher in action!
extras
With some extra time on my hands, I wanted to customize the appearance of my device. I did not have a vinyl cutter at home, so I couldn’t vinyl cut stickers for my device, however, I did have some black tape laying around my house, so I cut some stickers and customized my device.
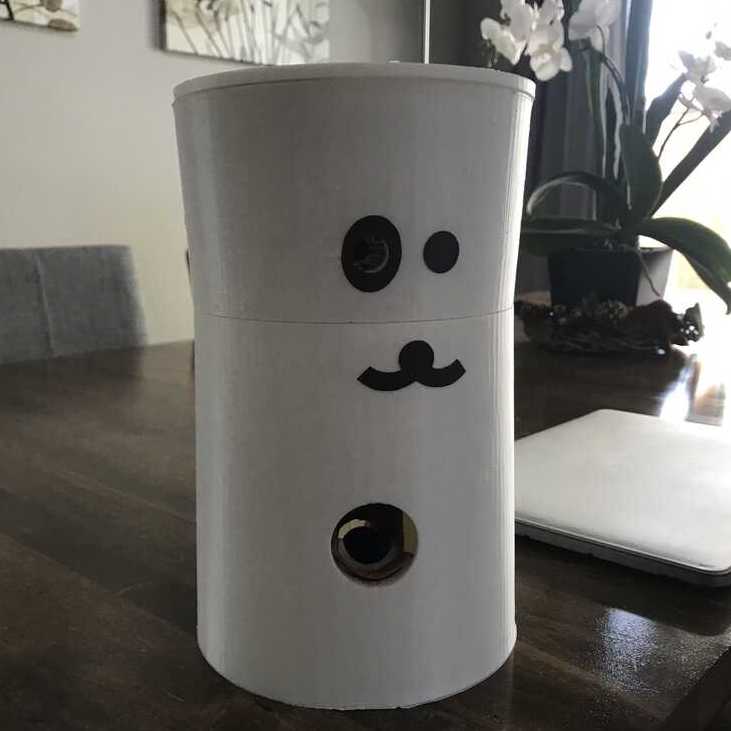
Dog face sticker to decorate my device
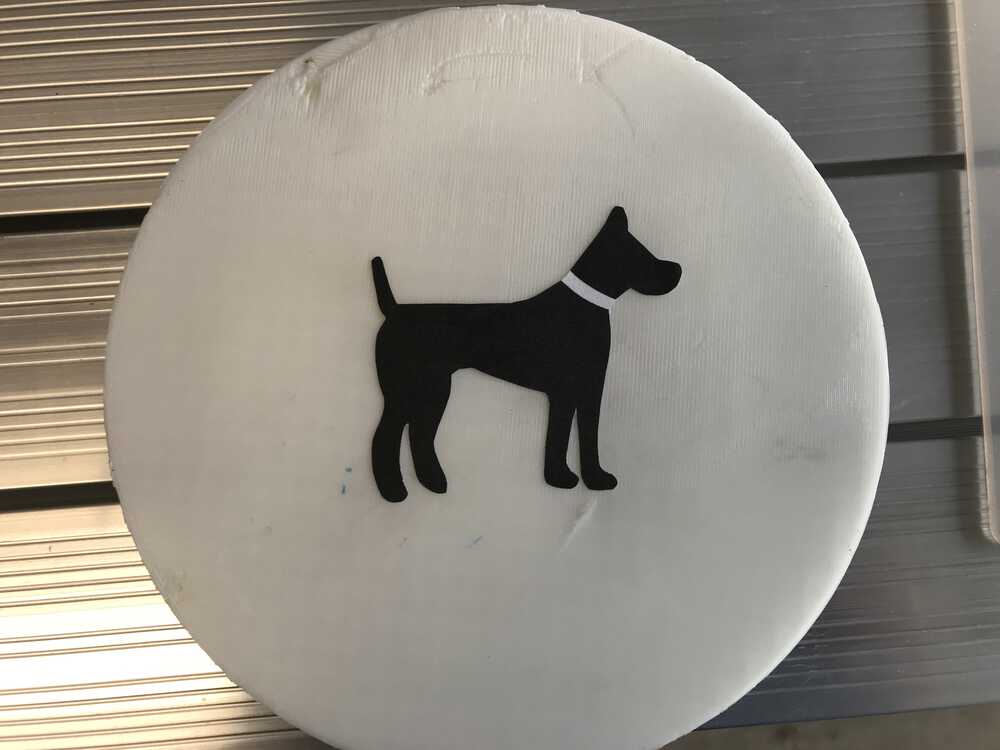
Dog sticker on the launcher lid to decorate my device
conclusion
I learned the importance of really fleshing out the idea/design before getting too ahead. If I had done additional design and had more time in the shop, I would be able to have foreseen these faults and made a solution such that I would not need the cardboard pieces/jerry-rigged solutions. This was definitely a learning experience for future projects.
NEXT>