week 4: molding and casting
October 7, 2020
assignment
1. design a mold around the stock and tooling that you'll be using,
2. mill it (rough cut + (at least) three-axis finish cut)
3. and use it to cast parts
inspiration for the week
This week in lecture we learned about molding and
casting and we were assigned to design a mold, mill the design,
and use it to cast parts. After going to the shop and seeing
what materials we had available to use, I really wanted to use
metal to cast an object. I thought an all metal stormtrooper
helmet from Star Wars would look pretty cool, so I decided to make a
stormtrooper helmet this week.
designing
We were each given a 1.5”x3”x6” stock of wax to build
out mold from. So the first step was designing my mold in Fusion360.
I was thinking of attempting to make the stormtrooper helmet from scratch,
however there were a lot of intricacies and I wanted to spend more time
with the machines and casting, so I grabbed a pre-made .stl file of a
stormtrooper helmet here.
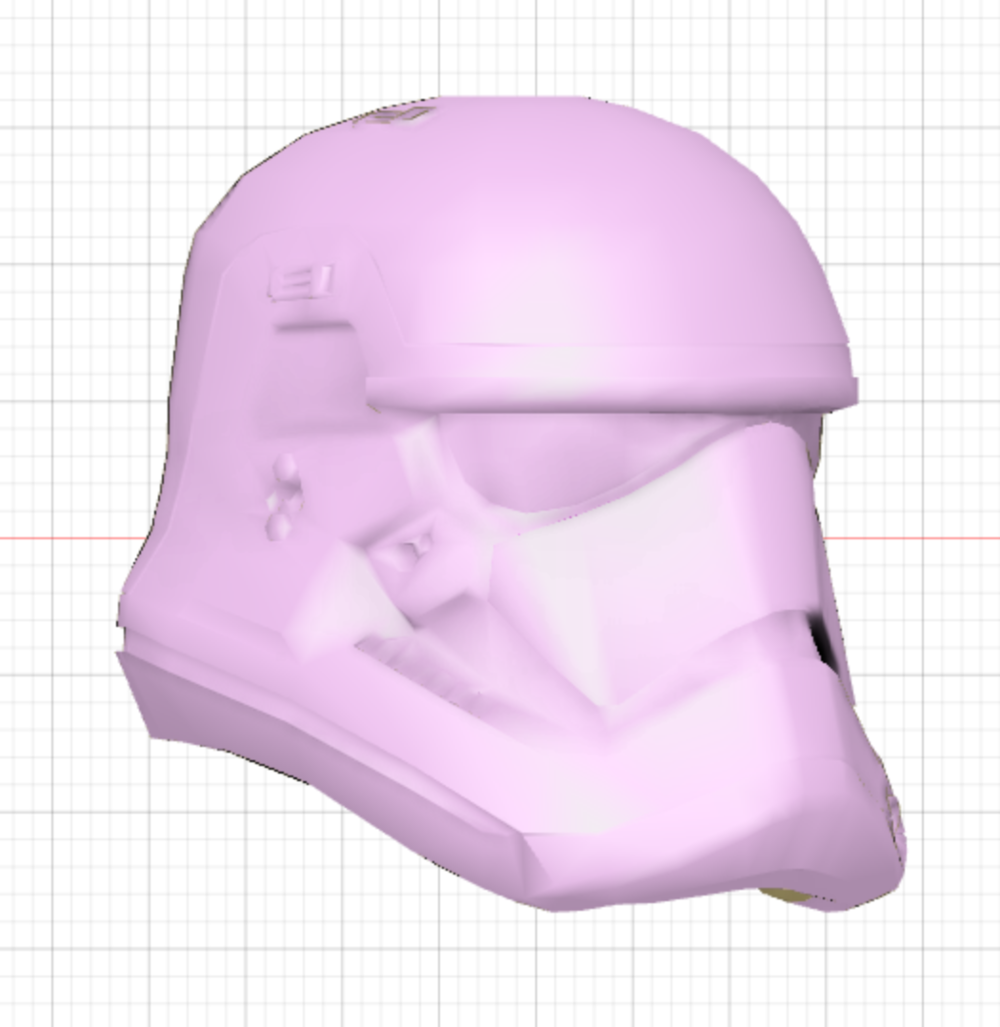
Stormtrooper helmet stl file
I first uploaded the .stl file into Fusion360 then created a 1.5”x3”x6” object. I had to scale down the stormtrooper helmet to fit into the wax block. From here I split the stormtrooper helmet down the middle with Fusion’s “Plane Cut” command. I then rotated the back side of the helmet by 180 degrees in the z direction and aligned both the front and back sides of the helmet. This was important since my two piece mold would only be successful if the molds were exactly even with each other to provide a smooth helmet.
Once the two halves of the helmet were aligned and next to each other, I spread them out and started to extrude rectangles into the wax to create space where my mold would be. I made sure the helmet was at least ¼ inches from the edges of the wax as a safety net to provide enough room between my design and the wax block for the tool to go through. Lastly, I added some plugs on both pieces that would slide into place when the two halves of my mold were put together to ensure that they aligned correctly. Here is my final CAD design
Once the two halves of the helmet were aligned and next to each other, I spread them out and started to extrude rectangles into the wax to create space where my mold would be. I made sure the helmet was at least ¼ inches from the edges of the wax as a safety net to provide enough room between my design and the wax block for the tool to go through. Lastly, I added some plugs on both pieces that would slide into place when the two halves of my mold were put together to ensure that they aligned correctly. Here is my final CAD design
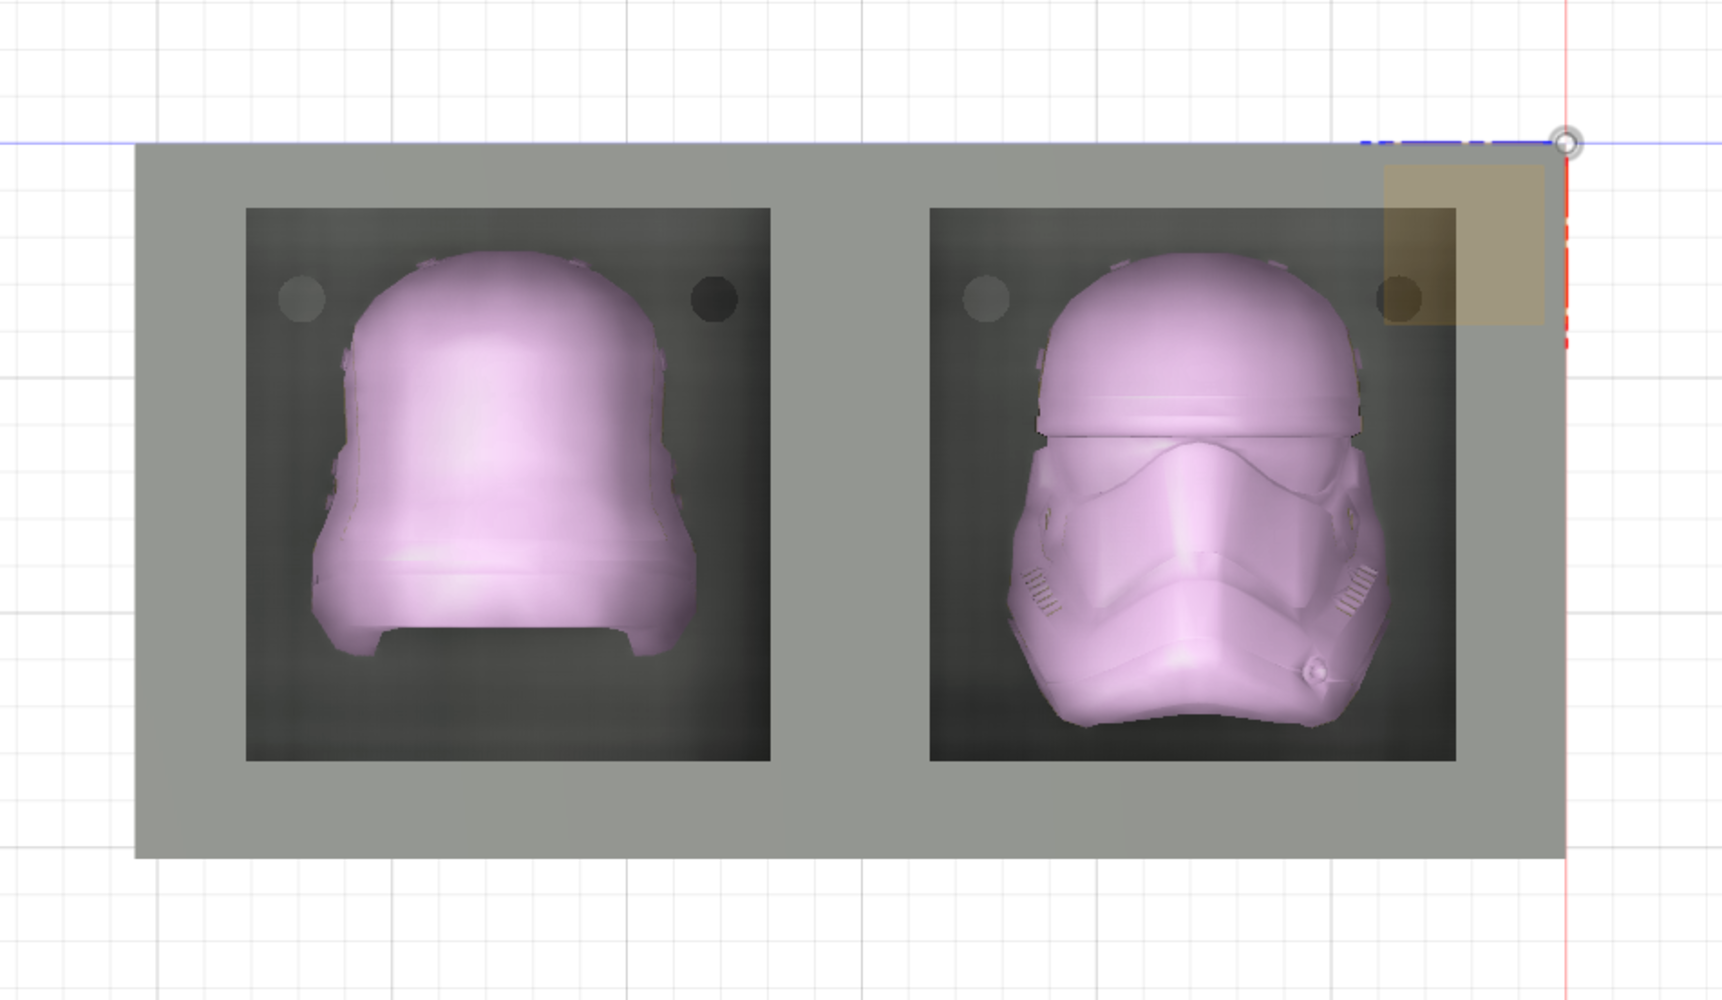
My CAD design for the wax negative mold
I then took my design and exported it as a .stl file and sent it to Anthony to help with the toolpathing. He worked through 3 jobs, one for a roughing pass, one for a finishing pass, and a last job for final finishing with the scallop. These files would be read by the mill and would cut my wax piece to be the same shape as my CAD.
milling
My 3 jobs were projected to take a little over two hours. Luckily I got my design done early, so I was able to get the toolpathing done over the weekend with Anthony, giving much more flexibility on when to mill my wax block. So I set aside three hours and started to use the mill.
In the EECS shop we had the CNC Shark mill. I first taped the bottom of my wax block with double sided tape in order to keep the wax block on the bed of the mill. For the first job I used the ¼ inch end mill and attached it to the Shark. I then needed to reset the origin to the bottom left corner of my wax block. To do so, I manually aligned the x and y coordinates of my end mill and used the touch plate to get an accurate measurement of the zero coordinate in the z axis. By placing the touch plate on my wax block, the Shark will slowly send the end mill down in the z coordinate until it touches the touch plate. It then recognizes that the z axis will start from the z coordinate that it touched the touch plate minus the depth of the touch plate. With my origin set, I was ready to start my first job.
In the EECS shop we had the CNC Shark mill. I first taped the bottom of my wax block with double sided tape in order to keep the wax block on the bed of the mill. For the first job I used the ¼ inch end mill and attached it to the Shark. I then needed to reset the origin to the bottom left corner of my wax block. To do so, I manually aligned the x and y coordinates of my end mill and used the touch plate to get an accurate measurement of the zero coordinate in the z axis. By placing the touch plate on my wax block, the Shark will slowly send the end mill down in the z coordinate until it touches the touch plate. It then recognizes that the z axis will start from the z coordinate that it touched the touch plate minus the depth of the touch plate. With my origin set, I was ready to start my first job.
The CNC Shark in action
The first job took around 31 minutes. The larger features of my helmet were cut out. I then had to switch to the ⅛ inch end mill to get the smaller features. One error that happened when taking out the ¼ inch end mill is that it pushed my block to the right a bit. Therefore, I had to manually move the block so that the old x,y coordinate matched up. This was an issue since the cuts were precise. So after I switched to the ⅛ inch end mill I had to ensure that it was sticking out by at least 1.5 inches since the end mill needed to be long enough to cut my deepest cut (which was around 1.25 inches). After the end mill was inserted at the right height, I re-calibrated my z coordinates since I got a new end mill and started job #2. Unfortunately, my cut was offset a tad in the x-direction but I think it will turn out okay. The job took around 1 hour and 20 minutes
Lastly, I had my final finish job to complete. Since I was still using the ⅛ inch end mill, I didn’t need to switch the end mill and simply loaded my job and started running the job.
Once the job finished, I had a negative mold of my stormtrooper helmet. It looked much nicer than I expected, especially with the wax block moving slightly in between job 1 and job 2. However you can see the rough edges from the end mill.
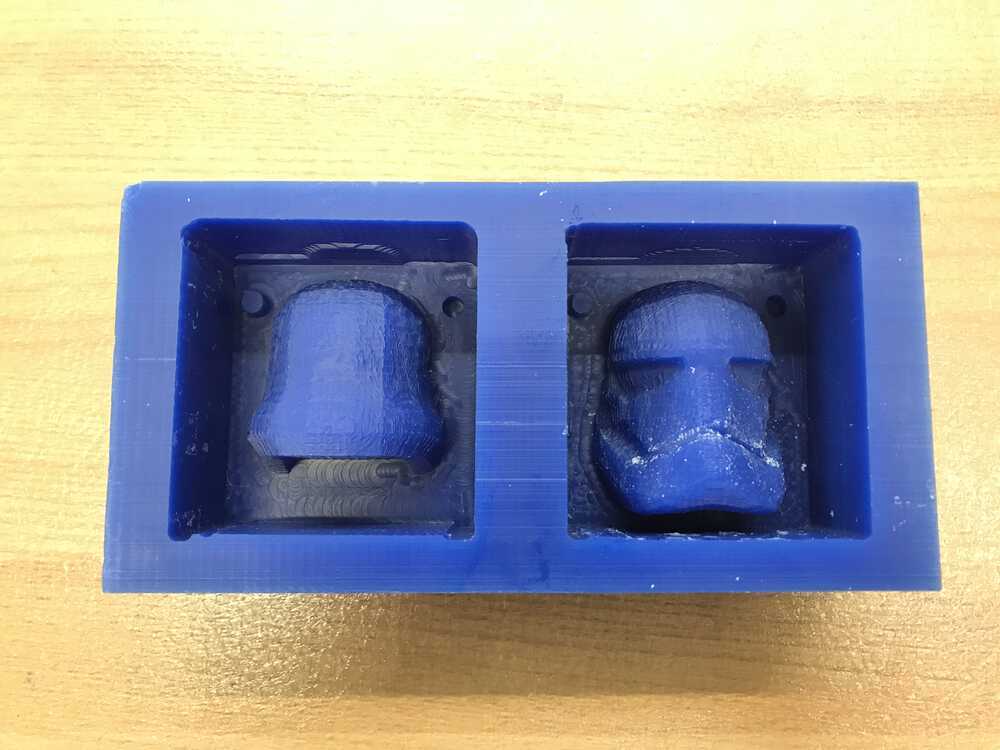
Negative mold after milling
To make the helmet more round and smooth, I took some sandpaper and filer and started to file the helmet. I made the mouthpiece and eyes deeper so the mold would capture the eye and mouthpieces.
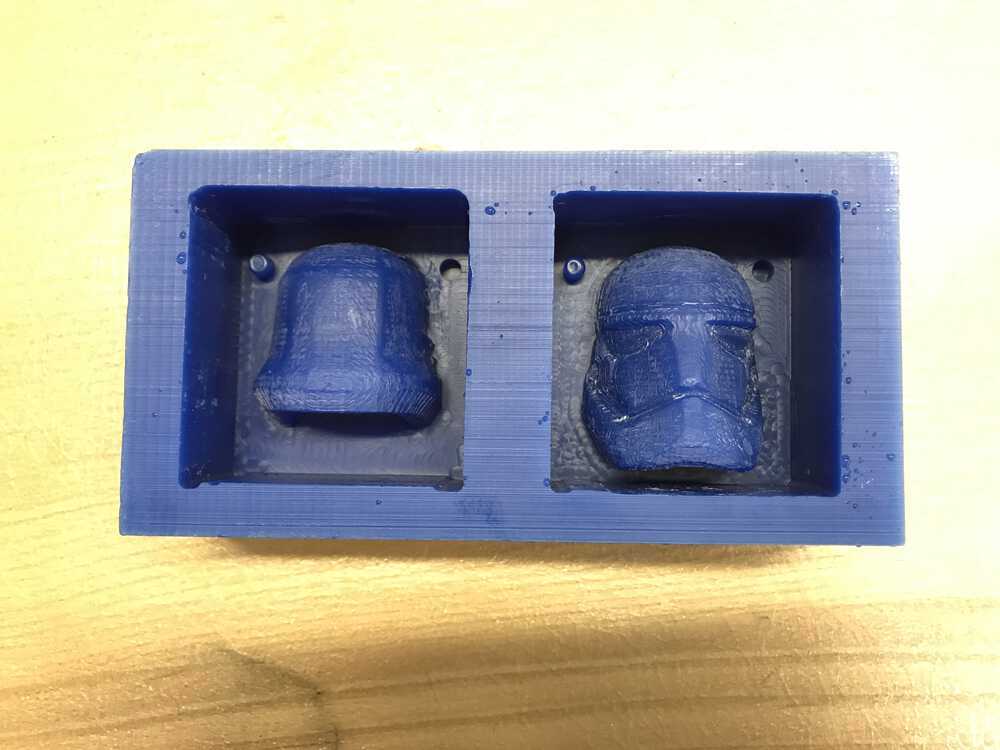
Negative mold after filing
Lastly, I used the oomoo to make my mold. I measured how much liquid I would need by pouring water to the top of my mold. I poured the water into a cup to see how much oomoo I would need. I then measured half of that amount of Mix A and Mix B into two separate cups and mixed the two together in another cup. With my mixed oomoo, I poured it into my wax negative mold and hit it against the table so some bubbles would float to the top. I then let it sit overnight to dry.
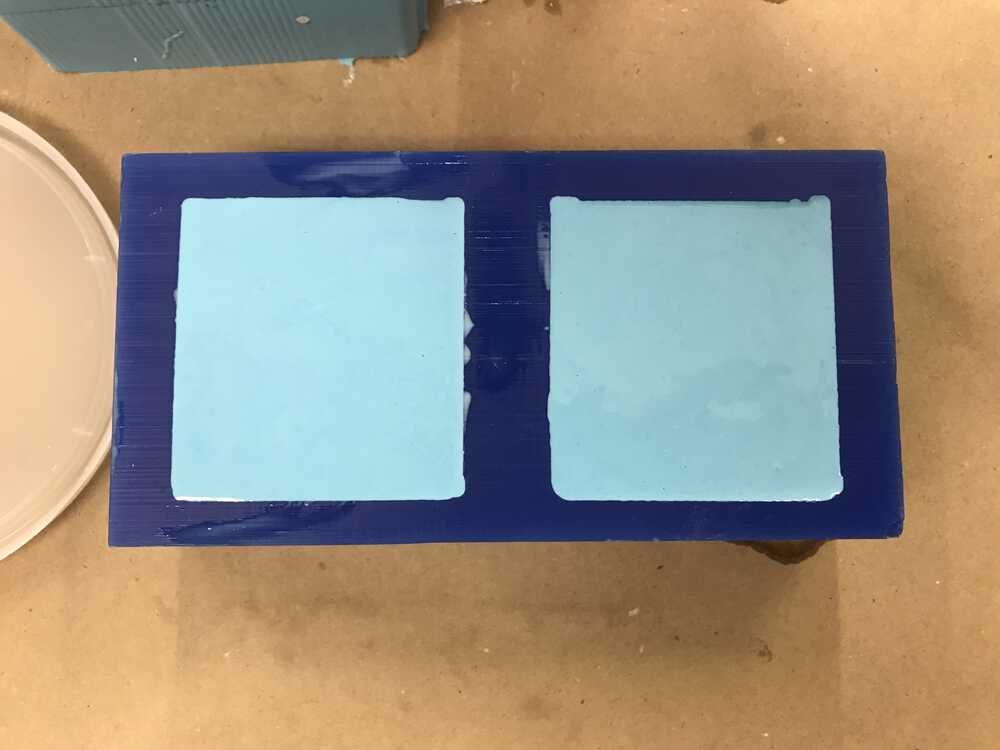
The oomoo mold in place
casting
The next day I took out the oomoo mold and it looked really nice. It got many of the details that I wanted. I first cut out holes on the top of the mold so that I could pour the liquid plastic/metal into my mold.
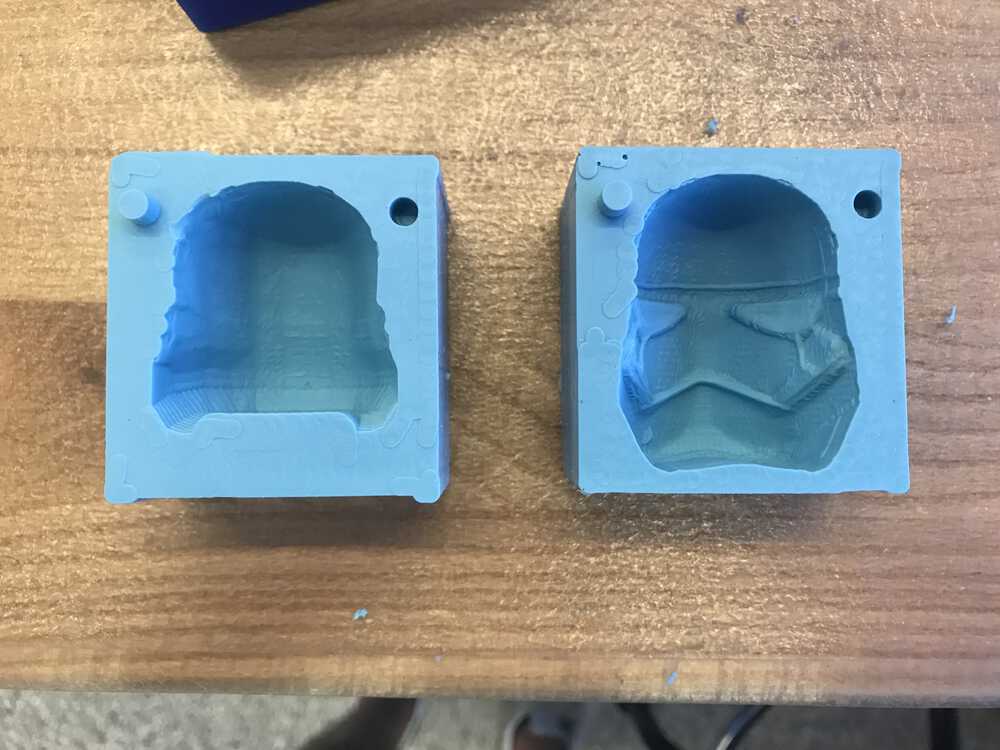
My oomoo mold
I then grabbed two wooden planks and some rubber bands which were used to hold my mold together. I first experimented with liquid plastic to see how aligned my mold was. I did this because liquid plastic only takes around 30 minutes to harden, so I could do a quick test then cast with my metal. The liquid plastic cast turned out really nice as the front and back half of the helmet was aligned
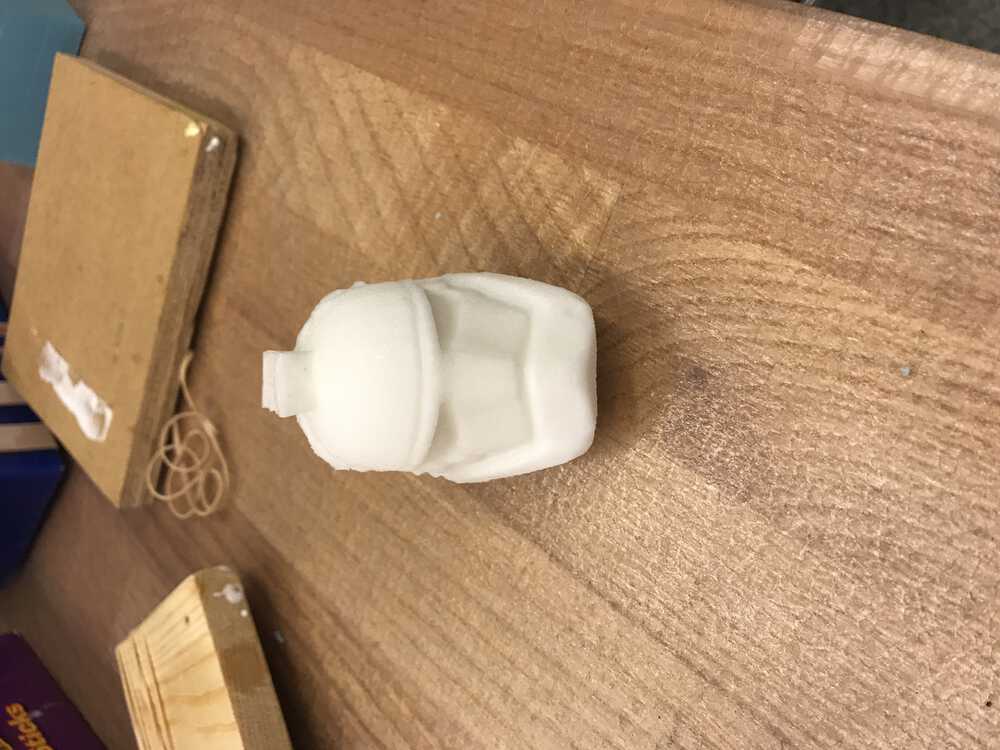
Liquid plastic stormtrooper helmet
Now it was time for the fun stuff. I used a soldered metal that melts at 280 degrees Fahrenheit for my cast. With Anthony's (my section instructor) help, we put a couple blocks of metal into a microwave to melt. After we carefully poured the metal into the mold and waited 10 minutes for it to cool down and harden. Once it did, I was able to take apart the mold and get a metal helmet!
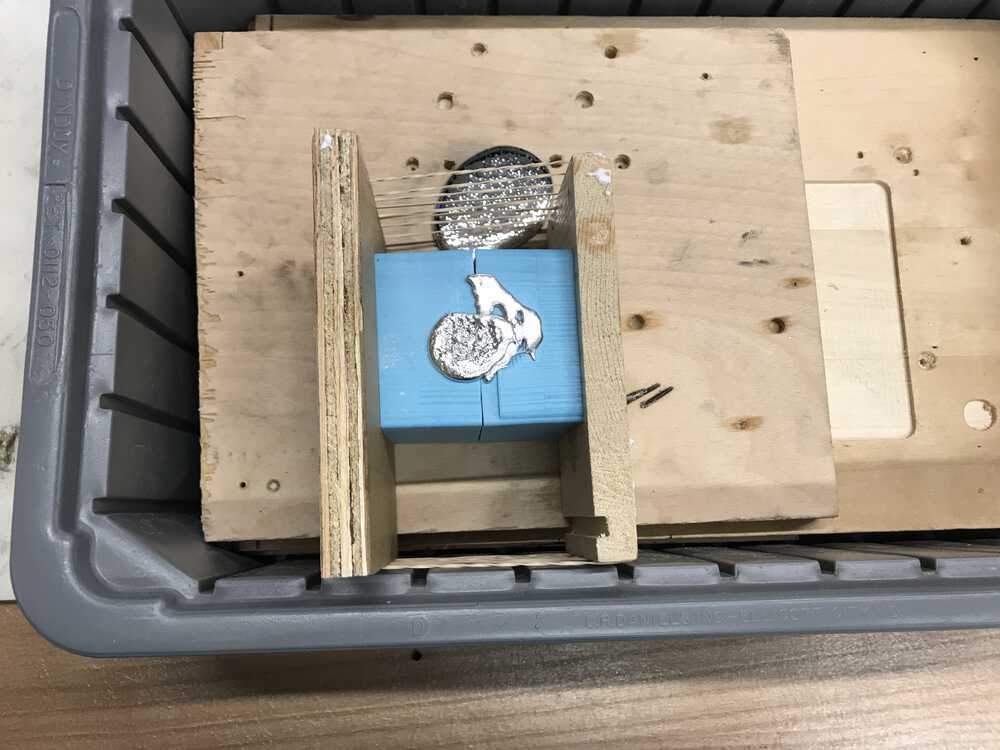
My setup to pour the metal into my mold
My metal casting after removing the mold
There was some excess metal on the top of my helmet from hole I made to insert the metal, so I needed to cut it with the bandsaw and then file it down. Unfortunately, since my cast started to leak in the beginning, there was a small hole in the top. So I had to melt some more metal to fill up the hole.
The hole in the top of my helmet
The hole in the top of my helmet
But after the procedure and some filing and sanding, my helmet was complete!
One view of my helmet
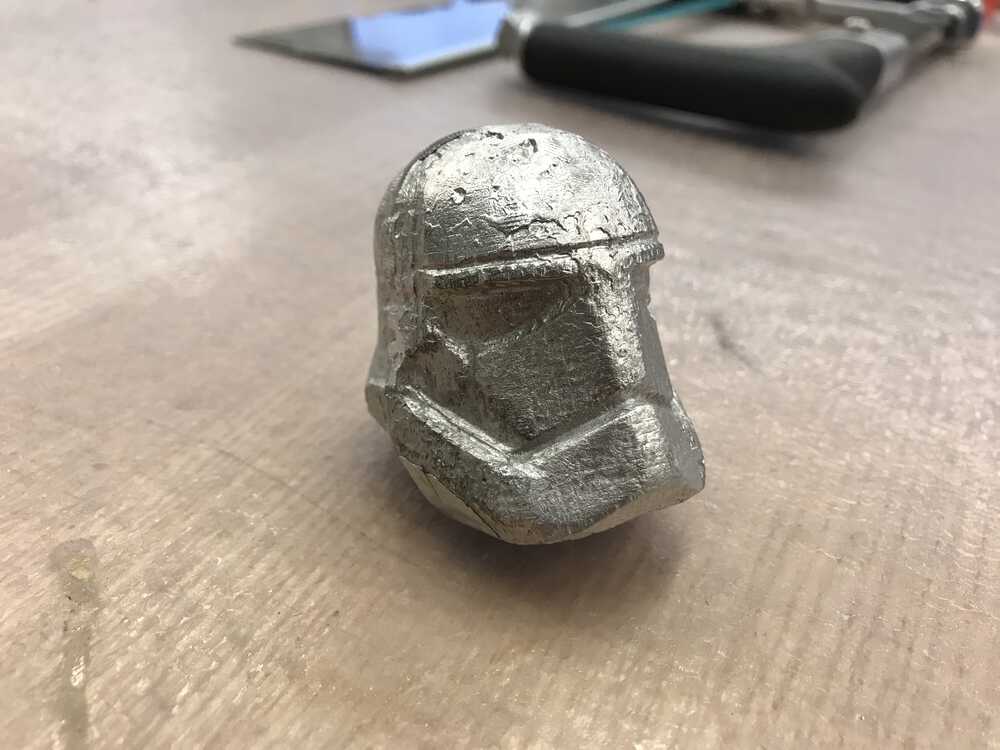
Another view of my helmet
Overall I’m really happy with my final product. There were many situations where I felt that my assignment this week would fail, however it turned out looking very nice. I’m also happy I took the time to use the metal, as my helmet looks much sleeker than the liquid plastic design.
NEXT>