Week 3
This week was spent learning how to 3D print and 3D scan.
3D Scanning
First I wanted to find out how to 3D scan and get a device to output a printable format from an image. In the lab we used the Sense scanner to look at a 3D image. Used the Sense device, I scanned the shape for about 2 minutes inputting into a computer program, the output is shown below The output obj and stl can be found here by emailing timkralj@mit.edu. The files are too large to put on the site :)
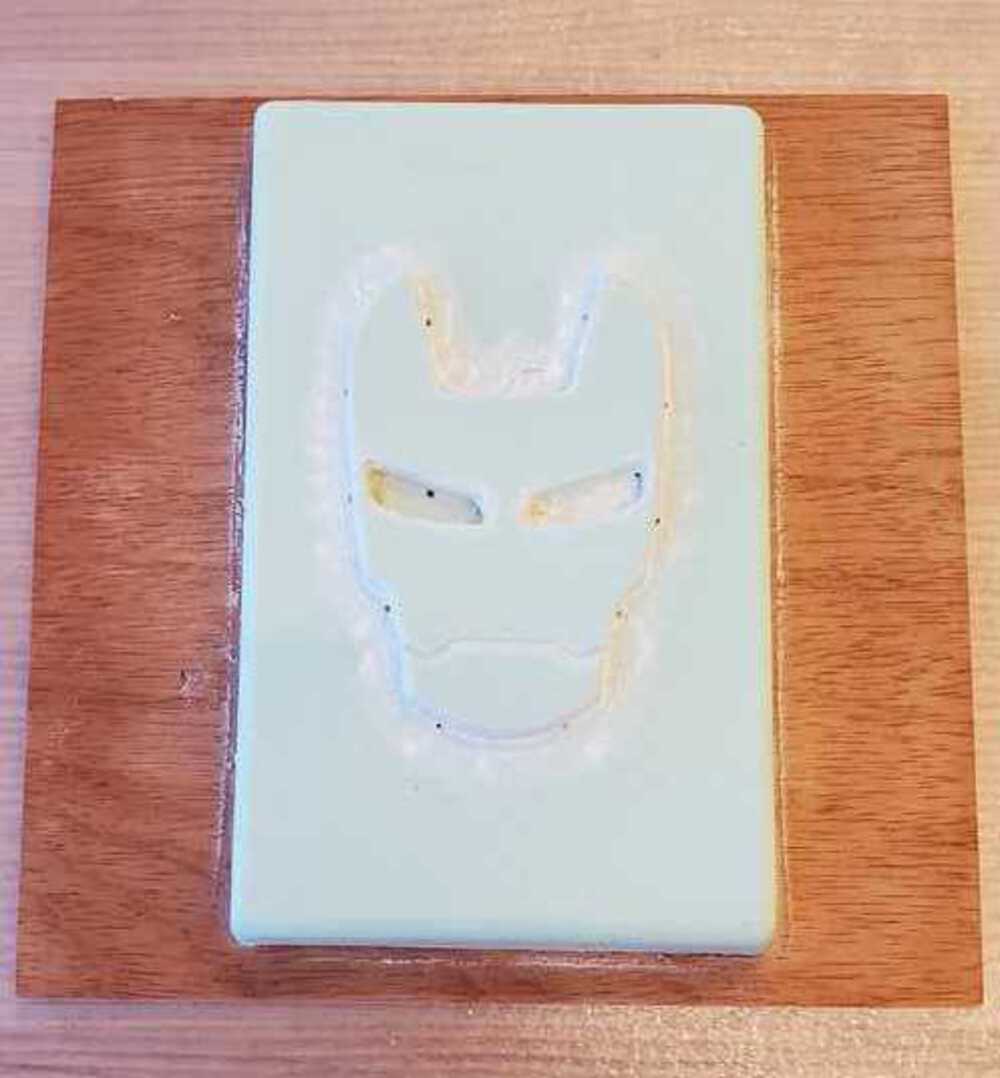
Original 3D shape to scan
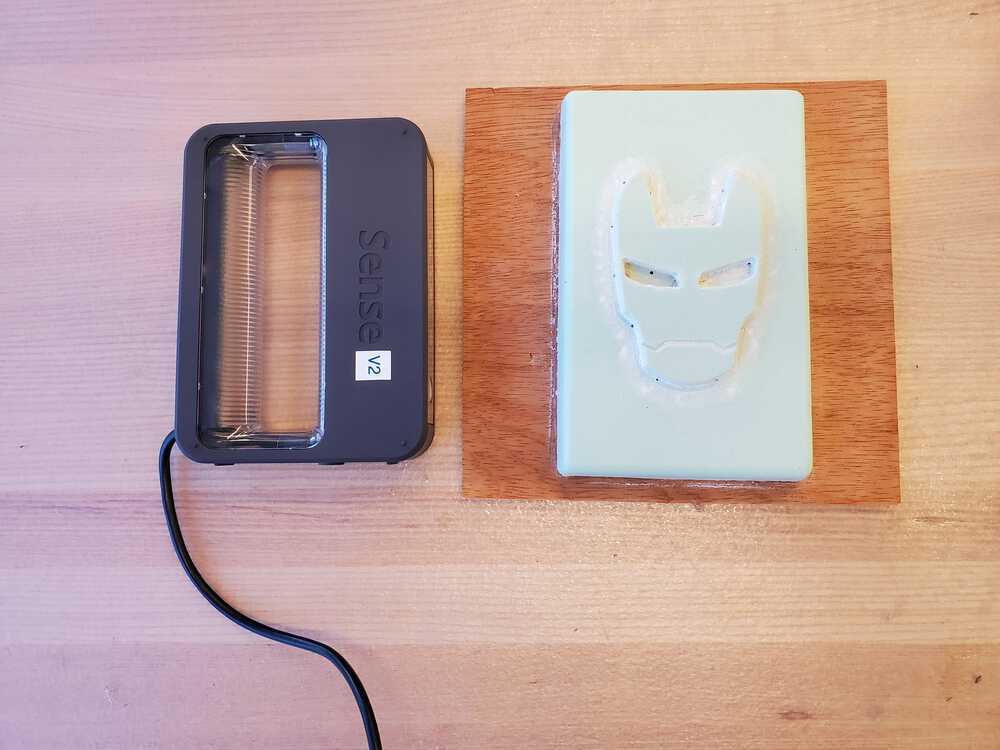
The device and the original shape
Group 3D printing
As a group project, we learned what thicknesses are good for 3D printing. The results for different thicknesses can be found here: Group page.
3D Printing
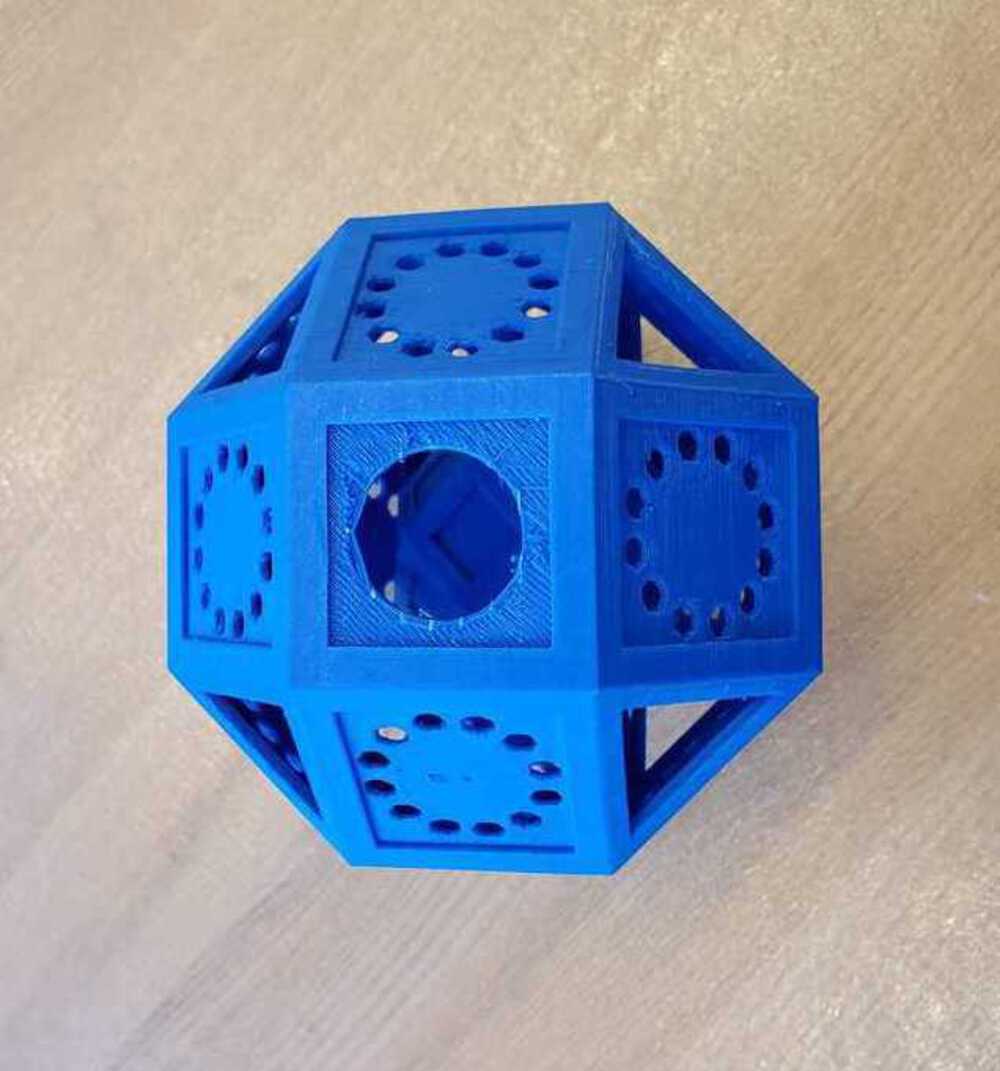
This week for learning to 3D print I wanted to make a shape inside of a shape. I created a design of an octahedron in CAD and then put a similar type of shape inside of it. This took learning how the 3D printing software works along with 2 different prints. Initially I created the CAD design assembly (linked below) of the outside and the inside together. The large piece is 4 inches x 4 inches and the small is 2 inches x 2 inches. I created the triangle holes in some faces while kept a design on the square faces. The top and bottom are circle openings for taking out supports. I 3D printed on the Sindoh printer in the EECS shop overnight to a great result.
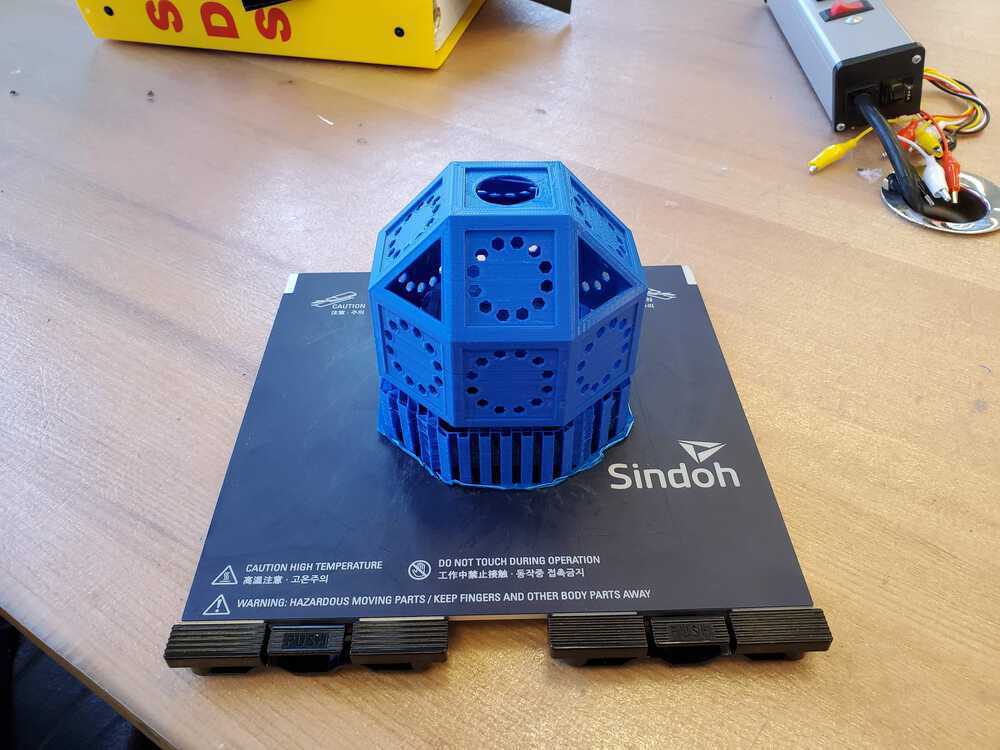
The printed piece out of the printer
Out of the printer
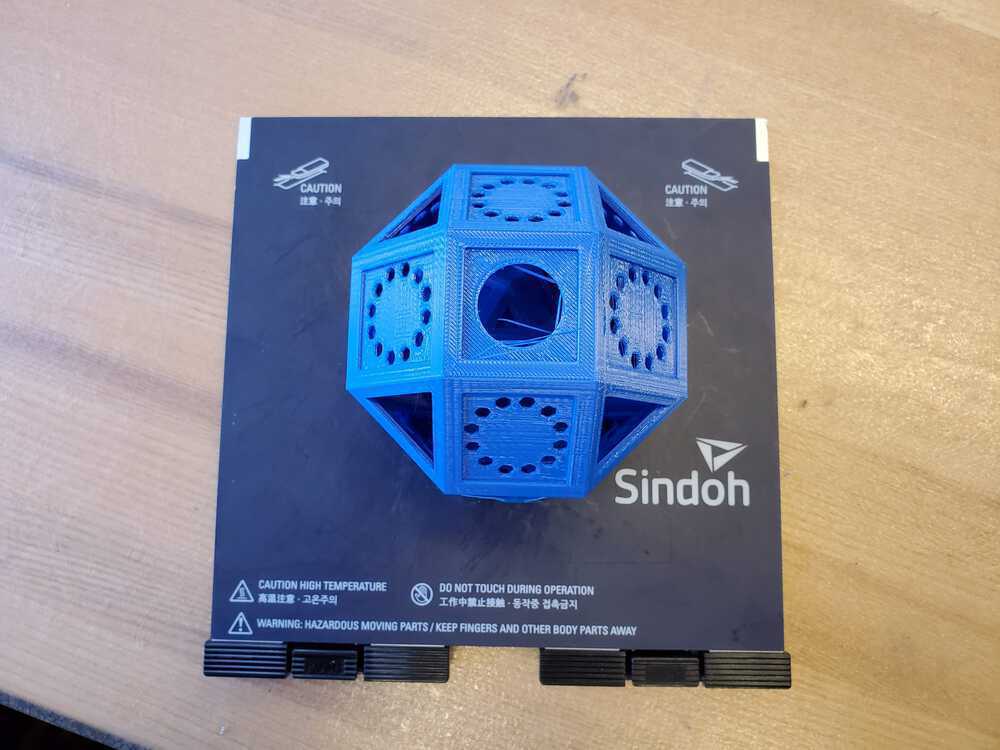
Taking the supports out
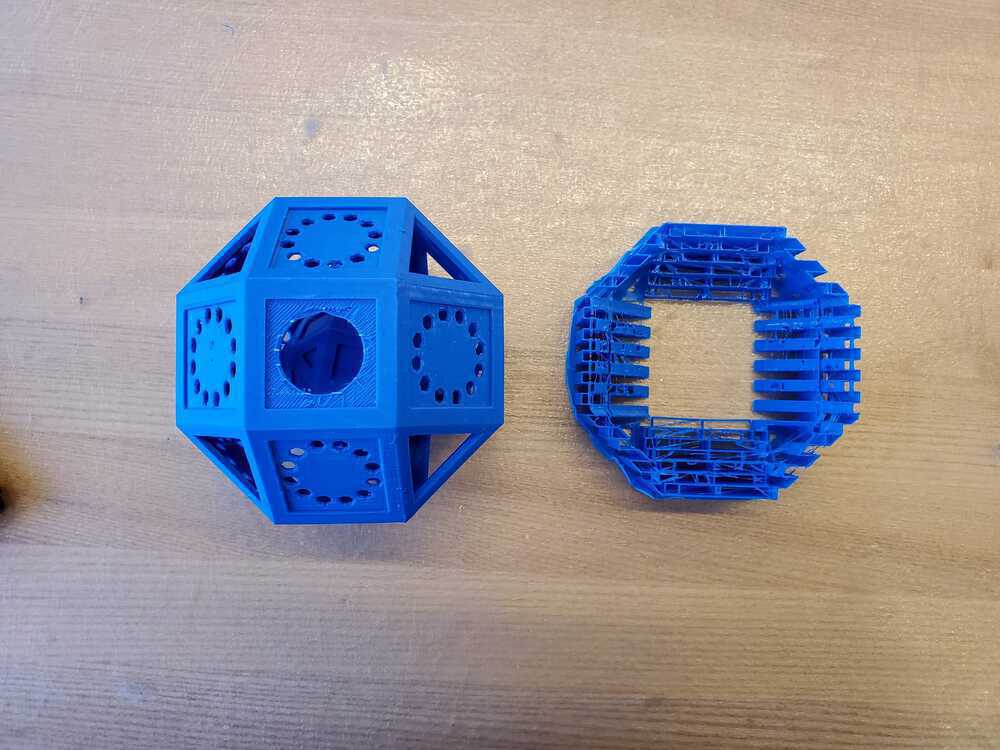
The supporting piece removed, works great as a stand now
While I was waiting for the large piece to finish overnight I decided to try the part again on a Markforged printer my roommate has. I shrunk decided to do a print with 1/4th the original size with Oynx material. The print turned out okay; however, the type of material is not made for building without many supports and ended up very support heavy in the middle that cannot be removed. Also the size was very small compared to the lage piece but still took 3 hours to print.
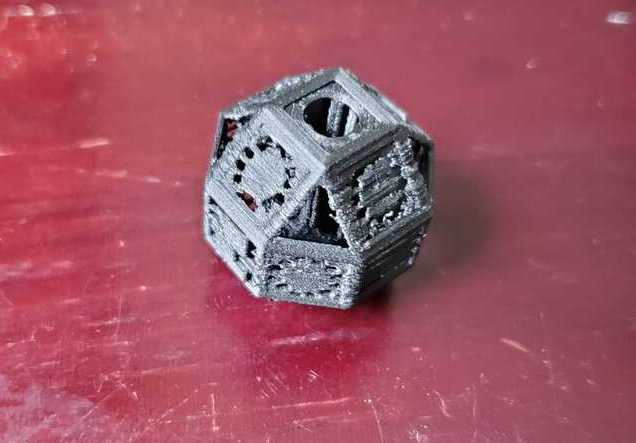
The small piece, printed in a different 3D printer
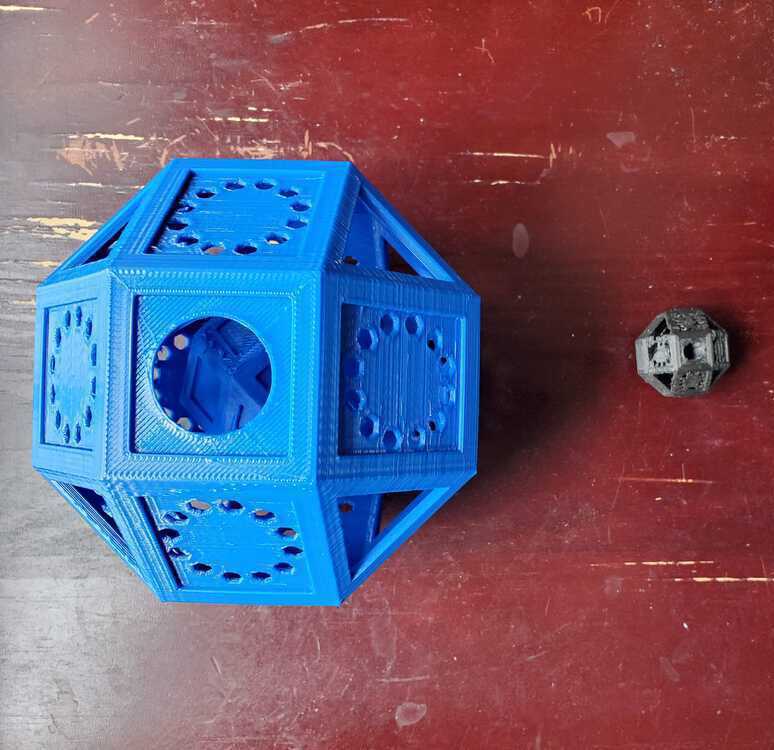
The two pieces side by side for size. The right is 1/4 scale to the left. Right is with Oynx while left is with PLA
Overall, the large piece came out really good. I heated it with a heat gun for a little to get rid of some strings and now it has a stand from the supports also.
Files
Here is the final outside CAD file: Outside Shape CAD Here is the final inside CAD file: Inside Shape CAD Here is the assembly CAD file used to print: Assembly Print STL
I hope you enjoyed week 3, come back next week for more.