Week 5
This week was spent around casting and molding
Conecpt/Inspiration
I am from Washington State. I took that as inpsiration this week since it is part of what drives me. I wanted to have some item that has many aspects of home in it. I found a cool looking map of Washington and was thinking about how I can incorporate this into the project this week. Because of this, I got a topology of the state in CAD and decided that would be my mold. I created a CAD file of this for the casting and made a cutout of it for the router machine. The CAD is 2.5D to make it faster to cut from the wax--I thought the full 3D model would take far too long to cut out with the machine we have in the EECS section. Here is an initial image of the CAD and shape before cutting it:
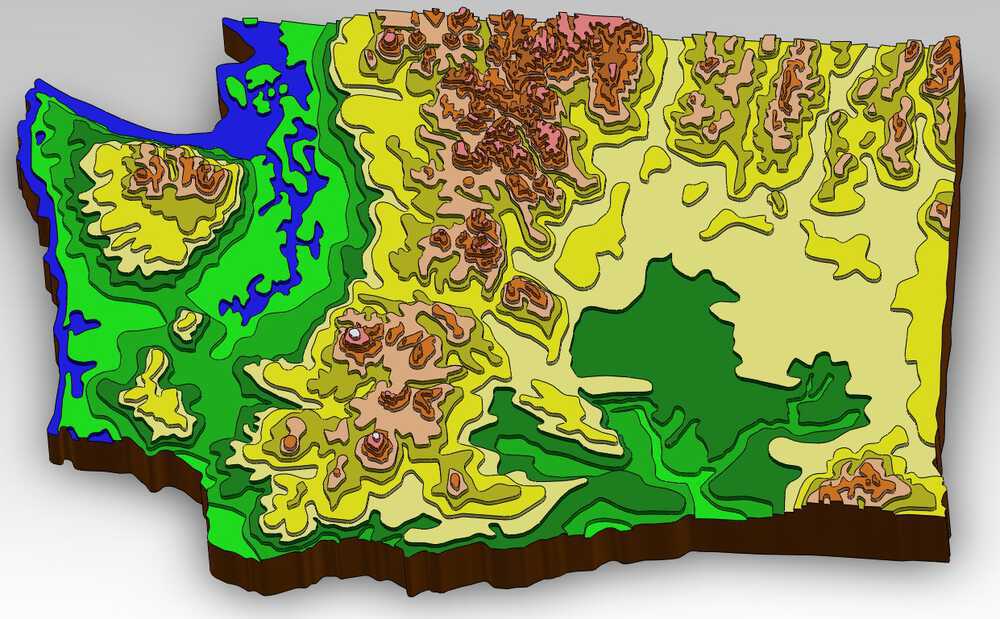
The topology of Washington State in 2.5D CAD
Casting/Molding
This was the cutout of the wax that came out and the oomoo. Each of them look really cool so I was excited about making the actual pieces as well. I cut this with 3 different tools. First I used the 1/4th inch to cut the large parts, then the 1/8th inch and finally Anthony helped me use the 1/16th inch tool to getr really fine detail into the toplogy. The iterations are shown below from the largest to the smallest tool.
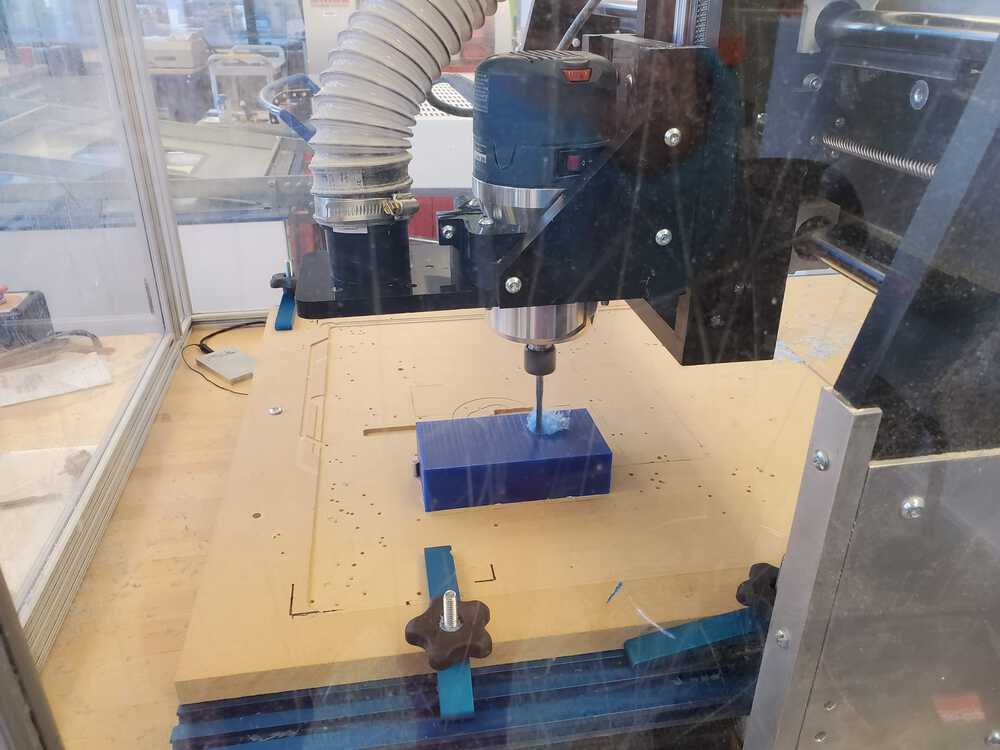
Initally starting the cut
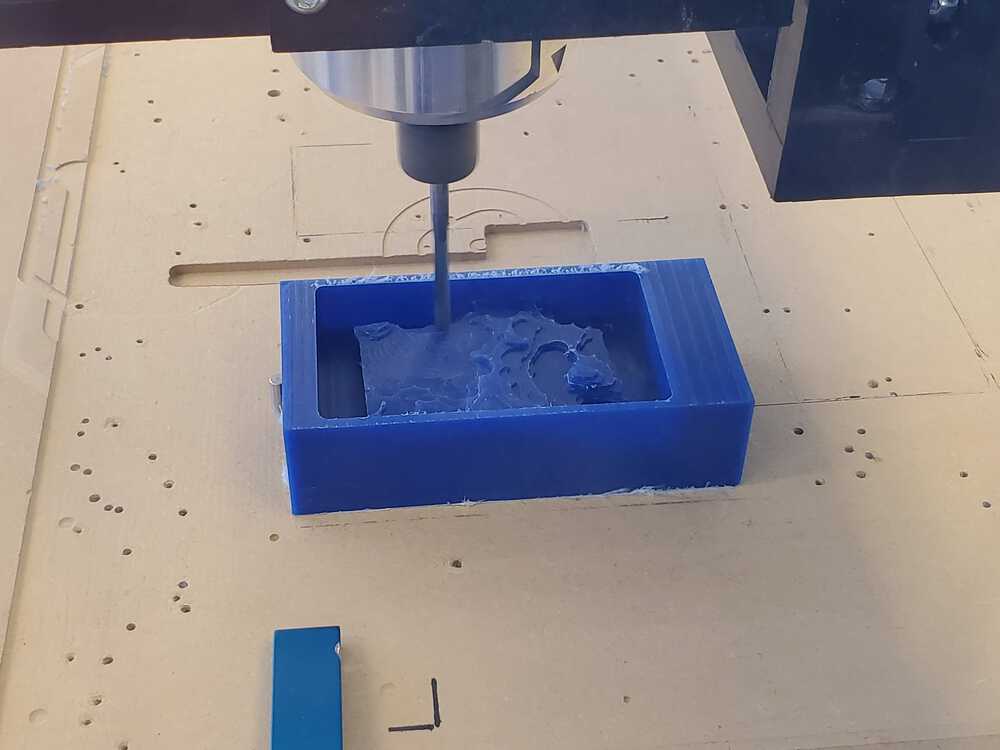
After the 1/4th inch cuts
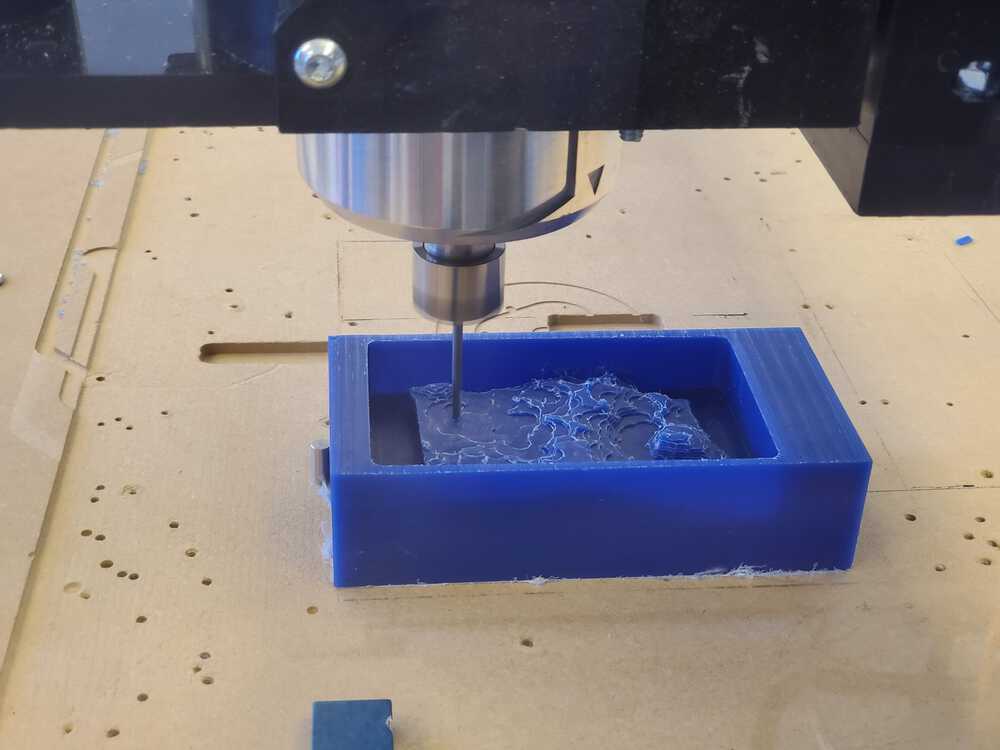
After the 1/8th cut, getting finer and more detailed
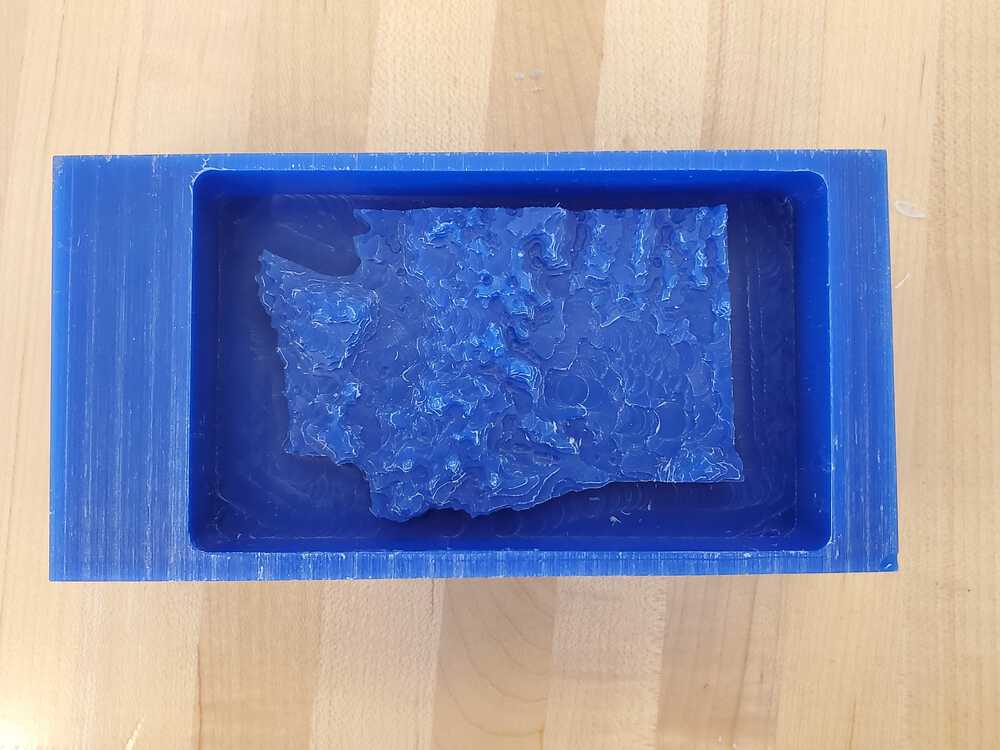
The final cut of the wax, after the 1/16th cut. The detail is super high on this one
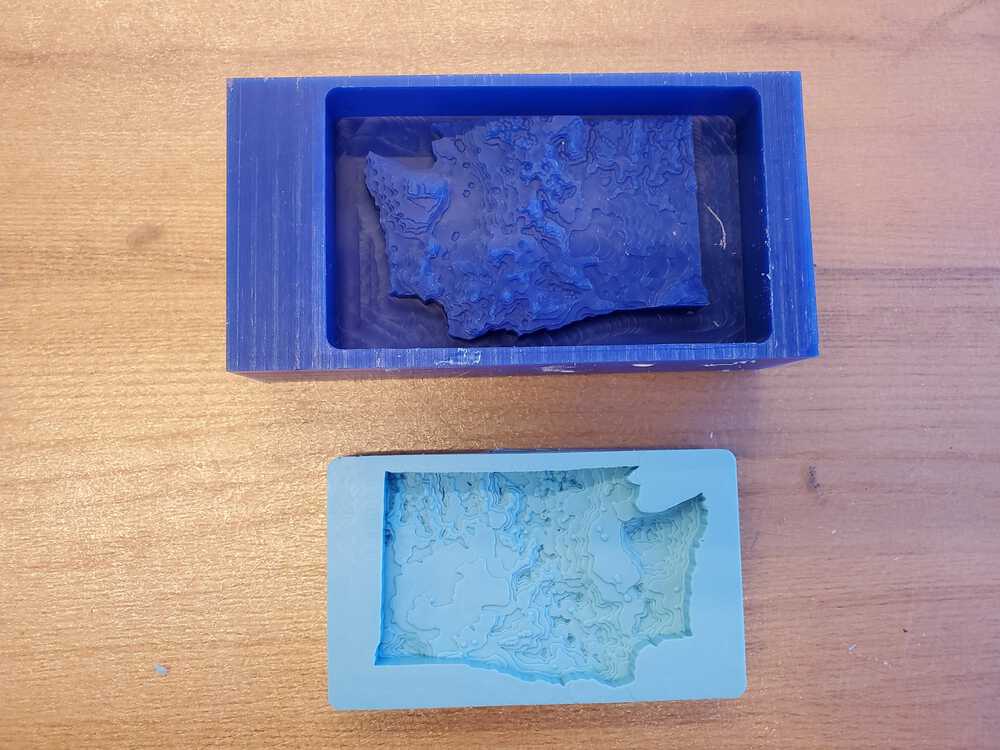
The wax with the oomoo side by side. The oomoo has minimal bubbles and a great texture
First I started with the plastic. We were out of the 305 at the time so I used the clear plastic. While it did have some bubbles it still came out looking pretty interesting and the shape was very cool.
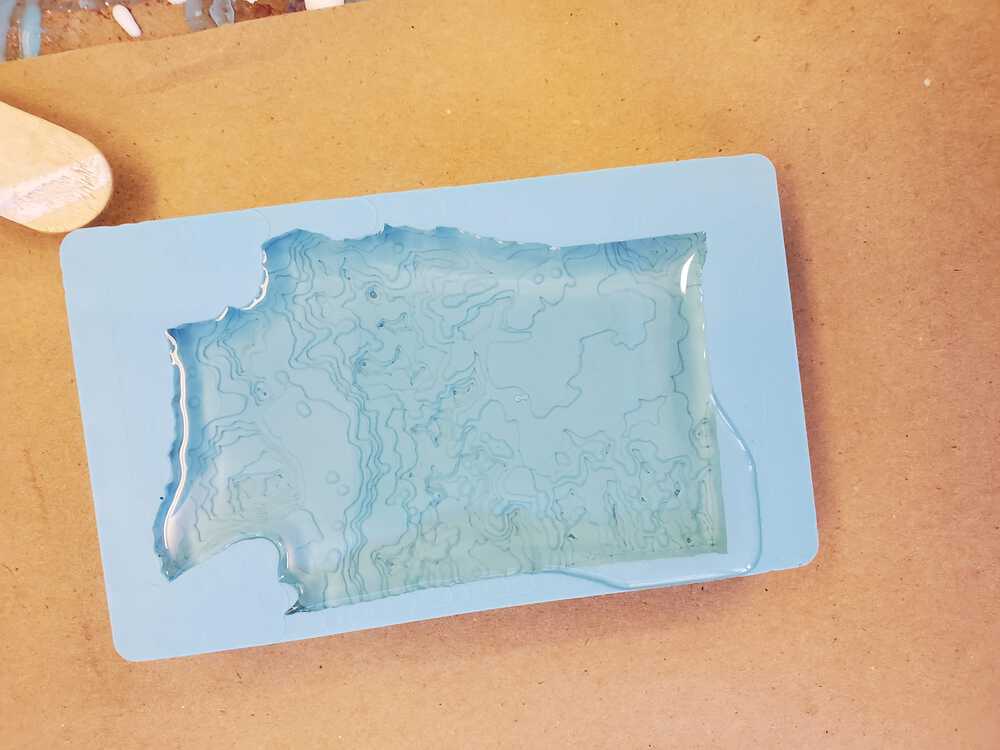
The plastic in the oomoo
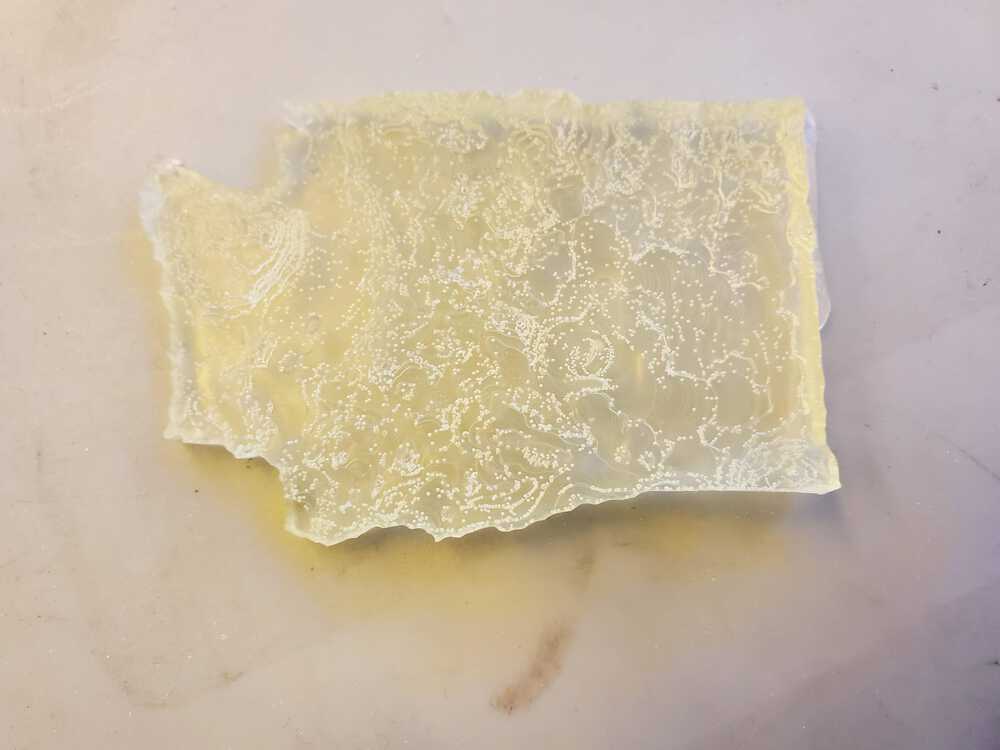
The plastic after it has dried, looks okay but bubbly
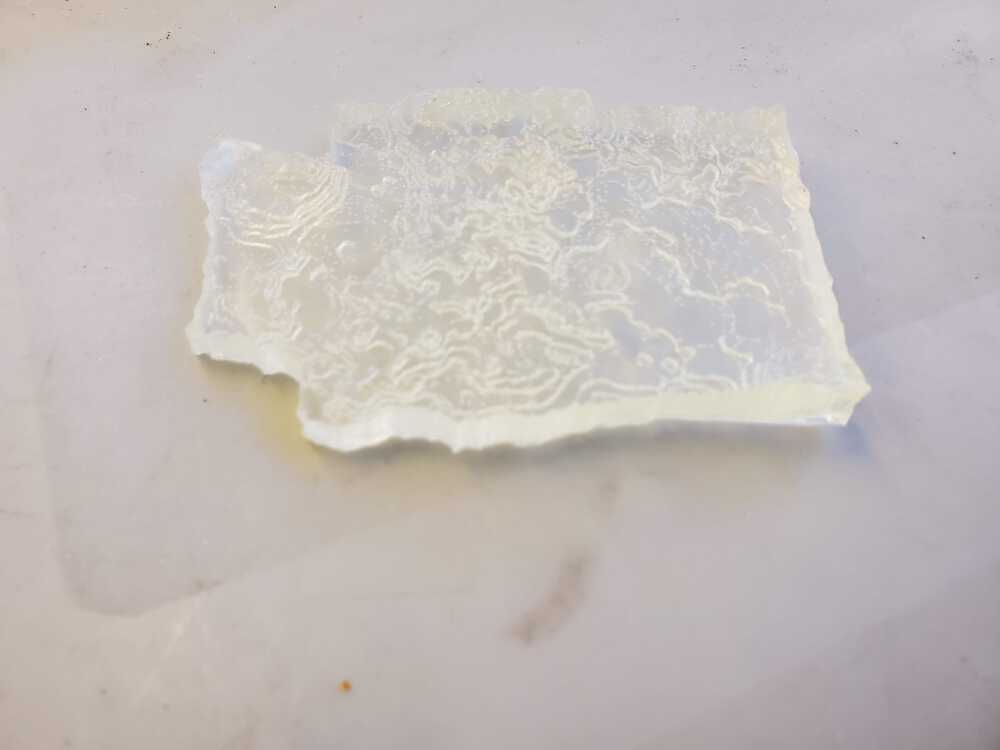
Plastic at an angle for the toplogy
Finally, I decided to try the drystone (white). I made it and then let it dry over the weekend to a fantastic result. Here is the actual piece of material at the end. It is really smooth and the contour lines came out really great. It is clear where the peaks and valleys are in the state along with some lakes also.
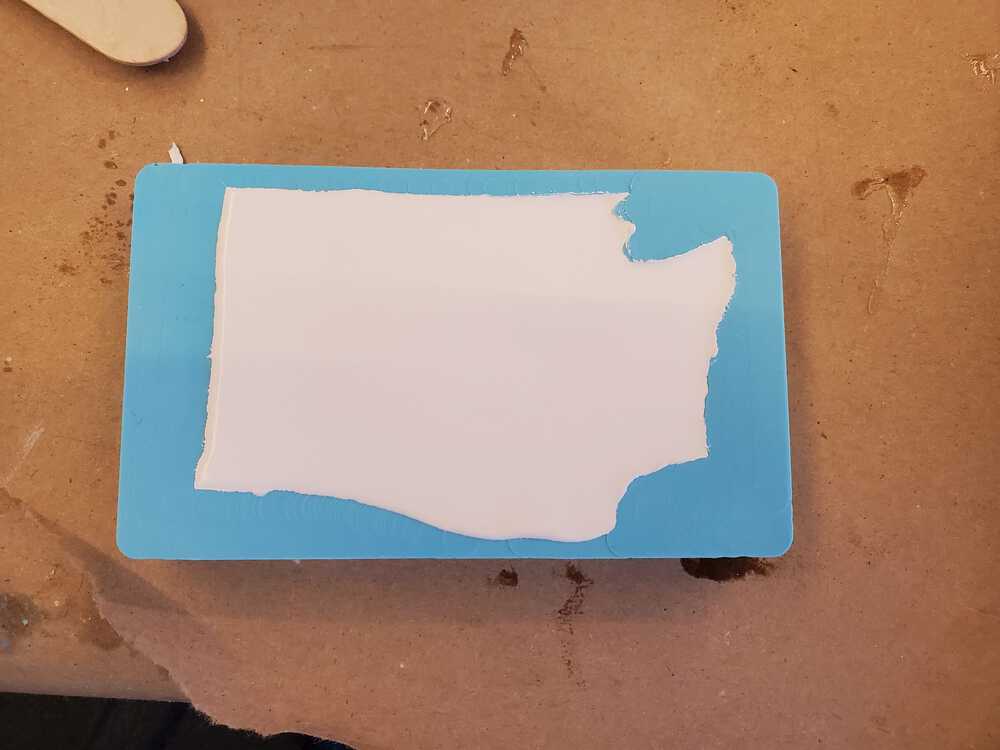
The whitestone in the oomoo for over weekend drying
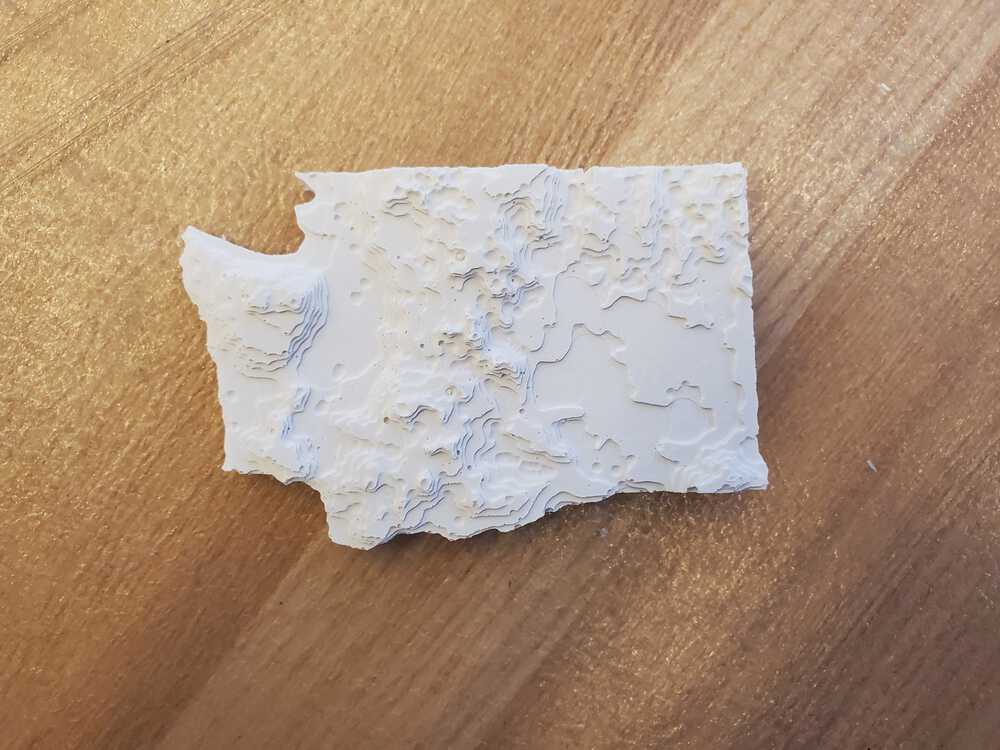
The whitestone at the end, looks really good and the texture feels really nice
Files
Here are the relevant CAD files:
The CAD file of the topology, before getting into the router format
The final CAD part for the router to cut out
I hope you enjoyed week 5, come back next week for more.