Week 6
This week was spent around basic electronics and routing.
Router Assembly
I assembled the router after many hours. Here is an image of the router itself. I had many issues while assembling the router and then using it. I have tried to list them out below to try to help anyone who is struggling in building it from scratch.
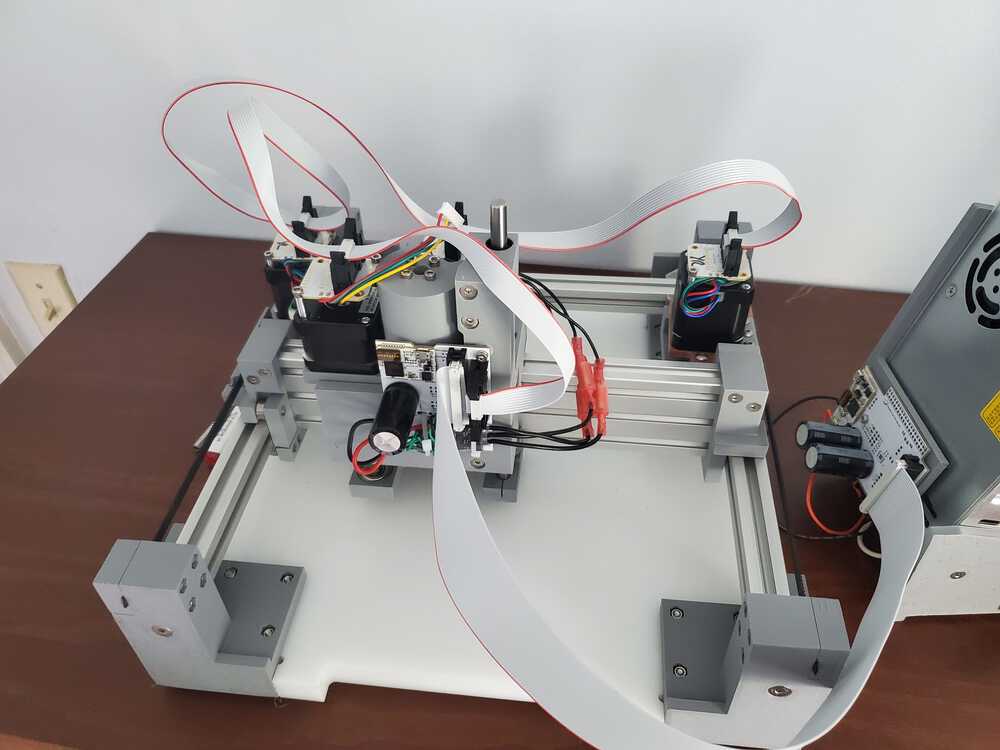
The assembled router
First, I encountered the issue of adding the bands around the motors when having to assemble the final clank together. The way around this issue that worked best was taking the motors off and then putting them back in while the band is in place.
The next major issue that came around was the hex nuts not fitting into the Clank. Because all the parts are 3D printed, some of the parts do not fit as well as you would hope. There were some holes that needed to be greatly expanded with a screwdriver or knife to get the bolts to actually fit in the Clank.
A following issue that came up was the tightness of the bands once the Clank was running, the motors cannot move around when the Clank is actually spinning or you will get bad cuts. To fix this, one needs to make sure that all 3 bands are at a stiff point before cutting or the motors will not be held in place very well. This can be done by unscrewing some of the nuts holding the motors in place and then lightening the load on them.
One of the issues that came up was that I blew out the bootloader when I plugged the charger into my computer while plugged into the Clank. This is an issue with the surge (I think) getting into Clank and therefore having the bootloader be unloaded. To fix this, Jake came in with a bootloader reseting device and helped me get another bootloader on my Clank.
The Clank is finally done and assembled! The prints coming out are pretty nice, they may need a little tuning here and there with Anthony and Jake in the shops to help me out. Thank you to the videos and help Jake provided--they were very helpful and made this machine work really well from 3D printed parts!
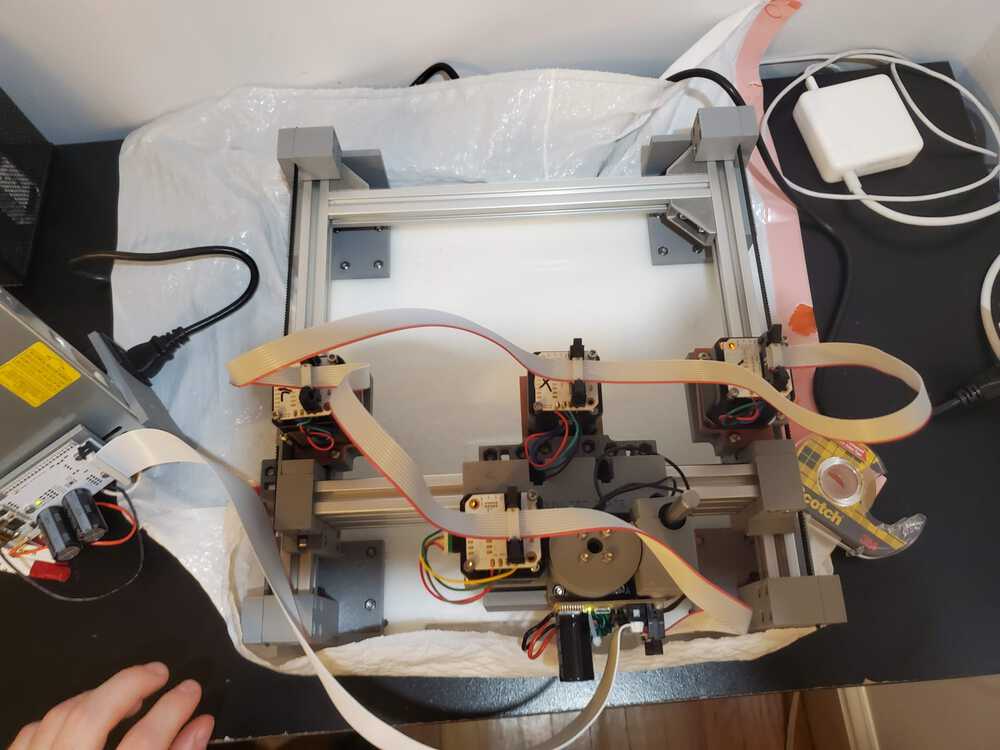
A view of clank top down
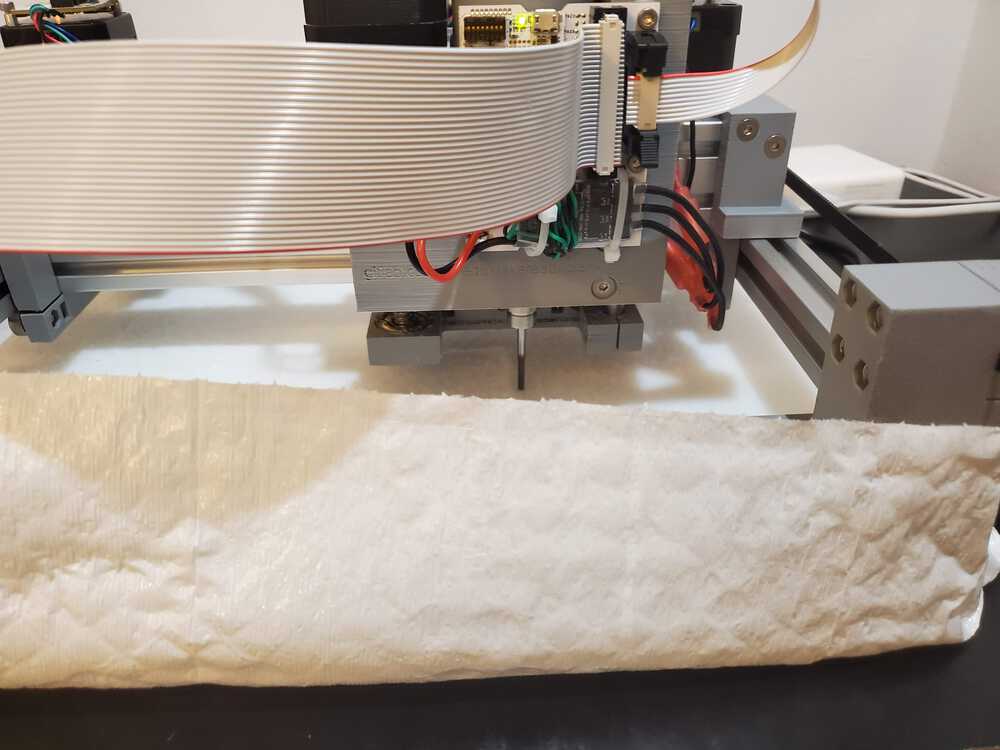
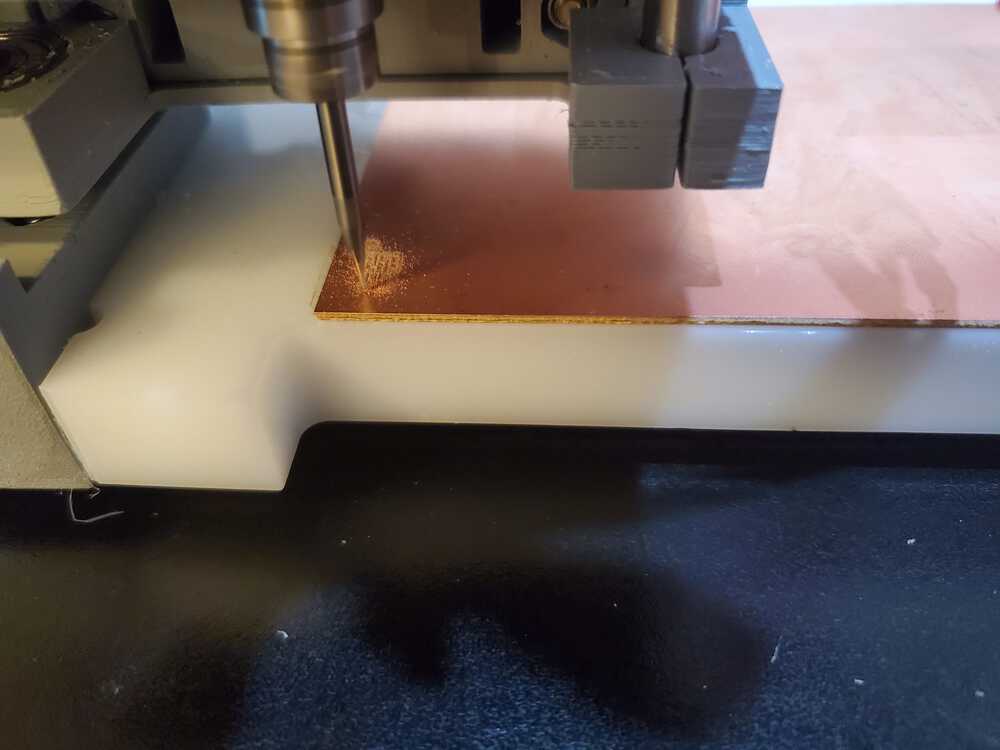
Clank cutting
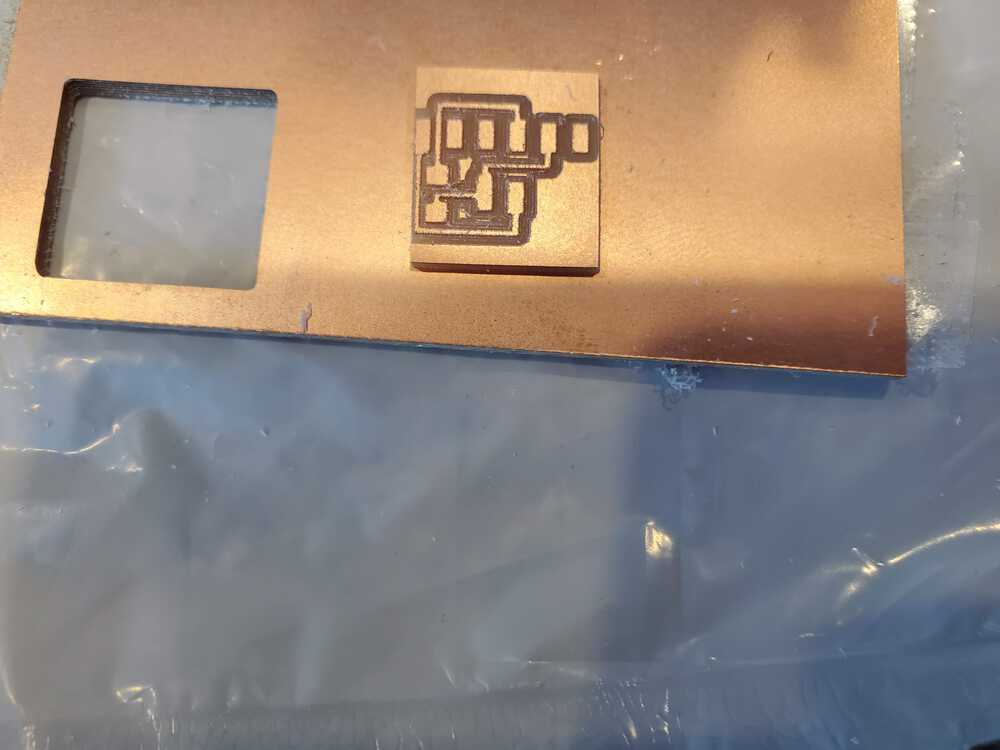
A cut out using clank
Clanks first cut