Week 7
This week was around electronics design
Designing a Board
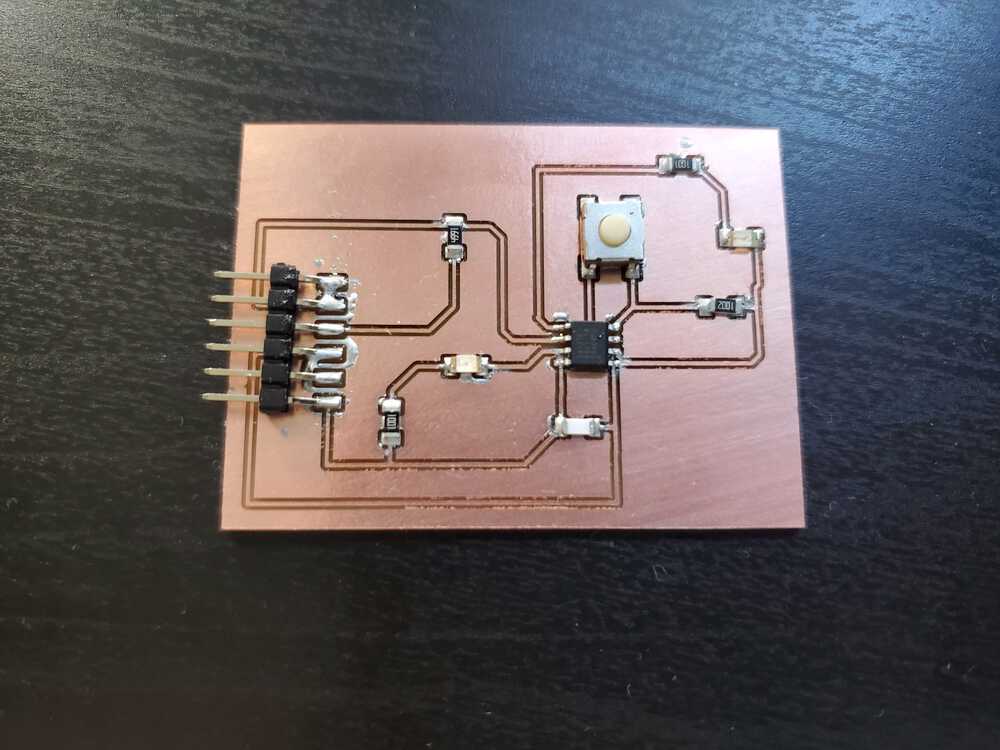
This week we had to design a board of our own, print it and then change something about it. I took the start with a hello board provided by the class and Neil. I then decided I wanted to add a button to it with an LED. Ideally, the button is pressed and the board should light up and then it is pressed again and it will turn off.
I had never designed my own board before or used Eagle. I watched the recitation and found it very helpful with how to create your own board. I started with the ATtiny412 board and went from there. I first looked at the schematic posted online and started to get aclimated with how Eagle works to create boards. I had to download the software from Fusion360 with MIT's liscence to be able to work on Eagle.
After some struggles I came to the spot where I was happy with my baord, it had an LED component and the button. I had never made electronics like this before so I spent a lot of time looking up how the different pins of the microcontroller work. I needed a lot of help from Anthony about how to make the board overall.
I cut out the board on my Clank and soldered on the components and it came out looking really good! Here is an image of it below.
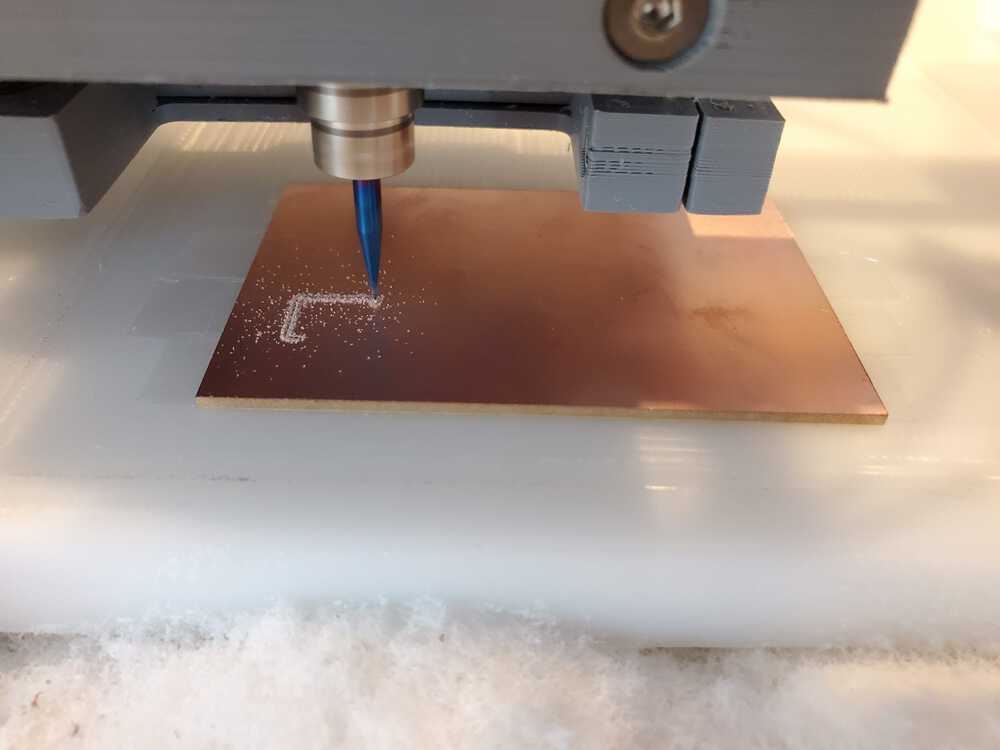
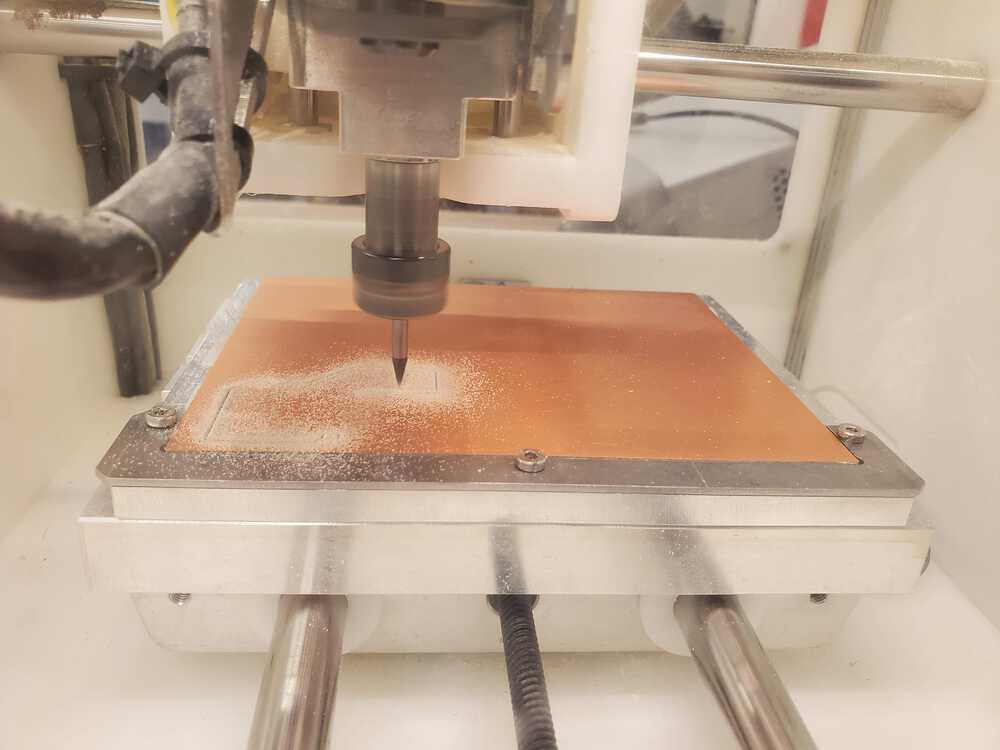
Clank using the vbit to cut after Jake
The clank after Jake did some magic with it
A bad cut out by clank, lines did not look good and changed the bit
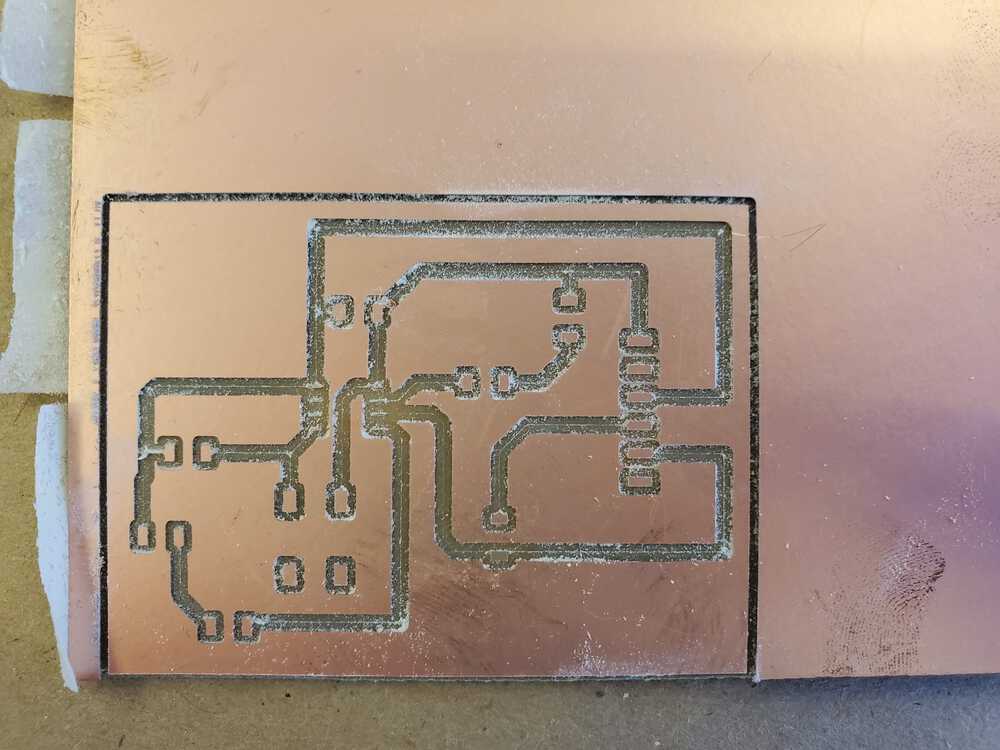
The bad cut before removing it
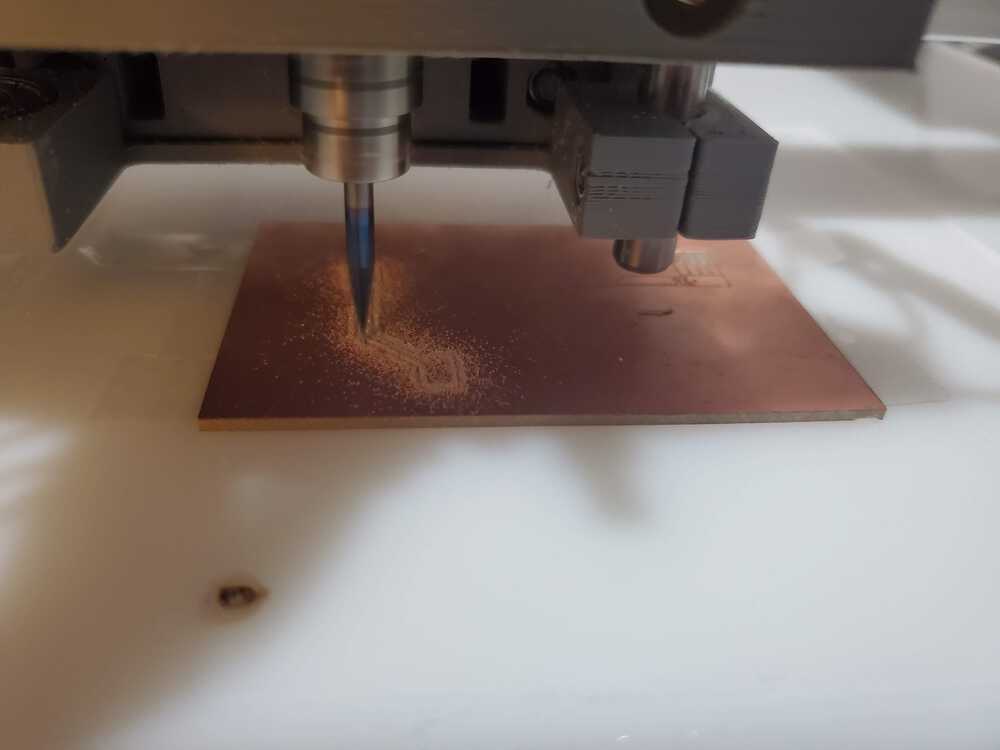
Othermill cutting out
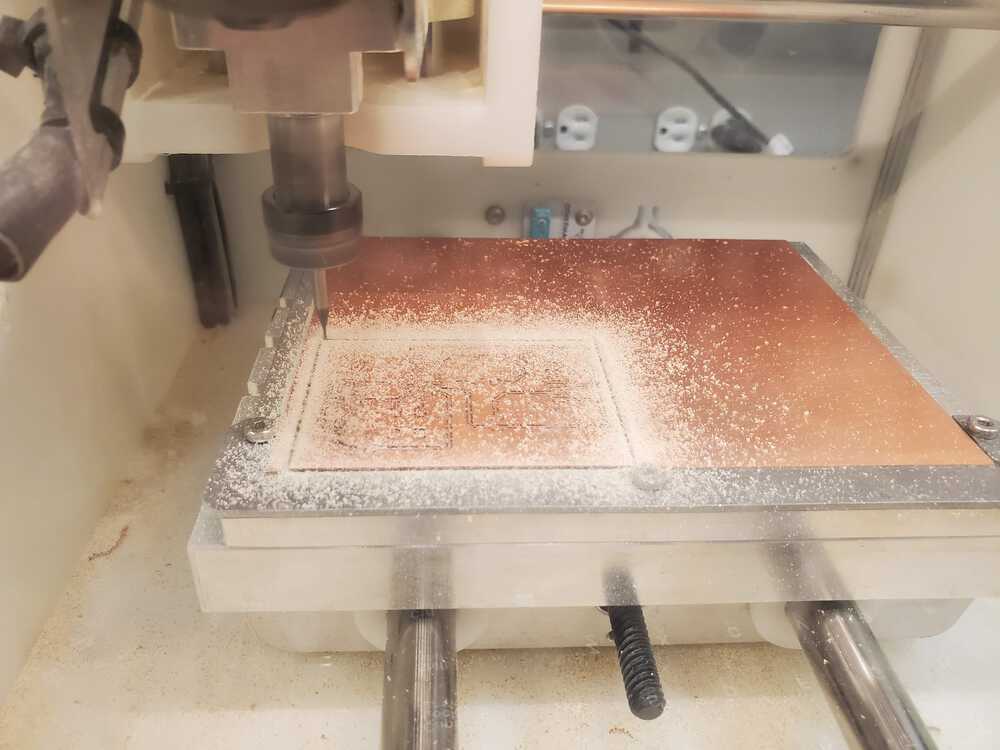
At the end of the othermill cut
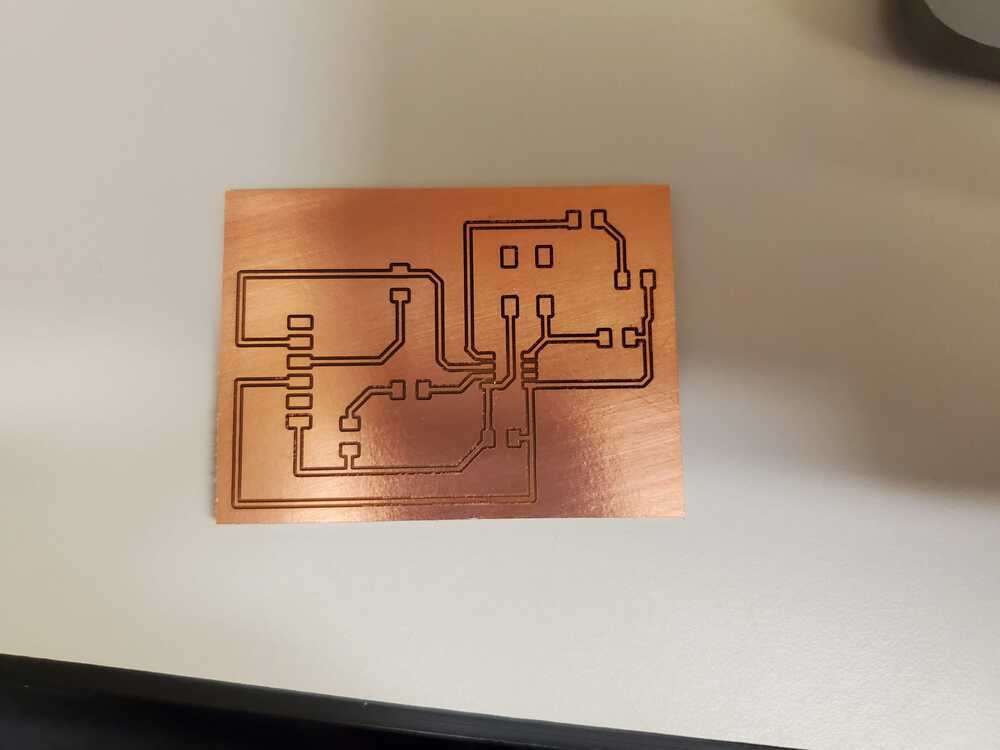
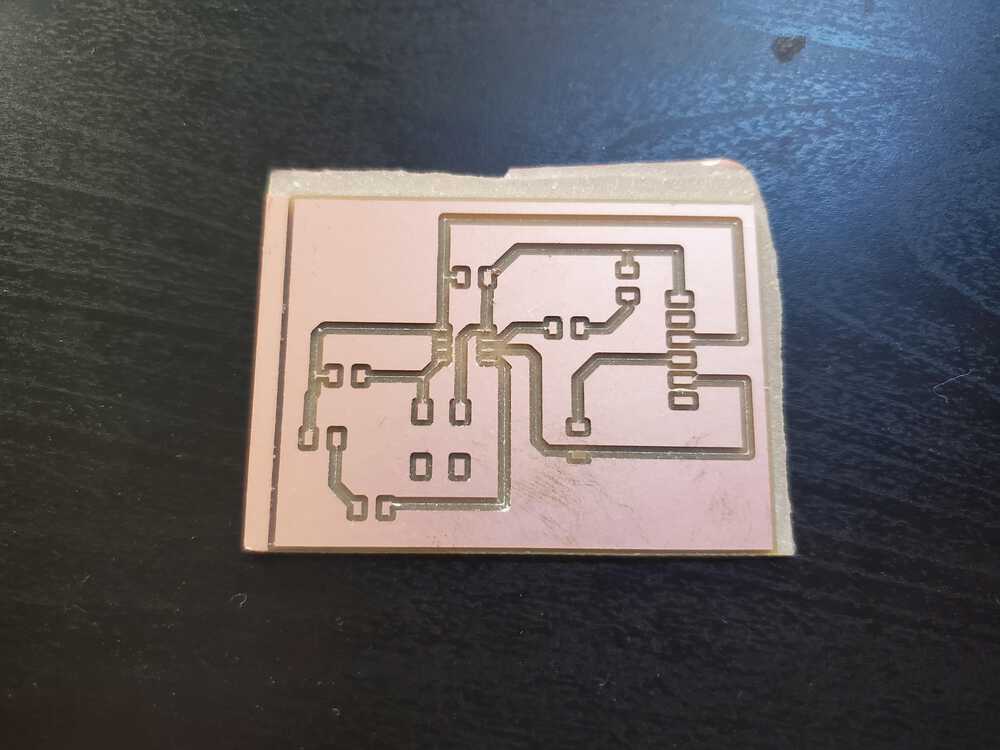
My final cut for week 7
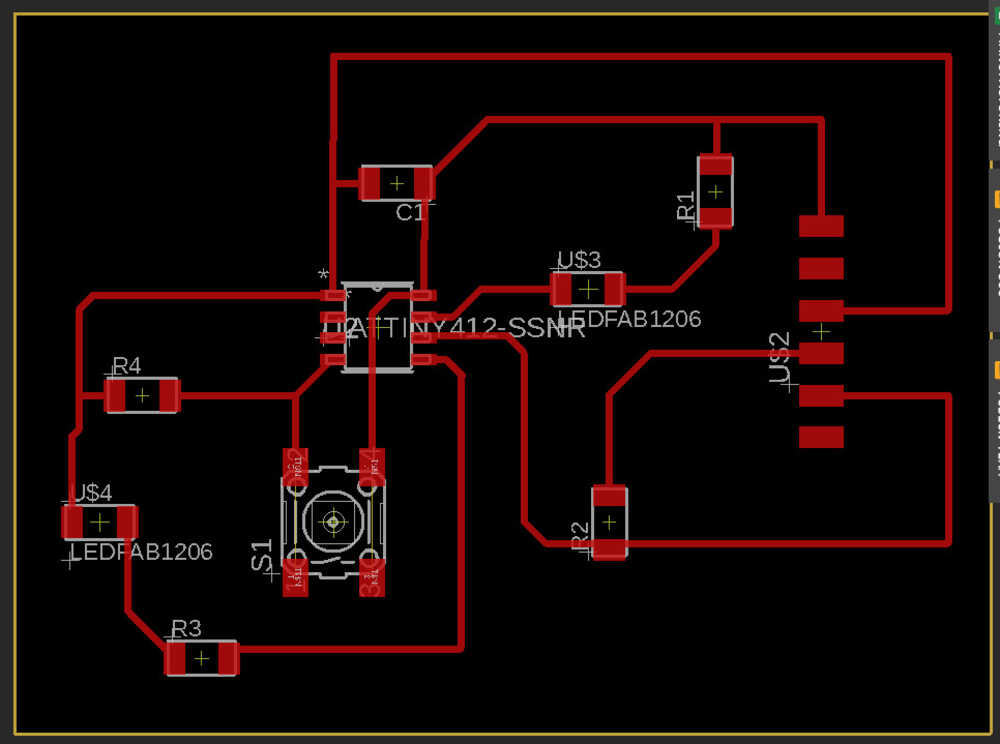
The board I used for week 7
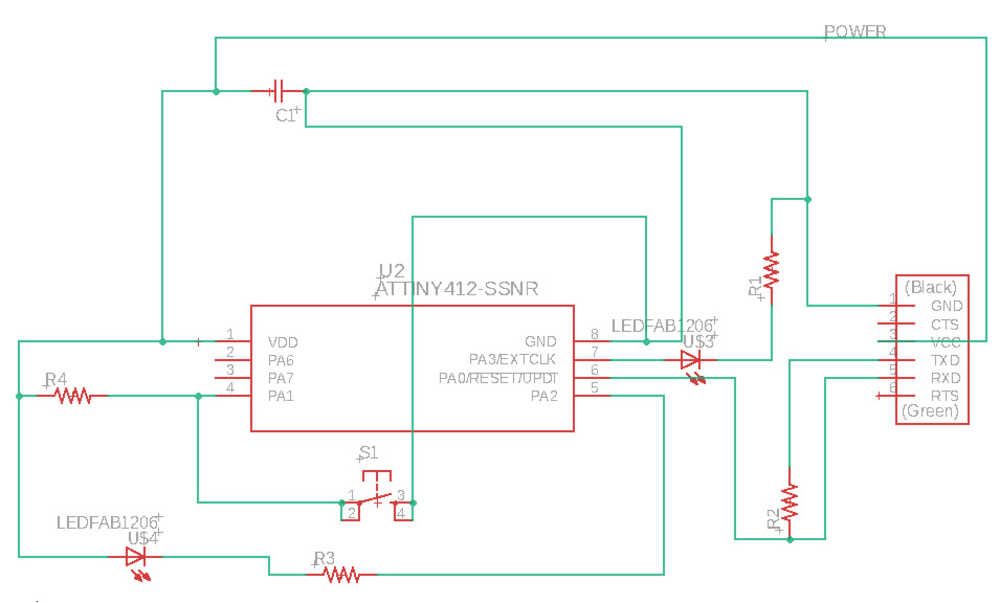
The schematic for week 7 I made