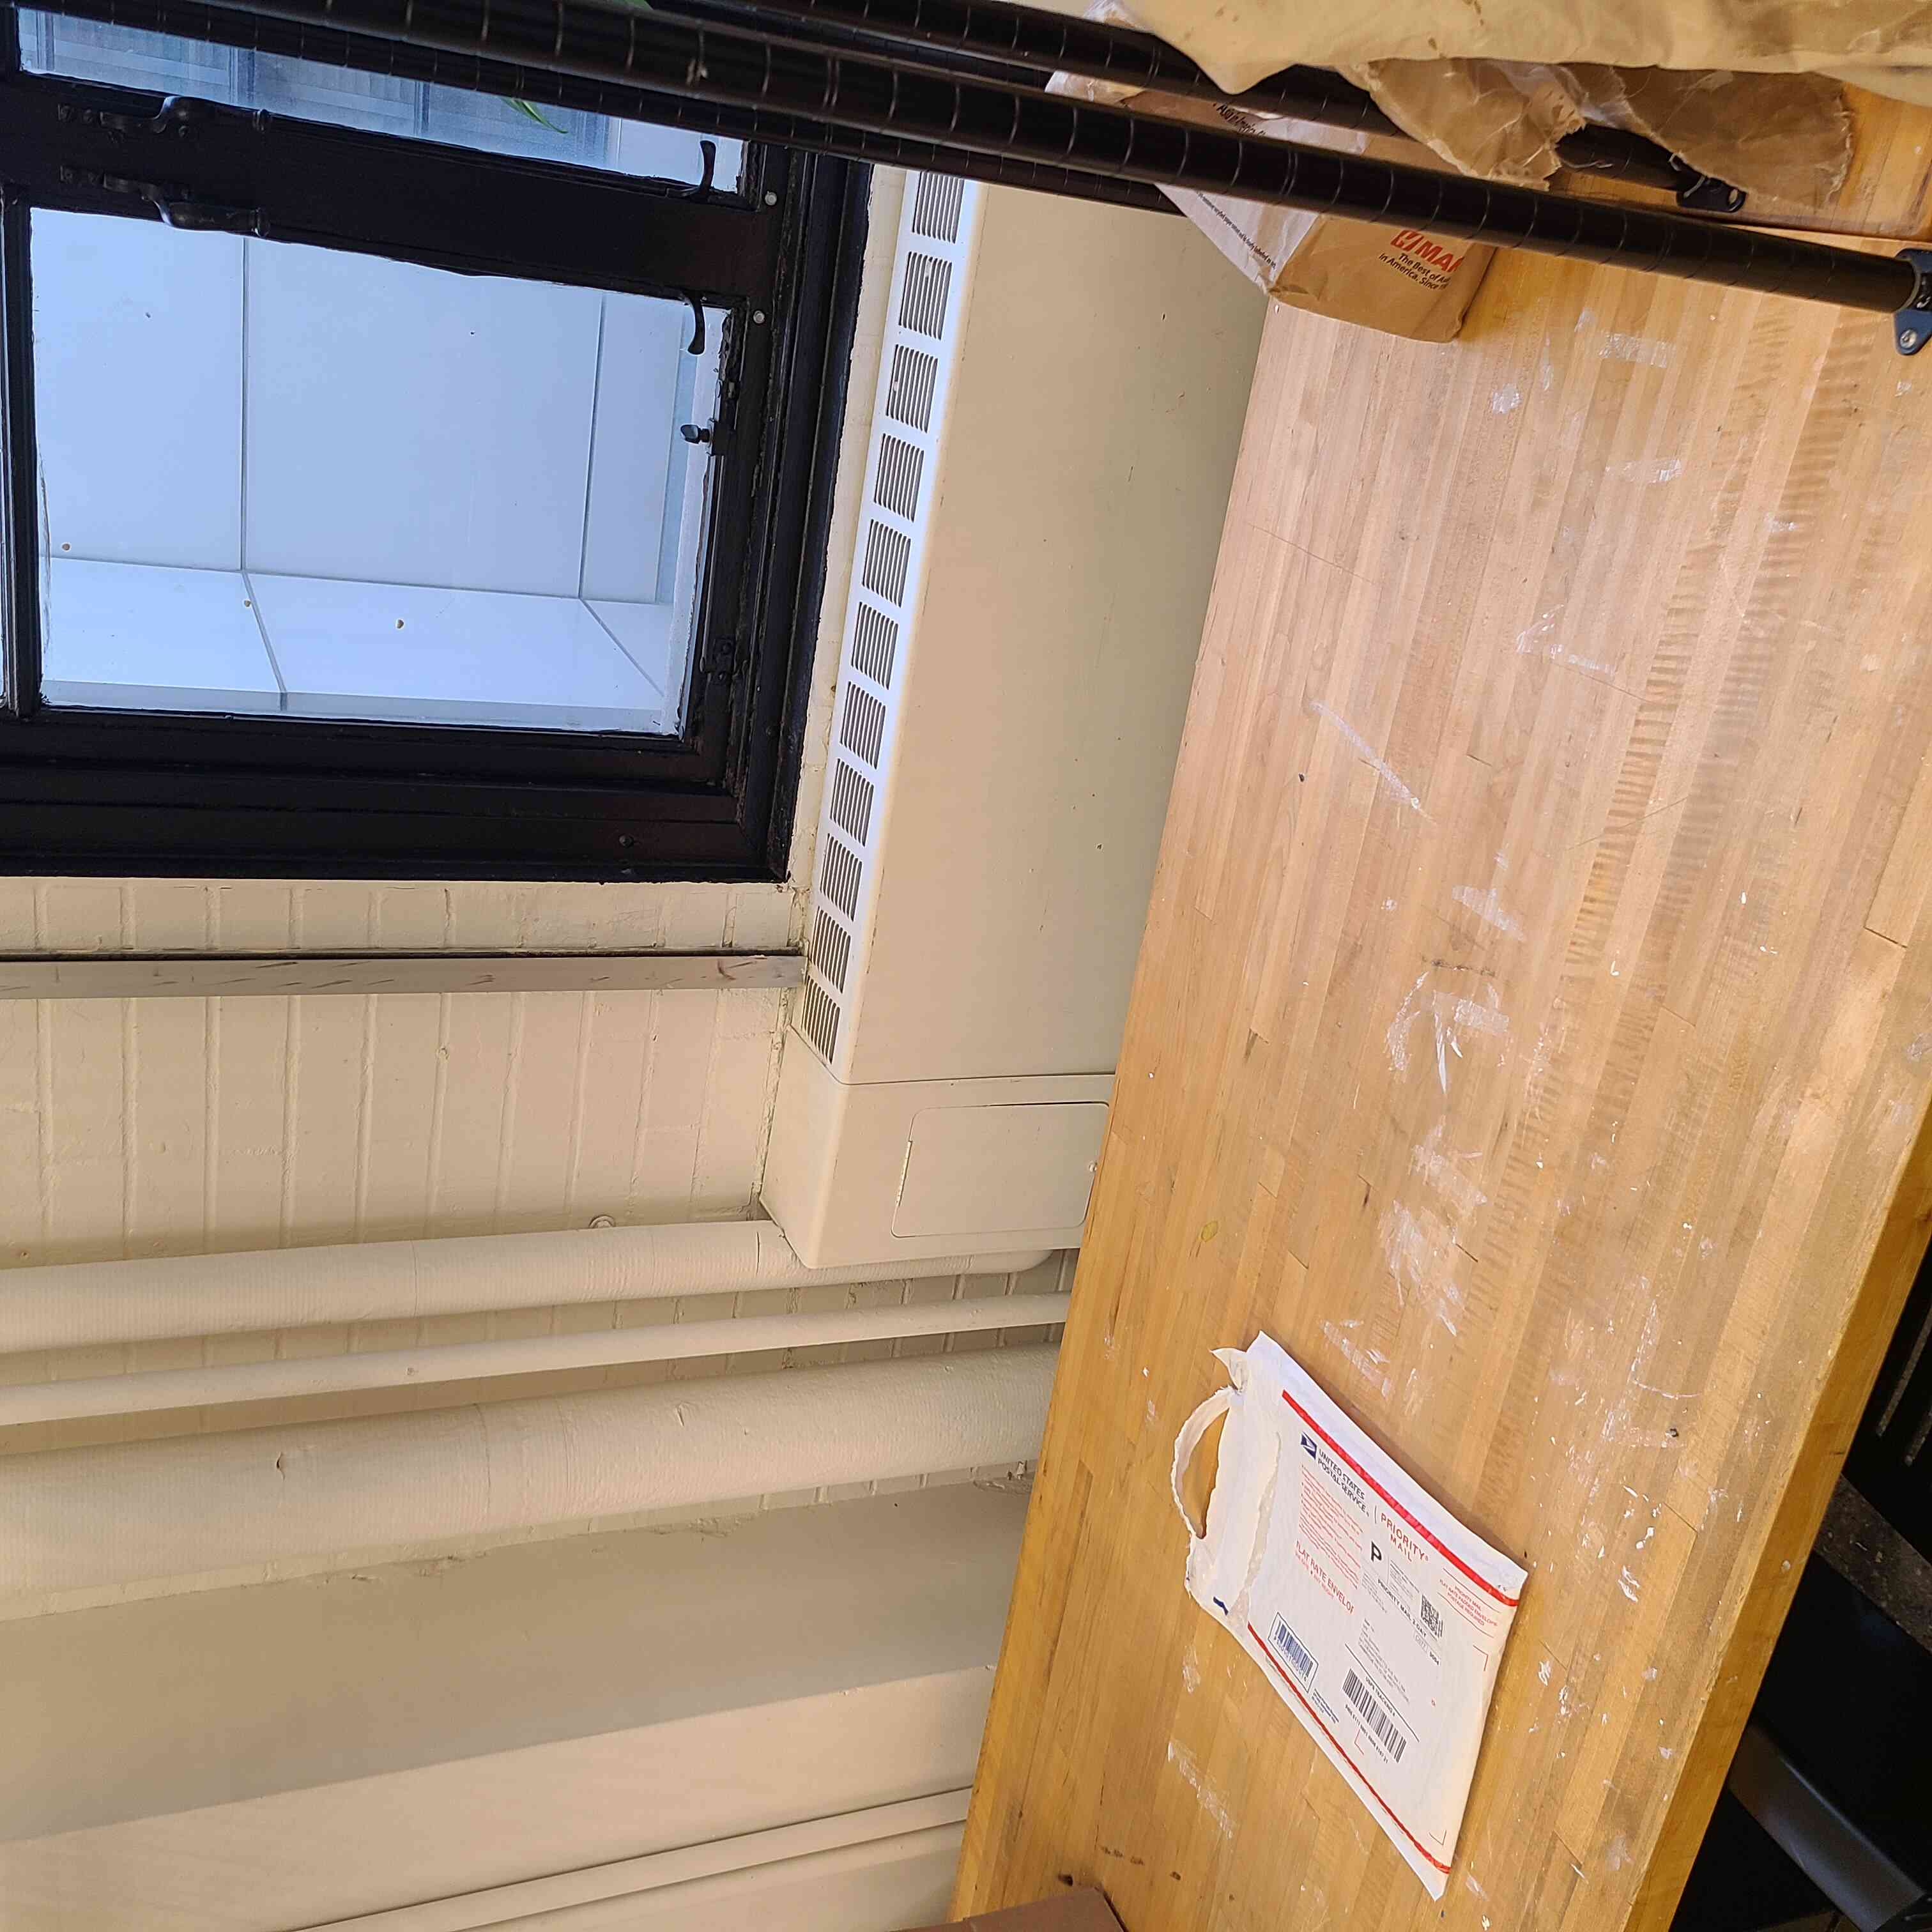
My desk is right in front of a pipe that runs from the ceiling to the floor. This means I cannot push my desk all the way into the wall. It’s nice having that extra leg room, but a bit annoying when I push something away and it falls of the desk or hit my leg. I decided to design a fix by measuring out the contouring of the radiator and the gap between the radiator and the pipe. With this in hand I went to rhino to put together a quick CAD file.
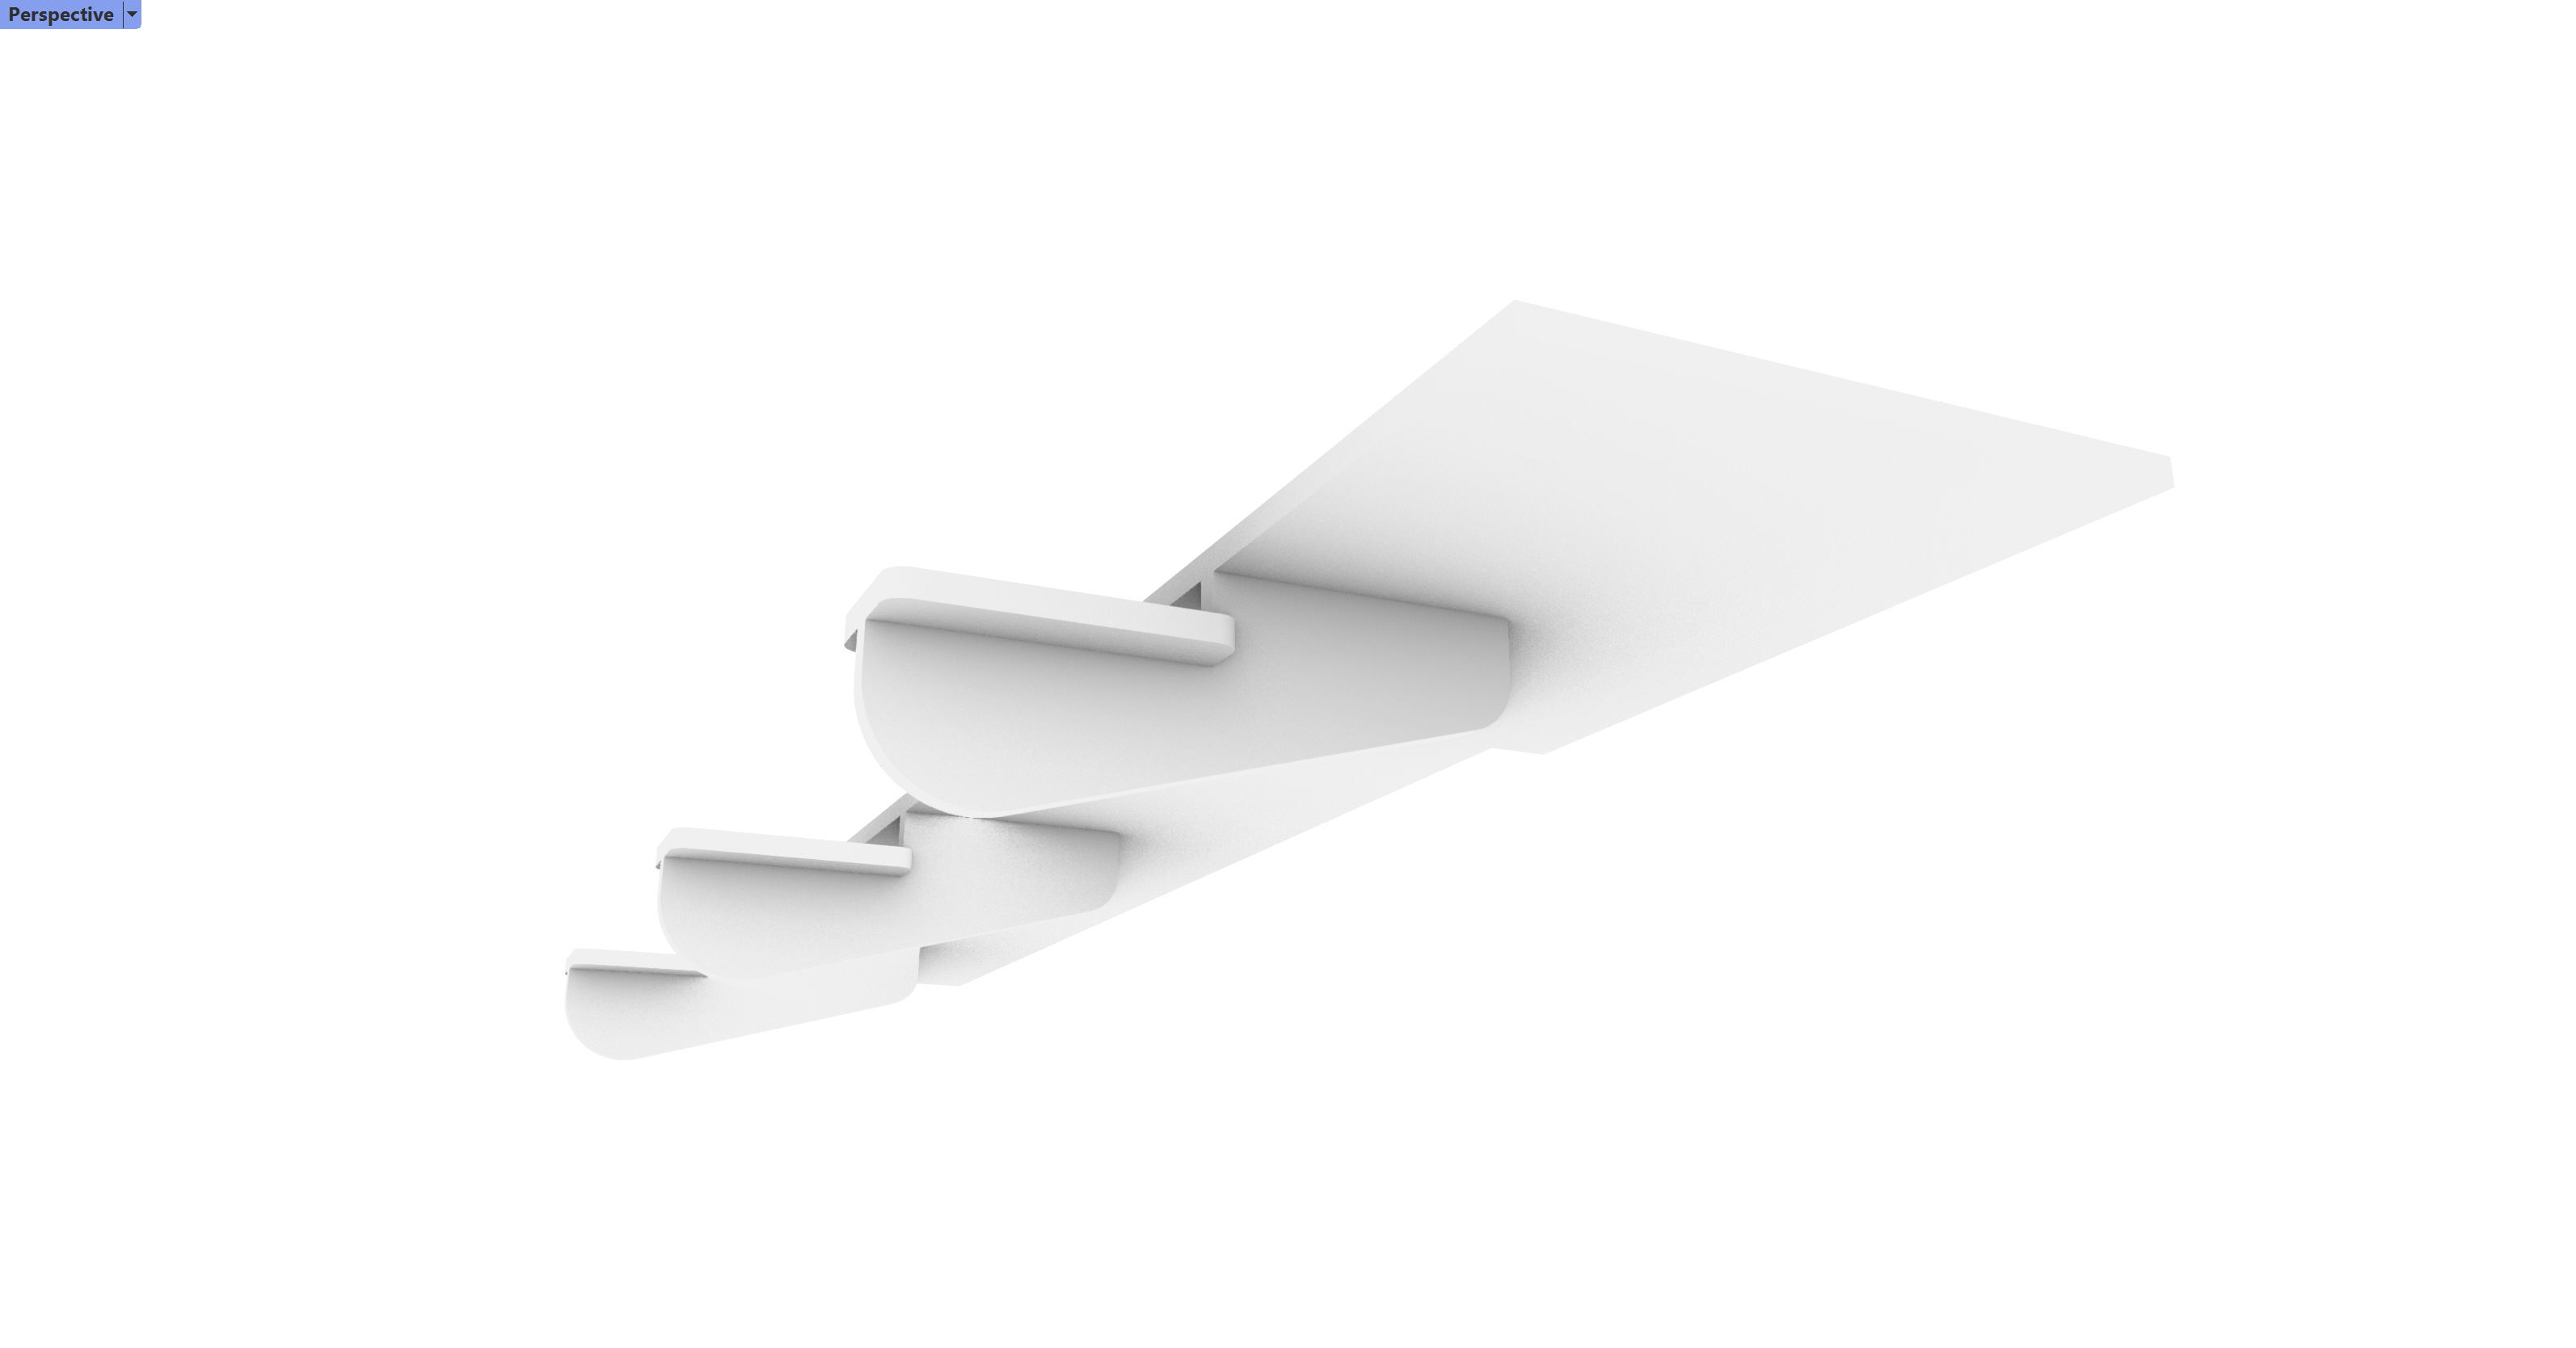
The desk extender is supported by three brackets that are then drilled into the original desk. I thought of designing different mounts that wouldn’t require me to drill into the desk but thought that this is the simplest solution and I’m all about that KISS.
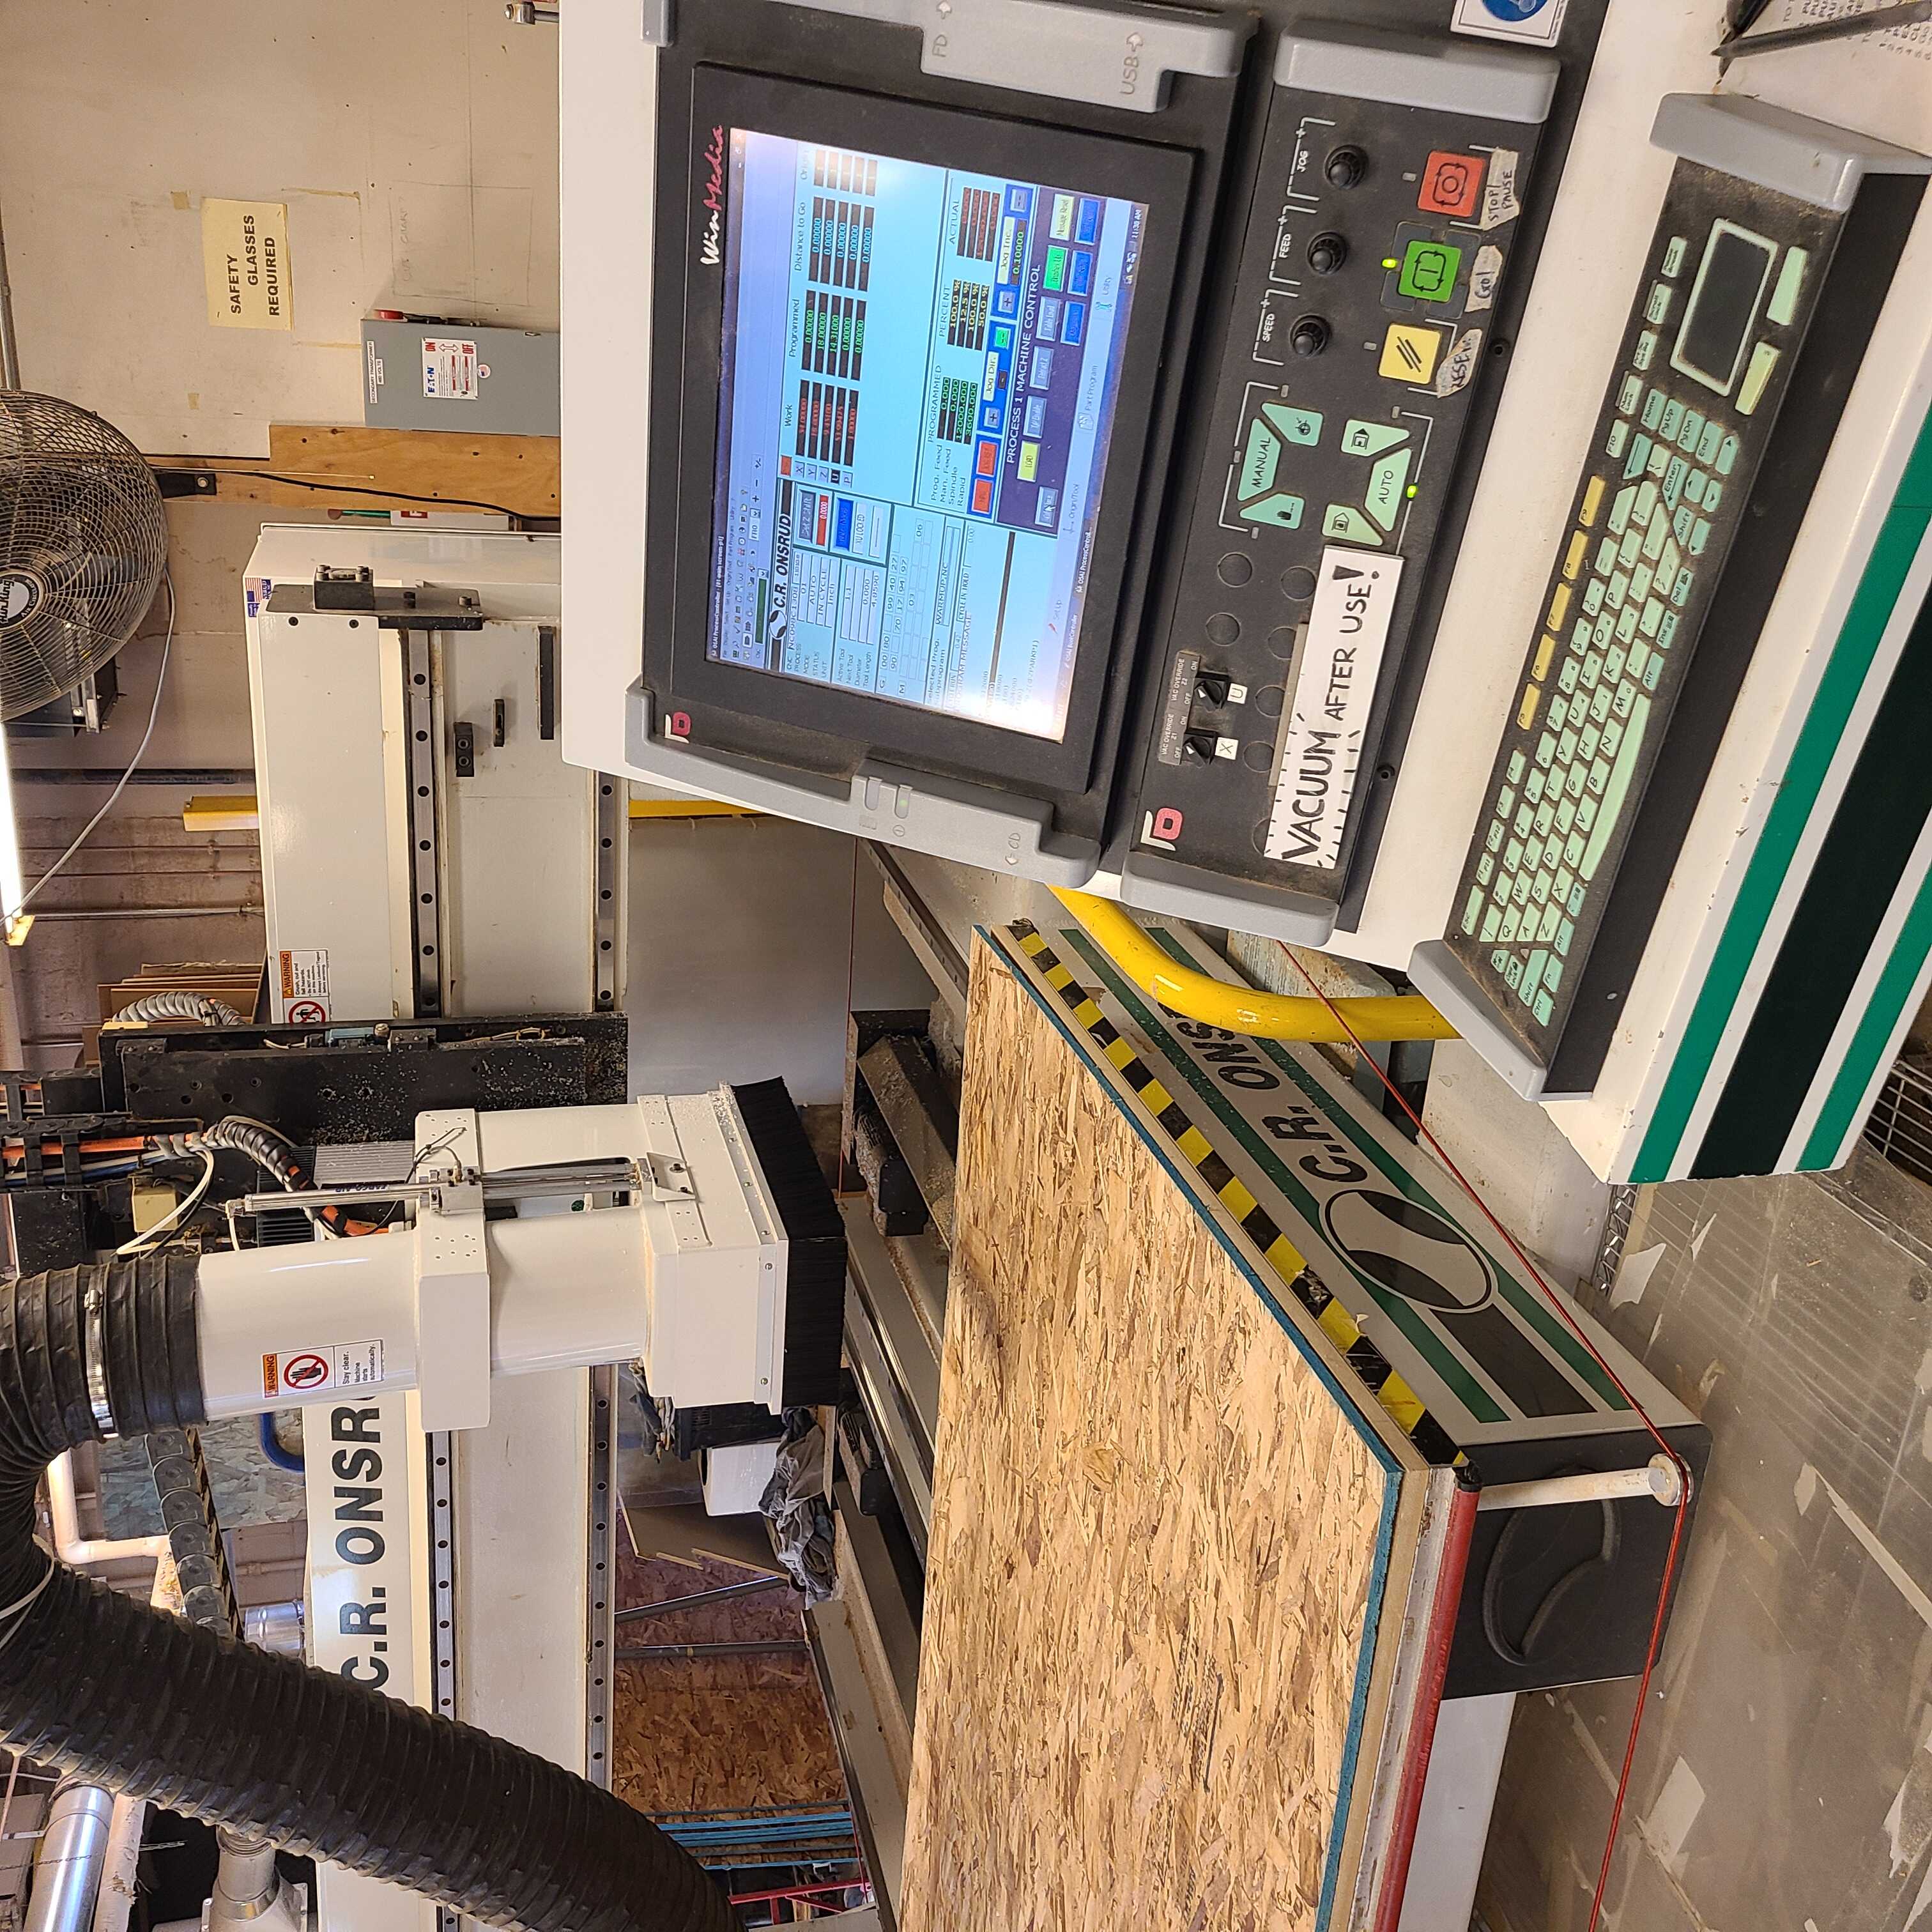
So off to N51 I go. Luckily, I was the first one in and so didn’t have to battle others for Chris Dewart’s time. Chris walked me through the Mastercam process but frankly there is no way one could understand how to prepare are job after one tutorial. There are just so many conditions one must satisfy: order of cuts, types of bits, depth of cuts, steps of cuts, direction of motion, feed speed and more. And all of this is very dependent on the type of object you’re making, no two jobs are the same!
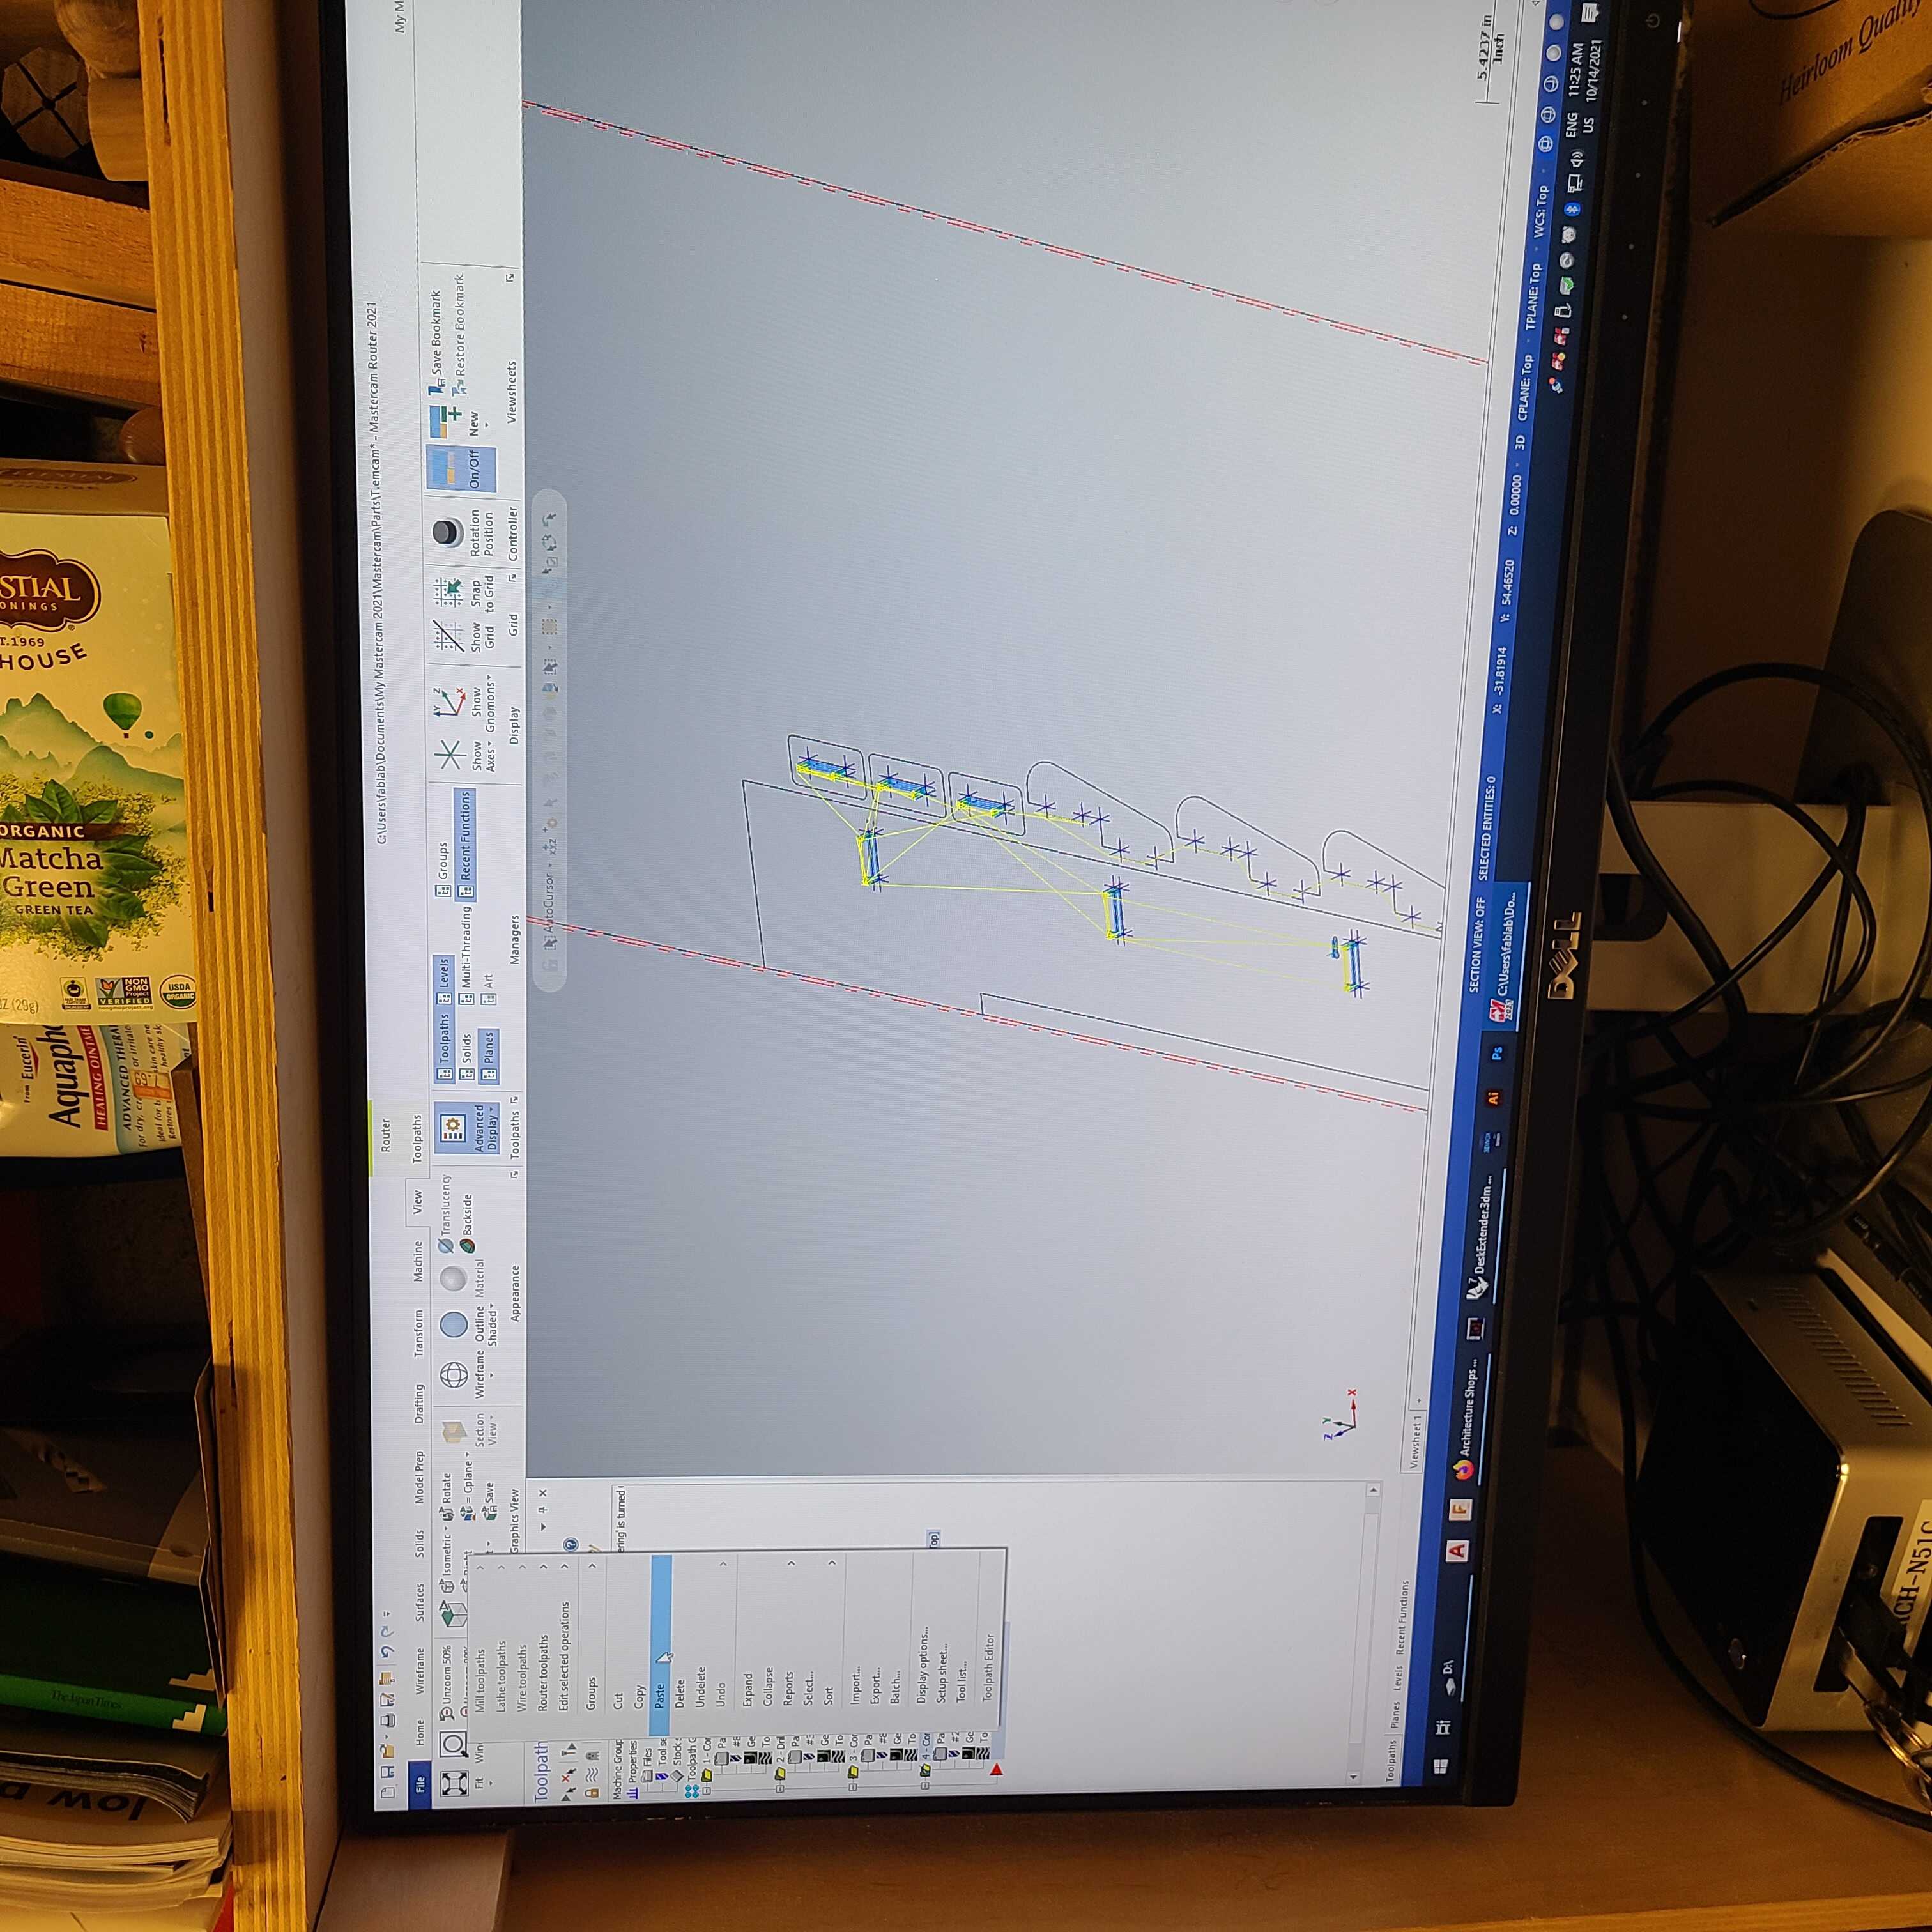
After reading Jen’s post about her test cuts on the supplied OSB I decided to stick with 0.5” notches to get the best push-fit for my desk extender. Chris also explained that the file I supplied presupposed 90-degree corners, which was impossible to do. Instead, he suggested we drill holes at the inner corners of my shapes so that I could push my shapes all the way into each other. Monkey see, monkey do!
Off to cutting. Nothing out of the ordinary here. The spindle had to be warmed up for 10 minutes before my job, so I waited politely until it was my turn to go!
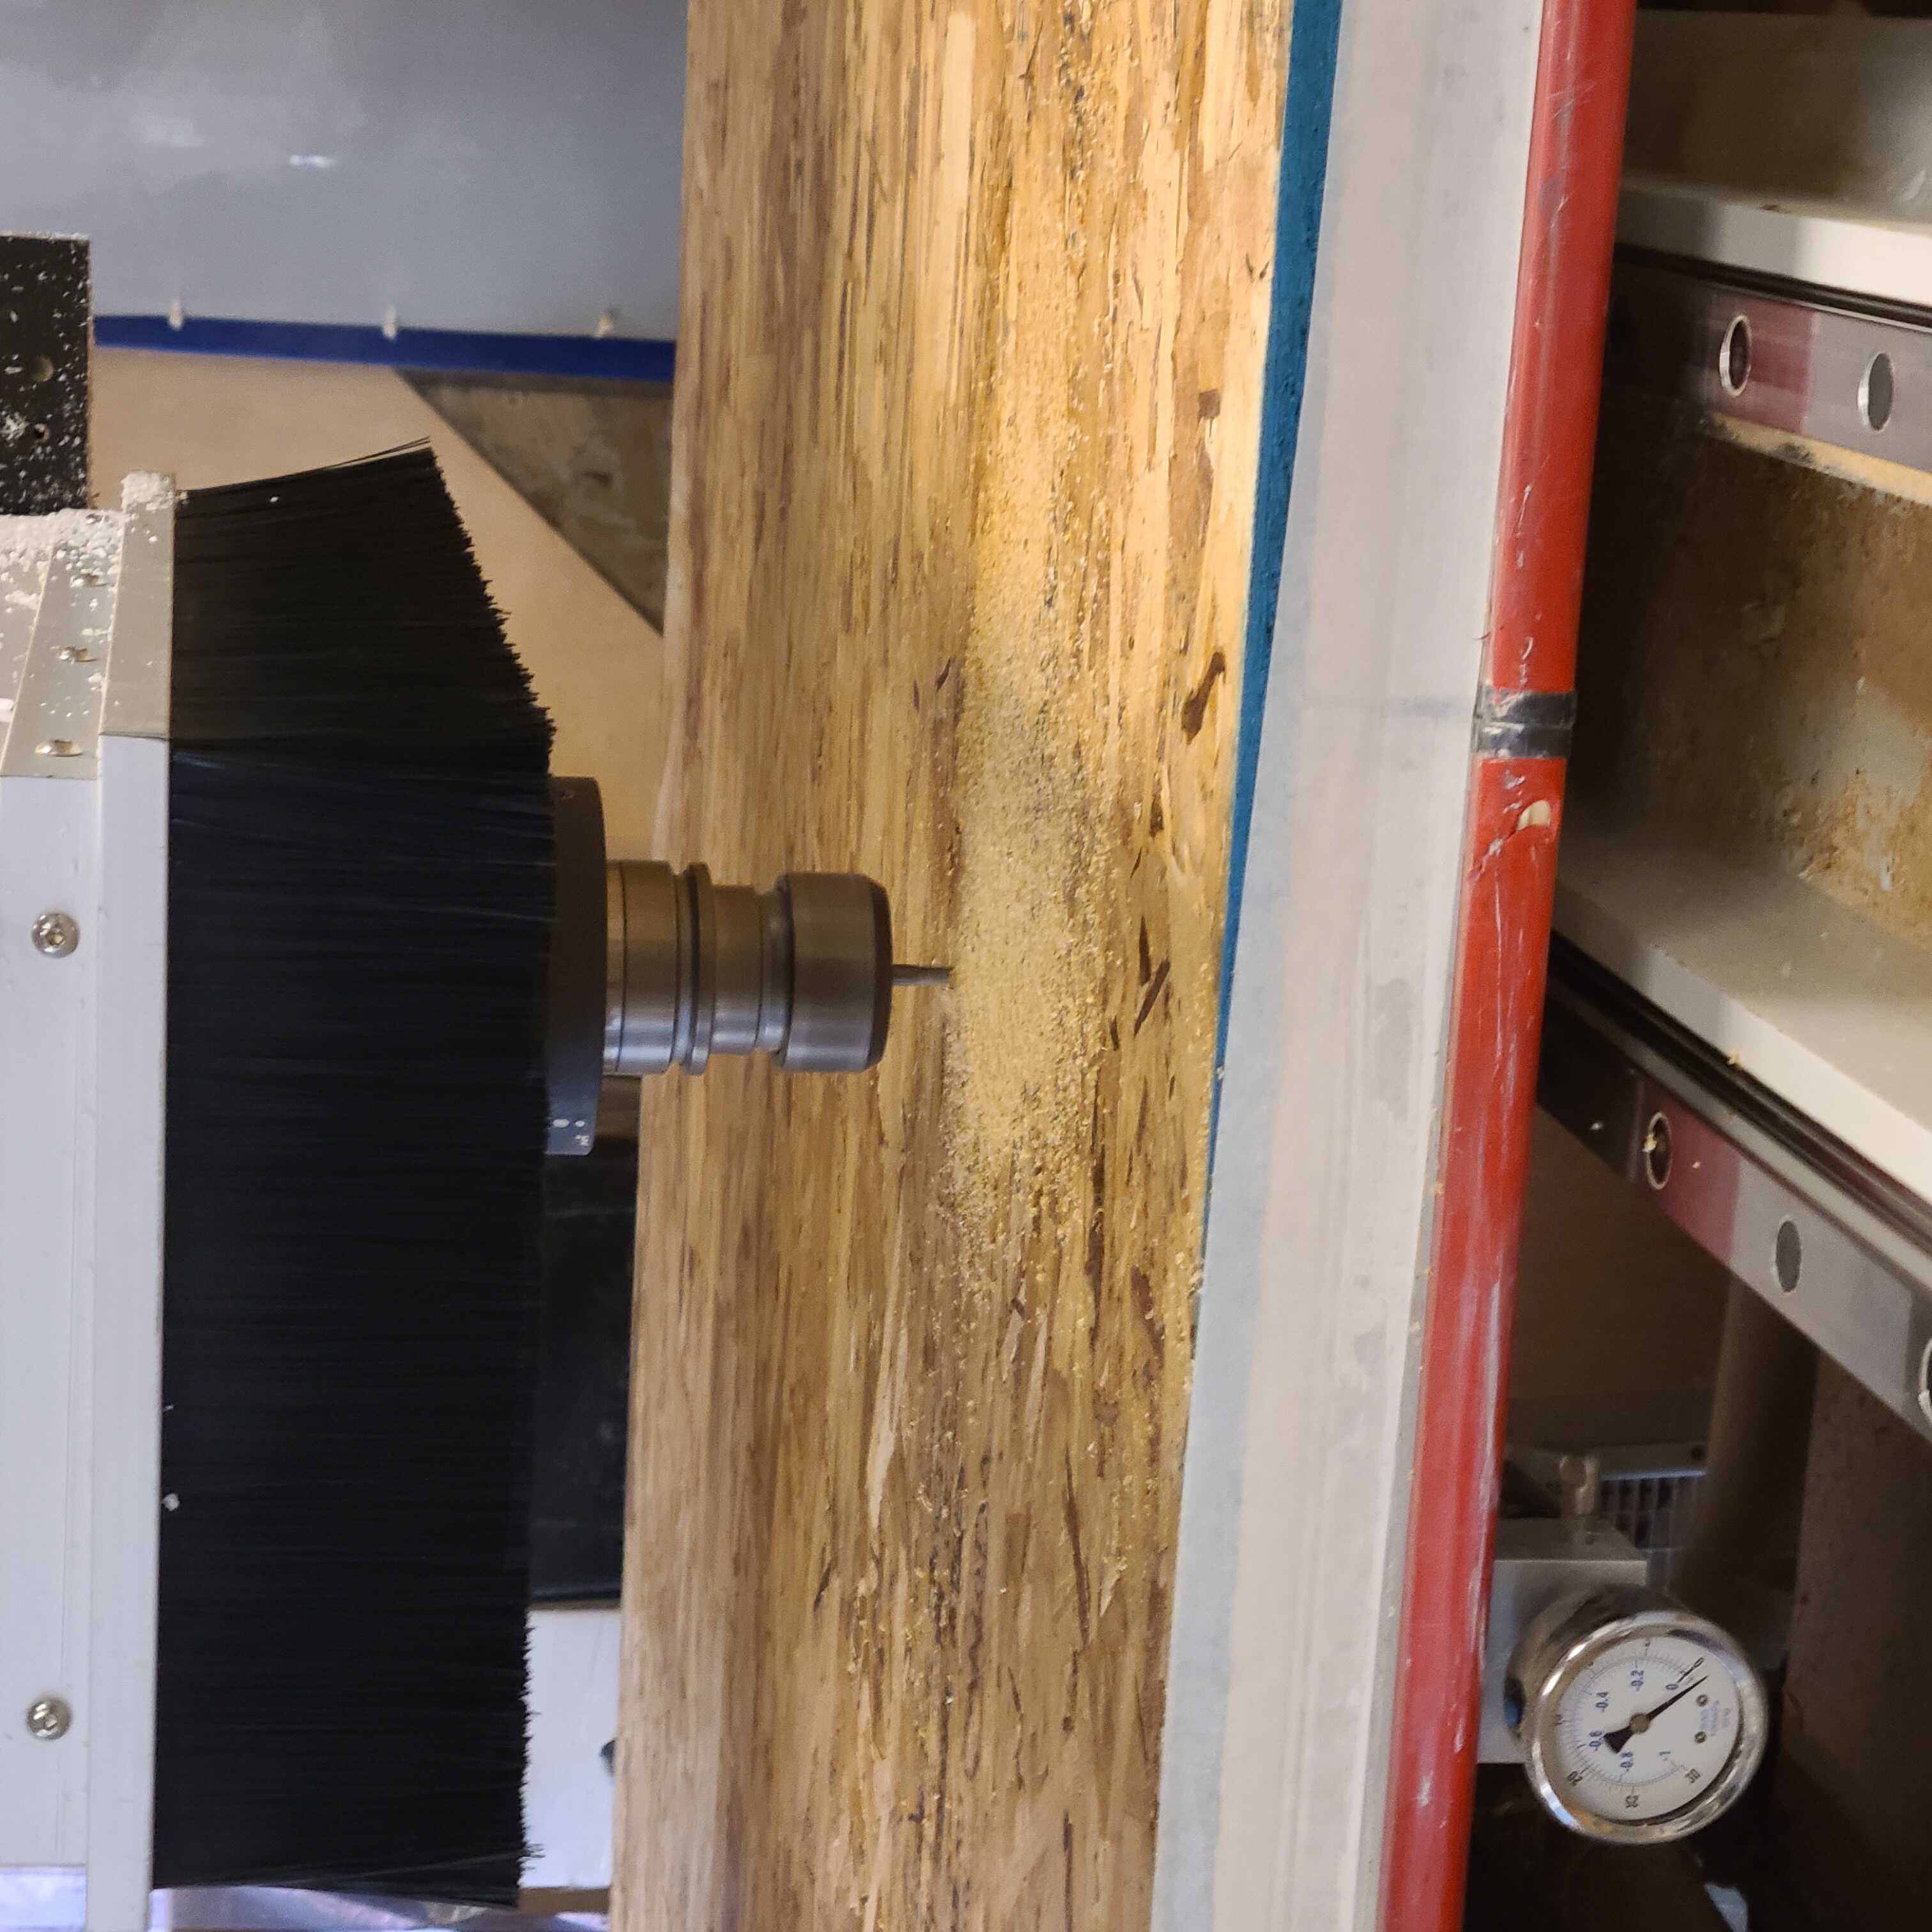
The cutting happened with no obstacles. The pieces came out clean-ish and ready for assembly.
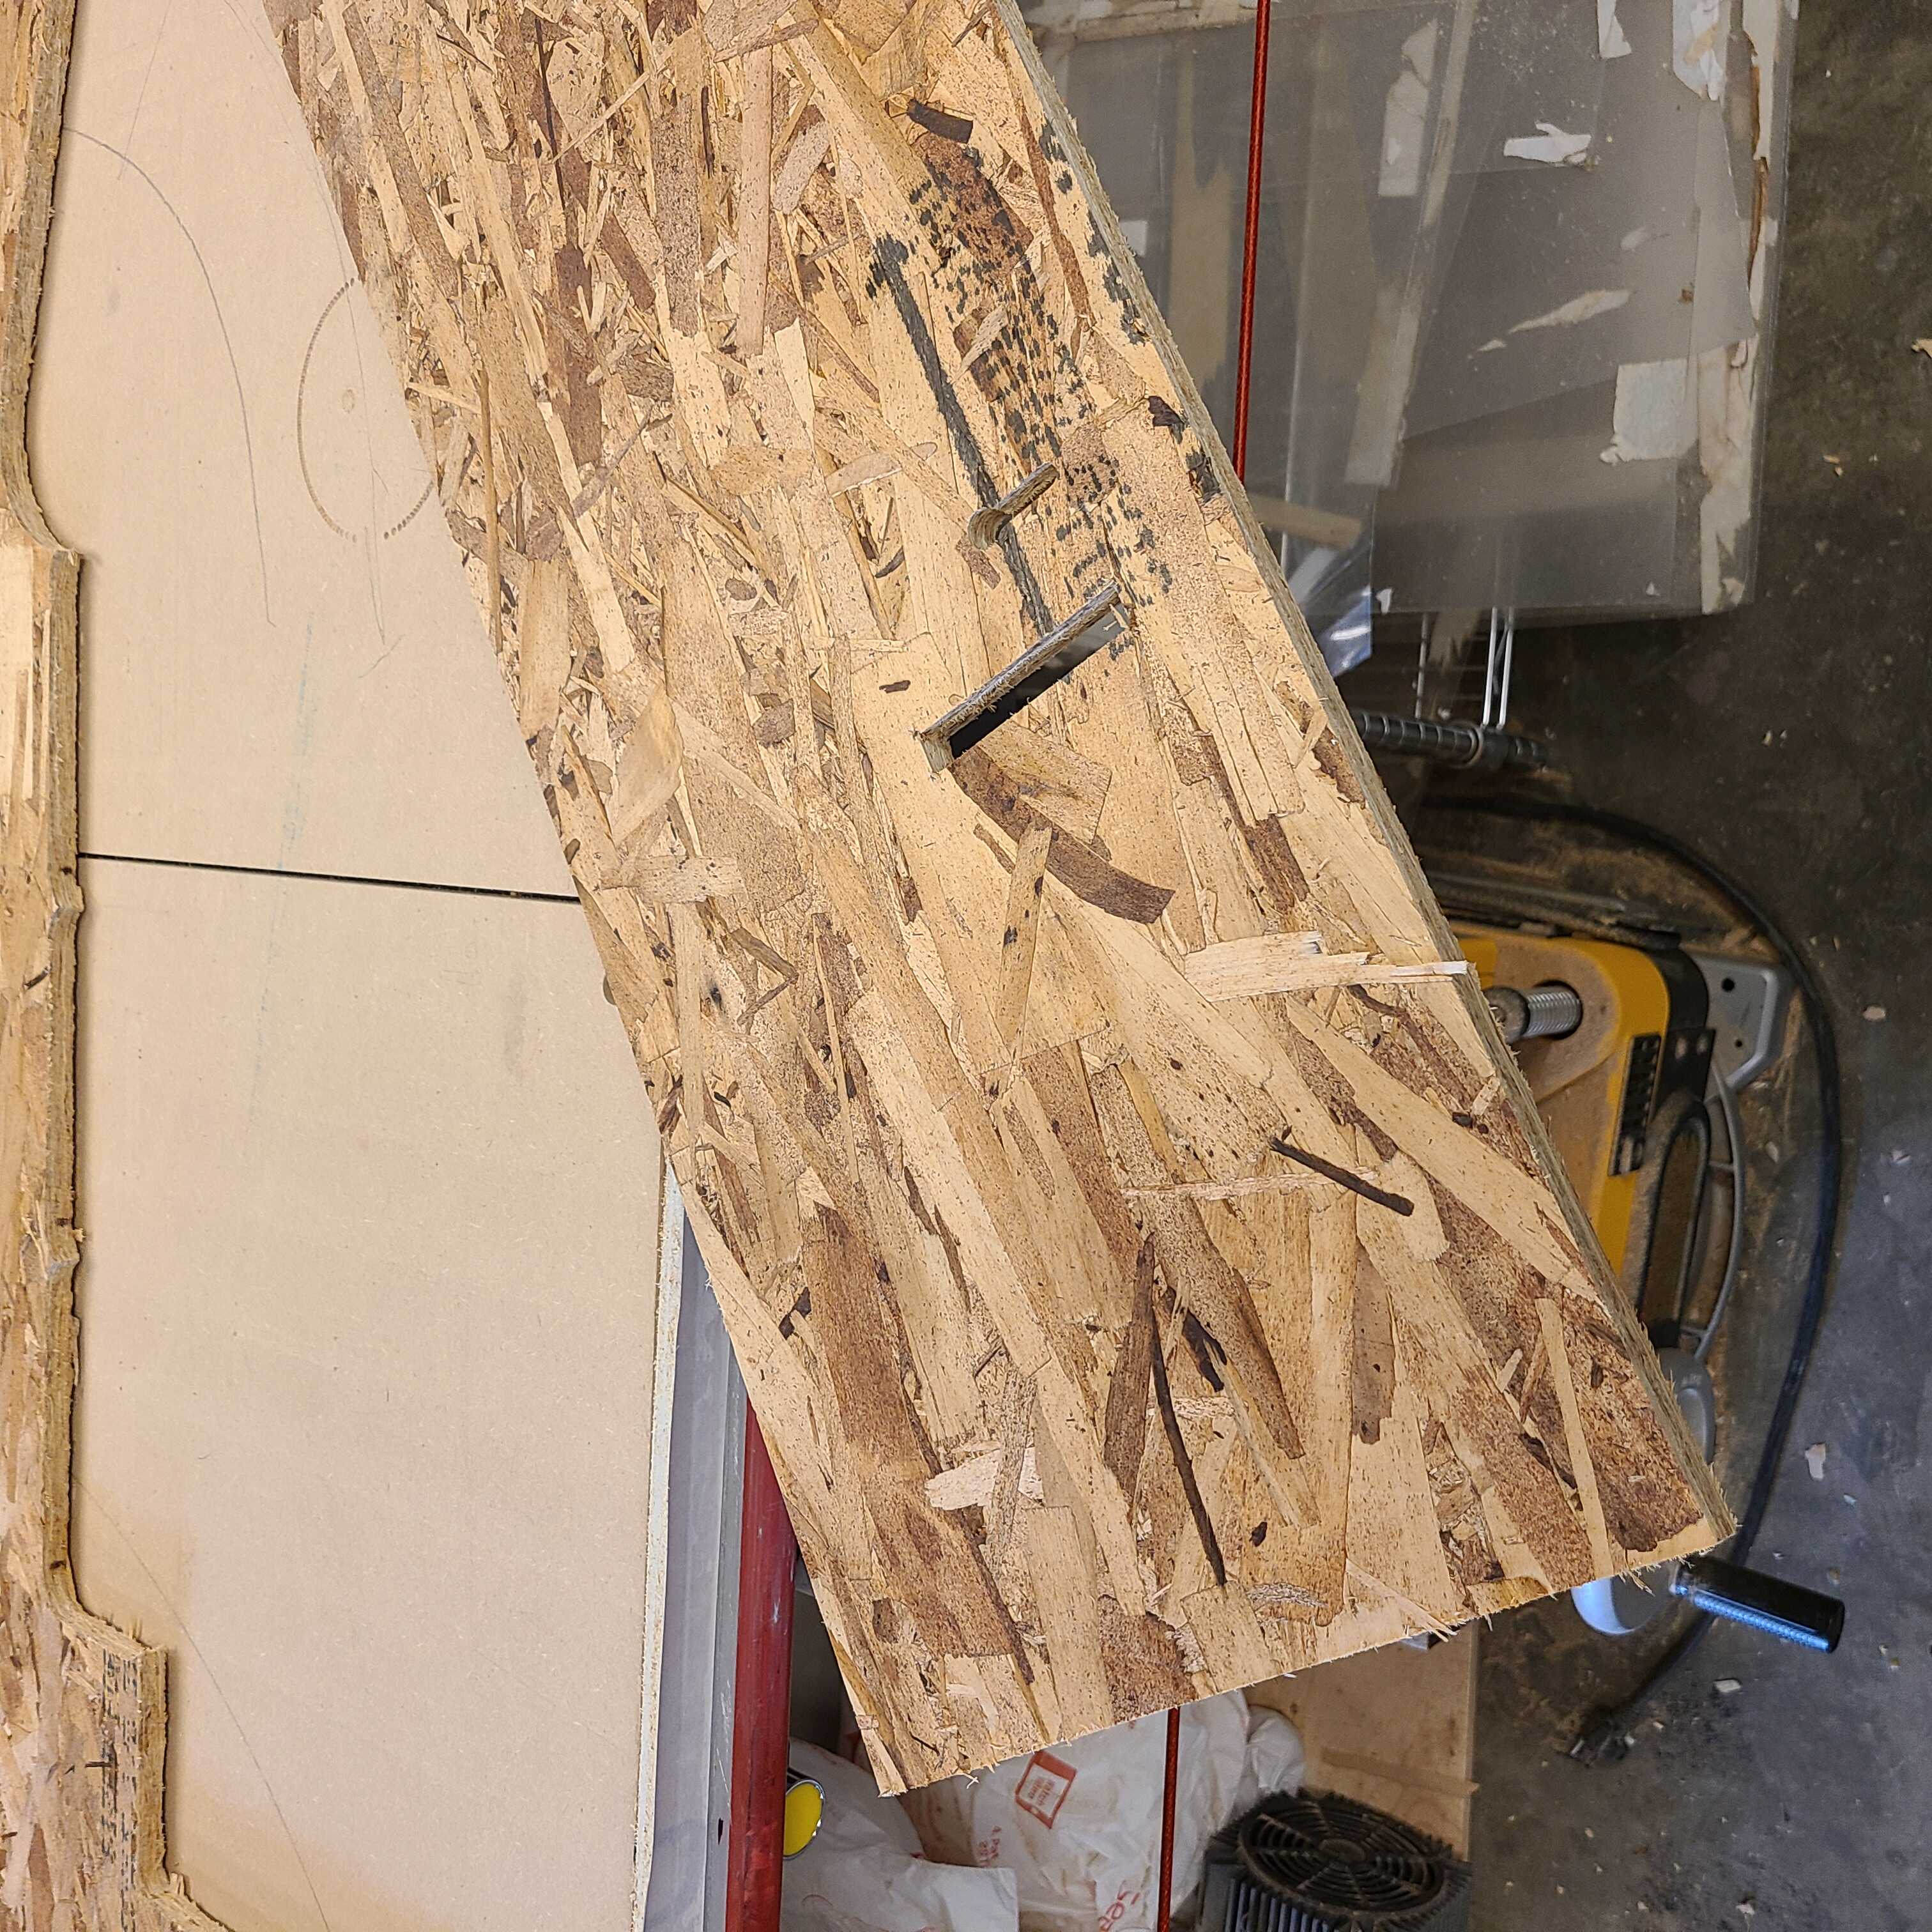

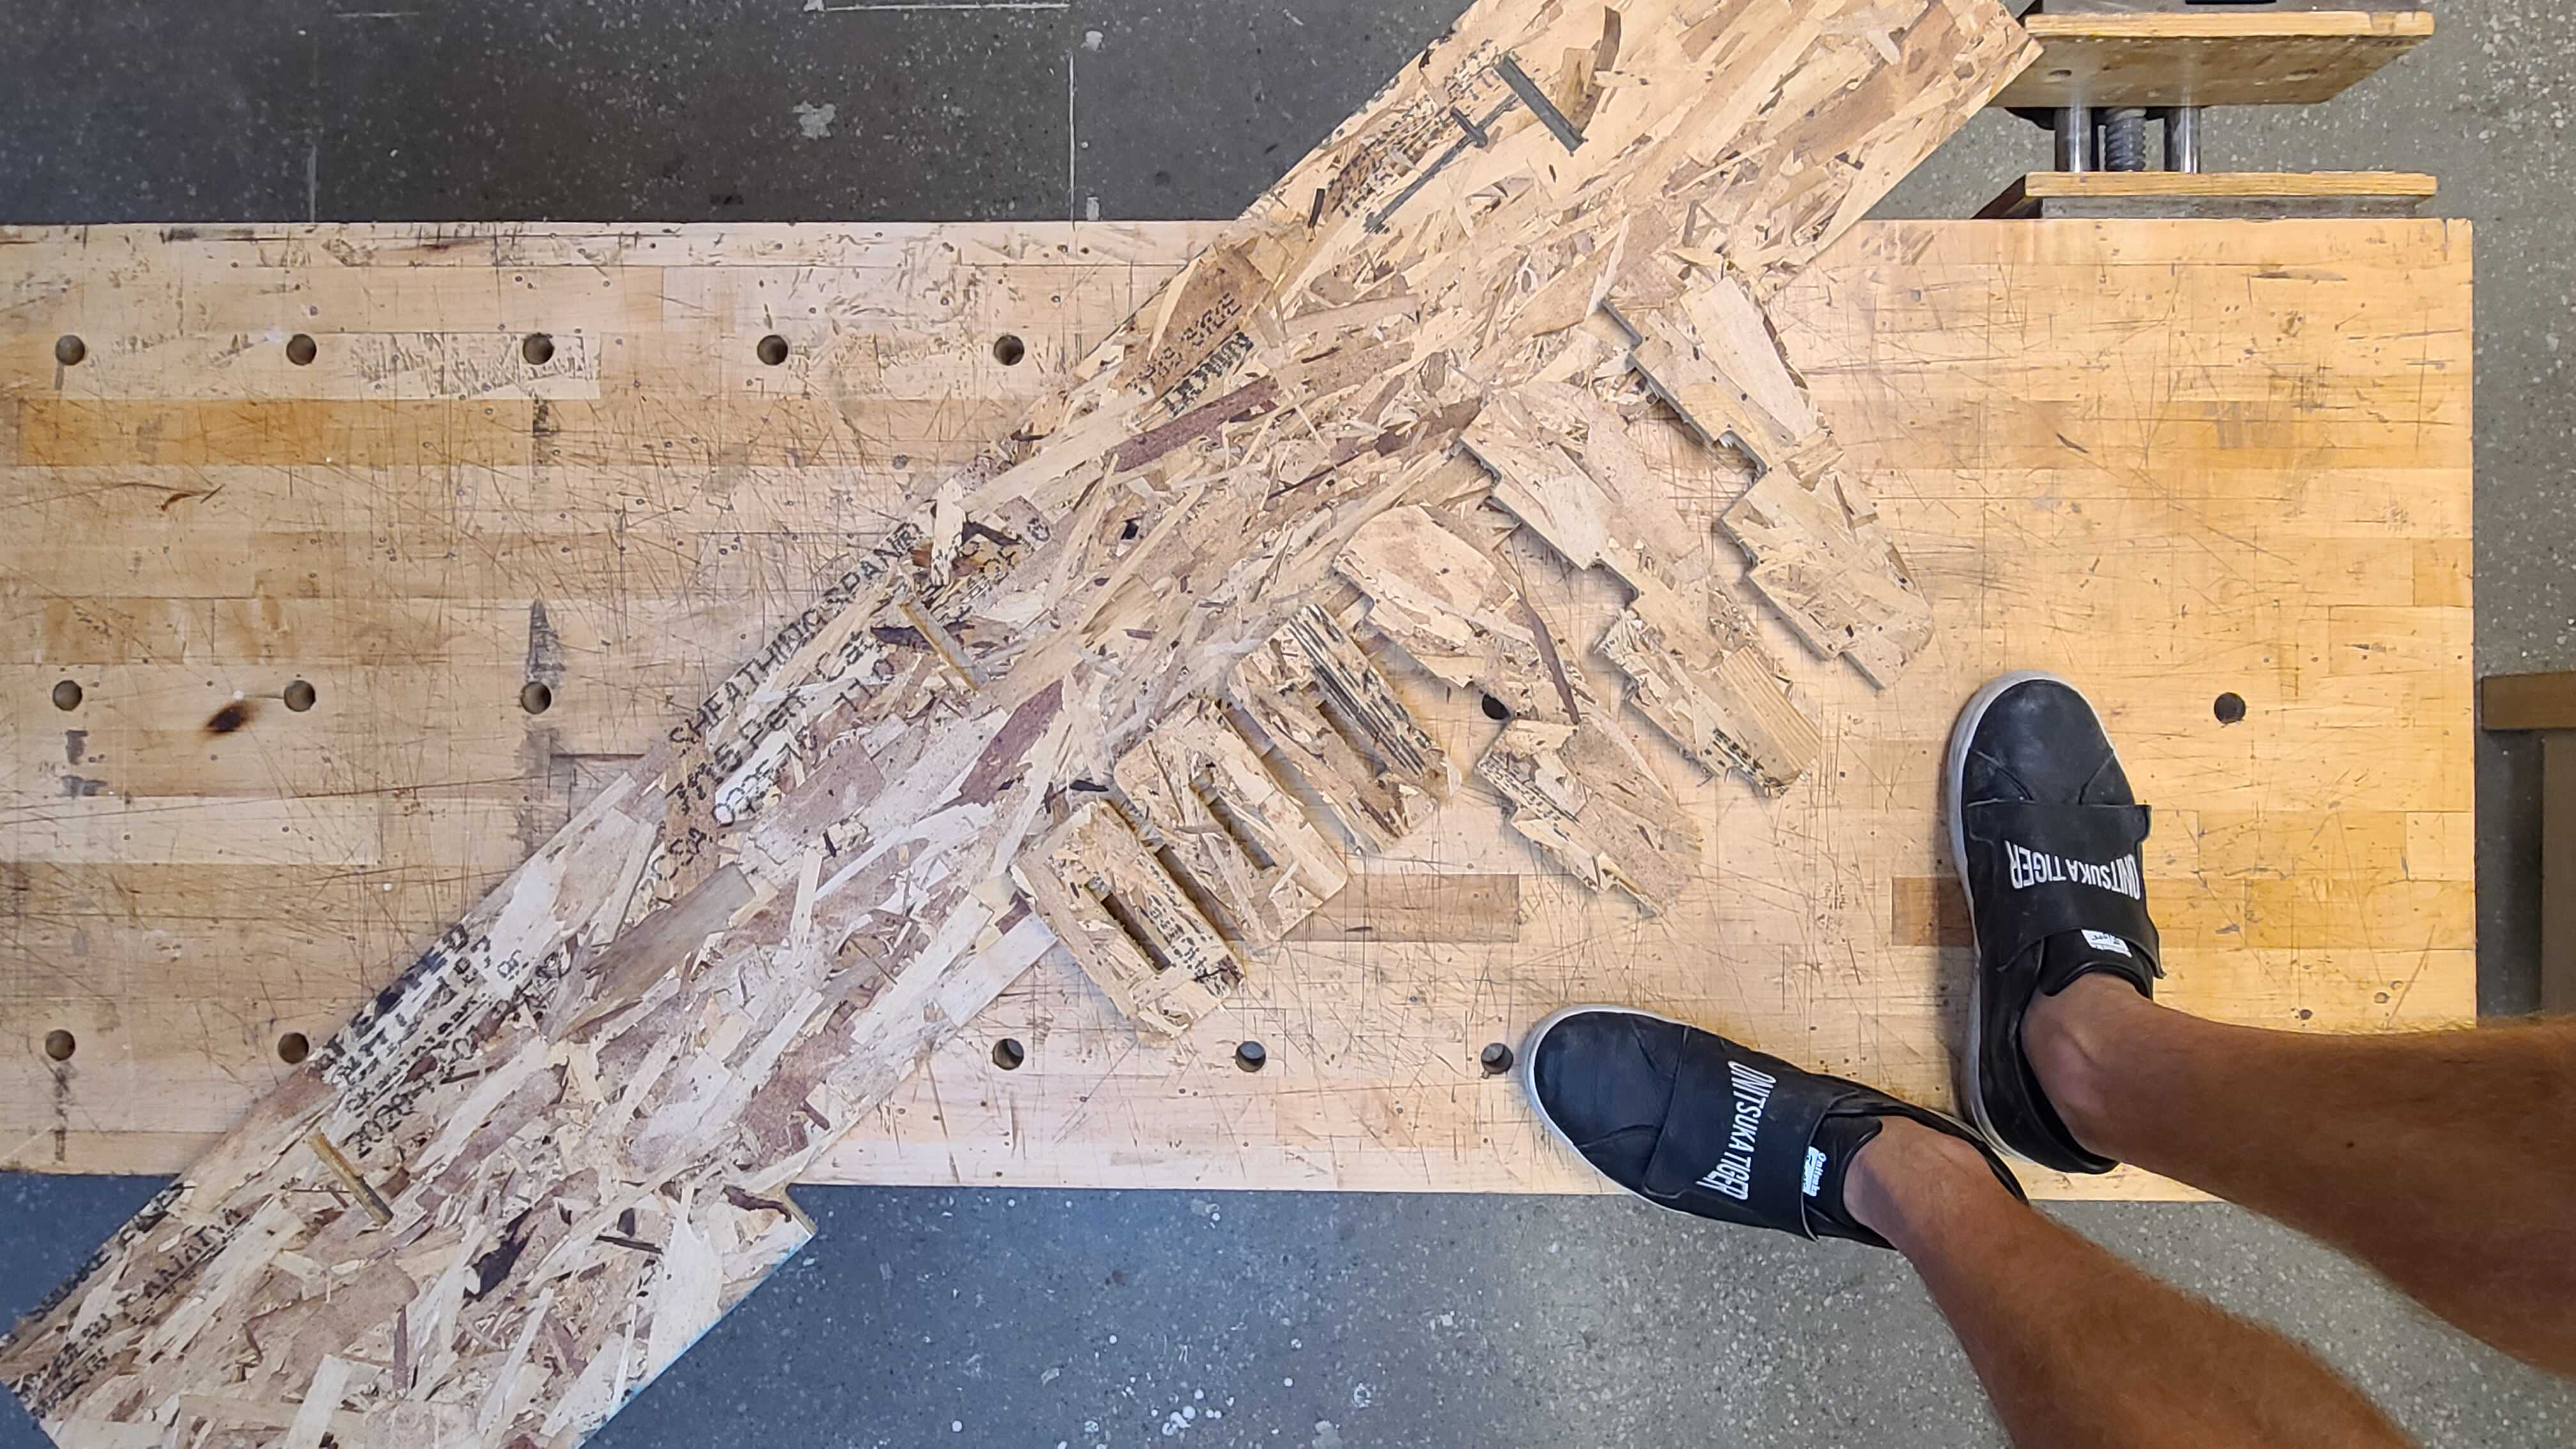
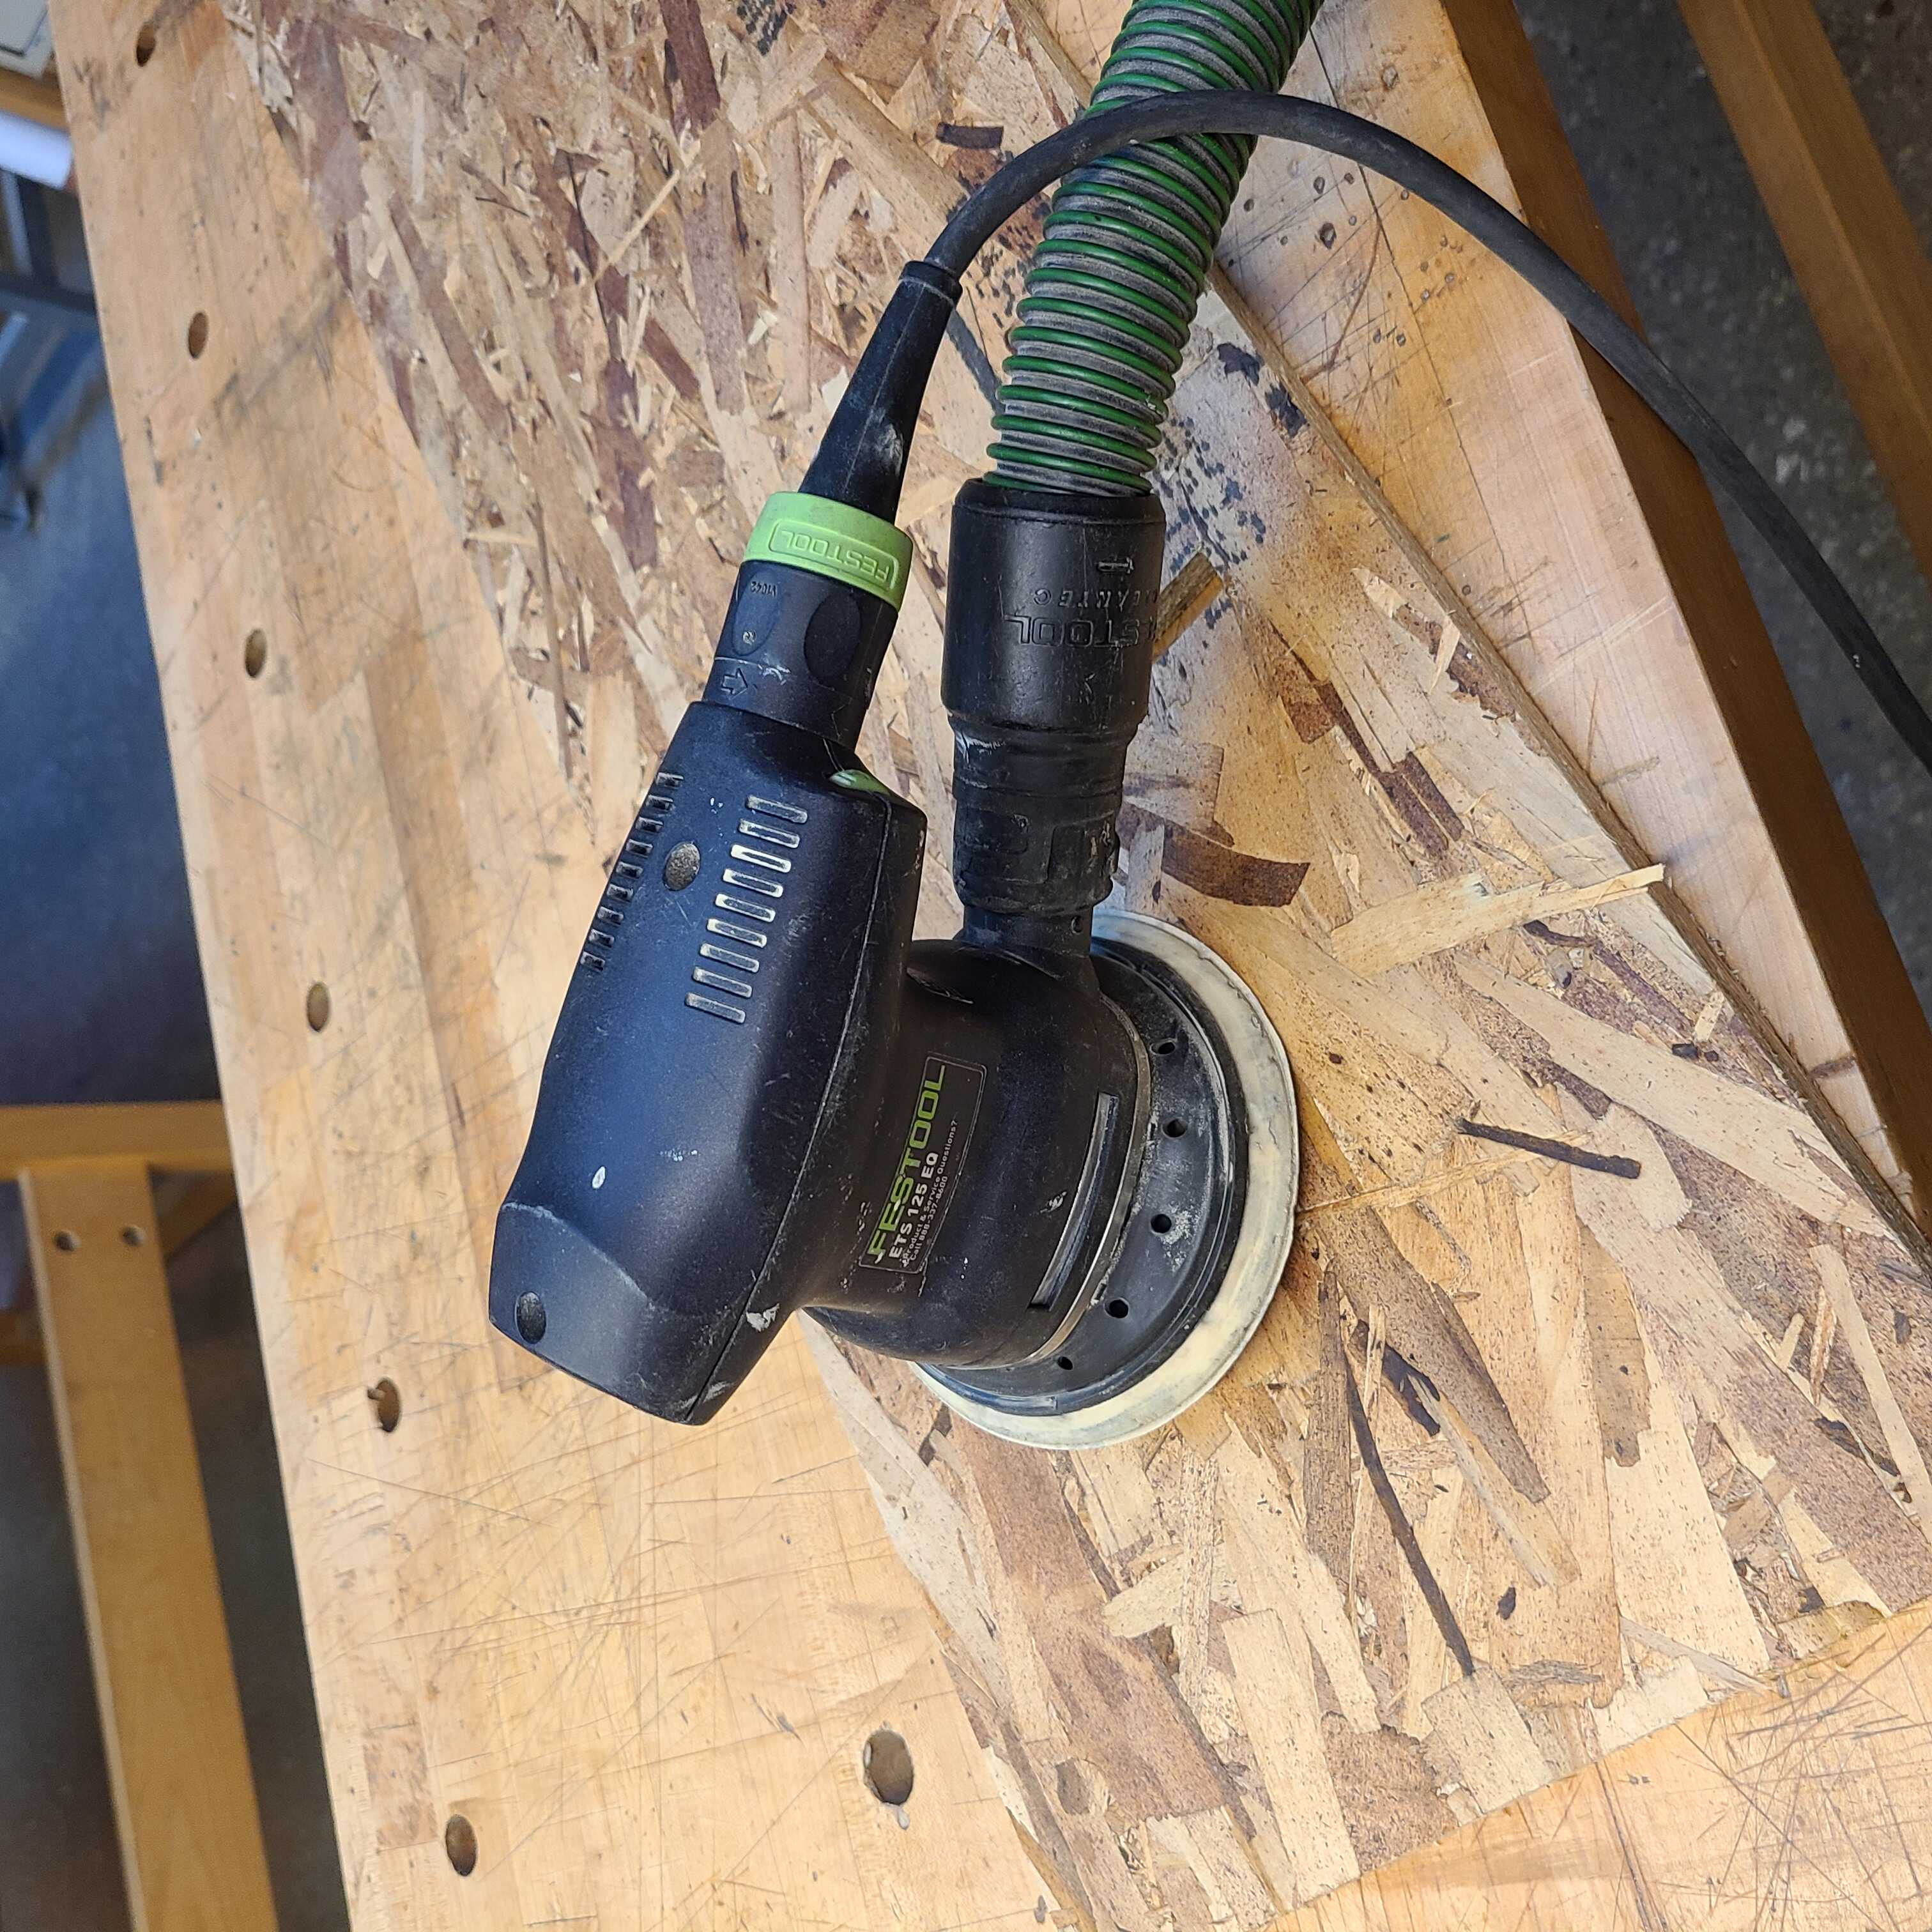
You know how I said the pieces came out clean-ish? Yea, I had to sand all of wthem down so as to not stab myself through the heart.
I decided to only sand down my shapes on their exterior to get the nicest surface finish. Most of the desk-extender would be invisible anyway so I didn’t have to worry too much about making it look sexy. Now some photos of the assembly…
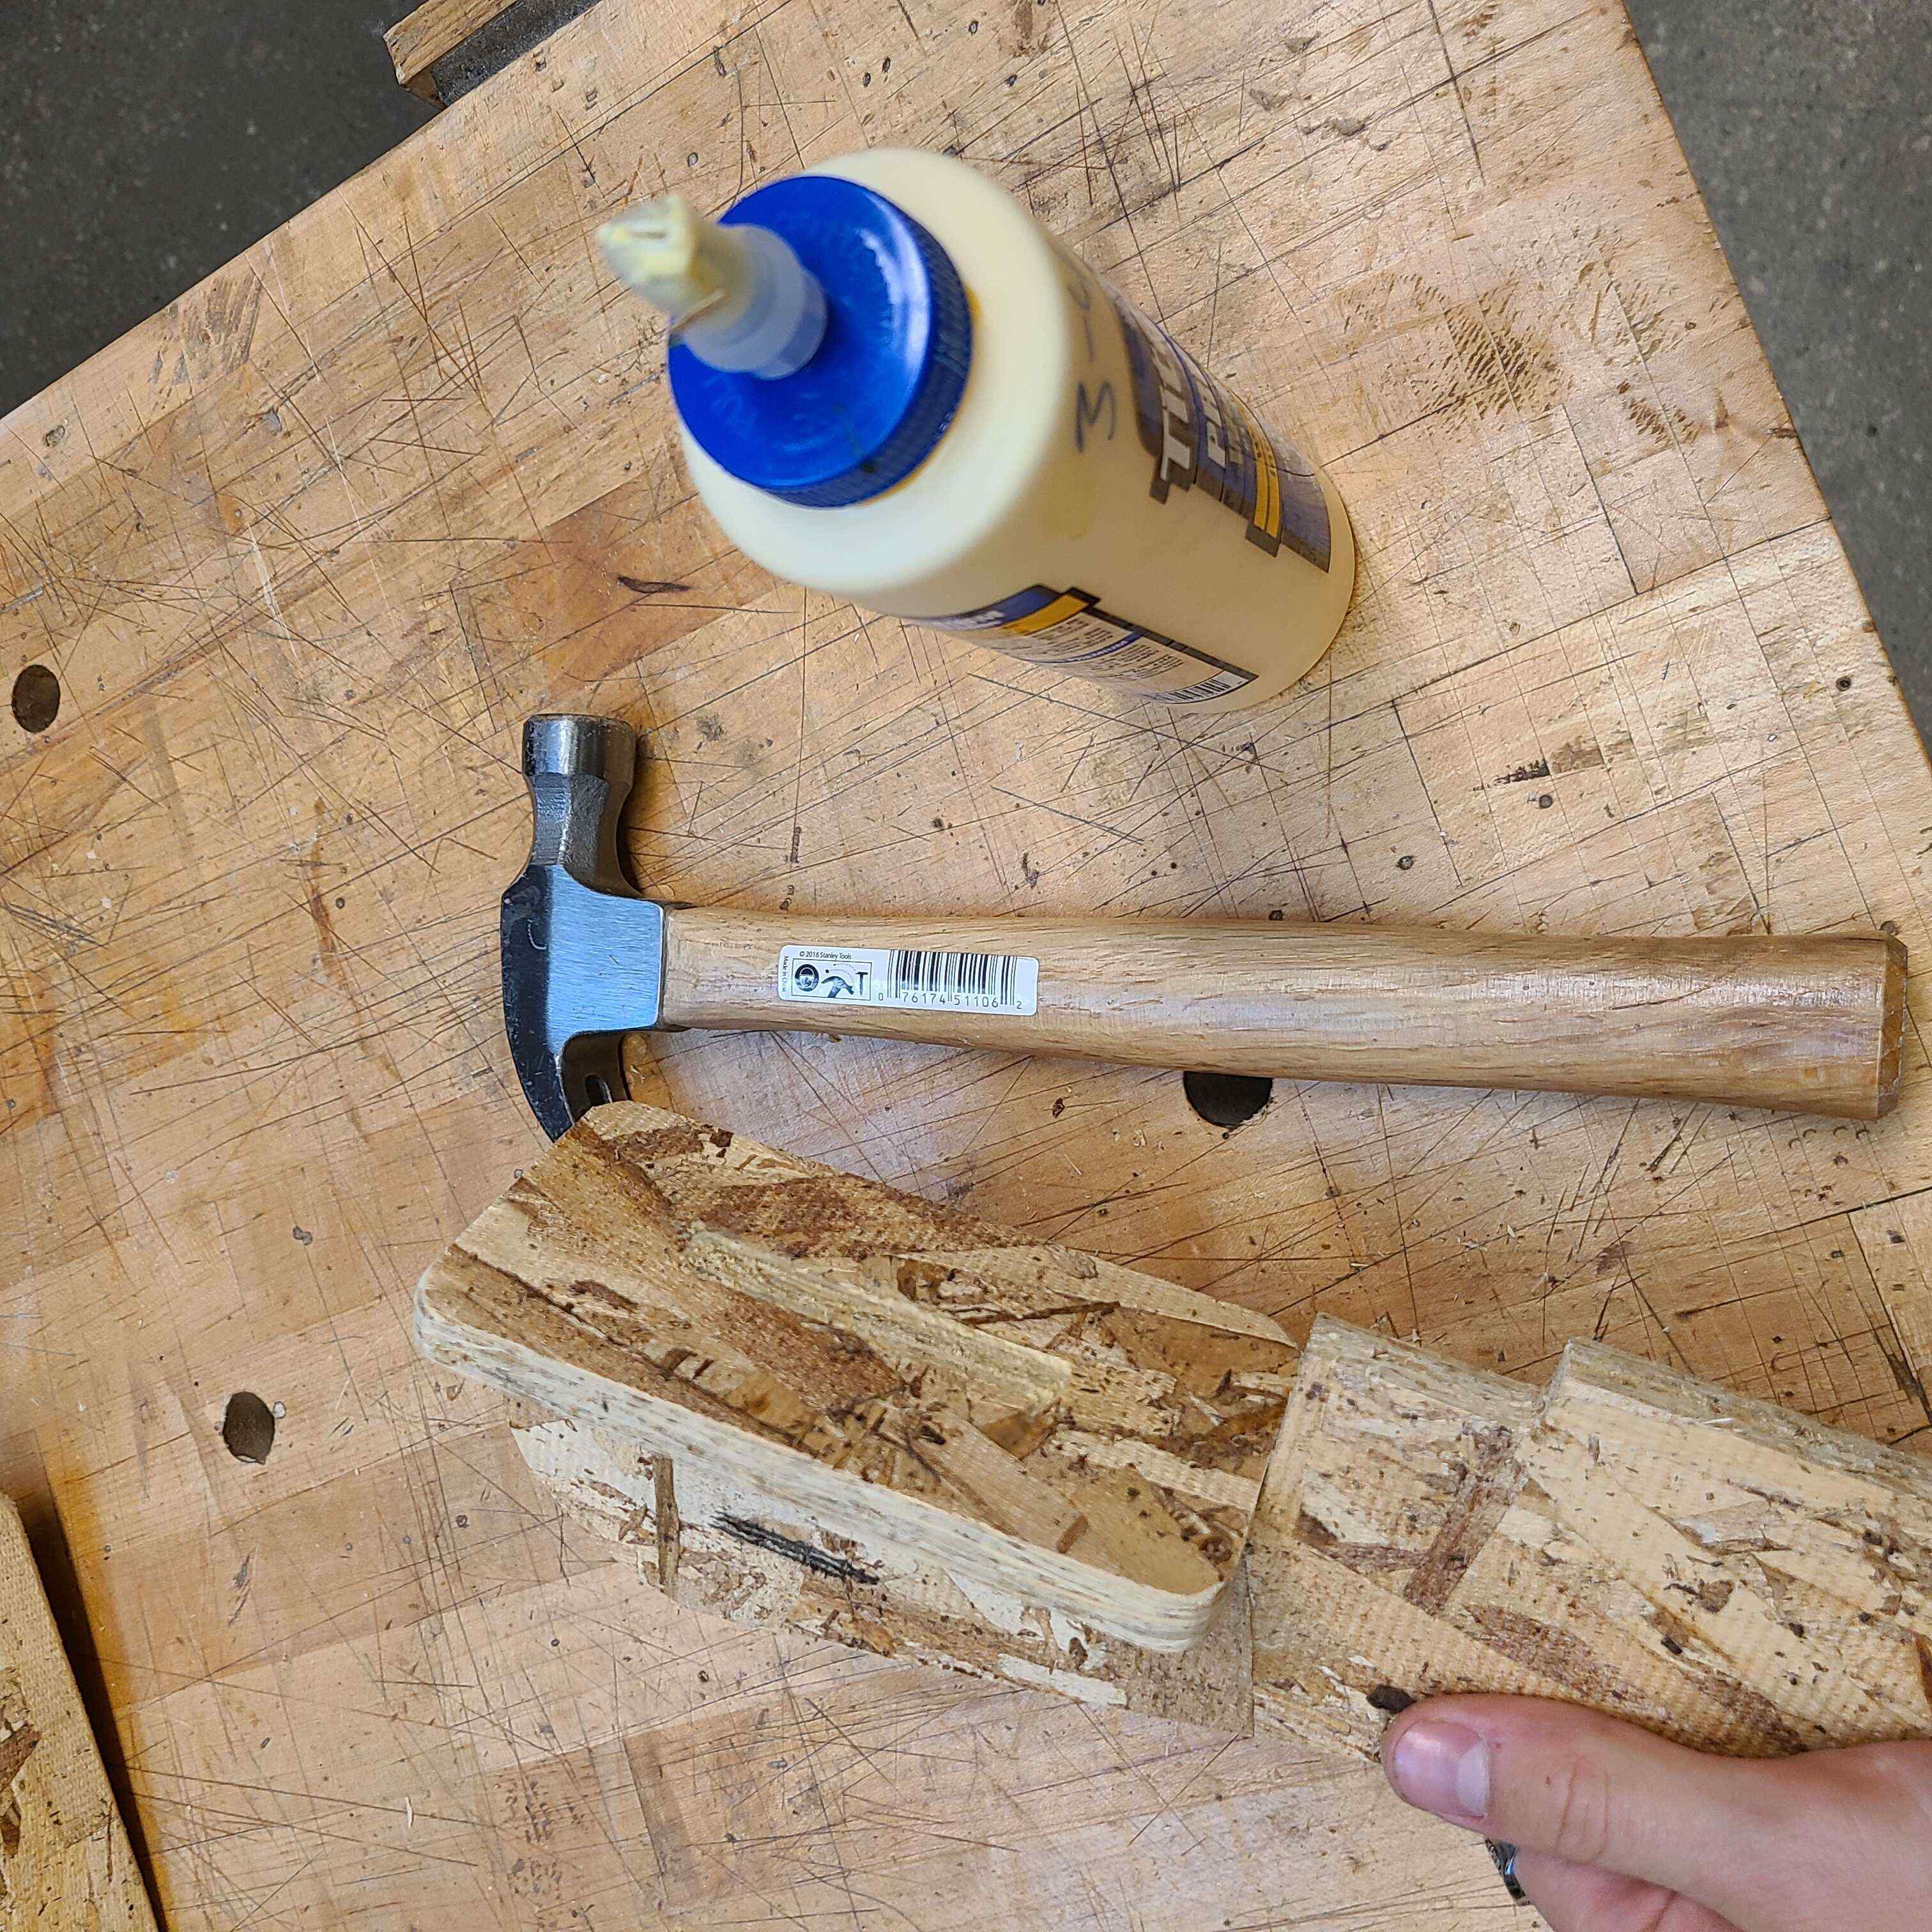
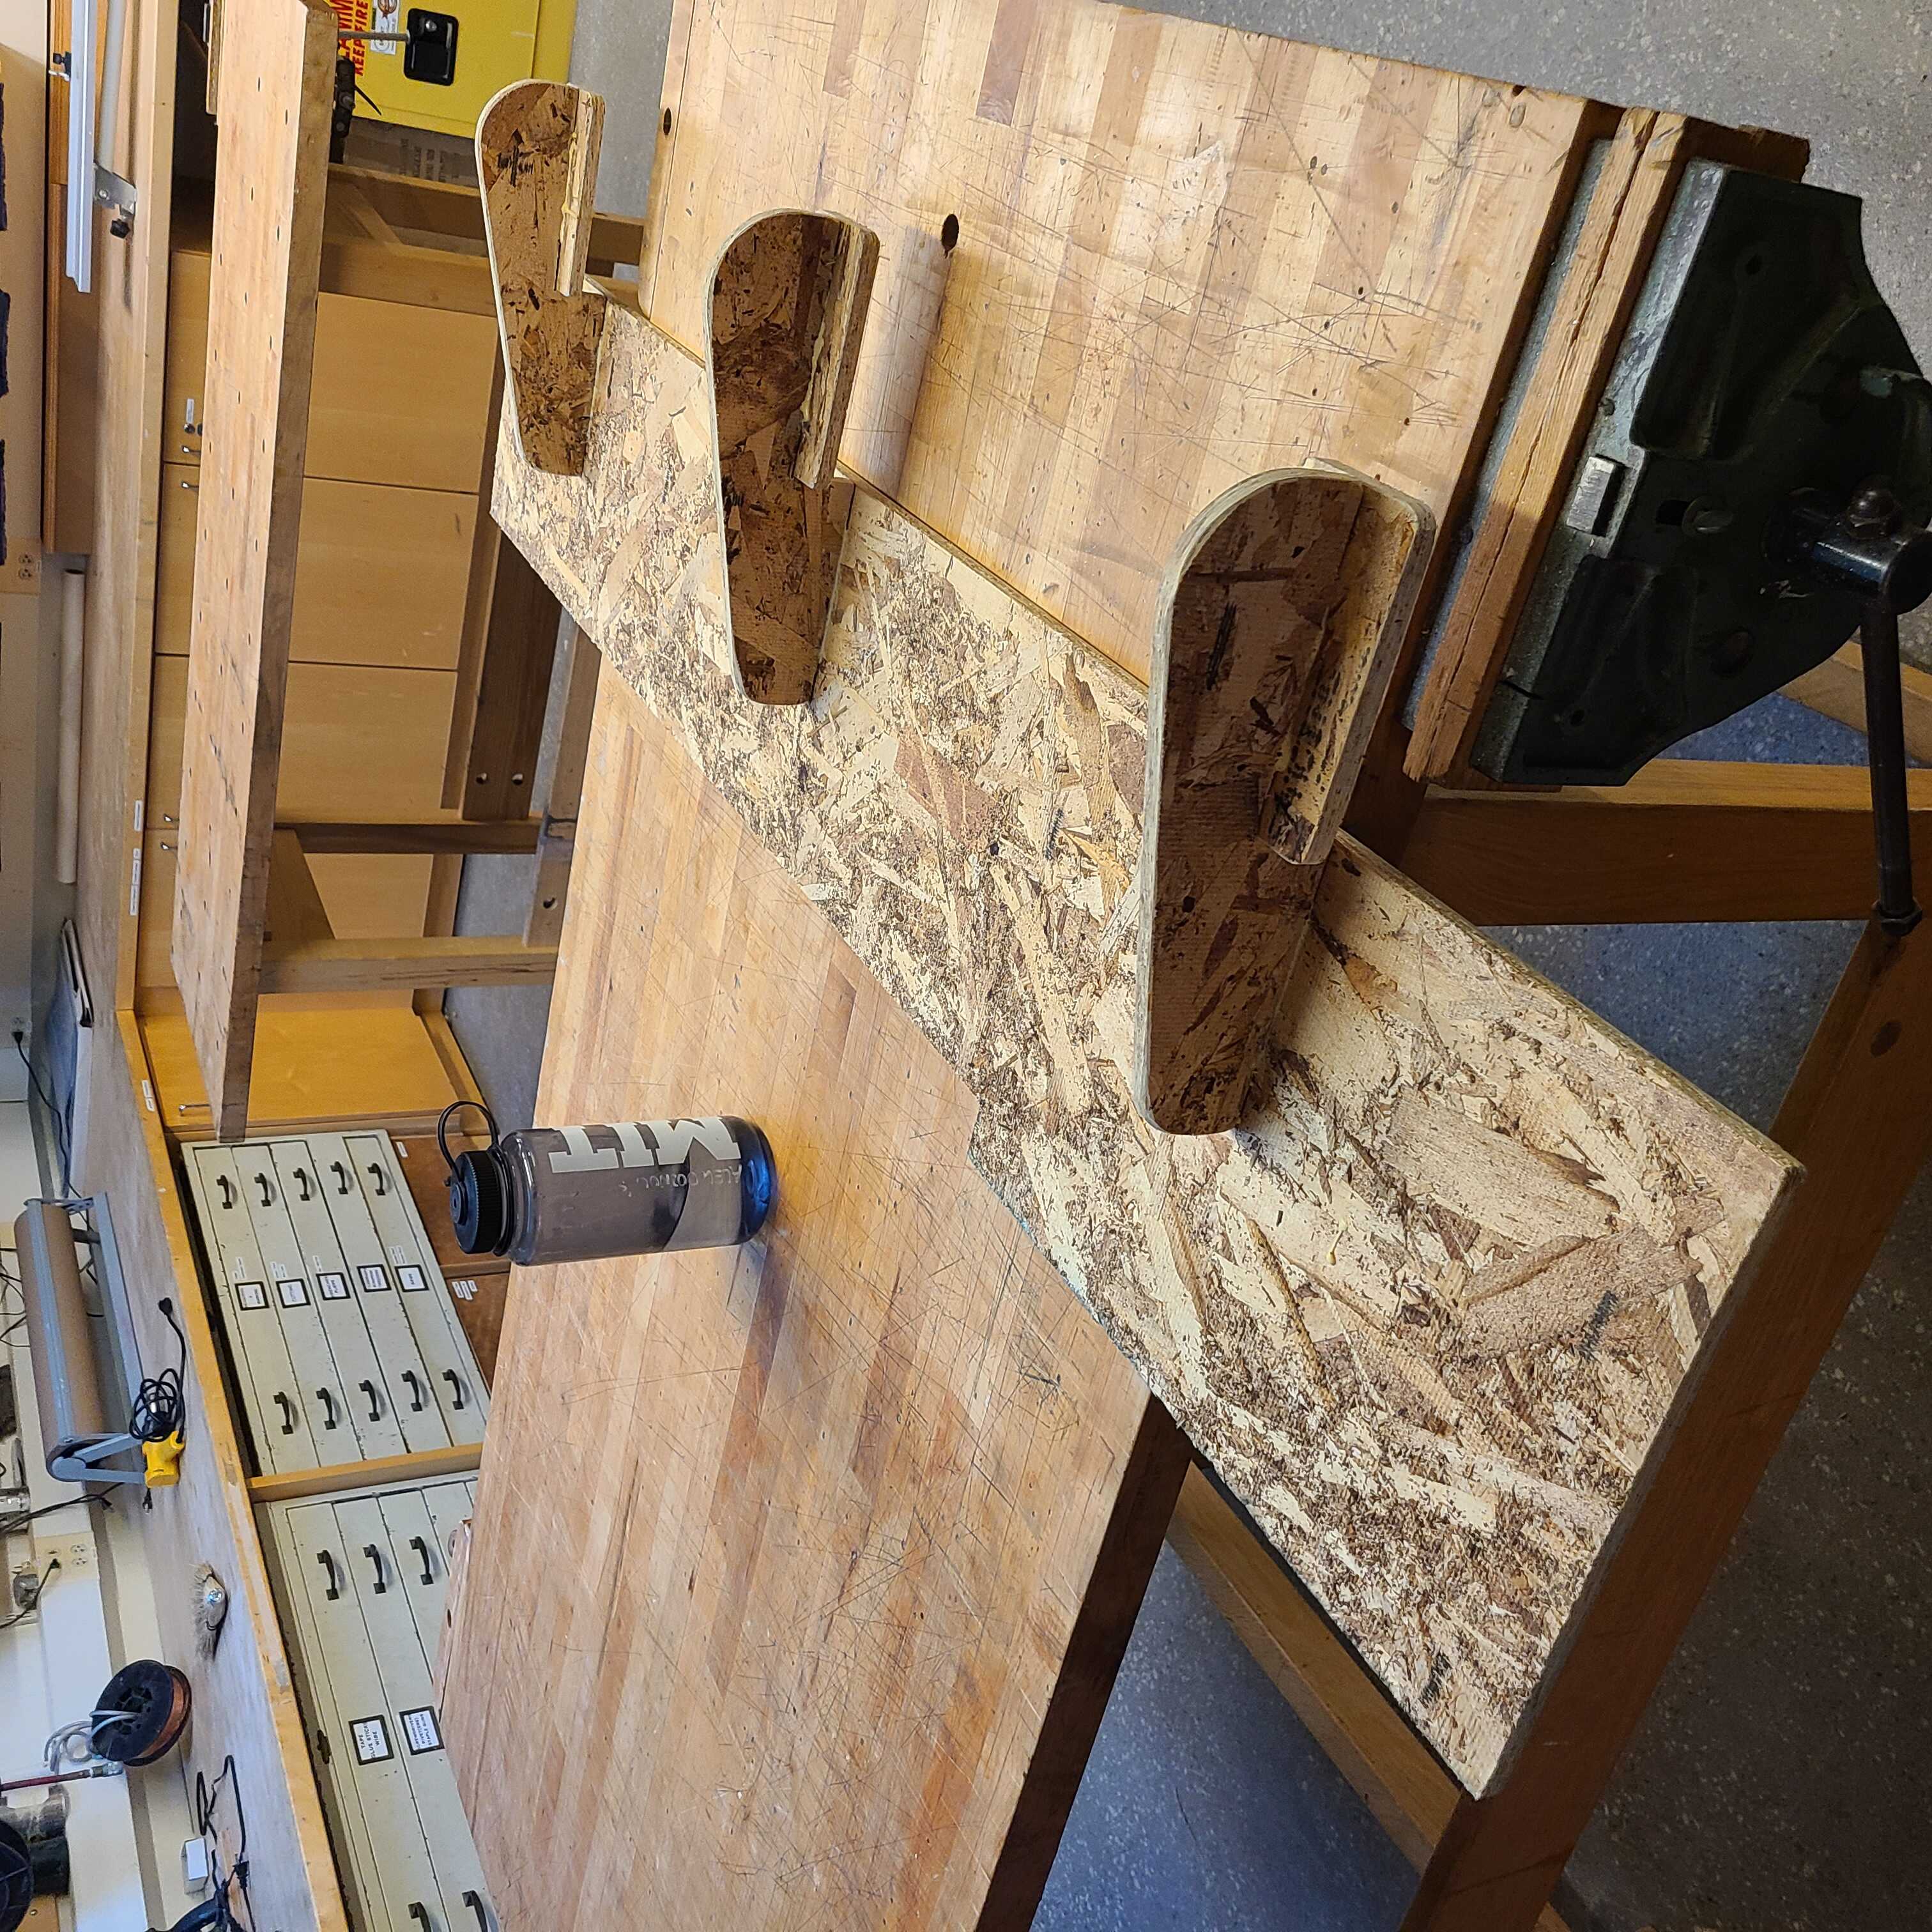
The assembly was simple enough. Glue the edges, stick the pieces together, hammer together, leave and viola, desk extender complete. I only needed to sand the top surface of the OSB to get the nicest possible finish so that I would bleed out after reaching for my water bottle.
And here is the completed product:
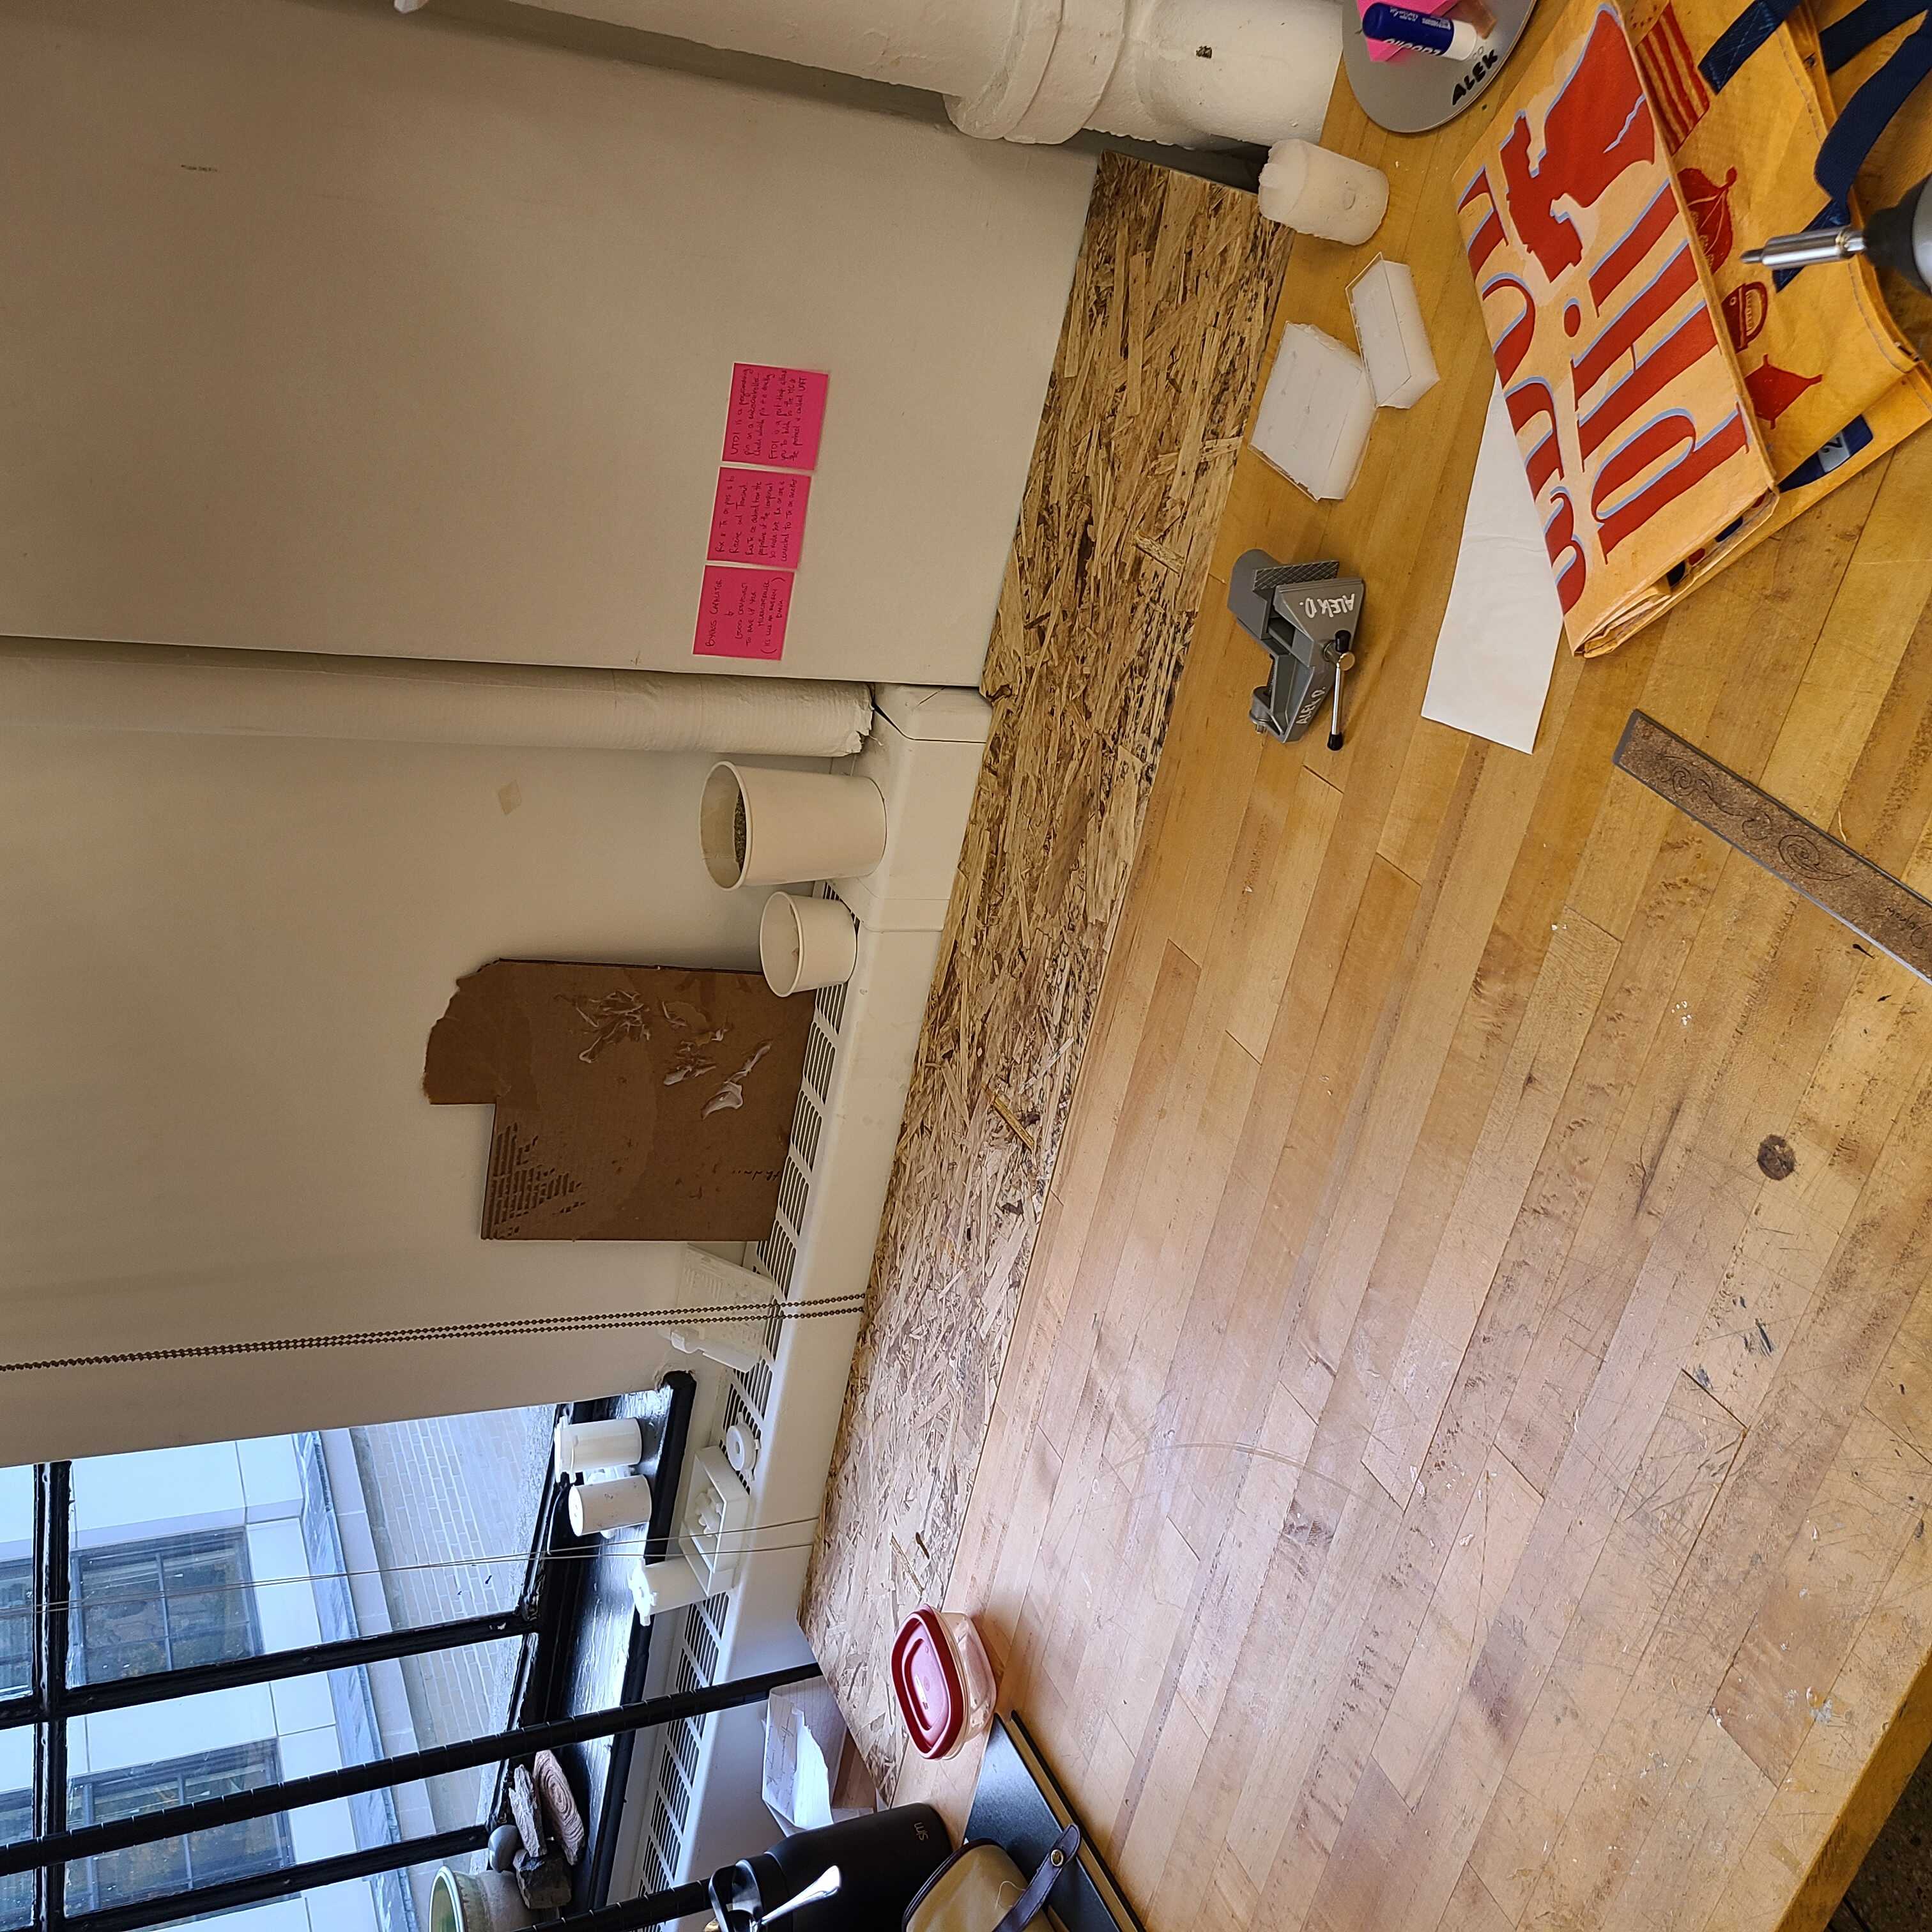
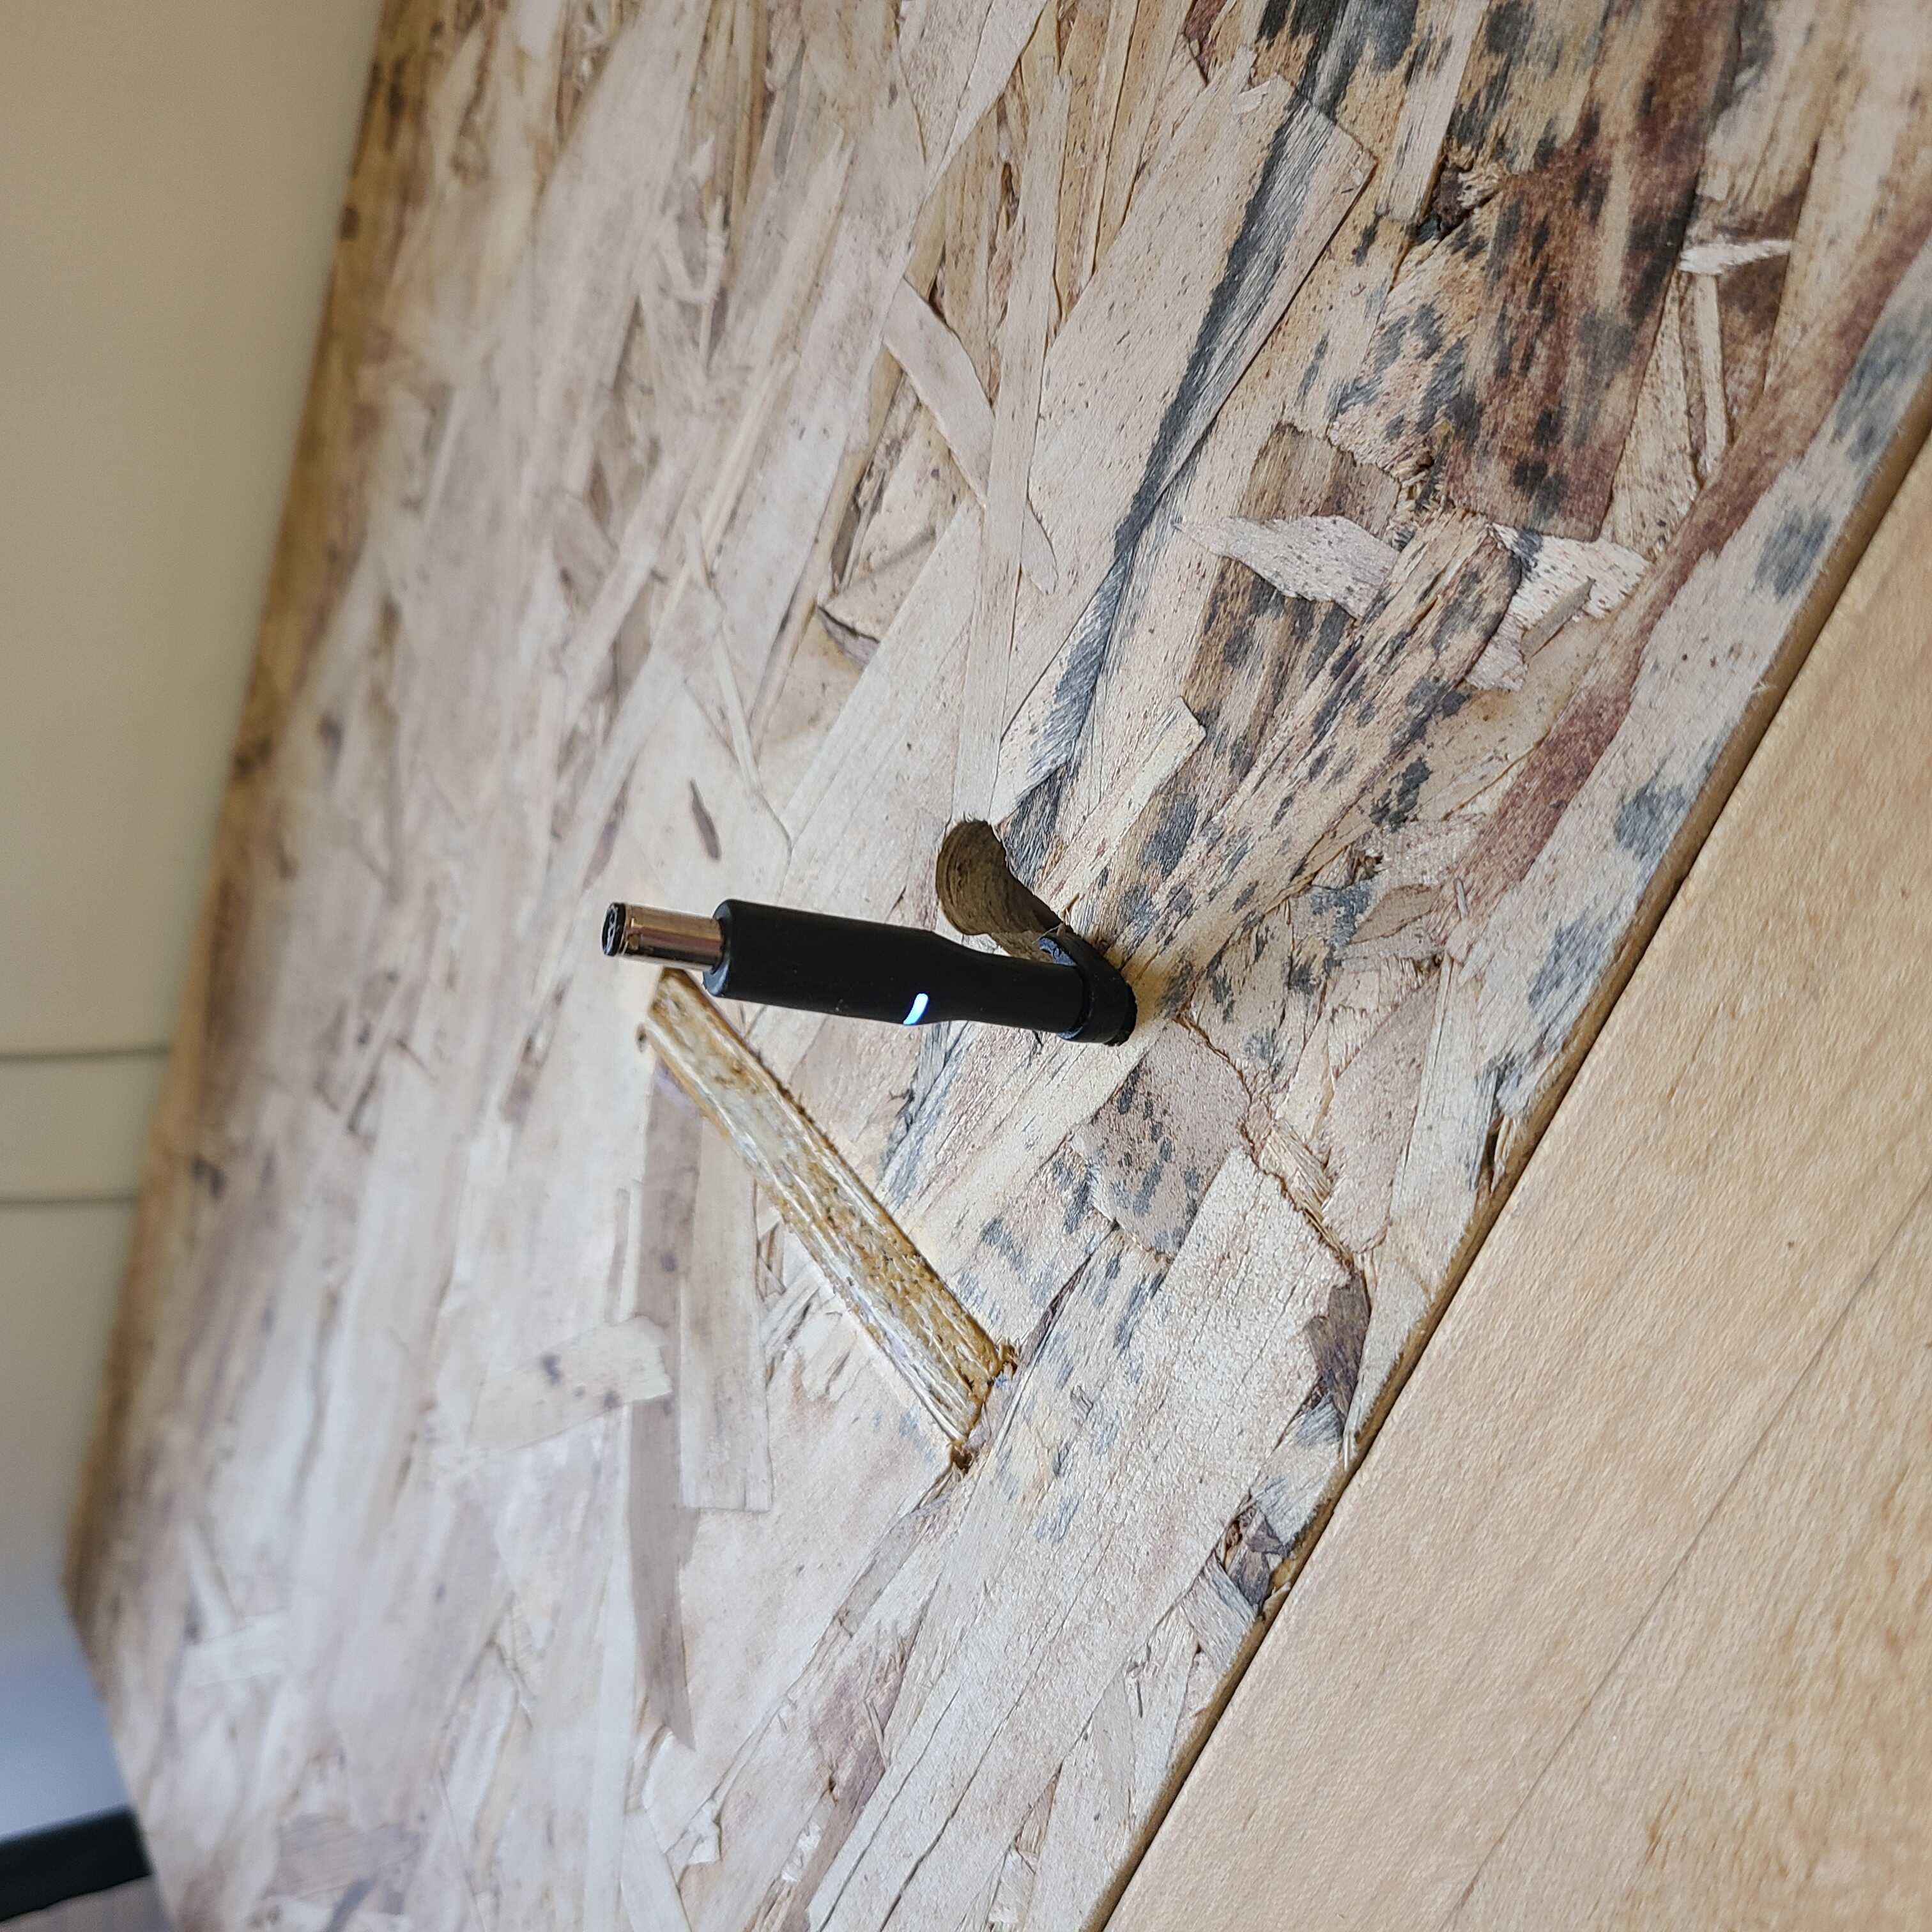
It fits great and I’m looking forward to not dropping any of my belongings anymore. I also made a convenient little hole for my laptop charging cable. Goodnight!