Mengqiao Zhao / How to Make (almost) Anything
Electronics Design / An Anxious Cloud Brooch
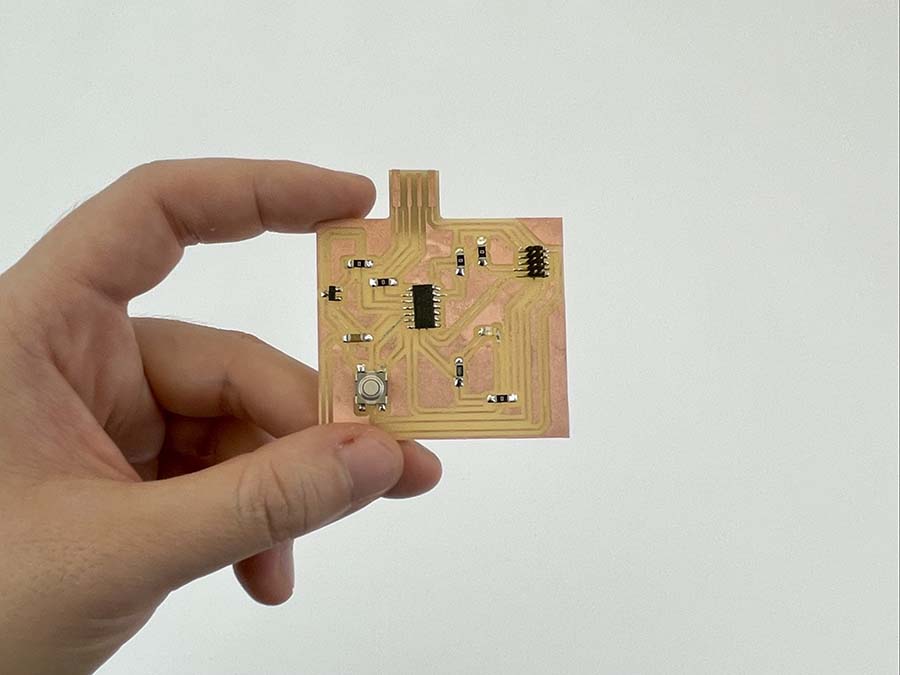
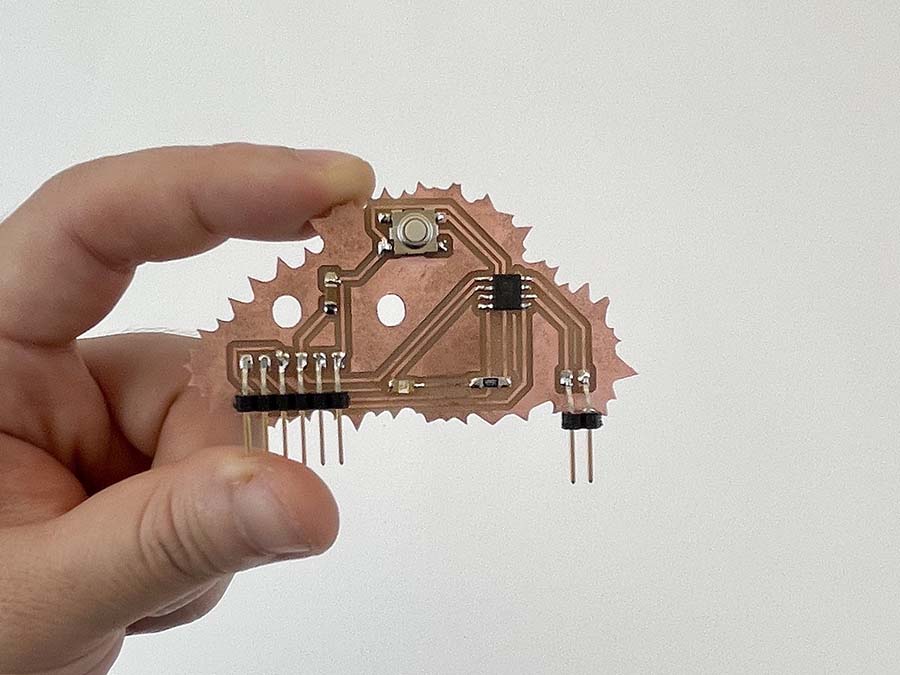
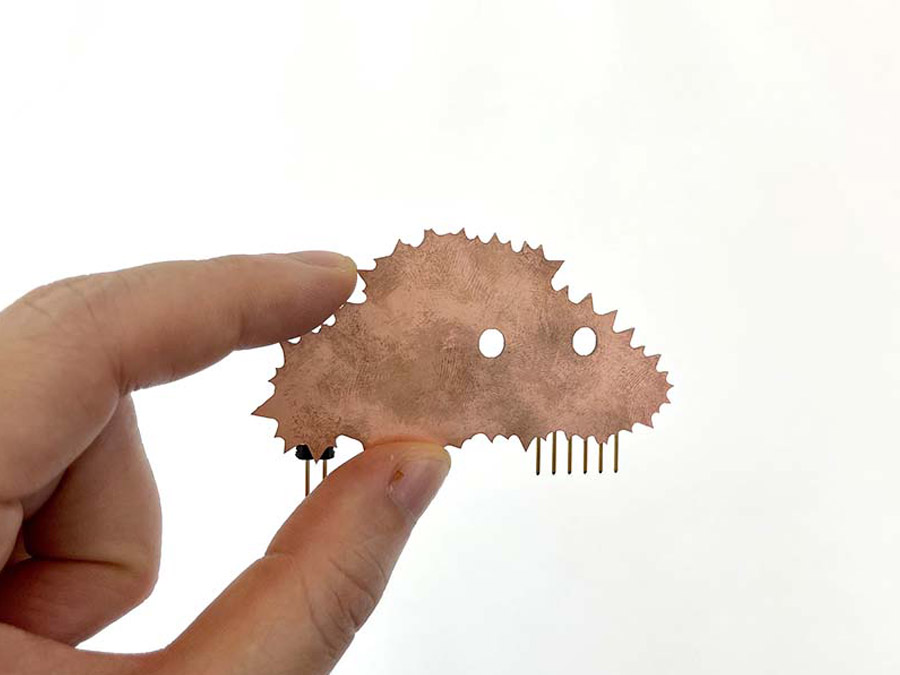
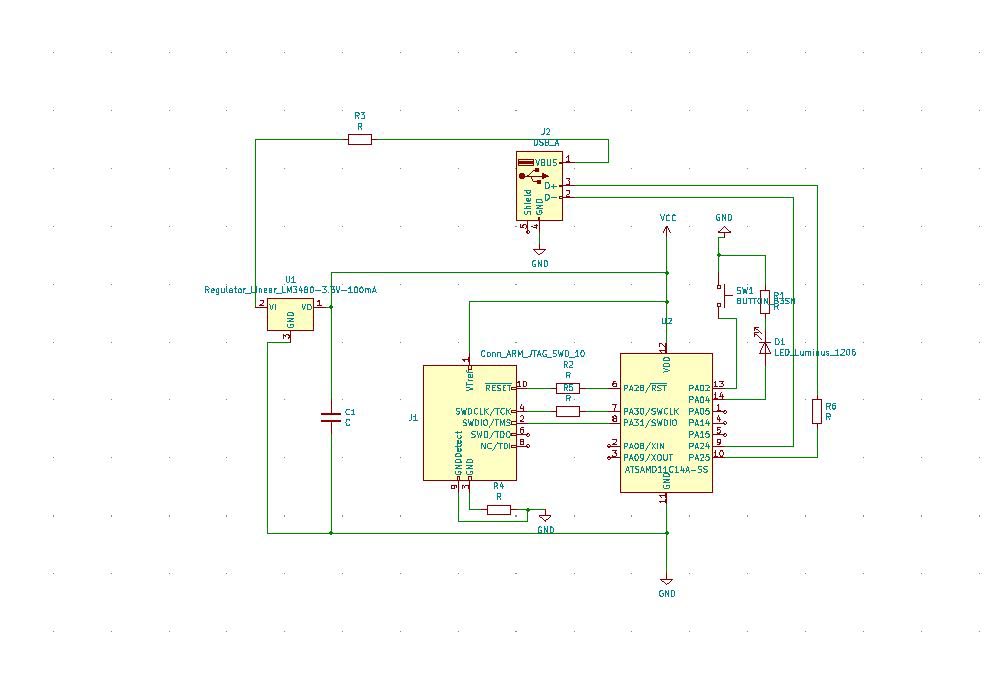
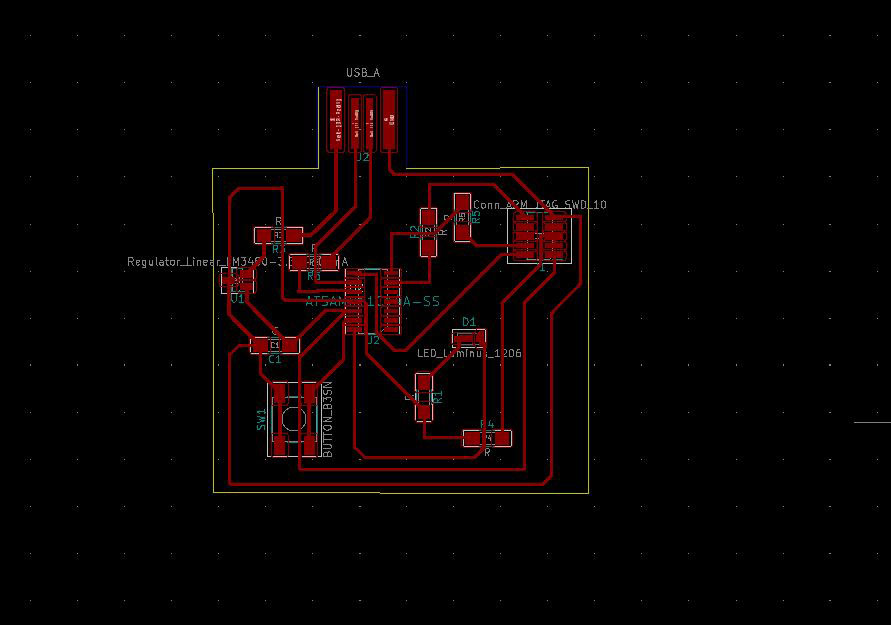
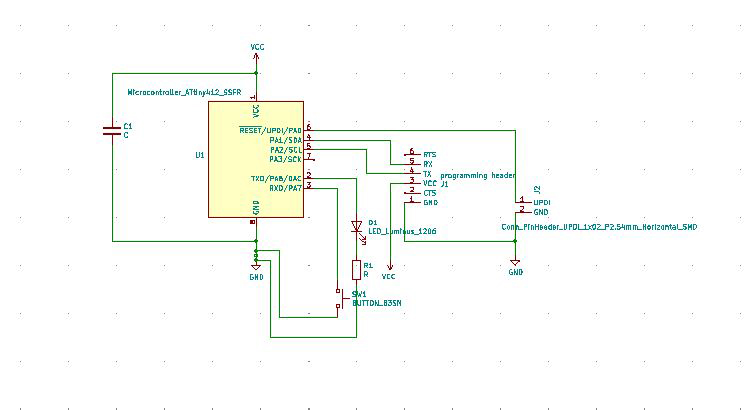
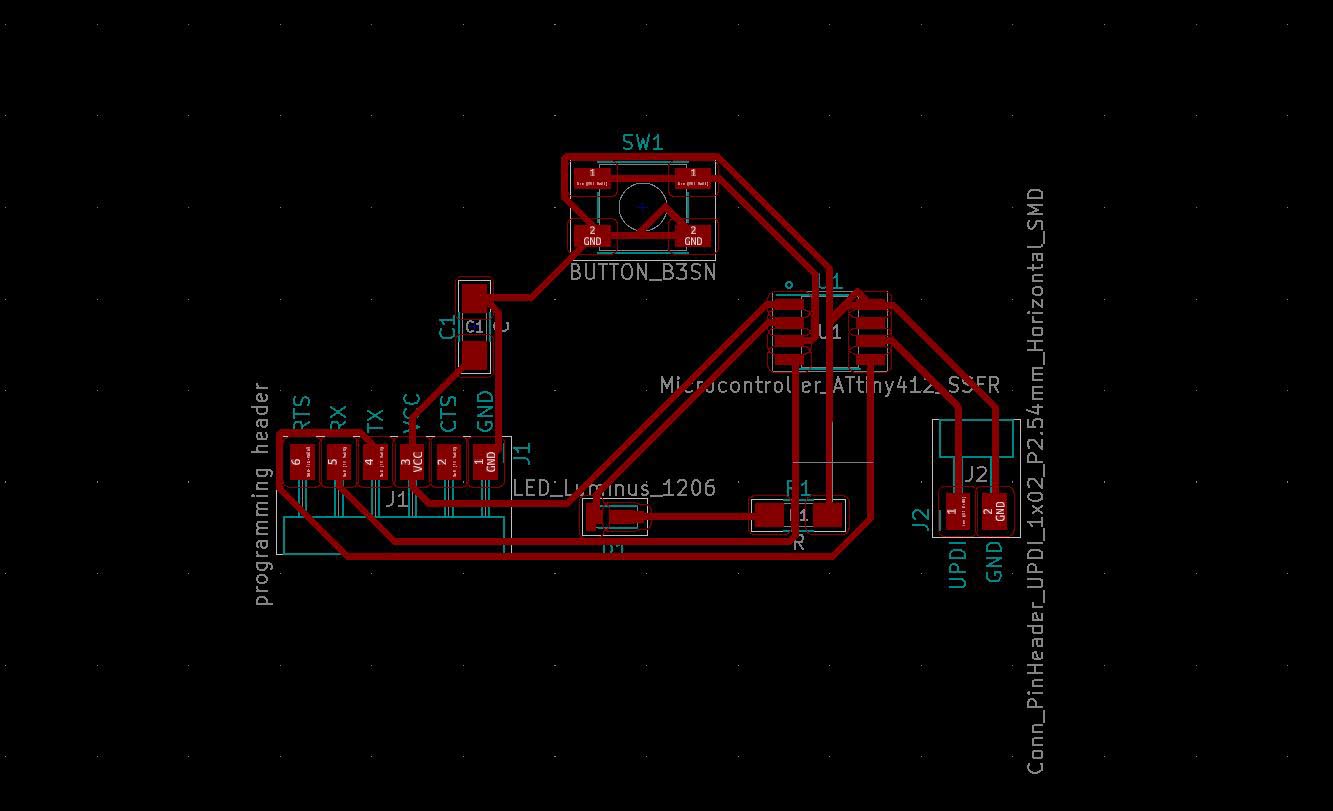
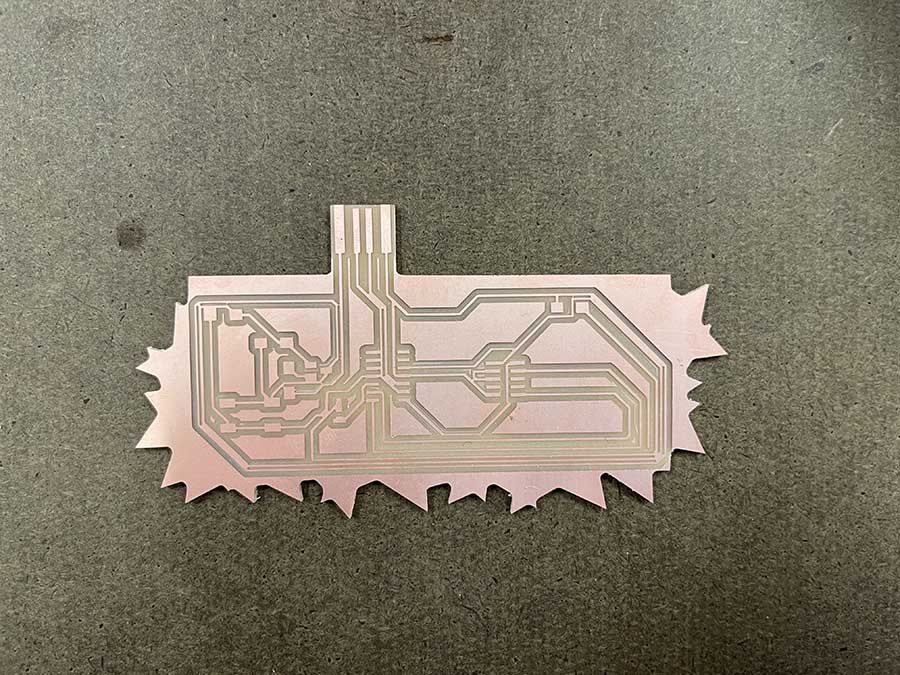
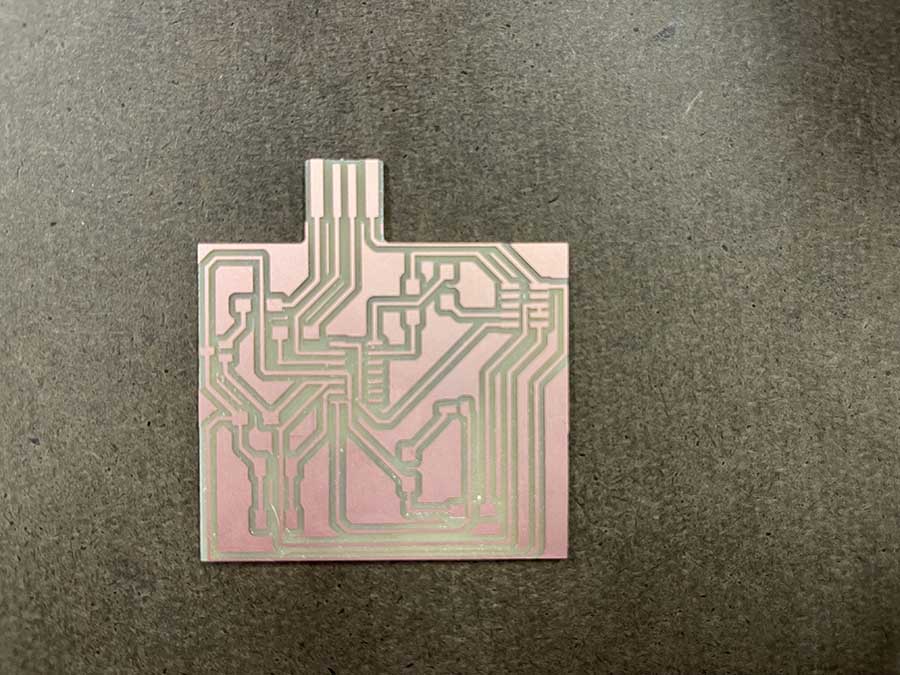
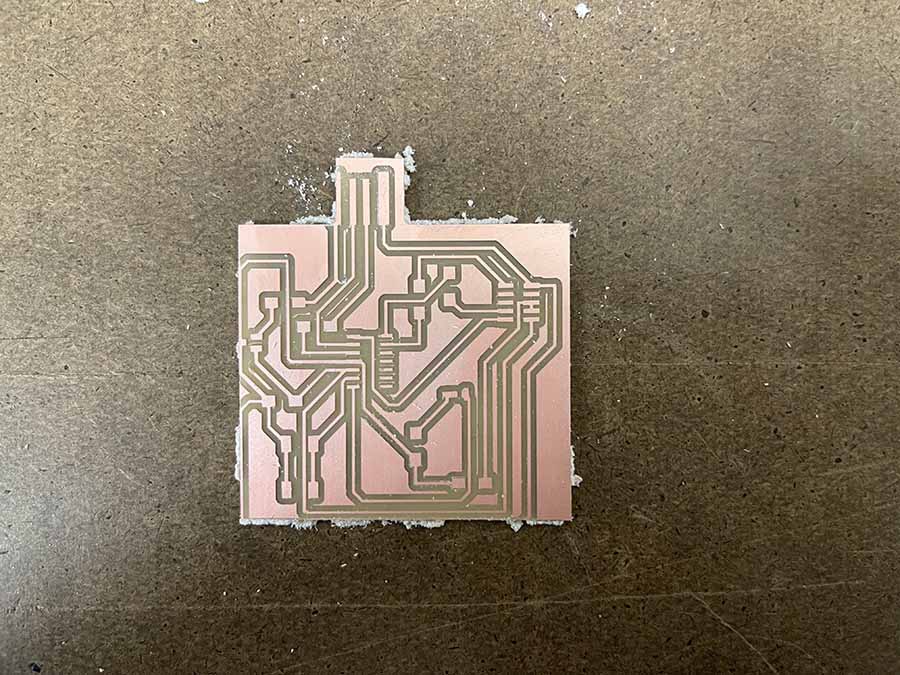
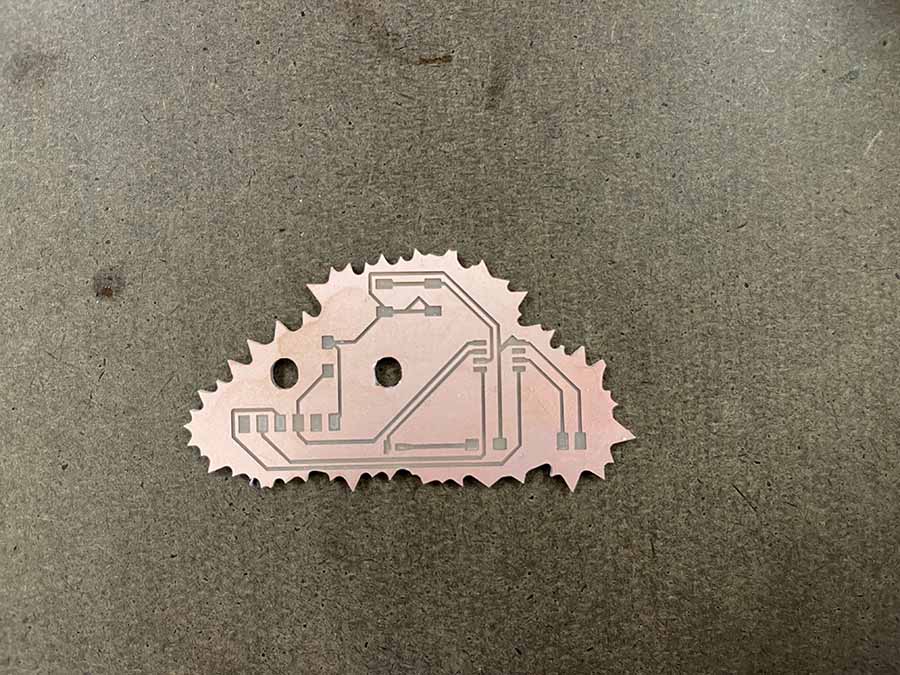
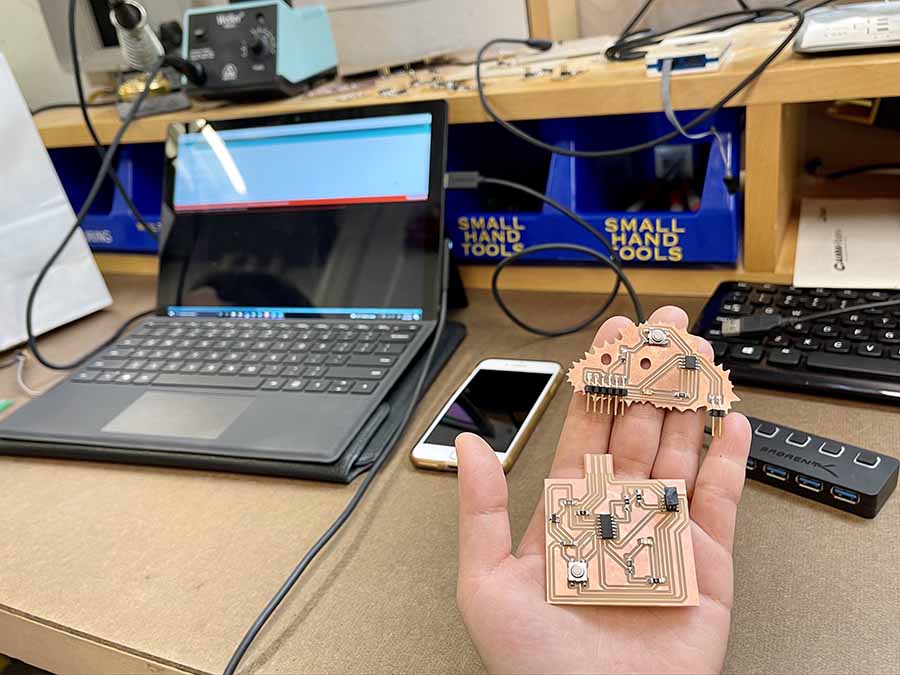
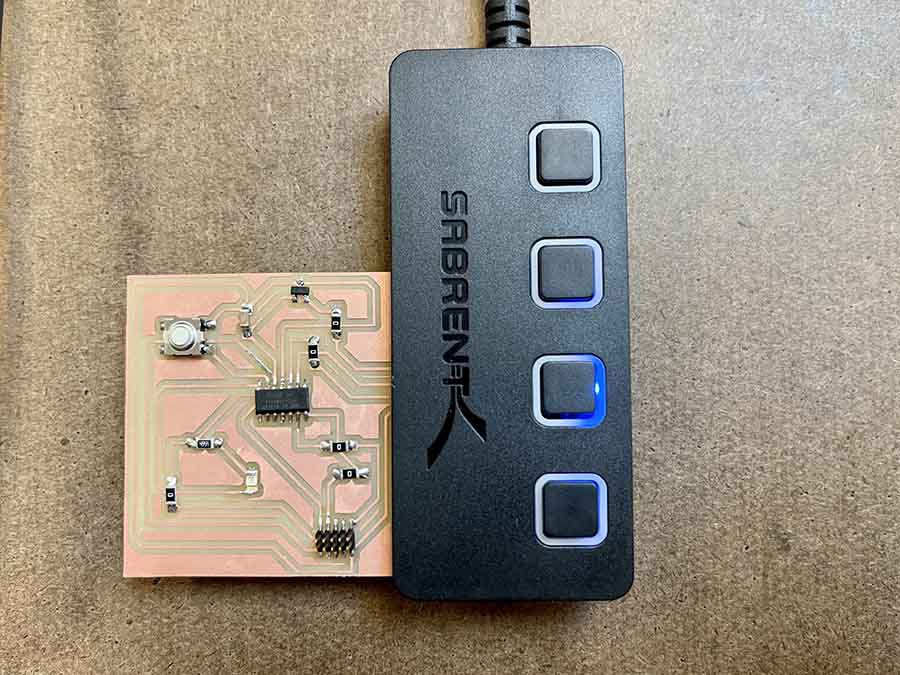
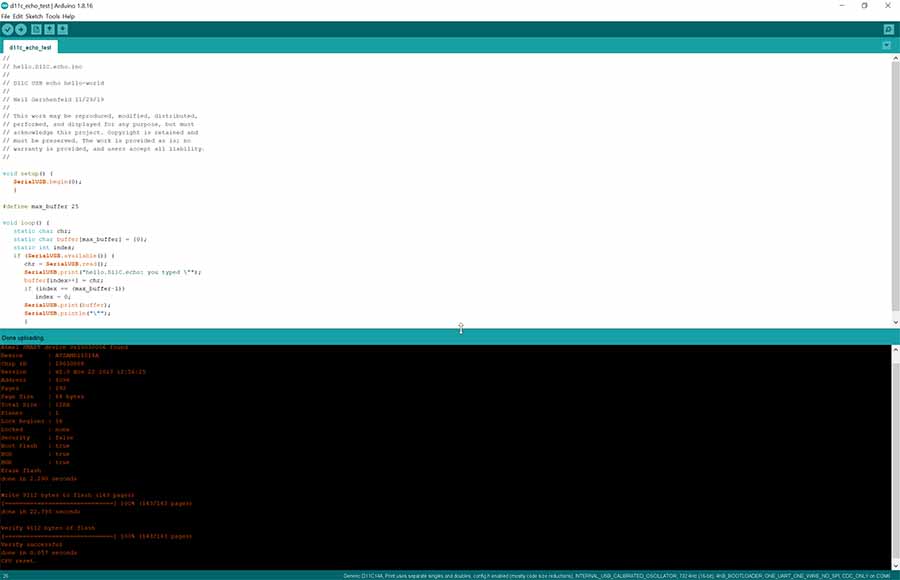
This week, I made two boards, one is based on hello.D11C.echo, and the other one is hello.t412.echo. Each of them has a LED and a button in the circuits. I think the biggest gain this week is learning kicad for pcb design, and it is a very powerful tool. I haven't got a chance to try Eagle, and I hope I can try it in the next few weeks. This is a difficult week, and I found the most time consuming step is the layout design. There are many components in hello.D11C.echo with LED and button, so I didn't put much design in that board, but hello.t412.echo has a simpler circuit and it leaves some space for the design. I drew a fuzzy cloud for the outline, which looks like my mood this week...
How to make it?
1. Use Kicad to design the boards
2. Draw contour lines
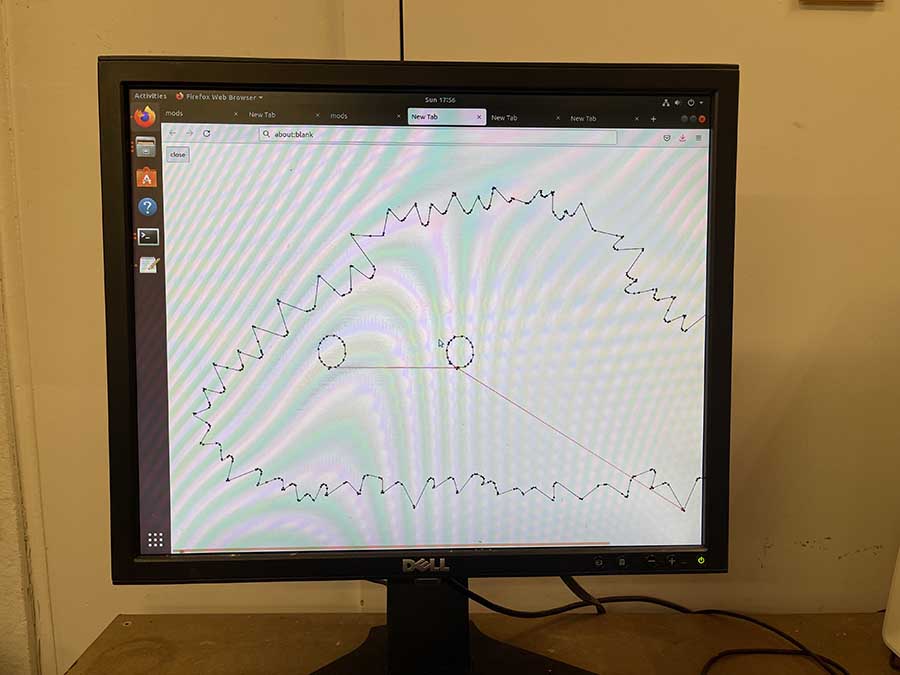
For D11C, I used kicad to draw the contour lines, and for the t412, I used inkscape to draw. I found inkscape is a better tool for the precise drawing of lines.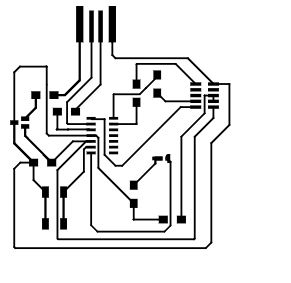


3. Mill it
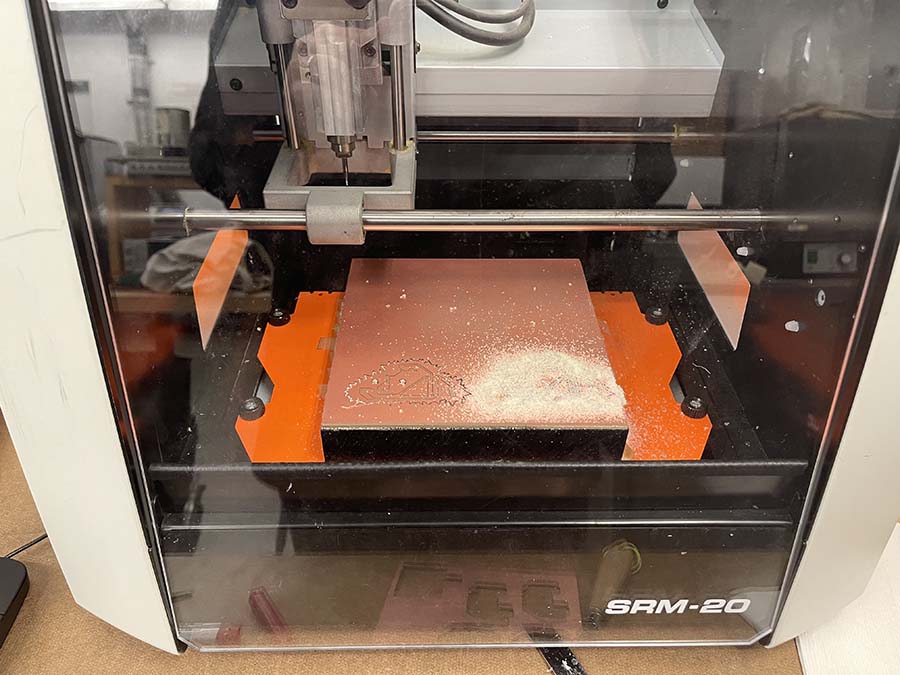
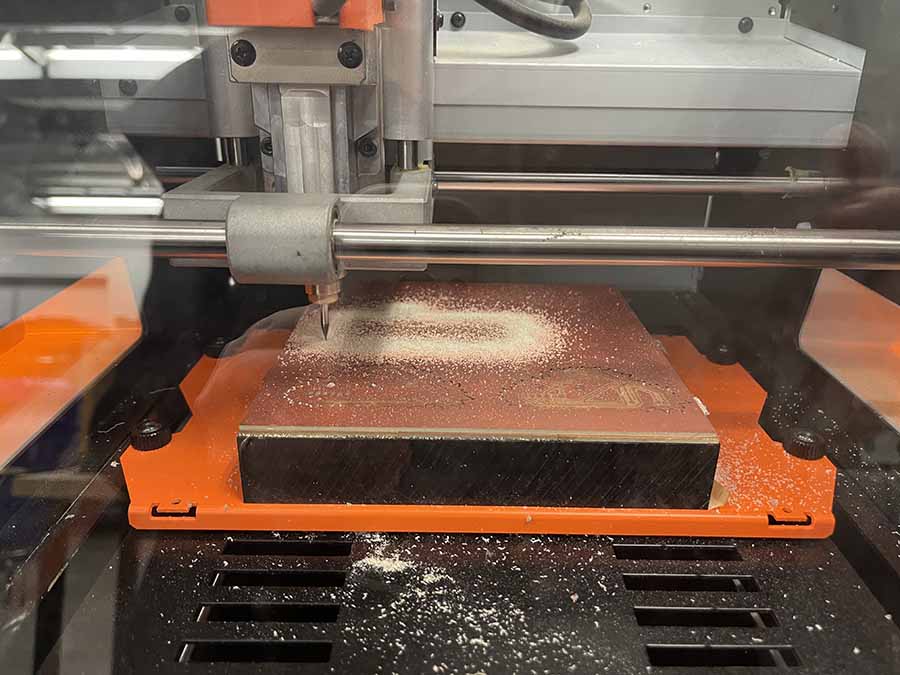 I had many failures during the milling step:
a. The safe thickness of the lines in kicad should be at least 0.4mm. I tried 0.3mm, and the milling result shows some of the lines and corners are combined together.
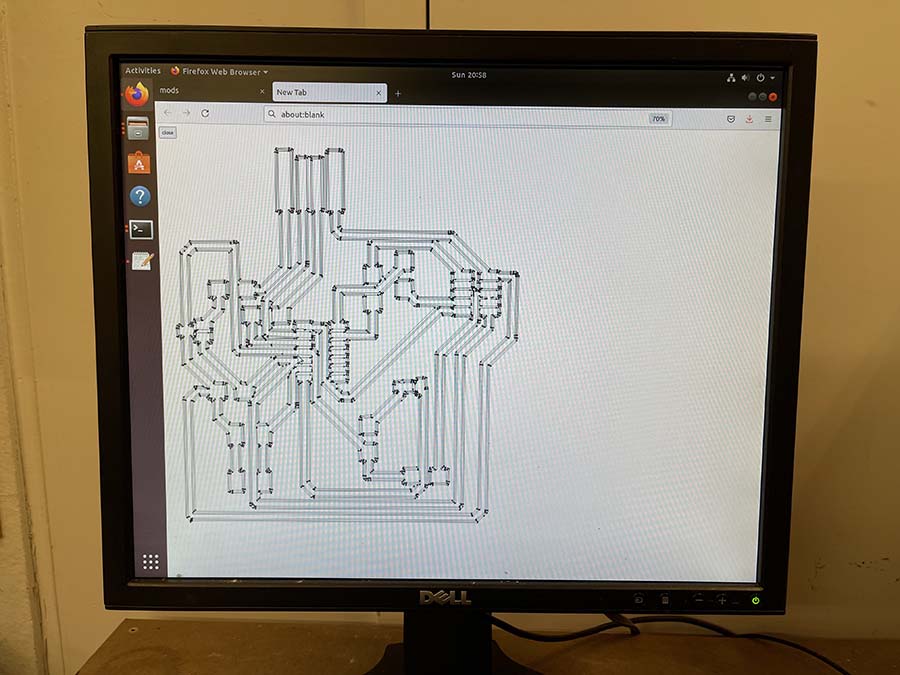
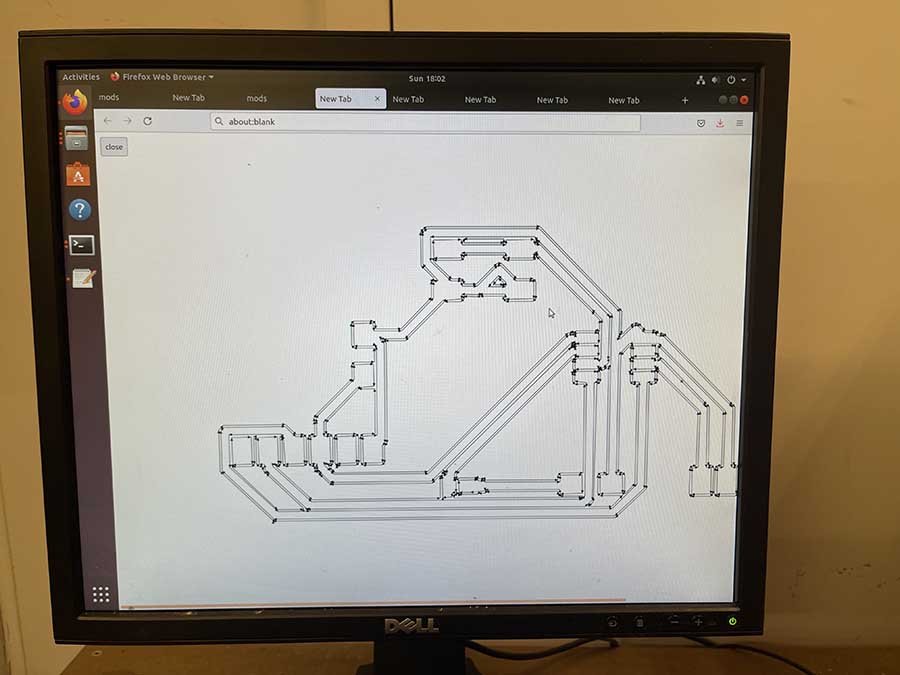
b. Don't move the drawing layers in inkscape. When I export svg from inkscape, I may accidently move the drawing layers, so drawings are not aligned. When I cut the board, the cutting paths are messed up.
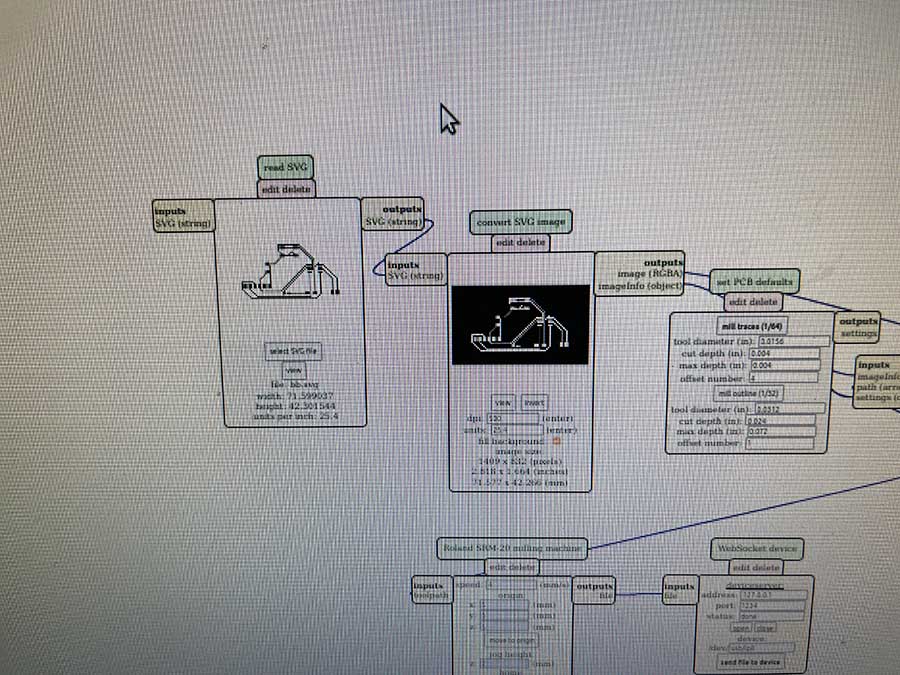
c. Don't forget to invert the image in mod.
I had many failures during the milling step:
a. The safe thickness of the lines in kicad should be at least 0.4mm. I tried 0.3mm, and the milling result shows some of the lines and corners are combined together.
b. Don't move the drawing layers in inkscape. When I export svg from inkscape, I may accidently move the drawing layers, so drawings are not aligned. When I cut the board, the cutting paths are messed up.
c. Don't forget to invert the image in mod.
Tests
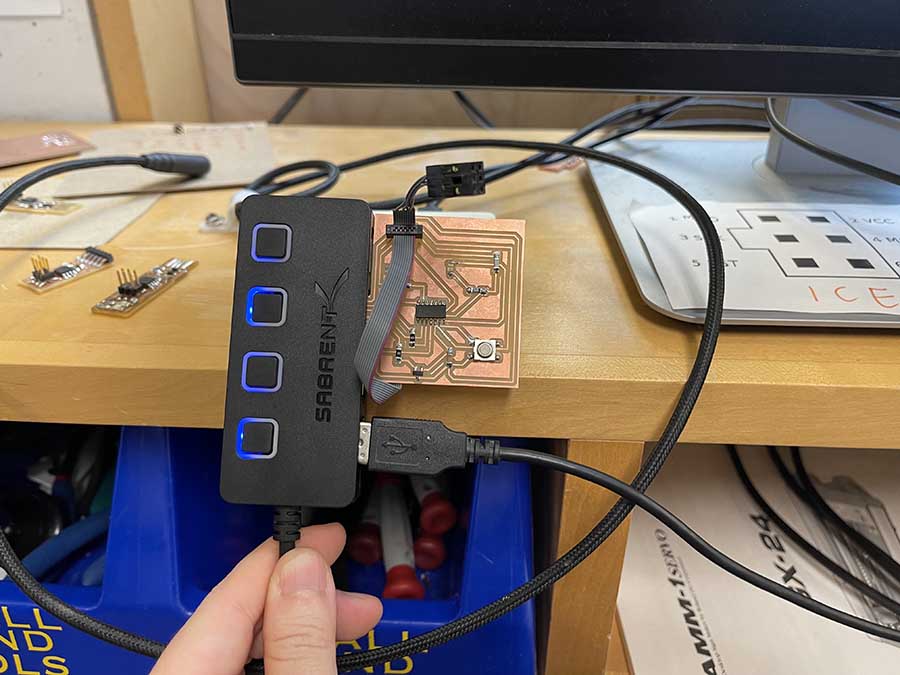
I tested my D11C board, and it works well. My board answered me, and the light was on.

I also tested the boards I made for week 3 Assignment.
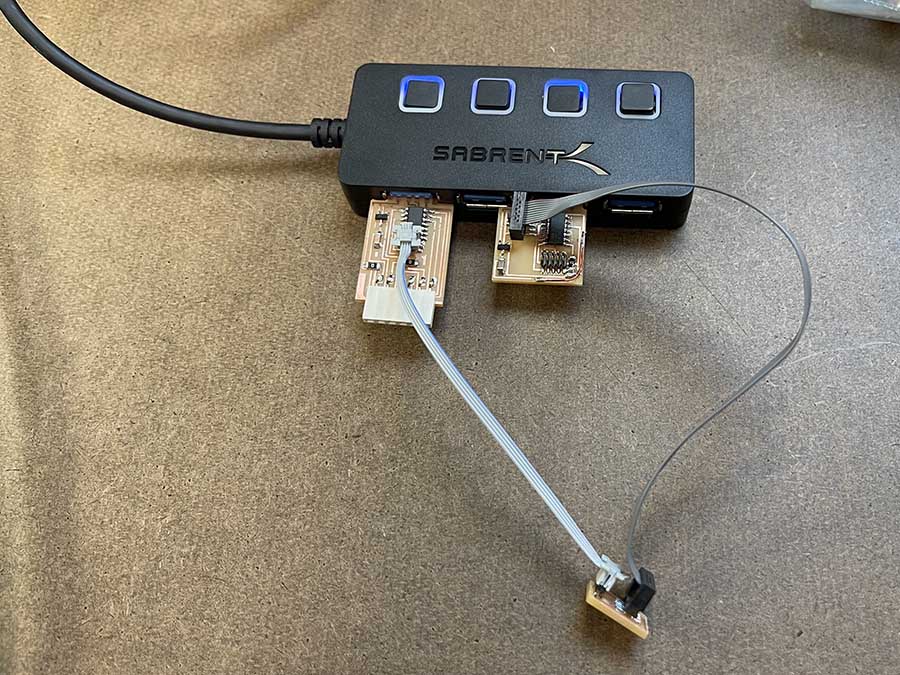

However, I didn't get a chance to test the t412 board because it needs other two boards to connect with the computer. I will try to test it next week.

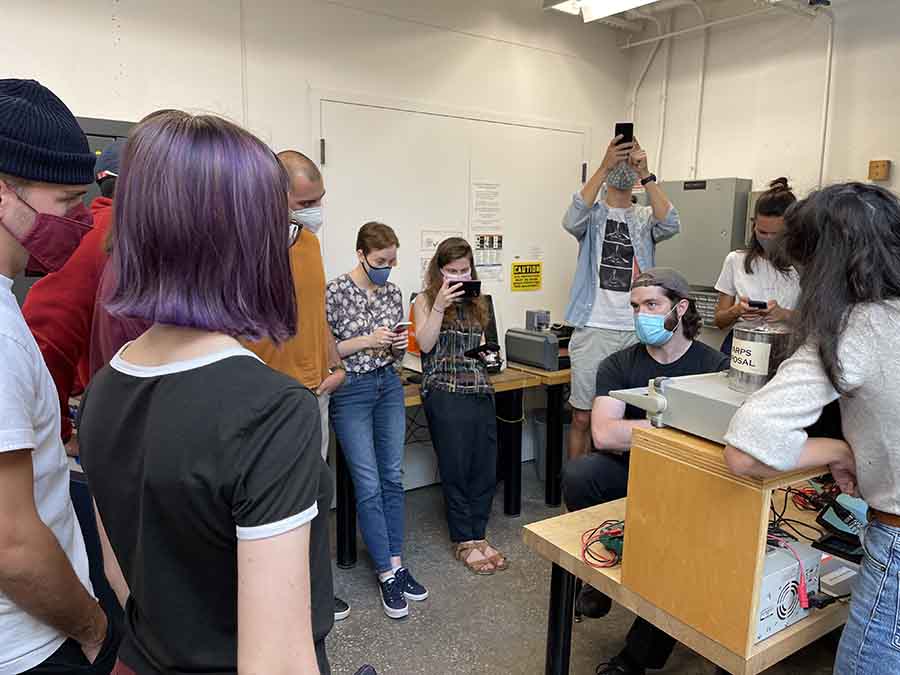
Group Project
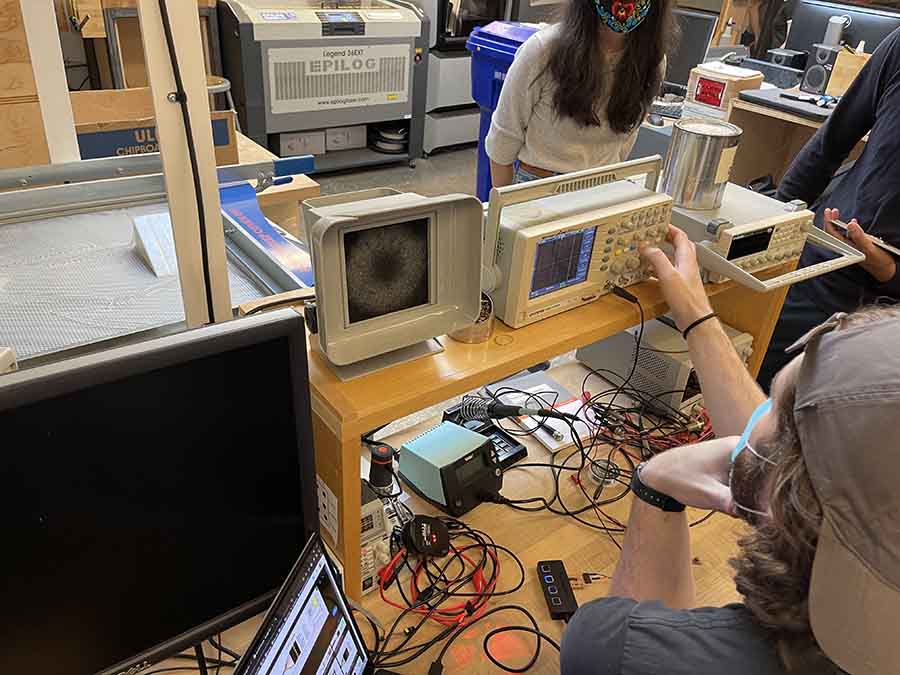 hw 5
hw 5