Week 3
3D Scanning and Printing
Materials: Fusion 360 | Slic3r | Sindoh FDM Printer | White PLA
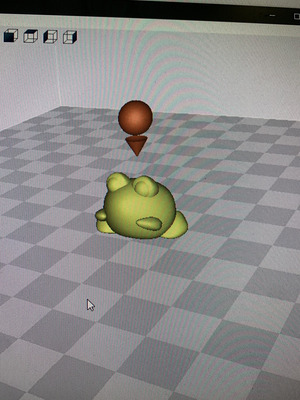
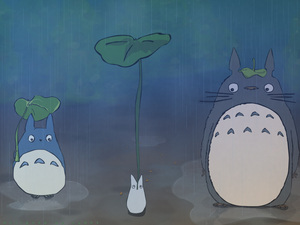
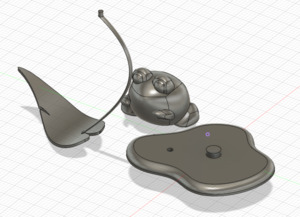
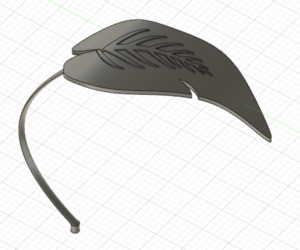
Design: My design file was inspired by a famous scene in the Studio Ghibli movie Totoro. My reference image was this frog holding a leaf, but I adapted it to a more cartoon-esque
style by making the frog chubby and round.

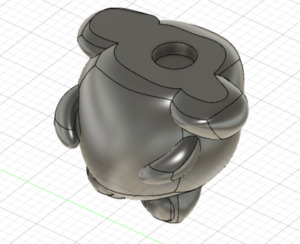
3D Modelling: Using fusion to make the .stl file, my biggest challenge was working with curves. I spent several hours on the leaf, but learned a simple new technique. Its very difficult to alter the curved of an extrude to make it 3D, so instead
of extruding from sketch, I created a surface curved in 3D space and selected 'extrude to object'. My last mid-model design was altering the figure so that the frog could be a standalone peice.
I accomplished this by hollowing out the frog pin.
3D Printing: this process was unnecessarily difficult for me as I had never 3D printed before. With so much information on the fab and archshop site, I didn't know where to begin or which machines were available to me.
It wasn't intuitive to find 3D printers in an office, so I tried to use the Projet 660 (not knowing it was overkill). I was confused on file types, if I should use meshes, and how to send the files to the printer.
Decided I was too sleep deprived to work, I headed home with the intention of going to office hours the next day.
My classmate explained to me how to 3D print in less than 10 minutes. Looking back on it, I shouldv'e started with browing past documentation. To save some future inexperienced student from the confusion I felt, here is 3D printing in easy, simplified steps.
3D Printing Tutorial
1) Export your 3D file as an stl. In fusion, this is file -> 3D print -> milimeters, medium -> save
2) Download .stl file onto flash drive
3) Walk to 4-312 (that's where the 3D printers are)
4) Plug drive into computer at the back of the room. Open the app "3D PRINT" and upload your file.
5) Slice your file by clicking on the 2 cylindrical buttons on the righthand side of your screen
6) File -> export as gcode
7) Eject your flash drive and insert it into one of the nearby empty Sindoh printers
8) Select "print" and watch the first layer to ensure the part is adhered to the bed and there isn't any rogue filament coming out of the nozzle.
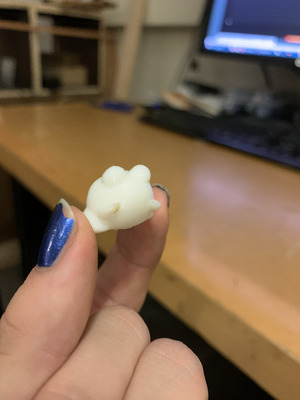
Finished Product!