Week 9
Output Devices
This week, I continued to work on the color sensor from input devices week, by exploring how to transfer the information of the colors detected to an LED strip. unfortunately, after asking a few TA's, I realized that D11C microcontroller is not valid to work with addressable LED strip library, as I planned to work with. After discussions with Anthony, it was feasible to connect a few RGB LED together, and build my own strip by connecting each section to muliple wire system. I decided to go for it, and to discover how I can connect my prior knowledge in conductive embroidery to the LED output. Long way to go, as i didnt know the challenges I am going to face. xD
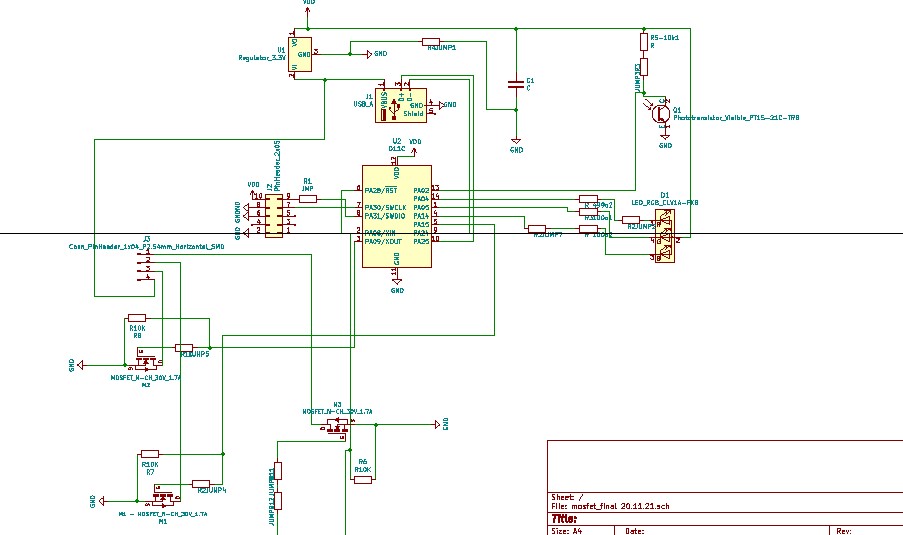
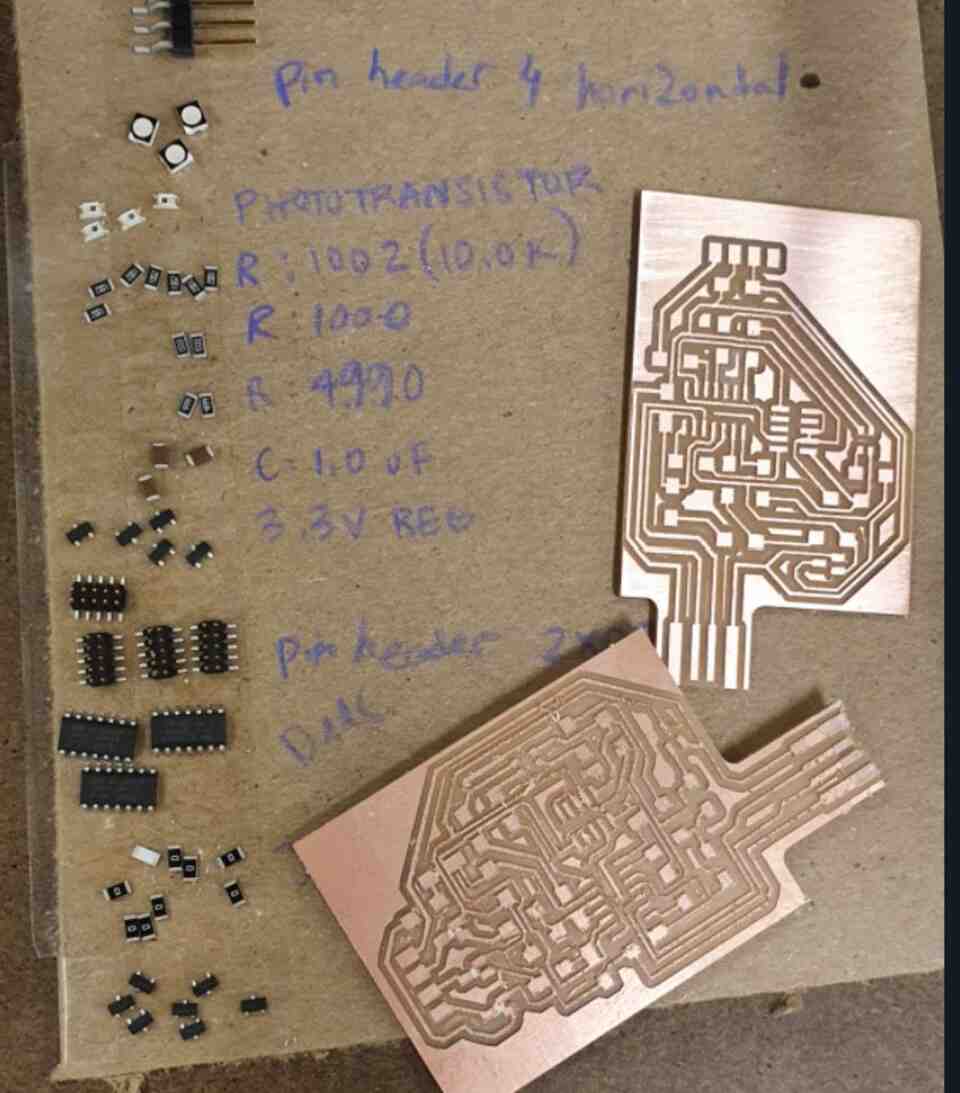
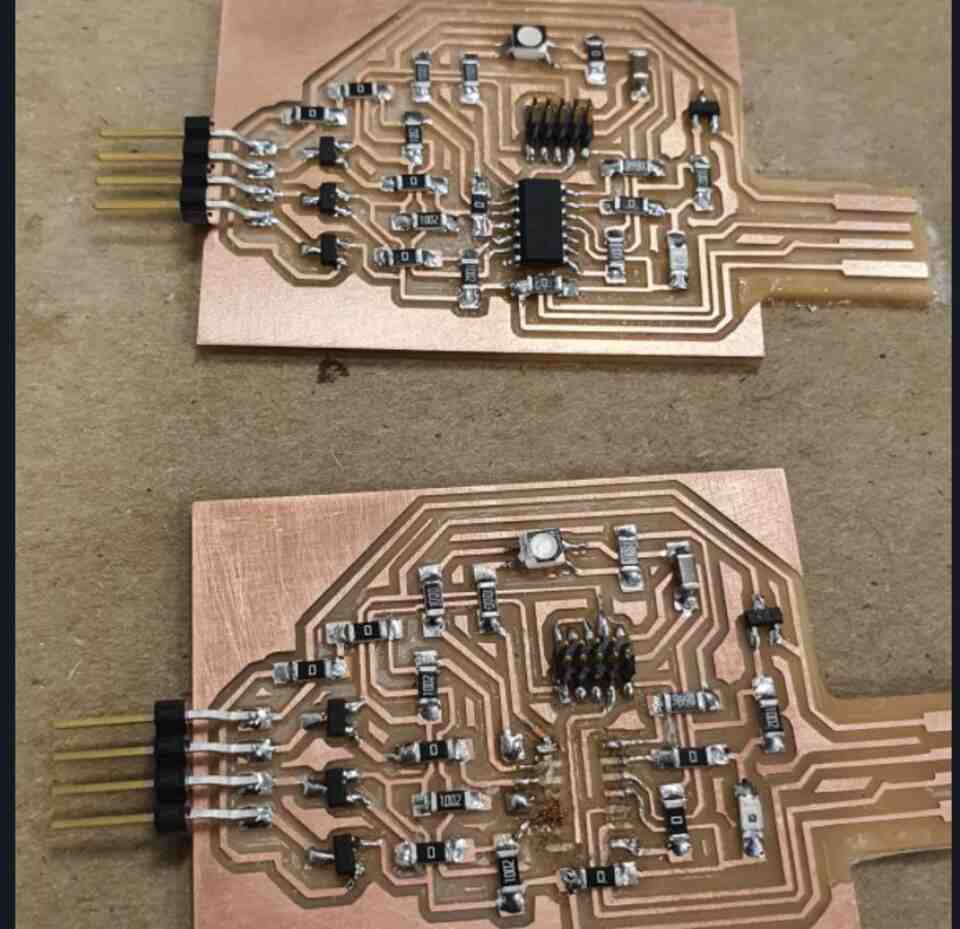
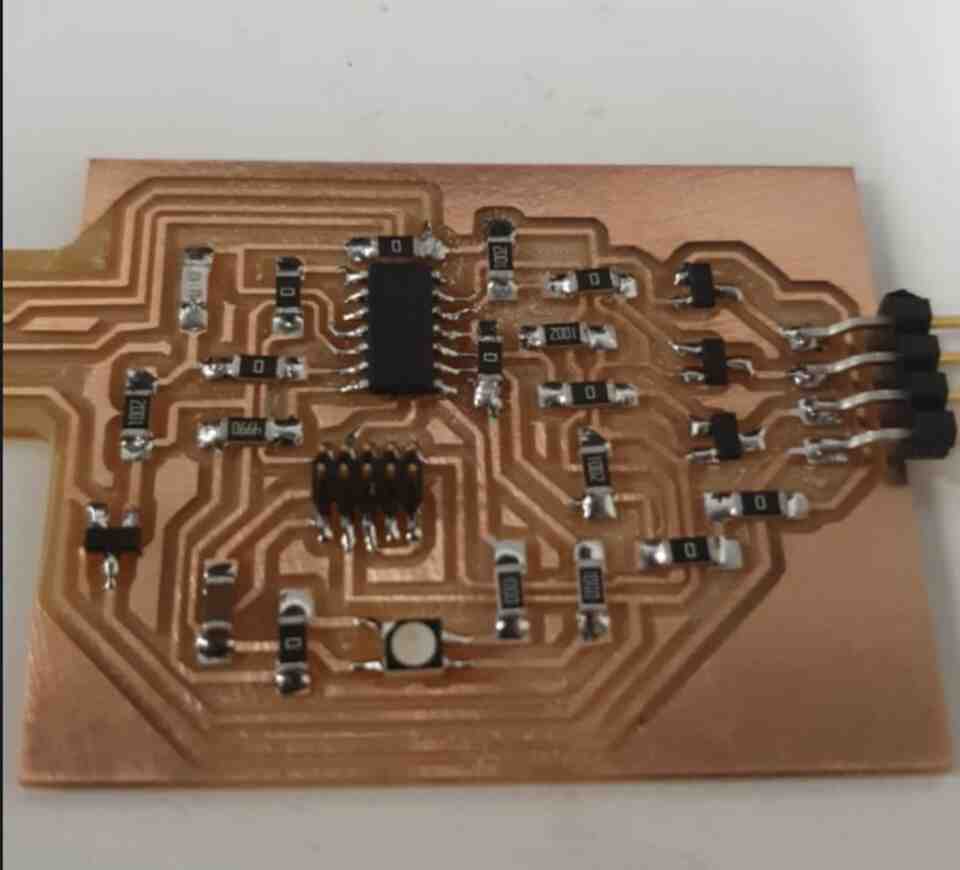
The first part was to add to the schematics to add the output for the R, G , B and Power system, and also, adviced by Anthony to add 3 Mosfets to the board design.
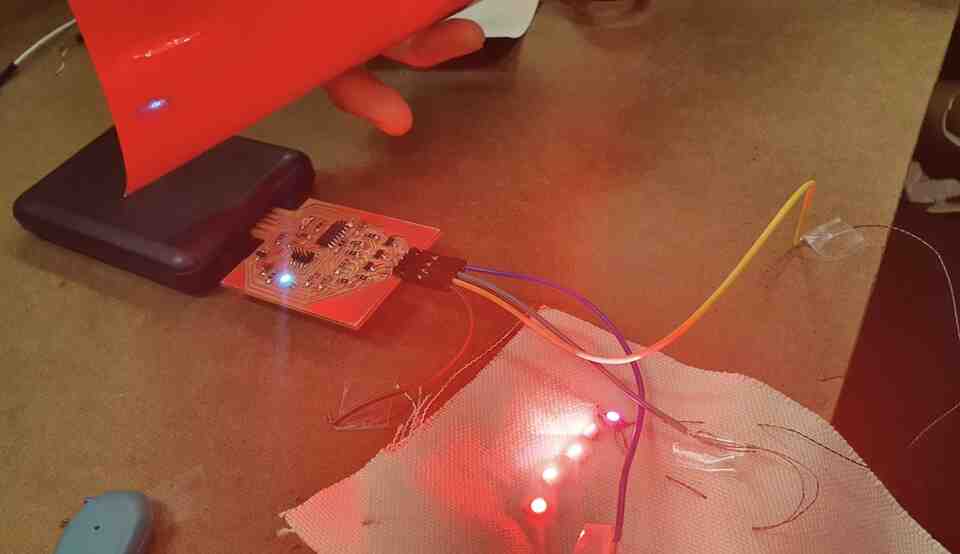
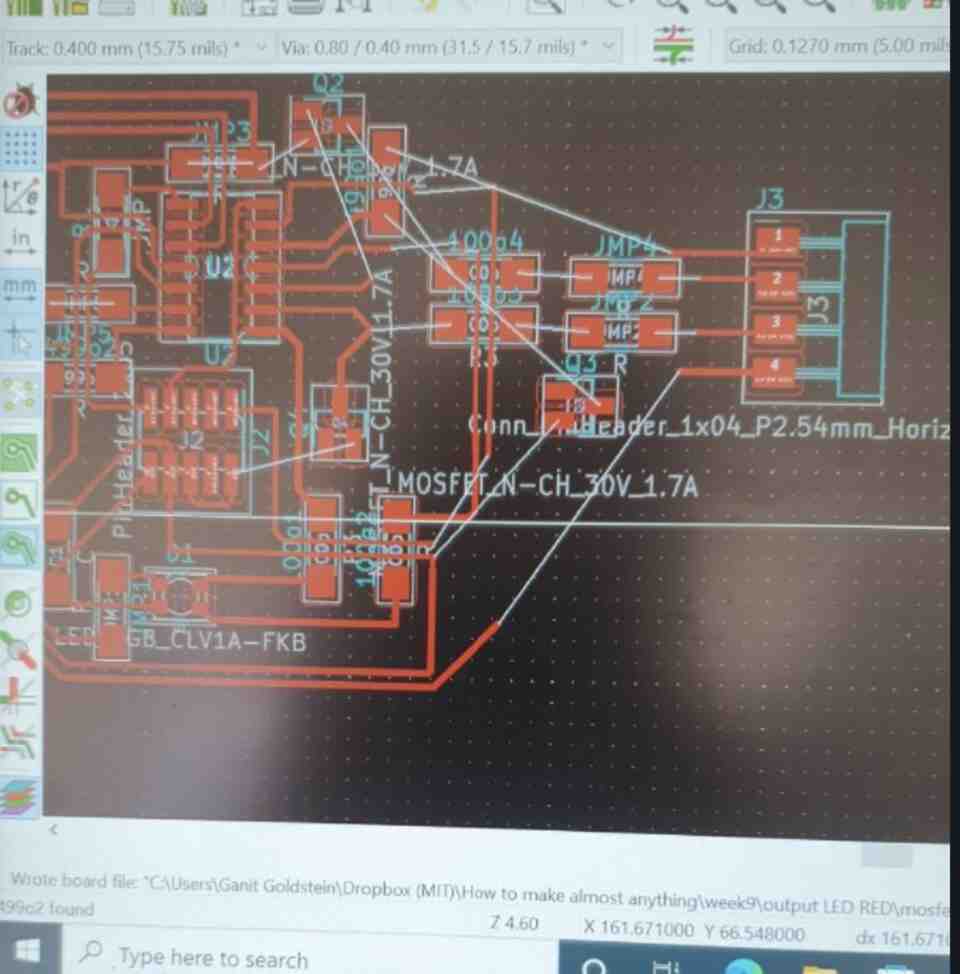
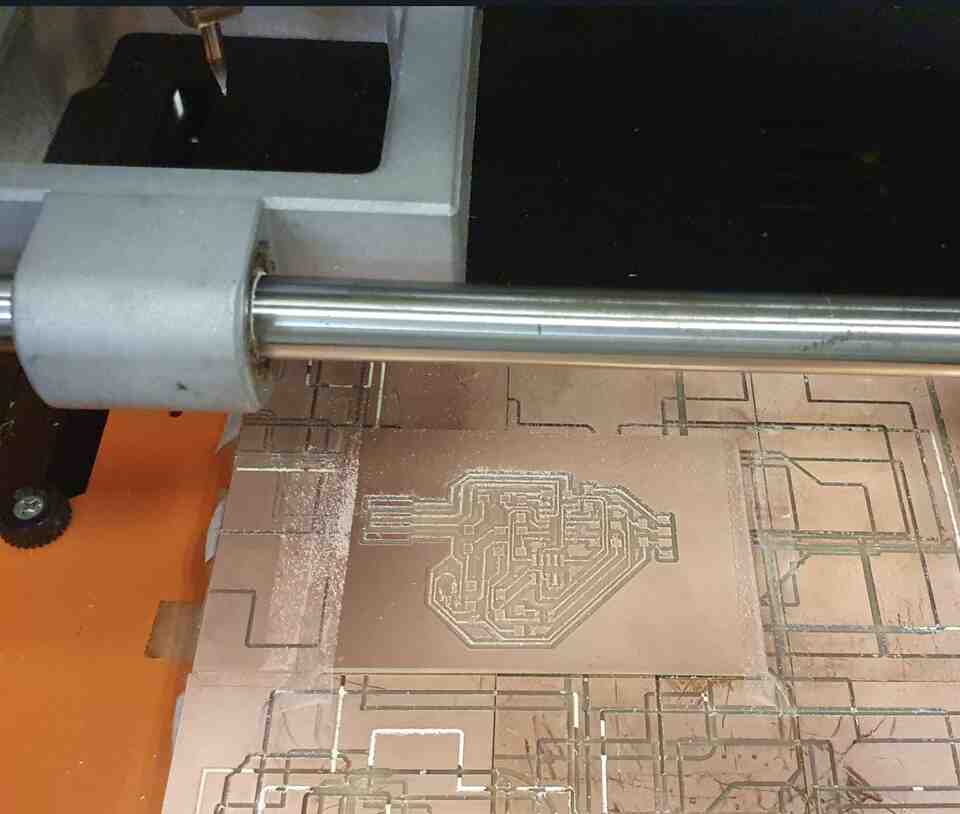
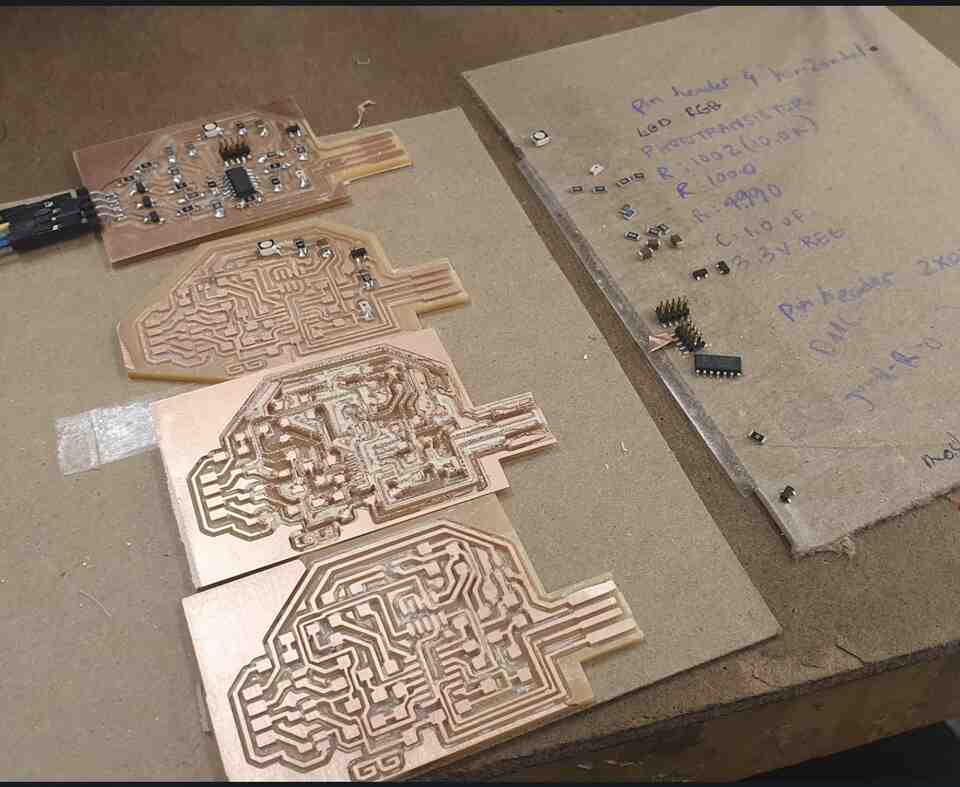
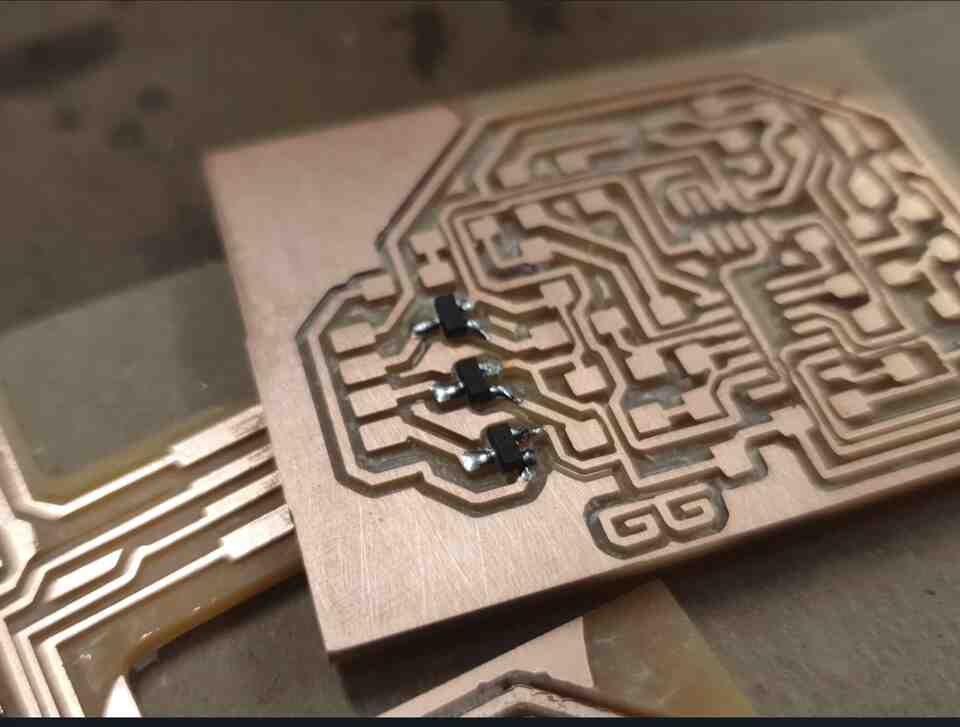
I fabricated and milled a few board this week, as it part of my final shoe design. I had many problems with merging the lines, so I redesigned and fabricate them again (and again) to make sure the board will work ok. At the end, some of the lines merged, but i could fixed it while

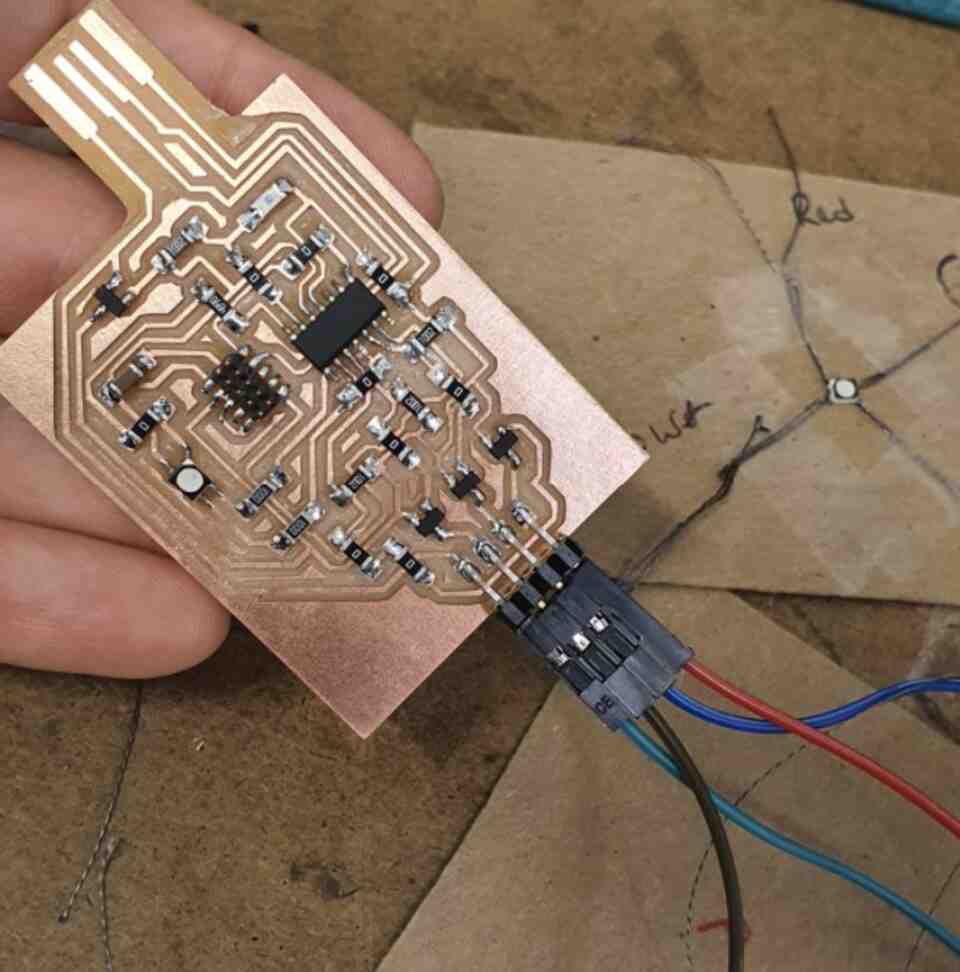
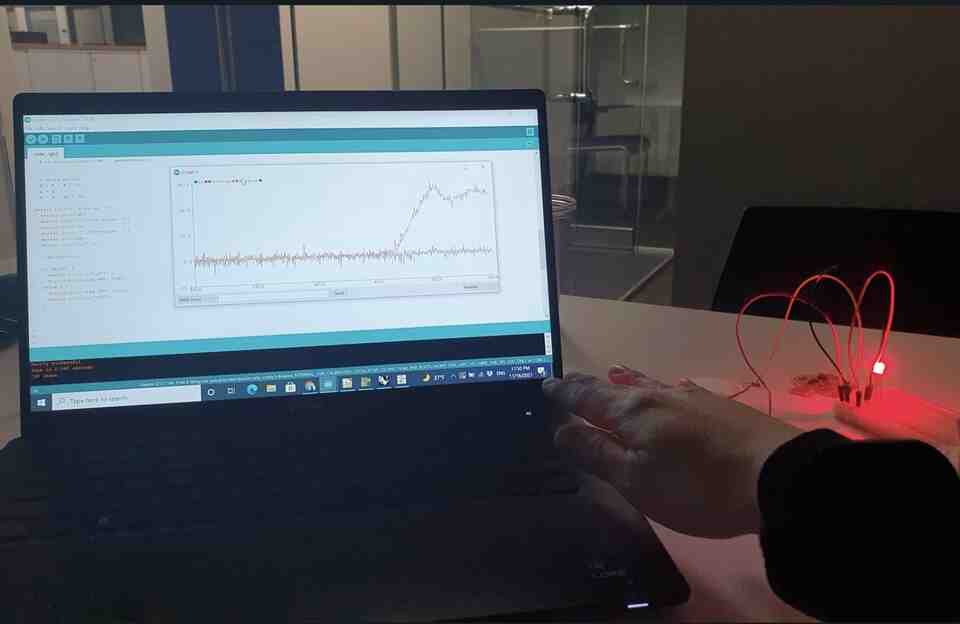
After finfishing the fabrication process of the board, Eyal helped me with discovring the best way to receive the output of the colors through coding in arduino. at the beginning, we worked only on the red color, but afterwards it was easier to work on Red, Blue and Green outputs.