Week 1
Instrument used: Vinyl Cutter, 60W and 120W Epilog Laser Cutters
kerf: the portion of the material that widens a cut due to the cutting action interacting with the material; i.e., the laser burning up part of the cardboard that widens the intended cut.
git: software for tracking changes in any sets of file.
CAD: computer-aided design.
This week the fun really began. Our assignments included building this website as documentation, cutting something on the
vinyl cutter and making a parametric, press-fit kit. Now, aside from making my old myspace pages fancy back
in the old days of 07, I haven't done anything remotely similar to these assignments. I hadn't even known what
CAD stood for until last week!
kerf: the portion of the material that widens a cut due to the cutting action interacting with the material; i.e., the laser burning up part of the cardboard that widens the intended cut.
git: software for tracking changes in any sets of file.
CAD: computer-aided design.
Luckily, with the help of my lab/class partner, Rihn, and the staff at the Architecture shop, I made it through!
It turns out we kind of misunderstood the group assignment--we looked up info in the provided binders about the printers and printed out a box that had different boxes at different power/speed. Still, we learned a lot and we saw a different group's attempt with testing the kerfs.
 I'd say the biggest challenge for me this week was a lot of
technical language and learning how to use CAD programs and
understanding parametric design.
I'd say the biggest challenge for me this week was a lot of
technical language and learning how to use CAD programs and
understanding parametric design.
Vinyl Cuts
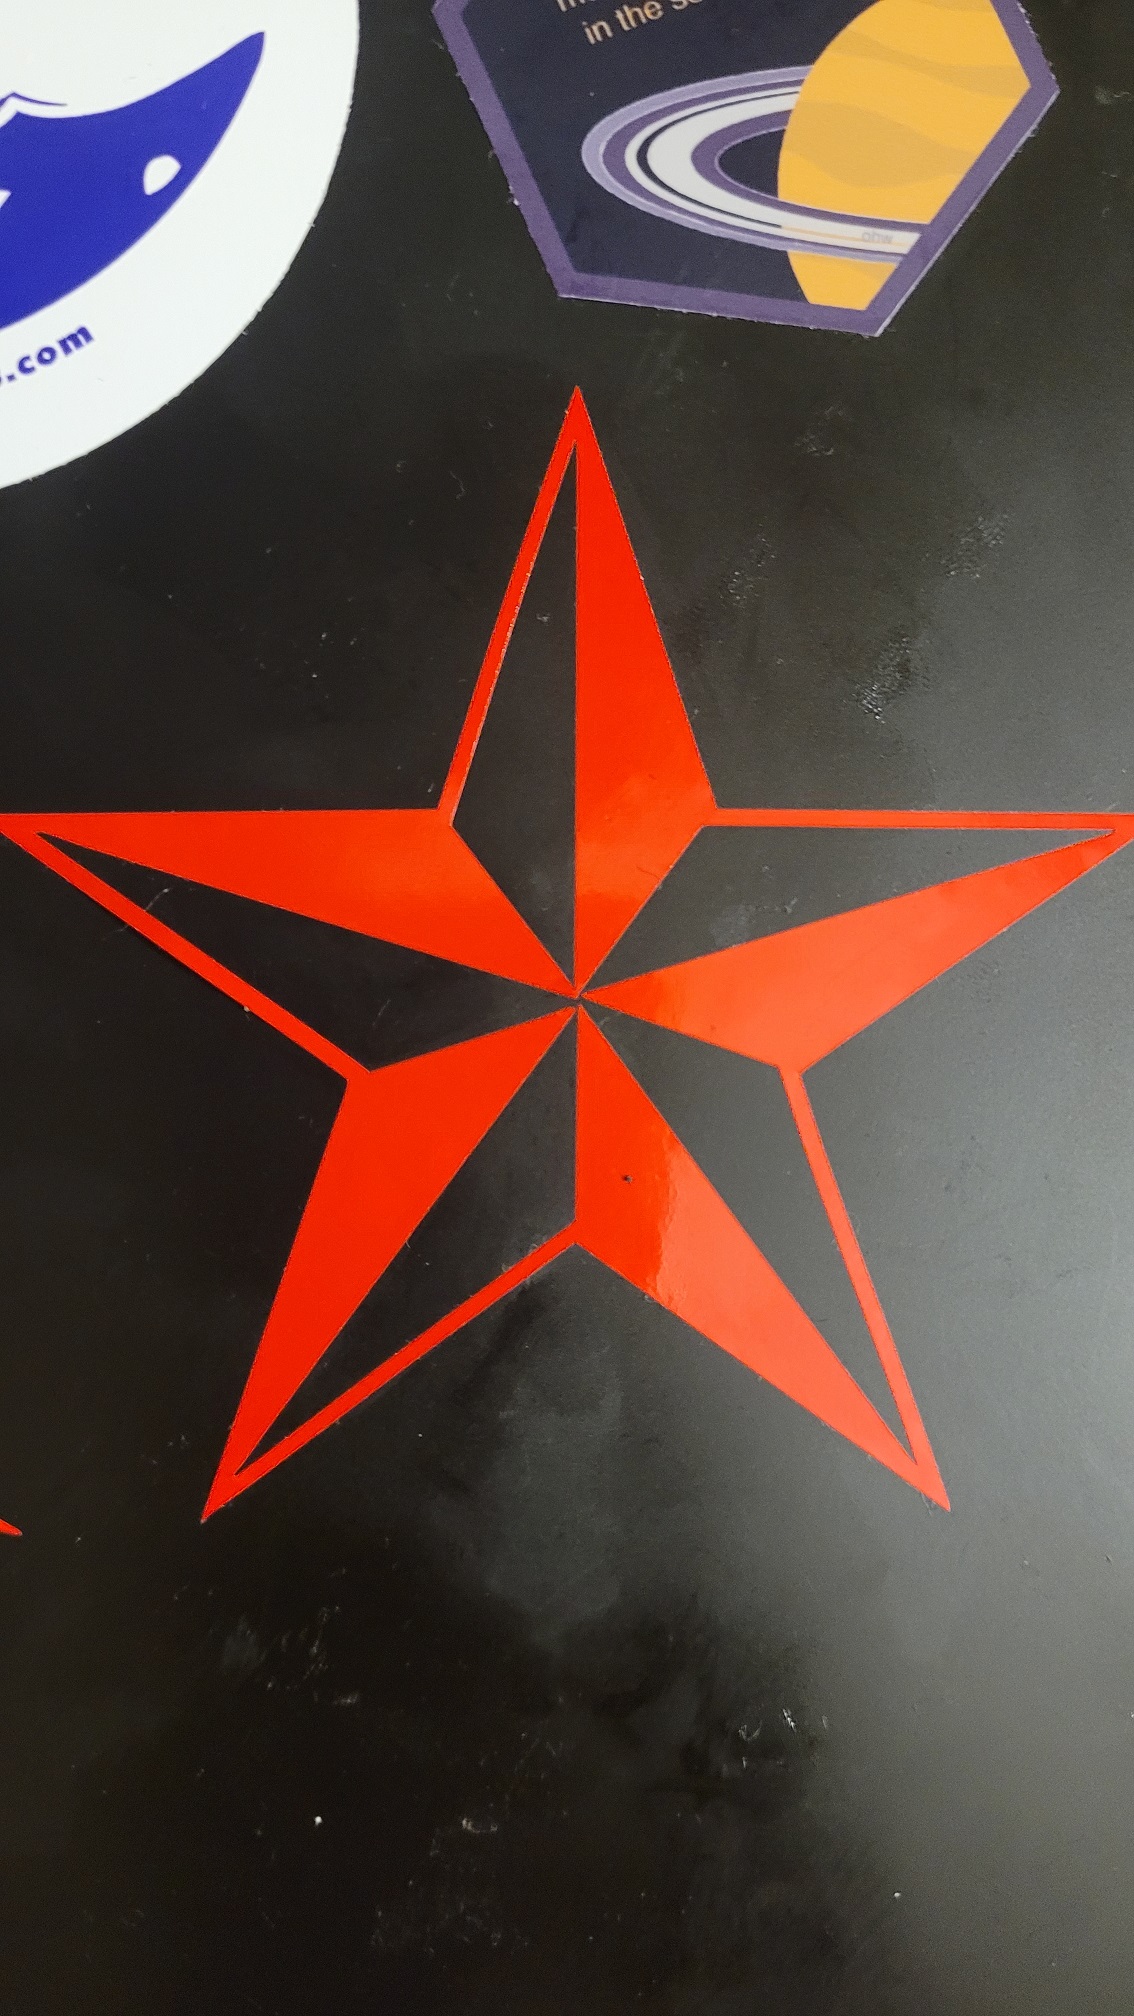
After following the steps on the Architecture website, i was able to vinyl cut this star, inspired again by the music of my youth. I initially cut it way too small, probably about 1inch in size, but changed the roll of vinyl and cut another totalling about 3 inches. The mods program will cut out all the white space and leave the black, so it's important to keep that in mind.
Now that I had tried my hands at the actual cutting, I needed to try my own design. In iPad Illustrator, I made this:
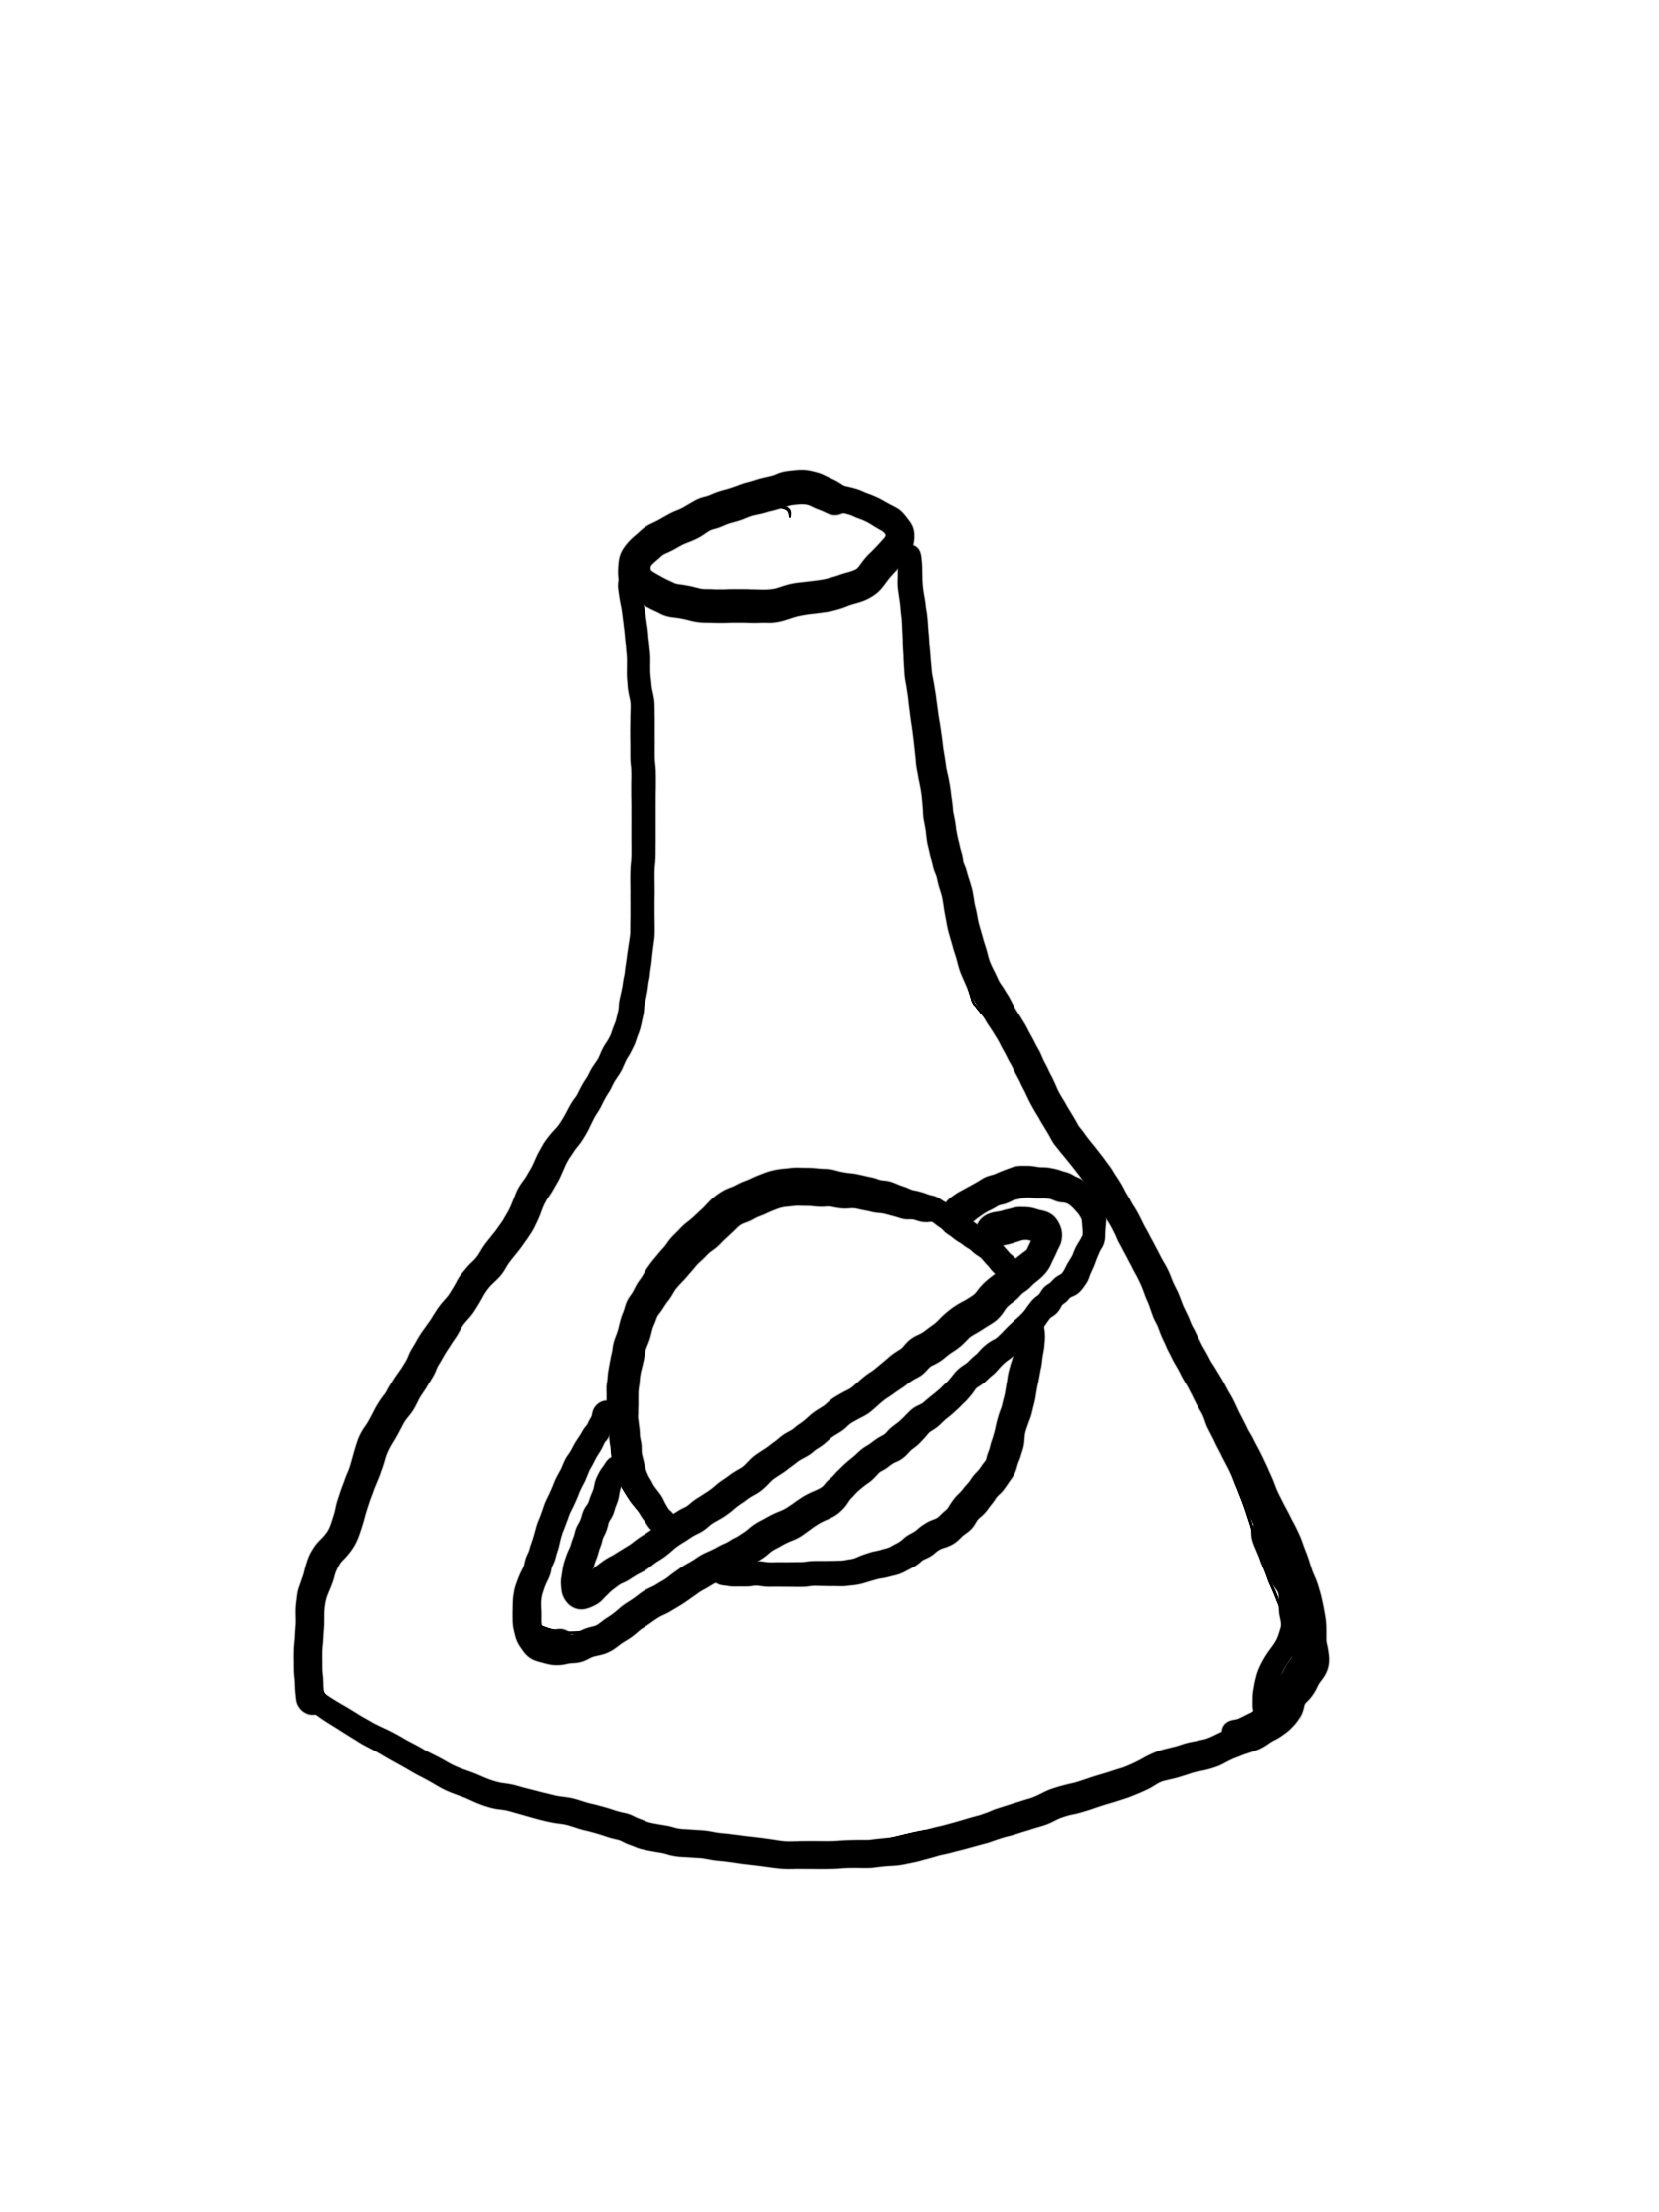
It's a simple look at my field--astrochemistry. I wanted to keep the "hand drawn" look for personalization.
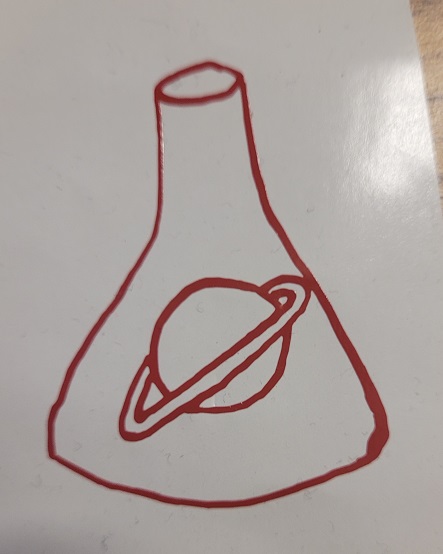
Using my previously learned vinyl cutting skills, I was able to print this sticker out.
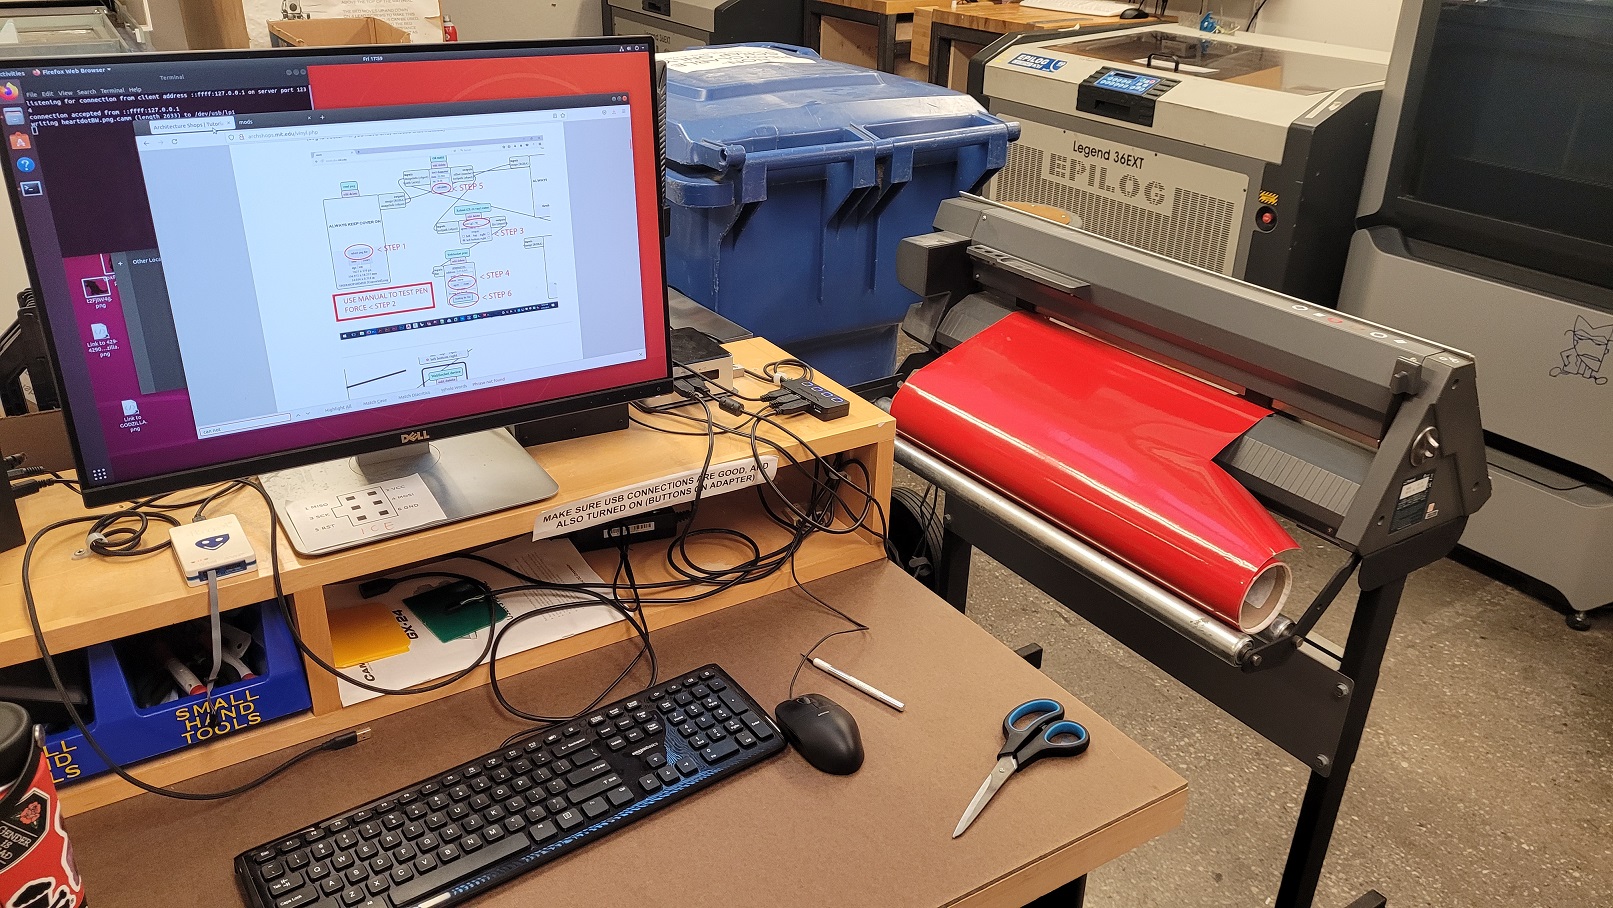
Laser Cutting
I decided to use ONShape, as it had a browser option to design shapes. I'd say it had a somewhat steep learning curve for me, as someone who never had to do such exact shapes or use this kind of language. Honestly, even now I'd say I'm struggling with the nuances of moving my designs to the shop computers and formatting them there.
Rihn and I learned to use the laser cutter with a basic box shape, testing various speed/power combinations on the Epilog60 in the ArchShop. Following a tutorial, we focused the laser, set the z-axis and learned how to use the program.
[here would be a picture of my first attempt at laser cutting]
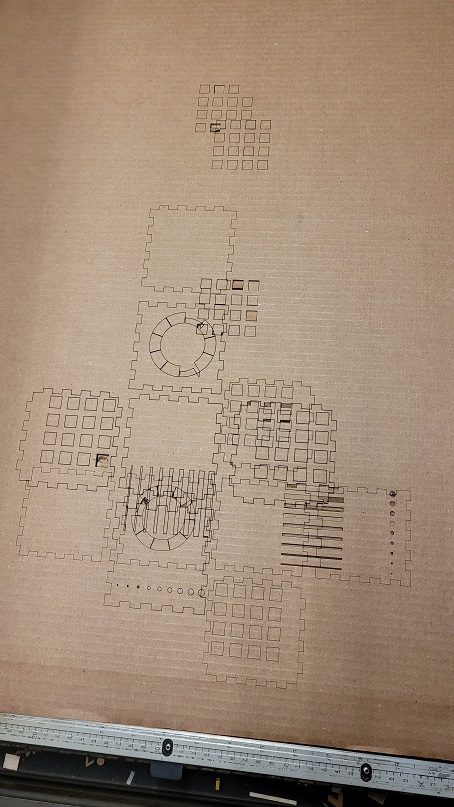
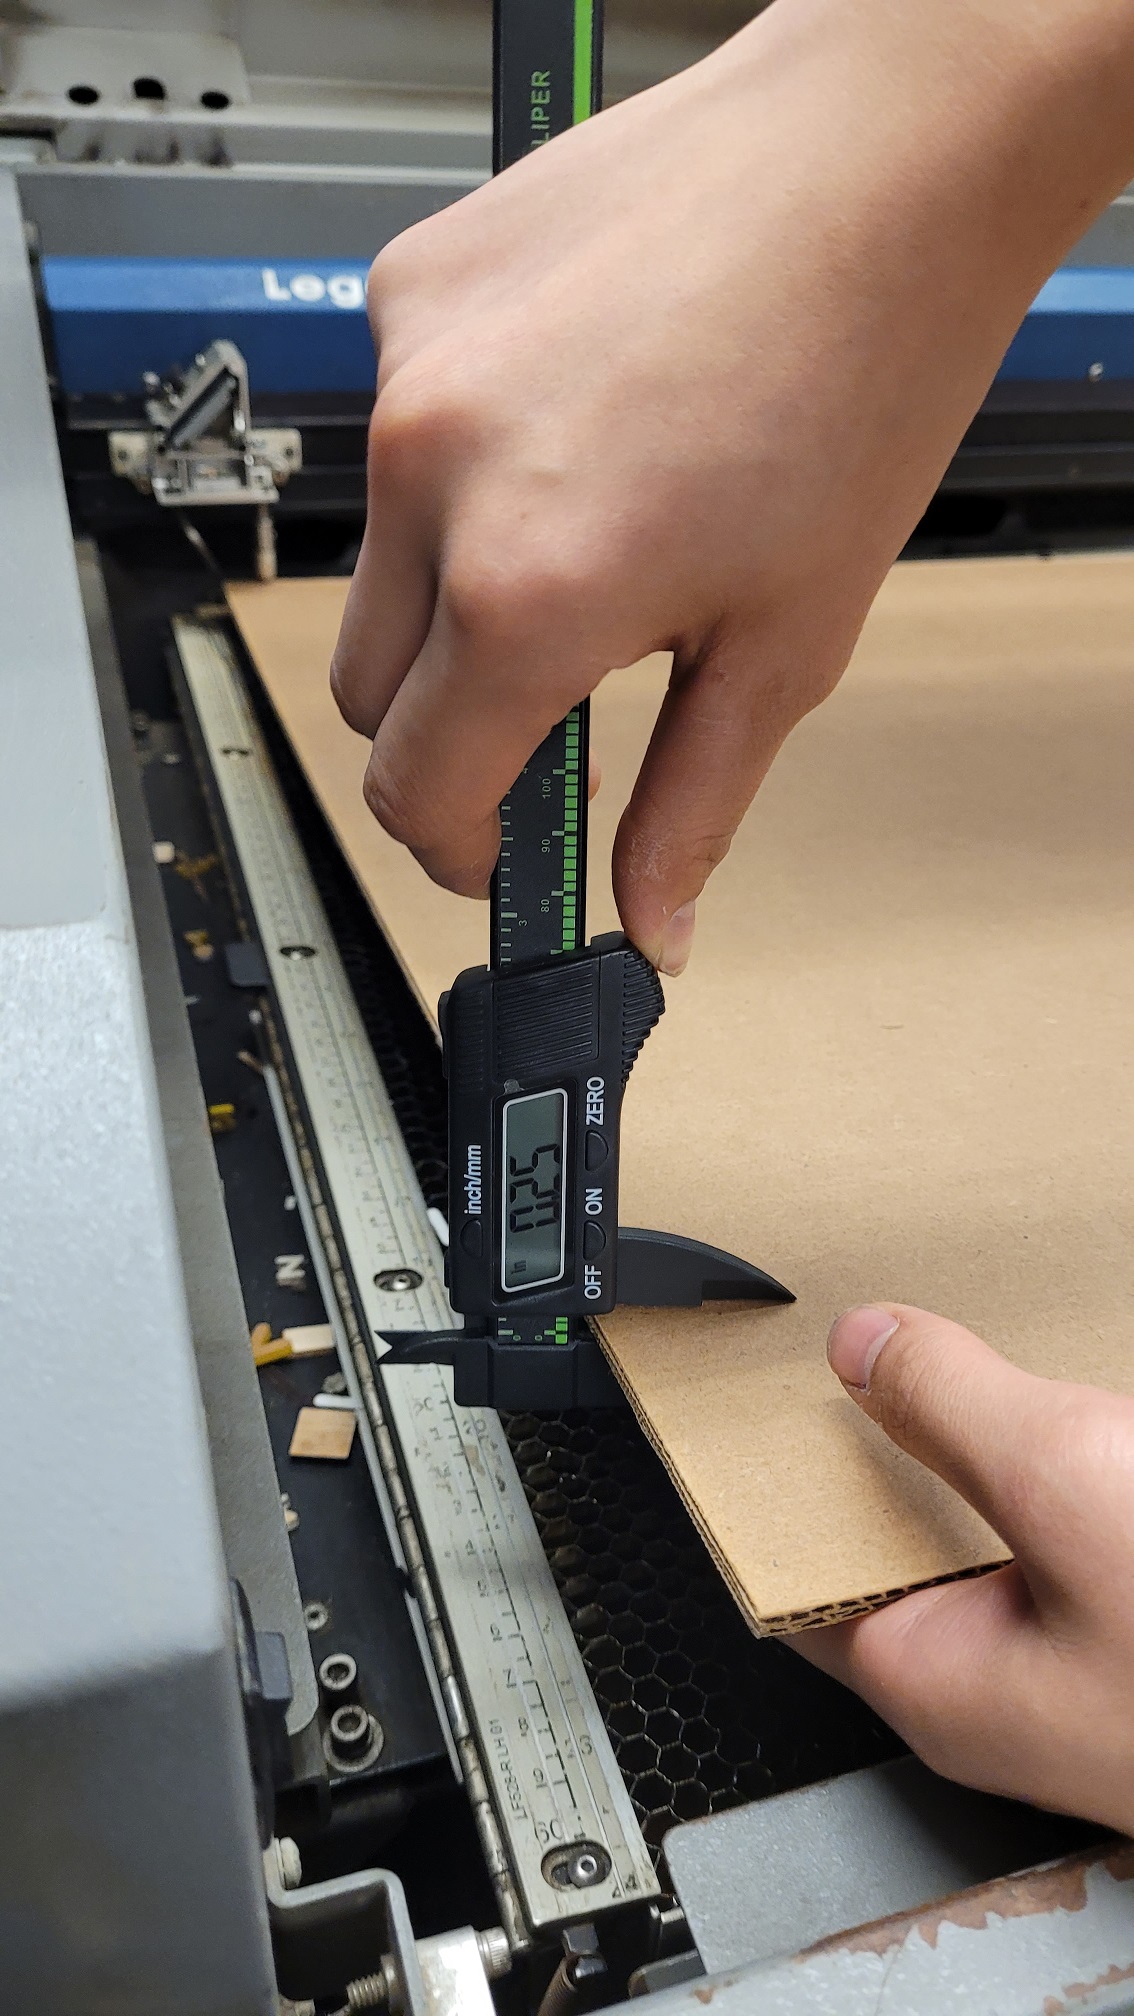
The first thing I learned was that when moving my extruded shape from Onshape to the lab's computer and using rhino, any lines, even ones orginally showing 3D structure, will be cut. Plus, I finally got a reminder of what 3 inches looks like--as a chemist, I work so frequently in mm and smaller, so it's not so much as I didn't know what 3 inches is, but rather that I often consider it abstract until I see it.
[image of the giant shapes i initially had]
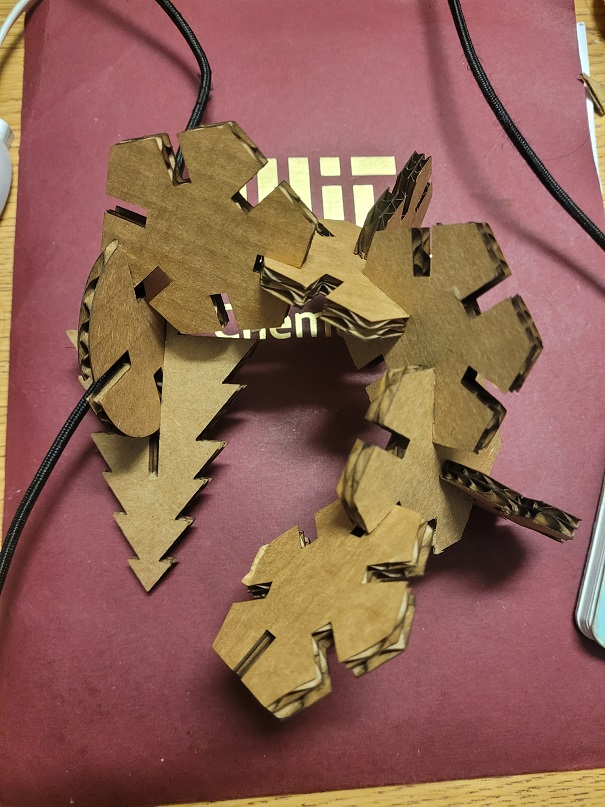
I sized them down and also removed the inner lines. However, the task was also to try different joints. I misinterpreted and made a different shape, which does make a somewhat different shape. Below, you can see my circle cuts and floral cuts.