Week 7: Molding and Casting
Instrument/Programs used: MasterCAM, Prototrak
Materials used: Oomoo silicon mold, plaster, wax
molding: act of creating cavity/form that carries an impression of an original model.
casting: act of pouring liquid material into cavity of a mold
Materials used: Oomoo silicon mold, plaster, wax
molding: act of creating cavity/form that carries an impression of an original model.
casting: act of pouring liquid material into cavity of a mold
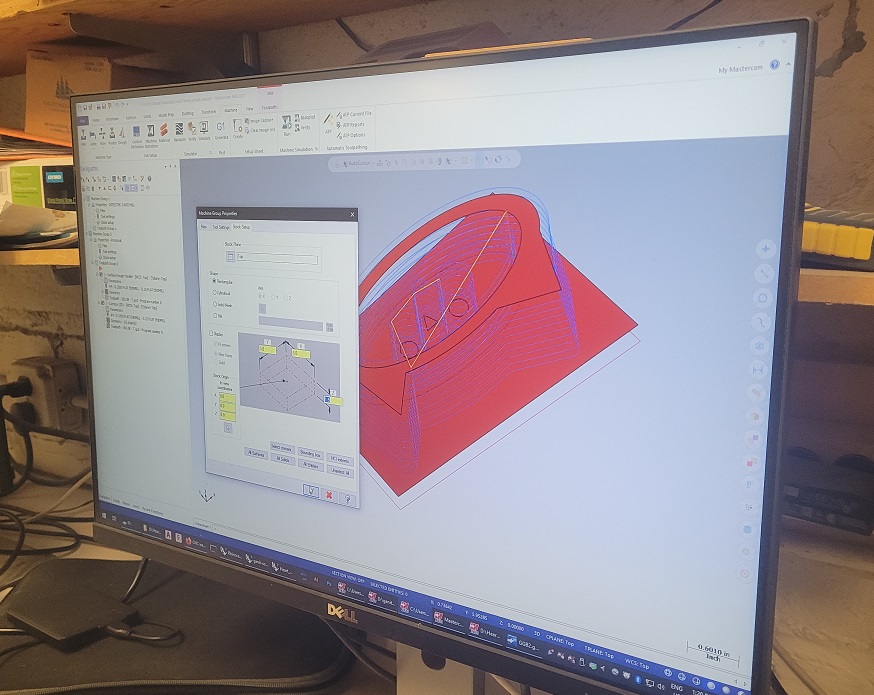
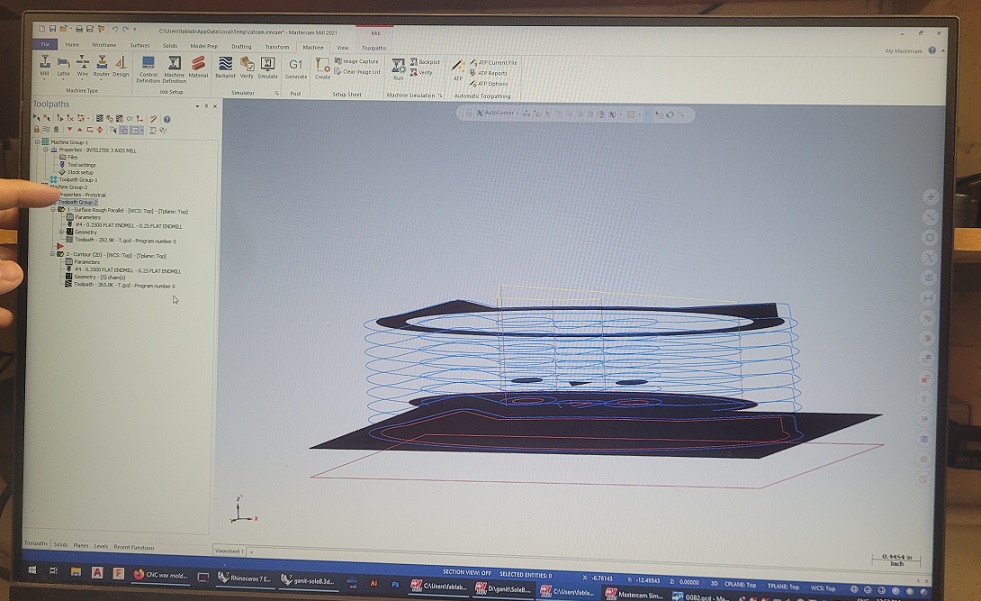
Designing/File set up
Last week, I was extremely ill so I missed lecture (I am also needing to make up the week's worth, which is unfortunate for me). Luckily, this week got a lot of help and the architecture section had lots of help and experts. We were given a 3x6x1.5 inch wax box that we would use to design our desired final shape, fill with a soft, silicon based mold (in this class's case, oomoo), and finally fill the last soft mold with plaster. The convenience of the oomoo and plaster is that they work when the starting materials are in 1:1 ratio! No measurement needed, if so desired.
We started off with choosing our design. I know Neil suggested a true 3d model, but I really wanted to make a small bowl to hold some stuff. I thought it should be cute and if I wanted to, I could make more for my friends with cats to hold cat toys or knickknacks.

After some back and forth with Jen (shout out to arch shop staff who patiently helped me with my design--my first few were the negative when I needed the positive lines), I ended up with a usable design. On Halloween, I went to N51 shop, where Calvin worked with me to figure out guidelines for my design.
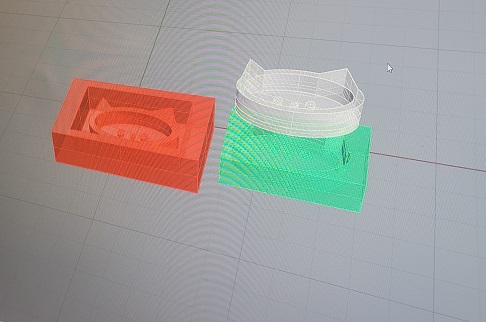
Below, Calvin showed me the 3 items I would end up with, as I had a hard time visualizing what was being asked and the process. I understood why we needed 3 parts, but trying to imagine what I needed to do to get to my final product proved difficult.
Milling
Similar the the CNC in N51 and Roland mill in building 3, the Prototrak works by setting your XYZ points and then choosing a desired/defined in MasterCam bit and using that to cut into the material. The CNC and Prototrak both work by initially doing a rough cut with a large mill before going back over it with the finer, smaller mill.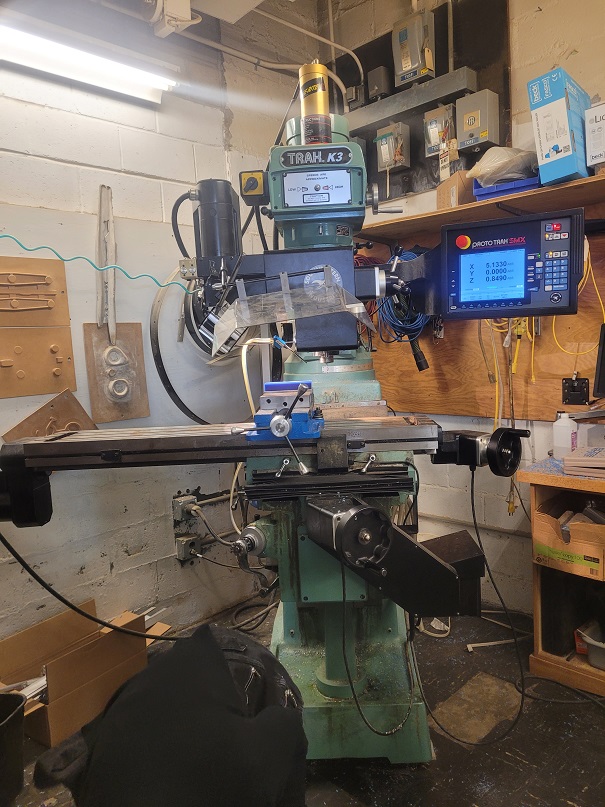
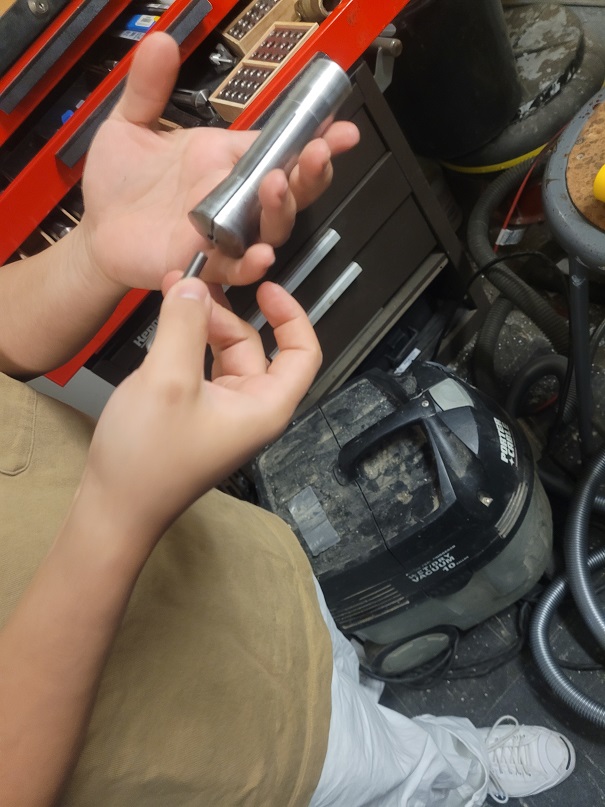
To set up the block, you have to make sure the material is secure. Below, you can see Calvin hammering my block into the holding clamps.

Once your XYZ is set, you can start milling!
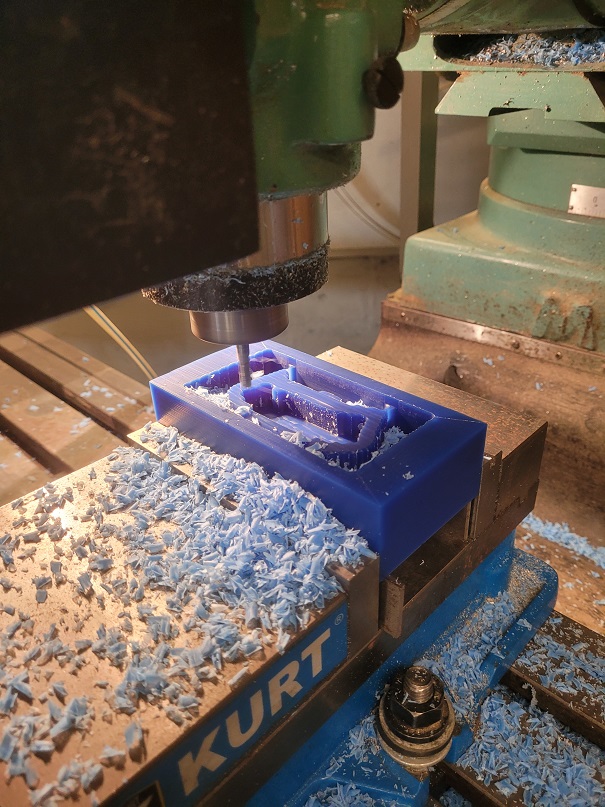
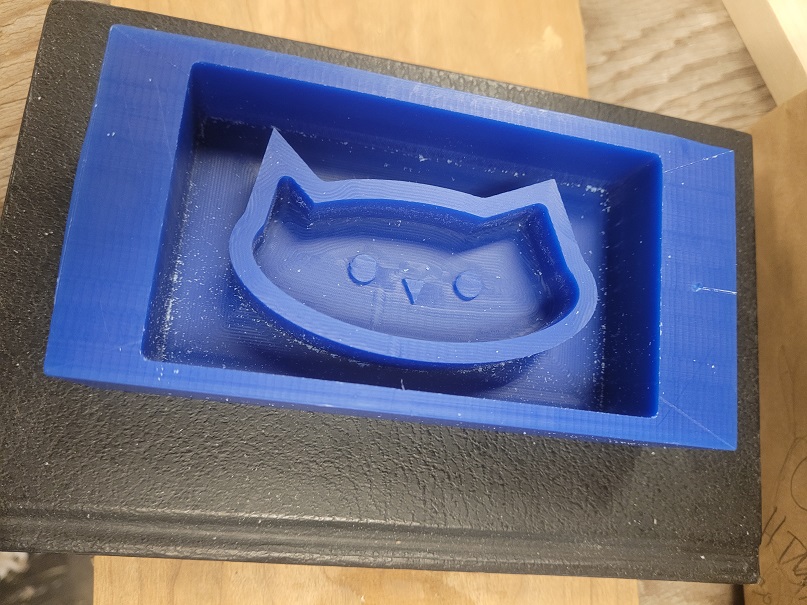
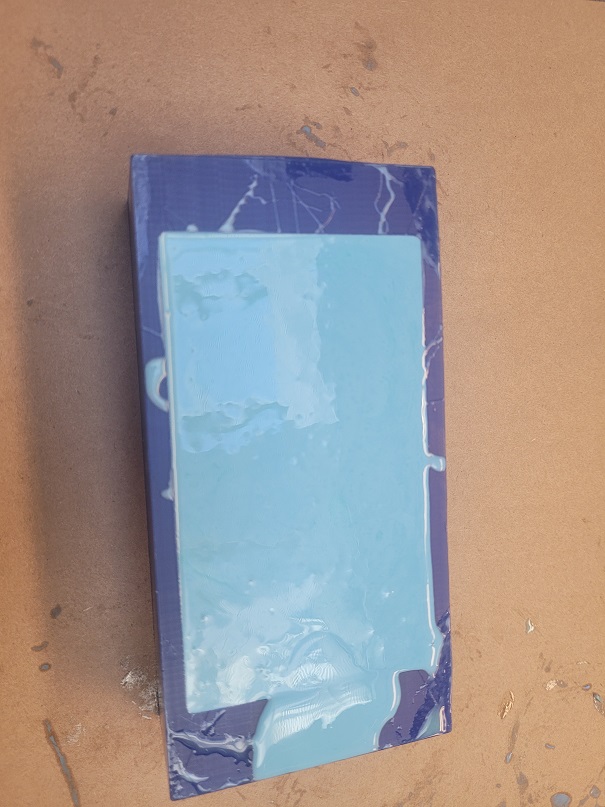
My design was fairly small and straightforward, so it took under 45 minutes for everything. After blowing away the wax, I ended up with this:
Oomoo
To use the oomoo, we were given lots of paper cups and tongue depressors to mix the two parts of the casting material. There's no rush, but it's important to work efficiently in this and the next step, as it can begin to set. I chose to use oomoo since it was already provided and straightforward. I'd love to try a foodsafe material next time but for my first time casting, I wanted to keep it straightforward. The archshops have aprons which I recommend, as oomoo doesn't wash out and requires the use of acetone. I especially didn't want it on my hands as I've had really bad eczema the last month or so and don't think acetone would help.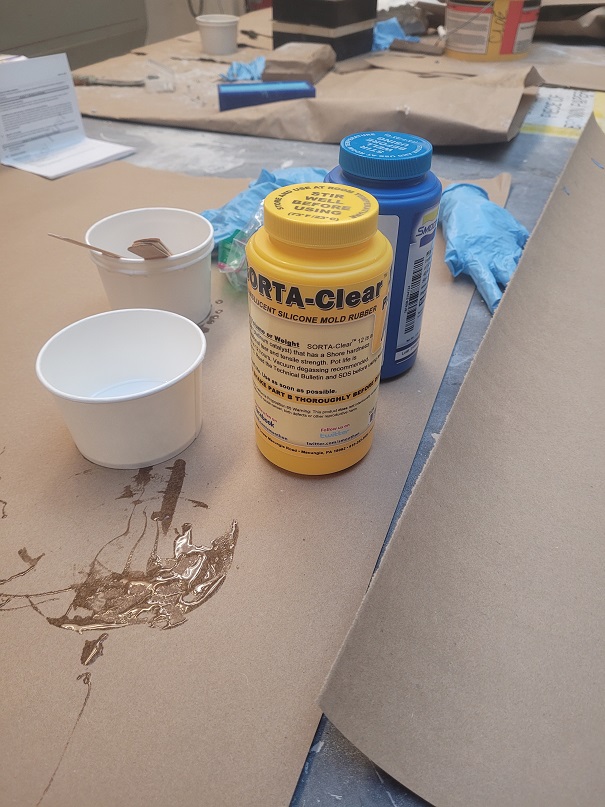
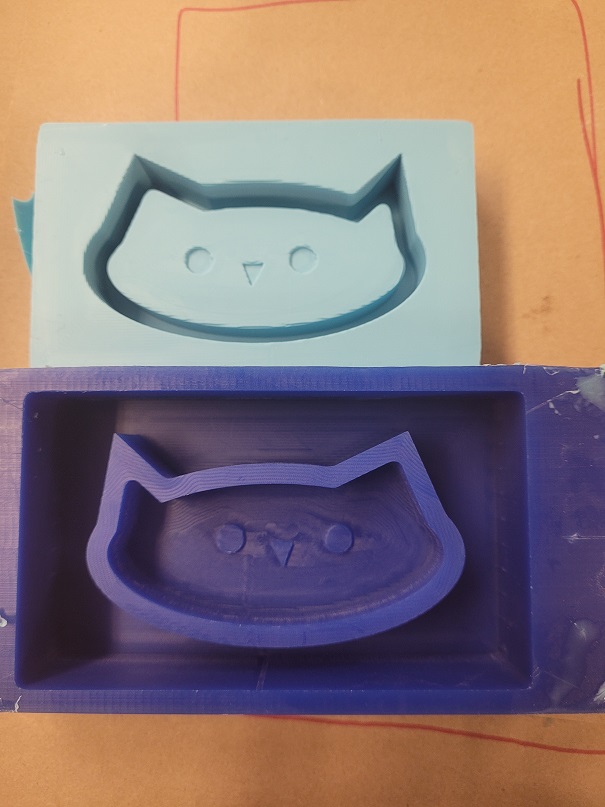
I decided to just eyeball it instead of pouring part A into a cup and part B into a cup; it was a roughly 1:1 ratio after all. Part A is a liquidy slime consistency while part B is a bit like chalky material coming out of solution, almost like unmixed peanut butter. It definitely required more than I thought at first. Next, I poured it into my mold. Unfortunately, I didn't have the foresight to setup my camera to film and didn't want to pull it out with oomoo everywhere. But below is the mold filled!
You should aggressively tap the mold and you'll see little bubbles rising. Now, to set it to set for at least an hour and a half (but more like 8 as I went to class and TAed).
Coming back and pulling the silicon oomoo out led to:
Plaster
Again, the plaster chosen for us was out of convenience. I erred on the side of caution and made a slightly thicker mixture. This began to set VERY quickly, however.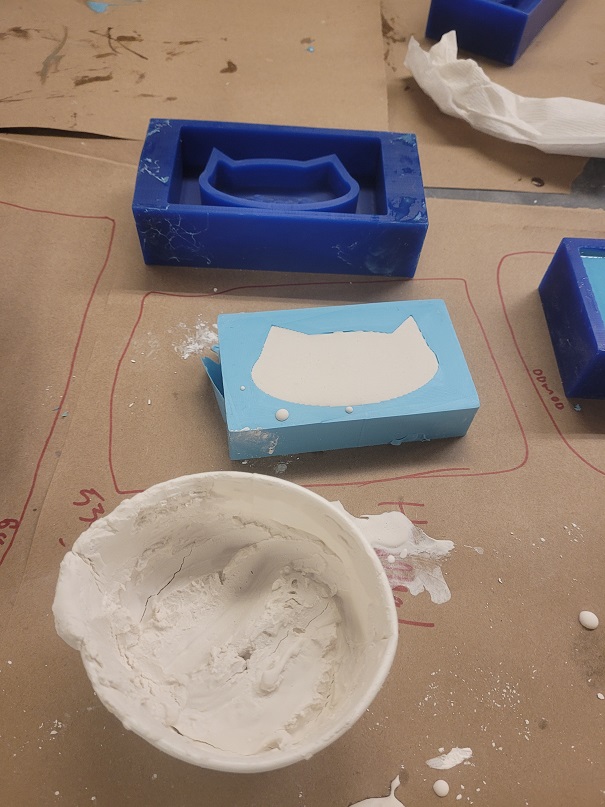
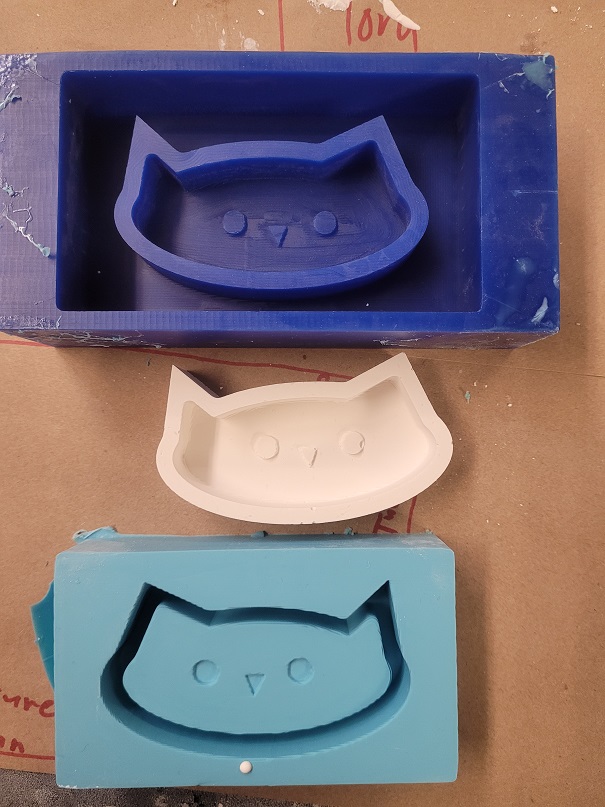
I let this set for about a day. I pulled out my bowl and voila!
See the group assignment here
Final Notes and Lesson Learned
1. don't wear your nice clothes to work with oomoo or plaster!
2. don't expect to have mastered MasterCam by now--every TA told us it literally took years
3. Your wax shape needs an "outline" box--you need to realize the shape you pull out will also get filled and should be pour-into-able.