Week 8: Input devices
I got ill during that entire month and it came to a head (unfortunately) during embedded programming week, but I also faced issues during electronics design week. I talked to TA Anthony early last week to go over the week to explain my situation and also my final project. He advised that since as of this week, I hadn't had a working, programmable board, to keep it as simple as possible and just focus on getting a board. Additionally, it would use skills I should've covered then, so could arguably showcase that I still did and could despite extenuating circumstances. Of course, it would just be much harder and rushed. I decided to make a sound input board, just so I could force myself to have a code ready............ (Fingers crossed).
Anyway, after talking with Anthony, I decided to use the analog microphone on the FabLab page. There was a decent amount of confusion regarding inventory, as the inventory listed a new microphone but I could only find the old version.
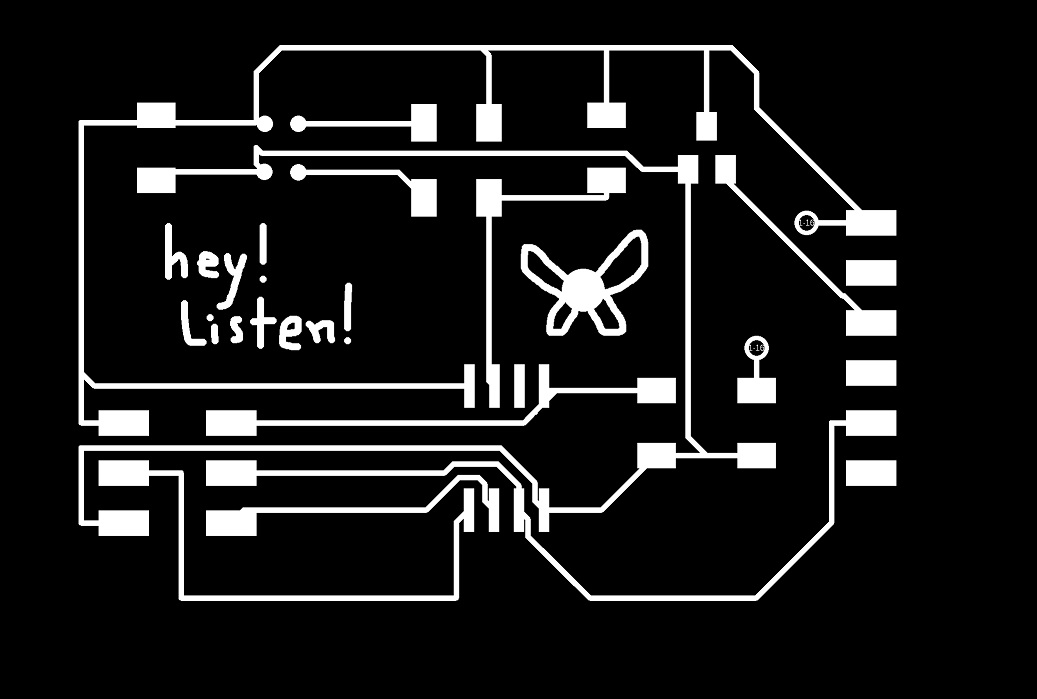
Loosely following Neil's board, I designed one with the phrase "Hey! Listen!" and Navi, the fairy sprite from the Legend of Zelda. I thought it was a cute incorporation of the sound input. My previous boards hadn't done anything unique, so I also wanted to try through-board jumping, especially since I was having trouble with routing.
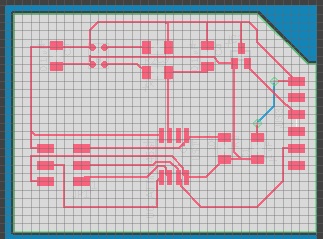
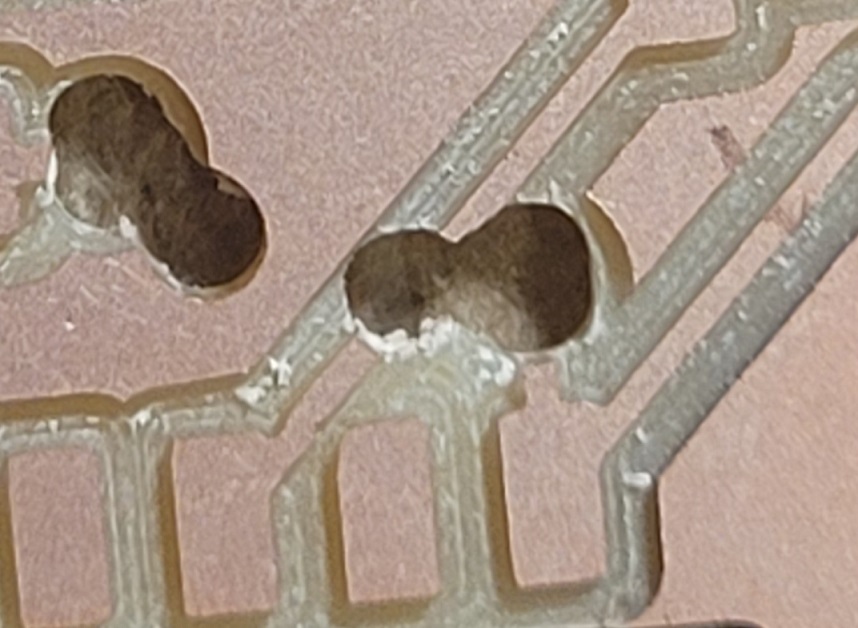
I milled and started stuffing this board but came across a problem: despite using the fab design rule check (DRC), the via holes actually cut through one of my traces. Unfortunately, despite doing this over the weekend, there were a few people waiting. I decided to quickly cut Neil's board and work off that instead.
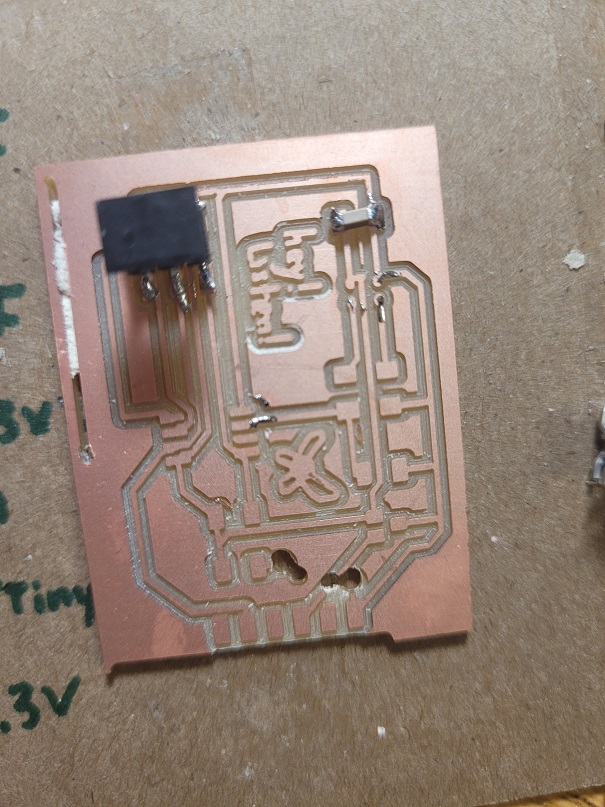
I'm honestly getting a bit frustrated with this. I will definitely have to go back and try some boards if I have time. I stuffed the second board.
Anthony gave me some hints about soldering as my initial had issues with some joints. But finally, when the hardware was on, Anthony helped me bootload. Unfortunately, I didn't have the foresight to change the board up so I could do the embedded programming with a USB port.

I managed to get this to work in week 10! Huzzah!
It turns out I was fundamentally misunderstanding how the board worked at all. Which, of course, makes what Neil had been saying in class make sense now, but I guess I'm really one of those people who has to learn by doing (and doing mistakes!).
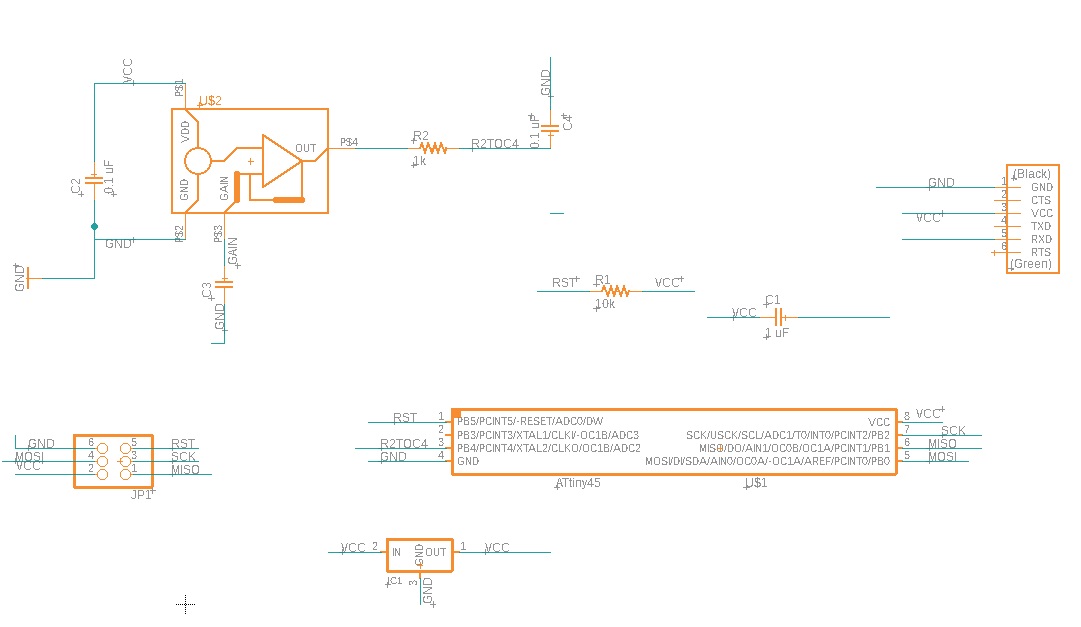
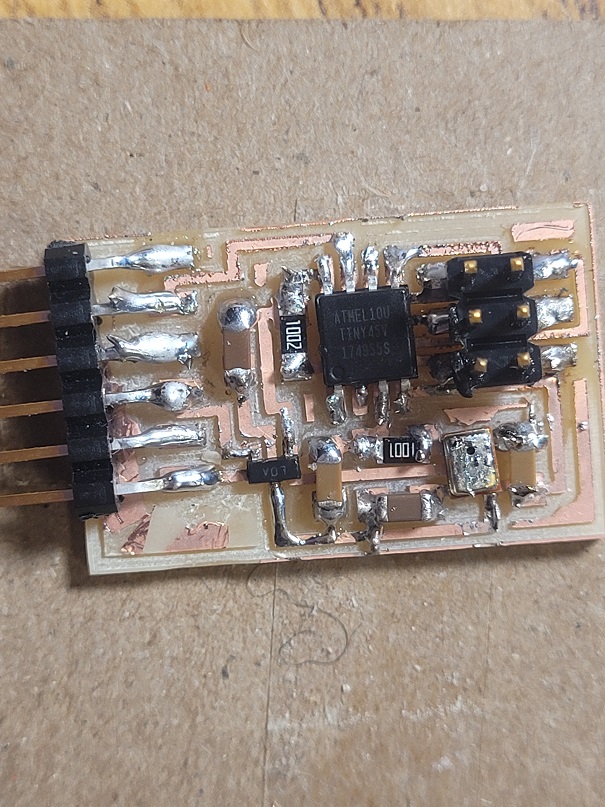
Neil's design uses an ATTiny45, which has almost no memory (4kb!) as it is very old and small. This means it doesn't get bootloaded and can never "speak" without a "translator." To get anything to run, you need both the atmel-sam connected to the 2x5 pin header (which does the "thinking" for the microcontroller, as I understand it) and the FTDI, which takes the information from the ATTiny and also powers the board). I've included a picture of it, unpowered below.
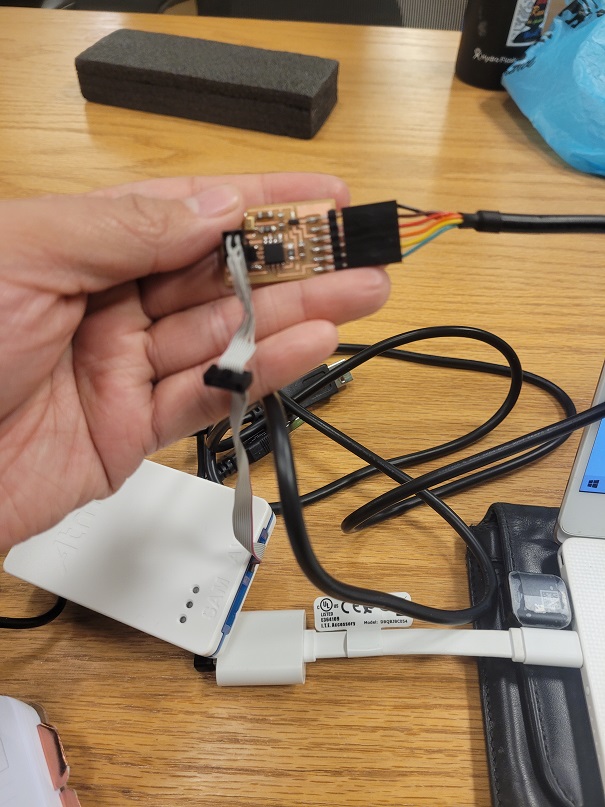
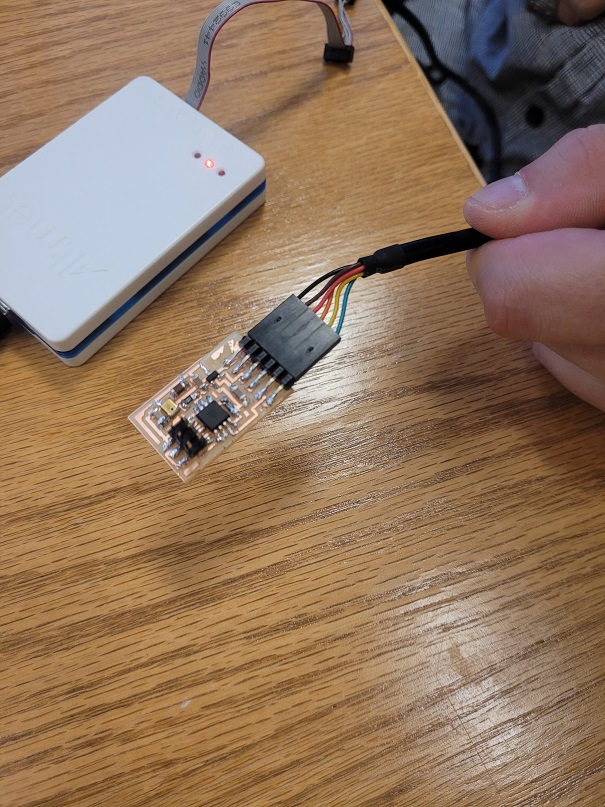
Next, I had to setup ATTiny core on Arduino IDE. Since I was at the EECS office hours, Anthony was graciously letting me use his ATMEL-ICE and FTDI header while he helped others in the shop. This also helped me because I am familiar to my Windows laptop, and not to the archshop Linux machine; additionally, there was no pressure of having someone waiting for me to bumble my way through.
I followed this tutorial to get the ATTiny core into the Arduino IDE, which conveniently includes the link you should include anyway. Boards Manager INstallation.
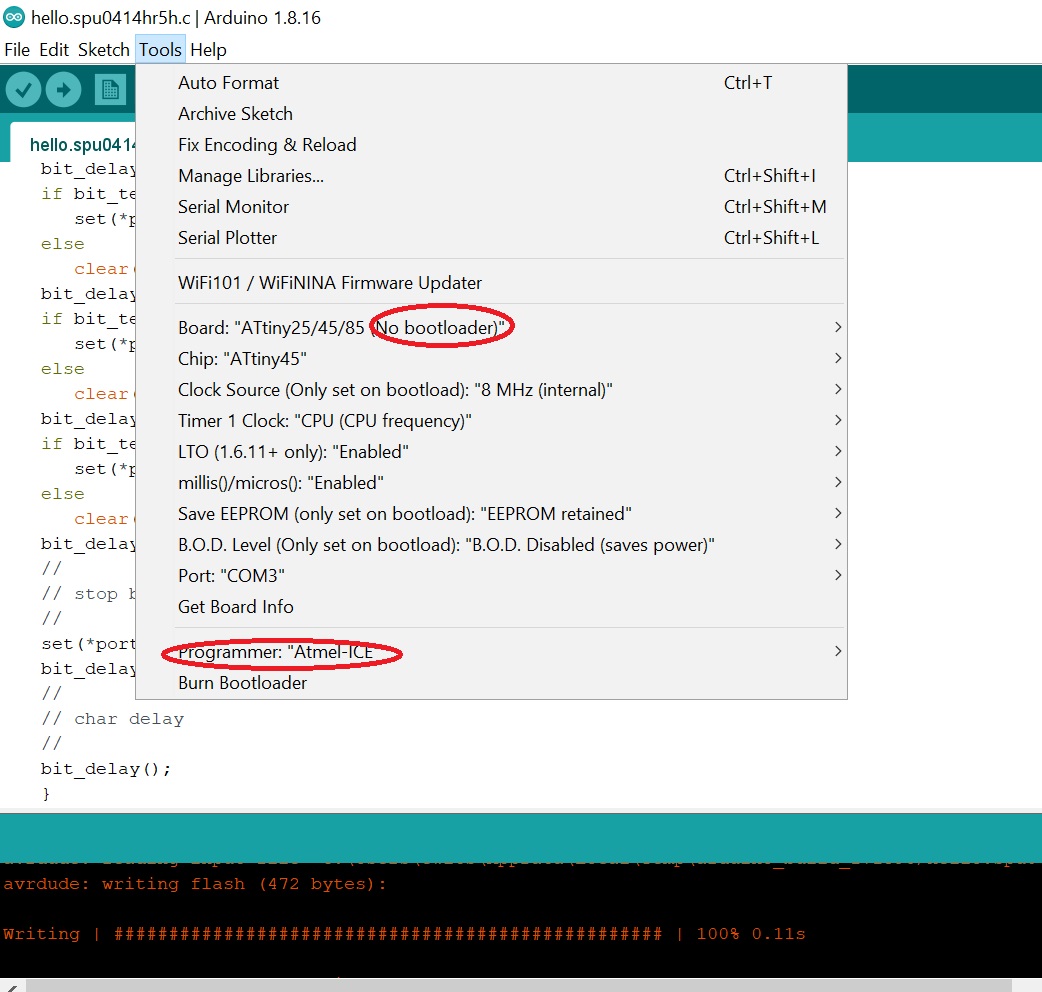
The next issue I got was a general error--there's a number of settings to be aware of.
Below are the exact settings I had after some troubleshooting.
Finally, I uploaded Neil's code to test as I am not confident in my coding for now.
A nice success! Finally, a win.... more than halfway through the semester! Listen, I'll take what I can get.
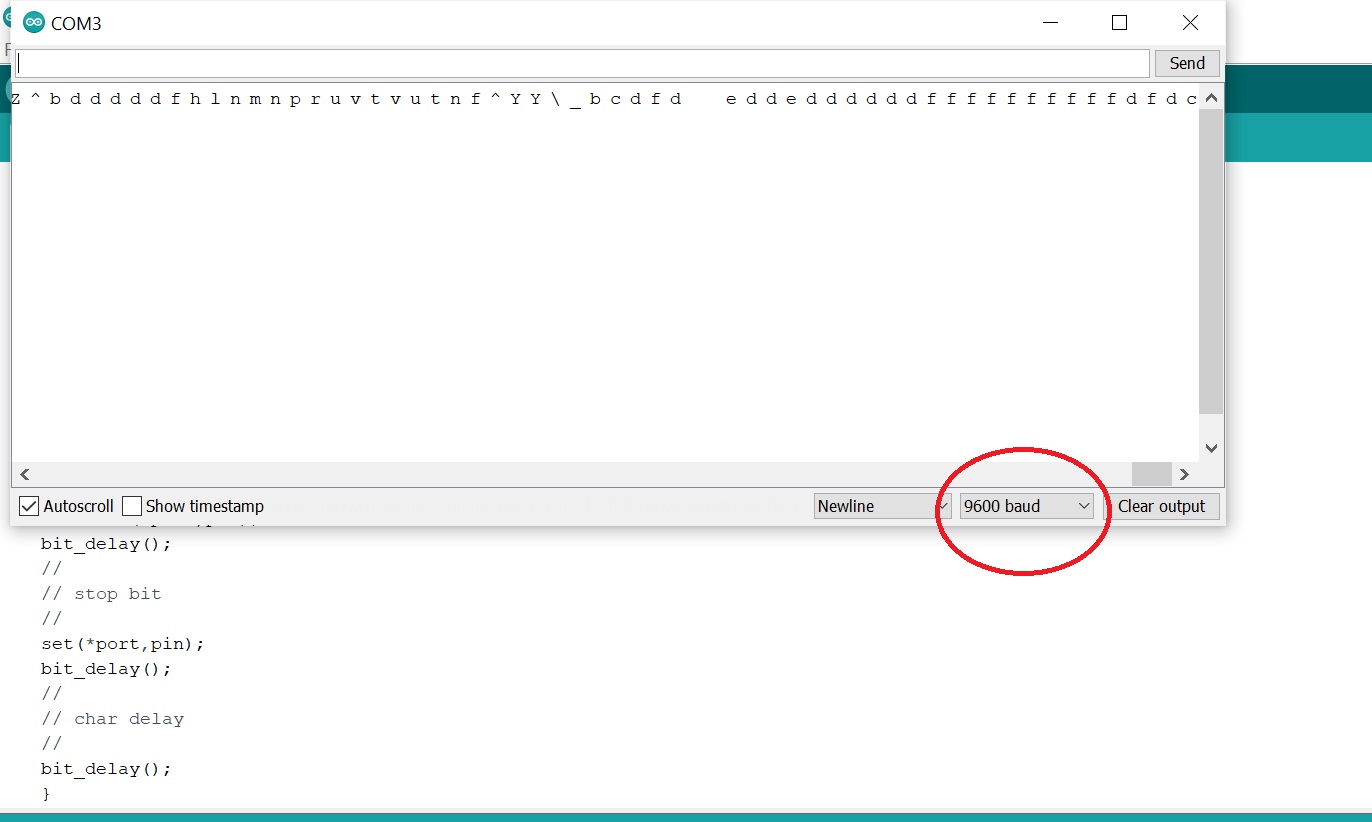
Here's a screenshot of the website below.
Final Notes and Lesson Learned
1. Avoid the ATTiny45 board if possible and if you don't have the setup at home. There's so many factors that could go wrong when using the "general" atmel setups.
2. Even if you plan to remake one of Neil's boards for simplicity's sake, change the 6pin header to a usb if possible. I was really restrained by needing to do work at the ArchShop with the atmel.