Week 2: Electronics Production
"Fifth time's a charm!"
Going Once
Immediately after class, Hannah and I made our way to the shop. She got a brief rundown of PCB milling from Jen the day before, and we learned from last week that everything takes longer than you'd think, and life is better when you start early.
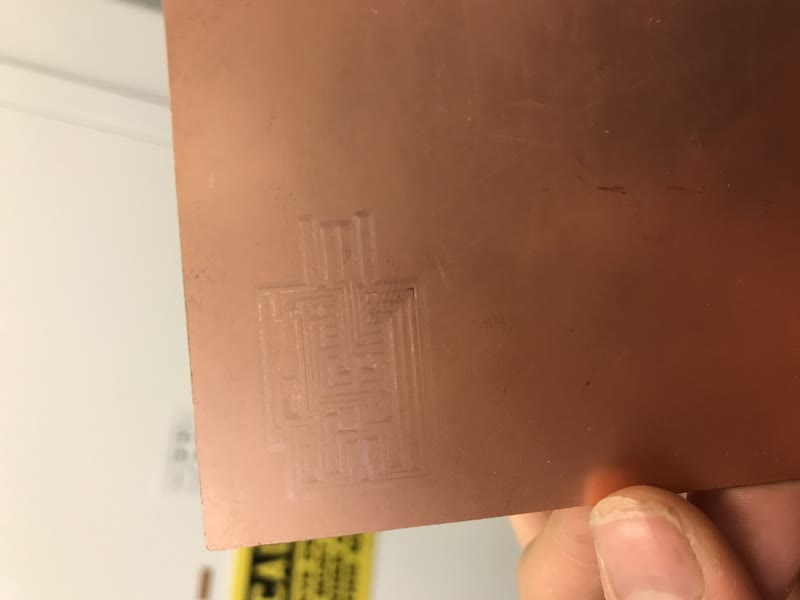
We carefully consulted the tutorial on archshops for the Modela PCB. We erred on the side of light force, and recieved only a patial trace.
We carefully consulted the tutorial on archshops for the Modela PCB. We erred on the side of light force, and recieved only a patial trace.

Going Twice/Thrice
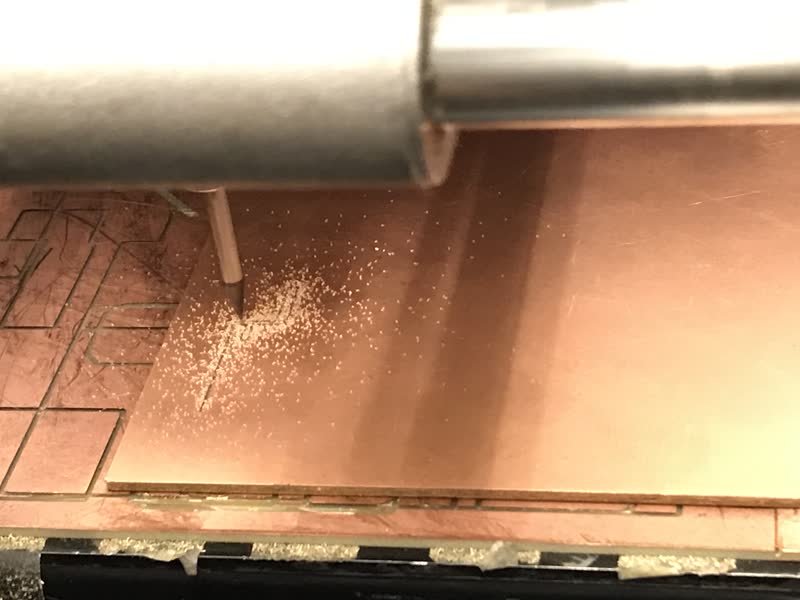
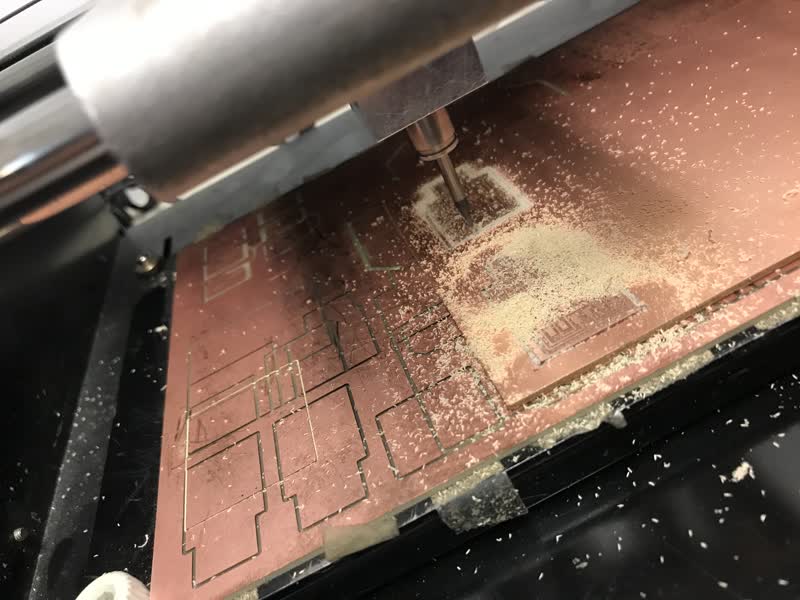
We did not hold back with tape, putting it all over the back of the board and ensuring a tight hold and dug the endmill slightly into the board to create a full trace.
The outline caused us trouble. The first one we did went fine. The endmill took 3 passes to cut all the way through with no issues. During the second, however, a loud noise signaled something was amiss, and the board did not cut all the way through. The endmill broke. We considered bringing the broken tip down in hopes it would still cut, but realized the diameter of what was left was tapered into a cone, and could mess up tolerances of the design to the edge. We got a new endmill, and the same awful sounce happened at the same spot! However, the cut looked a lot deeper. After the process stopped, we used the vacuum to clear off the board to inspect. the first board came out fine, and was stuck to the tape on the sacrificial board, while the other board was still very much attached to the stock board
We looked closer, and I could feel something in the spot there we heard the noises. it was the broken endmill piece! We removed it and tried again. Luckily, the other board being suck in place was enough of a cue to return the stock to the posistion it once was. (And, knowing we were going back and forth between our two board, Hannah and I photographed the posistion of each on the mods software) It also helped that there was a dot due to the endmill moving to the set origin that I could ensure the endmill was on before starting.
We ended up finding out the wriggle of the board led to another broken endmill, as some dust got in between the double sided tape and the surface. We retaped the entire thing, and tried again until it worked.

Stuffing and Soldering
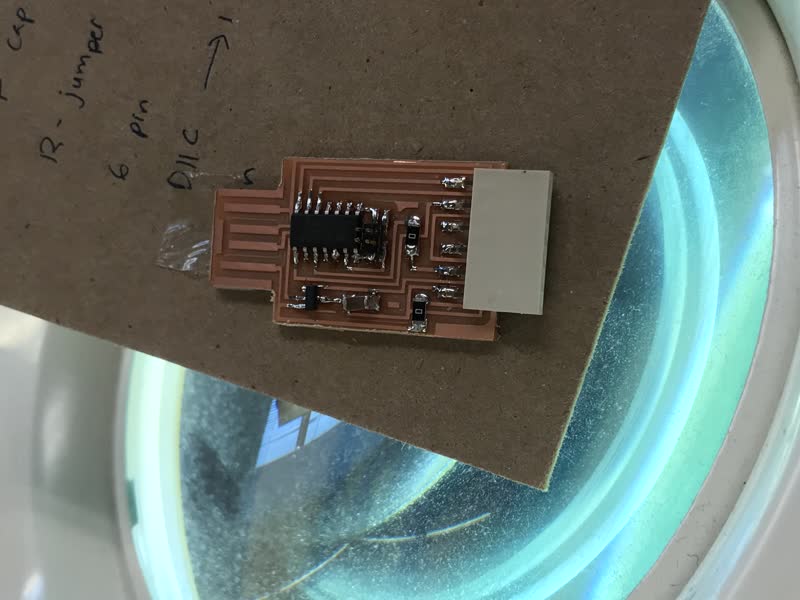
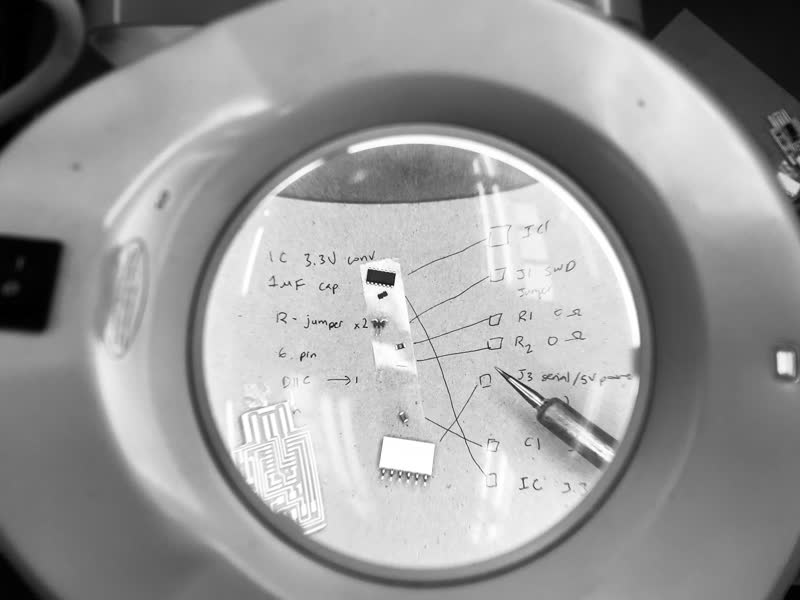
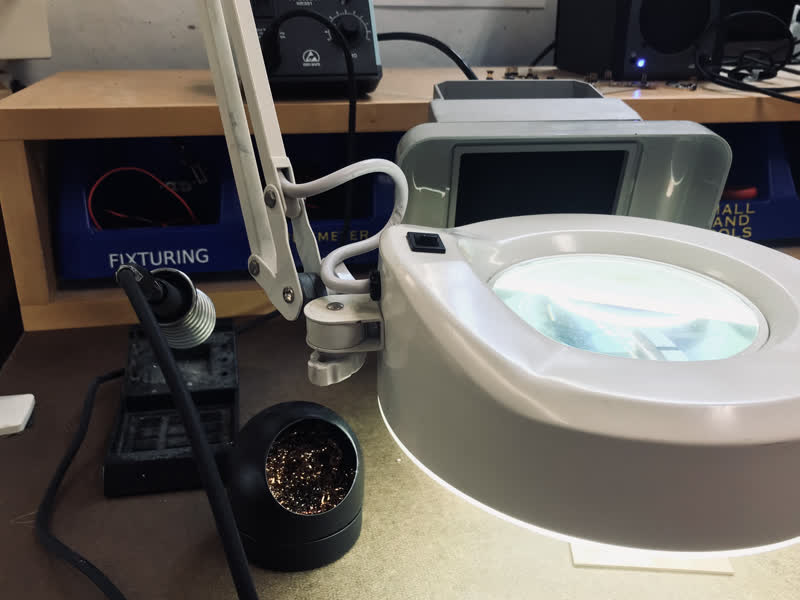
We got a rundown of the soldering station and the reccomended setup. The pieces are so tiny we need to look through a magnifying glass and use double sided tape to keep them from going missing. Finding the components was also challenging, but luckily there were example board and the image of a final baord on Neil's site.
Key notes are to clean the board beforehand with the orange abrasive soap right begore starting. I made the mistake where I preemptively added solder to all the joint locations on the board first, before adding the components, which made it difficult to add and lay them on tight to the board, as you can only work on one joint at a time with our lack of four limbs. I ended up having to remove some solder to keep the parts from settling in at weird angles since the solder blobs occupy non-neglible volume. Some pieces are likely still slightly more raises than they should be. Due to this...
Key notes are to clean the board beforehand with the orange abrasive soap right begore starting. I made the mistake where I preemptively added solder to all the joint locations on the board first, before adding the components, which made it difficult to add and lay them on tight to the board, as you can only work on one joint at a time with our lack of four limbs. I ended up having to remove some solder to keep the parts from settling in at weird angles since the solder blobs occupy non-neglible volume. Some pieces are likely still slightly more raises than they should be. Due to this...

Fourth and Fifth time around
In order to cover our bases in the case we'd likely mess something up, Hannah and I printed another 2 boards just in case. After breaking another endmill, we realized we were overcompensating and digging the tips in too tightly. Lowering it barely past barely touching is the way to go. Our fifth board was the only one of ours that went perfectly, but hey, it went perfectly!
Something I can actually do?
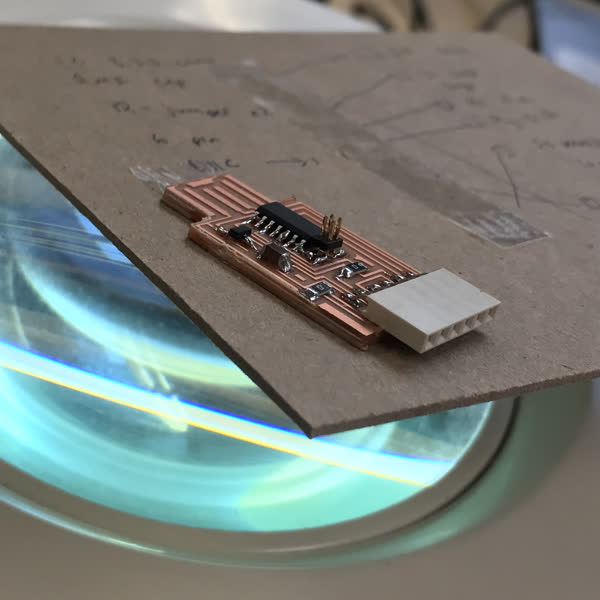
Turns out, after testing the board with a multimeter (involves checking different aspects on the board, such as the ground pins having the same voltage), things were okay! Shiny and smooth, albeit slighly raised, works out!
I also tried to see if I could program this board into a programmer, but had no success. This board is different from one used in previous years, and The pins in the center don't connect to anything that I could find. Ah, well. I still have a gorgeous board.
Update: I did get it working in Week 4!
Something I can actually do?
Turns out, after testing the board with a multimeter (involves checking different aspects on the board, such as the ground pins having the same voltage), things were okay! Shiny and smooth, albeit slighly raised, works out!
I also tried to see if I could program this board into a programmer, but had no success. This board is different from one used in previous years, and The pins in the center don't connect to anything that I could find. Ah, well. I still have a gorgeous board.
Update: I did get it working in Week 4!