Molding and Casting
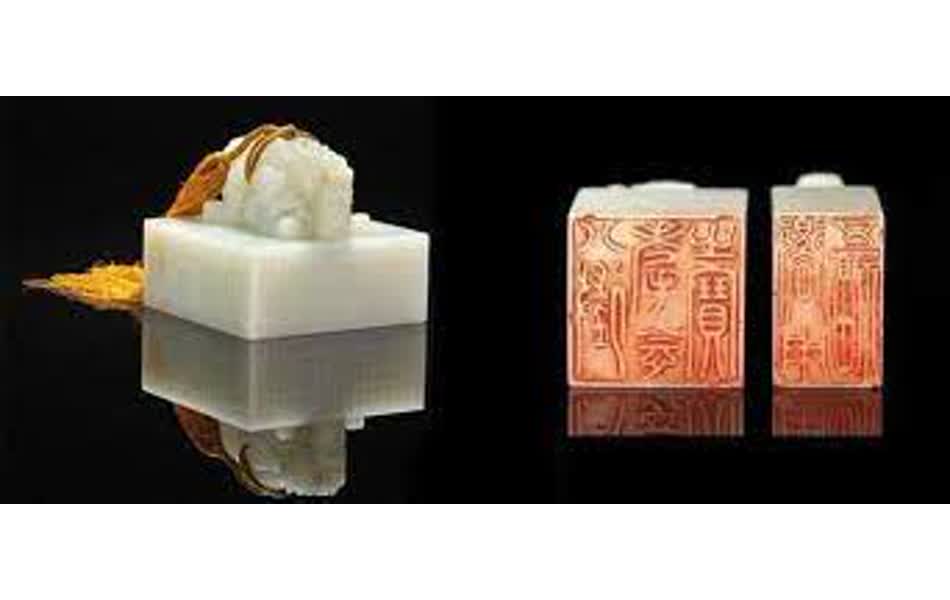
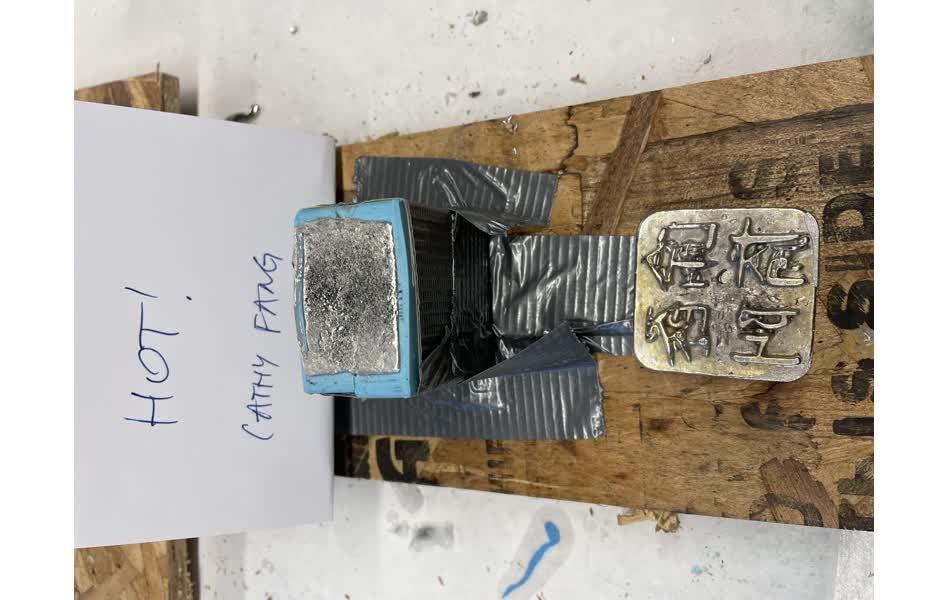
Back in the old days in China, government officials use official seals sign off on documents. The emperors have theirs made out of jade called "Yu Xi" (Jade Seal), and it represents the ultimate power and quite literally the kids of the emperor kill each other for the inheritance of The Imperial Seal. I thought it would be fun to make a personal seal for the modern day use -- As a researcher, I review papers for conferences to contribute and give back to the academic community. Everytime I finish reading a paper, I should sign off on the paper with a print that says "Read by Cathy Fang".
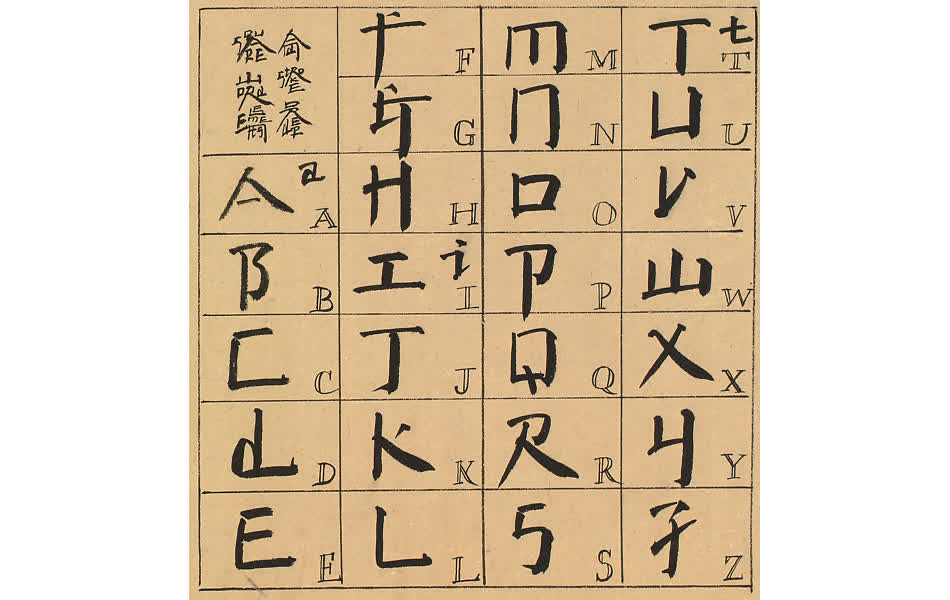
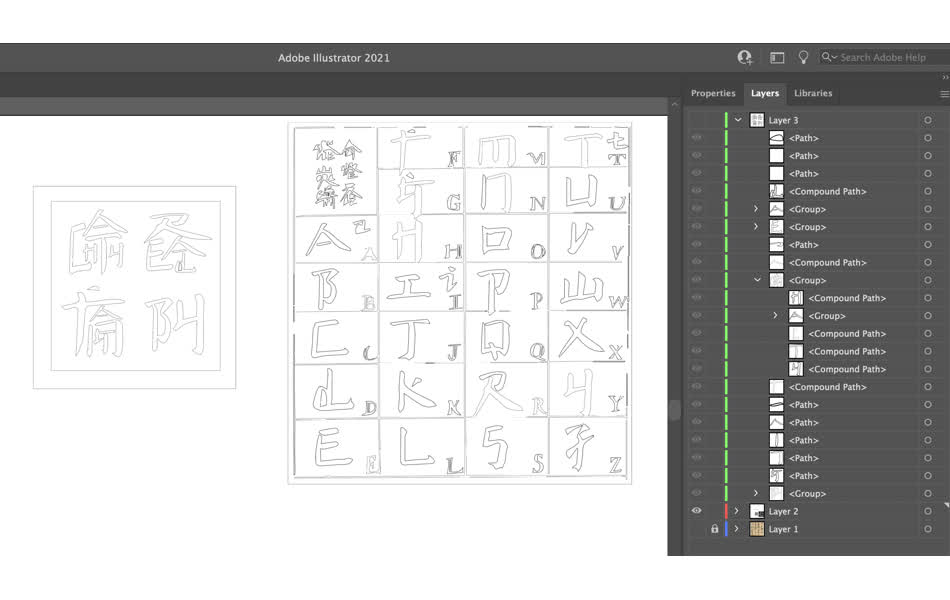
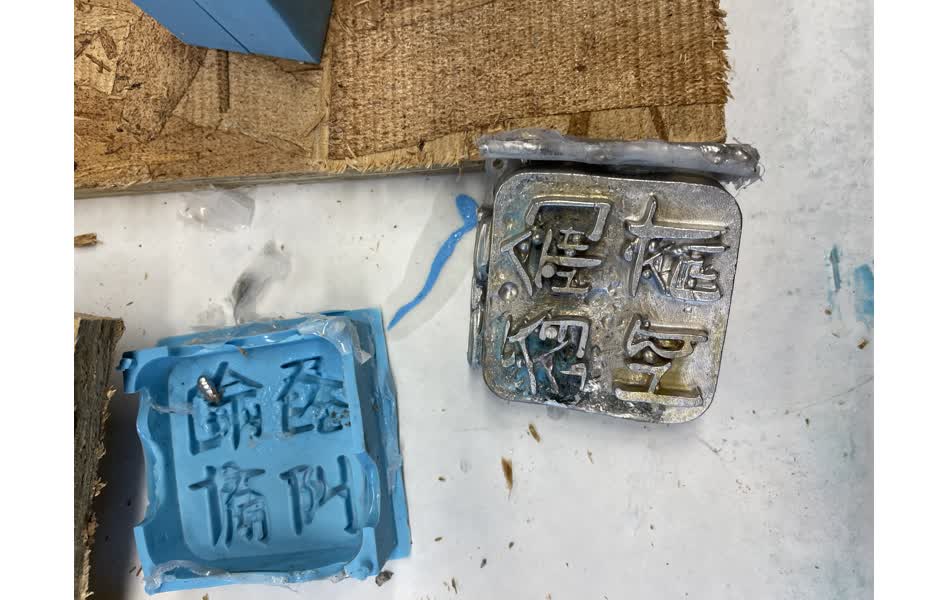
To add another flare of personality, I decided to make fake Chinese characters. This idea was inspired by one of my favorite artists, Xu Bing, and his Square Work Calligraphy. It is basically a fusion of written English and written Chinese. Try creating your own Chinese characters out of English words using his technique! I extracted the calligraphy alphabets in Adobe Illustrator and rearranged them to form my final characters. Can you tell it says "Read by Cathy Fang"? (Character order from right to left, top to down).
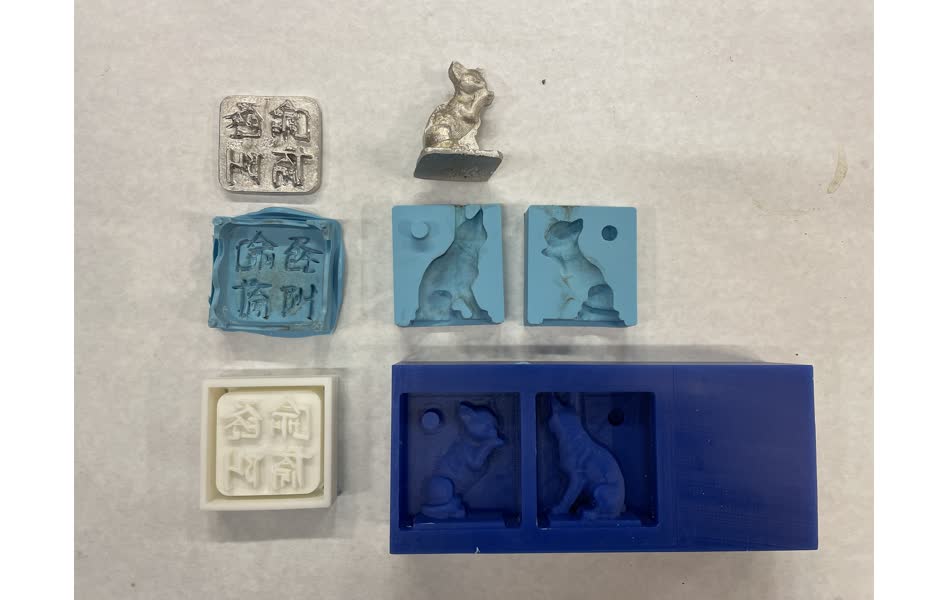
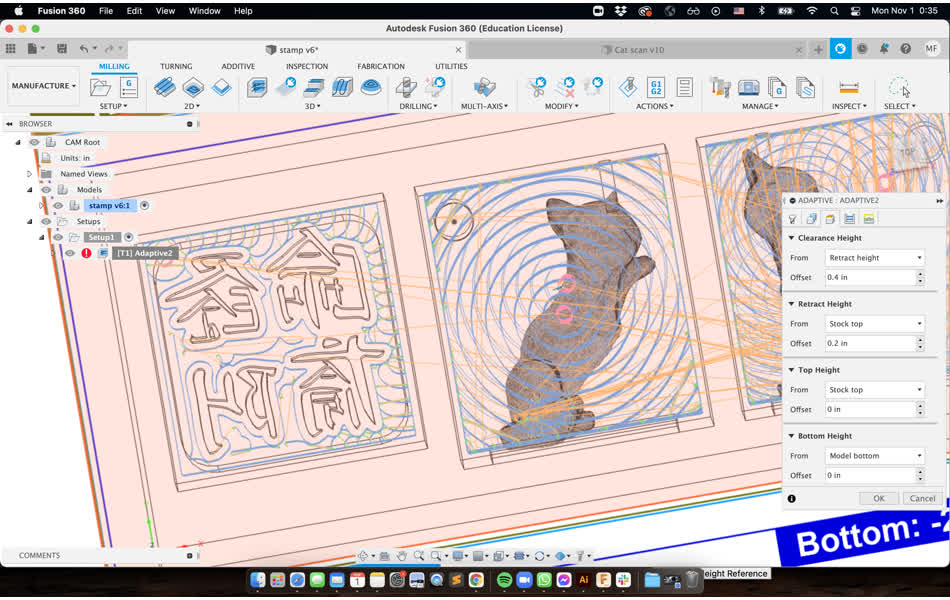
Typicall the top of an imperior seal is some of animal (dragon, tiger, lion). I chose a cat =^^=. To make my life easier, I grabbed an existing 3D model of a cat from SketchFab. I then imported it into Fusion and split the cat into half for the two-part mold. To prepare for the 3D file for the desktop CNC, I created a block that's the same size as the wax block. For the characters, I inverted characters because it is a stamp and extruded from the dxf file. For the top part, I inserted the two halves of the cat, added a base platform. To make sure the two-part mold line up, I added a small feature (yin and yang) that fit perfectly into each other. I also added a path overlapping the top part of the cat for pouring the substance for casting.
After I created the model, I immediately realized the characters would be too small to mold. Even after reversing the extrusion, the gap between the strokes is still too narrow for the end mill. I checked with Fusion's CAM tool and indeed the tool path doesn't include the character detail at all. So I decided to print the mold for the bottom of the seal (the characters) with the FormLabs printer. The cat part I will mill out of the wax block. Having used the large CNC machine, the desktop CNC is no longer intimidating. Catching the wax shaving is quite fun -- lot of Human-Robot Interaction going there. The timelapse shows the pretty satisfying process and the whole process took about 30 mins.
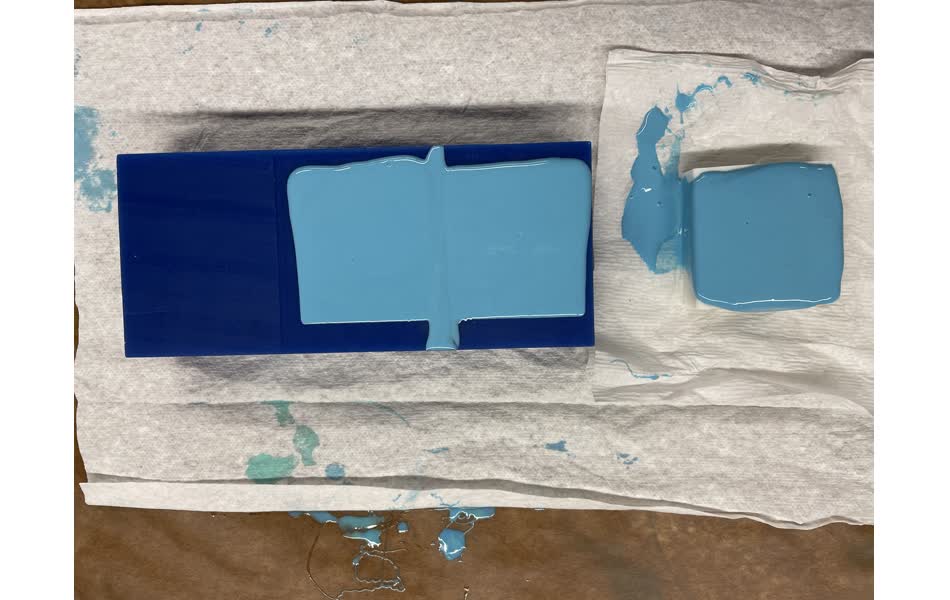
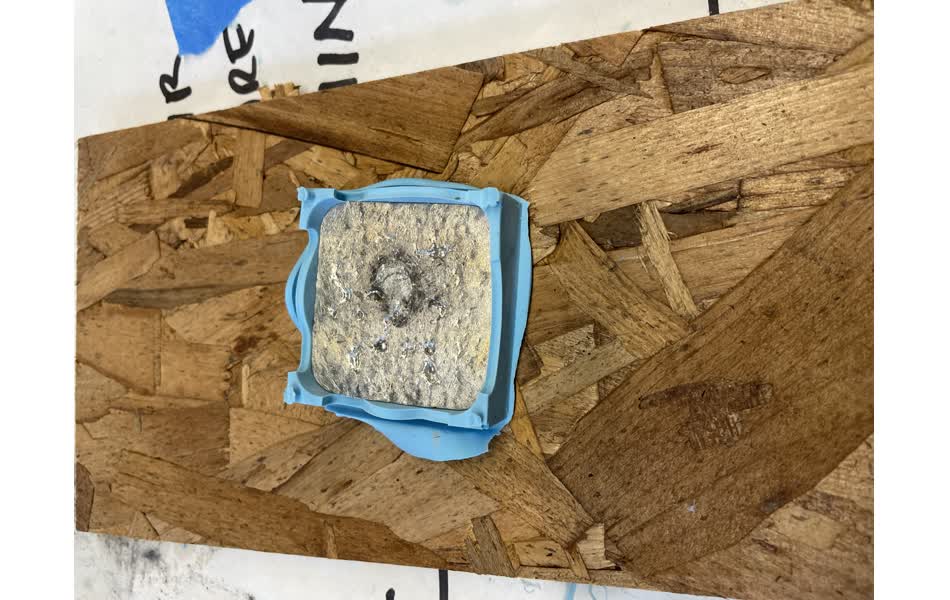
The 3D printed block turned out quite well. Time to pour the OOMOO into the mold to cast a negative mold. First stir Part A and Part B in their respective bottle for about 1 minute. Mix 1:1 volume of Part A and Part B together and then mix for another 3 minutes. Pound the cup of mixtures a couple of times to get rid of air bubbles. Afterwards, pour slowly into the molds to avoid any air bubbles. Wait for about 45 minutes, the negative molds made of OOMOO should settle. The character negative mold had a lot of airbubbles, so I thought I poured too fast. I gave it another try, even try out the vacuum chamber (not part of the instructions but decided to try anyway), the negative mold still had a lot of bubbles...I suspect there were some leftover chemicals in the resin mold. To avoid being a perfectionist, I decided to move on.
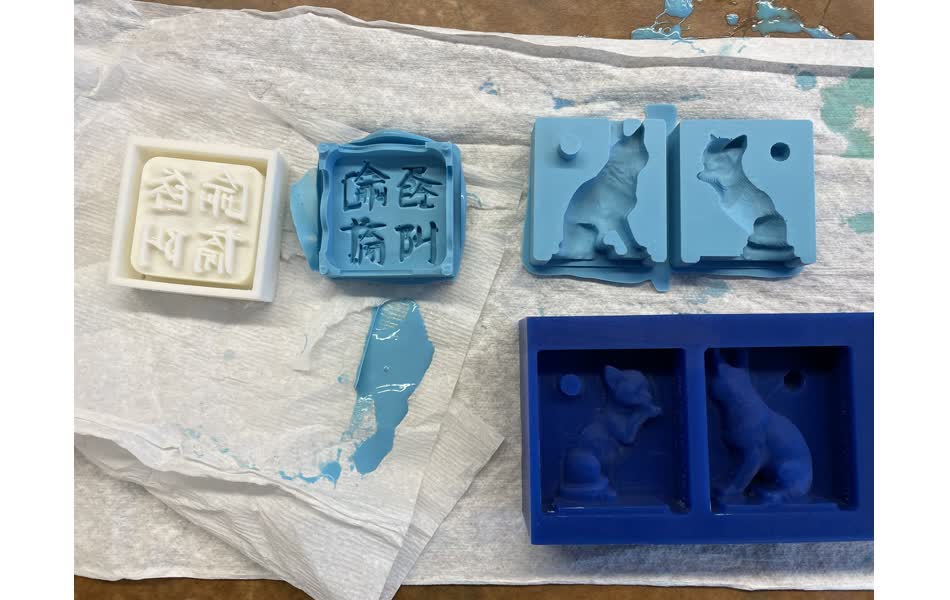
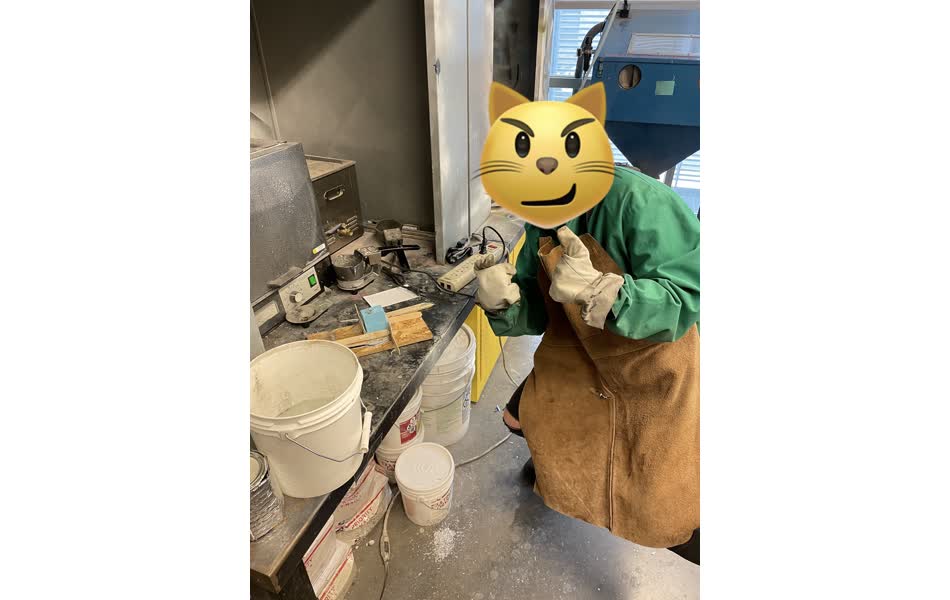
It's time to cast! We are using Cerrotru, which is a Bismuth-Tin alloy with a melting temperature of lower than the temperature tolerance of OOMOO. At first I was a bit intimidated by metal casting, then I realized the process is surprisingly easy and fast. Here's me all gear-ed up. I lined up my two part mold and placed it onto of the bottom mold, and I secured the molds using wooden strips and hot-glued the wooden planks to the bottom wooden strip.
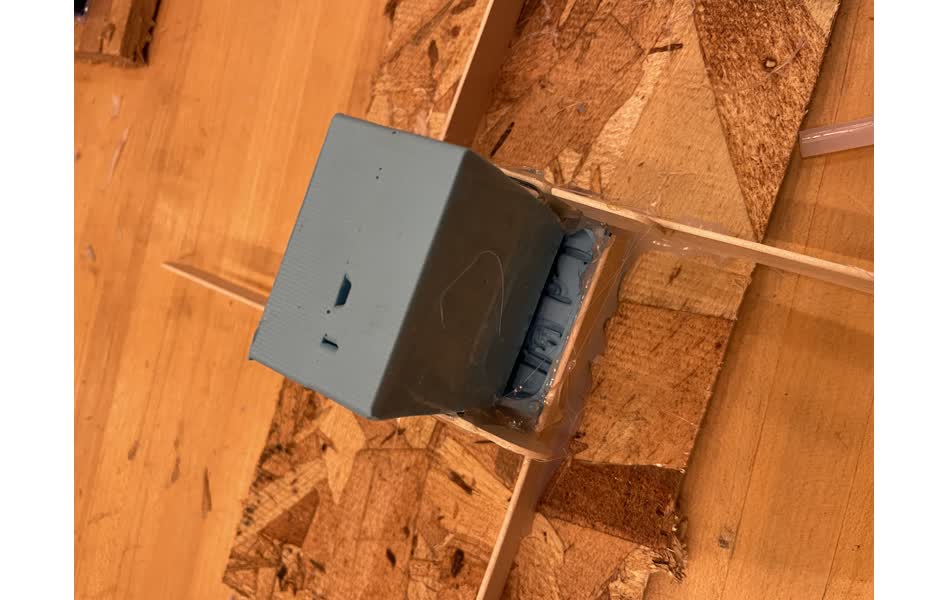
The structure was not stable...The metal ended up melting the hotglue and leaked out of the mold. The bottom part was also quite messy. The two-part mold was also not enclosed tightly. Time to change the strategy.
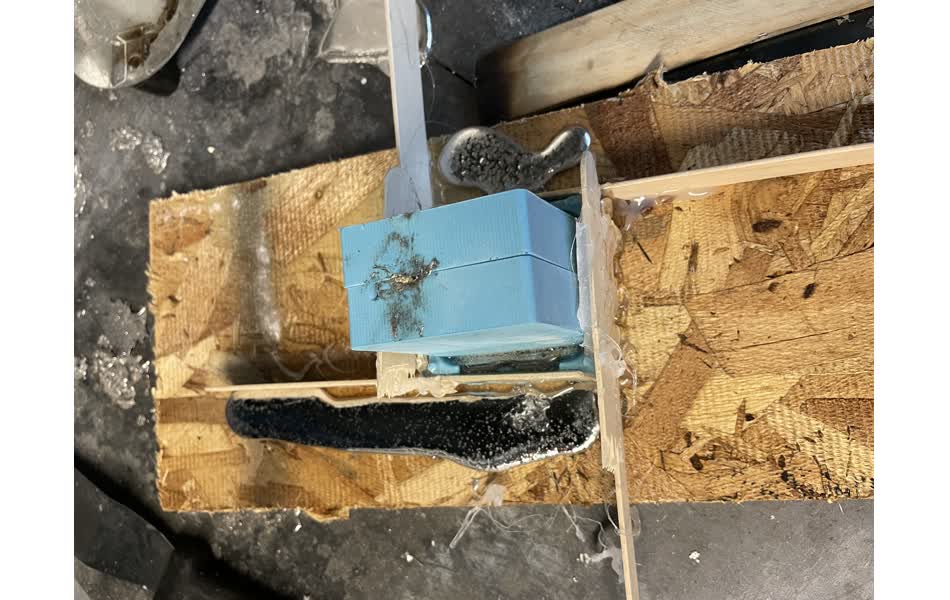
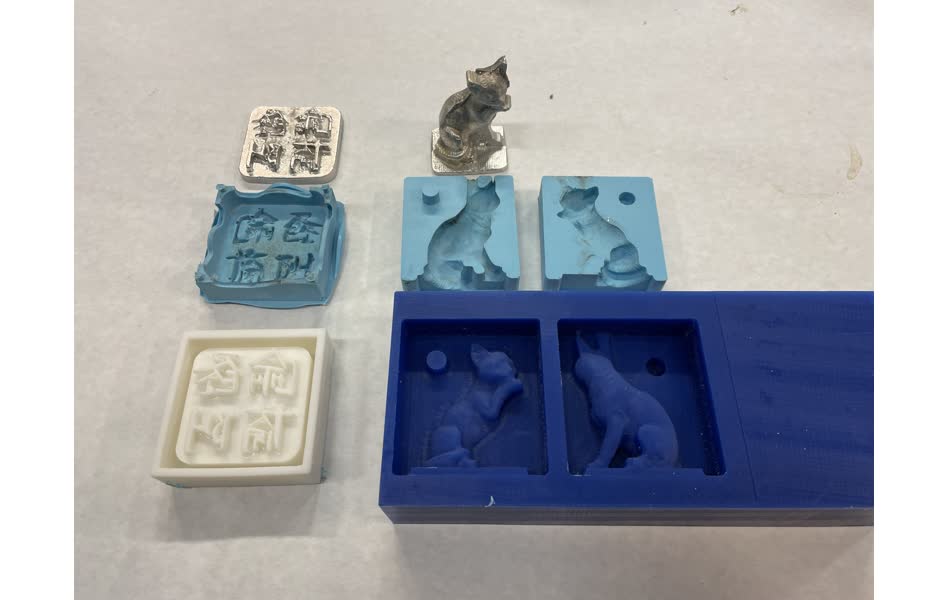
I first casted the bottom part. Then I wrapped duct tape around the two-part mold to make sure they are tightly sealed all around. Learning from my mistakes, instead of pouring liquid metal all at once, I split the process into three parts, letting the bottom part settle relatively before adding more metal. This turned out pretty well. My two-part mold is not too bad!
Just as I thought I was done, two accidents happened. When I was sanding the seal, the part slipped between the sanding belt. TAT. I had to quickly remake the bottom part. I then tried to connect the top part of seal (the cat) to the bottom part (the characters). Somehow, I naively thought I could just quickly heat up some cerrotru and place the cat on top before the metal cools down. As I placed the metal pot directly on top of the seal, I didn't just melt the top surface but also began melting the entire seal. Right, totally forgot that the metal has a extremely low temperature. Round 3 of making the bottom part. I then tried to solder the two part onto each other. Since the solder and the cerrotru have different melting temperature, the solder just left little poop where the iron touches. Eventually I just had to come peace with the two part seal. If I have time, I would love to make a clear resin with the mold as a fake Jade Imperial Seal!