Computer-Controlled Machining: Designing a Parametric 3D Strcuture Using ShopBot & a Oriented Strand Board
Objective:
1. To design a 3D model using CAD sofrware .
2. To cut and assemble the pieces of the model into a 3D structure.
Materials:
(a) Fusion 360 software to design and sketch the 3D model;(b) ShopBot machine; (c) Vcarve software (Shopbot Edition); (d) Oriented strand board (OSB)
Fabrication:
(a) 3D modelling: Using the Fusion 360, I designed the 3D model and applied the "Iterference" command to investigate any possibilities of intereference/overlapping in the joints between different parts.
I kept a +ve tolerance of 3mm in my slot design for easy insertion of other parts through them.
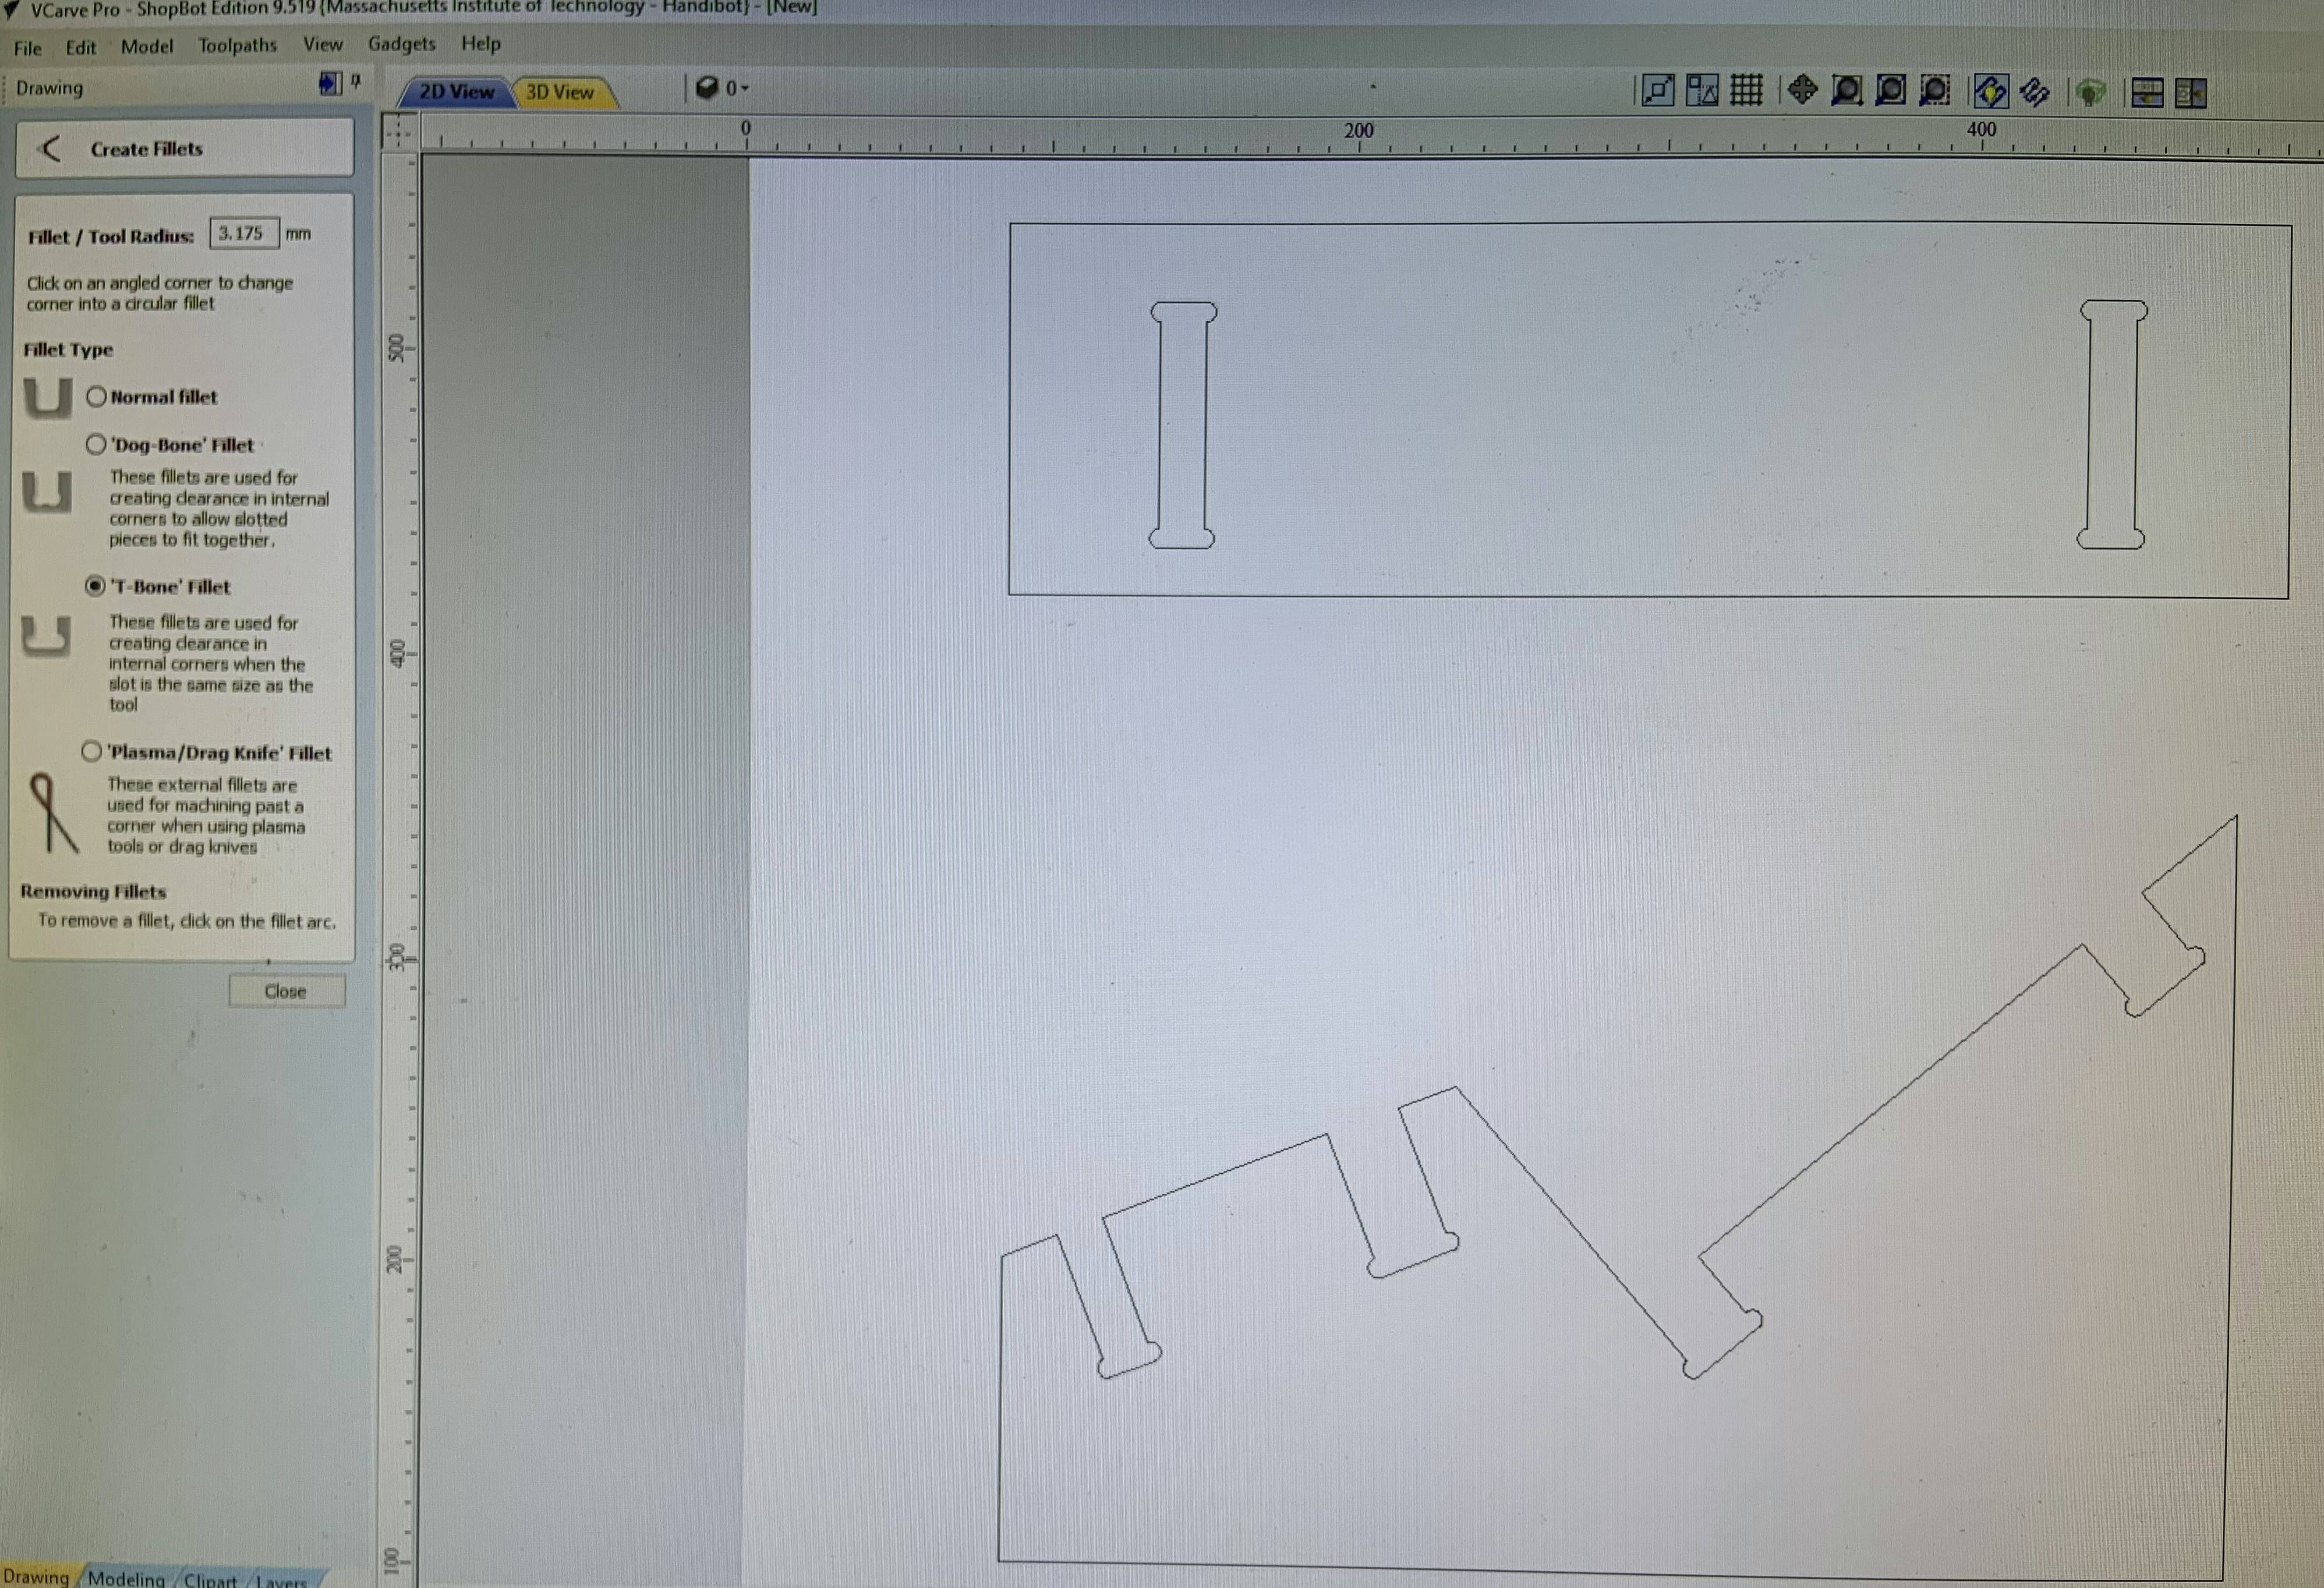
(b) 2D sketch (.dxf file format) and transferring to the Vcarve (Shopbot edition): From Fusion 360, I used the "sketch" command to convert my 3D structures into 2D parts and teansferred them to the Vcarve software to run in the ShopBot.
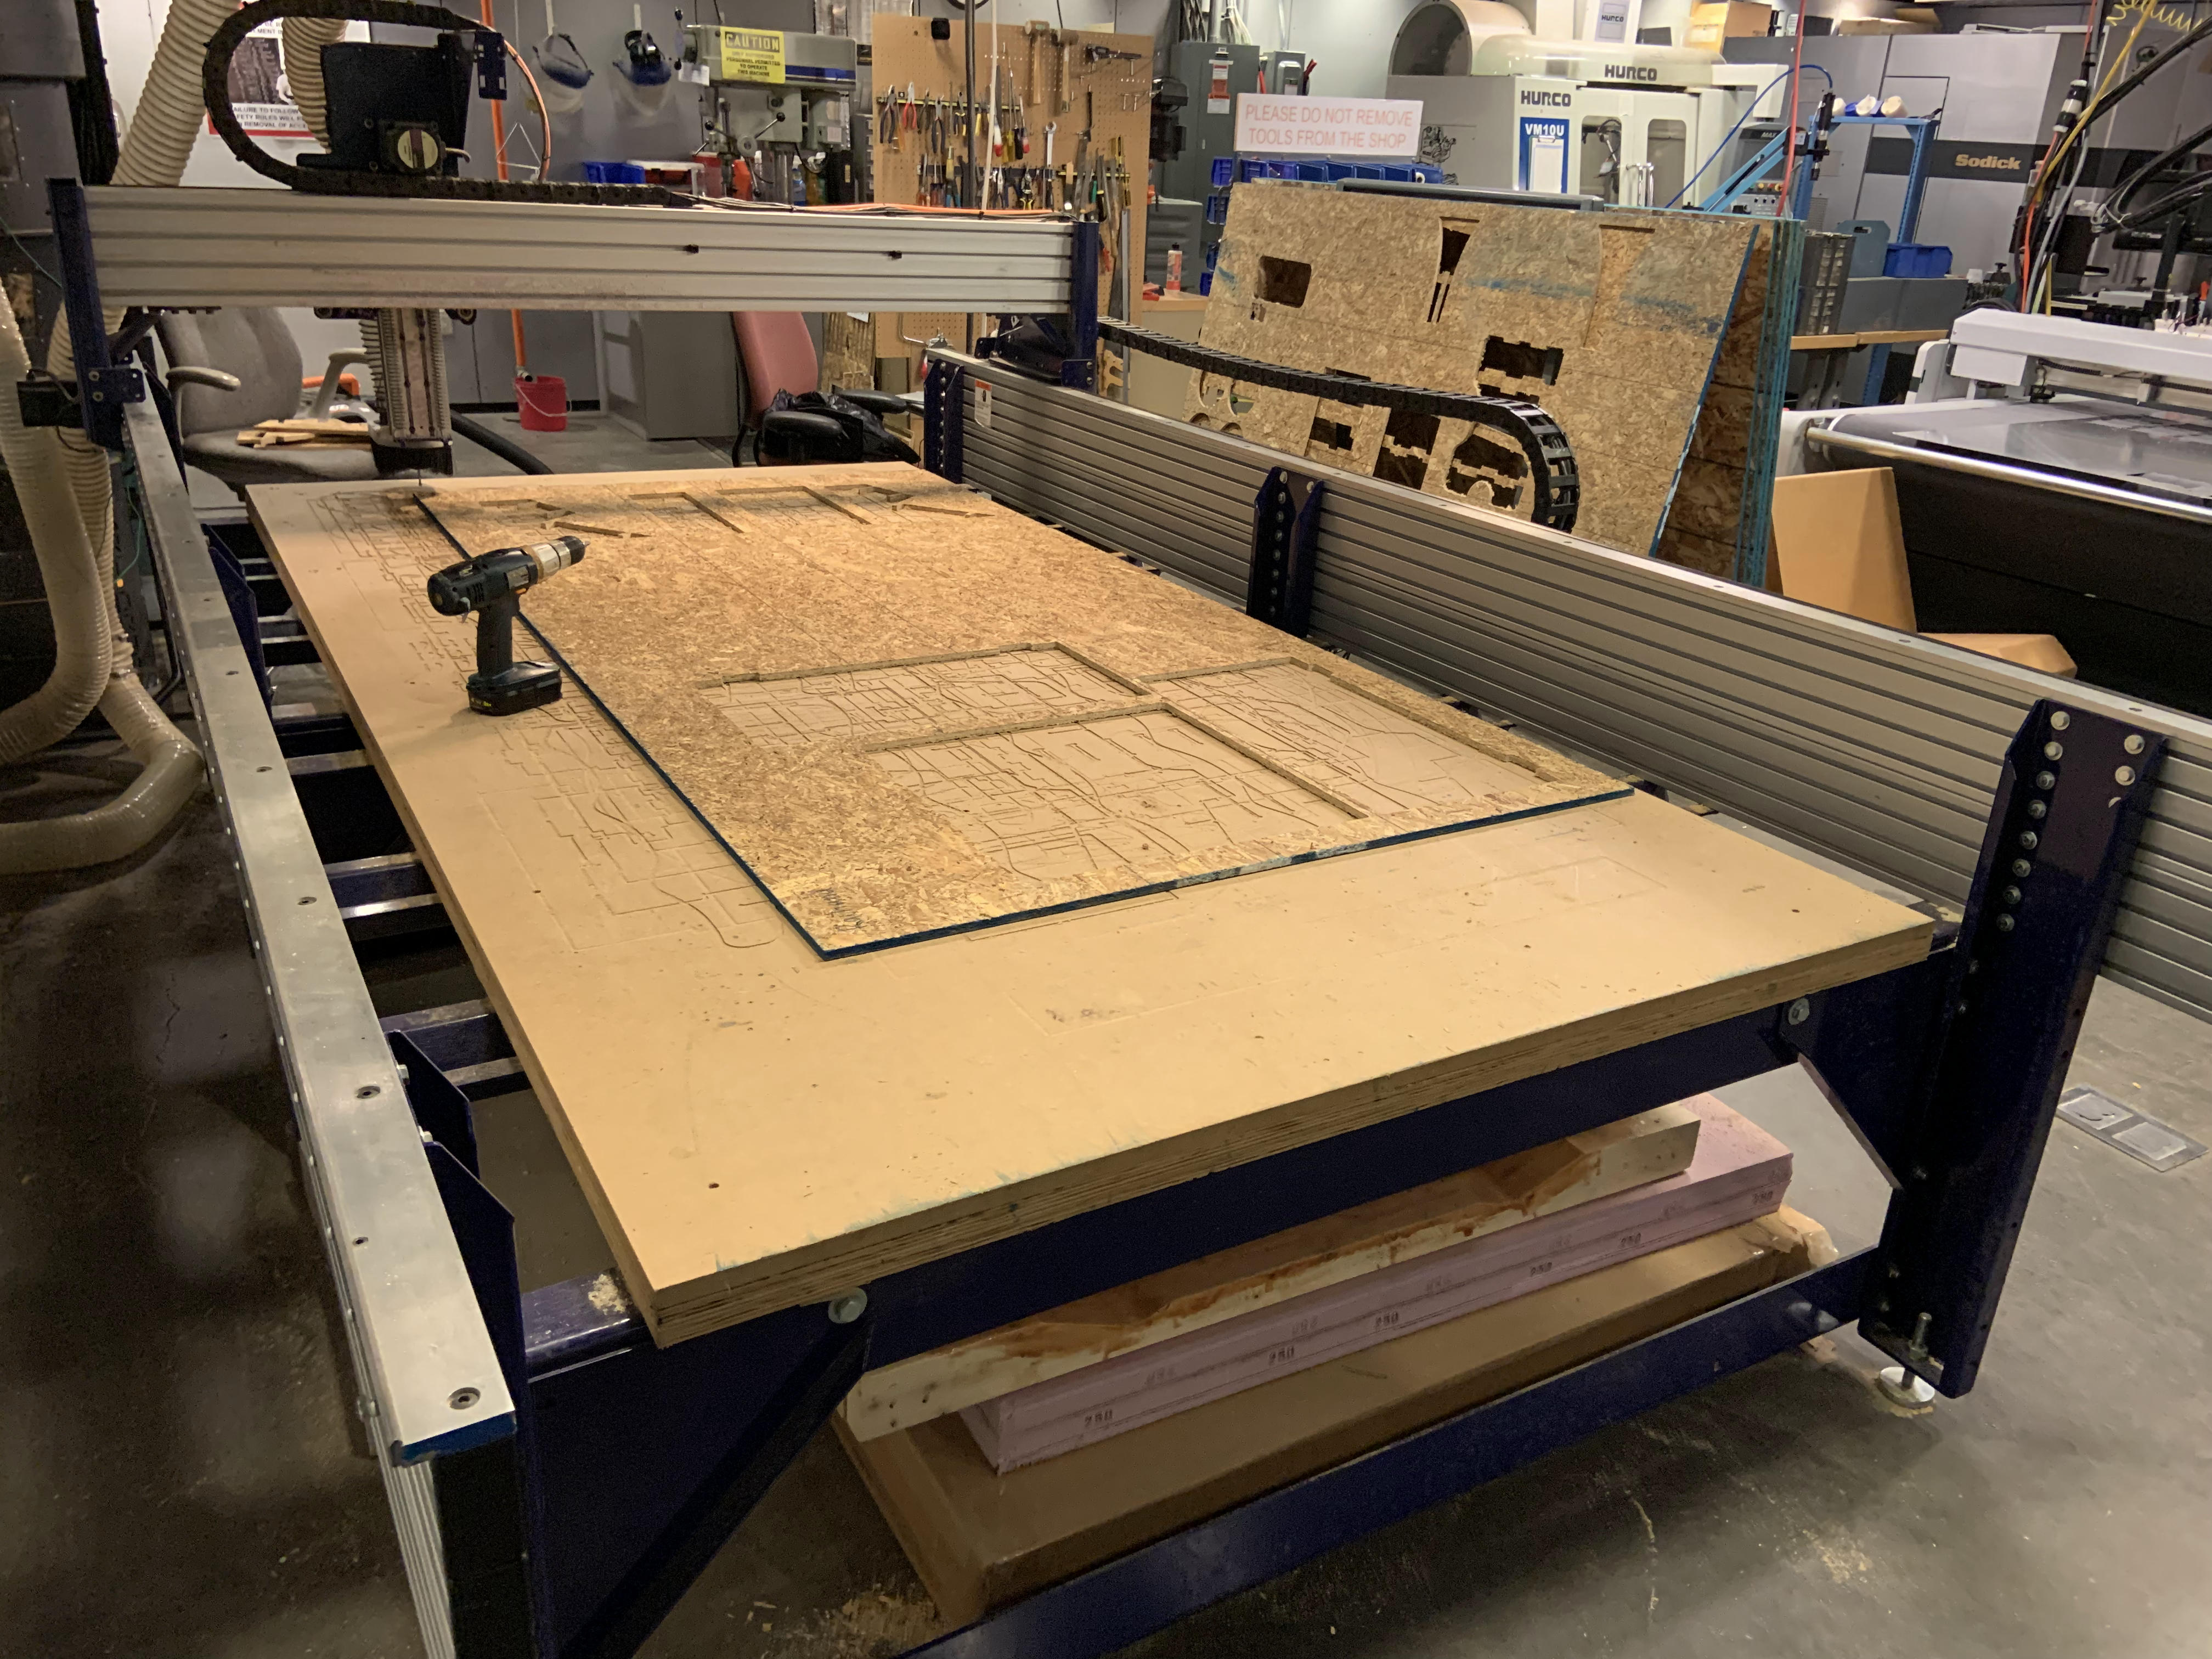
(c) OSB installation: On the ShopBot bed, the sacrificial layers were already installed. On top of it, I placed my OSB board.
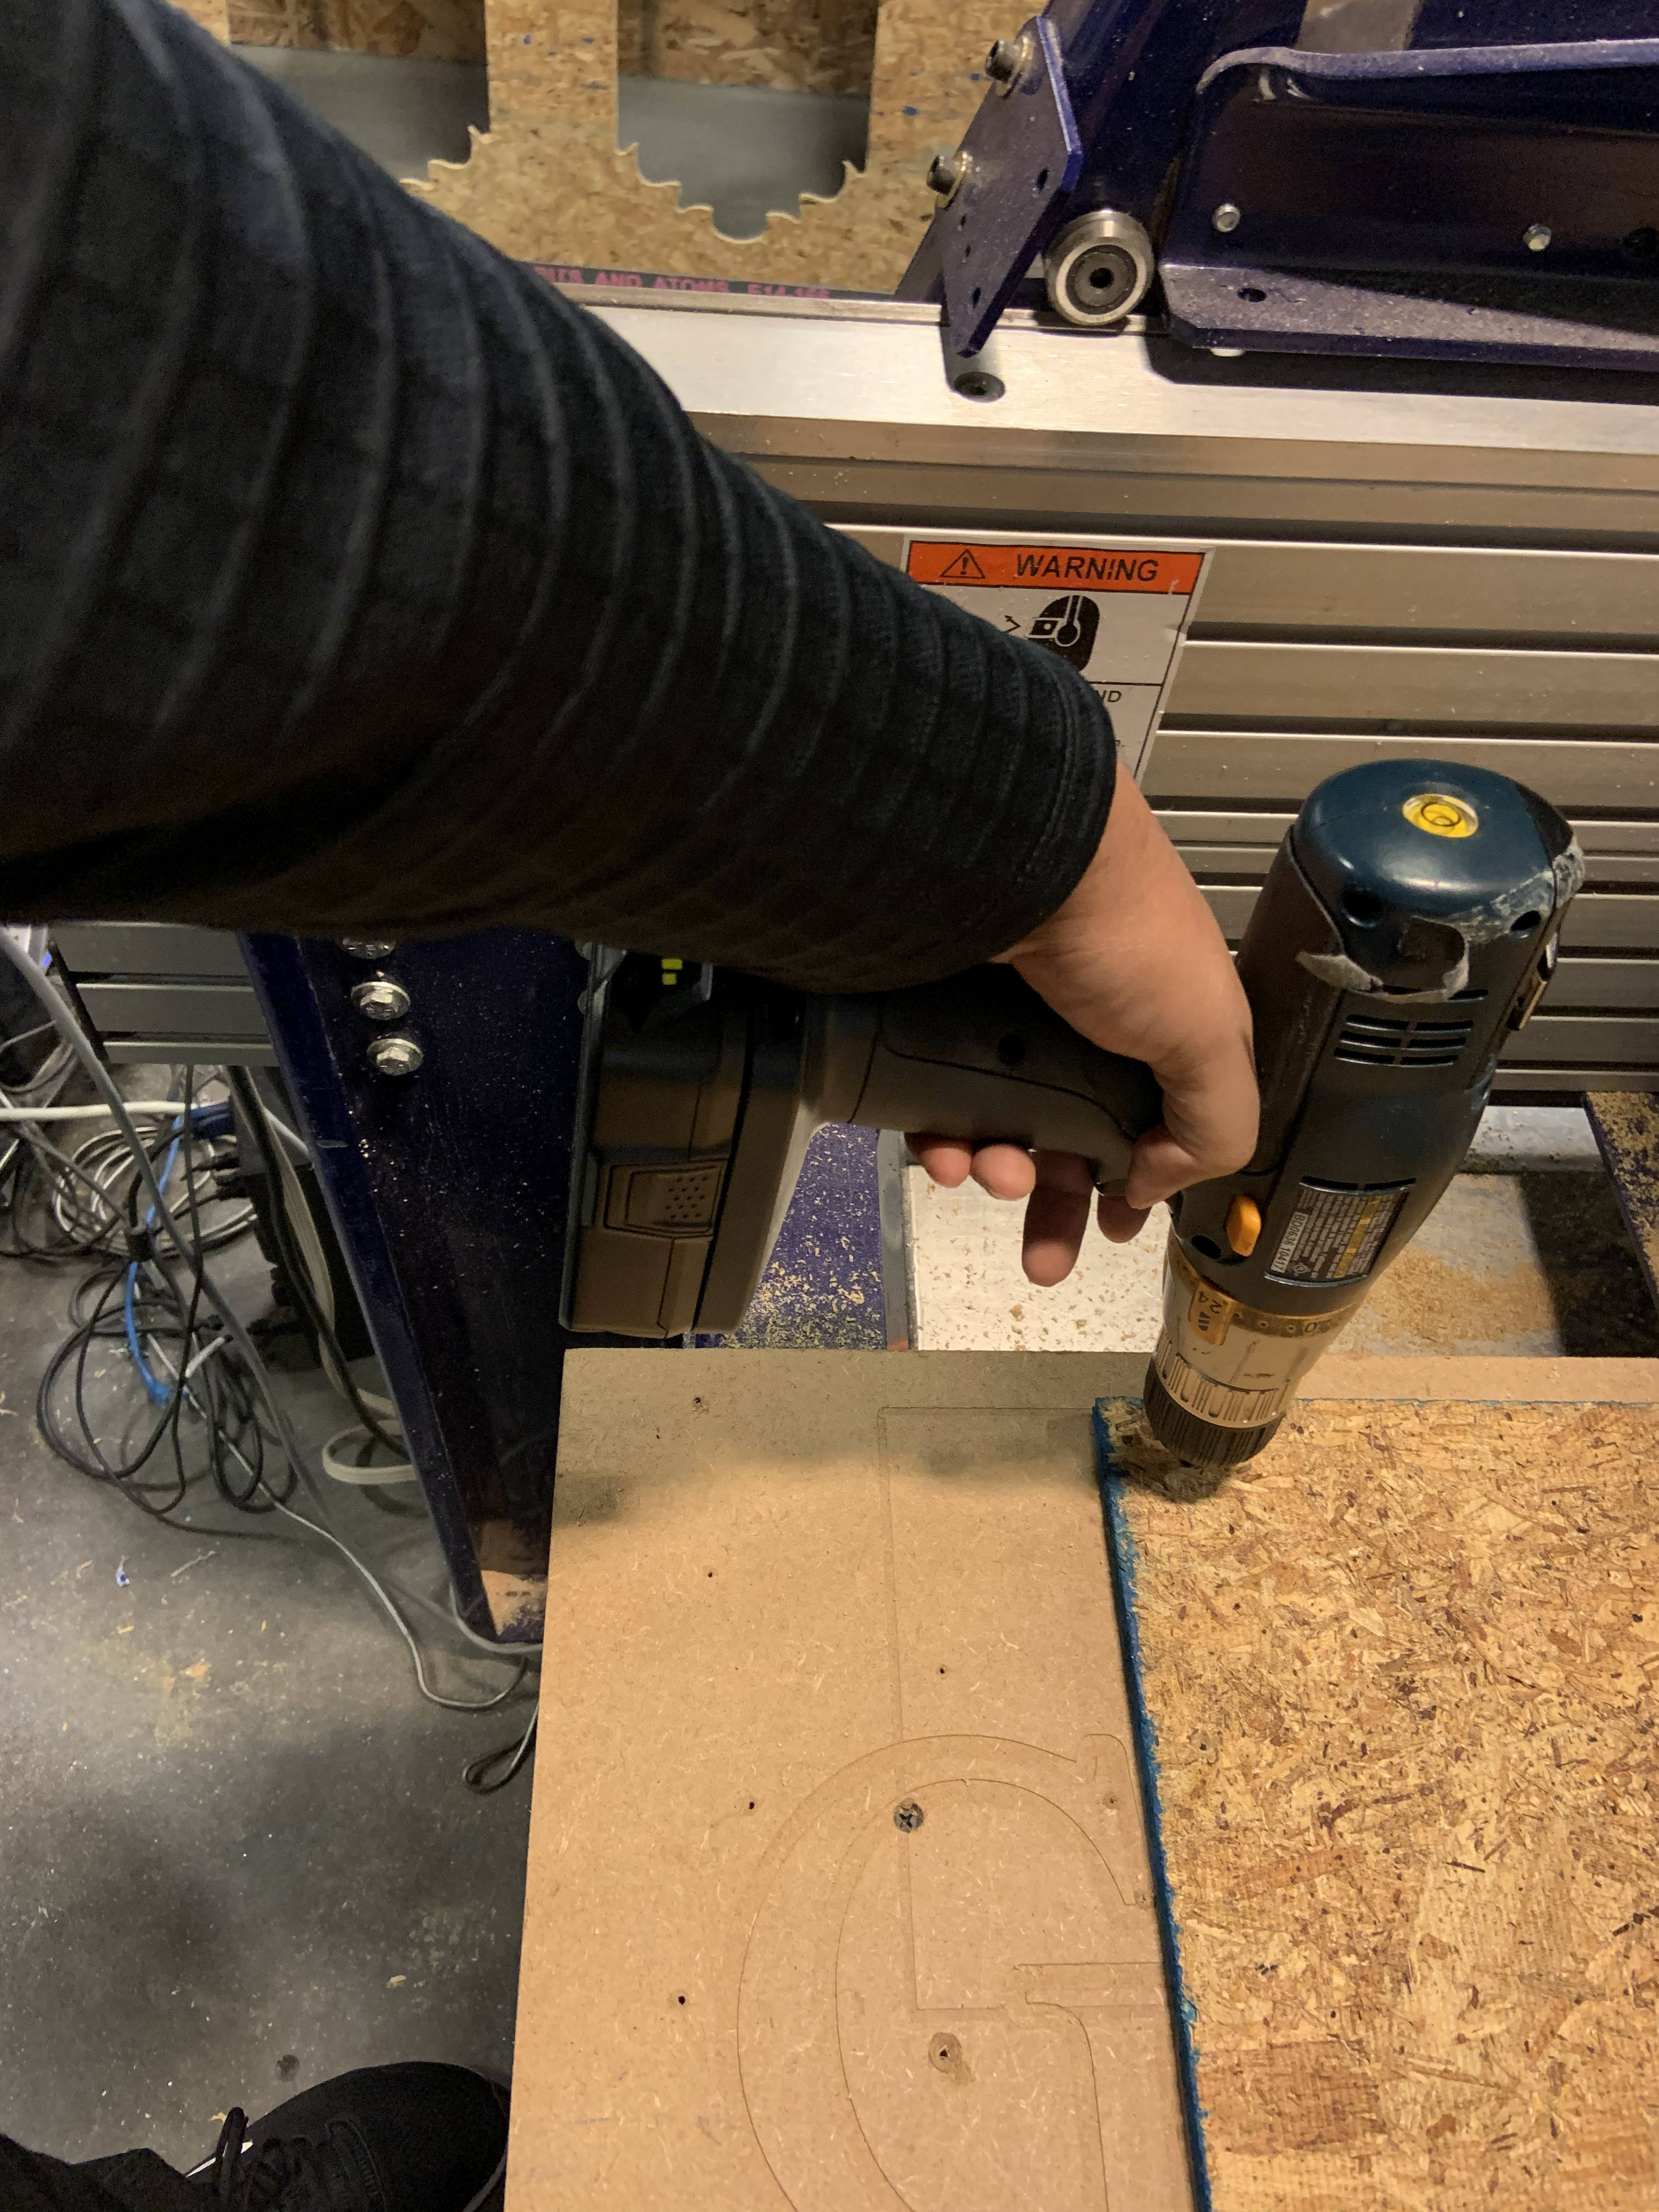
I used the autmatice power screwdriver to pin four screws: 4 in four corners.
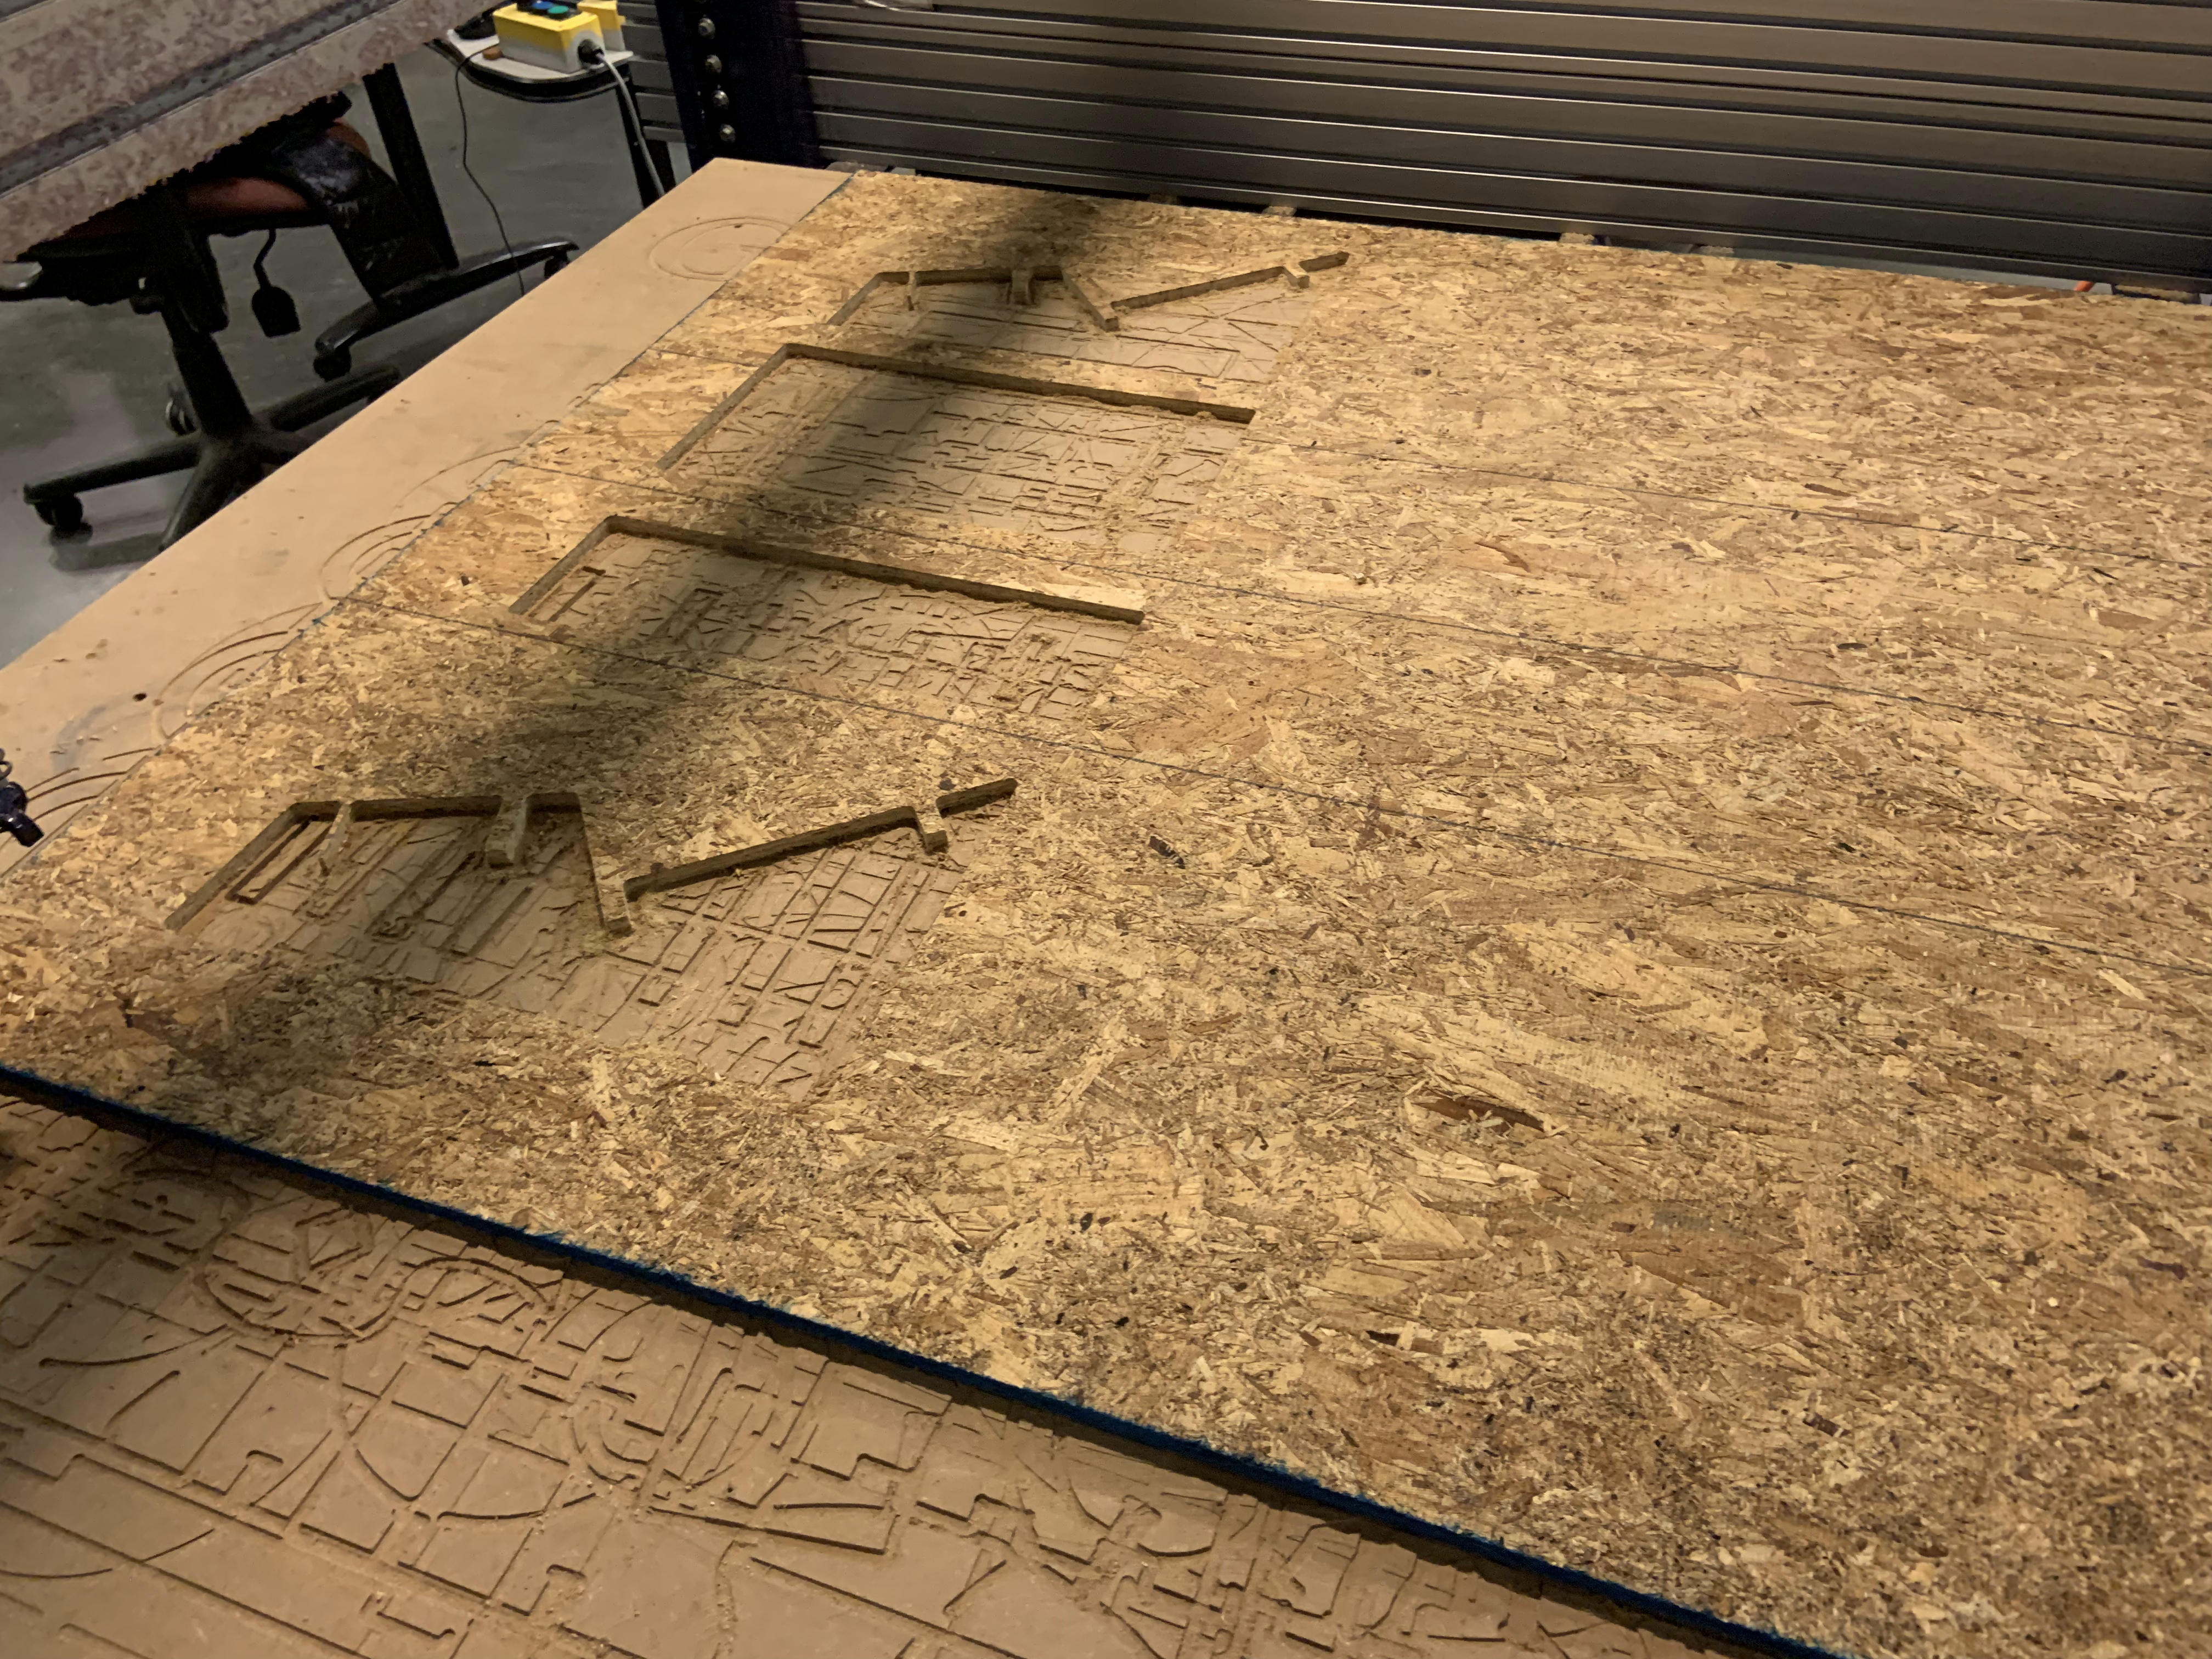
(d) Vcarve softrware commands to cut using the ShopBot: Following the manuals given by Tom, I gave all the necessary commands to cut my designs into OSB pieces.
(e) Cleaning and parts collection for assembly: Once the cutting was completed, I collected my parts, cleaned the OSB surface and sacrificial layer (after unscrewing the OSB layer) using a vaccume clearner, and assembled my parts into a 3D table.
Avoiding a fabrication mishap:
(a) I made sure to add "rivets" as shown by Tom, during our traininig, on the corners of the "sharp edges" and "slots" to avoid any fabrication mismatch during the assembly.