Computer-Controlled Machining
Tools: Full size 96" x 60" ShopBot Materials: OSB plywood
Individual Assignment:
Chair:
I really liked some of the open-source furniture designs linked on the class website and thought that it was especially interesting that
you could make such sleek furniture like this chair. I planned to make a simple, sleek chair.
3D Modeling and Assembly:
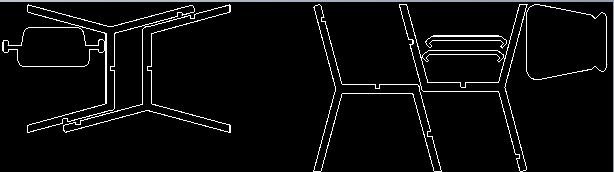
I decided to use Solidworks this week for no real reason other than to practice using other standard design tools. Because the parts were all just extruded sketches, the main exercise was doing parametric design and 3D
assembly in a different software interface. Unfortunately, only my inital model of the chair frame was parametric. The seat back, seat, and foot bar were all fitted to the cross pieces forming the main structure of the chair.
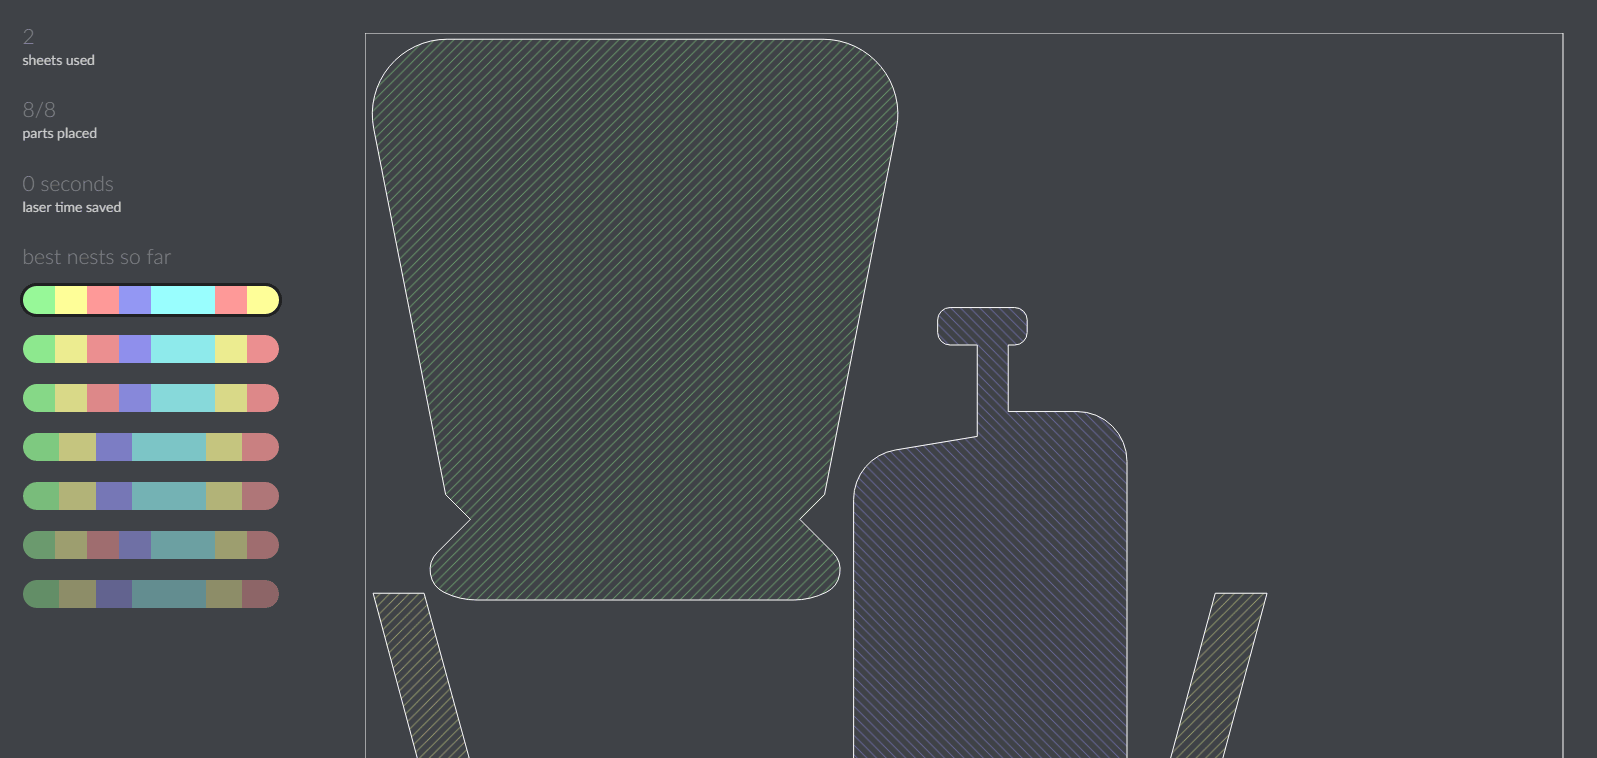
I also was hoping to screw two layers of OSB to form a much stronger frame for my chair so that it could remain sleek. When I began to optimally nest my pieces using DeepNest.io, there was no way to fit
all my pieces on the one 4' x 8' OSB sheet that was provided. Because I did not have time to parametrically adjust my entire assembly, I ended up just milling using a single layer for the frame. It's more of a conceptual chair than a functional one.

Cutting:
Without two extra frames, my design was easy to fit by manual nesting on VCarve. Tom helped me with this so that I could set it up quickly. He warned me that my chair would be flimsy, and he was right. Nevertheless, we added some notches to the footbar and milled!
The cut was pretty uneventful and took around 30 minutes. My parts turned out hilariously oversized. In the model, it looked proportional and the dimensions were based around nice, whole numbers (like '2 ft'), but there are clearly more subtleties in sizing for fuctional use.
After filing down some edges and power sanding some faces, I was ready to 'sit' on my newly milled chair.
Assembly:
Assembly did not go as smoothly because I left a bit too much clearance in my slot joints. I was able to mallet in some shimming pieces of OSB that more tightly constrained the joints. Finally, I had a chair! I was so excited that I went ahead and sat on it without documenting the finished product.
It groaned a bit under my weight, and as soon as I lifted one foot, it imploded and I found myself on the shop floor on top of my splintered 'chair'. This leads us to my weekly documentation of desperate, janky bandaids to finish the project. I simply found some spare slivers of OSB, sandwiched the broken pieces, and screwed them together.
Here's a picture of the final product after repair. Honestly, I still think that my design would have worked if the frame was double-sheet reinforced as designed.
