Laser Cutting
Material: Cardboard (~3ft x ~2ft x 5/32”) Cutting conditions: 2.5 speed, 100% power, 250 ppi Measured kerf (metric): 800um minimum, 3mm maximum
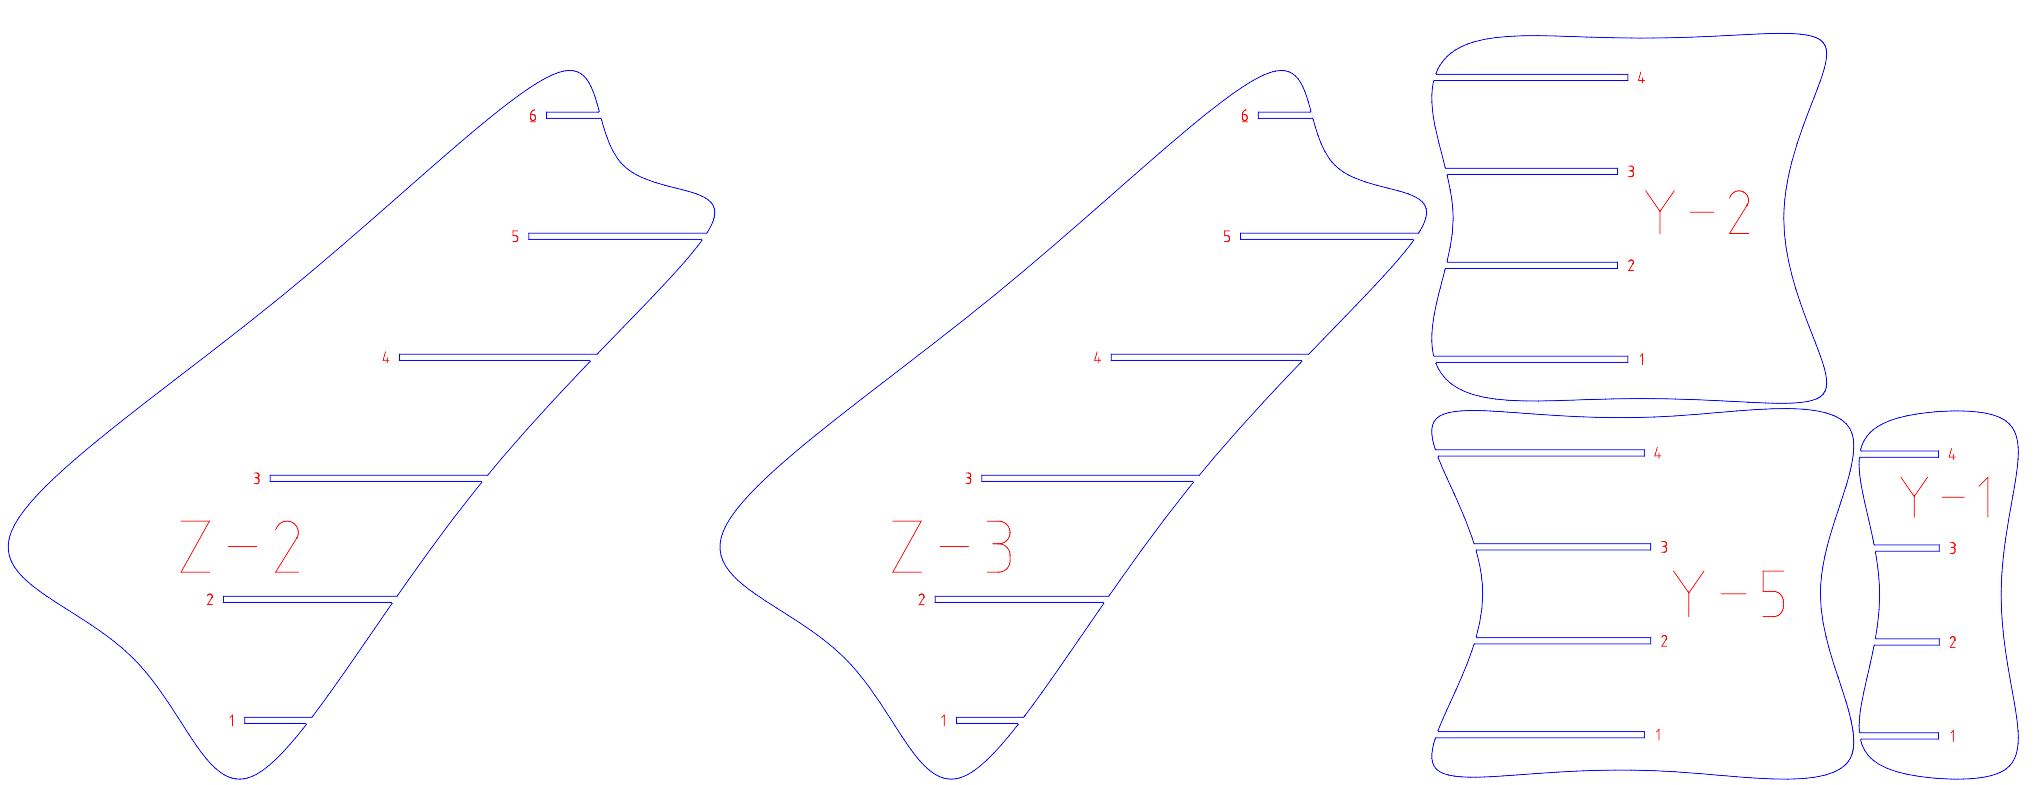
Design Project: A thinking stool
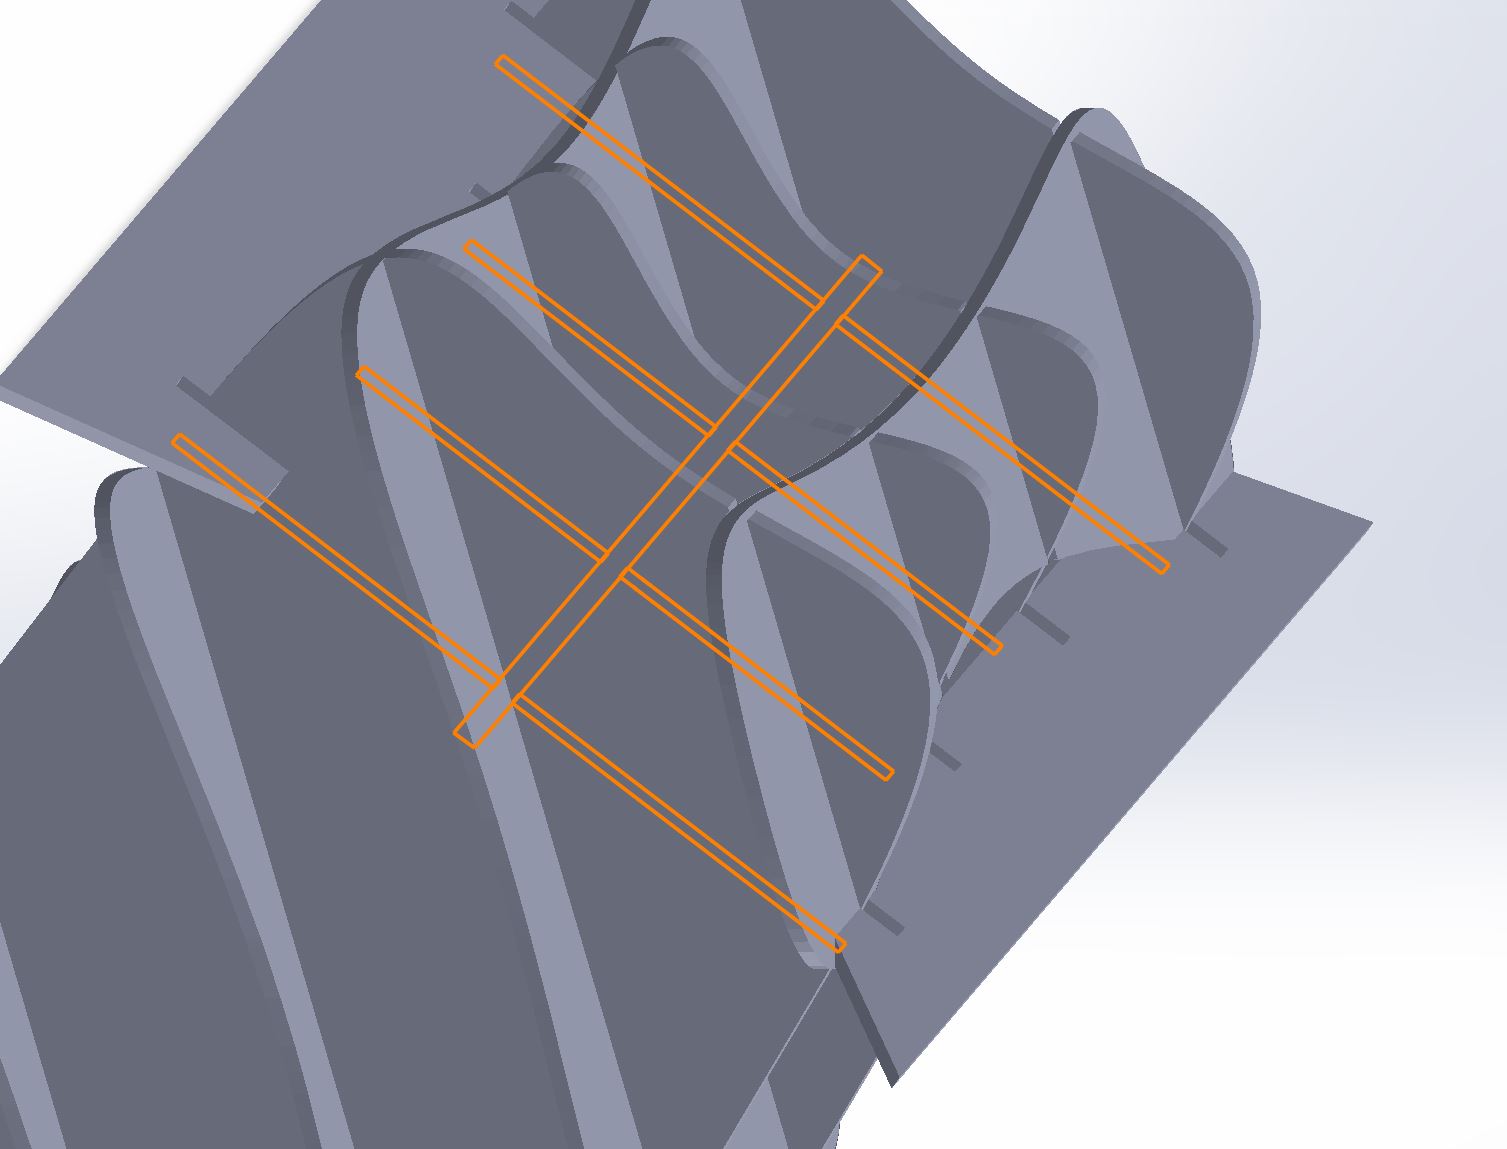
I was interested in practicing the design of functional joints, living hinges, and making a weight-bearing object that I could sit on -- an idea stool. To make this object, I first designed a simple parametric 3D form to slice and form interlocking cardboard slices.

Shortly after trying to parametrically slice the 3D form, I found a deprecated Fusion360 tool called Slicer that would do the same function in much less time and allow me to start cutting sooner. Slicer also automatically generated dxf files that were importable to CorelDraw.
Luckily, I made all of my cuts on the first try. After waiting (and watching) for my turn, I learned what the most important parameters were and how to intervene safely.
- Find the flattest piece of cardboard
- Place a bowed piece of cardboard on the bed so that the corners bow upward
- Tape it down on the corners with strong tape
- It’s better to err on the side of higher ppi and slower speed to make sure the cut goes through (max power)
- If the cut does not penetrate, pause the cut and retape without moving the design, or just restart the cut. It’s better to have wider kerfs than waste material without getting to test it because it's partially cut.
- Always check the focus height, even after someone else uses it.
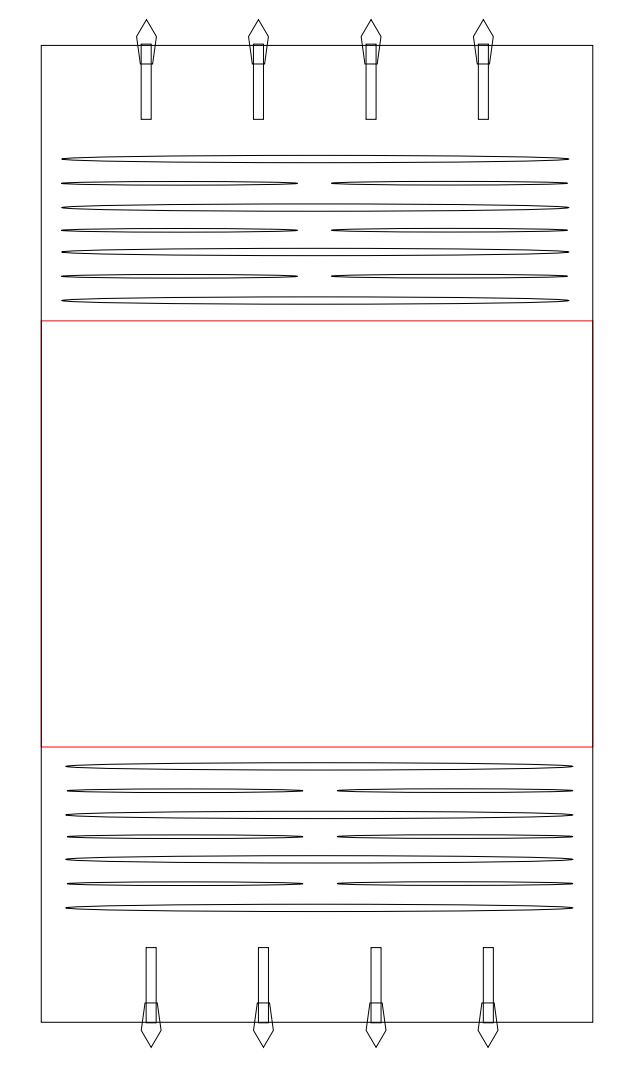
To fit the stool seat to the legs, I first attempted to design the joint in 3D by slicing, tracing, and extruding pieces that would fit. However, I realized that I could just measure spacing, design oversized slots, and add chamfers for alignment, which would relax some constraints on acheiving a perfect fit. I imported measurements from Solidworks and drew the lid directly in CorelDraw. Finally, I included a simple living hinge pattern.

The final assembly was a bit snug in the fit of the interlocked pieces, but it made it sturdy enough to sit on!
Vinyl Cutting
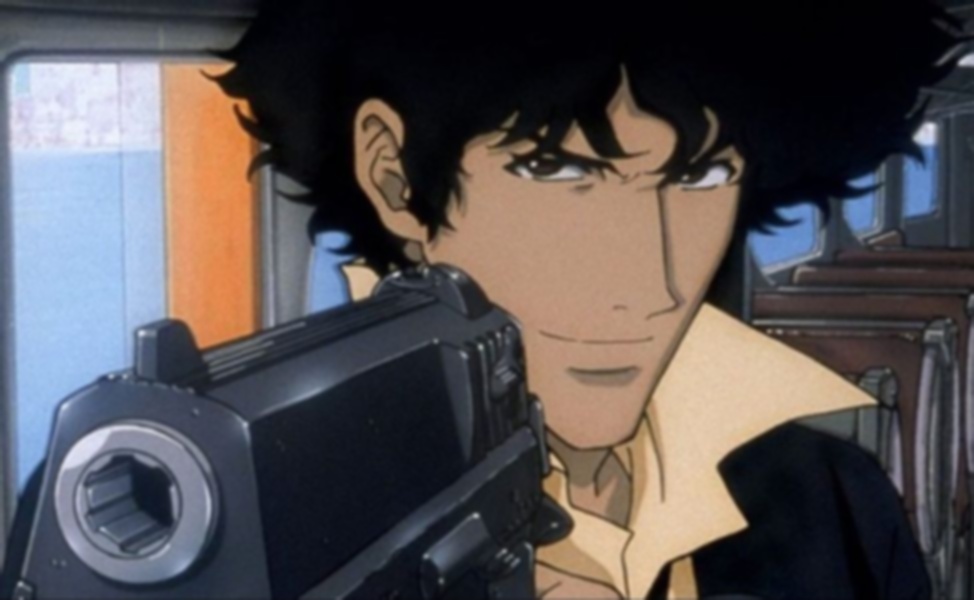
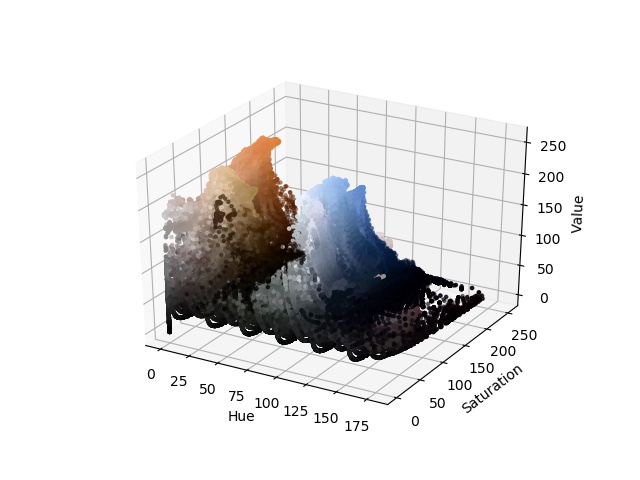
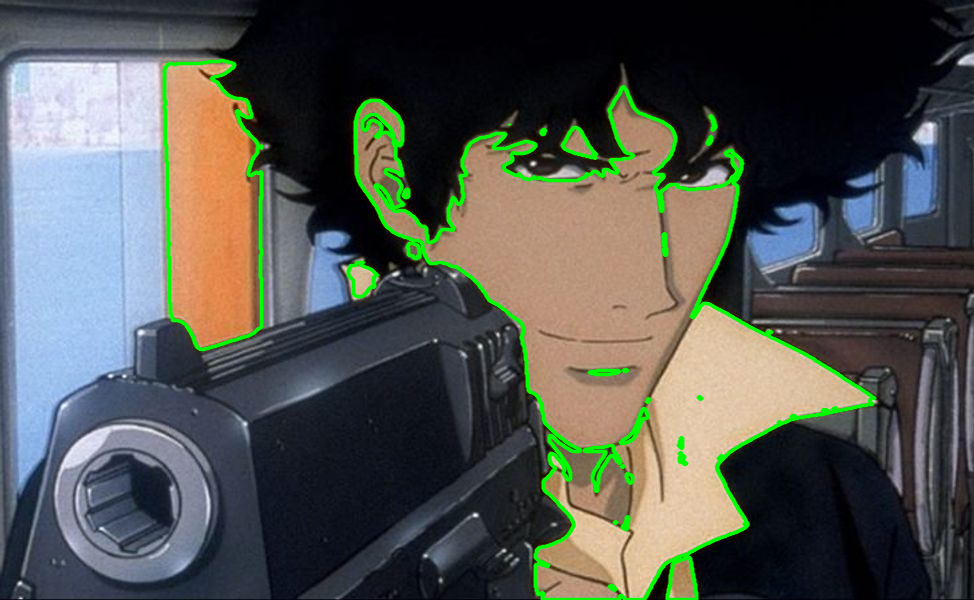
Here's a program I attempted to write in Python primarily using OpenCV to convert images to vinyl cuttable stickers. I originally intended for it to segment an image by colors and form a laser cuttable stack of several layers. Some of it is hardcoded for the image I selected from a favorite show of mine - Cowboy Bebop. To improve it, I would need to automatically determine color ranges by density of pixels in a similar region according to the hsv plot.
Shown below are the image processing steps, the output images, and the cut vinyl.
Original Image:

Blur to reduce fuziness:
HSV Spectrum:
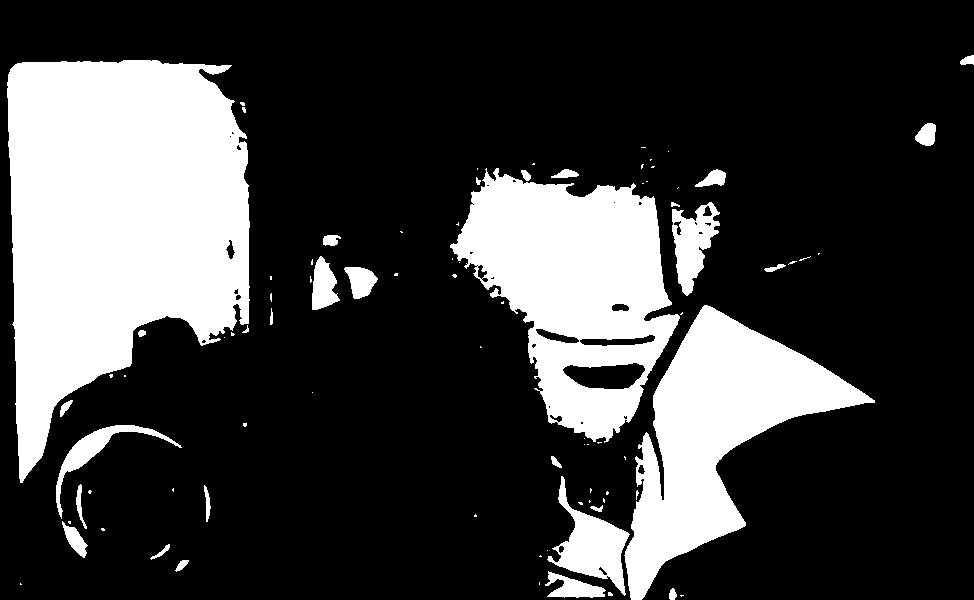
A simple binary threshold doesn't quite do the trick, so we try segmenting by color.
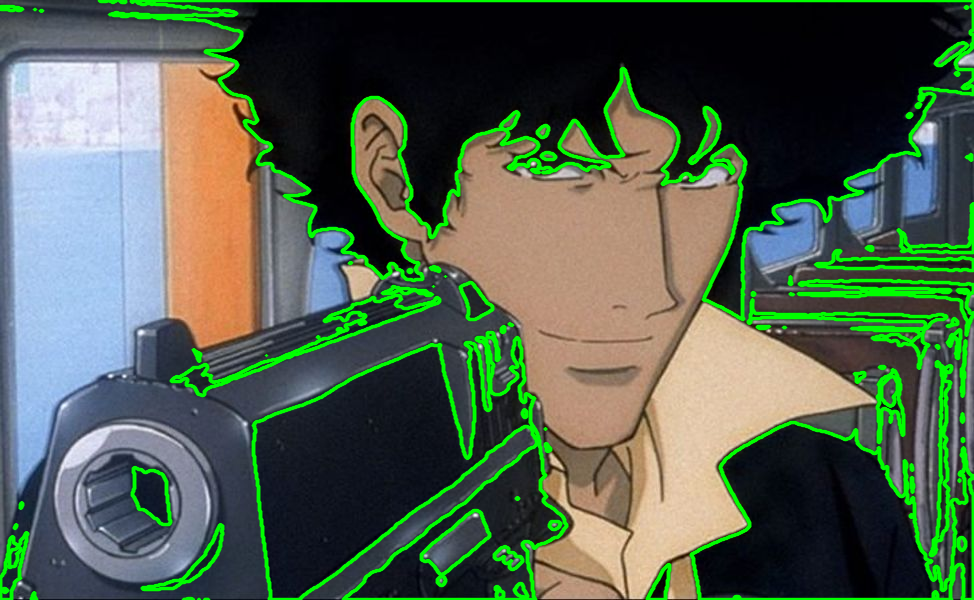
First we mask the dark pixels that are near black, resulting in the contour lines detected below.

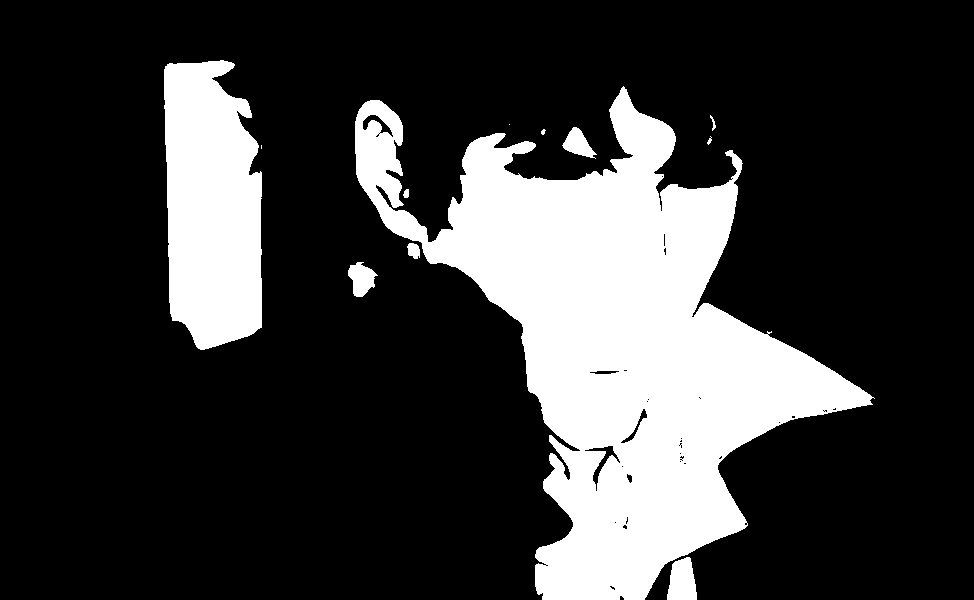
Next, we mask the orange/skin-colored pixels, resulting in the contour lines detected below.
And the final cuts on Vinyl, transferred on my notebook:
