Week 2: Computer Controlled Cutting
This week we worked on using laser cutter and vinyl cutter
Vinyl Cutting
My notes on the How-Tos and Other things I learned along the way are located her :
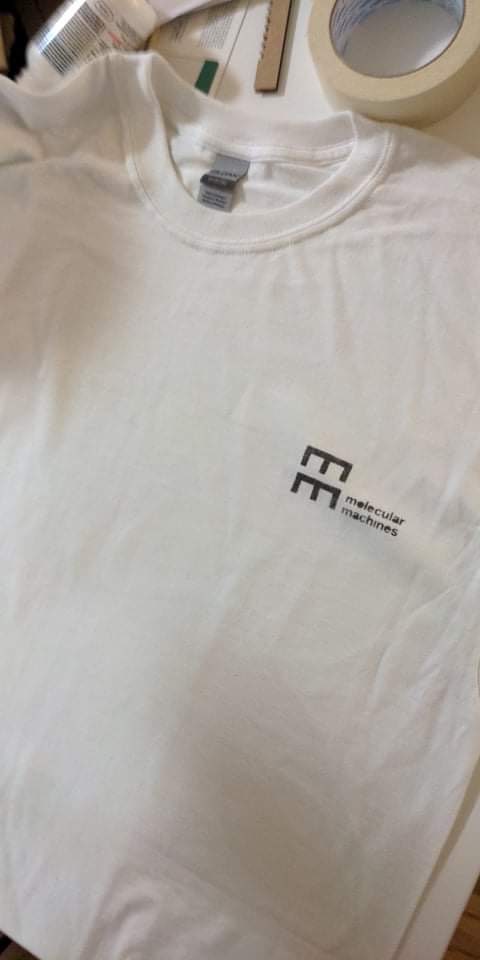
I first used the vinyl cutter to make a sticker for my laptop. I used the SVG files provided by MIT Media Lab to print my group logo.
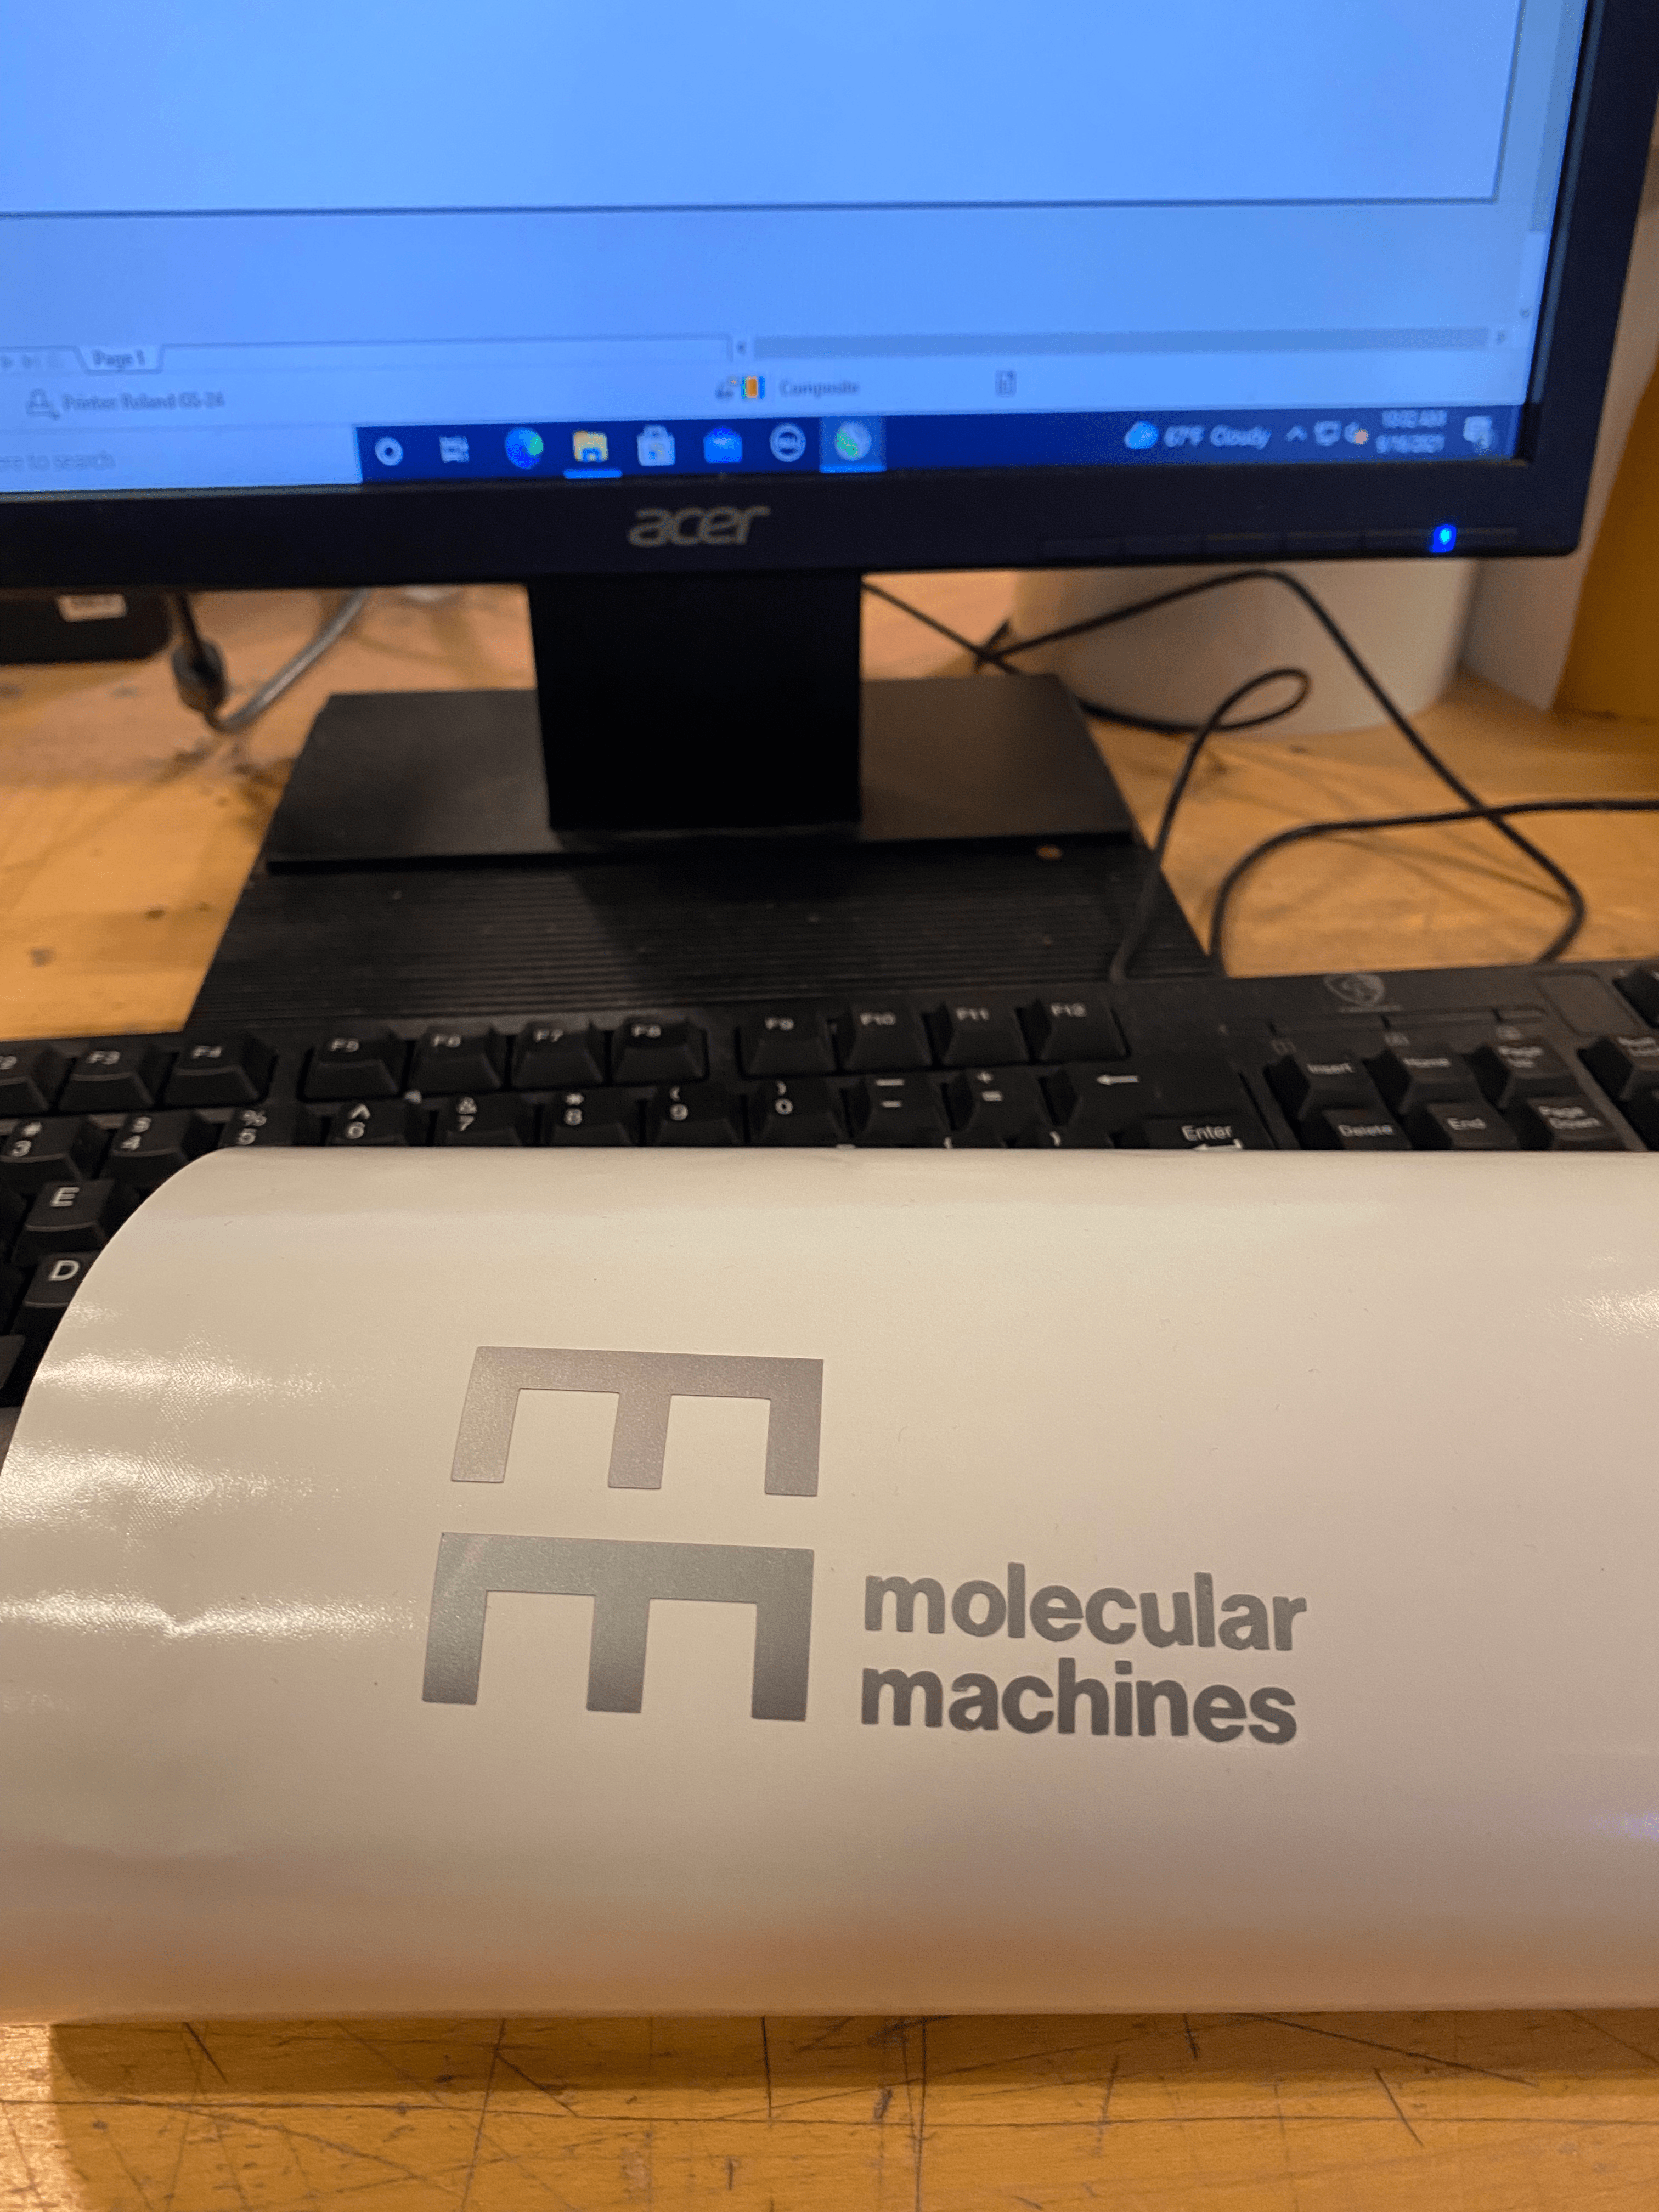
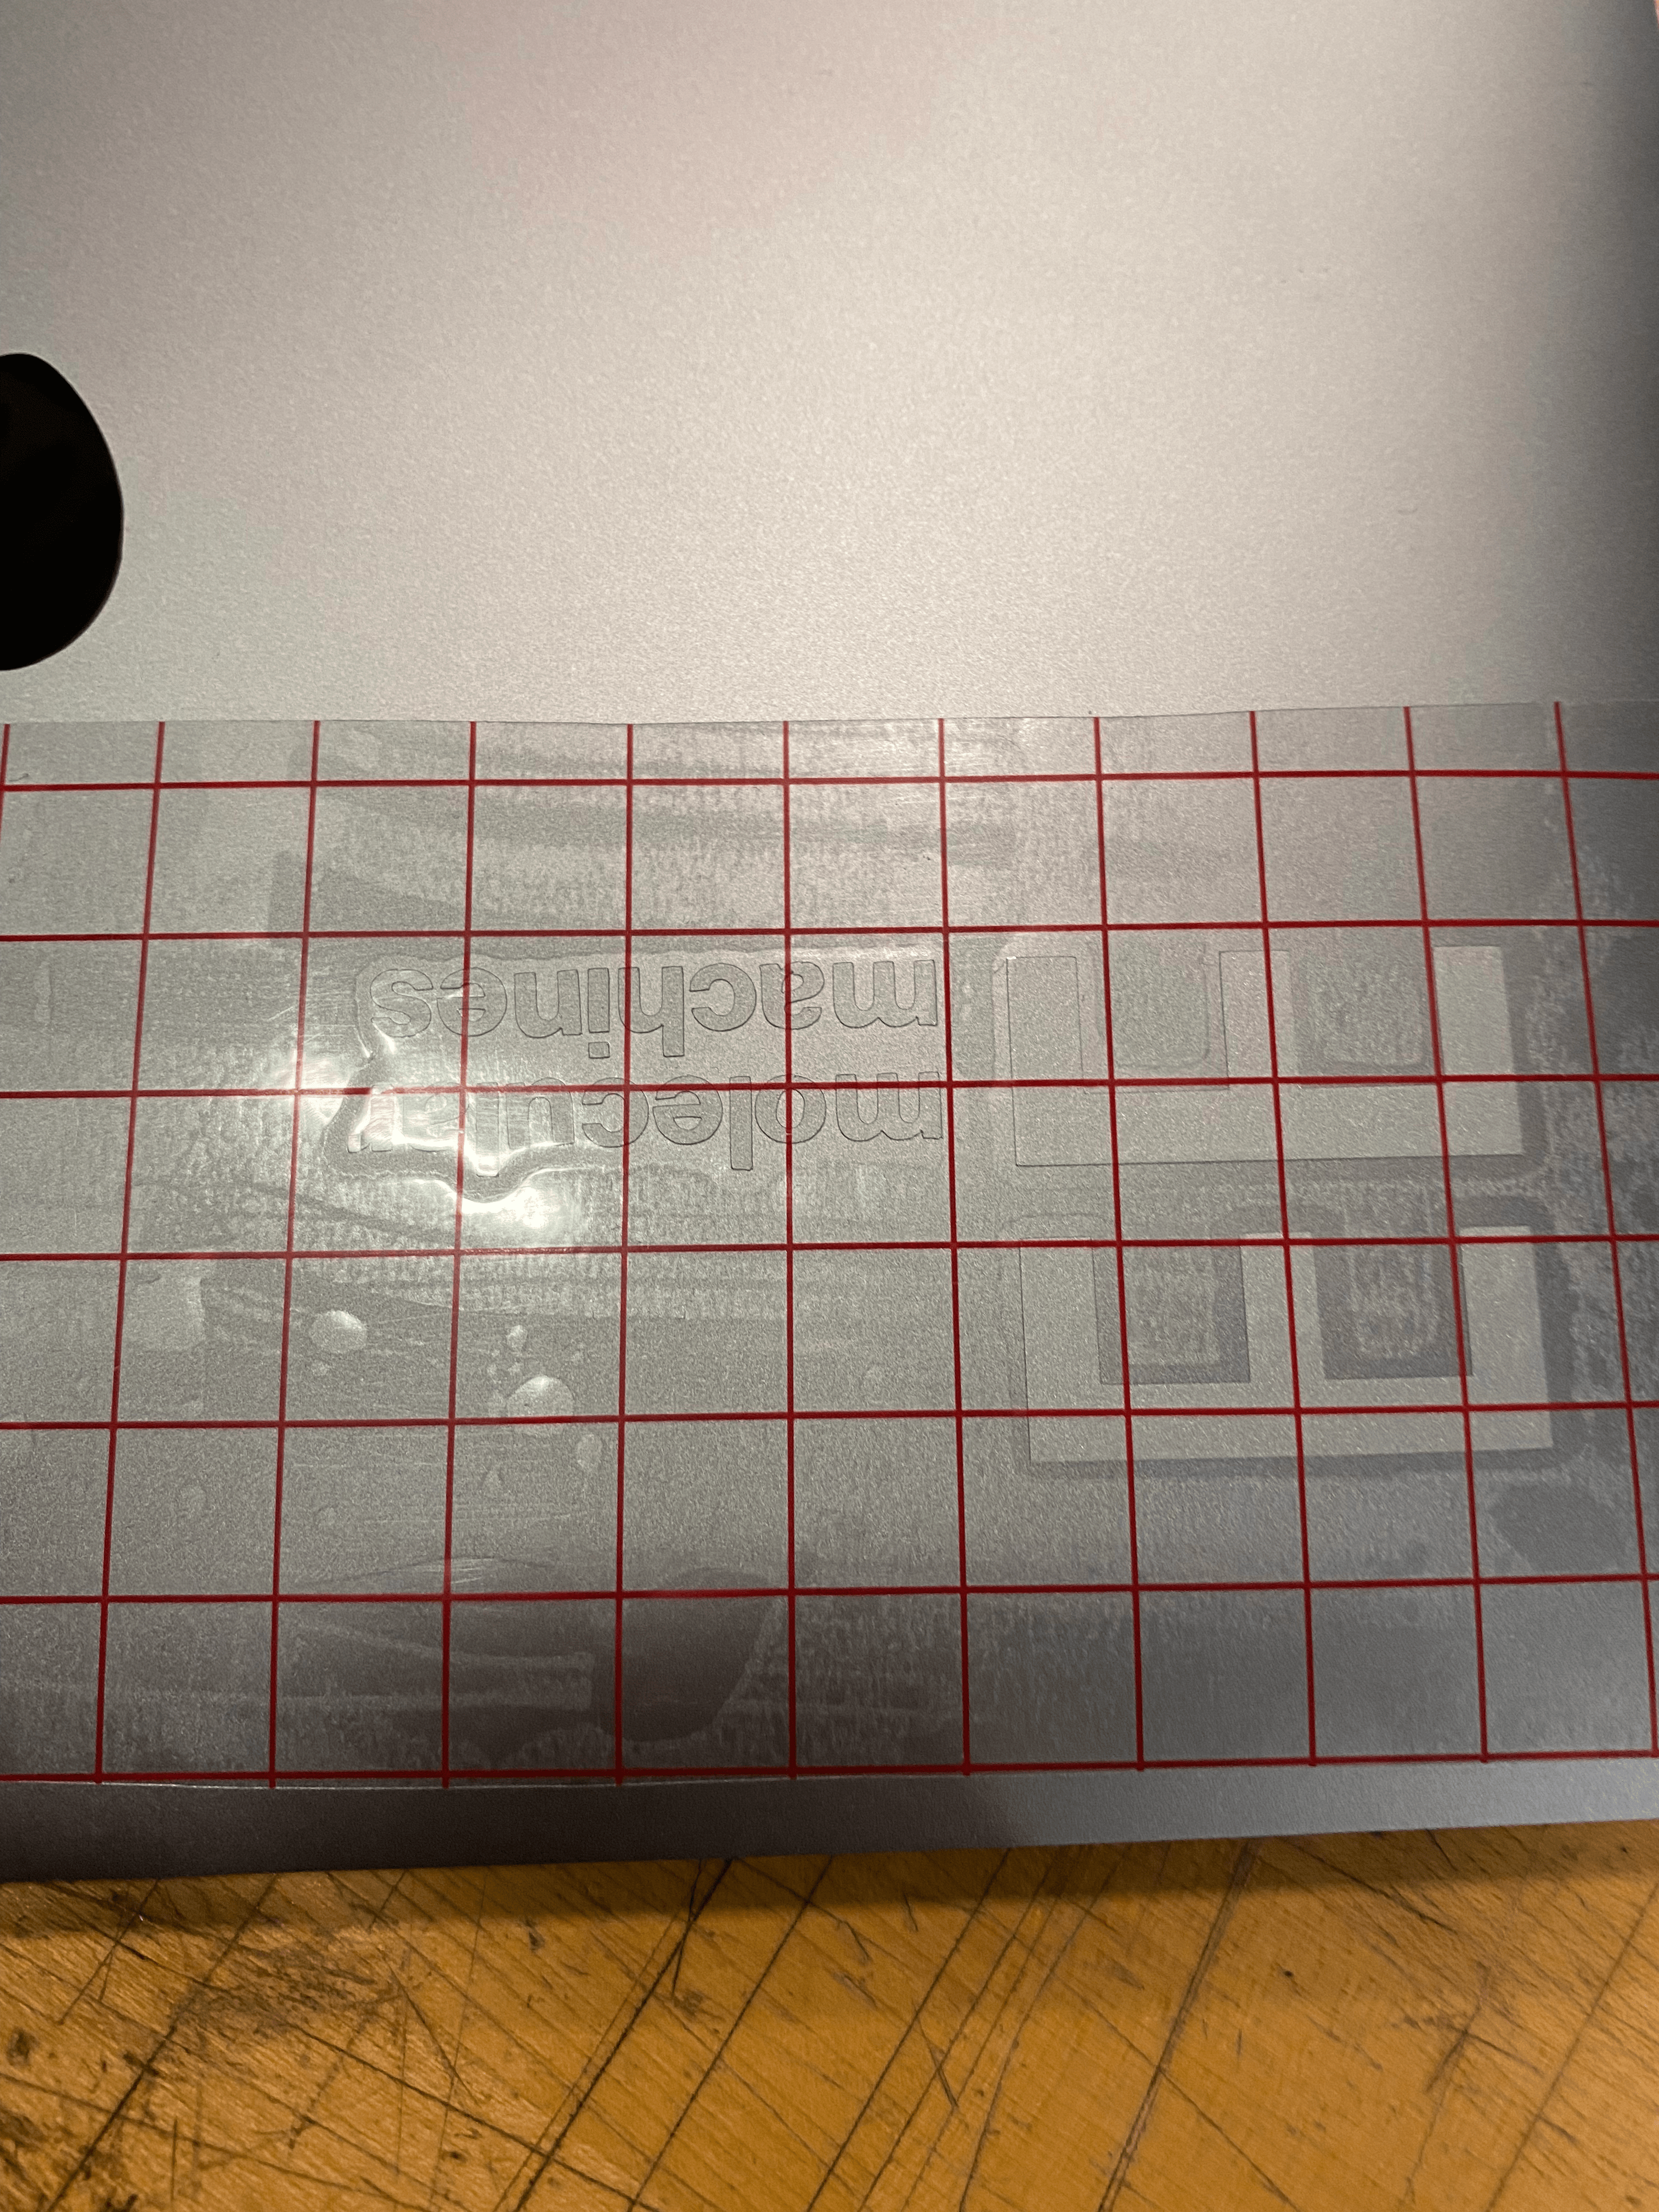
I printed the logo on a vinyl sheet and then weeded out the outer layer so only the logo remained on paper.
Removing the vinyl around letters at such a small scale was tricky.
Then using transfer paper, I removed the vinyl logo from the original vinyl backing and onto the transfer paper.
I then pasted the transfer paper on my laptop. And made sure to smooth out any air bubbles inside
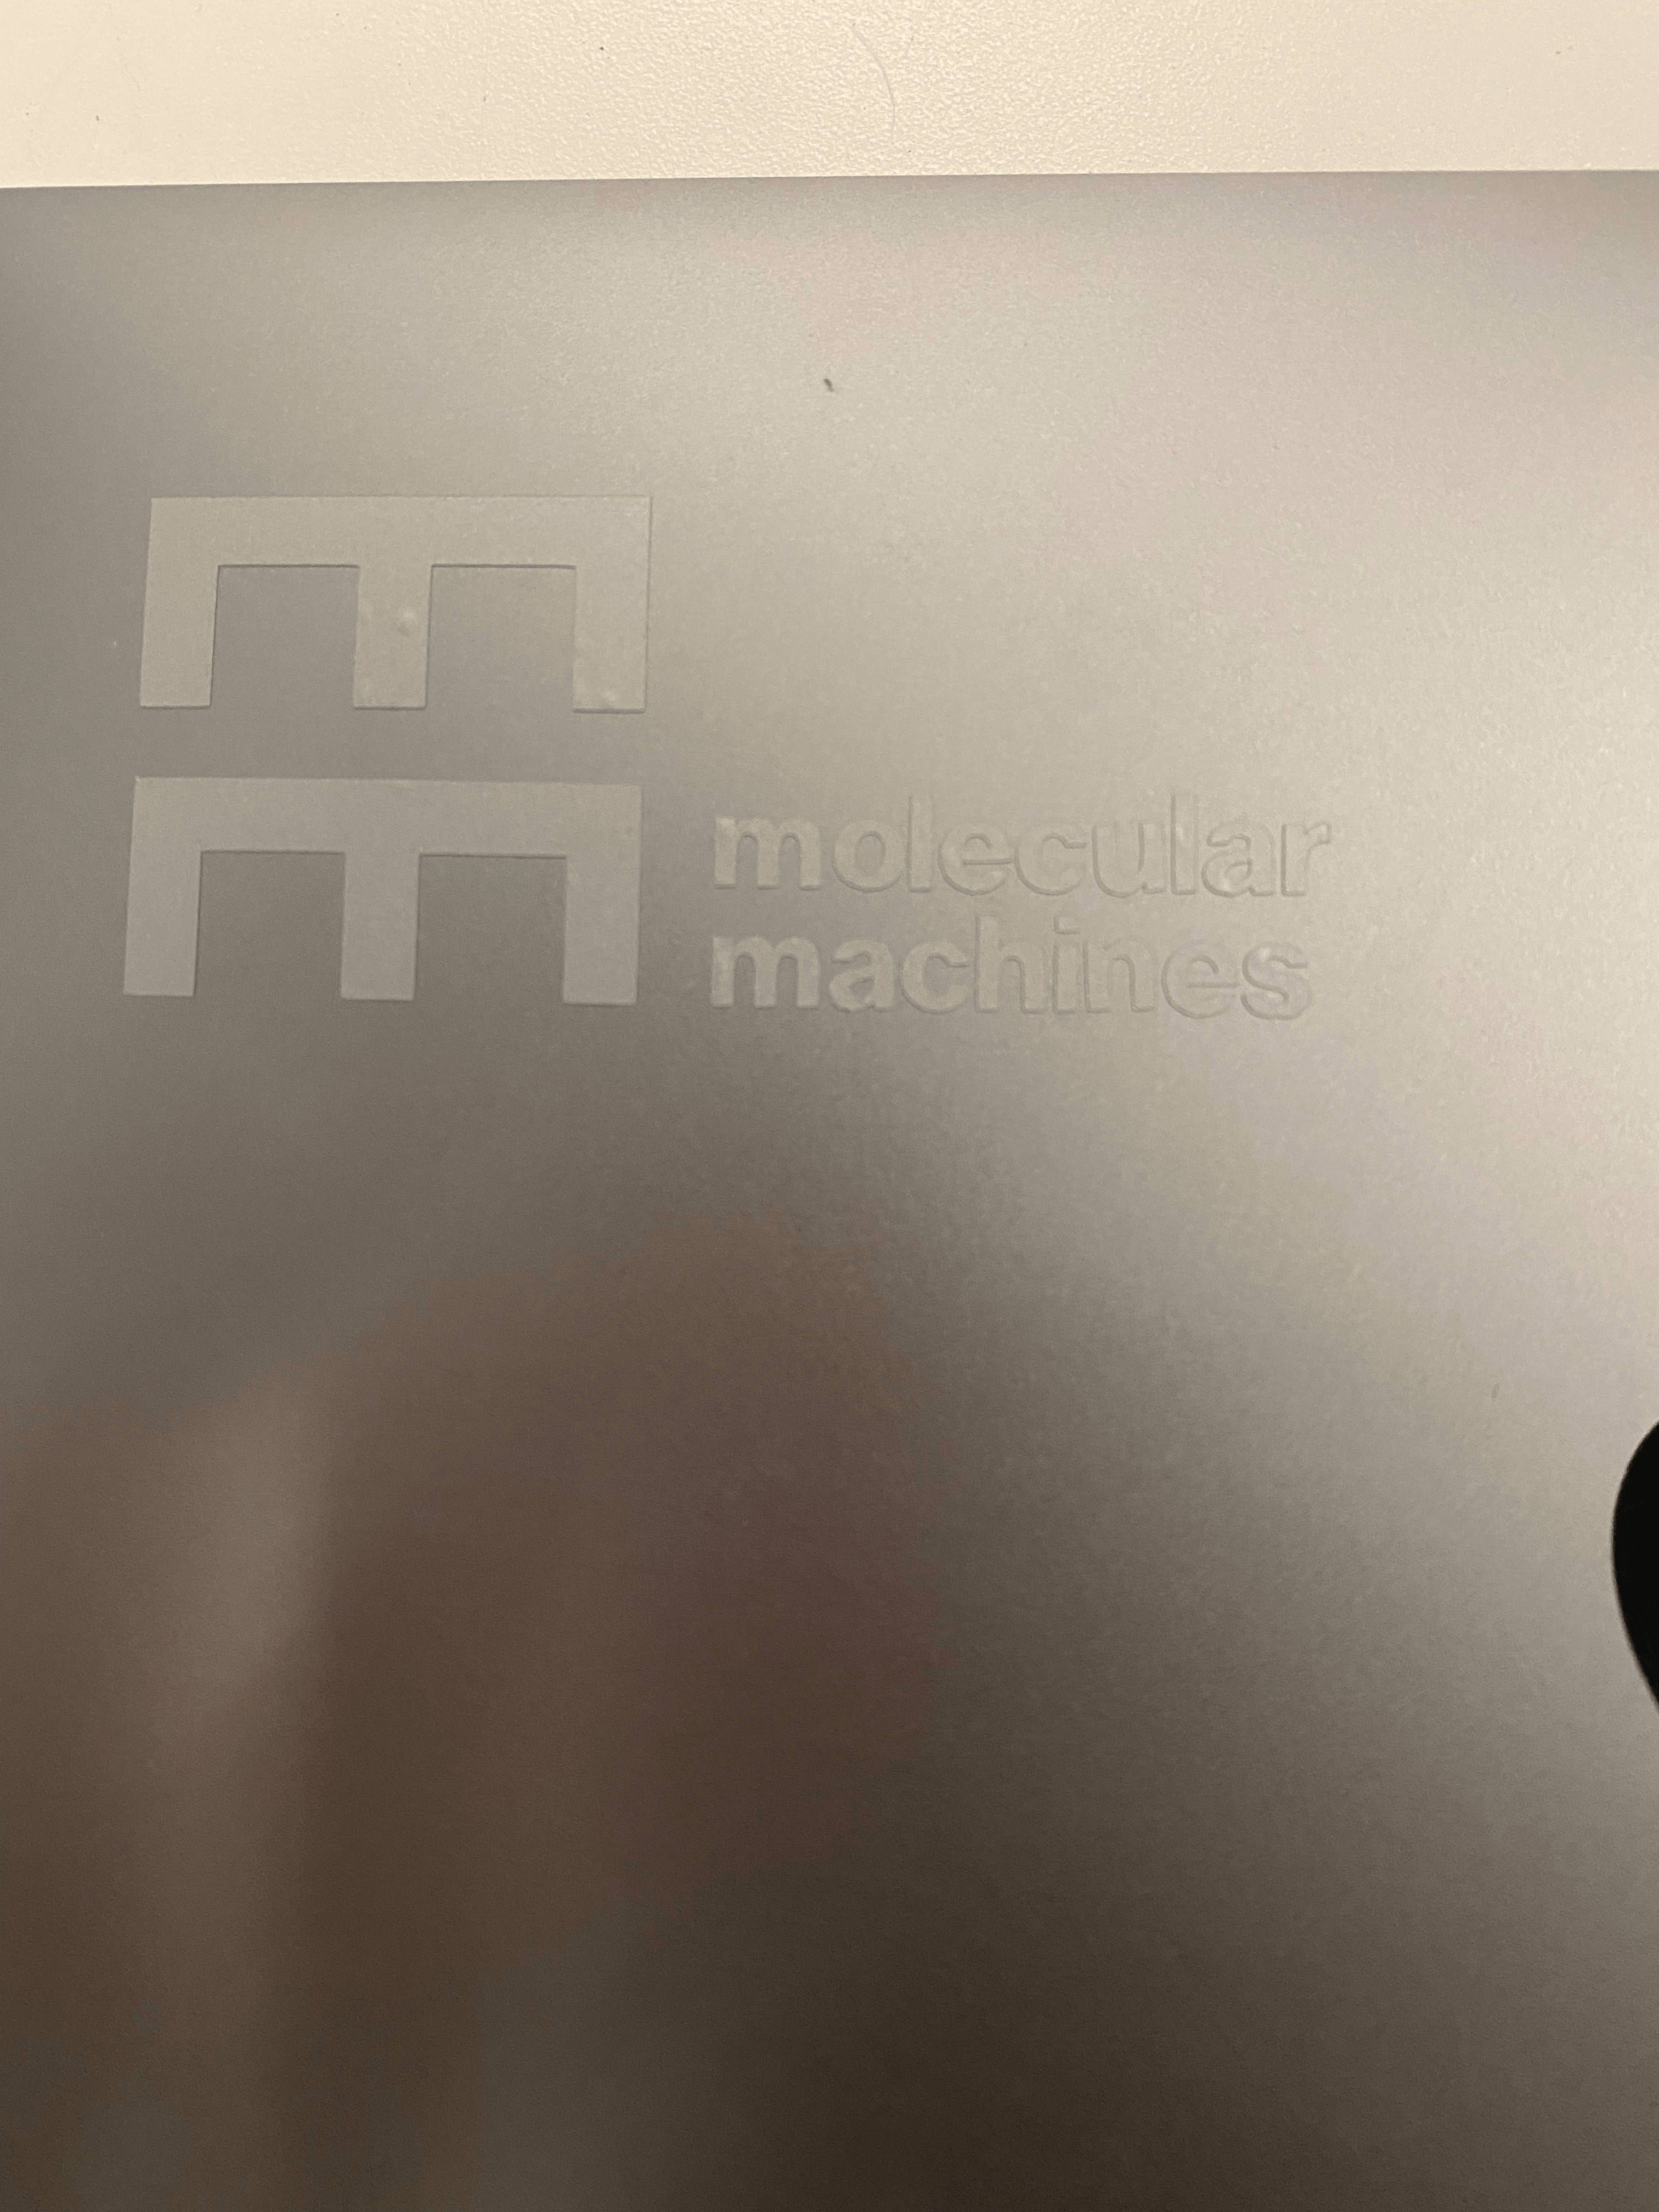
I then slowly removed the transfer paper
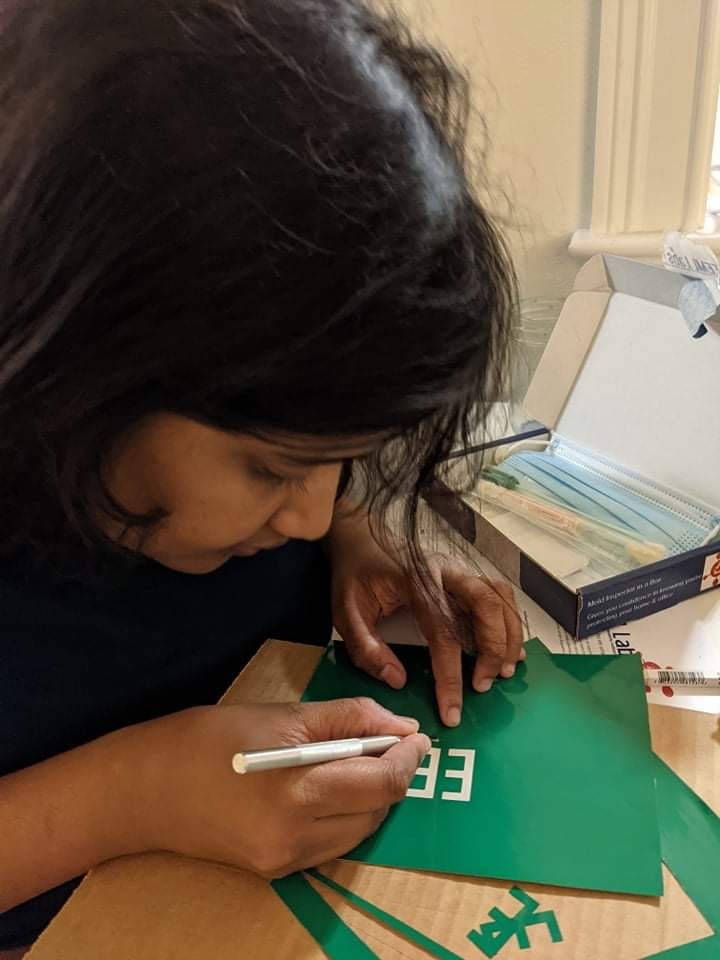
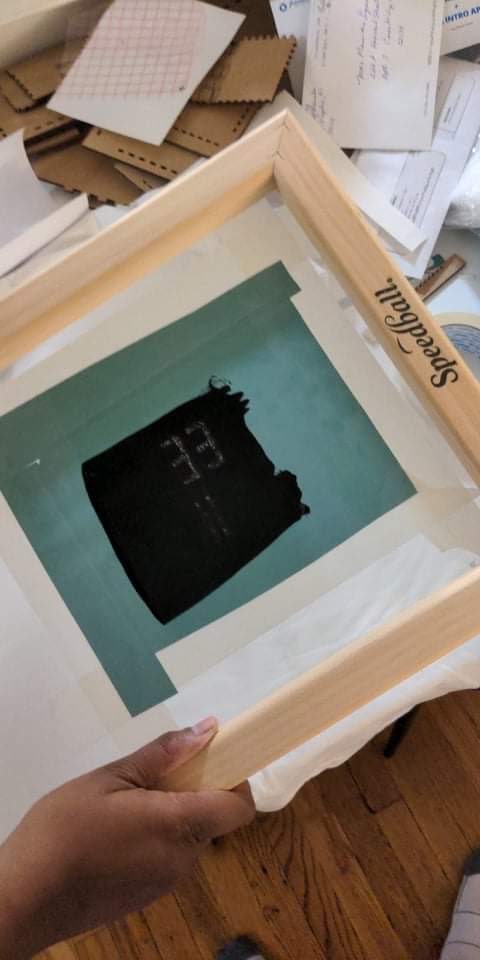
I also used the logo as a mask to print the logo on a t-shirt using a silk screen - this also seems like a fun way to paint circuits on fabric with conductive paint

I was excited to have access to a vinyl cutter, so I decided to use the vinyl cutter to make masks for making some cyanotype prints. Anna Atkins ( 1799 -1871 ), is a botanist and photographer and she is also known for making the first book of photographic images. She developed her photograms on cyanotype paper invented by her friend Sir John Herschel. Inspired her photographs, I used the vinyl cutter to make masks for my making own photograms on cyanotype paper.
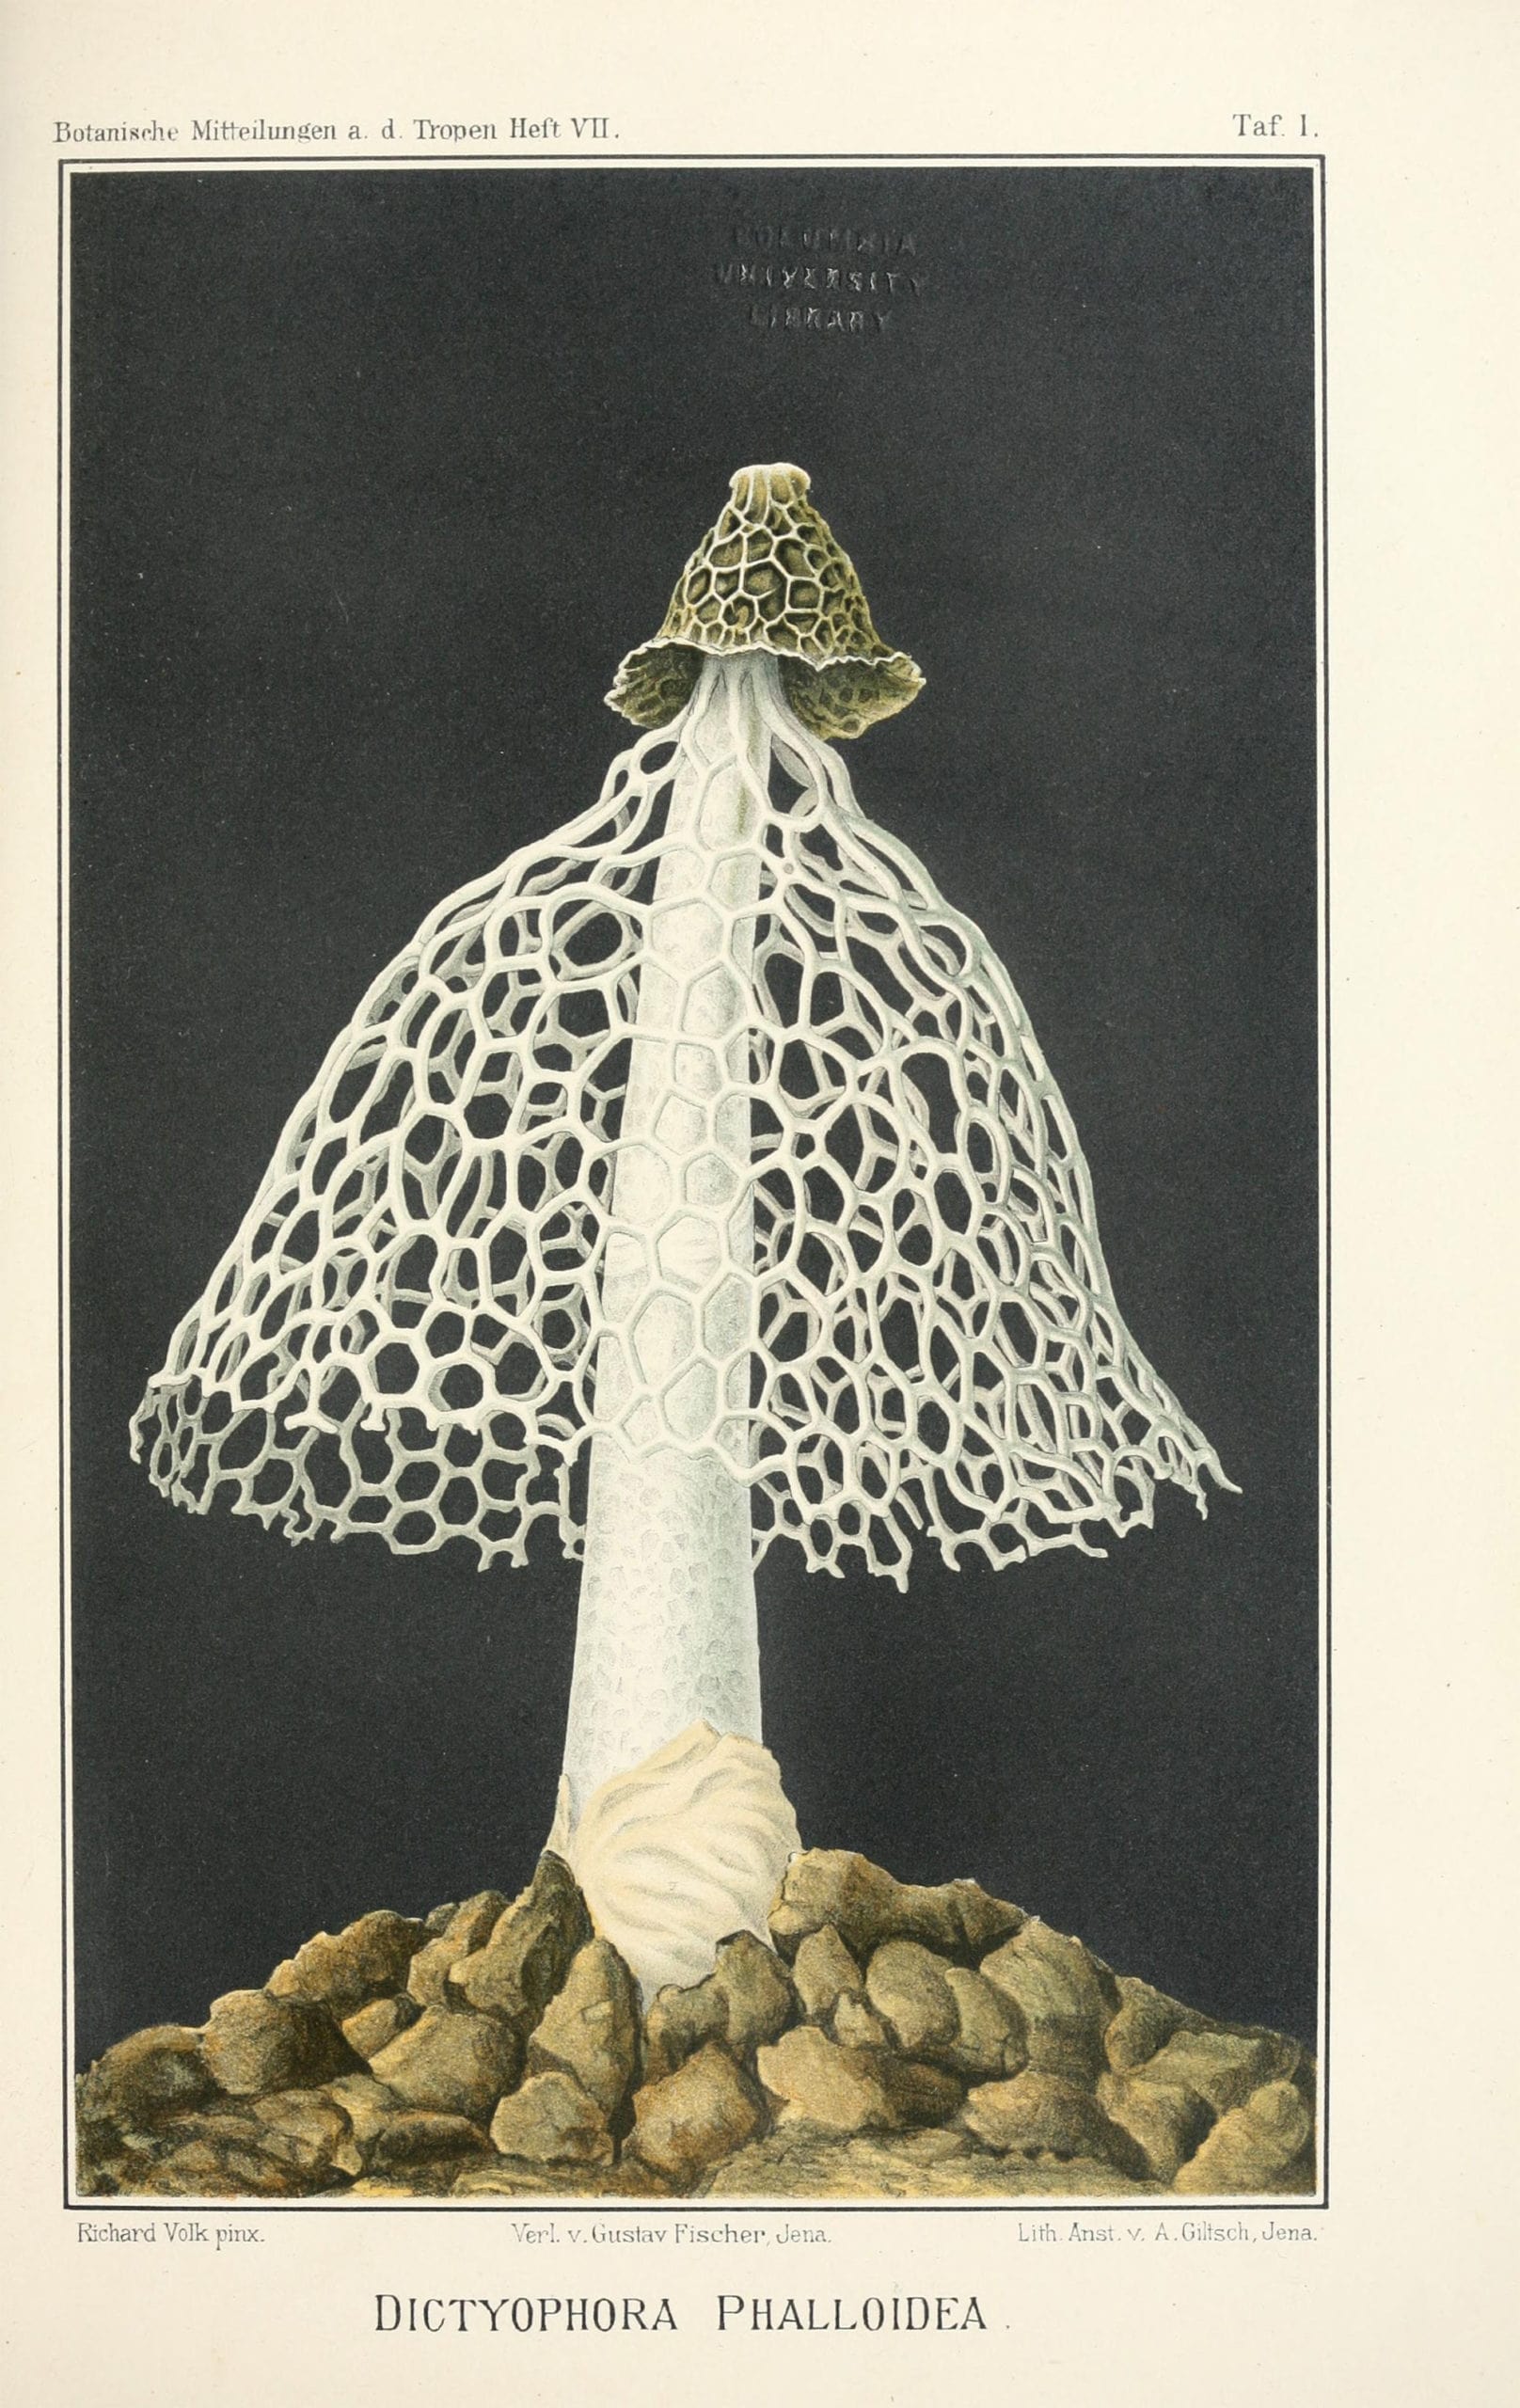
For this I used an old botanical illustration of Dictyphora Phalloidea accessible via public domain. Dictyphora Phalloidea is also known as the bamboo mushroom and has a beautiful lacy indusium that hangs from top to the ground.
I smoothed out the edges and removed the background using https://cutecutter.com and then printed it on the vinyl cutter.
I then spent a long time making my fingers messy and weeding out the vinyl parts I didn't need
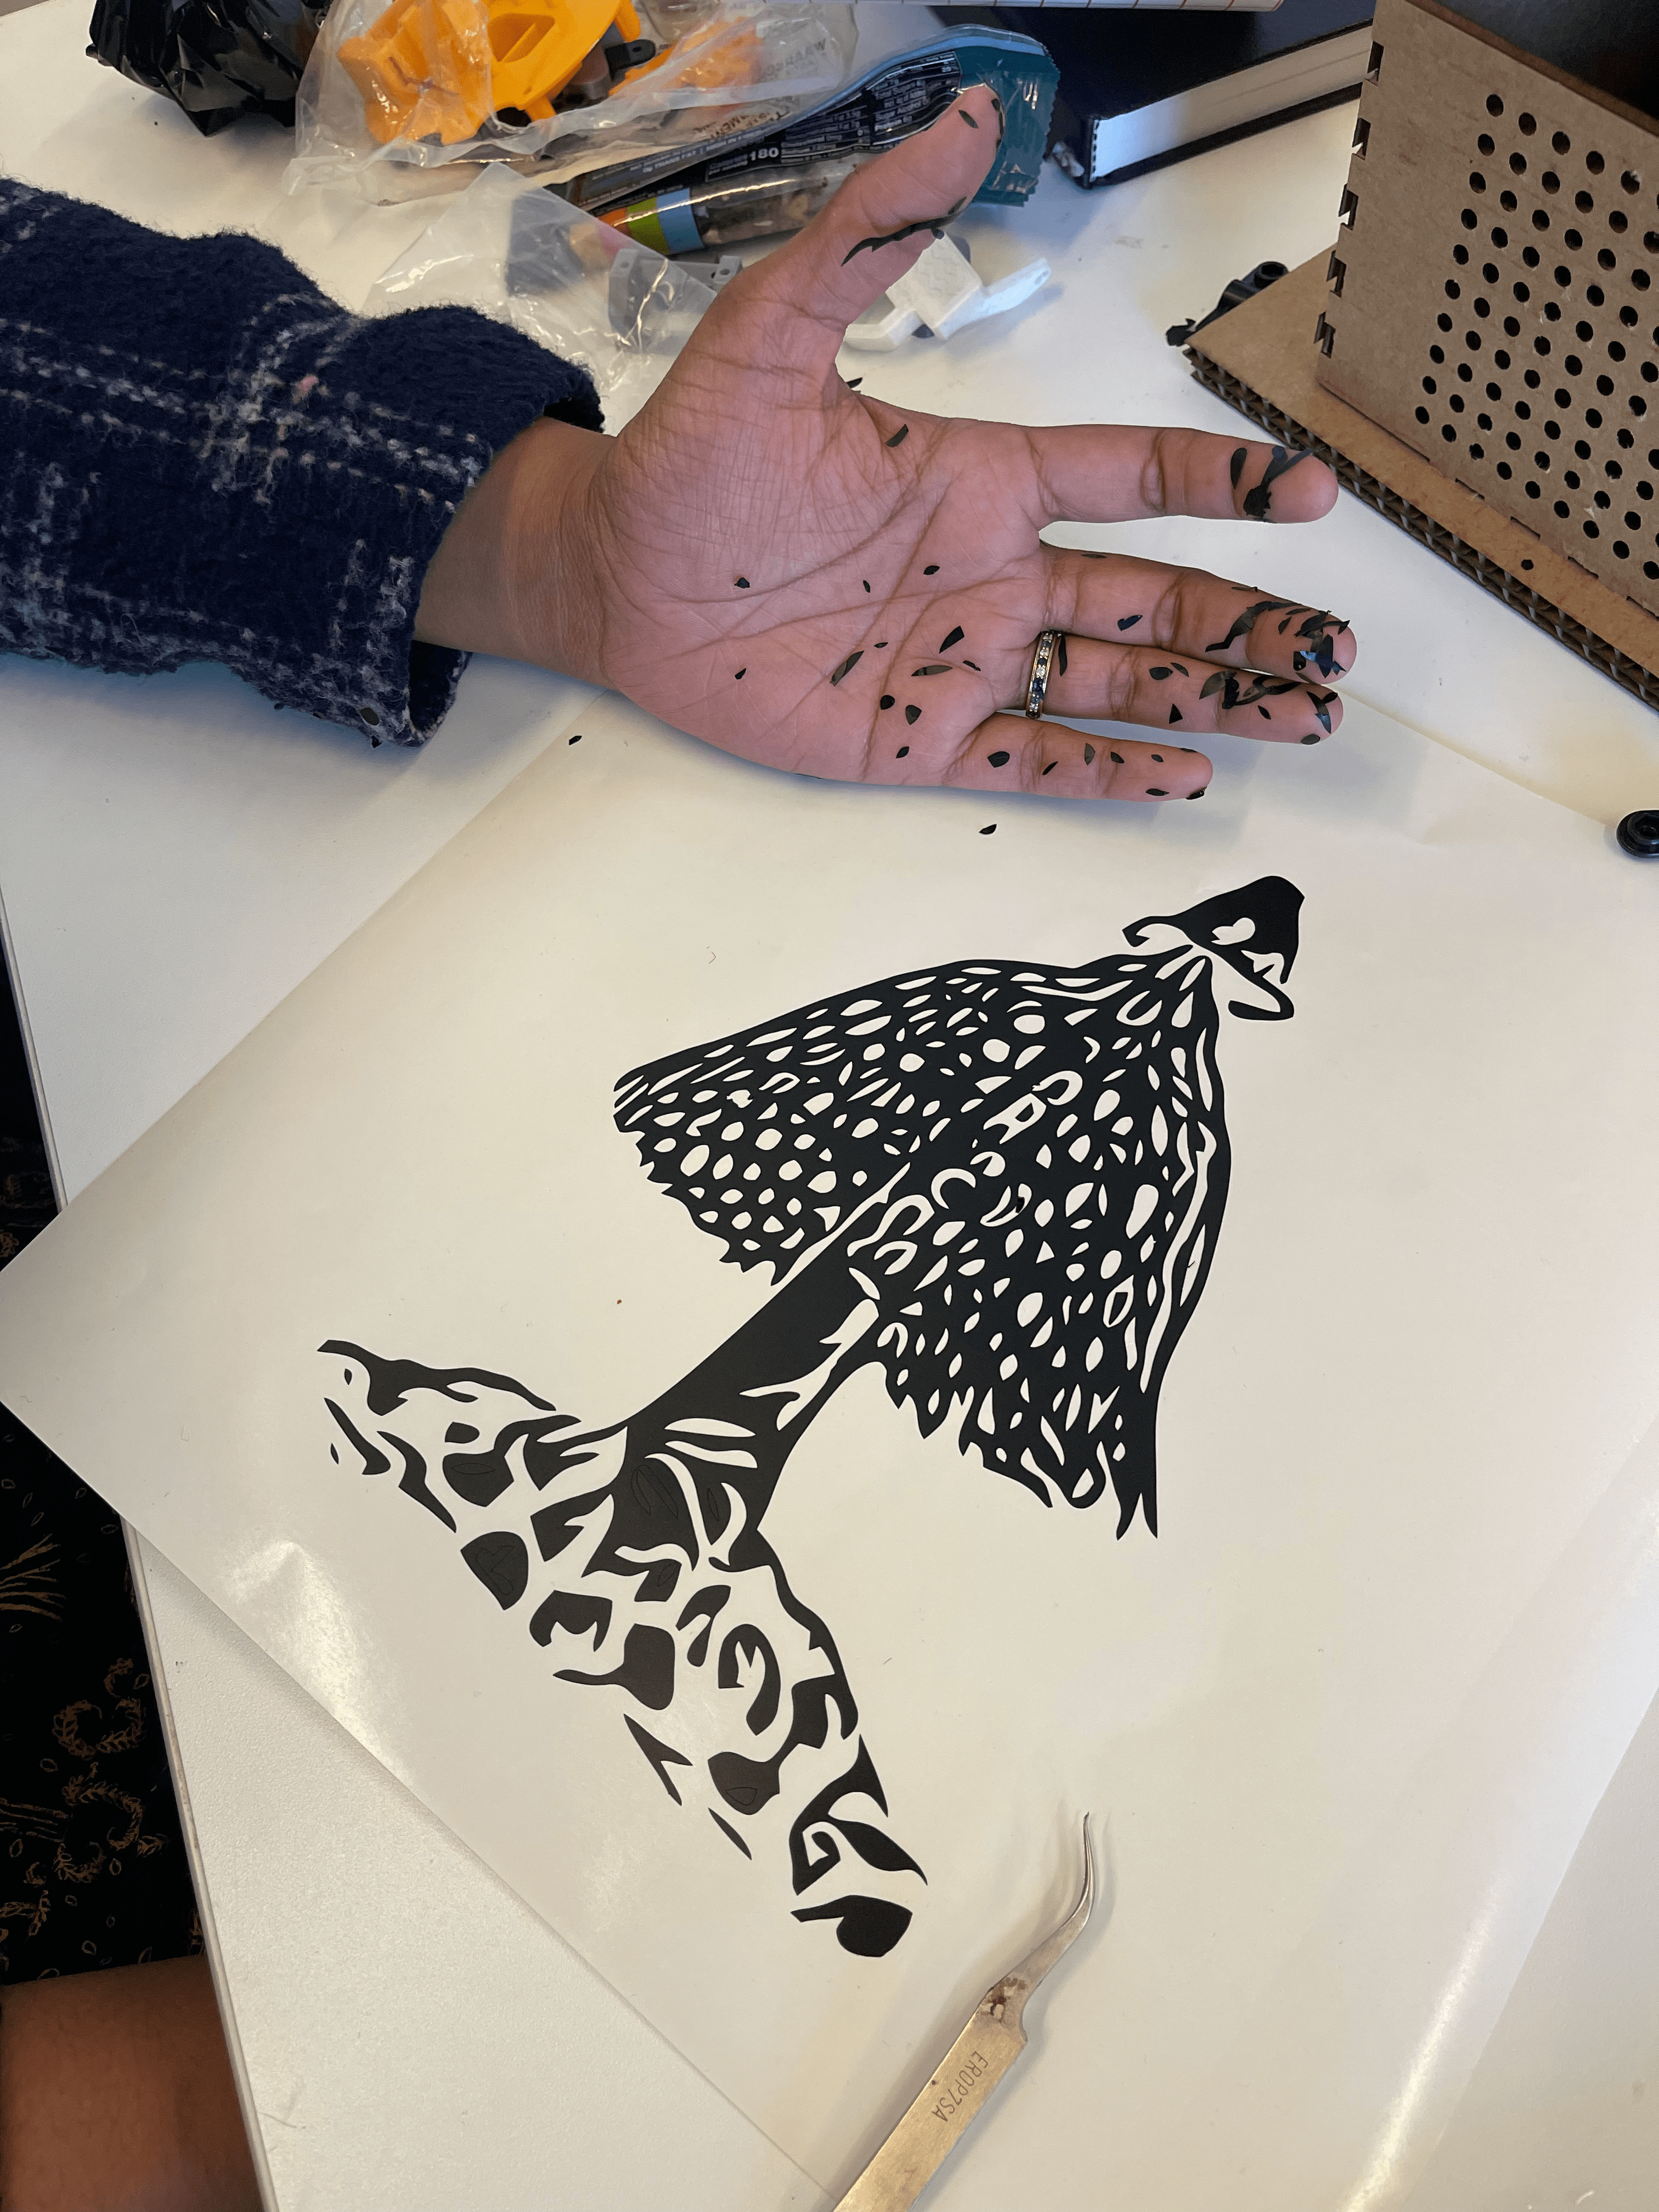
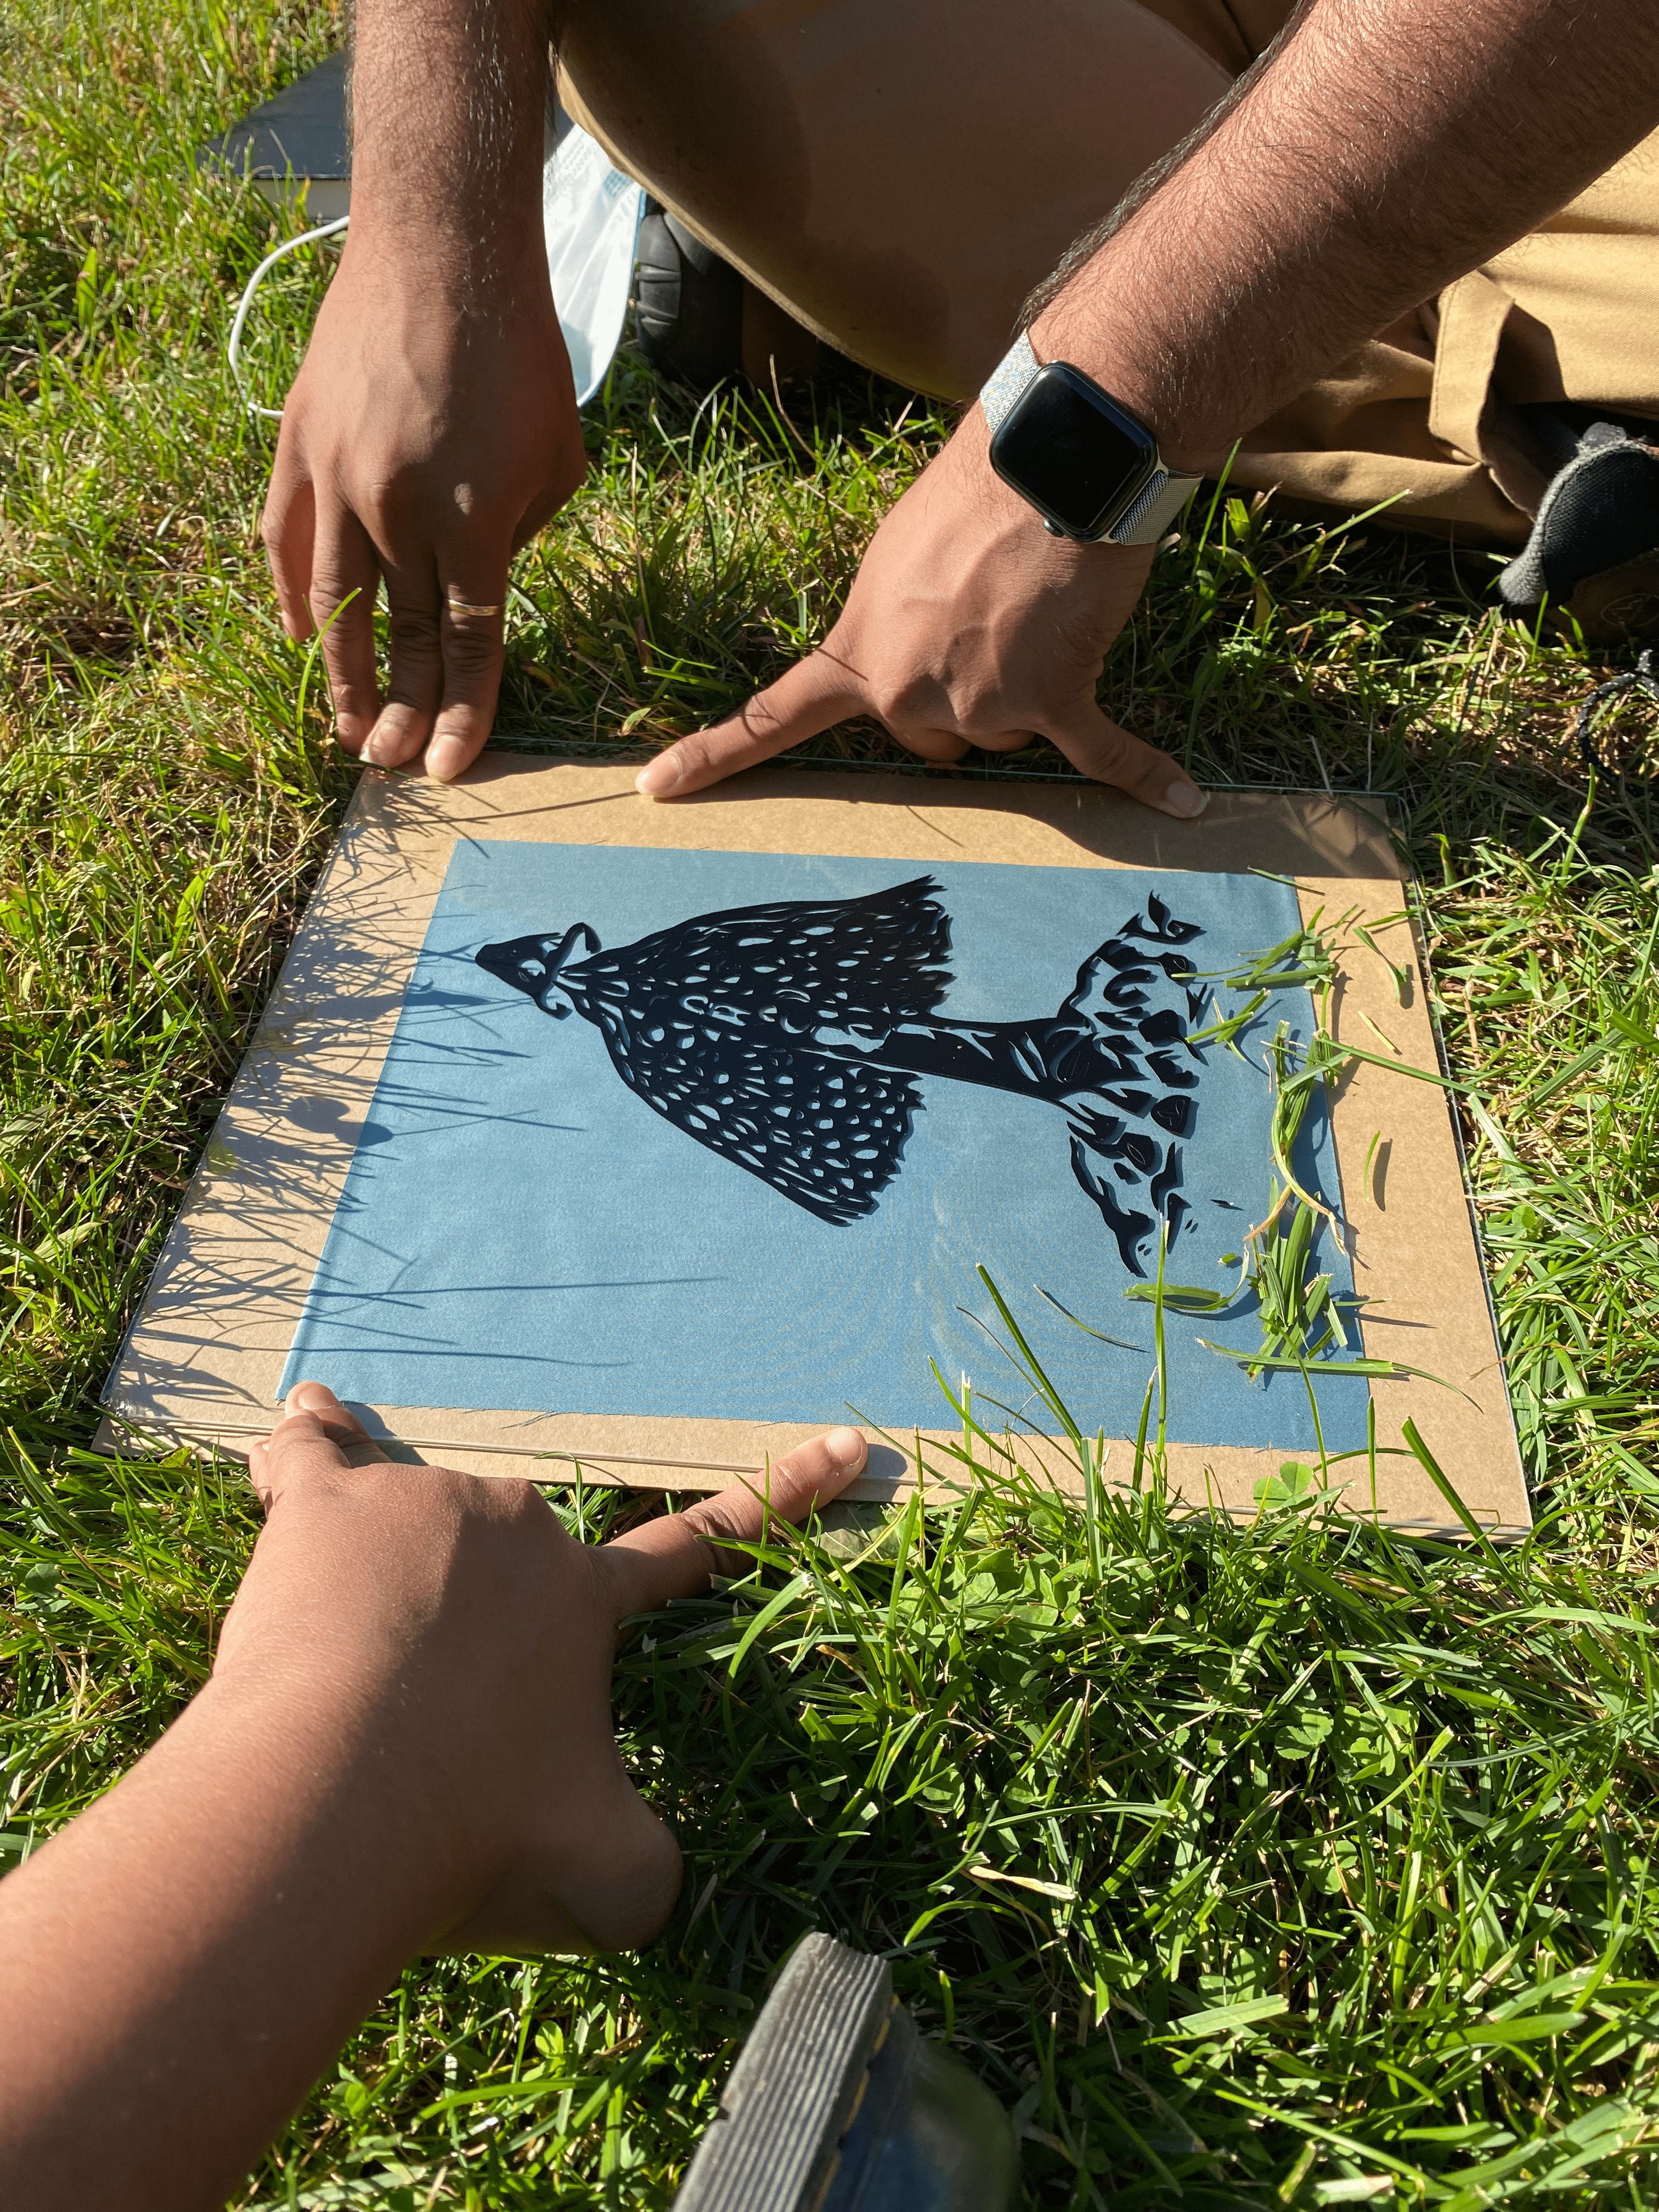
I pasted the vinyl on a glass surface to make a mask
I then carried it outside with cyanotype paper. (Yay for beautiful weather on Monday). My friend helped me hold it down for 15 minutes to expose the print to the sun.
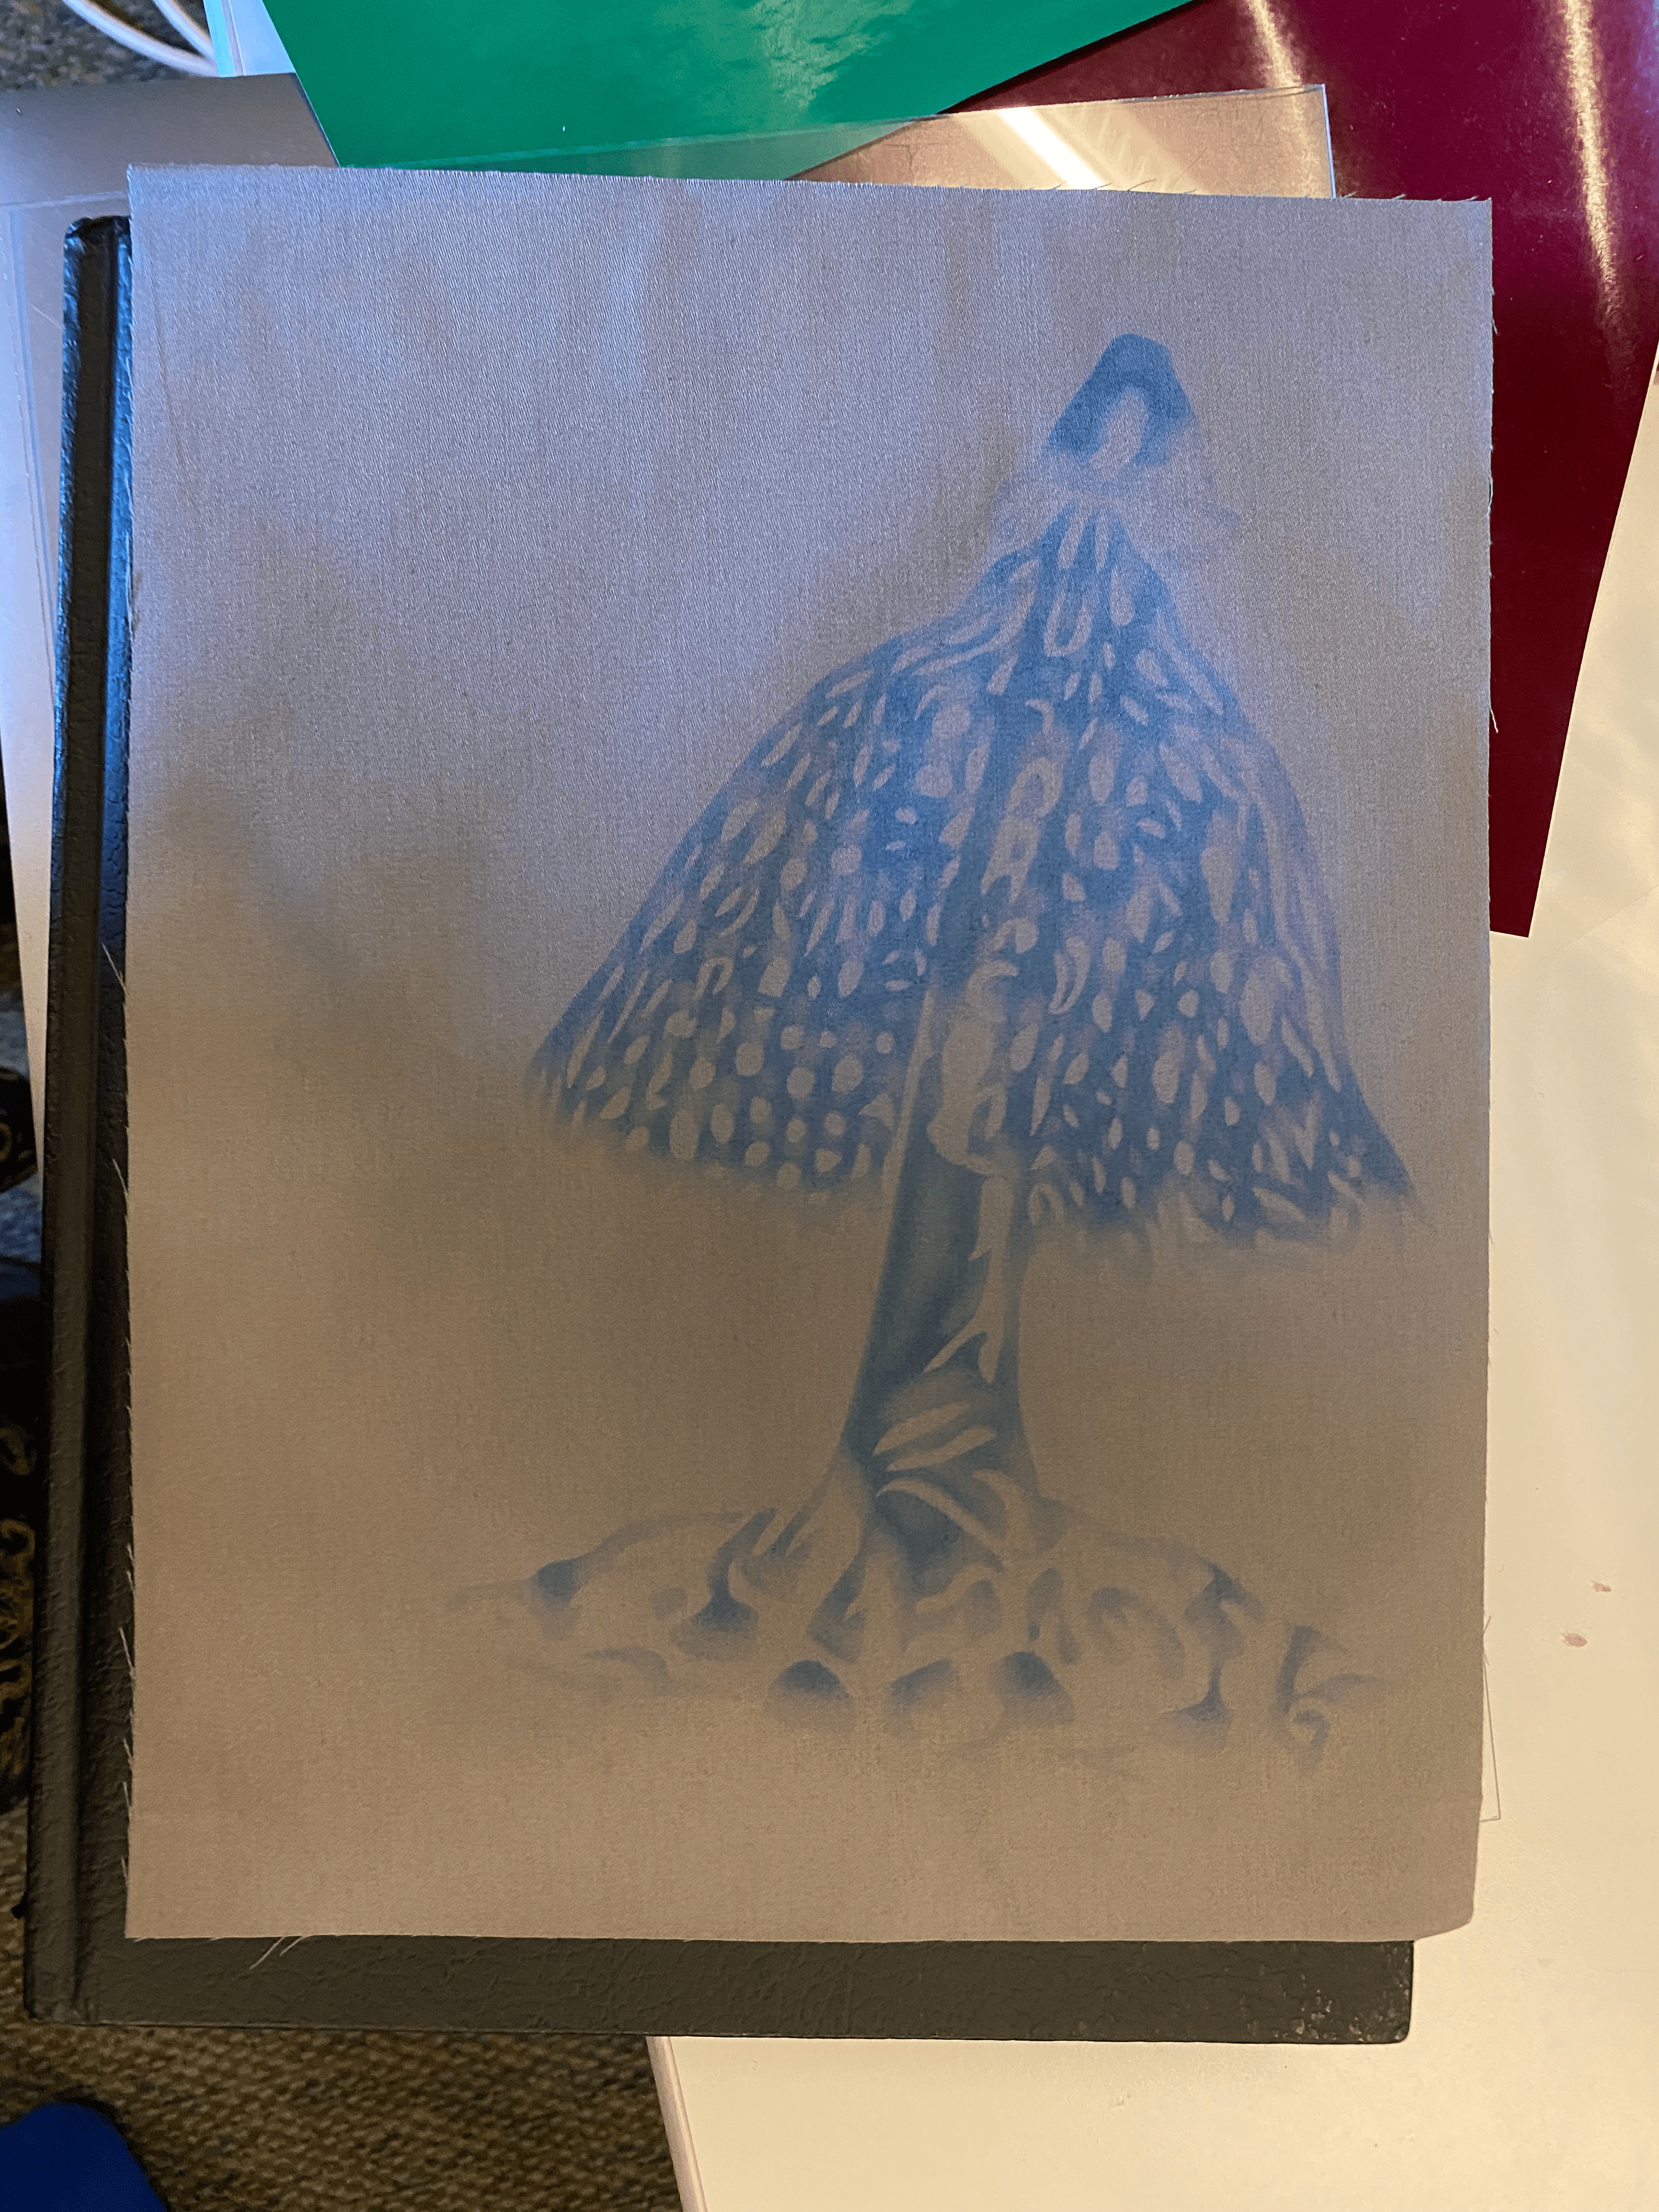
It looked like this when I got back to my office
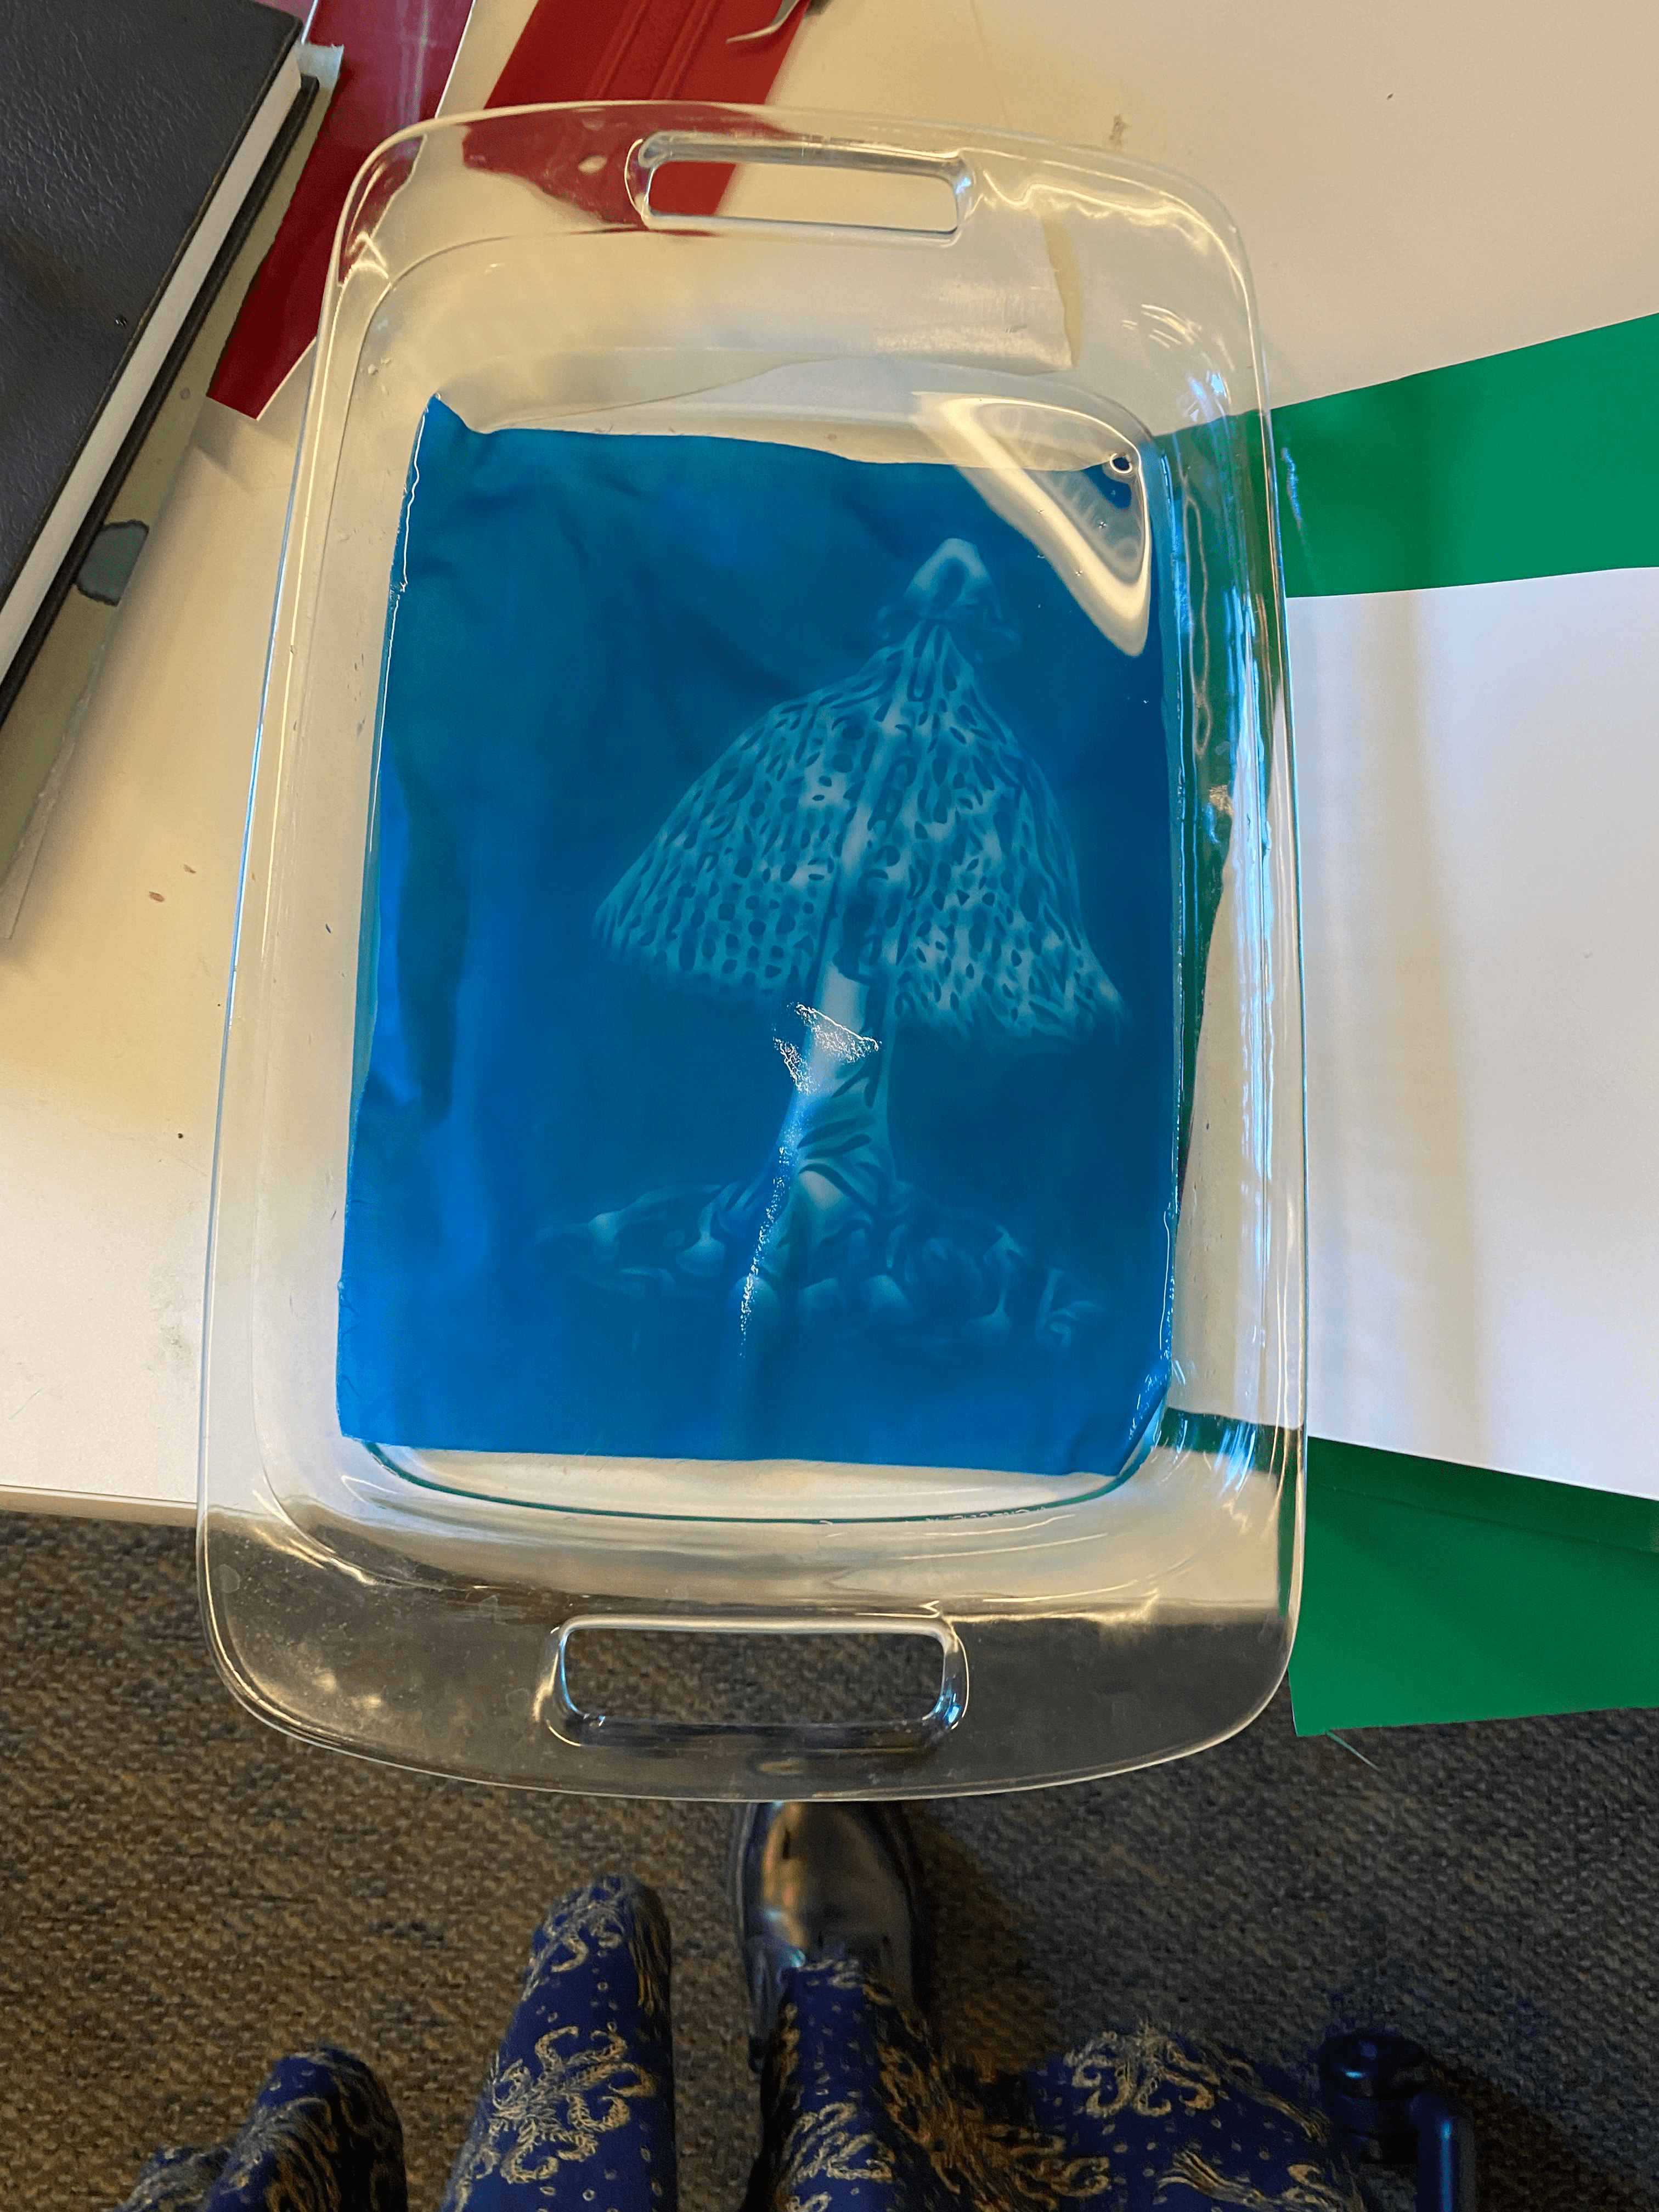
I then started the oxidation process, by submerging the print in water for 5 minutes. You can see the cloth slowly change color
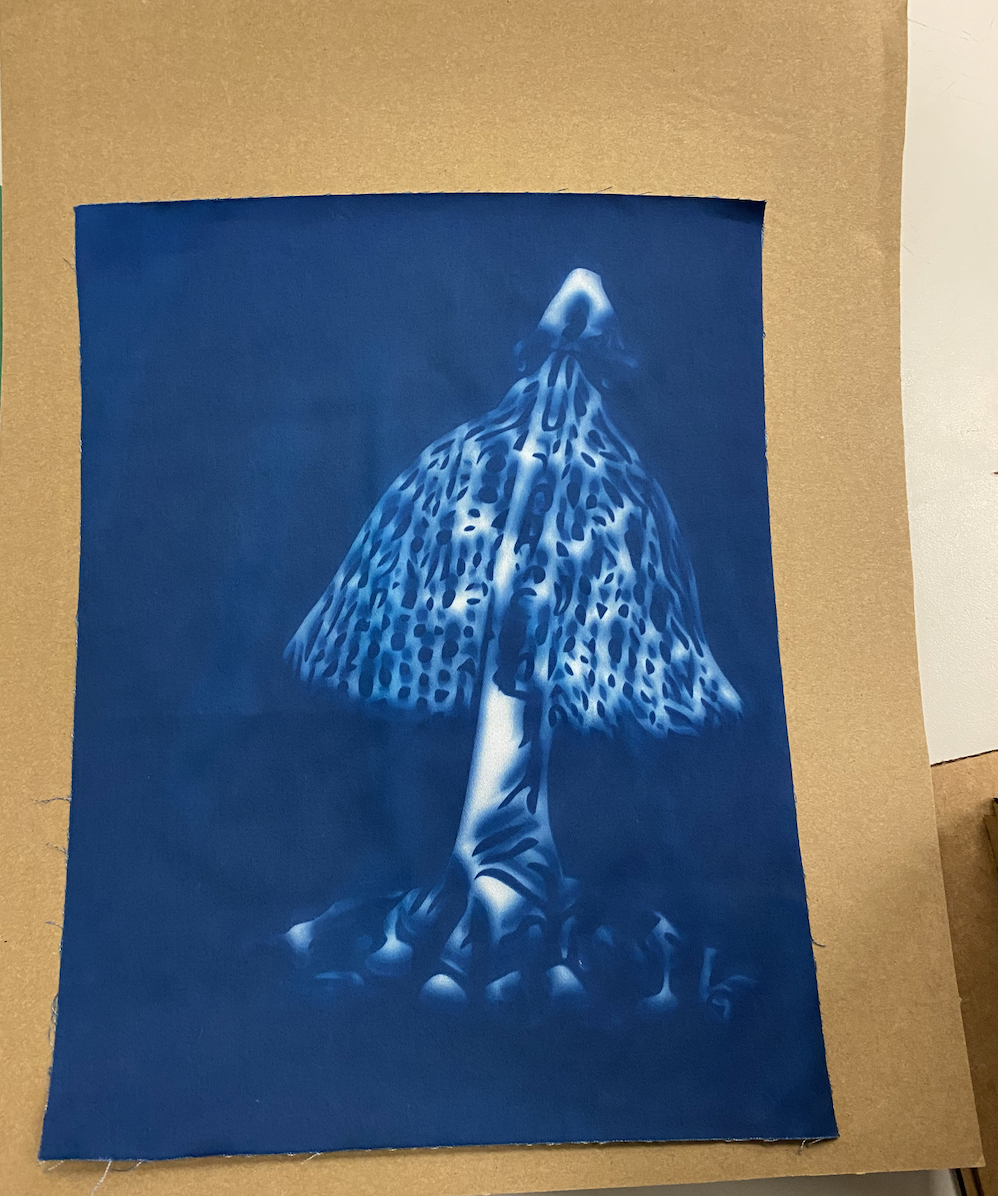
It finally looked like this
Laser cutting
For my construction kit, I wanted to make a puppet theatre. A box where you can swap out various backgrounds easily and puppets on a gear mechanism that can go up and down. I ended up making an aquarium of sorts.
- I first characterized the laser cutter by cutting squares at different speed and power settings. I ended up using speed at 2.5, power at 100, ppi at 200. I observed a kerf of 0.18 mm - 49.82mm square that was supposed to be 50mm across. Because my pieces cut through properly I used this setting
- Because this is cardboard, sometimes the cardboard wouldn't lie down flat and in some places the laser would be off focus even though I used tape to hold it down. So sometimes there were corners it wouldn't cut through properly
I looked for inspiration on the kind of a box I want to have. I noticed a lot of curved boxes and started learning about living hinges and I wanted to implement one in my design. The most popular one is a lattice hinge which is what I ended up using. I made all the designs using Fusion 360. I used the User Parameters setting and Constraints to have designs where I can easily adjust my whole design when I needed to adjust for kerf and etc.
Initially I tried to make a box with finger joints - but they didn't work too well - I think this might be due to the fact that is cardboard. Here is the first prototype
This actually didn't hold together well. It was mores table at a smaller size but the side panels kept coming off. I checked and rechecked my kerf and offset values in the design - But I think its mostly the size of these joints at the scale I wanted to make the box. Finally I gave up on these kind of joints.
I decided to instead make wedges. I changed my design to include pegs on the side panels made with a living hinge. I kept the finger joints on the side mostly because I forgot I had them till I was assembling them and realized I messed up but it was too late to fix it and the whole box seems to hold together enough without making wedges here too.
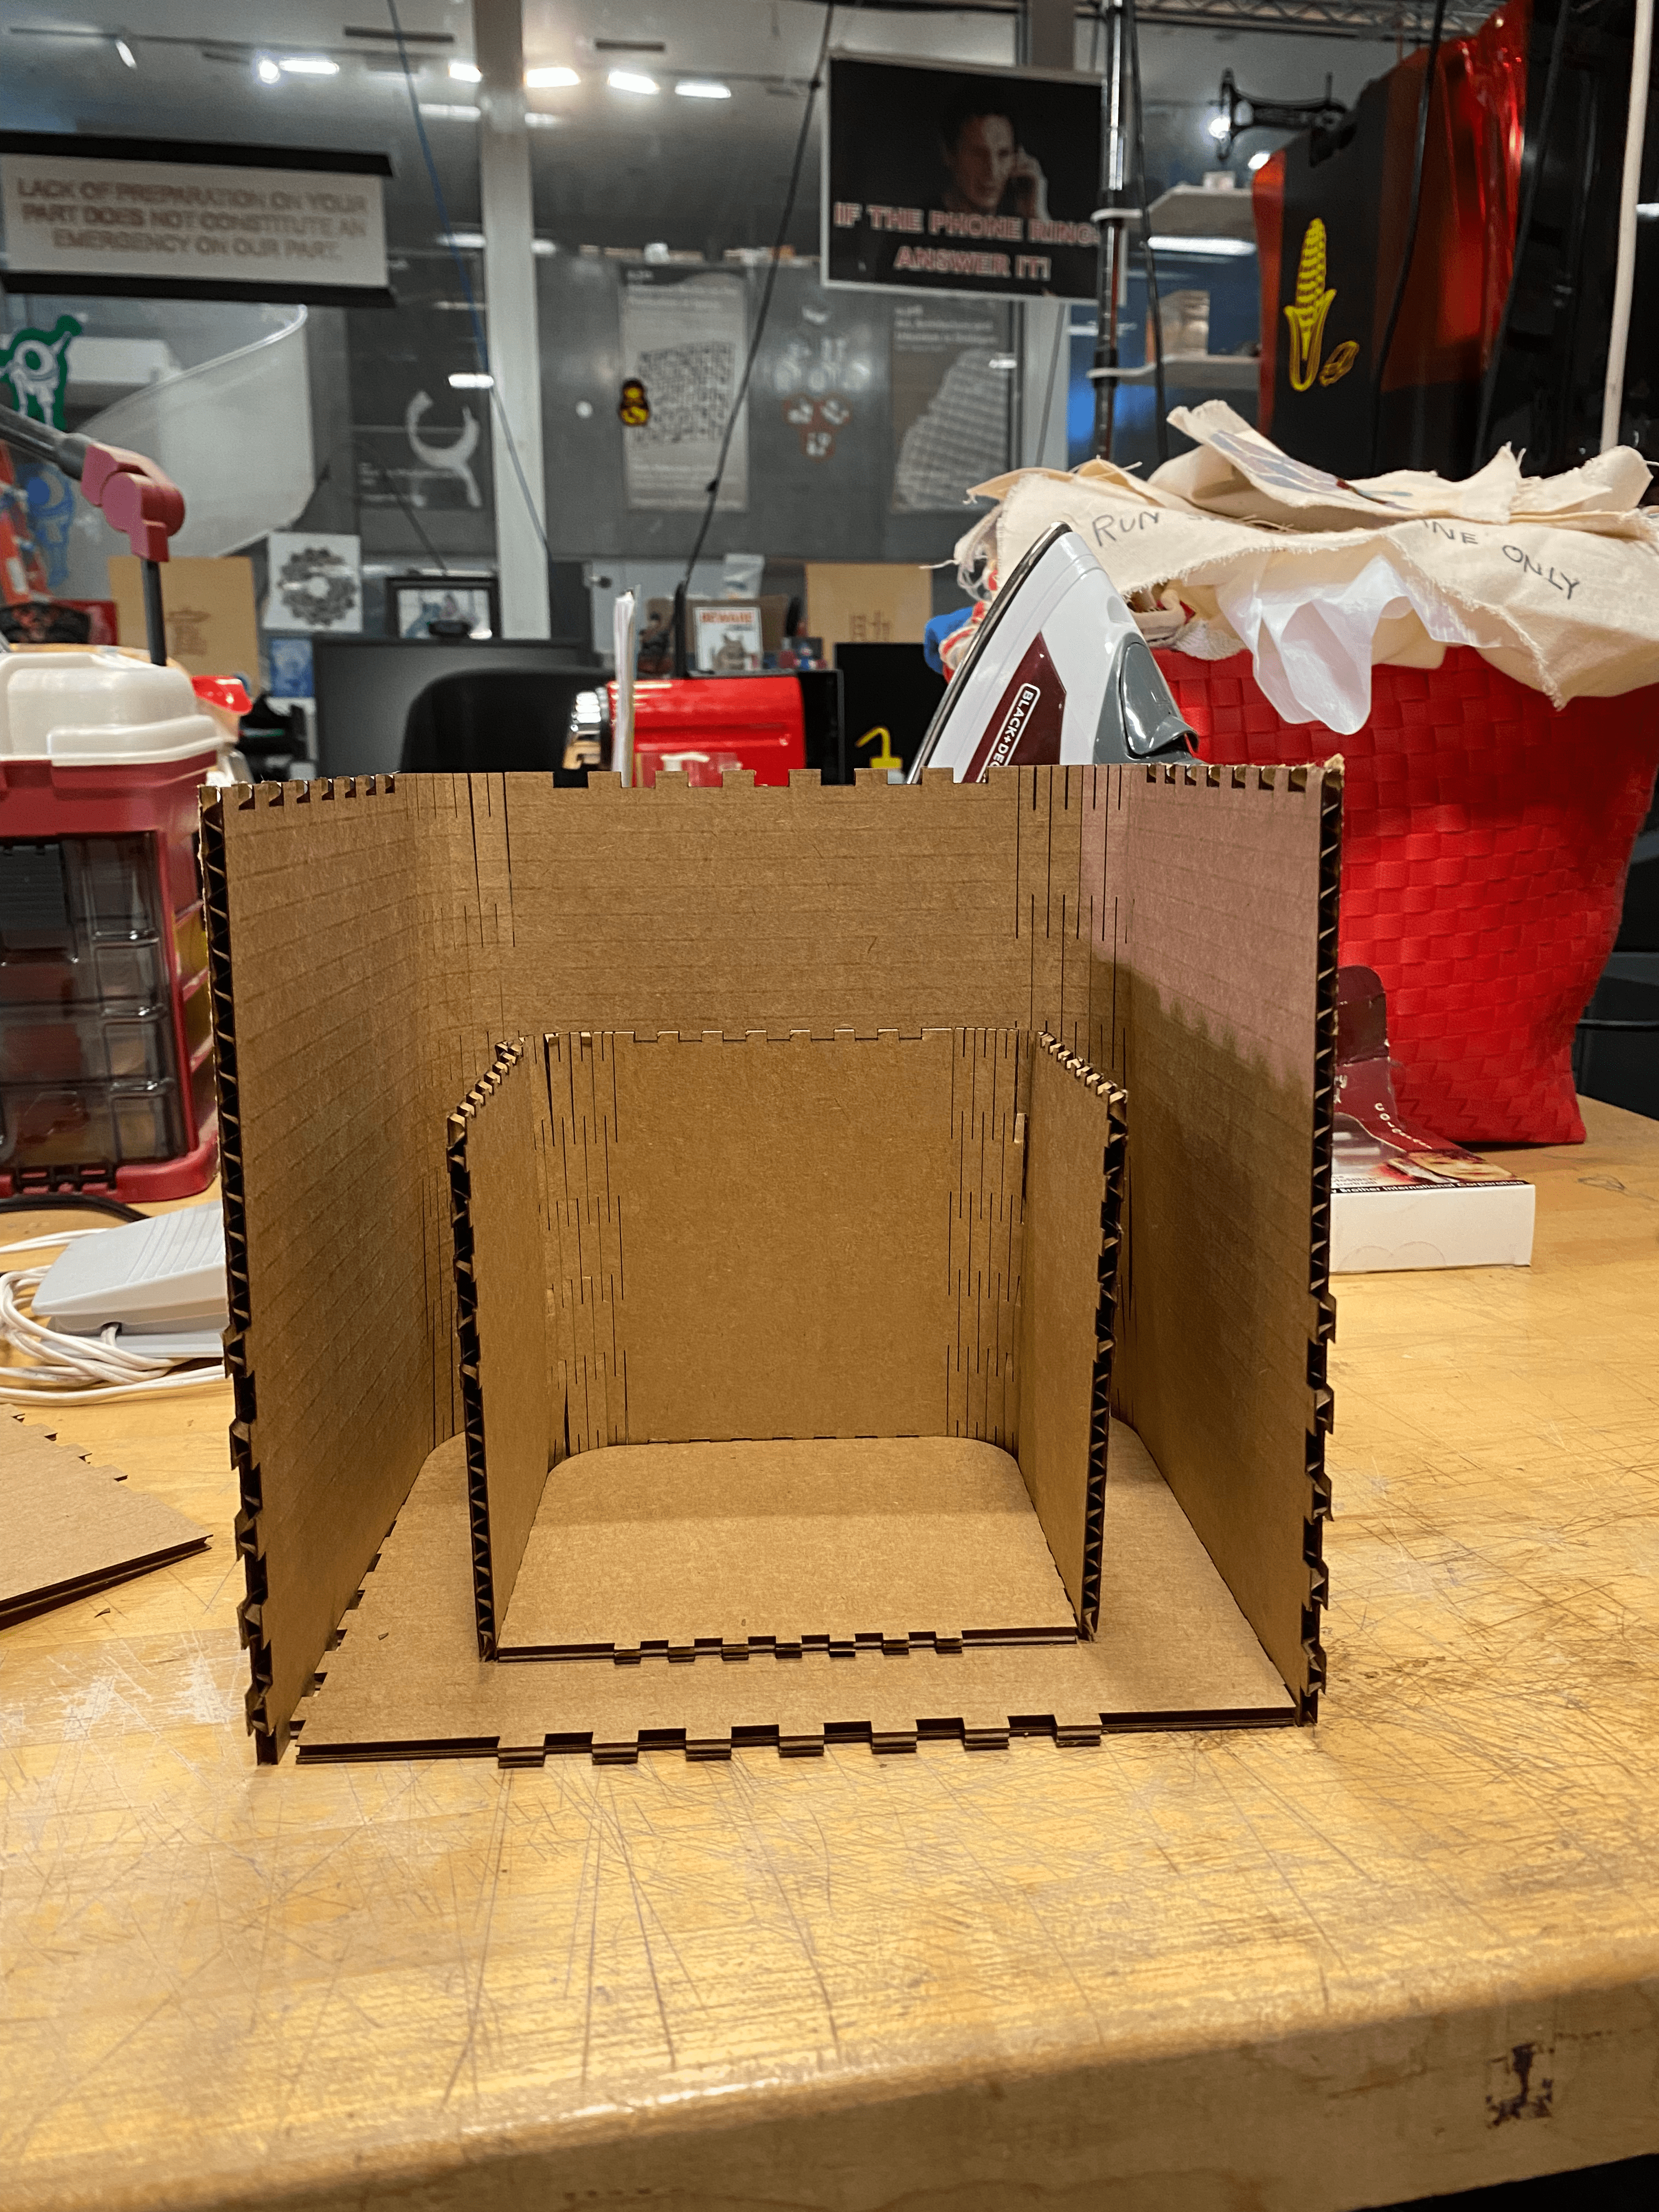
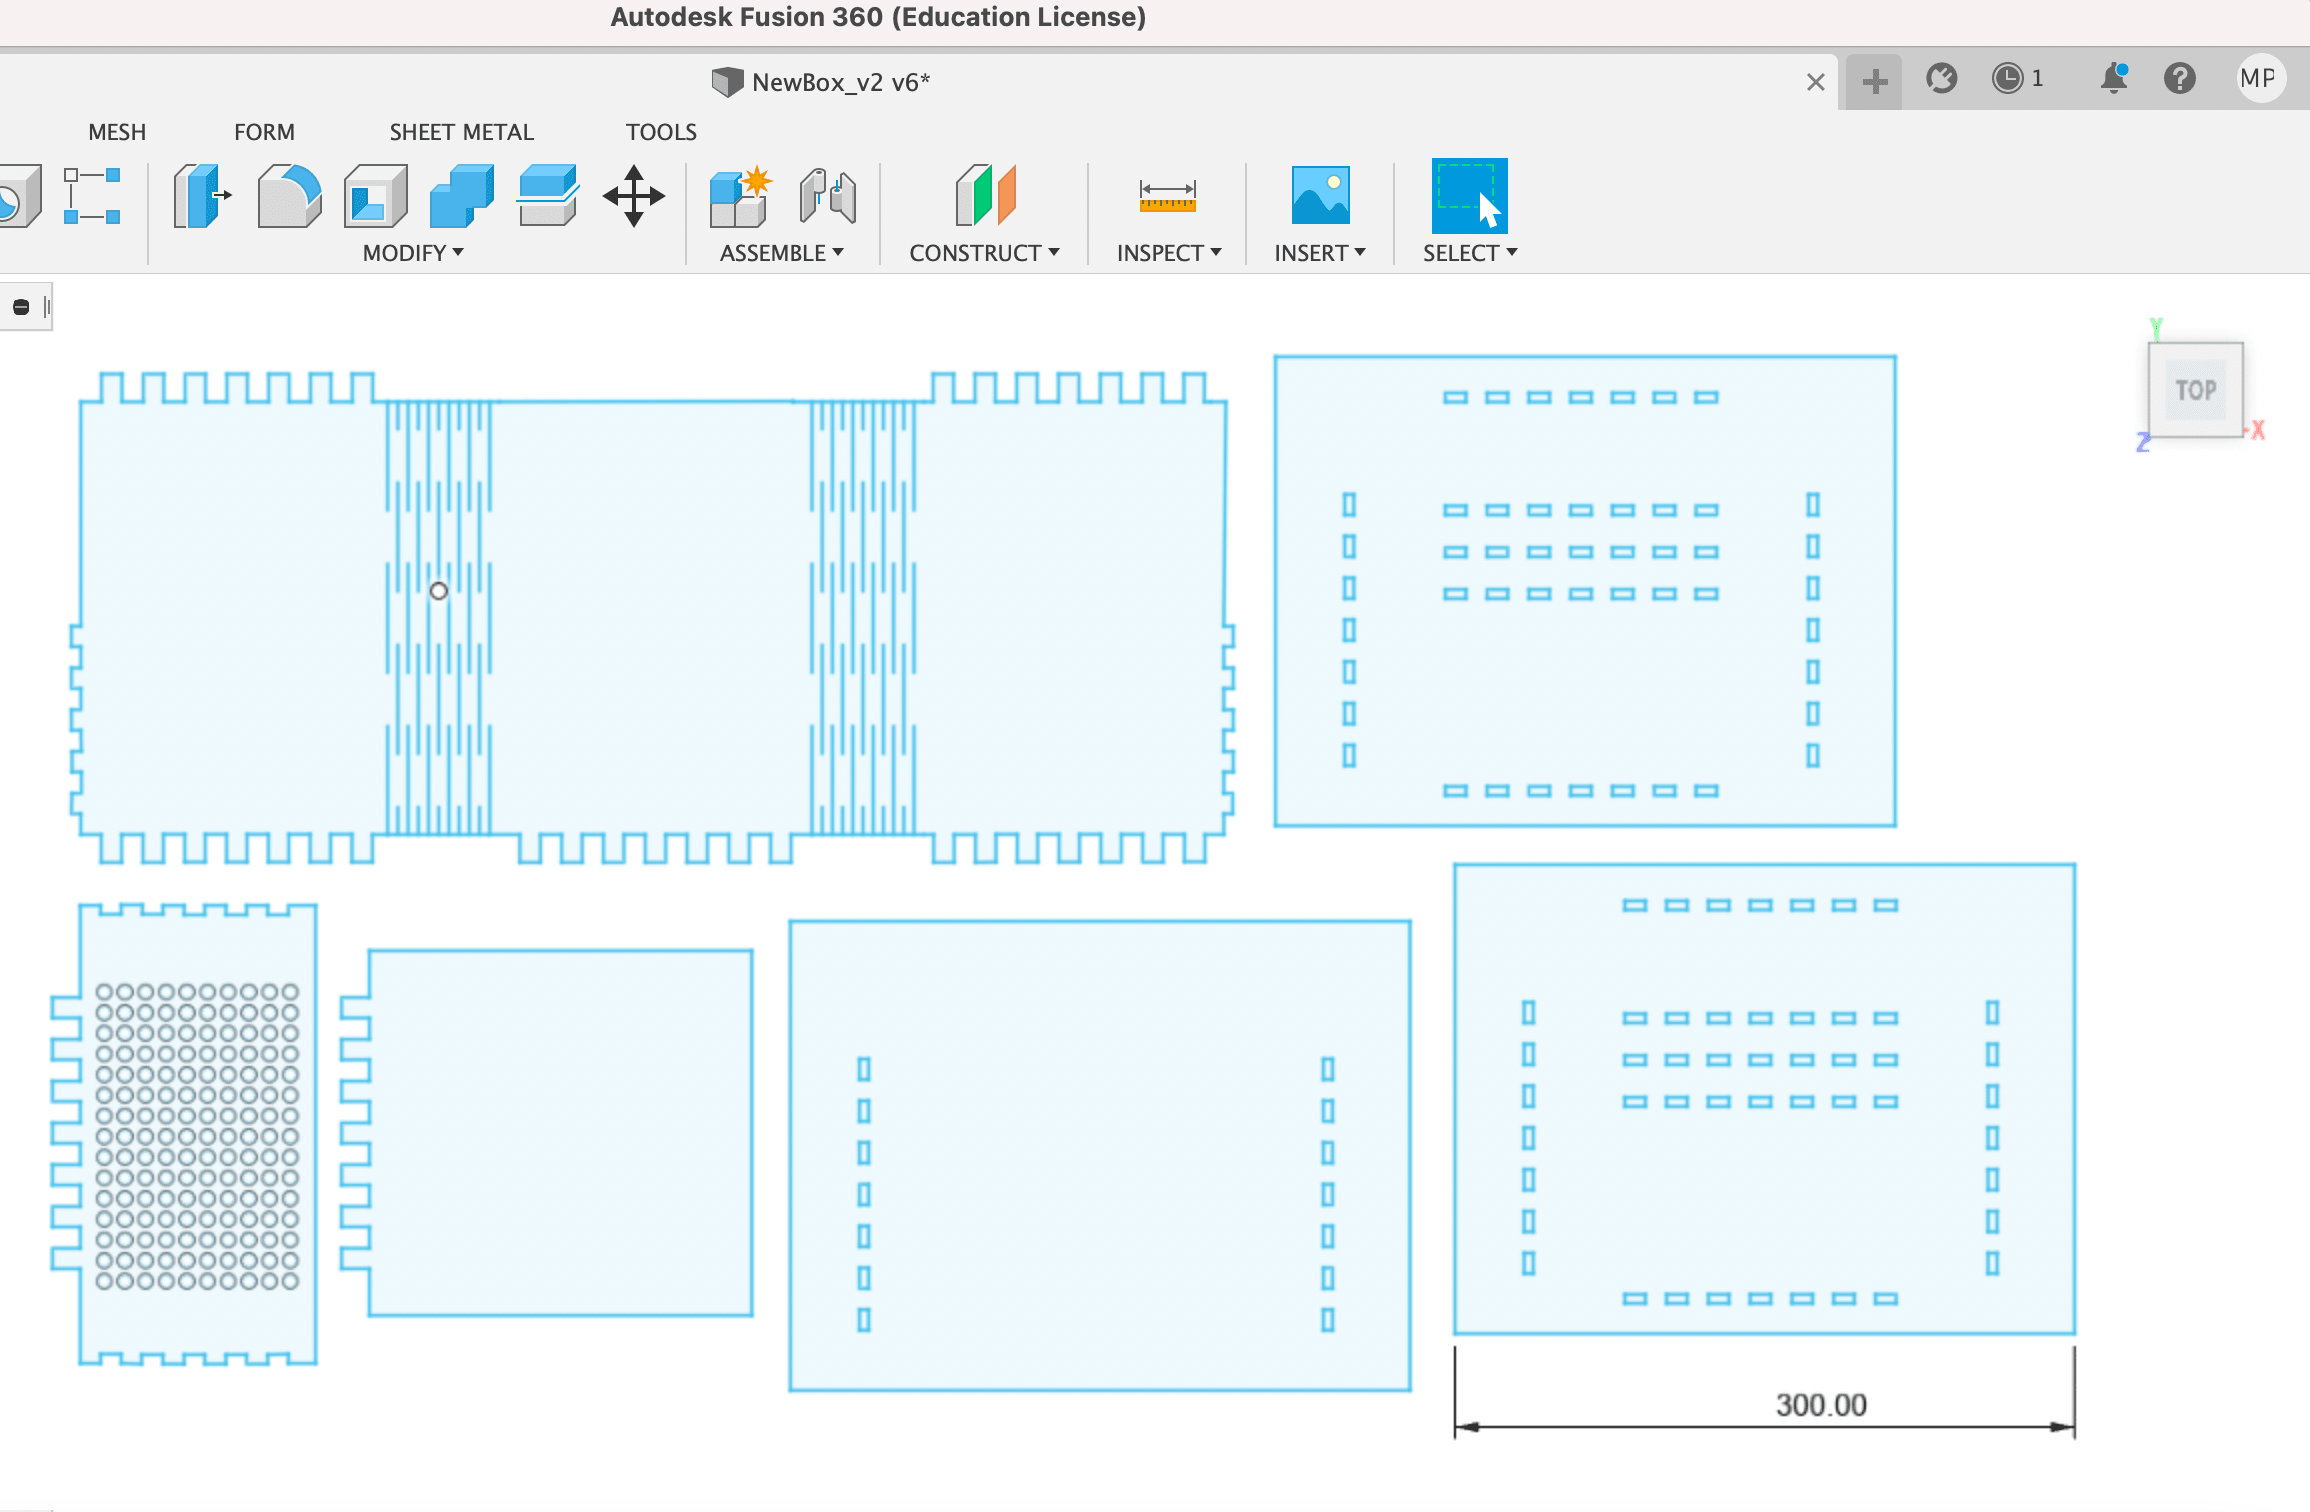
As you can see below, the rectangle piece with the many rectangular holes that I made twice is the bottom of my box. In order to make the whole thing more stable - I decided to make the peg heights that go into the holes to be thrice the thickness of the material. So the bottom of my puppet box has two layers to hold the side panel and etc stable. The rectangle holes in the middle of the box are where I imagined different backgrounds for a puppet show would go. You can make panels with simple pegs like everything else and swap them out easily. I made the background pieces to be shorter than the hole piece.
I then laser cut all these parts. They snapped together easily at the first attempt. Also note that when I measured the thickness of the cardboard - I actually pinched it flat because I knew that was going to happen when I start trying to shove the pegs into their holes.
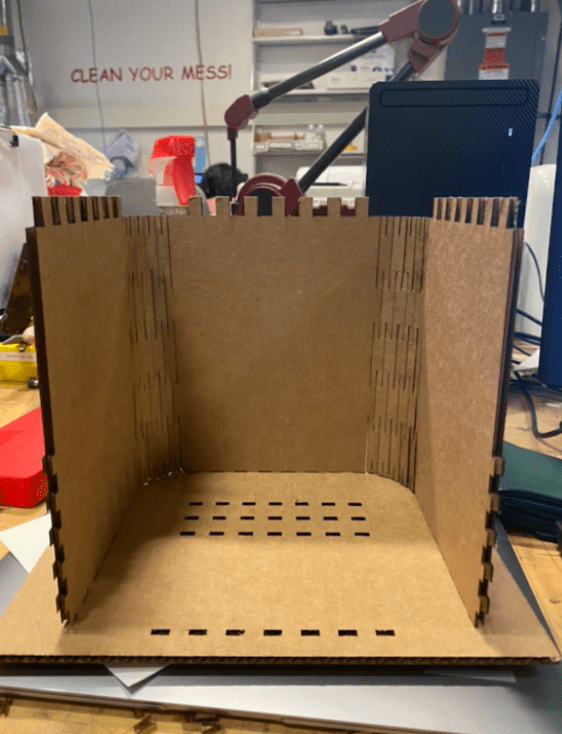
After assembling the side, back and bottom panels I had a box that looked like this.
The next problem, I needed to solve was some sort of gear that will move a puppet up and down. I needed to make the front panel that is much shorter than the background. And I need to mount the gear on the front. Inspired by the mechanical movements book #210, I decided to laser cut a curved slotted arm system. To do this I made a logarithmic spiral in Fusion 360 and then made a three point arc tangent to each corner or every square like below
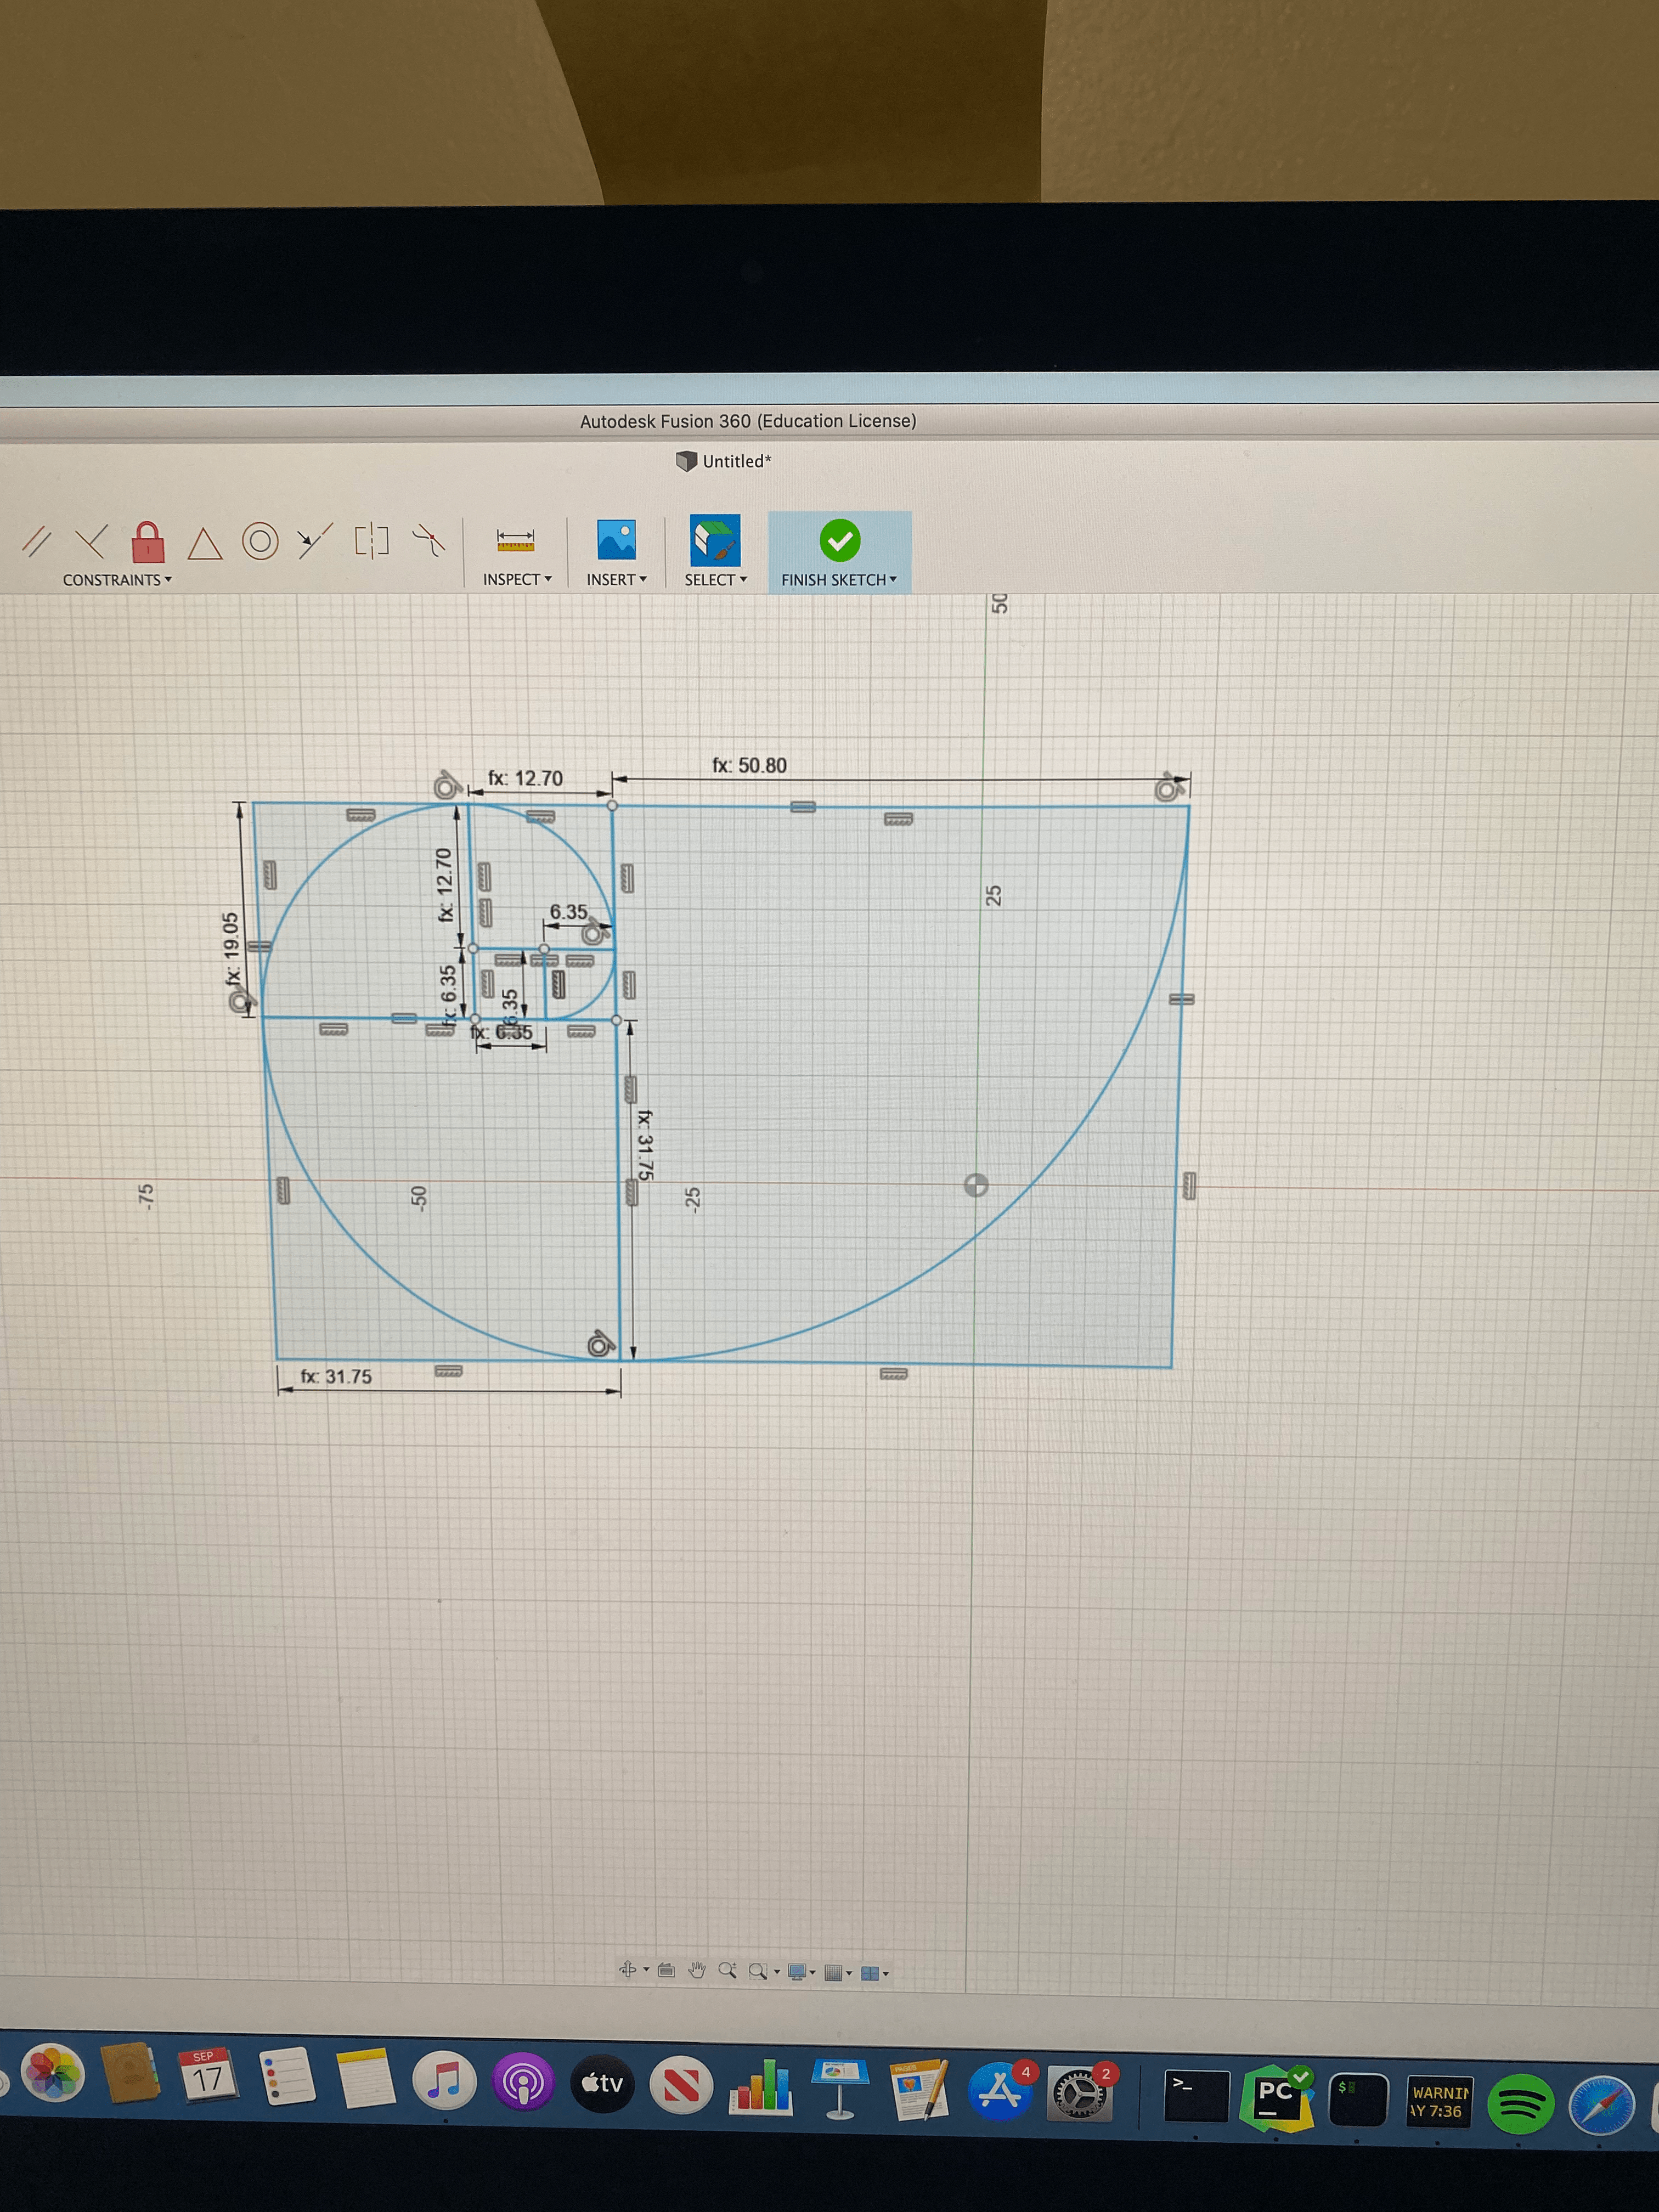
I then removed everything else and completed the spiral by connecting the open ends with spline tool. And I made a slot in the arm by using the slot tool In Fusion 360. Note because I used a spline - The DXF export to CorelDraw for cutting didn't work, the spline would disappear. To fix this I had to export the file as a poly line using the DXF Spline to Polyline Add on for Fusion 360.
Next, I needed something on the front panel that would allow me to easily mount the gear. I initially tried to make a couple of holes exactly at the places I needed them. But I ended up cutting a grid of holes so I can add more gears and more puppets easily. And I can also move things around because I can now place the gear anywhere in the front panel.
I then vinyl cut a background of deep sea creatures (I initially cut an outline of trees but I didn't have time to laser cut a bird as I initially envisioned but I had an old svg file I bought of a jellyfish so I went with the underwater theme)
Another difficulty I ran into was figuring out how to get the gear and linear piece to stay put on the grid of holes I made. I tried to initially just make everything with cardboard and some putty but in the end I had to give in and use a bunch of random screws etc I had lying around in my office.
The front panel is a bit loose because I forgot to change the joints from the old file and only realized my mistake after I assembled everything else but for now it seems stable enough so I let it be.
The final output looks like this
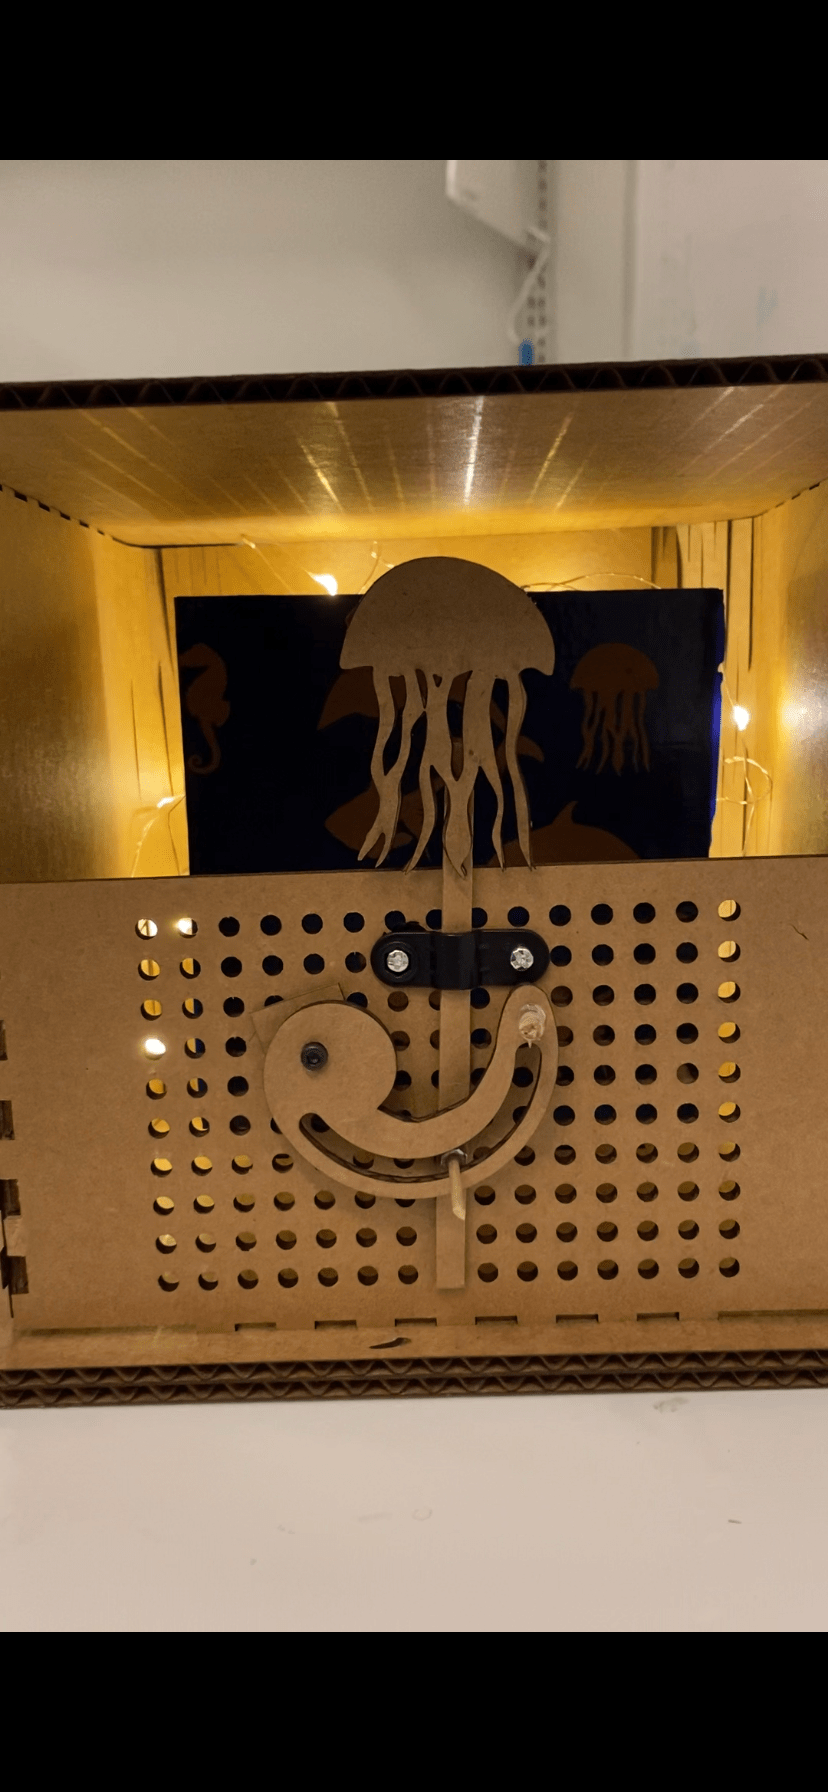
And the jellyfish moves!!!