laser cutting.
I decided to laser cut an artistic rendition of a contour map. As an artist, I really enjoy exploring paradoxical ideas and this project provided me with a perfect venue to do so. So a contour map is something that visualizes a 3D object in 2D. In other words, it is some sort of projection of 3D space to 2D space. But what if the contours were once again projected upward? That was the idea that I wanted to explore in this project.
I had not really used any design software before, so I really struggled with the design process. Eventually, at the suggestion of Aastha, I decided to use Rhino, since I needed to make many abnormal curved shapes. Following many YouTube videos, I finally got something that remotely looked like what I was imagining in my head.
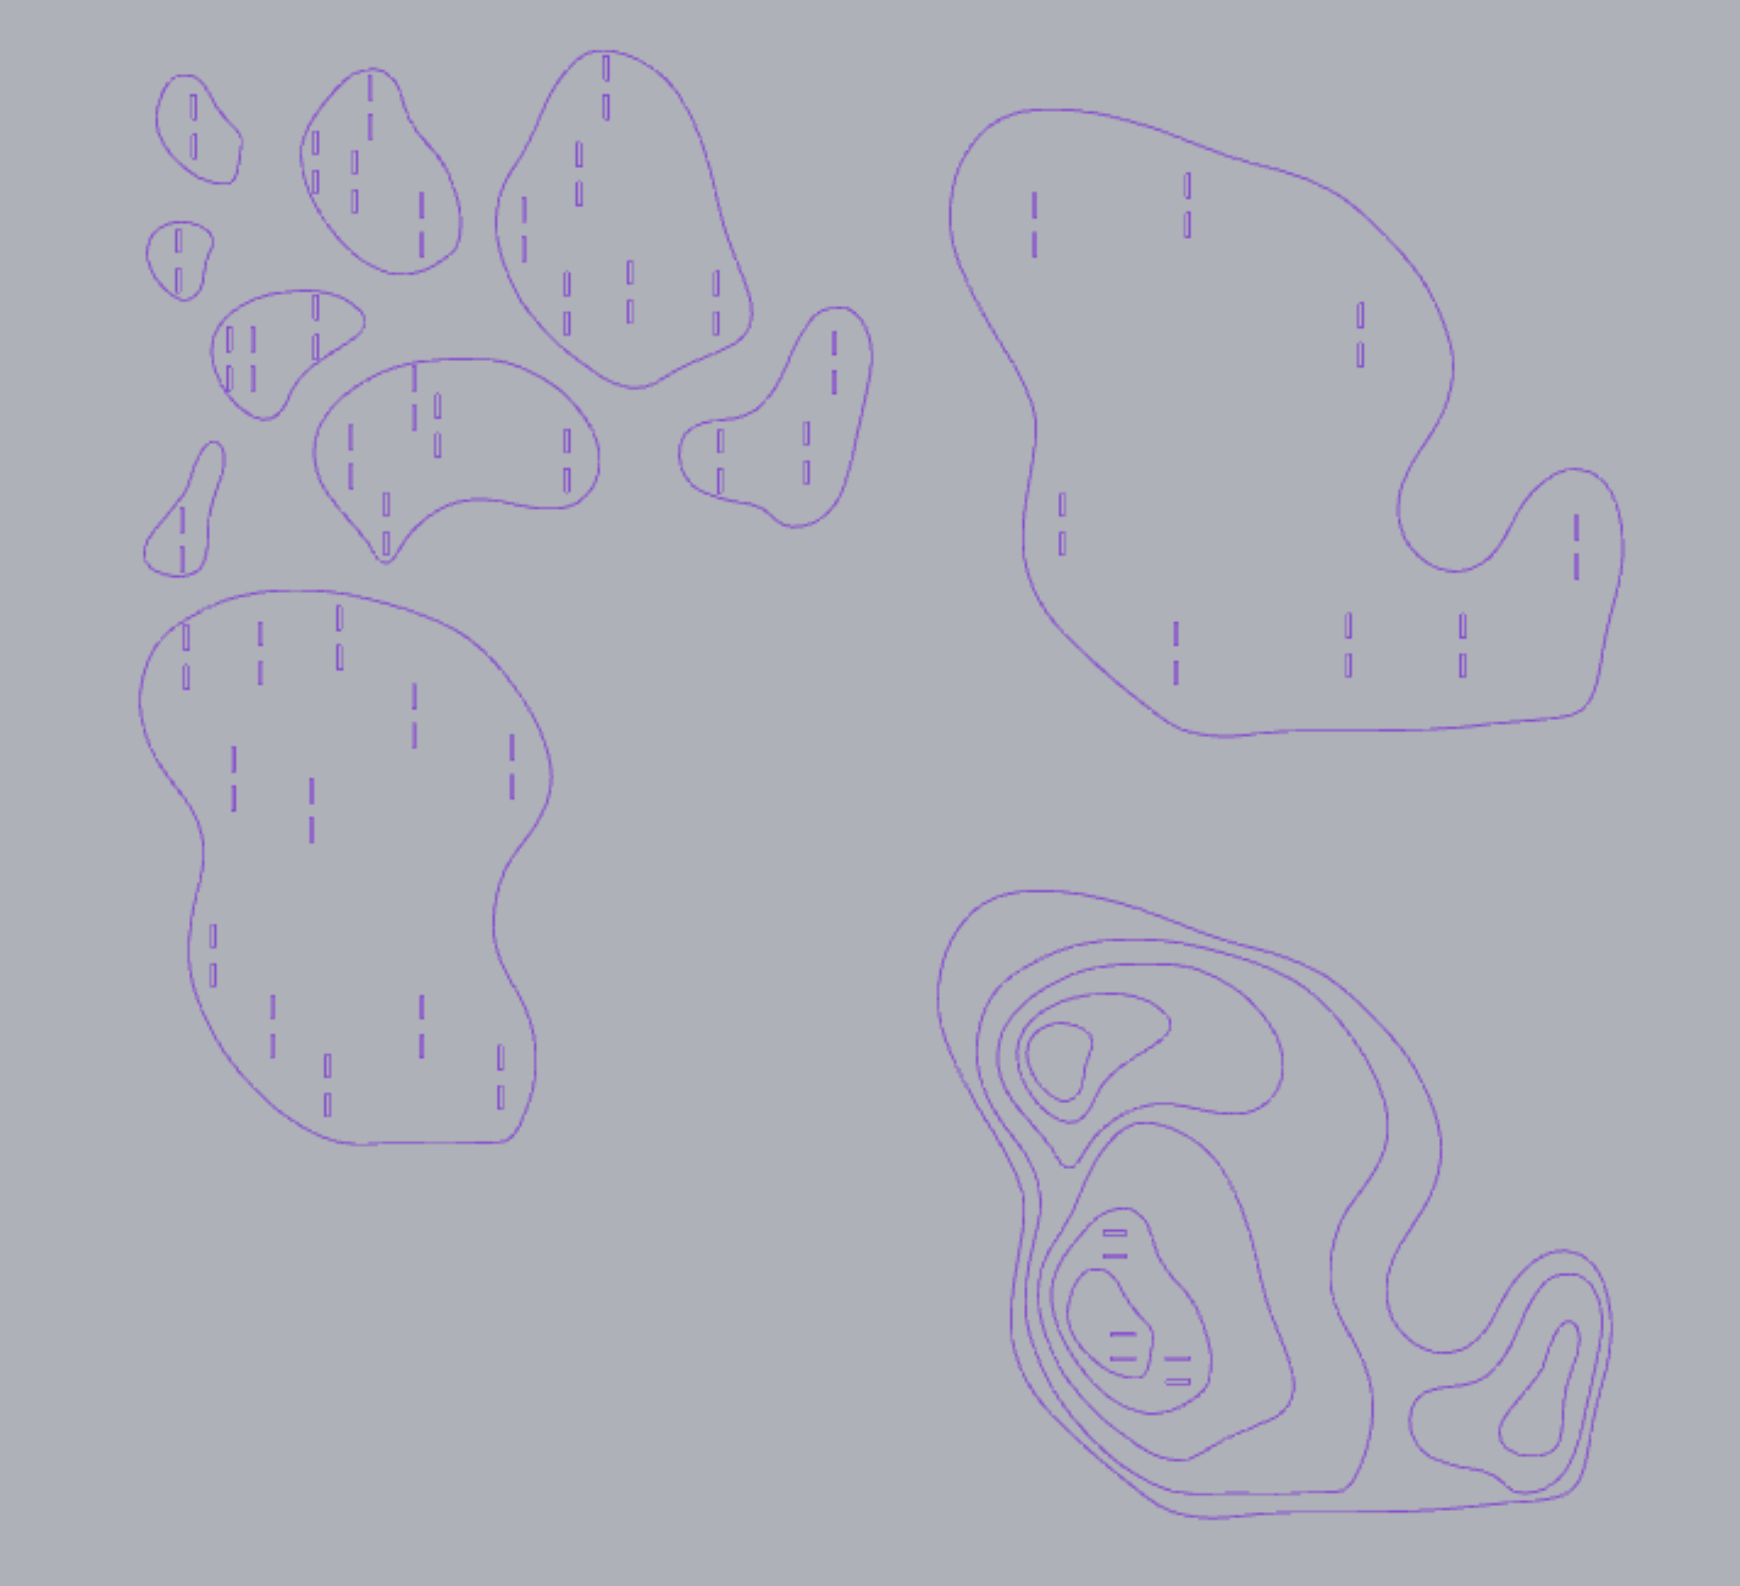
Then I test cut out a piece since I truly did not know how big each piece was going to. This was because I couldn't quite figure out how to measure and scale accordingly in Rhino, so I was honestly guessing. (Good news! Tom taught me today how to do this.) The test cut did turn out pretty good and was around the size I hoped the piece would be. Content with my design work and the test print, I called it for the weekend.
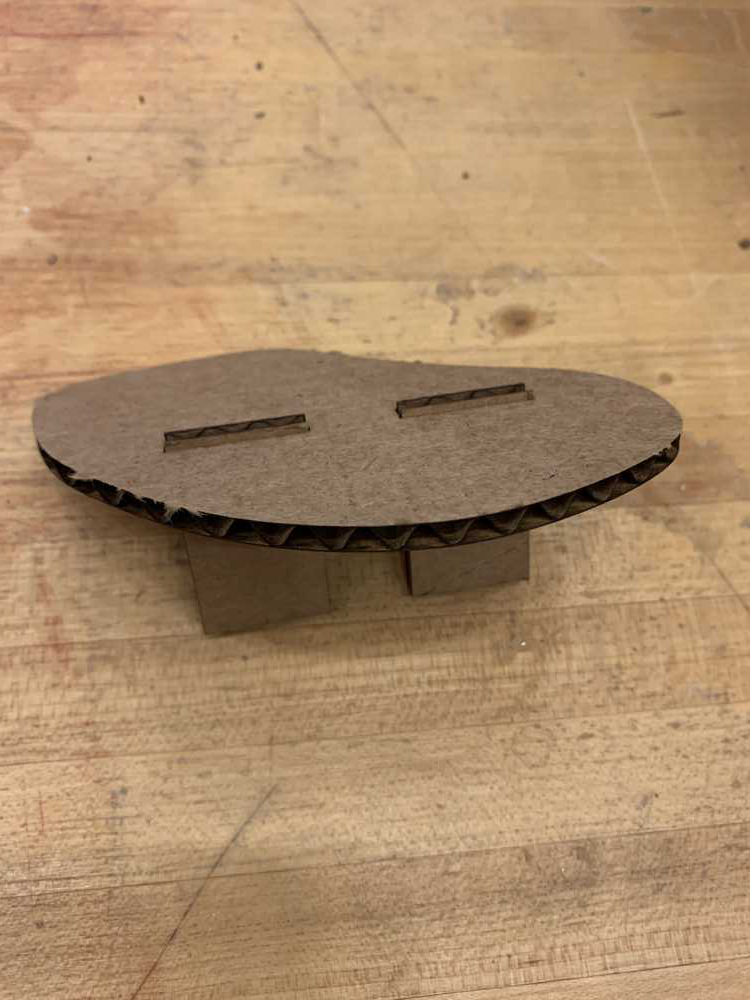
I was not feeling too good on Monday, so I decided not to come in. Big mistake! I was swamped with work on Tuesday since I did not anticipate how long it would take to perfect the fit of the pieces, taking into account kerf. Other people were also working, so I was not able to use the laser cutter for long periods of time. This meant I could only intermittently cut out test pieces to test for fit. Here is the first piece I test cut (the slots were way too small).

However, I eventually narrowed it down to three scale options: 4.1, 4.2, and 4.3. These values correspond to the width of the cardboard I was using. After some test cuts, I eventually decided that the 4.1 scaling of the diagram would provide the tight fit needed to support the whole structure. However, the benefit of doing all these test cuts is that I was able to become very familiar with the GCC Spirit. I was also able to figure out that the optimal seetings for cutting through the cardboard was speed: 2.5, power: 100, PPI: 200. Here is the slot working as intended:
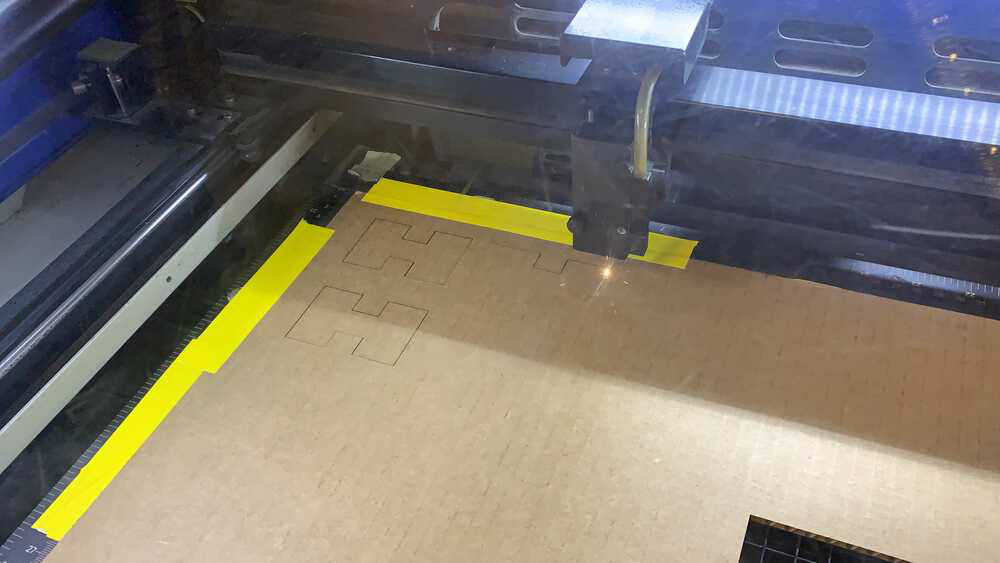
After finalizing the fit, I finally cut out 40 connector pieces. I did test cut two different designs for the connector piece to test for fit and style, but somehow the fit really ended up working out and one connector piece clearly looked better than the other. Here is the laser cutter cutting out the connector pieces:
Therefore, finally I sat down and assembled the whole piece. I had to make a slight modification during this process since the bottom board I had originally designed did not fit on the laser cutter surface, so I changed up the design a bit. The assembly was actually quite fast. The fit was great and none of the pieces slid around. Most importantly, the sculpture did not collapse under its own weight, which was the thing I was most scared about. The final product:
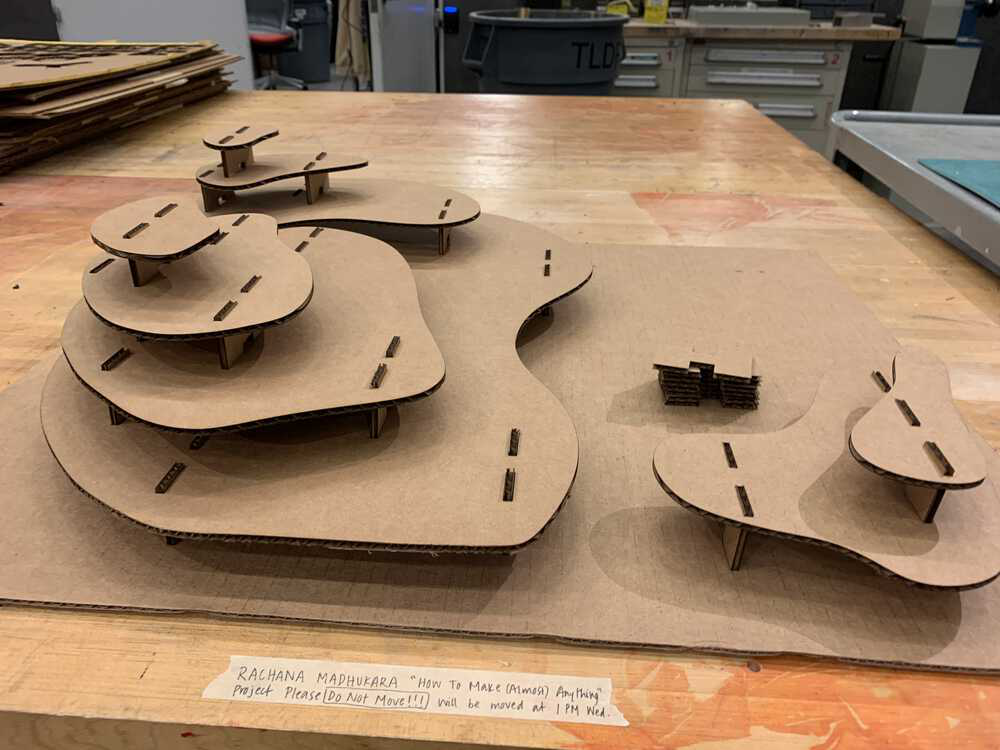
By the time I was done, it was 7:30 PM. I'd gotten to the CBA shop at 1:00 that day. My Rhino design file is linked here: Rhino File
The following revisions were done around 5/14/2023
While the previous project taught me how to succesfully laser cut, the project did not fully address the weekly assignment requirements. Therefore, I decided to make one more project. In particular, I decided to make a cactus that could be built in many different ways.

I designed it parametrically, which made life so much easier. In particular, I did a test cut which allowed me to determine that the kerf was 0.175 mm (using the calipers). Then I set that as a parameter in Fusion so then I could easily input it wherever I wanted to! In fact, I liked using parameters so much that I made parameters for the slot sizes I was using. Lastly, I made a stand and I was done!


I cut out a bunch of the pieces (I had two kinds: regular and one with a flower) and assembled a funky looking cactus! I really enjoyed using parameters for this project as it allowed me to be so precise. All of my slots were perfect and not loose at all! They held perfectly.

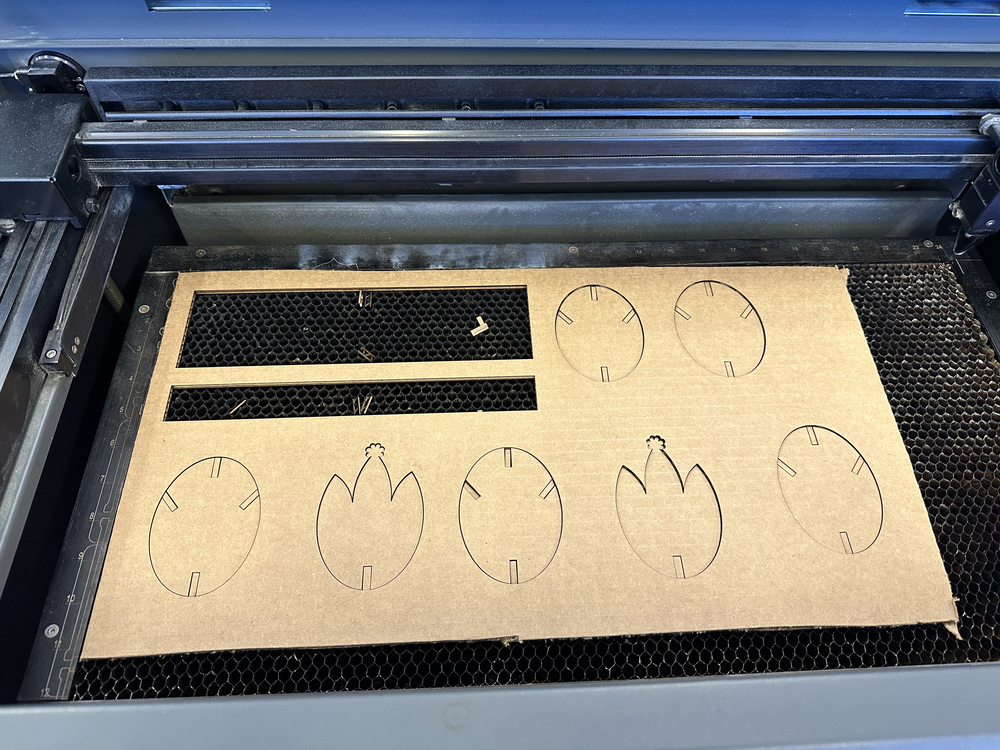

Note that I only show one assembly of my cactus here, but it can be assembled in any number of ways due to the top and side slots. (Also the flower and non-flower joints can be placed in many different ways.)
My cactus design file is linked here: Cactus File
