3d printing and scanning.
Right after I got trained on Thursday, Joanne, Ikra, and I decided to complete part of the group assignment. I'm actually quite happy we did this, because I got to pratice the skills that I just learned from Tom about how to use the Prusa 3D printer. We printed the 'overhang' and 'dimensions' files on that day. Here is overhang:
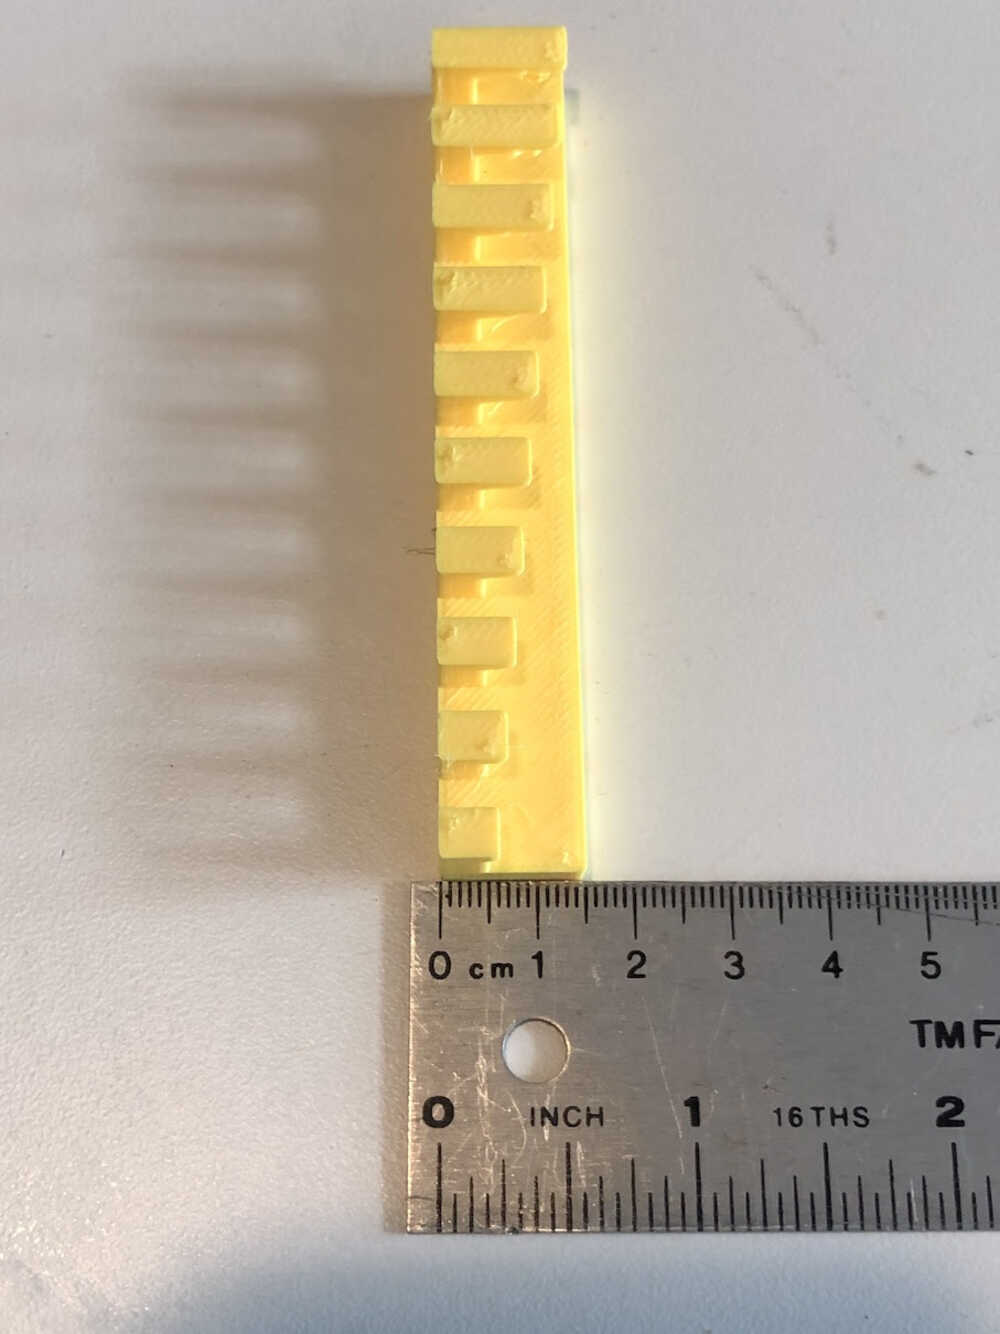
And here is dimension:

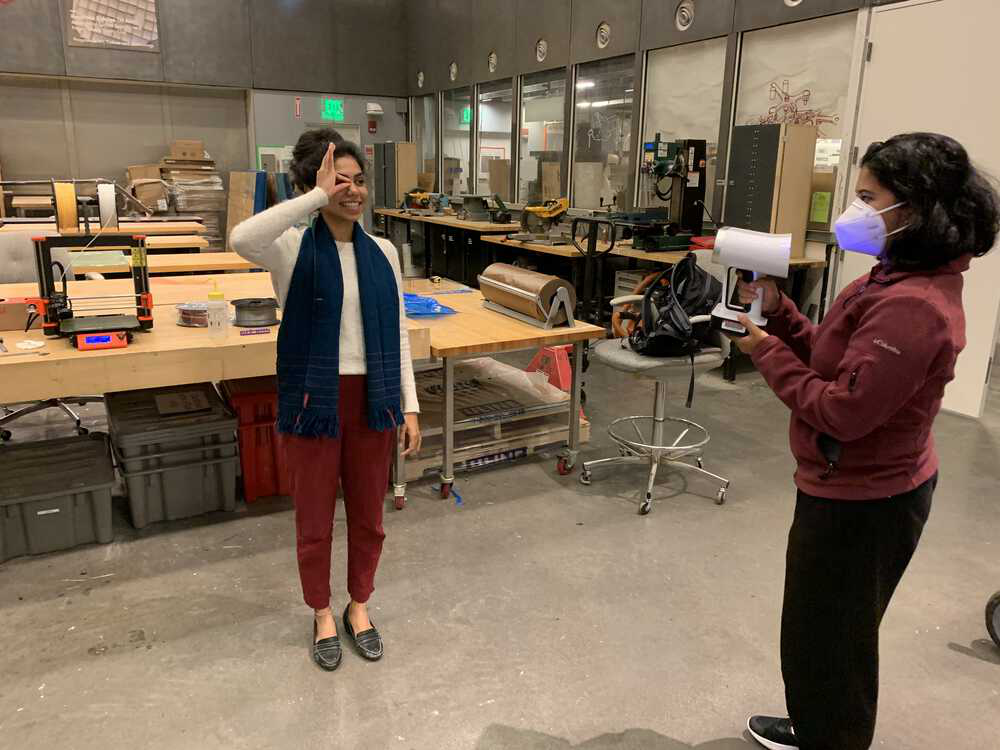
I unfortunately got a late start on projects this week due to family visiting over the weekend. However, I had the Leo Scanner reserved for Monday afternoon, so I sprinted across campus to make my alotted time slot. When I got there, Aastha was also there, so we decided to take turns scanning eachother's heads. Here is Aastha scanning my head:
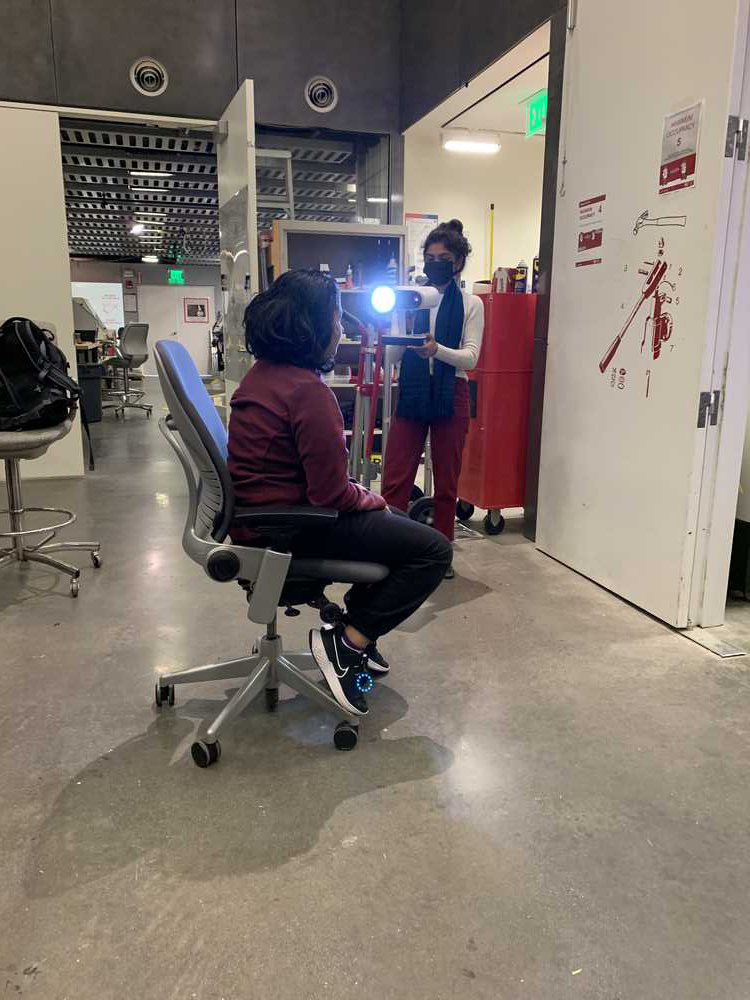
And here is me scanning Aastha's head.
Finally, here is the "creepy" scan that was made! (I chose a flattering angle, but it is still bad). Because the scan turned out so creepy, I decided to not get it printed on the J55.

Then on Thursday, I finally started designing my 3D printed object. I'd had the idea for making a message bottle for a long time. I always found the idea of picking up a wine bottle that had washed ashore, finding a message in it, and connecting with someone else across the world so fascinating. I even wanted to send my own messages, expect of course I never would cause this contributes to pollution. But for some reason, in my mind, these messages in a bottle reminded me of freedom and happiness. So when we were assigned to print something that could not be made subtractively, this is the first idea that came to mind!

With the help of Alfonso (TA), I got help using Fusion 360. (I also got help from the Product Design Online YouTube channel and followed a tutorial from there to learn, at Alfonso's suggestion.) As I often say in these posts, this was my first time using Fusion 360. With Alfonso's guidance, I actually found it to be relatively strightforward and not as obscure as the other softwares I had used in this class before. Soon, I had my model ready and I uploaded in onto the Prusa. I almost forgot to change the bed temperature, but somehow a little voice in the back of my head reminded me just in time. The print started out great. The silver PLA I was using was even looking good, so I was very excited. However, I turned my head for just a second and the bottle had gotten knocked over.
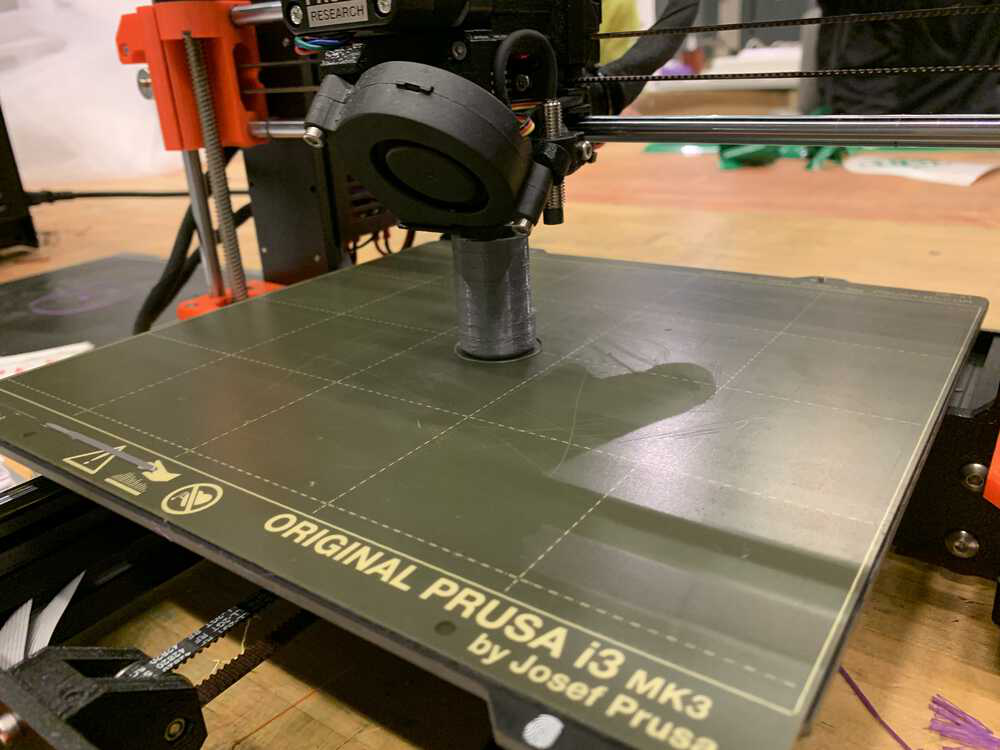
Therefore, I was left with this half finished model:
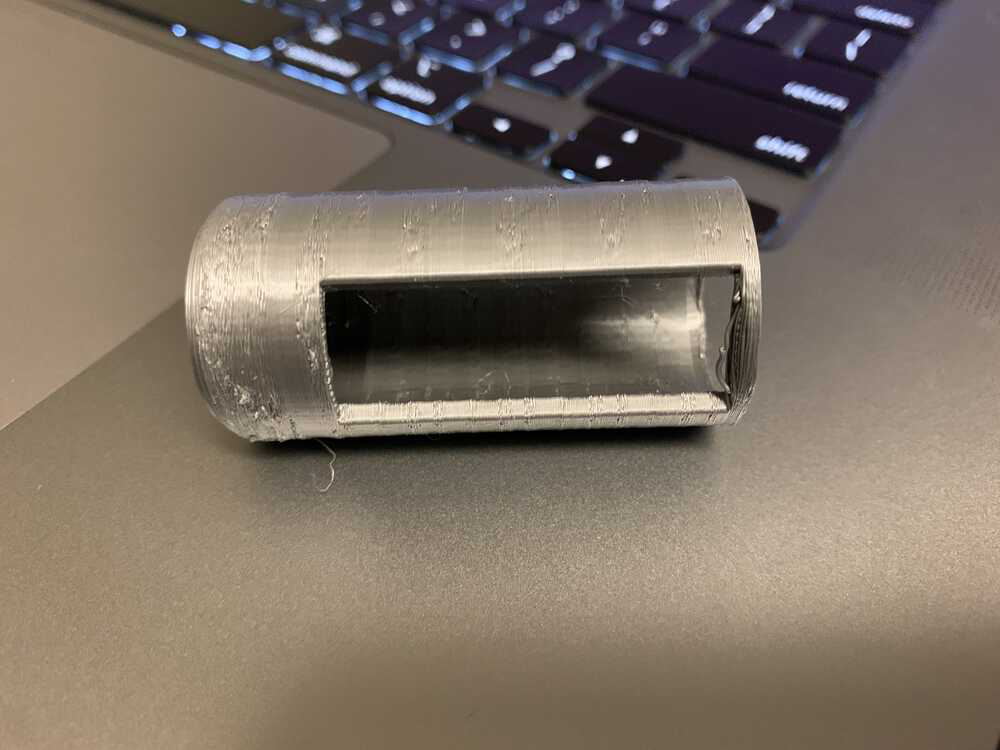
After adding a skirt to the print, I set it off to print again. Thankfully, the bottle did not fall over this time! And here is the final result (with a little peep hole to see the message inside!):

The following revisions were done around 5/14/2023
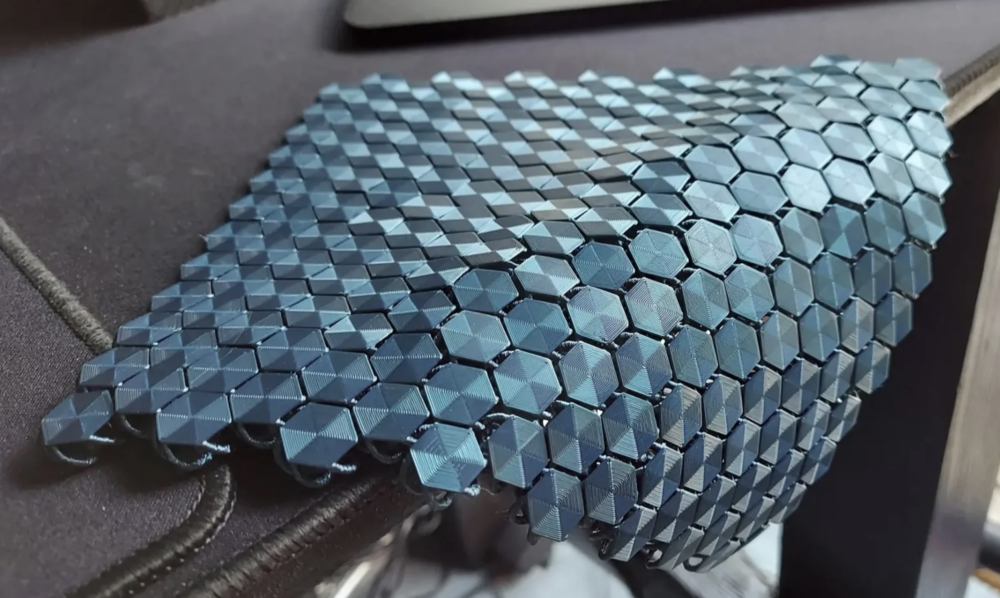
Additionally, in order to satisfy the fact that the object could not be made subtractively, I made another 3D printed object. In particular, I decided to make some chainmail. Inspired by some hexagonal chainmail I saw online, I decided to make my own. In particular, I took some guidance from this Instructables site. However, before I could 3D print anything, I first needed to CAD it. My plan was to make one link and then use the "Rectangular Pattern" tool in Fusion 360 to copy it over as many times as possible.
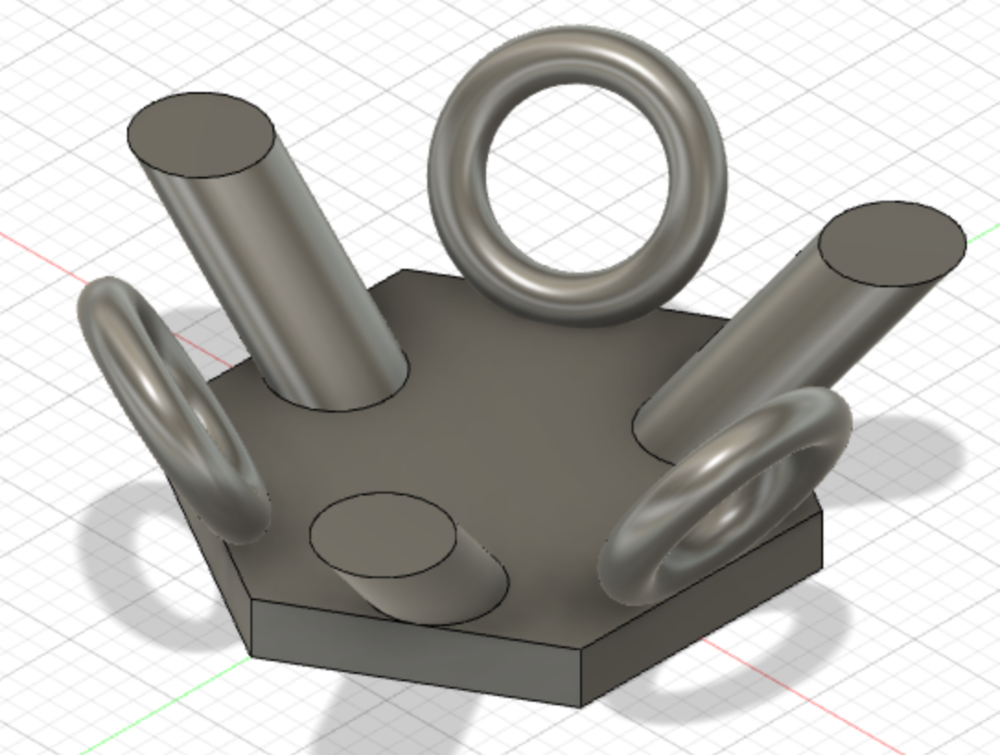
In order to make one link, I started by first making a hexagonal base. Then I used the "Torus" tool to place a circular "holder" at a 30 degree angle to the hexagonal base. I used the "Move" tool to perfectly place the torus. Using the "Circular Pattern" tool, I then made three copies which were placed all along the hexagon.


Next I made 3 "spires" on the remaining 3 sides of the hexagon, and this is where the circular holders I made in the previous step would interlock. I made these spires by using an offset plane and then used the loft tool to connect the two circles I had made. Lastly, I placed pads on the tip of each spire, so they would not fall off. I also added fillets so that the pads would be easier to 3D print.


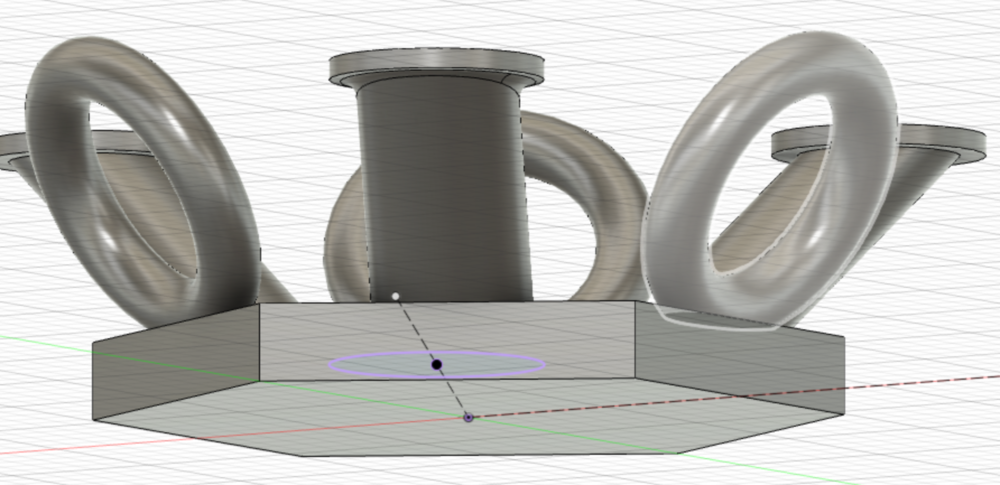
Then in order to create the whole chain mail, I used the "Rectangular patterm" in order to replicate the link over and over. Then I was ready to print! I test printed just one link and it was good that I did so since I learned to not use a raft while printing. Then I printed the whole thing and it turned out great!
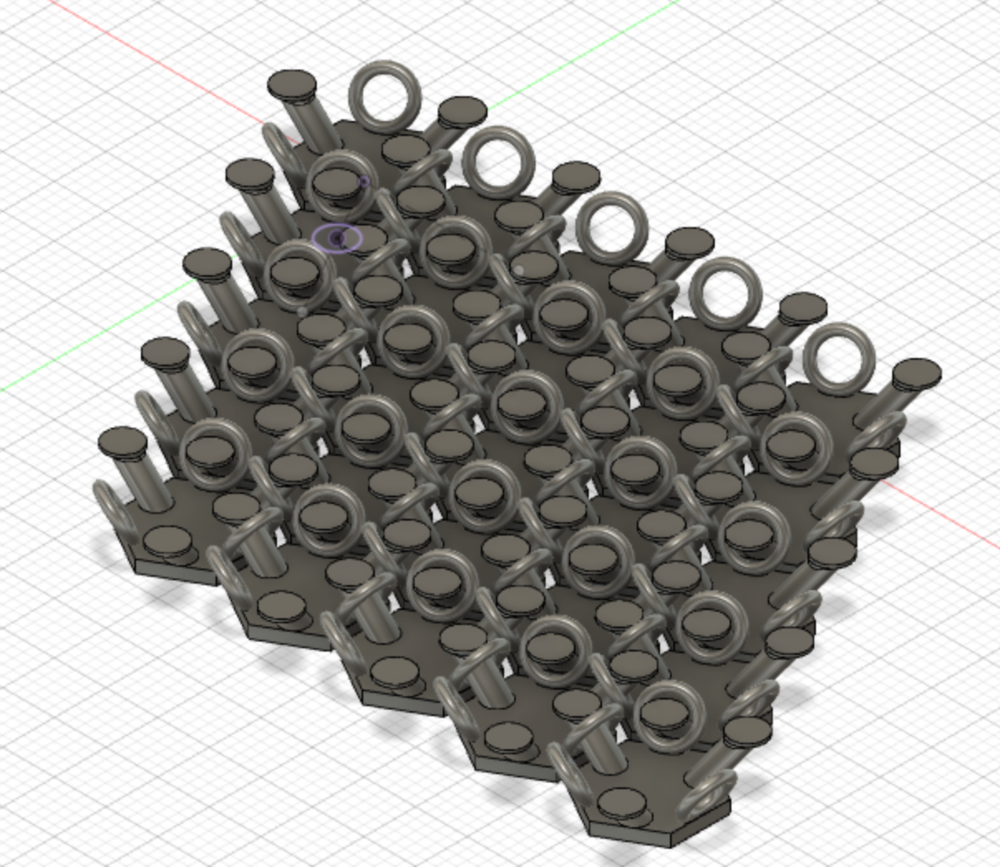


This design is definitely subtractive since it would be very difficult for an end mill to reach between the links of the chainmail.
And finally, here are my stl files for both projects: Bottle CAD File Chainmail CAD File