electronics design.
Really the theme of this week is "Standing on the Shoulders of Giants." I used Jake's wonderful Eagle tutorial to get started, but there were still so many random issues that came up and I am very thankful to Reina and Thais for helping me through all these initial issues. Also many thanks to Jason and Manu for helping me through Monday night! That is why I want to call this post "On the Shoulders of Giants" since it would not be possible for me to do anything without help from all these wonderful people. Also big shoutout to Ido and Kevin for letting me use the mill before them even though it was rude of me to ask. I'm very grateful for everyone in the CBA section for being so supportive through my many fails (as we will see).
Through the group project, I was able to learn about the equipment we have in the lab that we can use for testing, such as a oscilloscope and a multimeter. I'd used a multimeter in high school, but never even heard of an oscilloscope. The multimeter is useful for finding shorts in the final circuit.
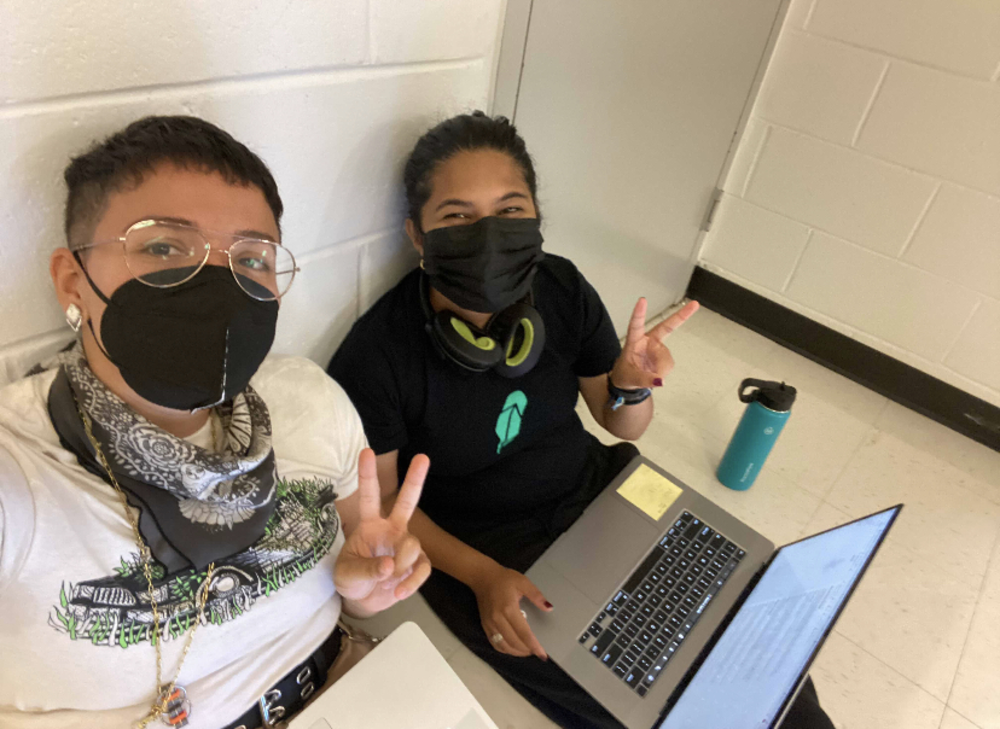
The design process using Eagle was extremely difficult for me, even using Jake's video (and recitation). Many thanks to Thais and Reina for being there every step of the way for me. Here is me and Thais sitting on the ground working:
Finally, I got the schematic made for the SAMD21E board. I did this by cross examining Neil's example board and the data sheets provided online. I also did the pcb routing with lots of difficulty and lots of helps from Jason. I think it is VERY understated how hard this is! But basically I mapped out the "topology" of the board, dragged around pieces, and tried to connect them. I'm pretty happy since I only needed to use one jumper resistor to completely connect my circuit. Here is my final schematic and pcb design:


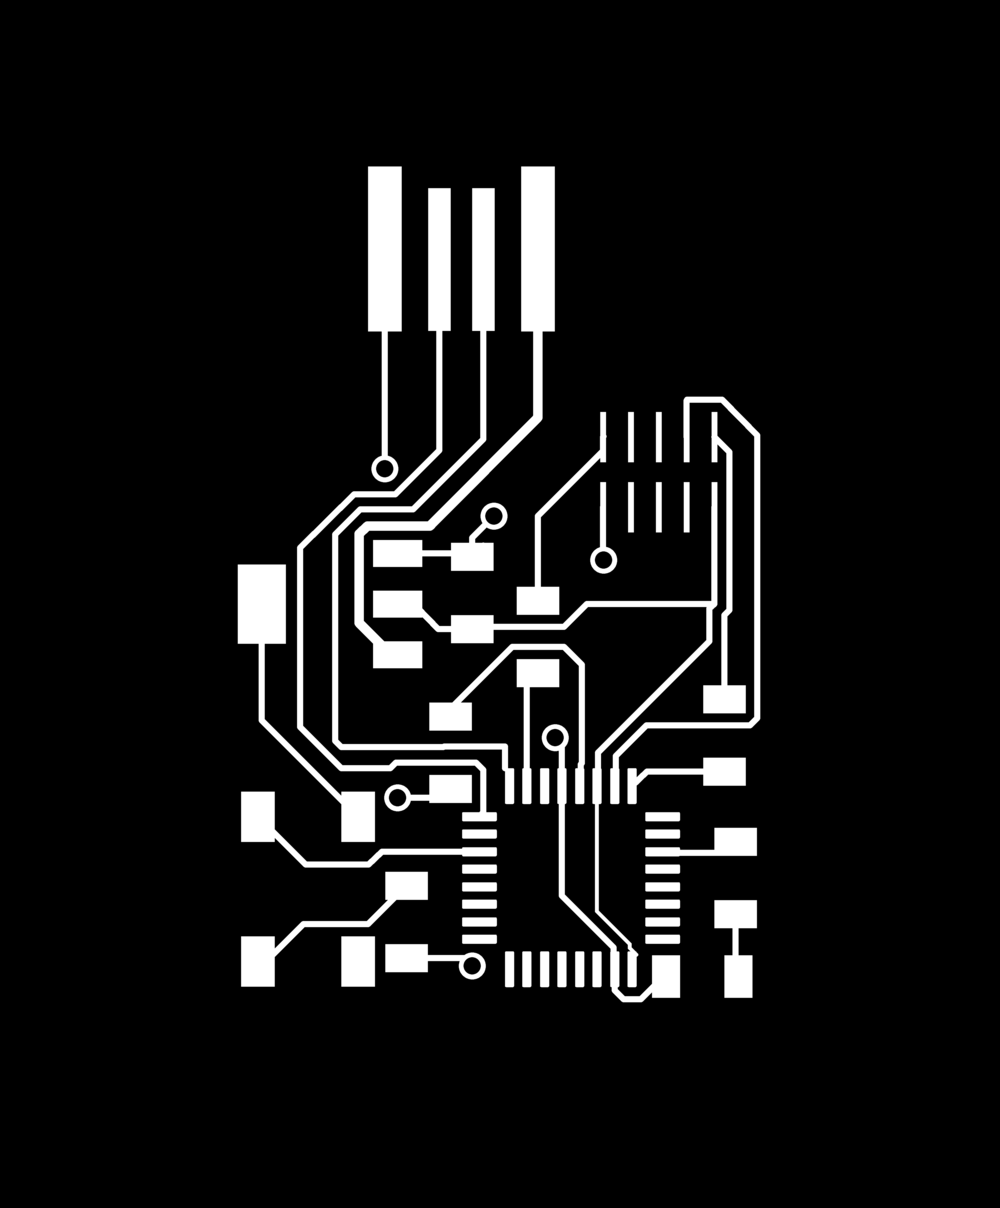
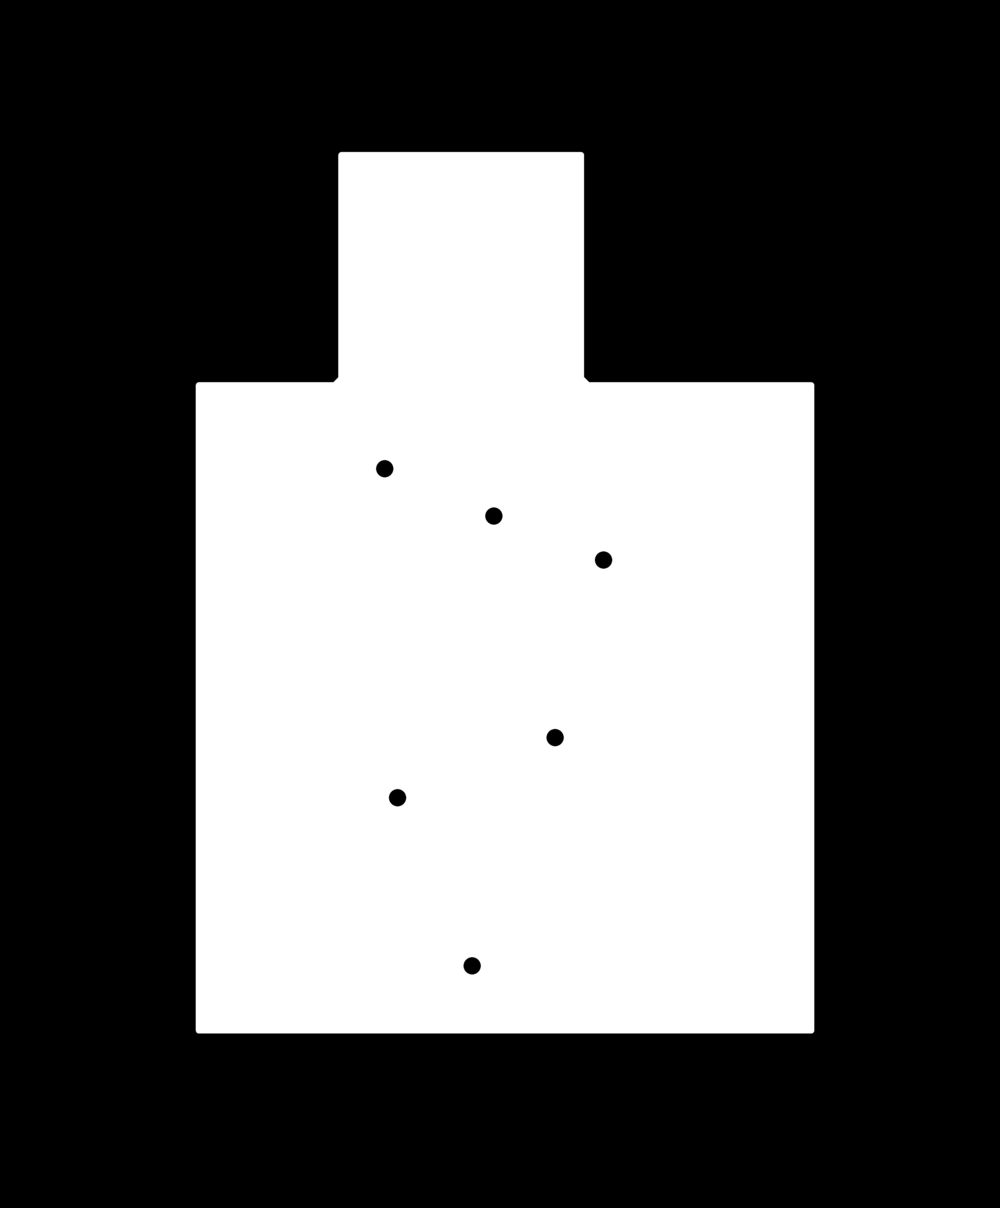
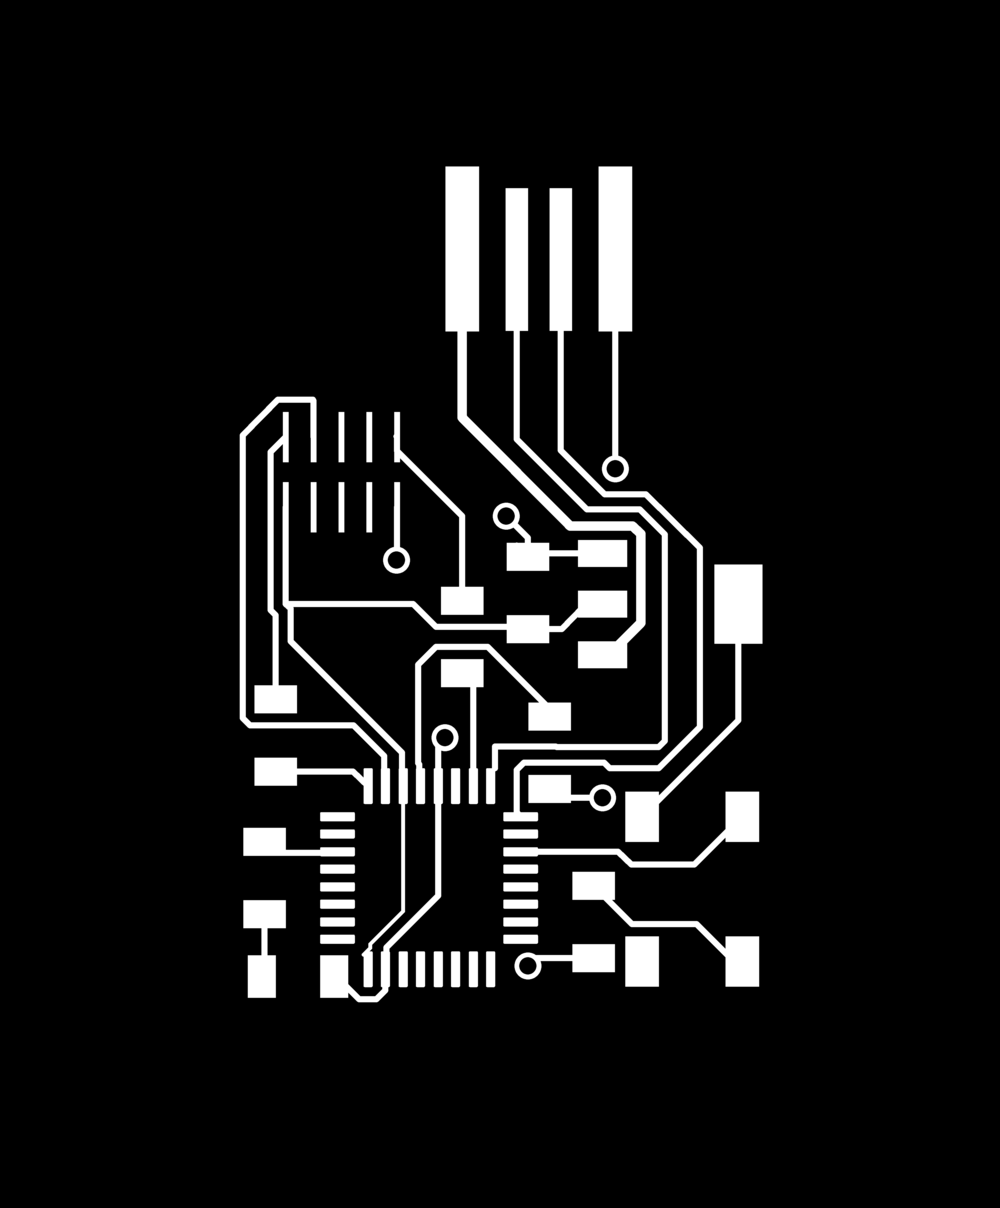
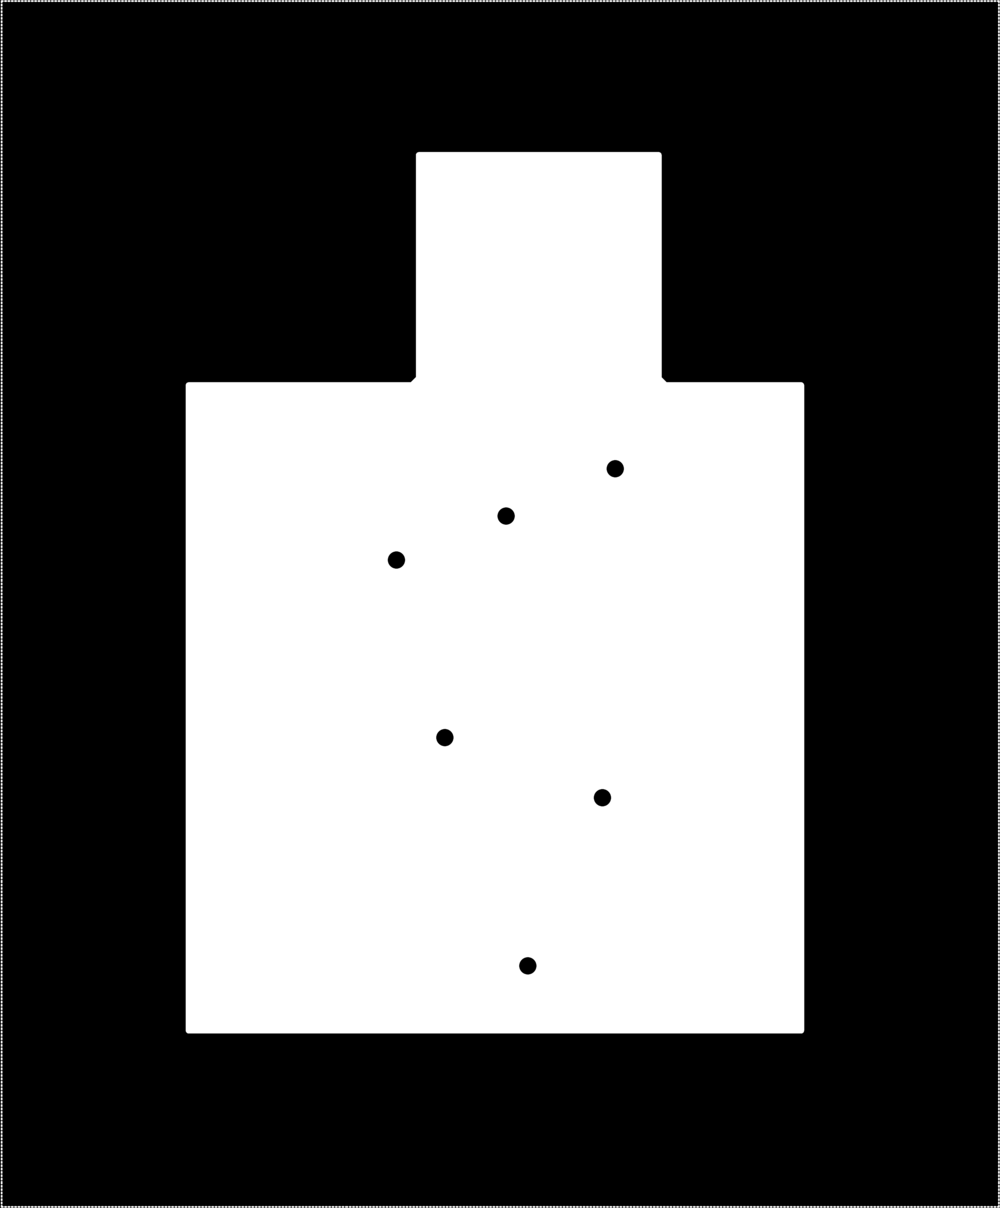
Note that I connected the button (switch) to a digital pin and the LED to an analog pin and added 1k resistors to both. With Reina's help, I also managed to export the traces and outline as a png. Here are the traces:
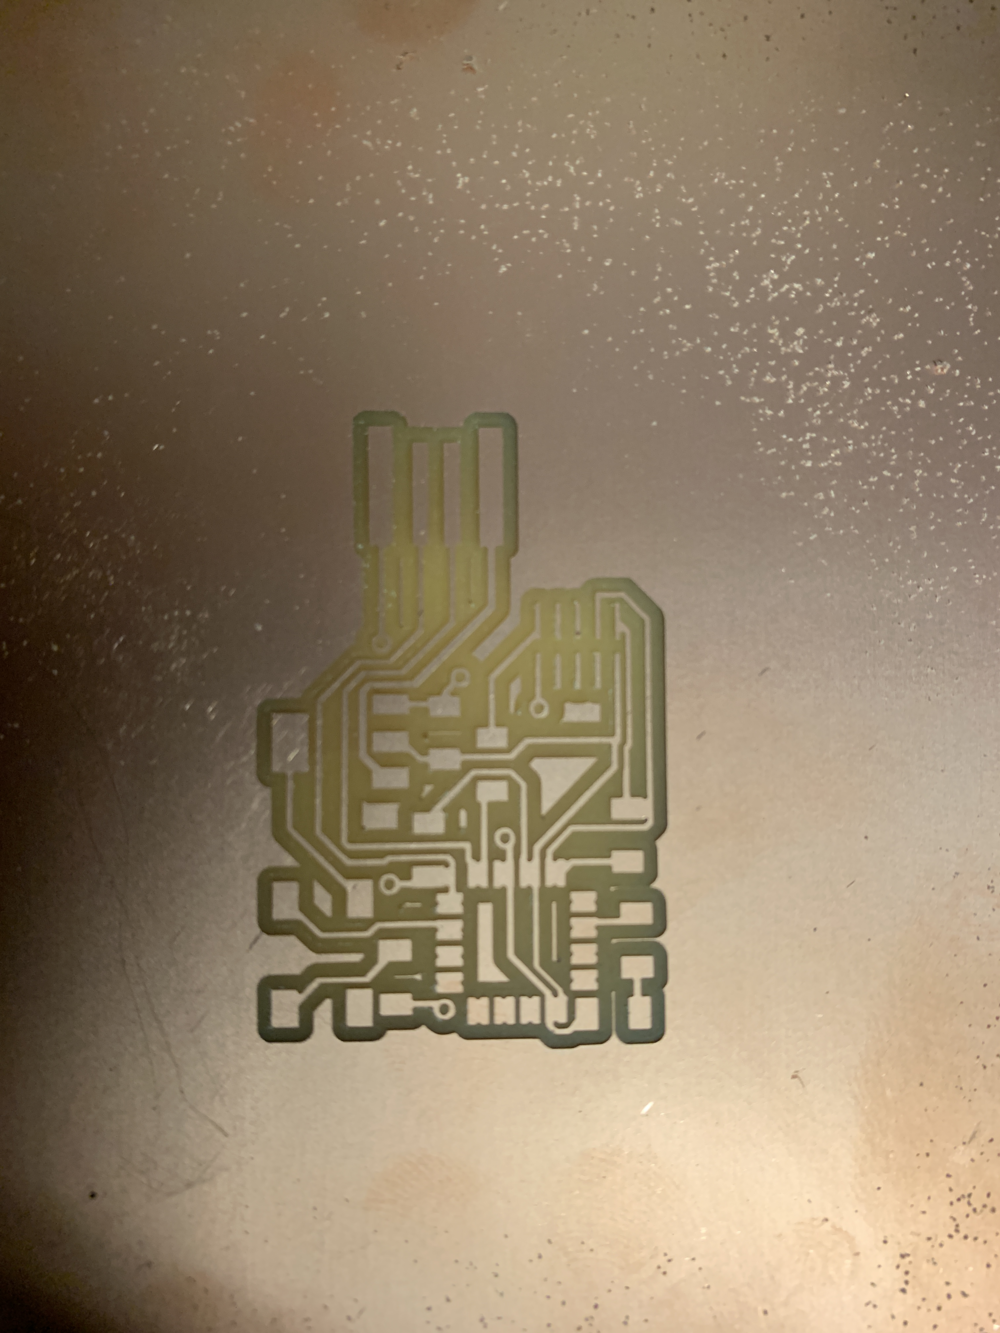
I was so excited! After working for MANY hours, I was finally ready to mill. However, I didn't know what was in store for me. The first board I milled, there was bridging between the pads of the microcontroller. After discussing with Manu, I re-milled using first the 1/64 bit and then the 0.01 bit mill (and also increased the cut depth). This time, the pads were successful HOWEVER for some reason the pads of my header had disappeared! I'd also decided to do some test outlines and had actually cut out the outline, so I was beyond frustrated. By this time, it was already 7 am and I'd been at the lab since 2 pm the previous day, so I decided to head back to my dorm. Here are the results of the milling that day:
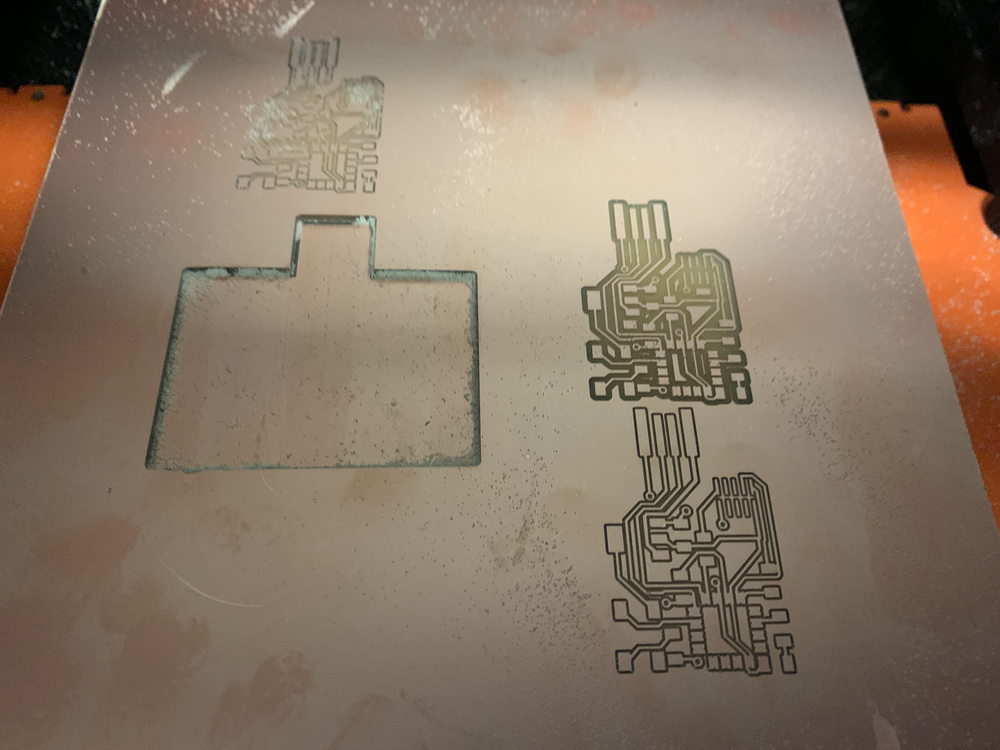
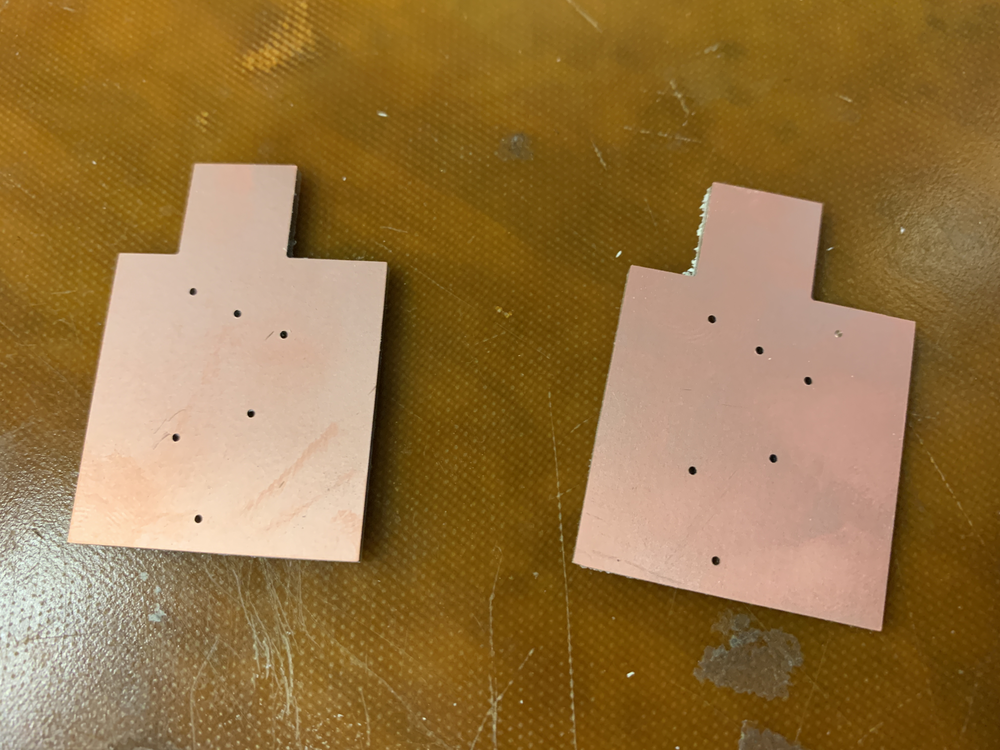
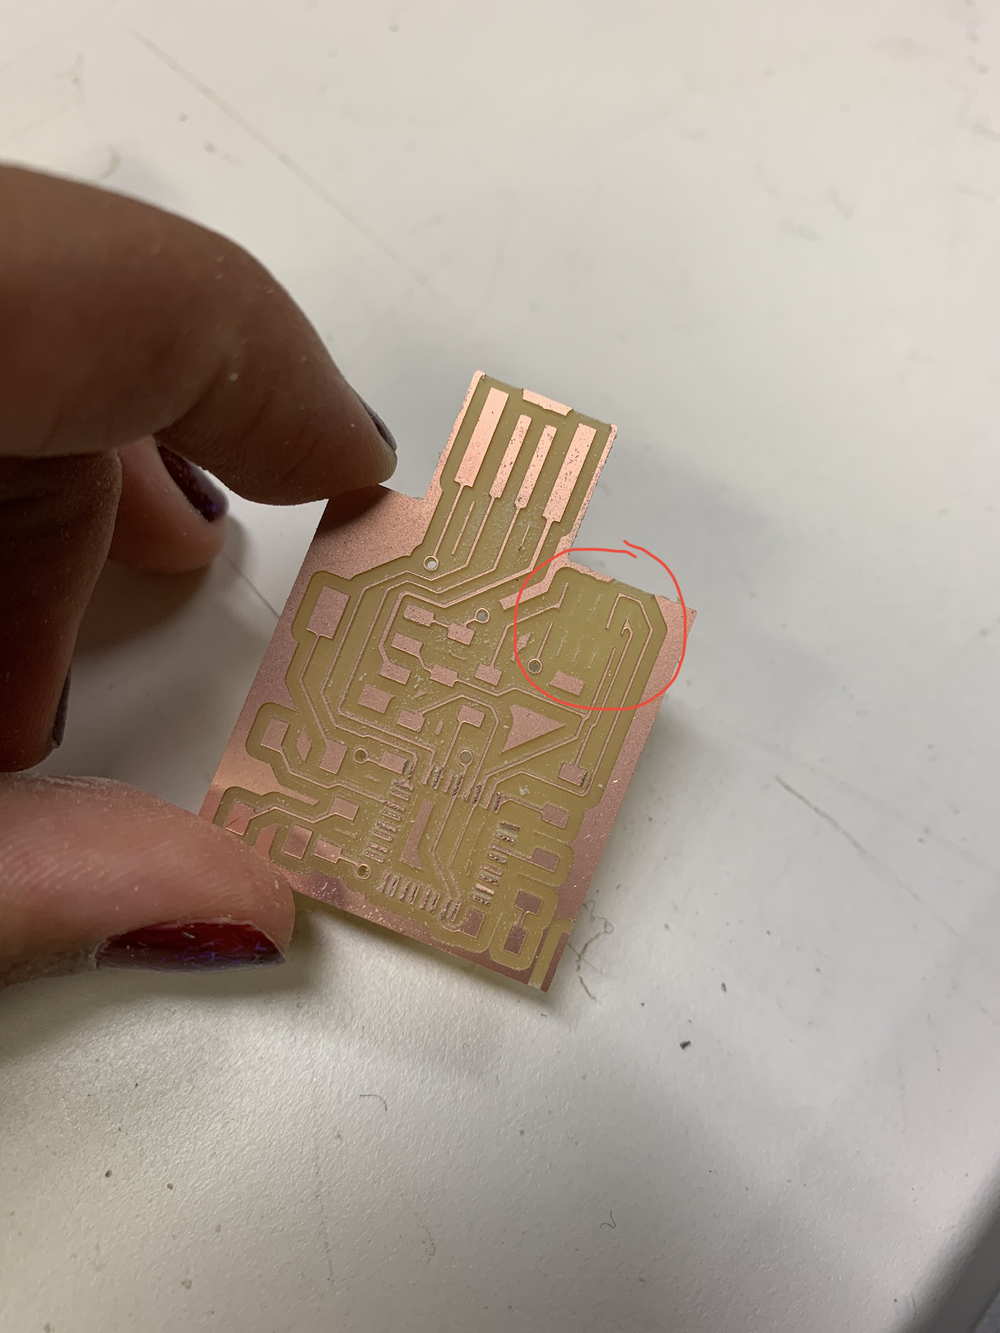
After trying to sleep for a bit, I came back to the lab at around 3 pm. Ido was on the machine, so I sat with Reina to try to figure out the coding portion of this assignment. After looking at some Fab Academy videos, I determined that I needed to use edbg. So I cloned the repository, then cd'd into the repository, then tried to make all. The terminal warned me that I was missing some file called 'libhidapi.' So after some Googling, I determined I needed to install hidapi. So I upgraded brew on my computer and then used brew to install hidapi. However, the error persisted. The terminal kept reporting that edbg could not find 'libhidapi.'
By this time, Ido's board had unfortunately failed on the mill. I encouraged him to mill the outline again so that he could at least lift the board out, but this ended up cutting off part of his usb since the outline was so close. So he decided to head home. Technically Kevin was in line after Ido, but after hearing about the trauma I had gone through the previous day, he was very generous and let me go before him. At Neil and the TA's suggestions, I milled my board using the 1/64th bit, BUT tricked the machine by setting the trace width to be 0.014 in. The mill came out beautifully, and so I was excited again! I was finally on trakc. But this feeling would not last long. I loaded up my outline file and pressed 'send to device,' only for the mill to cut right through my circuit. Ido urgently turned off the Roland, but my design was long gone. Once again I was sad. I also felt bad cause Kevin let me use the mill again to try one more time, so I felt bad about wasting his time. Him and Ido had been so generous.
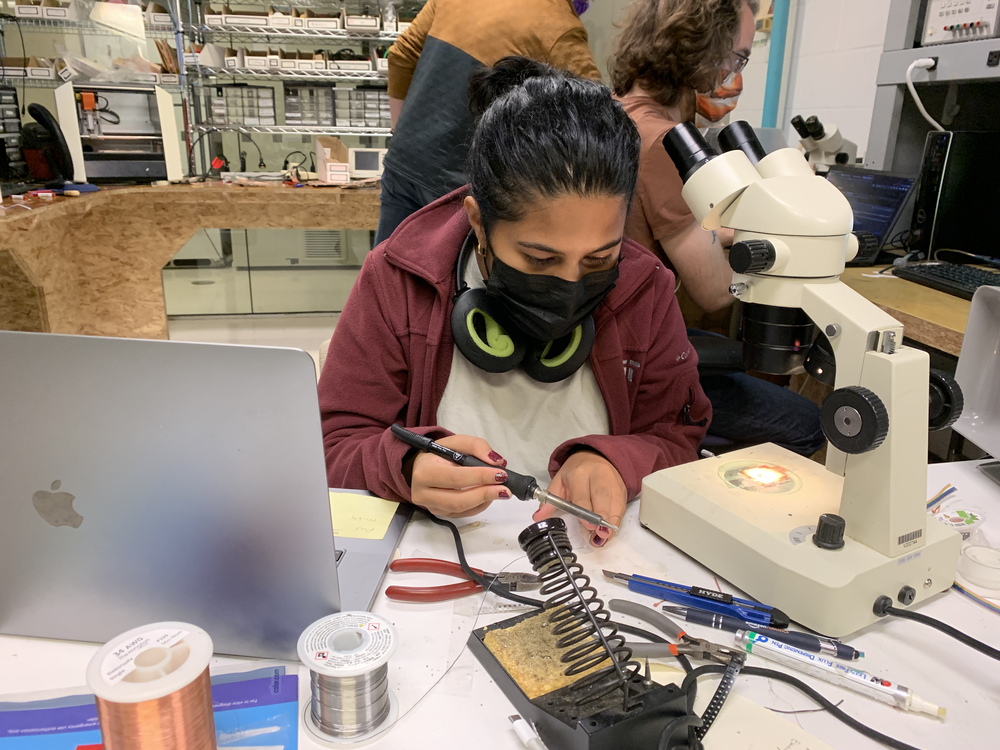
I milled the next board in the same manner and added the outline. This time, nothing came out wrong, except for a few burrs on the design. However, I was reassured by Zach that this was fine. Now I could finally get to soldering. With lots of difficulty (since my microcontroller had 32 pins), I soldered on the SAMD21E and the header. (Thanks Zivvy for the picture!) Then when I went to see where to solder on the next resistor, I noticed that all the labelling in my Eagle pcd drawing were backwards. I honetly didn't think much of it beyond the fact that it was kind of annoying to read, but I am SO GLAD I decided to ask Jake just in case. He also thought it was pretty interesting. But then we realized that my ground on the usb was on the left side and his was on the right! OH NO. My face fell. Somehow, my design had gotten flipped, so the board I had just soldered parts onto was also wrong. To make it worse, Jake also didn't know how to flip the board back. After we both Googled excessively, Jake finally figured out that the 'f' key flips the board, so I must have accidentally hit it at some point. (So everything you see above is the flipped version). Here are the correct traces:
I was crushed by now. Manu, noticing my sadness (I think), offerred to help fix my edbg issues while I waited for Joanne to finish using the mill. I had a meeting at 8 so the anxiety was increasing now, so I feel like I was once again inconsiderate to Joanna and kind of preassured her to go fast. Sorry Joanne. Well, Manu did fix my edbg issue, which was very good. Essentially, the place where brew autoinstalls things is not the same place that edge searches for the file it needs, so Manu did a bit of terminal magic to make that work. By now, Joanne had finished, so I was re-energized to hopefully start milling my last board. I was so nervous I screwed up starting the Roland 3 TIMES, and had to turn off the machine and start from scratch again. Reina also gave me a hug here which made me feel better and told me not to stress (that was not too successful). Finally, I milled the traces and they came out so good! Then after triple checking the setting for my outline, I sent it over to the Roland. It was looking so good! My plan at this time was to finish my meeting at then come back to the lab again, solder on the parts, then attempt to program with the now working edbg on my computer. In my glee, I forgot to look at the Roland for like 30 seconds. When I looked, my heart sank. Kevin was attempting to try to turn off the Roland cause my part had become raised and the bit was stuck inside (it was trying to mill vias). Somehow, my brain turned back on and I was able to get the bit unstuck, but my board was once again gone. I was told that I am supposed to mill the vias before the outline by Jason, but I was so crushed at this point since I new problem seemed to occur at every step. Like this problem had never occurred before! Every other via milling had gone completely fine.
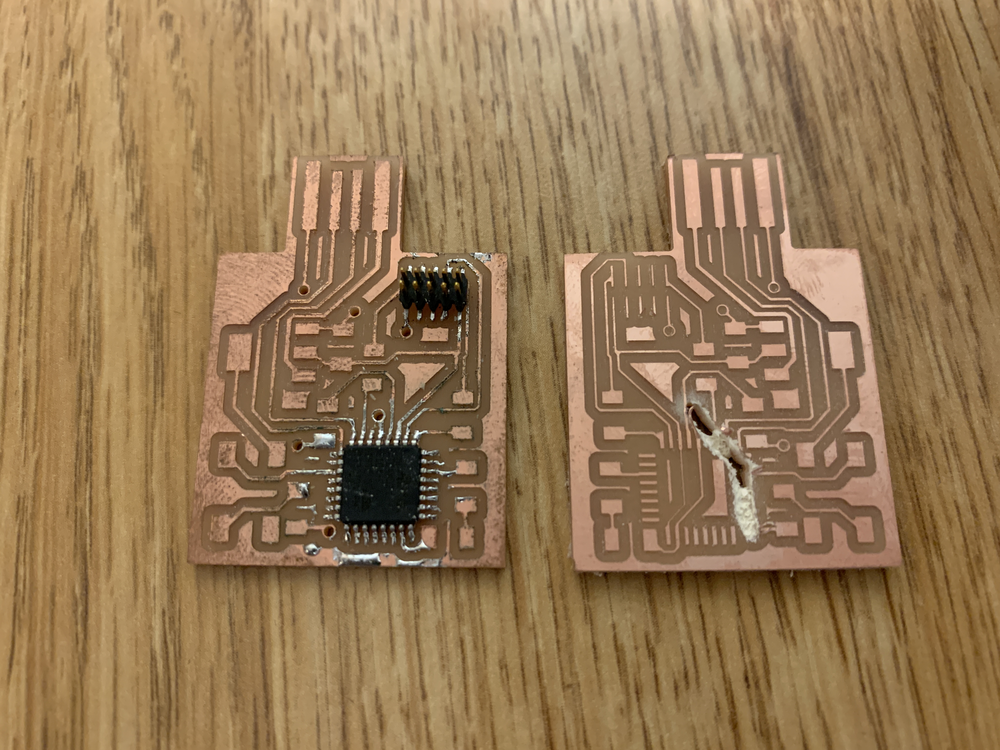
By now, I really had to get dinner (hadn't eaten all day) and have my meeting. I also wanted to cry, so I quickly left, deciding to call it. Even Jake said "F in the chat" and told me that I was cursed. So although I was incredibly disappointed, I don't think my health could have handled another all nighter so I called it. After working for over 30 hours, I was incredibly disappointed.