computer-controlled machining.
For some reason, I came into this class with the wrong impression that we would only be building things I consider "big" in this class. Of course, I soon realized that this is very much not the case. In fact, I quickly found the fabircation methods that we were learning about to be far more interesting than just learning how to wood work (which for some reason is what I largely thought this class would be about). However, I was pretty excited for this week since it would scratch the "itch" to craft something out of wood. I went to get trained on Thursday and was trained by Tom. During the training, we completed the safety portion of the training as John and Tom were super struct about safety (which is very good!). We were also able to experiment with different speeds and toolpaths.
Of course, I had never really crafted anything from wood before, so I wanted to be careful in not picking any project that went too over my head. In fact, this week largely reminded me of the laser cutting week since we were encouraged to not use any fastners or glue to hold our parts together. My CAD skills had not really got any better, so that was another reason I wanted to choose something on the simpler end. Ultimately, I realized that there is a huge lack of seating space in my dorm room, so I wanted to make a decorative stool for people to be able to sit on when they visit. A structurally sound stool seemed like enough of a challenge for me, so I got started designing.
I came in on Saturday for around 2 hours and got started CAD-ing by design. Thankfully, Zach had just helped Raechel with CAD and had recorded their session, so I was able to watch that to get started. This video primarily discussed sketches and mirroring which was particularly helpful since I had a very symmetric design. So that day I used the mirroring technique that Zach taught me to create the top of my stool. I also learned how to set variables and constrain a sketch, which I feel are fundamental, so I was glad to learn this. I ended up making the top of the stool as a square, but in hindsight I wish I made it a circle.
I came back on Sunday at around 2 pm since I had signed up to use the ShopBot that day. I started making my remaining two pieces on the side, but was soon corrected by Alfonso that I wasn't even using the magic of Fusion360 if I was only modeling in 2D. He taught me about this new magical tool called "parametrize" which basically just allows you to turn any surface into a sketch. Alfonso then gave me another live 30 min Fusion crash course which was super useful. I kept feeling bad about bothering him, but oh well. :( Here are some useful Fusion tricks I learned this week:
- Use the parametrize tool (hit 'p')
- Try to completely constrain a sketch as much as possible
- Dimension your diagram (hit 'd')
- Search for operations by hitting 's'
- You can cut by extruding
- Split body is very powerful
- Adding planes (for example offset planes) can be helpful in positioning things
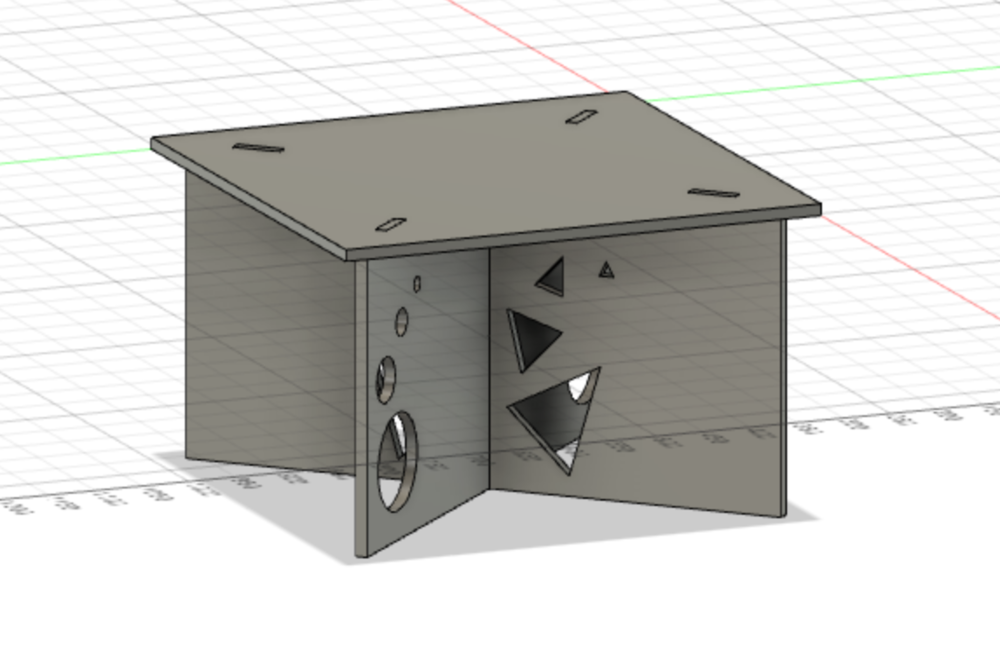
After Alfonso's crash course, I was actually able to finish CAD-ing the rest of the model with relative ease. (Also big shout out to Thais for letting me borrow her mouse!) Here is my final model:

Then I once again used parametrize to put all of my parts into a single plane and create a sketch. Then I exported that sketch as a dxf by right clicking. Here is what that looked like:

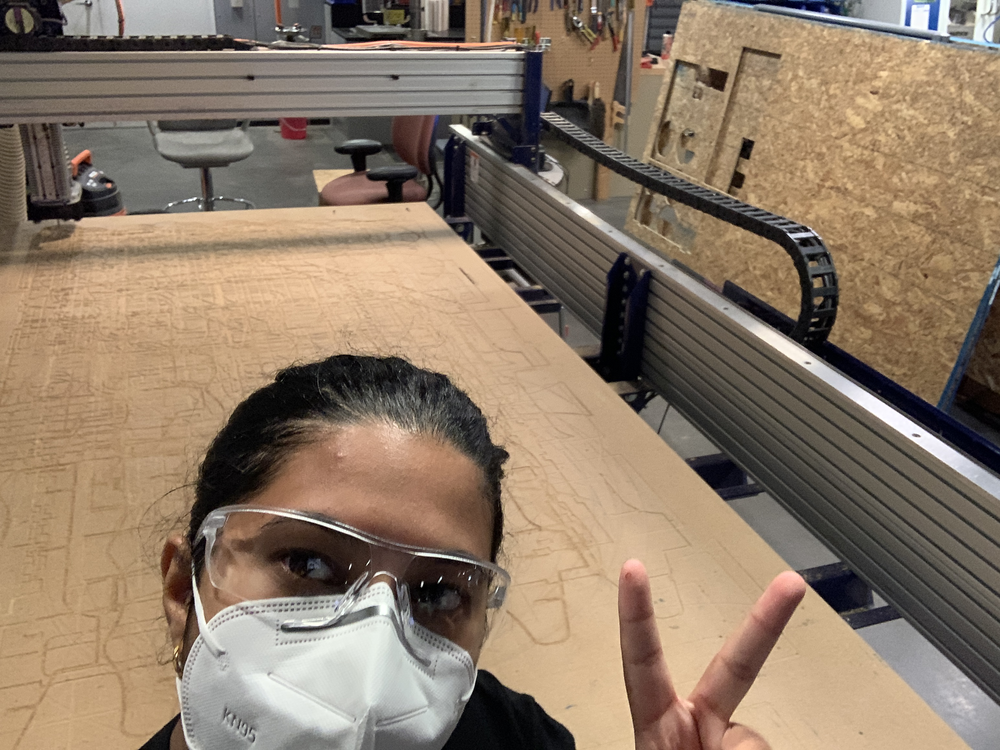
Thais and I had signed up for the same slot to cut. However, Thais was having a lot of trouble cutting, as the ShopBot would just randomly stop cutting randomly in the middle of her project. I had signed up for 2 hours, but Thais was still working by the end and I had to leave to get dinner with a friend, so I just left. I felt bad for Thais (consdiering how easy it would be for me the next day). I came back the next day (Monday), ready to cut. I'd also already sent over my files, so I could immediately get started with routing.
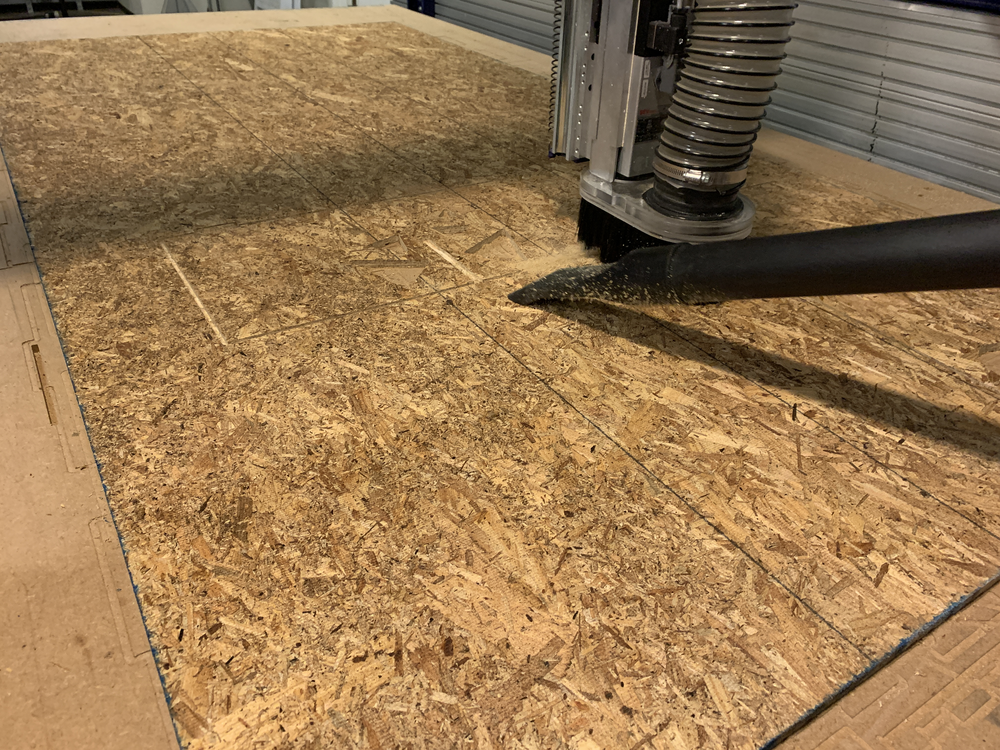
Remembering Thais's struggles, I immediately went to Tom and asked for his assistance. After explaining the issue, he told me that this was a known issue, but it would never occur this often so he was confused why it was happening so often. Apparently the issue had to do with the automatic vaccum attached the the ShopBot. Therefore, we would not be using the auto vacuum and instead we walk behind the ShopBot drill with a manual vacuum (Tom actually ended up doing this for me, so thanks!) Tom also quickly helped me route my design (I had to convert from in to mm so I couldn't use the default setting). I also decided to not use tabs.

Then I helped Tom load my OBS sheet into the ShopBot. I was surprised just how heavy it was! I could barely lift the sheet. Then Tom taught me how use the drill, so I went around, drilling all the side of the board into the scrap board. On the last screw, I drilled myself a bit and started bleeding. :( However, after putting a bandaid on, I was completely fine.
Finally, I could load my file onto the ShopBot program. (The routing had been done using VCarve.) I was a little nervous about this part since the ShopBot software is ancient looking and is quite finnicky. However, everything almost went a little too smoothly. Tom helped me first zero the x, y axes and then we zeroed the z using the plate. Then I hit the green button and the print job ran super smoothly. Tom followed, vacuuming up the bits of wood left behind. After the ShopBot stopped, I collected all my pieces carefully. Then I took the nails out and with Tom's help moved my scrap OBS board back. My pieces had turned out beautifully!


However, Reina has warned me that there was still a lot of sharp wood, so I handled the wood very carefully. Also I wore gloves while sanding down all edges of the wood. After sanding the wood down, I wanted to laser cut an Escher tesselation into the seat of my stool. Therefore, I quickly created a diagram and attempted to etch it into a wood. This was...kind of a fail, depending on how you look at it. It was very faint, but I still think it looks kind of nice. However, I ultimately decided to put that side down and not on top. :(

Finally, my stool was done! I slotted the pieces together, and thankfully they fit perfectly. Here are my super cool friends Thais and Reina testing out the stool together. It's definitely a party stool!

And finally, here is my CAD file: CAD File