Week 4
Make Something Big
Concept Development
I had several concepts in mind that varied in terms of usefulness, difficulty, and time investment. I ultimately created CAD designs of to of the concept. One was a bike maintenance stand (highly useable and feasible) and a cat basket (less useable, more time commitment, and fully feasible).
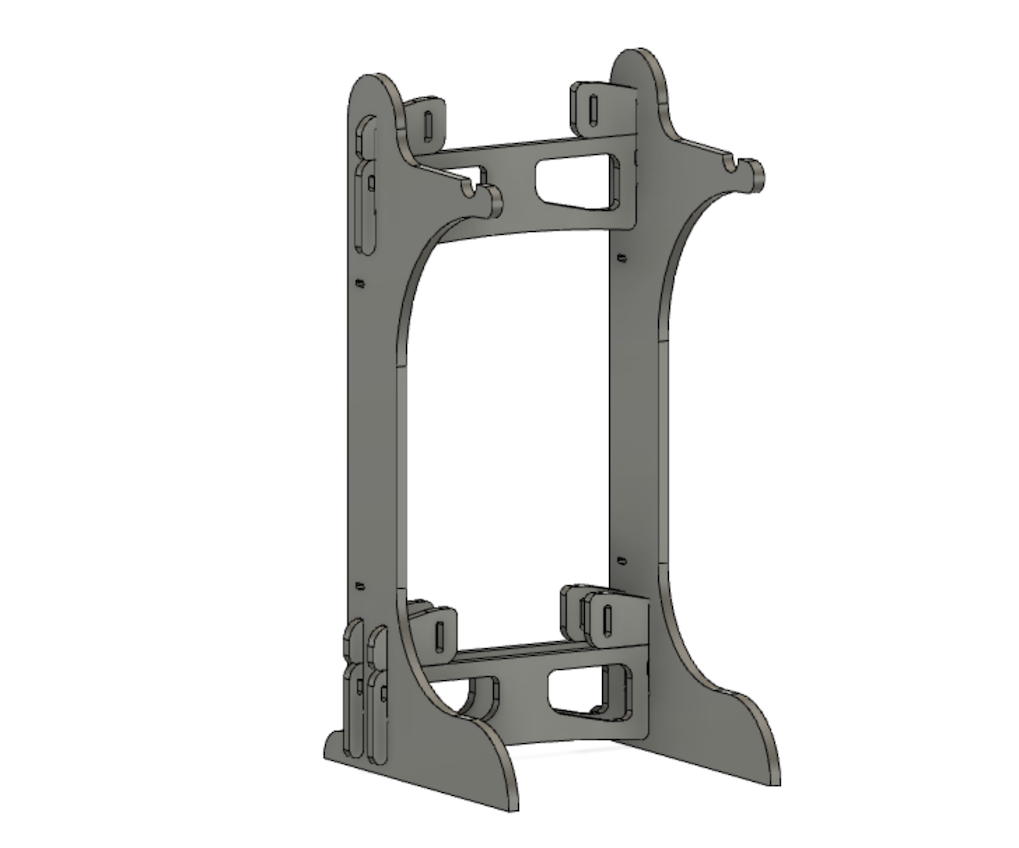
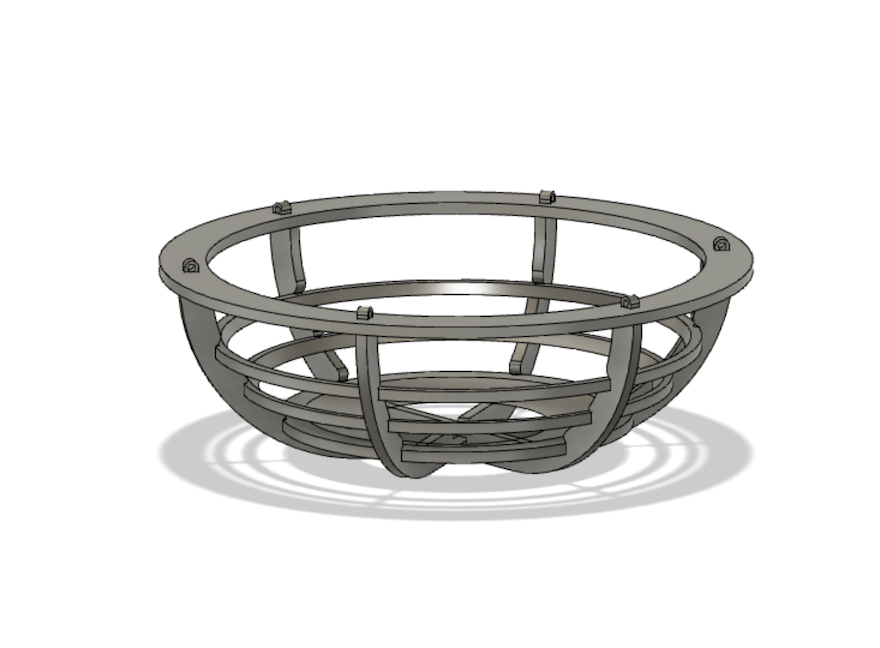
I ultimately chose the Bike Stand due to time limitations, especially because other students need access to the CNC and the bowl will require significantly more time for CAM and cutting.
TIP! Nest parameters under other parameters. For example, use a tolerance parameter to add to other parameters so you can hone in fit.
CNC
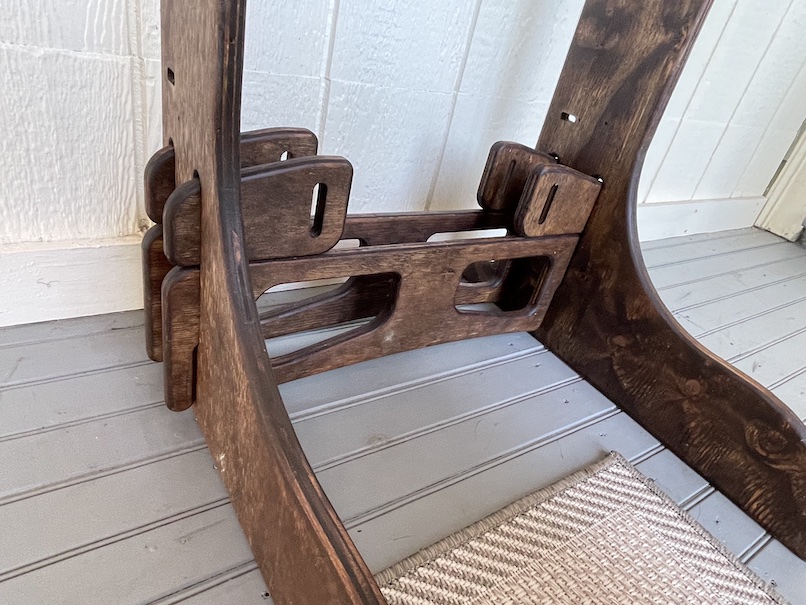
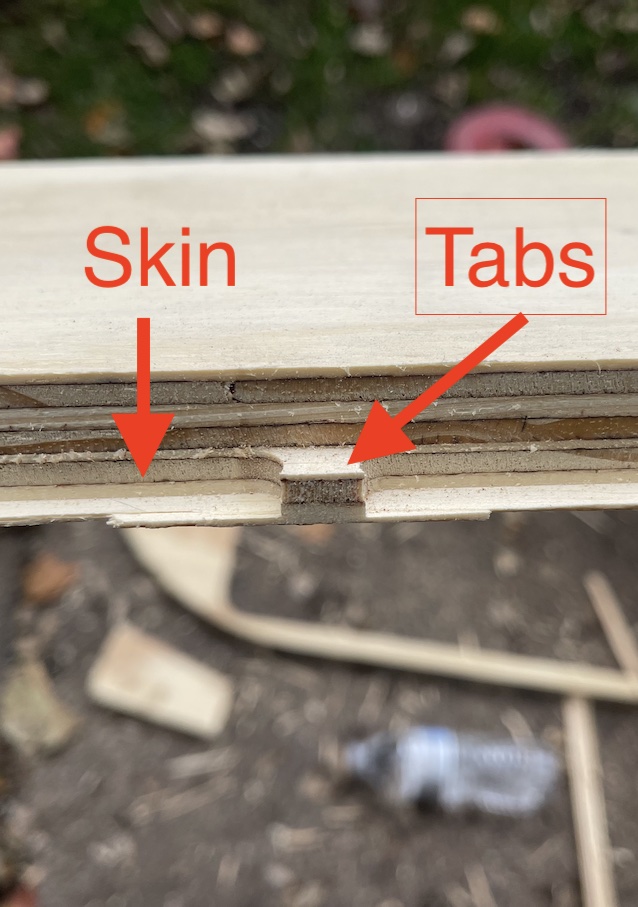
For the CNC, Anthony Pennes (TA) was extremely helpful in setting up the CAM and subsequent settings. This is due to the significant damage that can be done when CNCs are not setup properly. Beginners should take care and watch closely. To improve safety due to the thickness of my material, we added a slight skin and tabs to the cutouts. It was done in 2 rounds and the second time we used closer spacing (4" for the tabs). This was due to a sound that we heard (kind of like rattling) that might be indicating the material was slipping. It could have also been due to inconsistent material quality (gaps). Additionally, we used the manual controls to identify locations of parts and dropped additional composite nails into the parts.
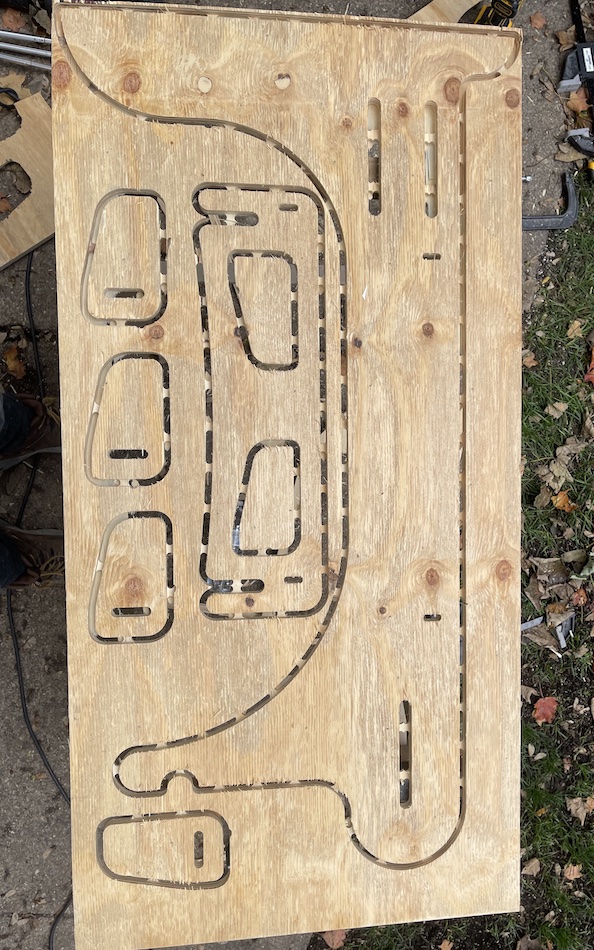
For post processing, I took several steps to cutout the pieces, clean the edges, and it out.
For post processing, I took several steps to cutout the pieces, clean the edges, and it out.
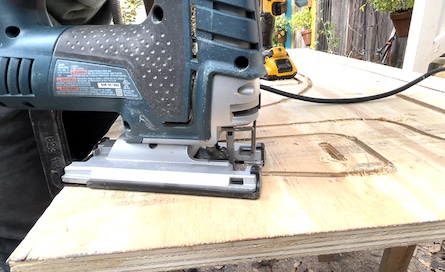
To remove the skin and tabs, I used a flush-cut bit on a router table
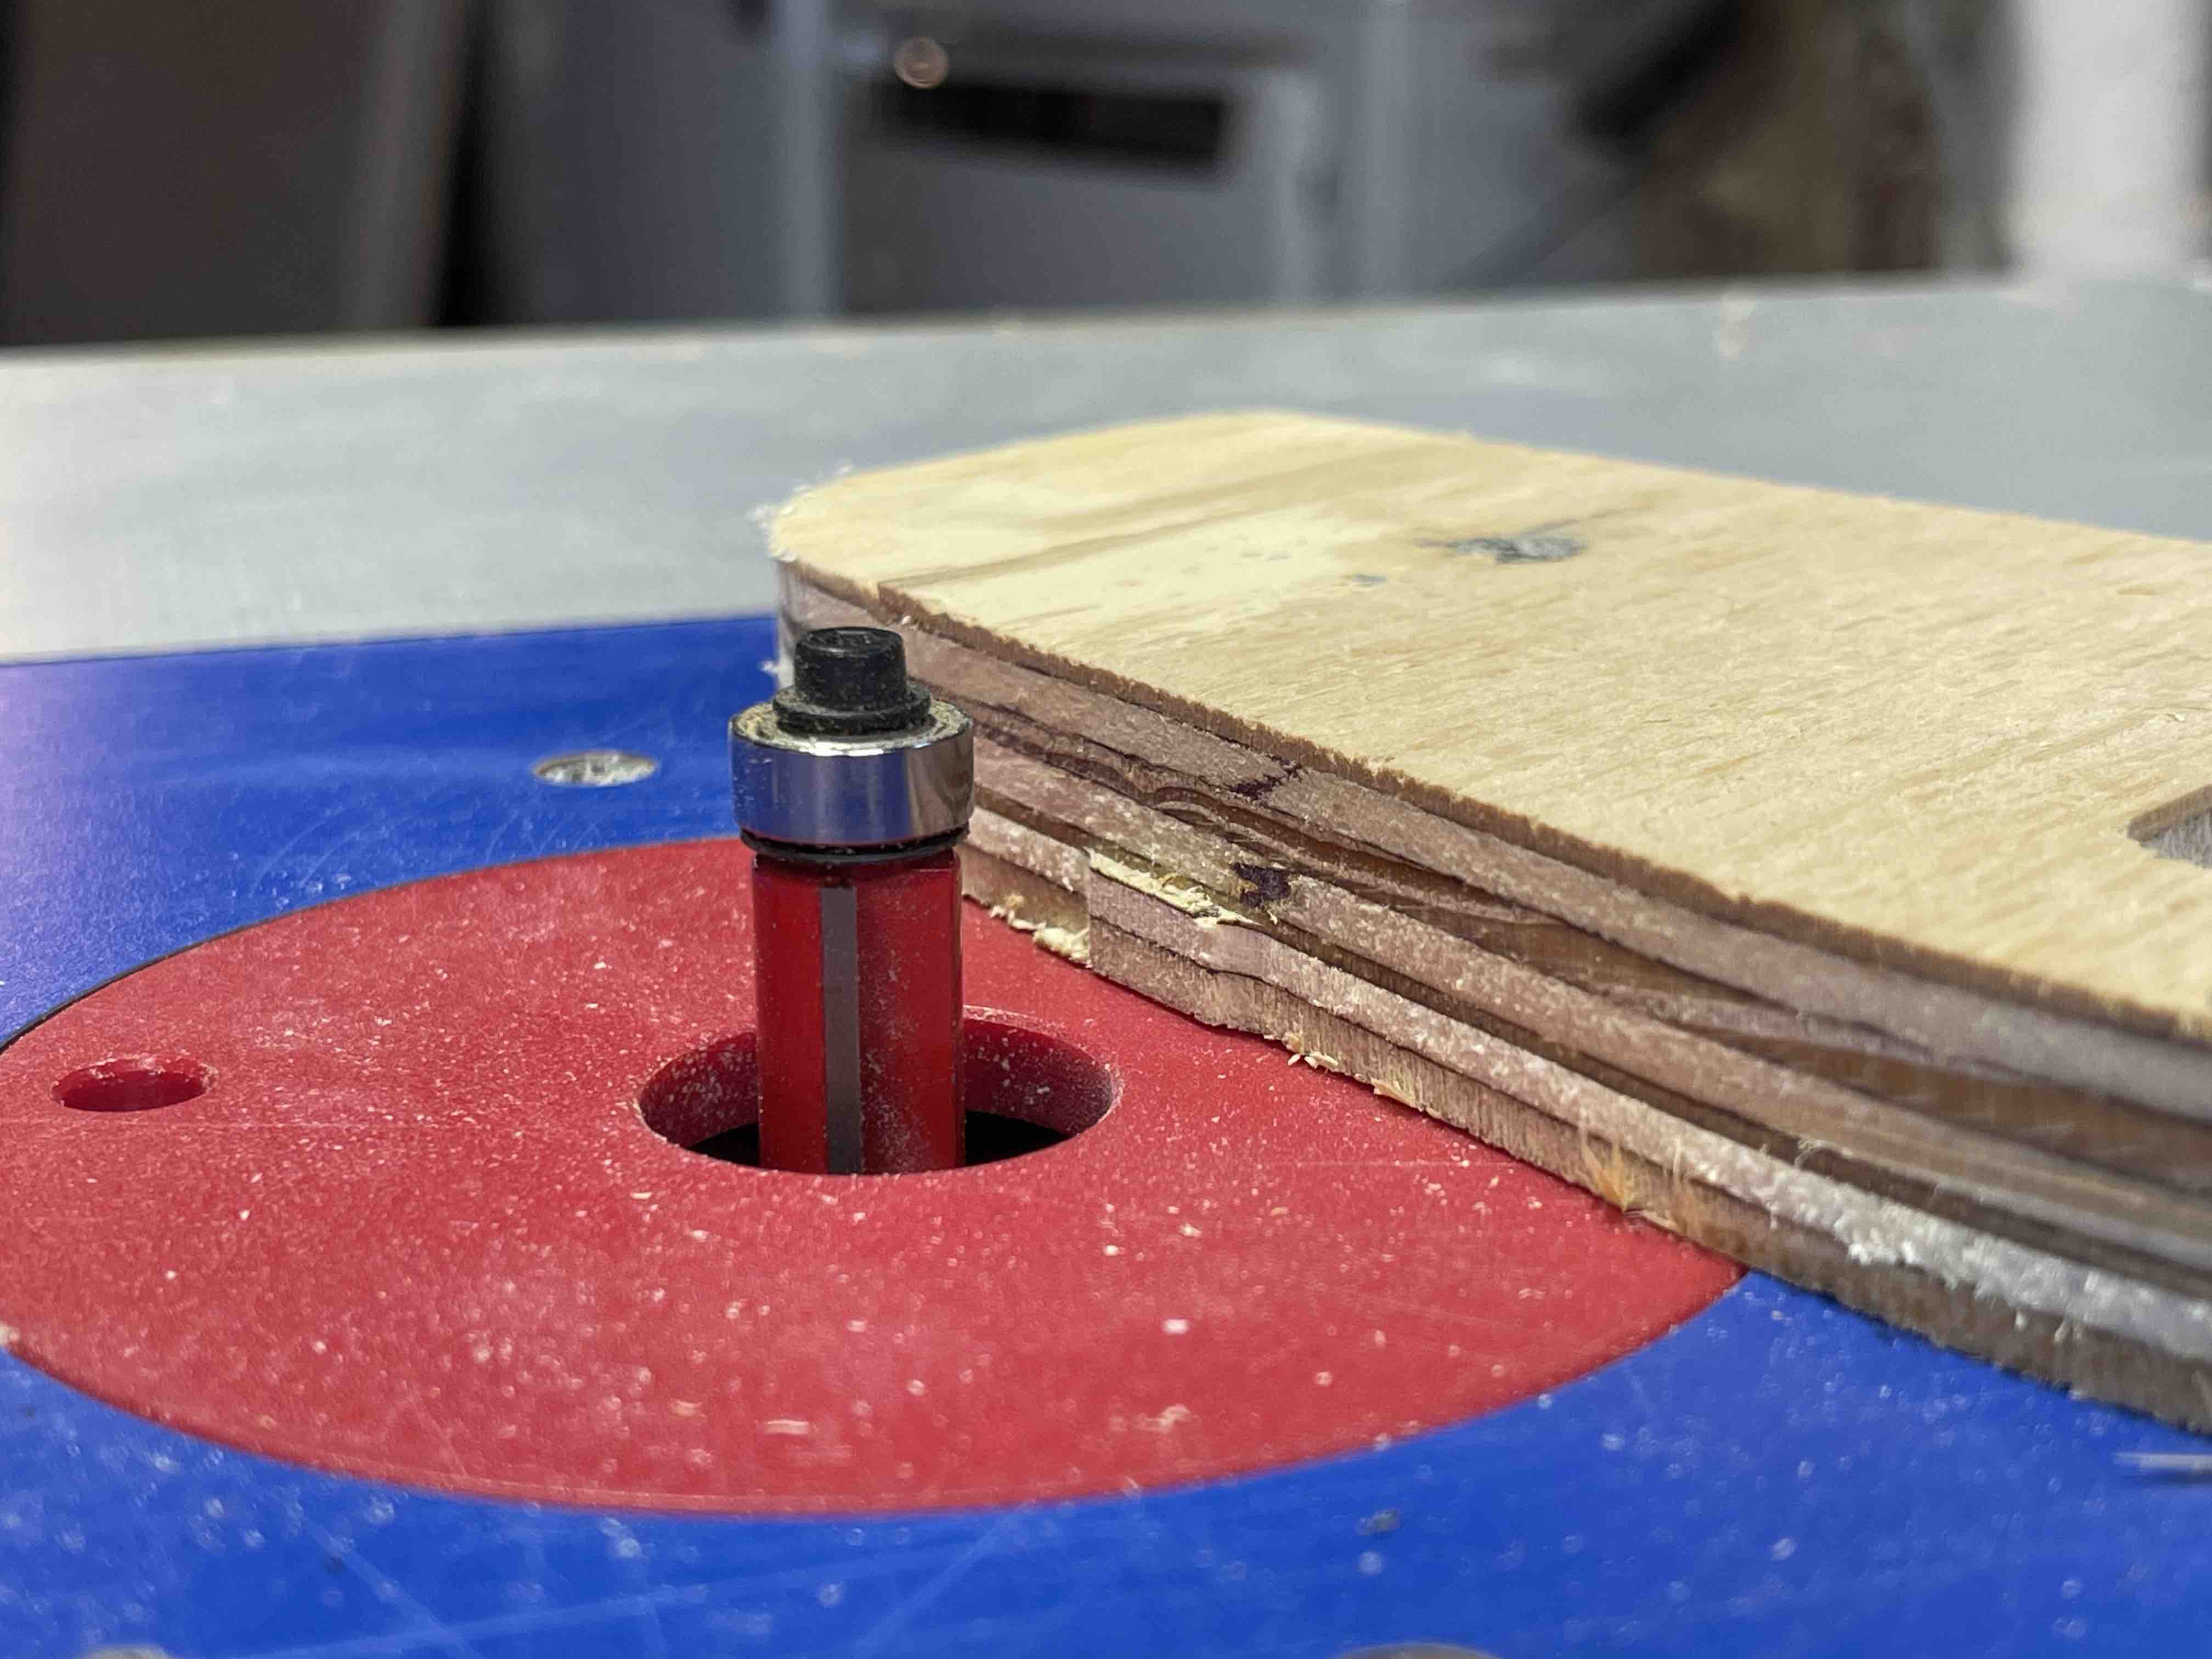
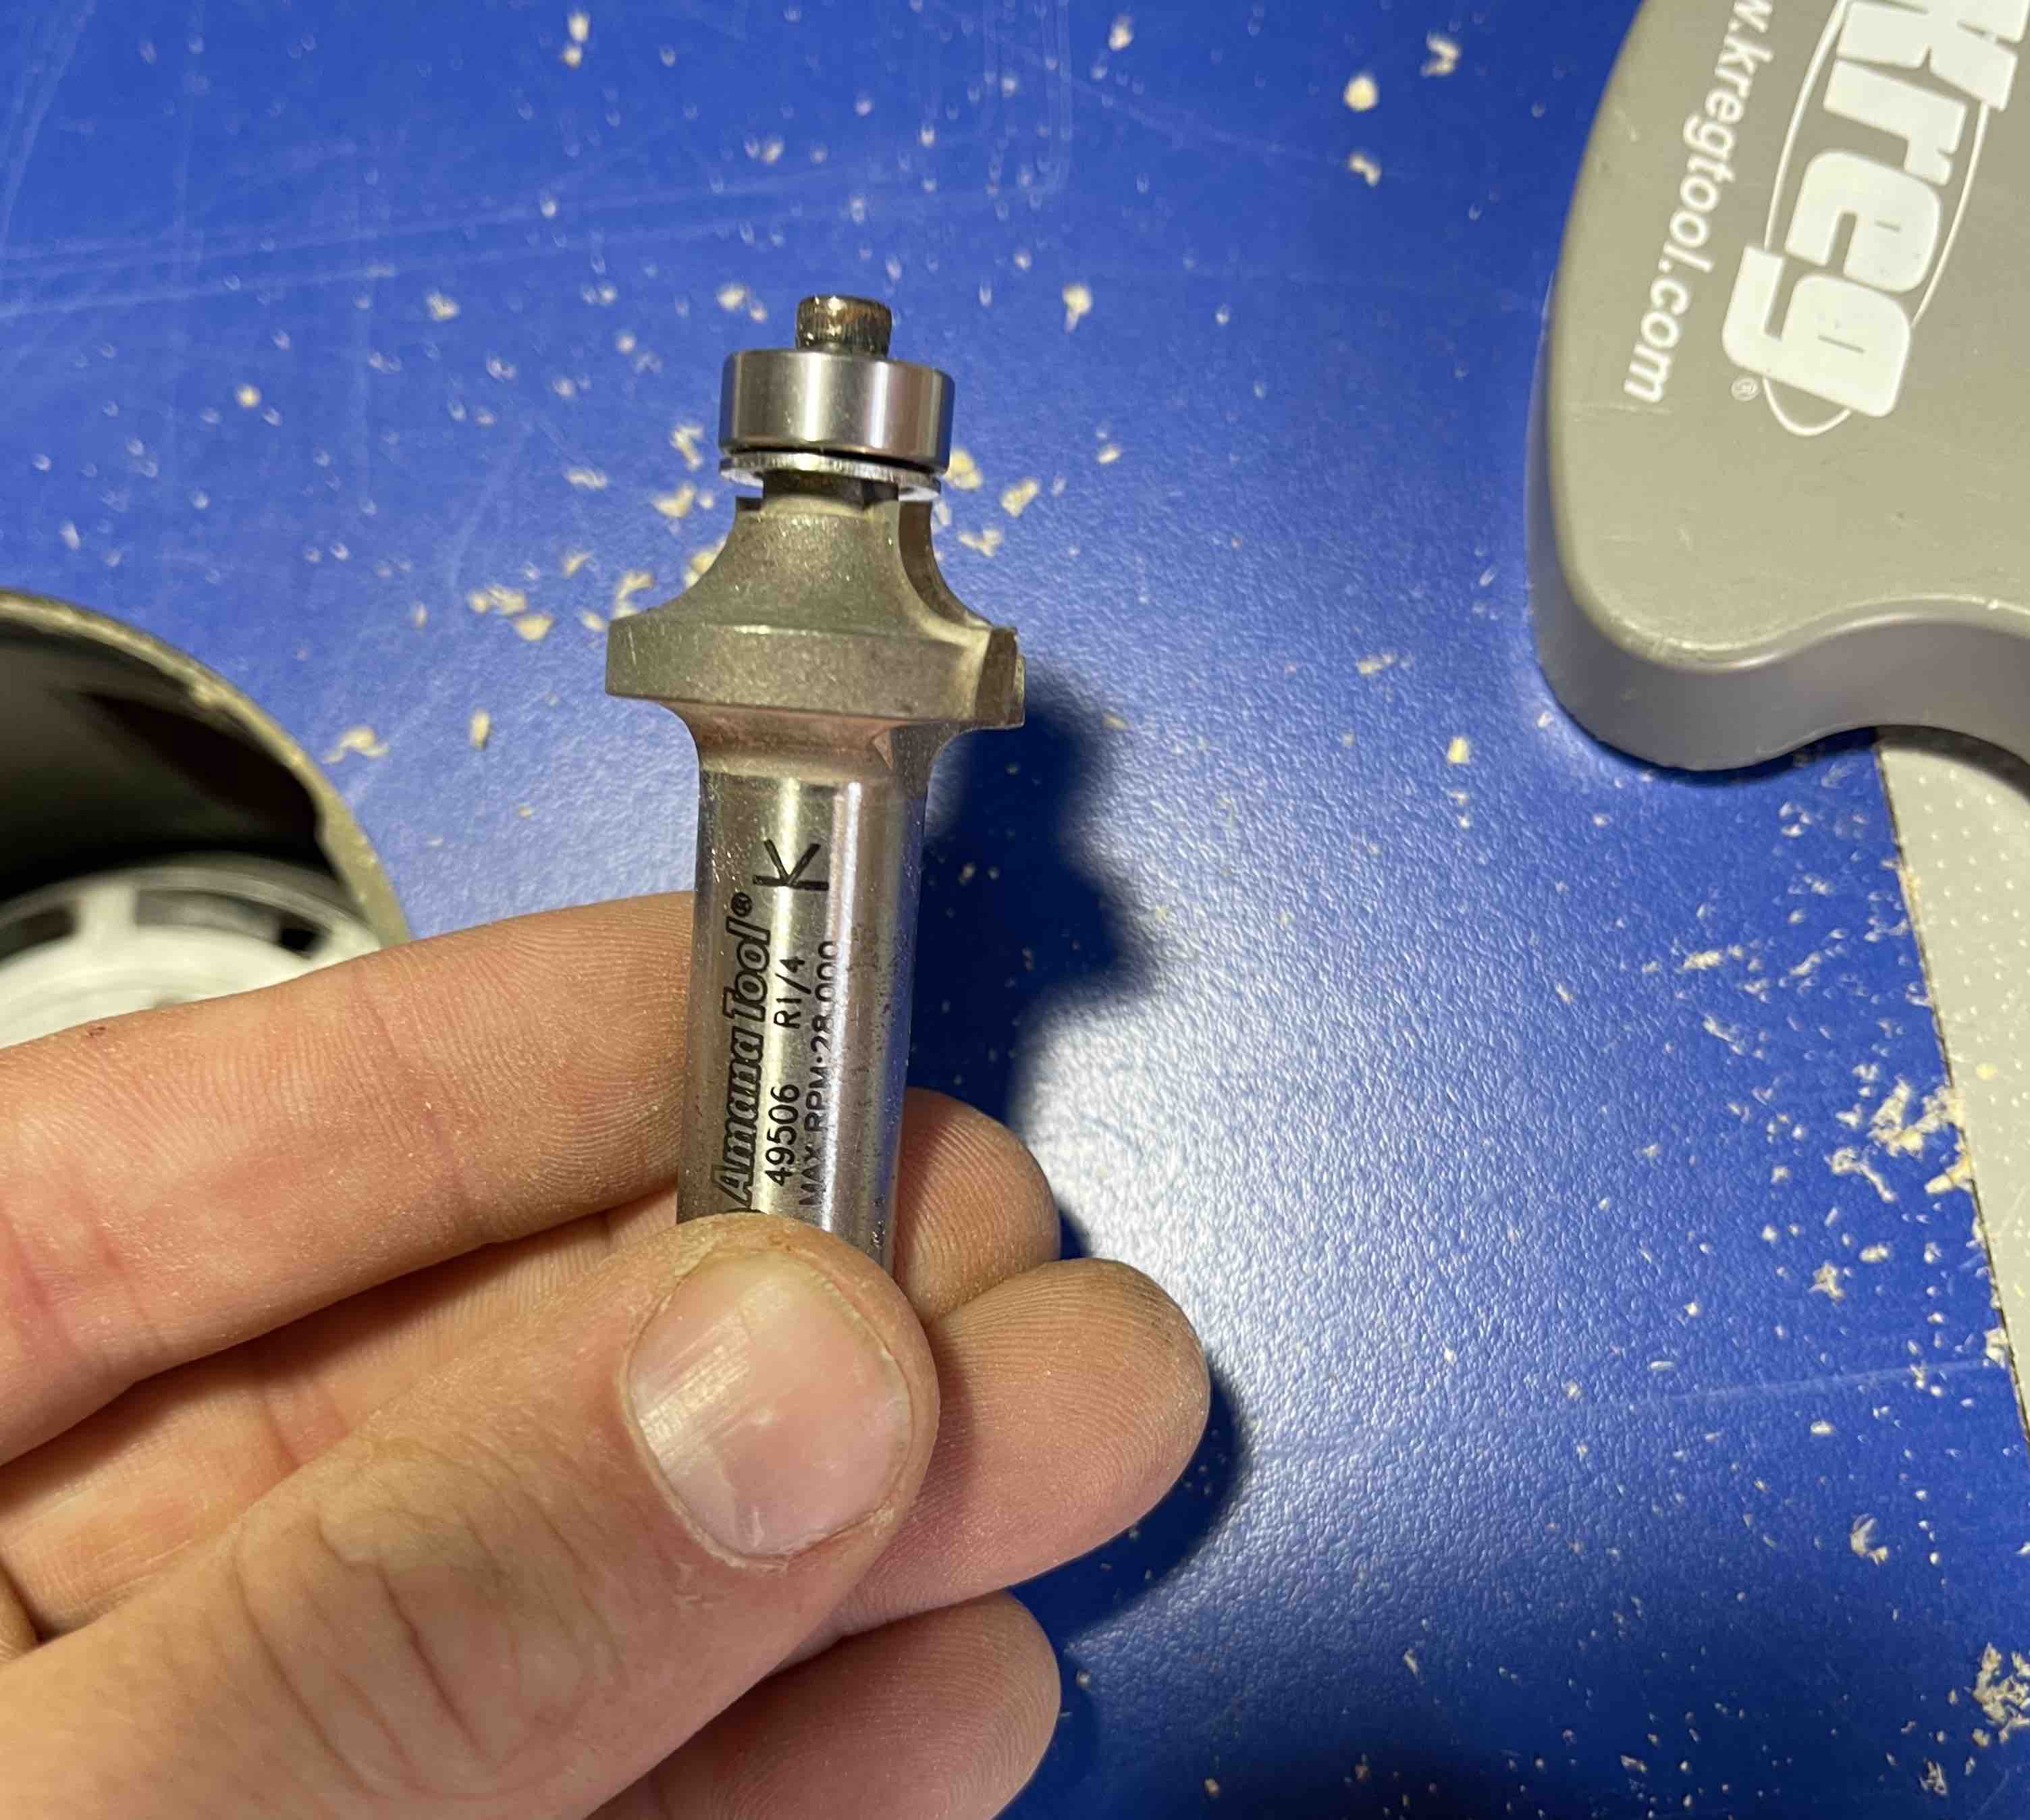
To remove the sharp edges and round them, I used. 1/4" round over bit with a guide on the router table.
Finishing
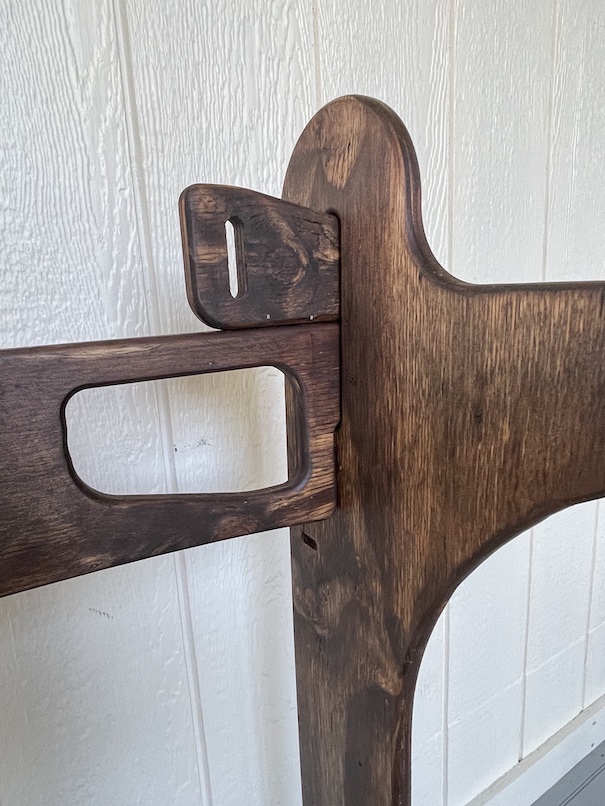
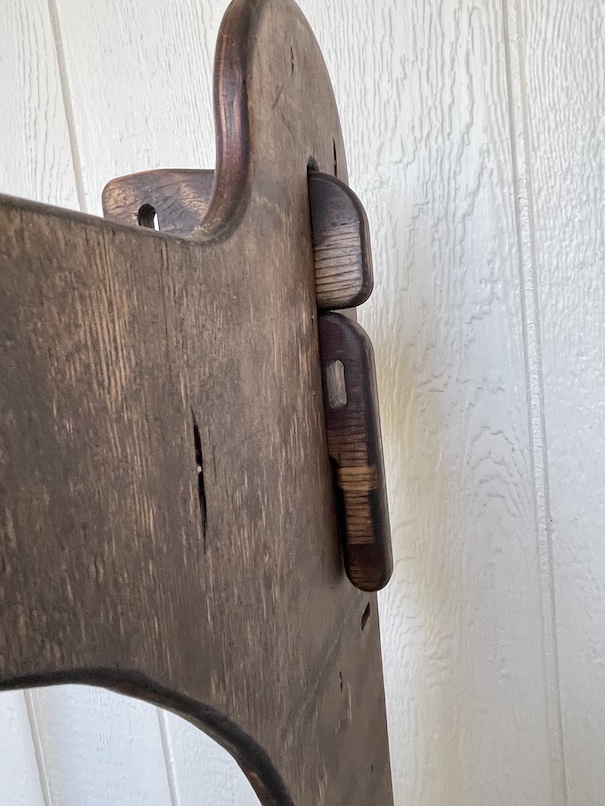
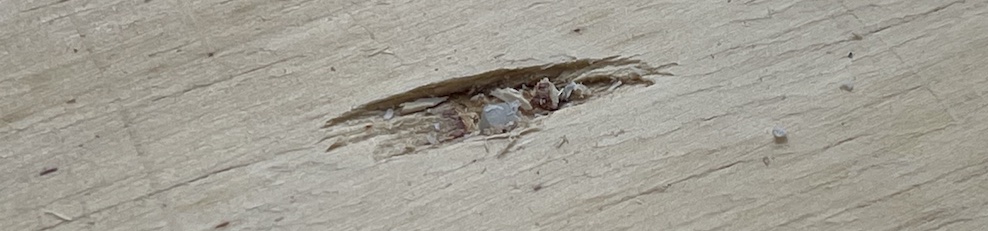
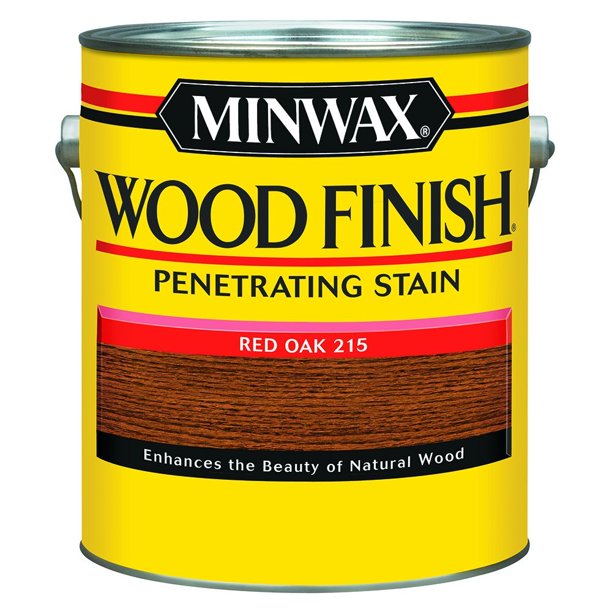
To finish, I wanted to smooth the piece, test fits, make adjustments, and stain it a dark color to hide the imperfections from blowout and poor quality material.
Smooth & Sand - I used a Makita random orbital sander with increasing grit sandpaper (120 -150 - 220).
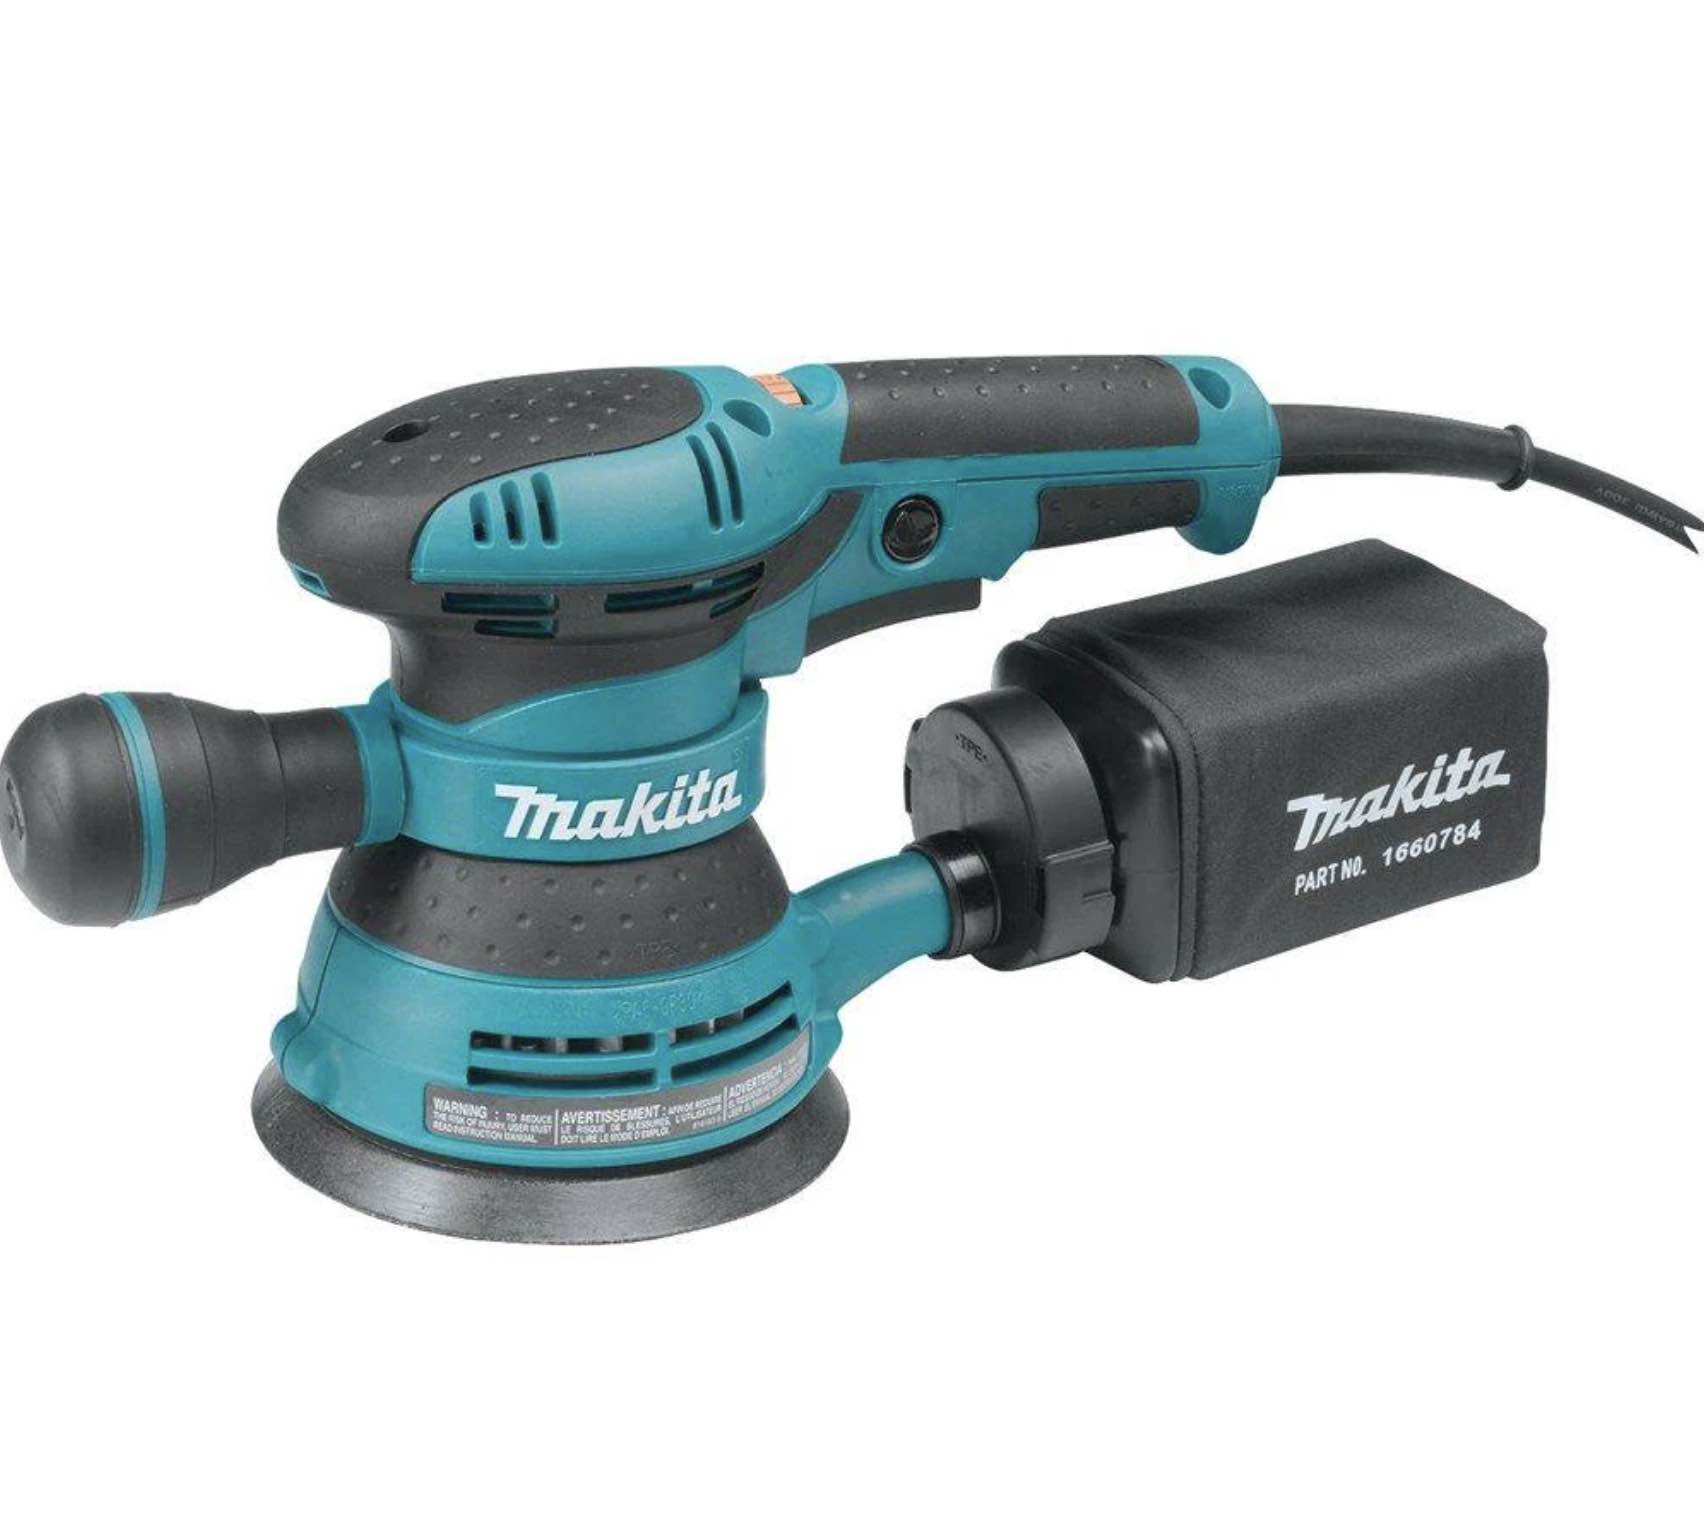
Smooth & Sand - I used a Makita random orbital sander with increasing grit sandpaper (120 -150 - 220).
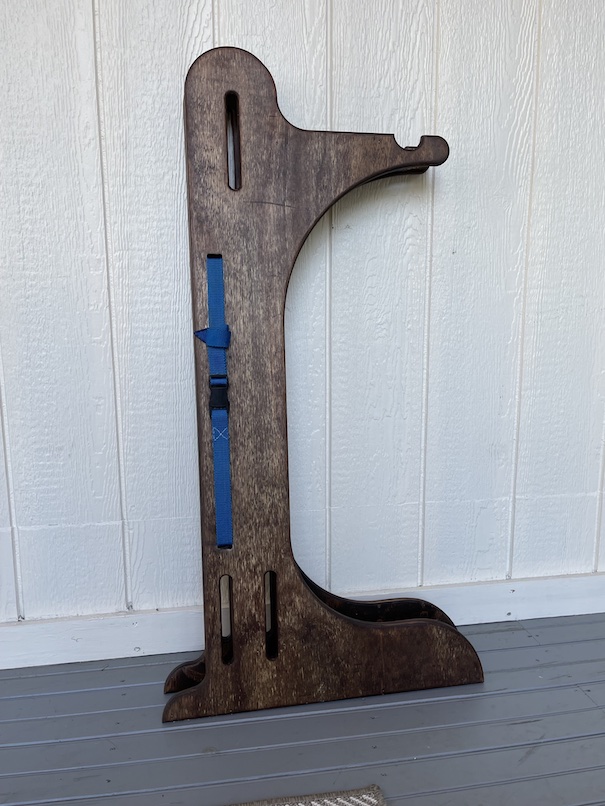
Finally I used Johnson's Paste Wax to seal the piece. While this is only temporary, I like that it also helps movement in the joints that were tight.


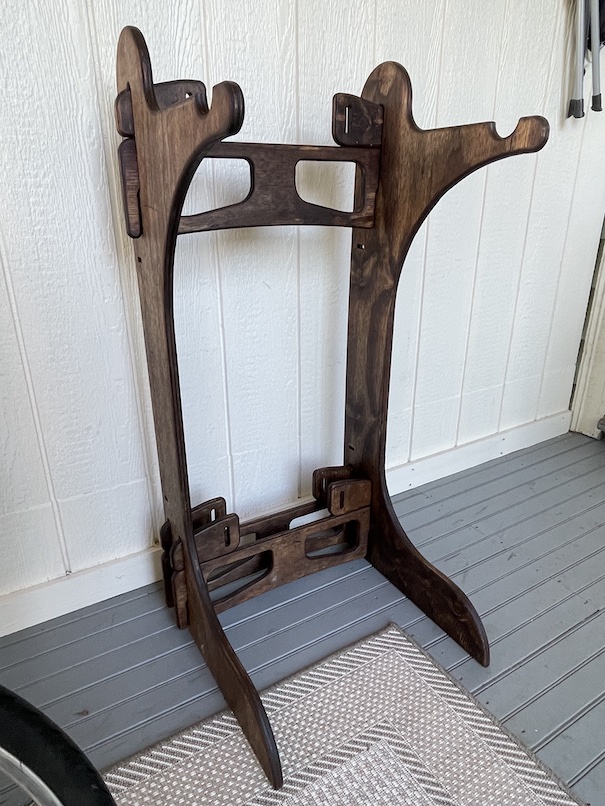
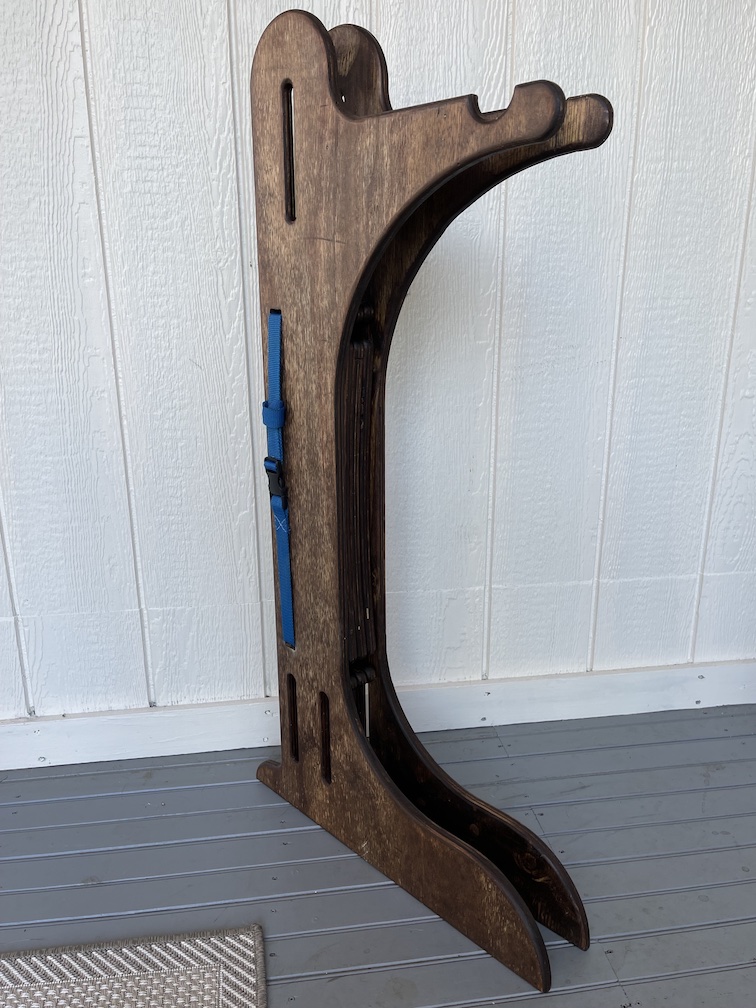
Final Product