In this week’s assignment we learned to use the the Prusa and Sindoh 3D printers in EDS. The initial printer characterization helped us understand the limitations of the printers in terms of printing without additional support material. The first image on the left-hand side shows that horizontal overhang beyond 8 millimiters is problematic. Further for structures extending need an angle of 30 degrees or more with repect to a fully horizontal alignment to avoid lose print threads at the bottom. The thinnest printable wall structure is about 0.5mm and in order to be able to separate parts cleanly, a clearance of 0.6mm is needed.


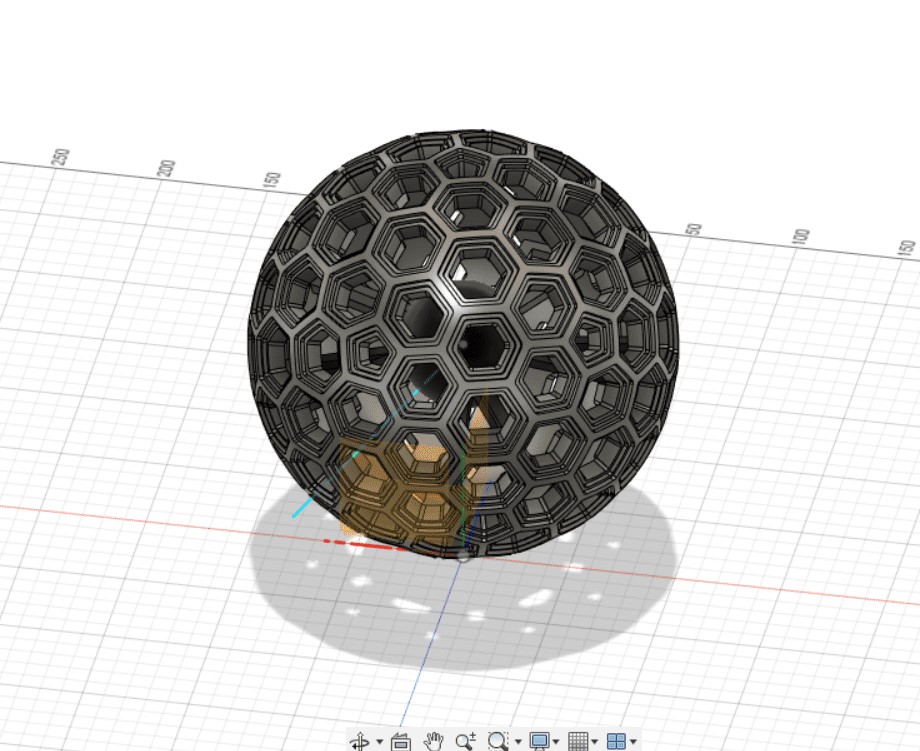
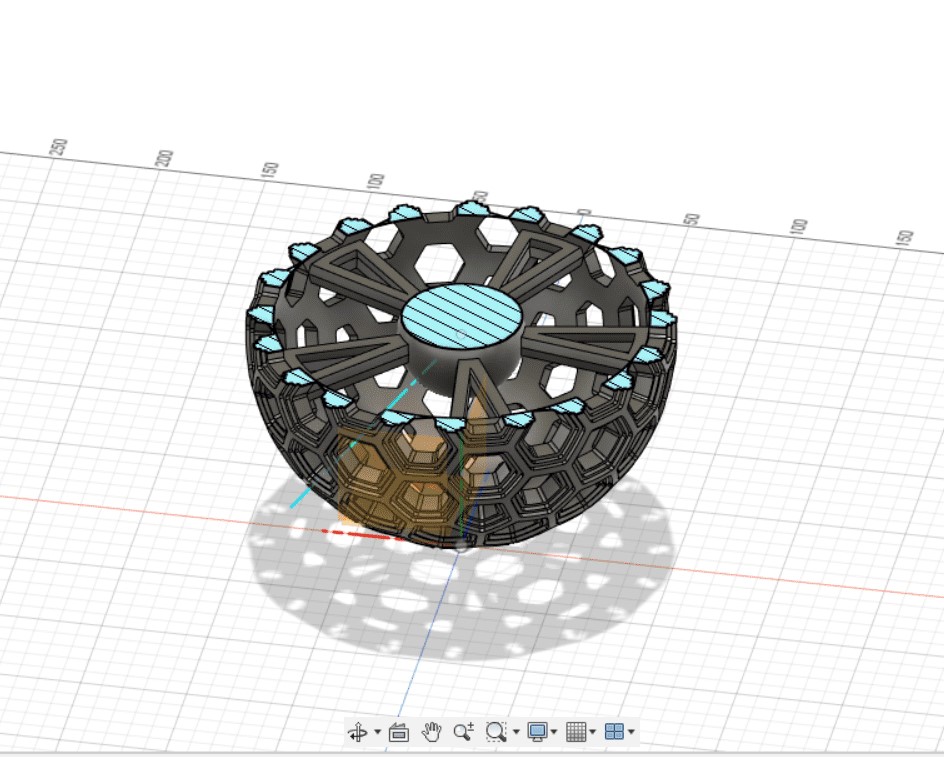
For this week's assignment I designed (with help of a YouTube tutorial) a honeycomb sphere that contains a suspended sphere, as shown in the two images below in full body and section view. This structure highlights the advantages of a 3D printer, that is, additive manufacturing, as creating the suspended sphere by subtractive manufacturing in a structure as dense as the honeycomb pattern would be very challenging even with the most modern equipment.
Based on the print characterizations described above it seemed possible to print the suspended sphere without any support material on the inside which would be very difficult to remove. In order to achieve a print without interior support material, however, the inner sphere-suspending structures have to rotated in the print preview such that one of them faces vertically downward, supporting the center spehere as it is built up layer-by-layer. This is shown below in the Sindoh software, which is the tool I used to complete this print job. As depicted below, the incomplete yellow sphere was the result of this attempt. My hypothesis on the inner support was correct and as expected the structure came out with only minor imperfections on the sphere-suspending structures as they are just below the limiting angle of 30 degrees mentioned above.

However, this print failed nonetheless due to insufficient adhesion to the print bed. While I did add a small skirt this did not supply enough support to keep the sphere attached to the bed as sheer forces increased when reaching the upper layers of the sphere. I thus added support structures maximizing contact with the print bed. Below shown are the two prints before and after addition of exterior support structures.


After cleaning out the support material the final final honeycomb sphere came out perfectly

The second part of this week's assignment to scan a real-life object and render it for 3D printing was more challening. I used the Sense scanner in EDS and quickly had to learn that a scannable object is not easy to select with this scanner. Objects with dark surfaces, like the multimeter shown below or my shoe weren't recognized. Further, small or shiny objects like the USB drive depicted below were impossible to scan.


Finally, I found a model of a wind turbine that I managed to scan. While the software initially inferred a lot of volume behind the turbine due to erronouesly included parts in the scen, after cleaning out the design, a reasonably good mesh was obtained that could be printed on one of our 3D printers.


