This week, I made a globed Oomoo silicone mold to try and cast epoxy around one of my carnivorous pitcher plant's (N.Nepenthes) pitchers (with limited success due to outgassing of the plant matieral during epoxy curing). In order to create the silicone mold, I made a CAD model, defined machine paths in Fusion 360's CAM section, and machined a wax negative in our Avid CNC mill.
2. CAM: Define machine paths and parameters
3. Machining: Machine wax negative of mold
4. Cast silicone Oomoo mold
5. Cast epoxy in Oomoo mold
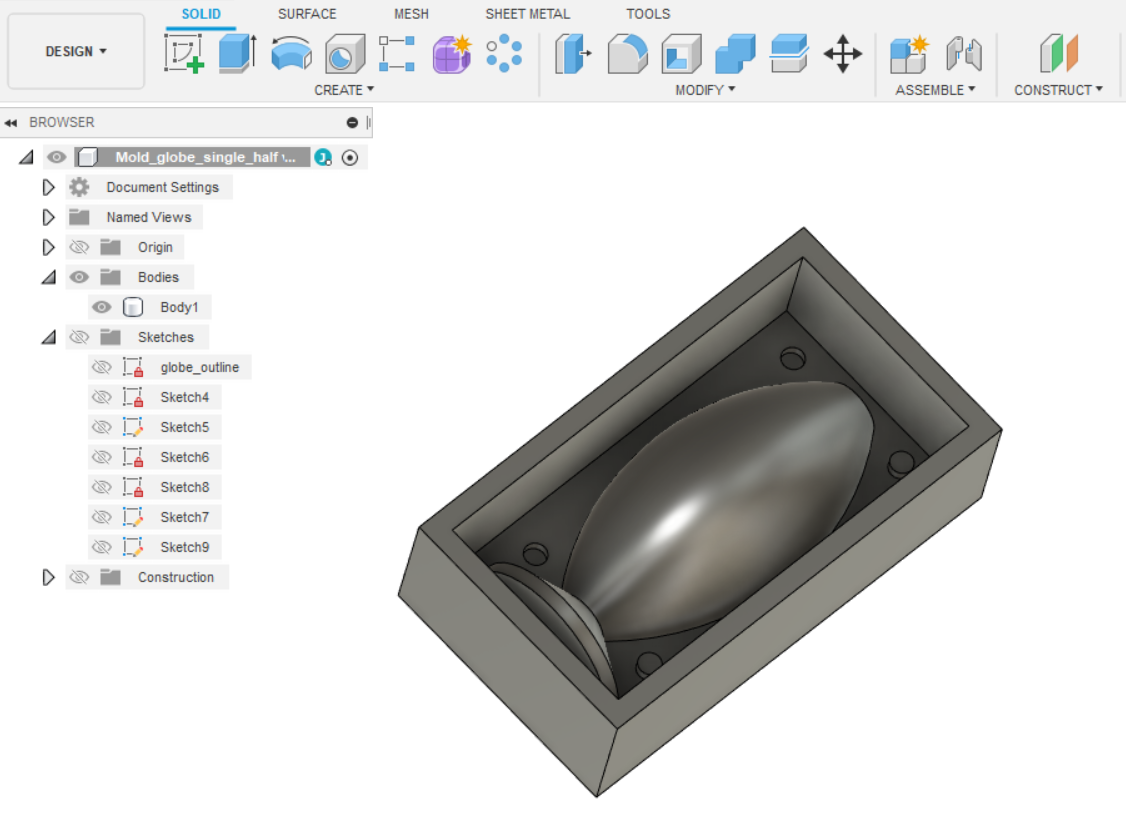
CAD: Design negative of final mold in Fusion 360
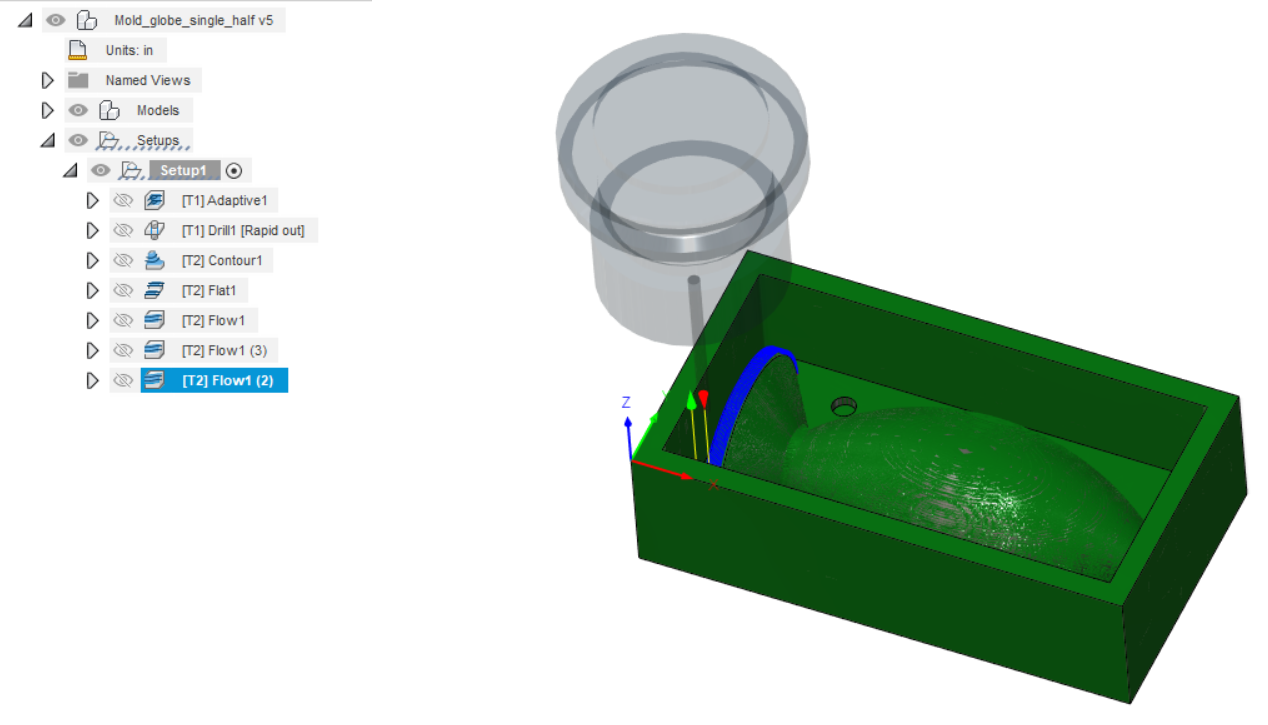
I used Fusion 360 to design the negative of my mold that will be machined out of wax. Note the alignment pins along the vertical symmetry axis that will allow making two mold halves of the same wax negative.
CAM: Define machine paths and parameters
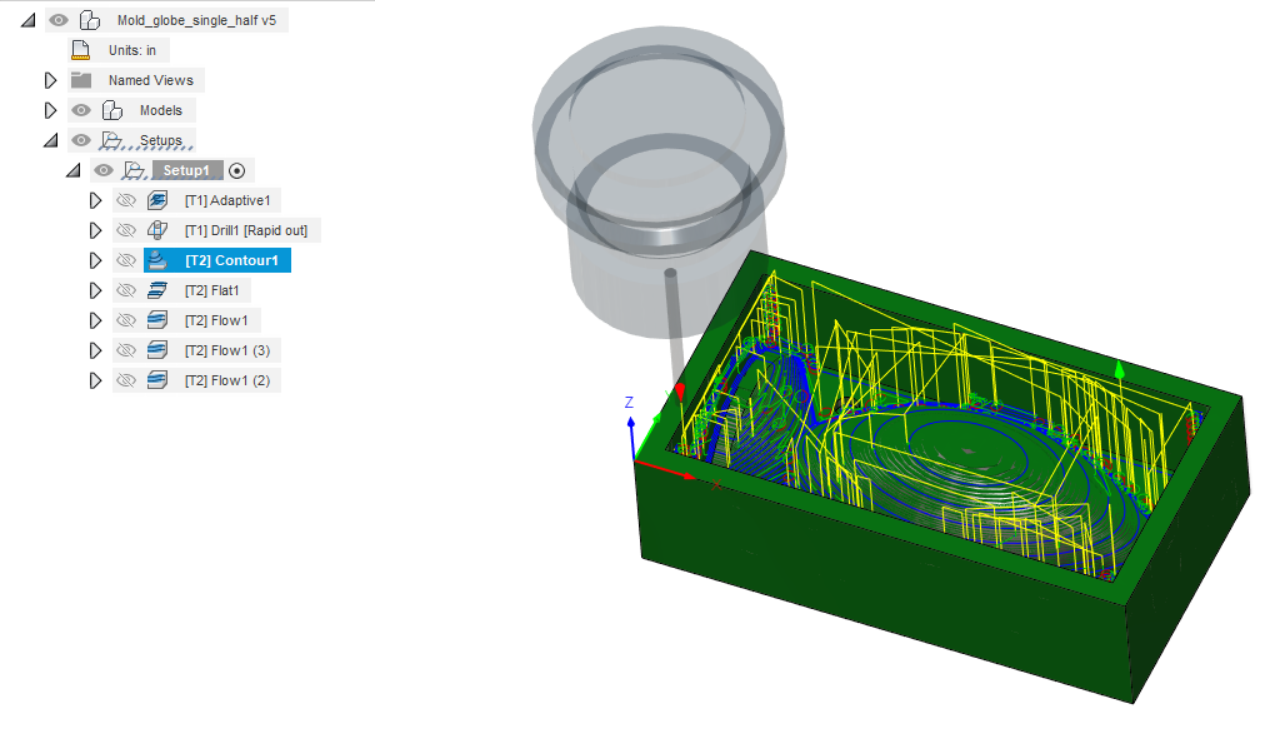
Switching to the "Manufacture" tab inbuilt in Fusion360, 3D machine paths can be defined in order to create G-code for the CNC mill to follow the defined paths.
Step 1 is an adaptive clearing path, creating a rough shape outline of the desired mold negative using a 1/4 inch flat end mill.
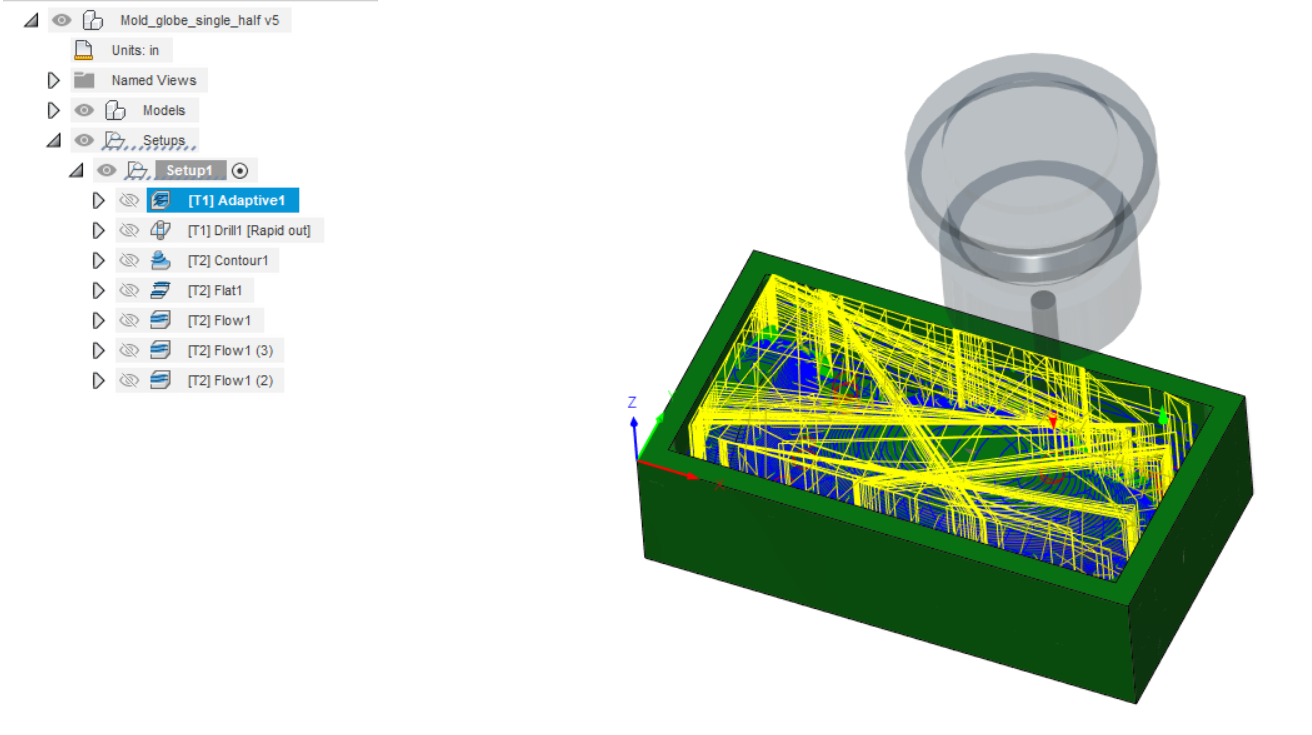
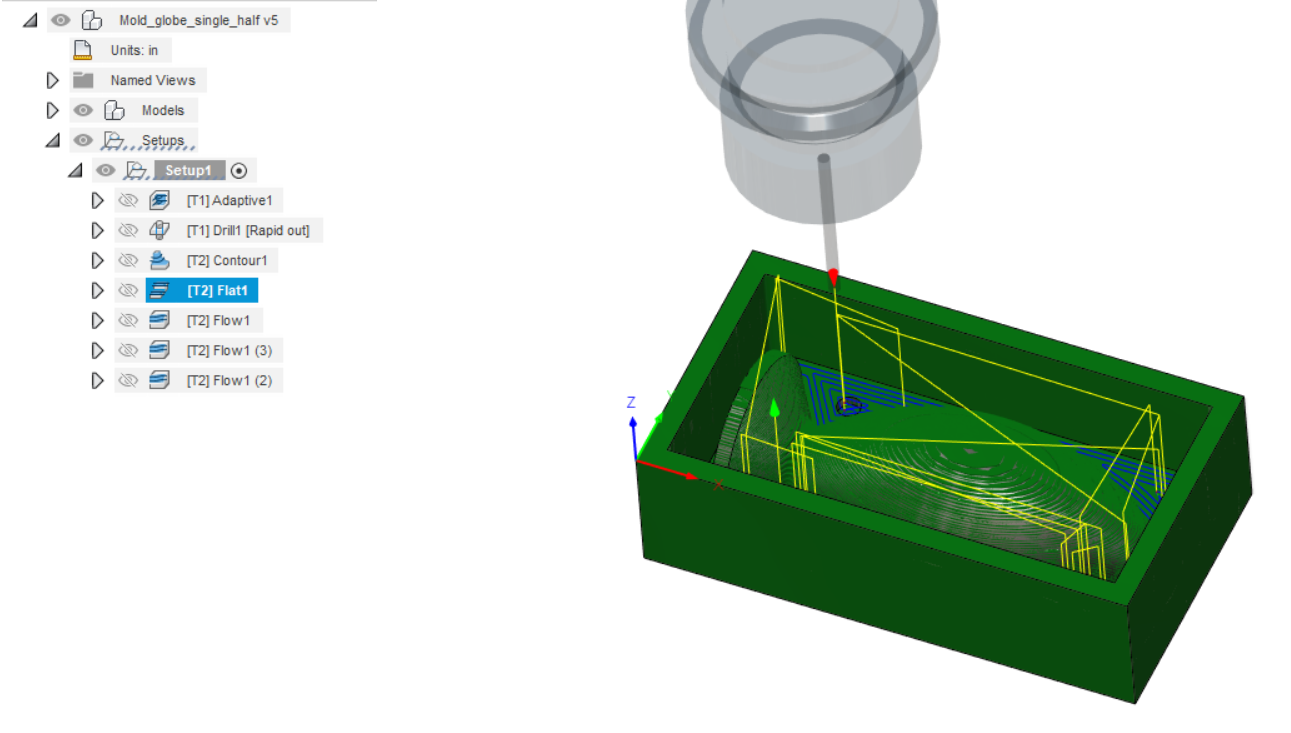
Steps 2 and 3 are the first refinement paths. I selected countour and flat machine paths using a 1/8 inch flat end mill. The former is, according to Fusion, considered the best finishing strategy for steep walls, and the latter for parts perpendicular to the machine path.
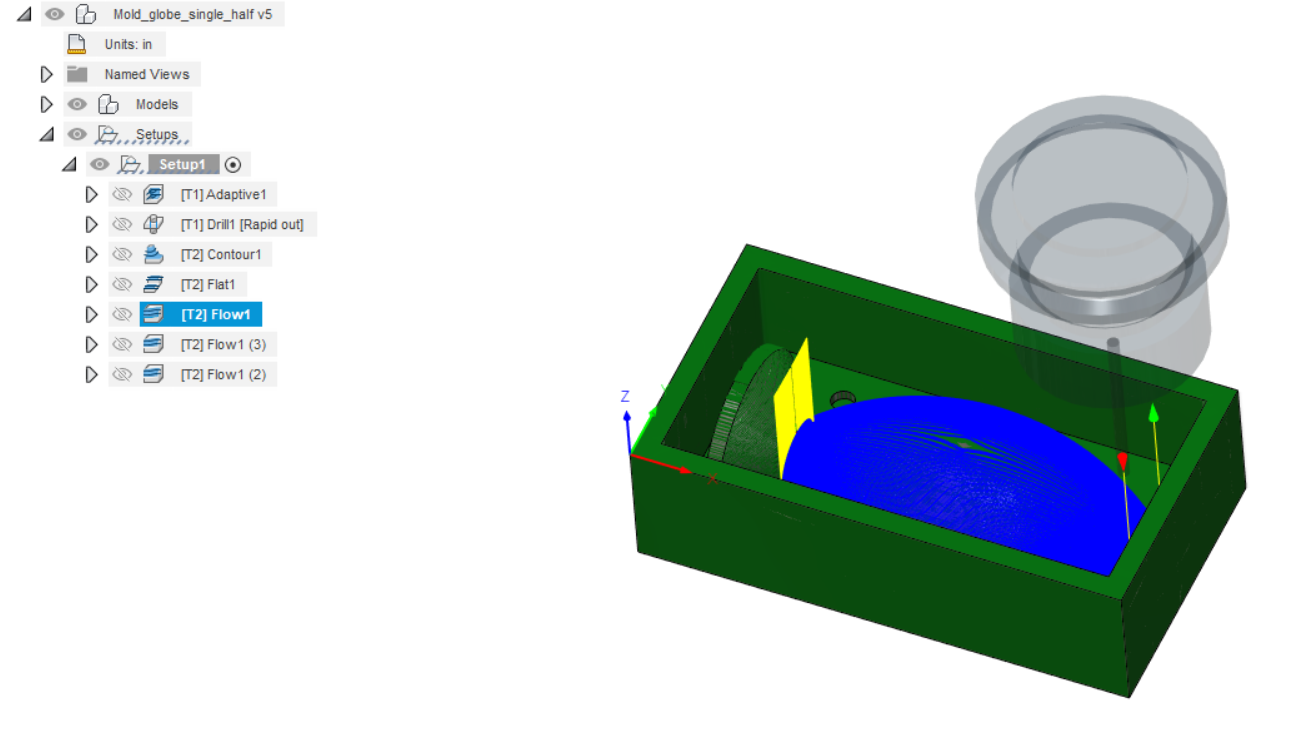
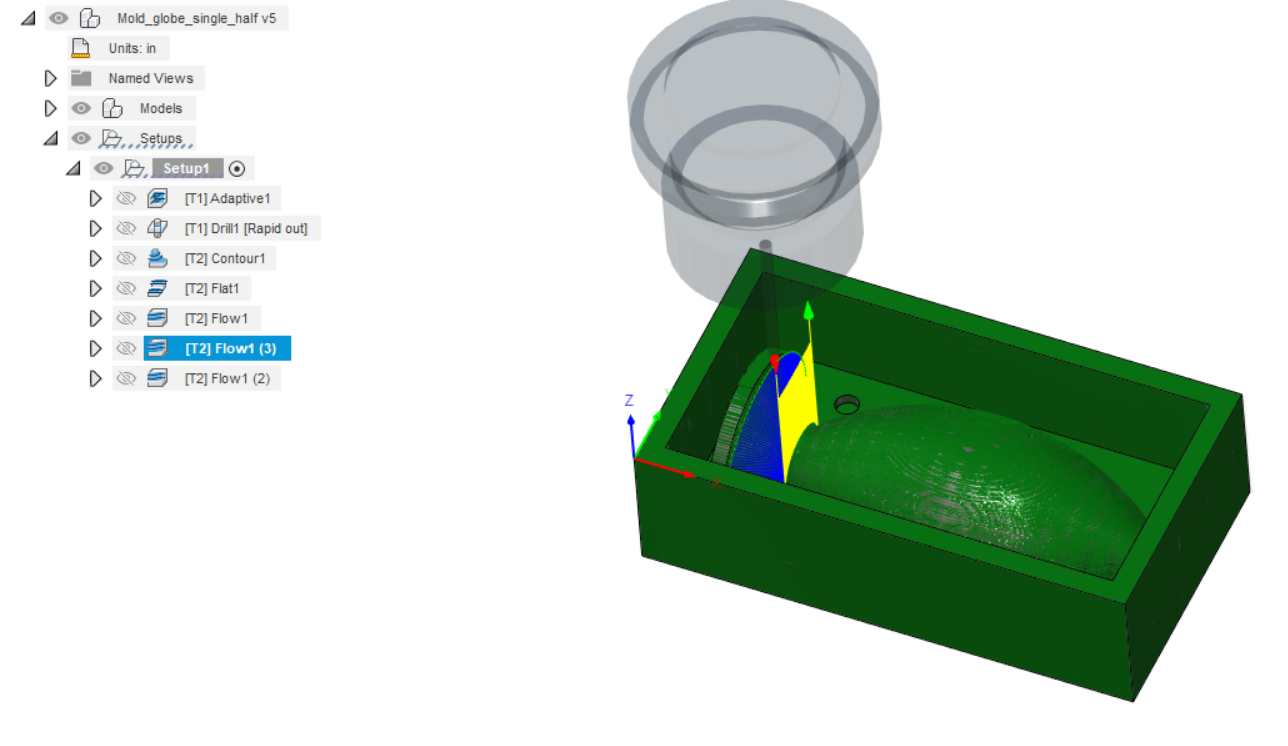
For steps 4,5, and 6 I chose Flow finishing strategies using an 1/8 inch flat end mill for the various outline parts of the globe, giving it a smooth finish by creating machine paths that follow the isocurves of a selected surface.
Machining: Machine negative of mold in wax
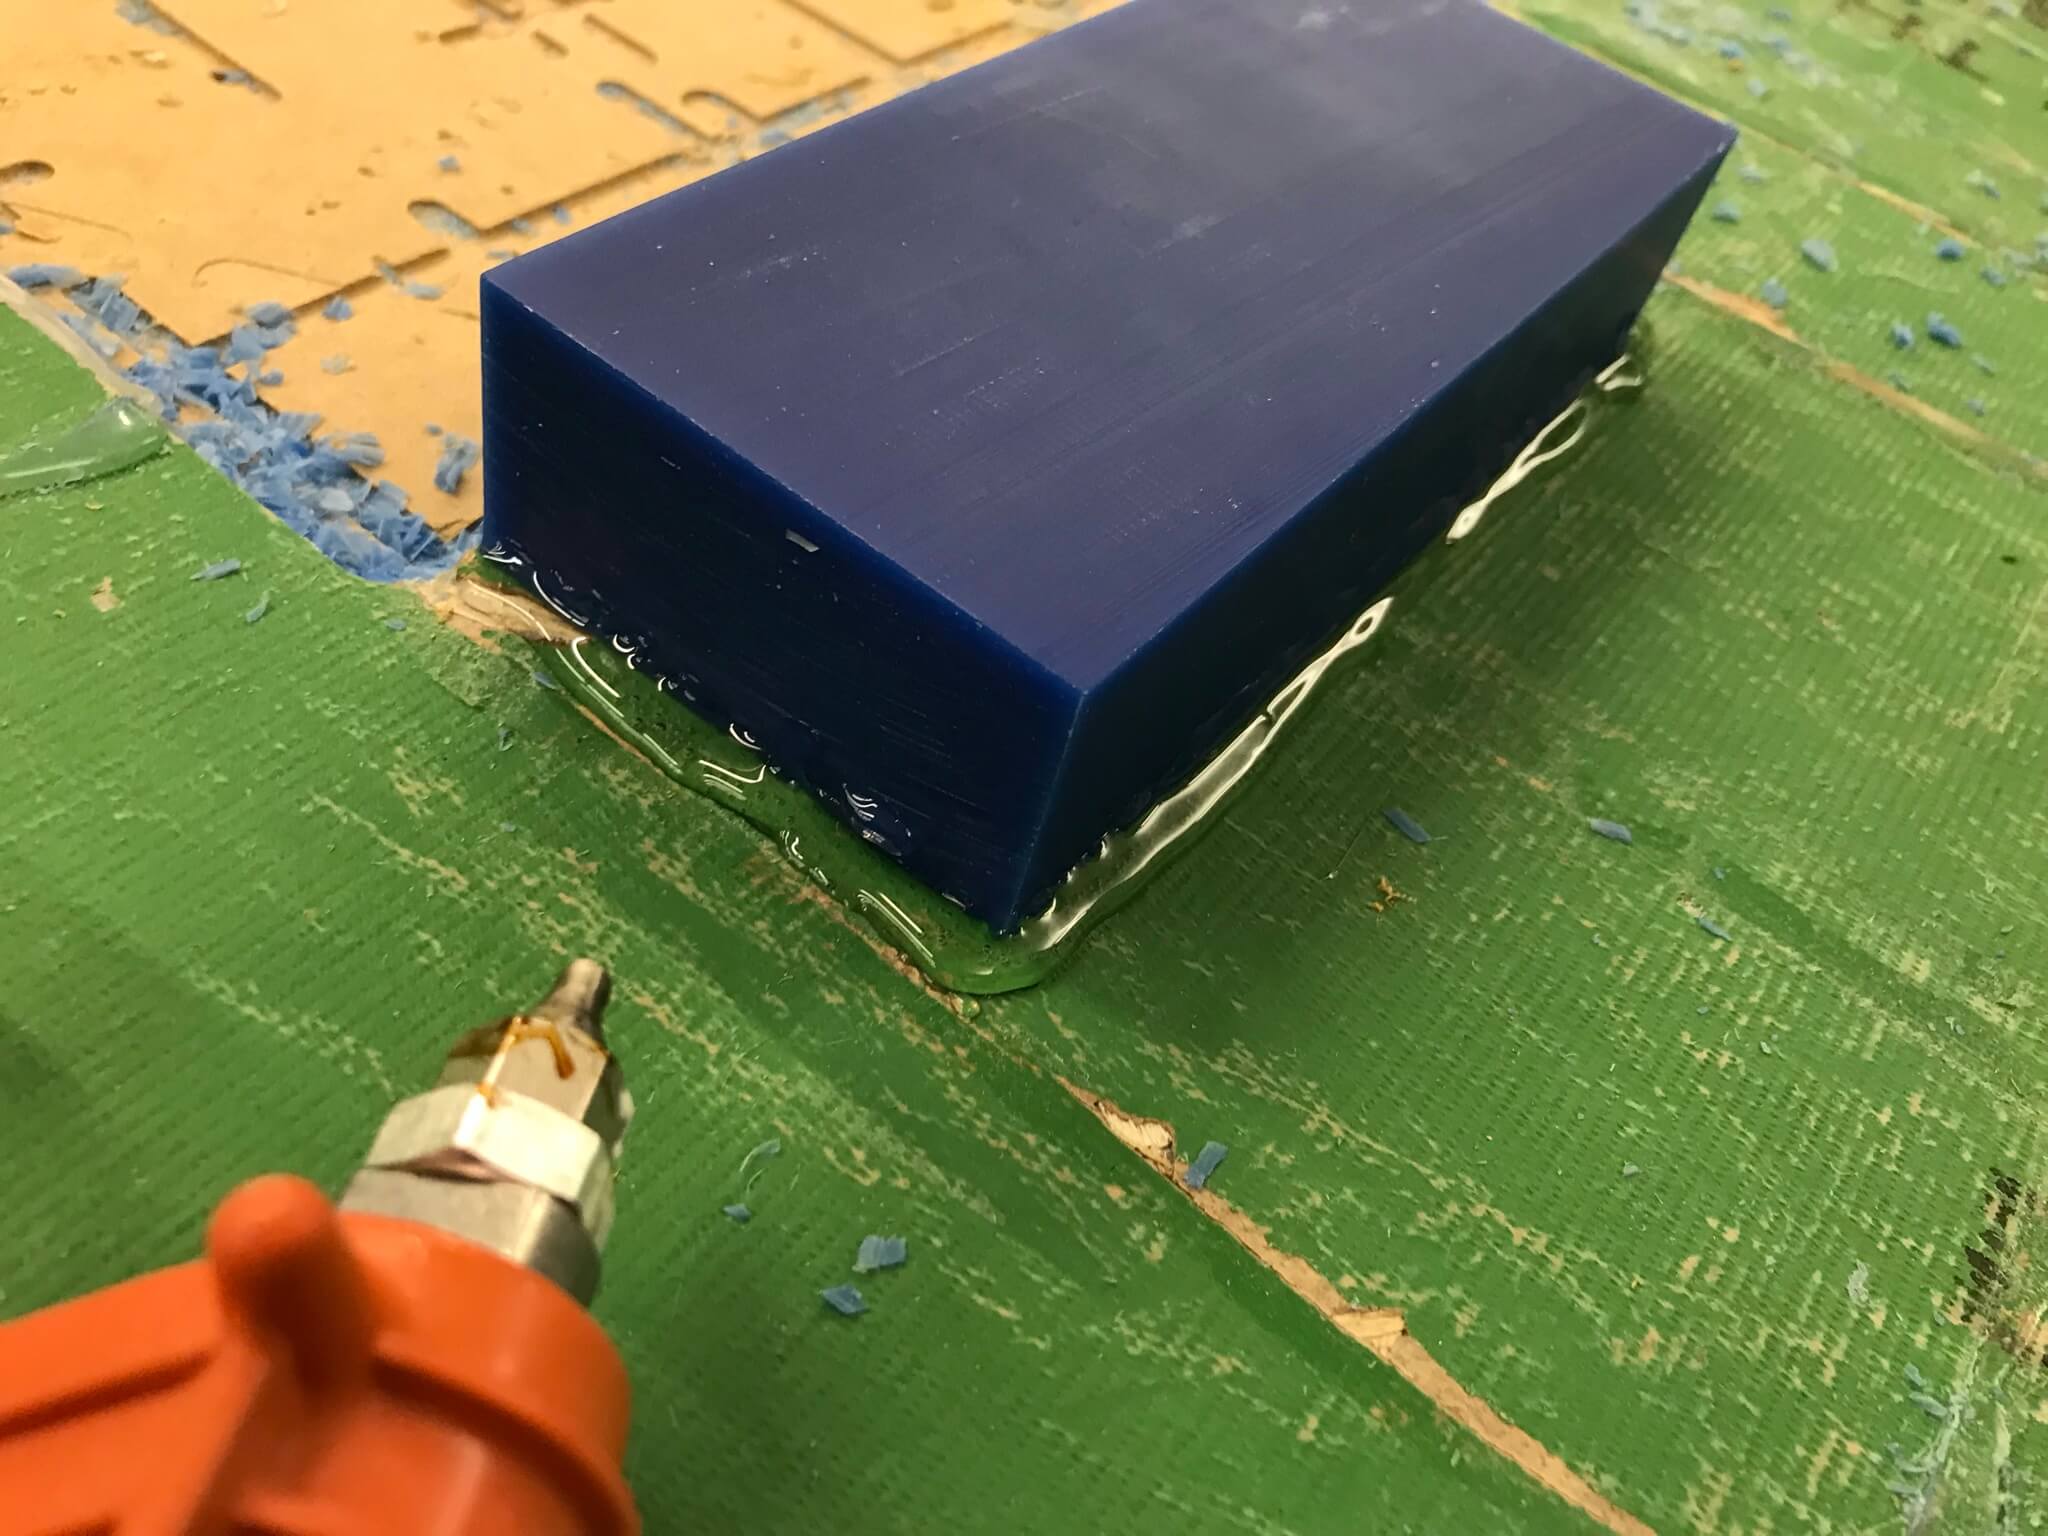
The machine paths defined above are loaded into Mach4 machining software for the wax block, glued down with hot glue, shown below on the left to be milled on our Avid CNC mill using the 1/4 inch and 1/8 flat end mills depicted below on the right.

The first adaptive clearing path yields the following shape outline.
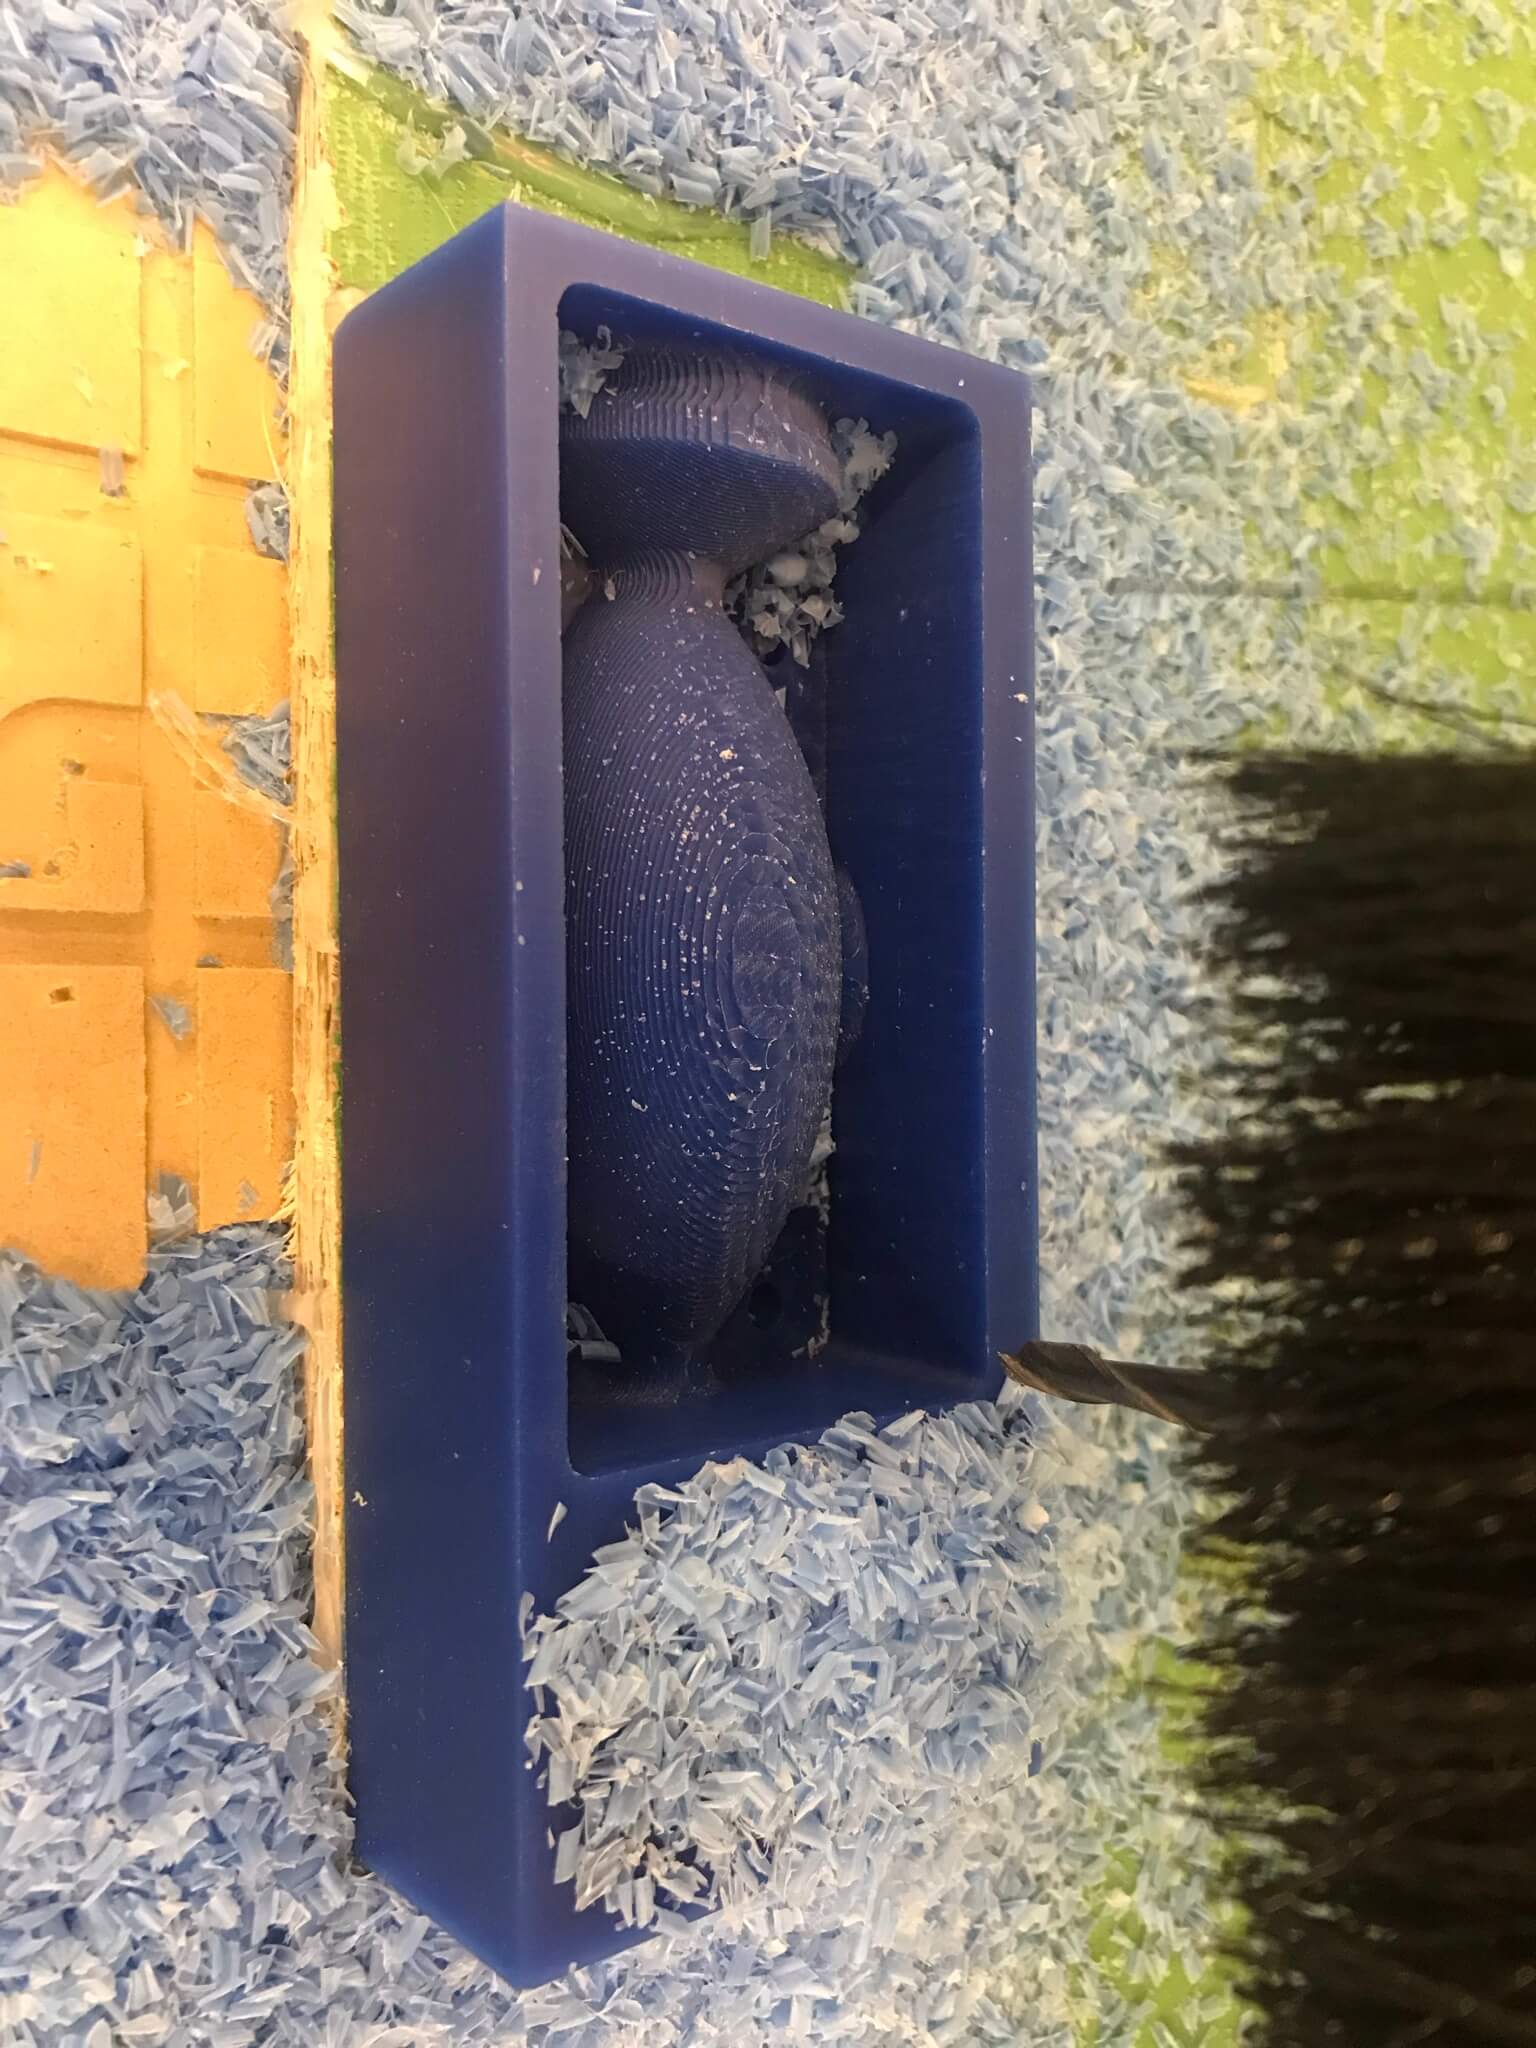
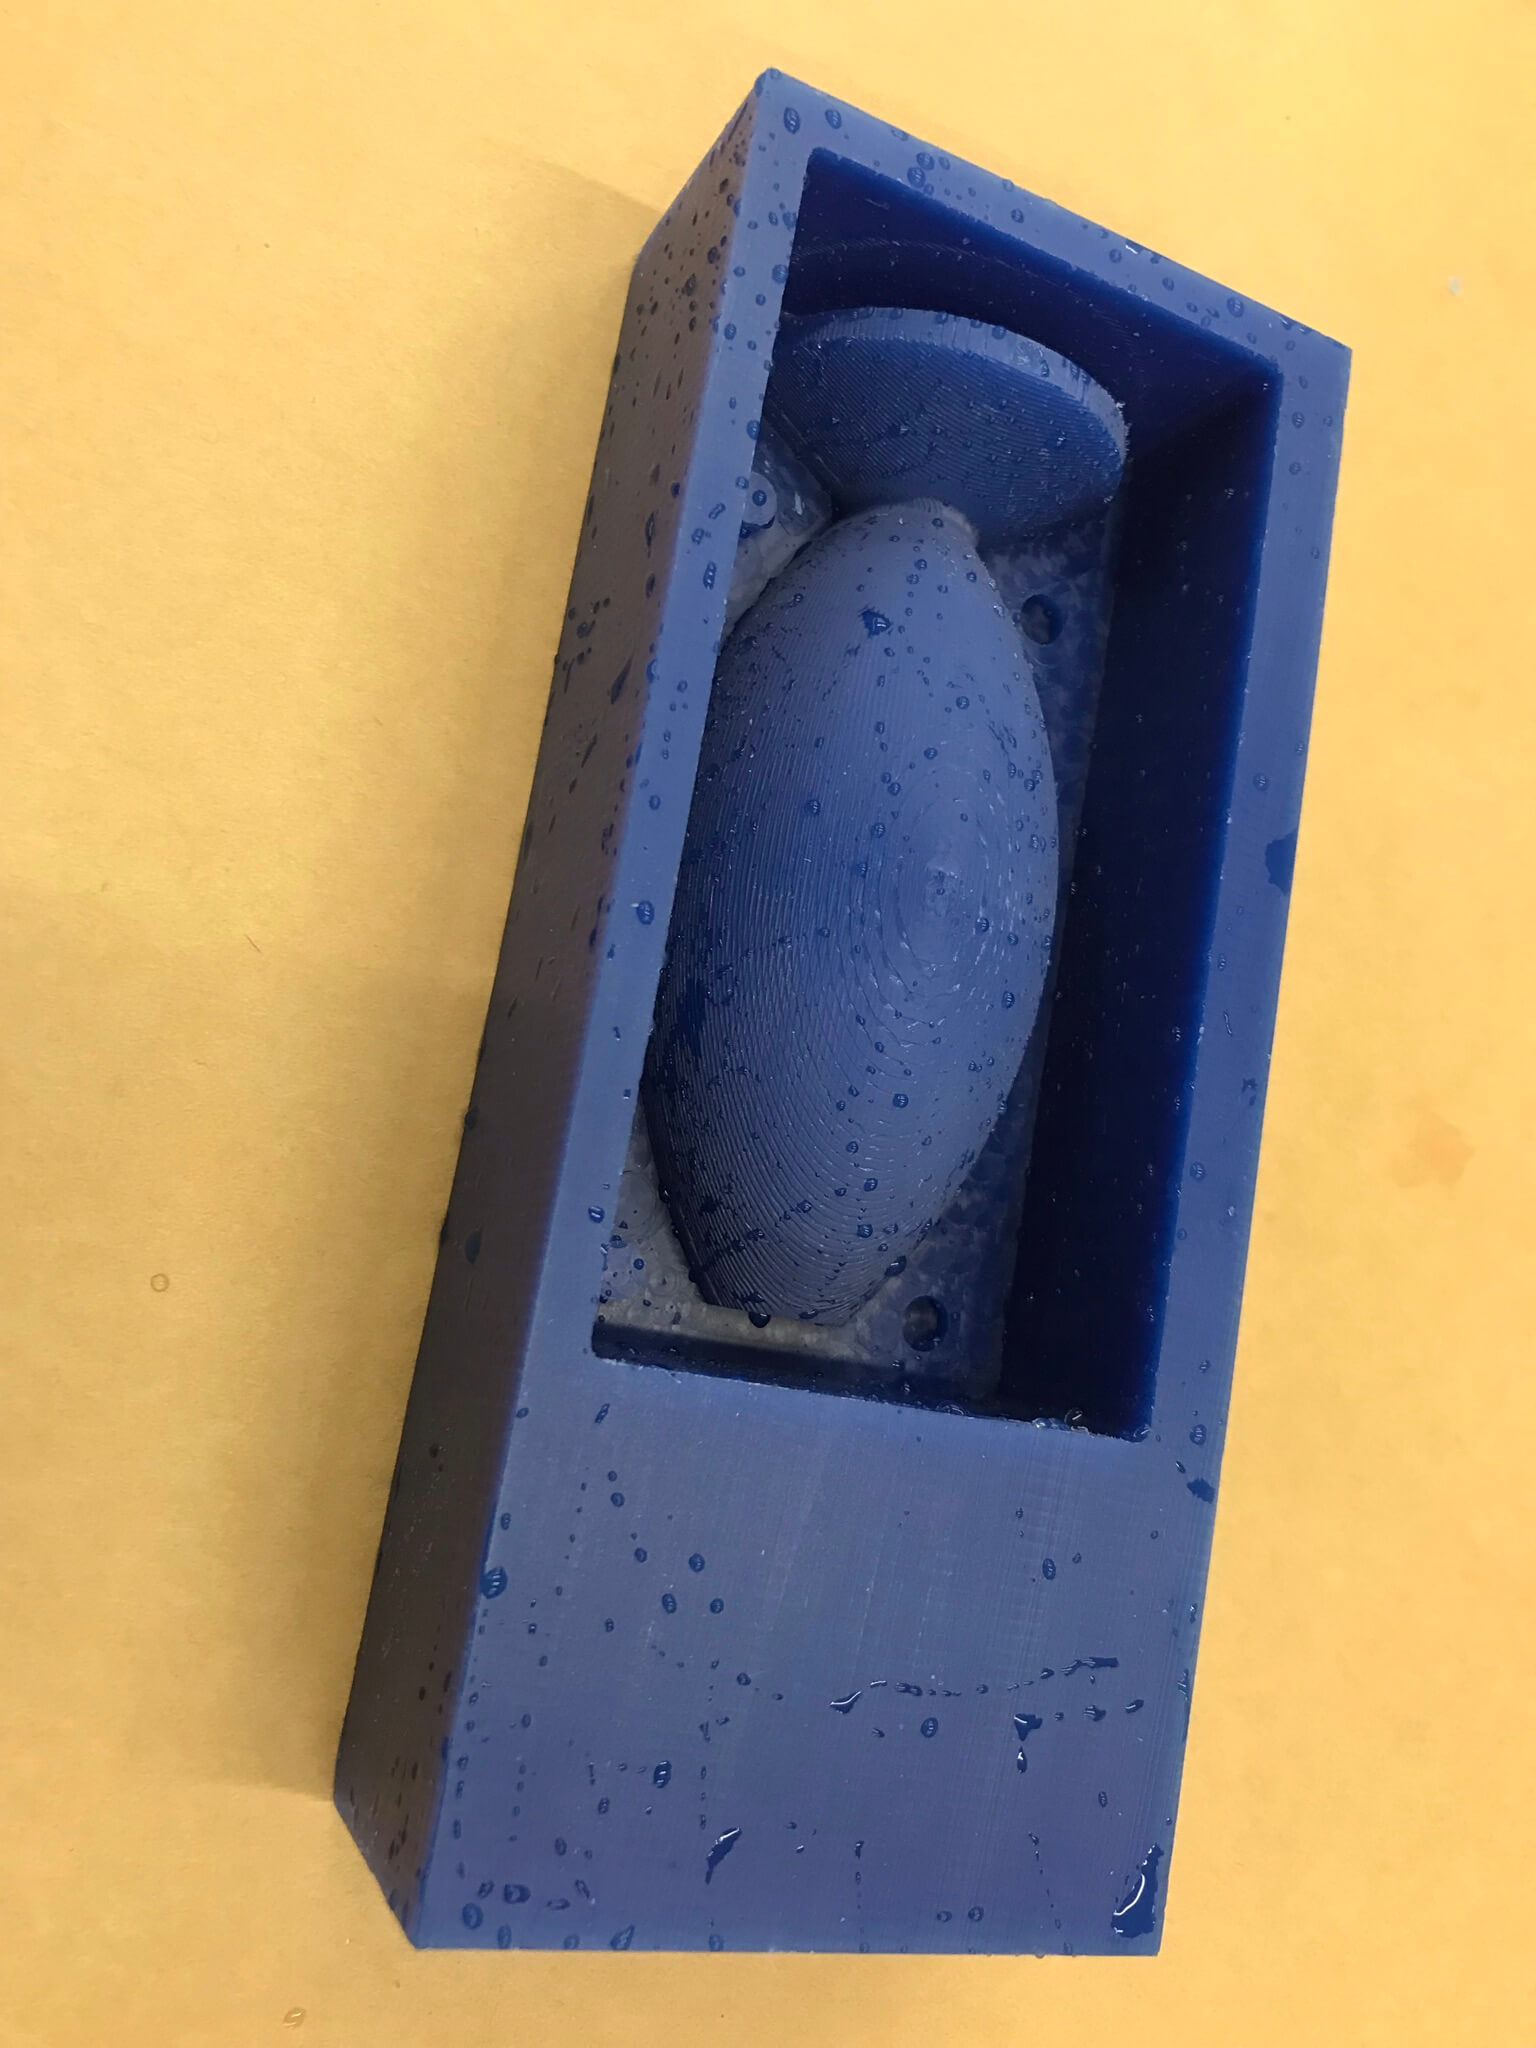
After the refining machine paths, the following wax mold negative is obtained, ready for the silicone mold to be cast in it.
Cast silicone Oomoo mold
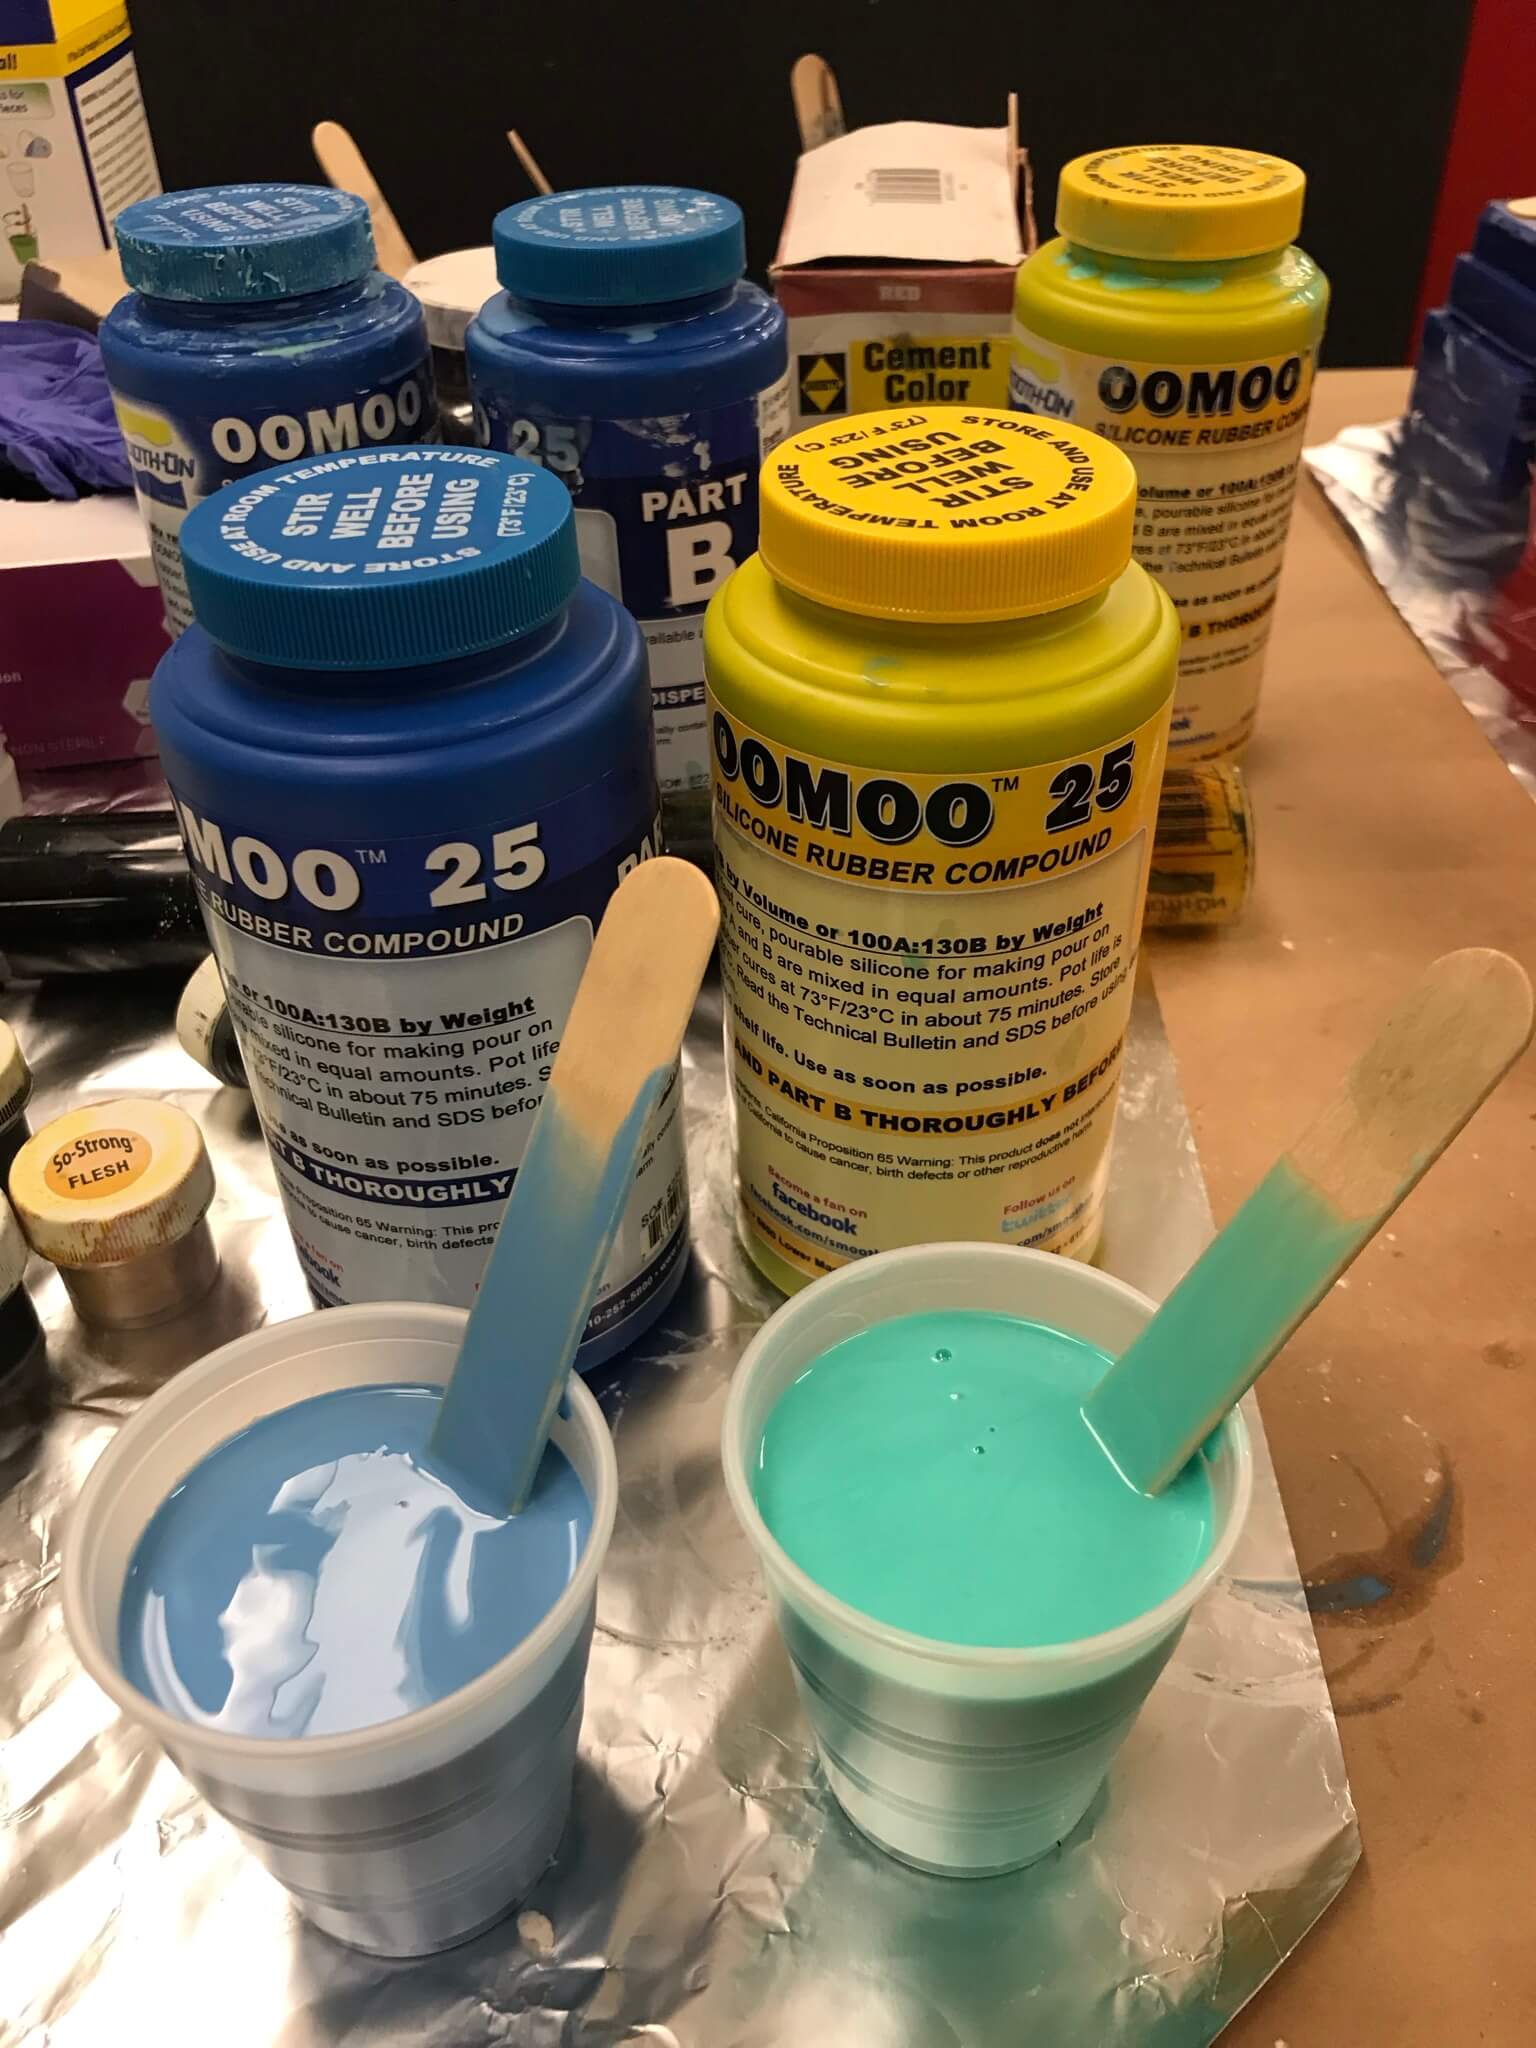
Shown below are the two parts of the Oomoo silicone that need to be thoroughly mixed together before casting into the wax mold negative.
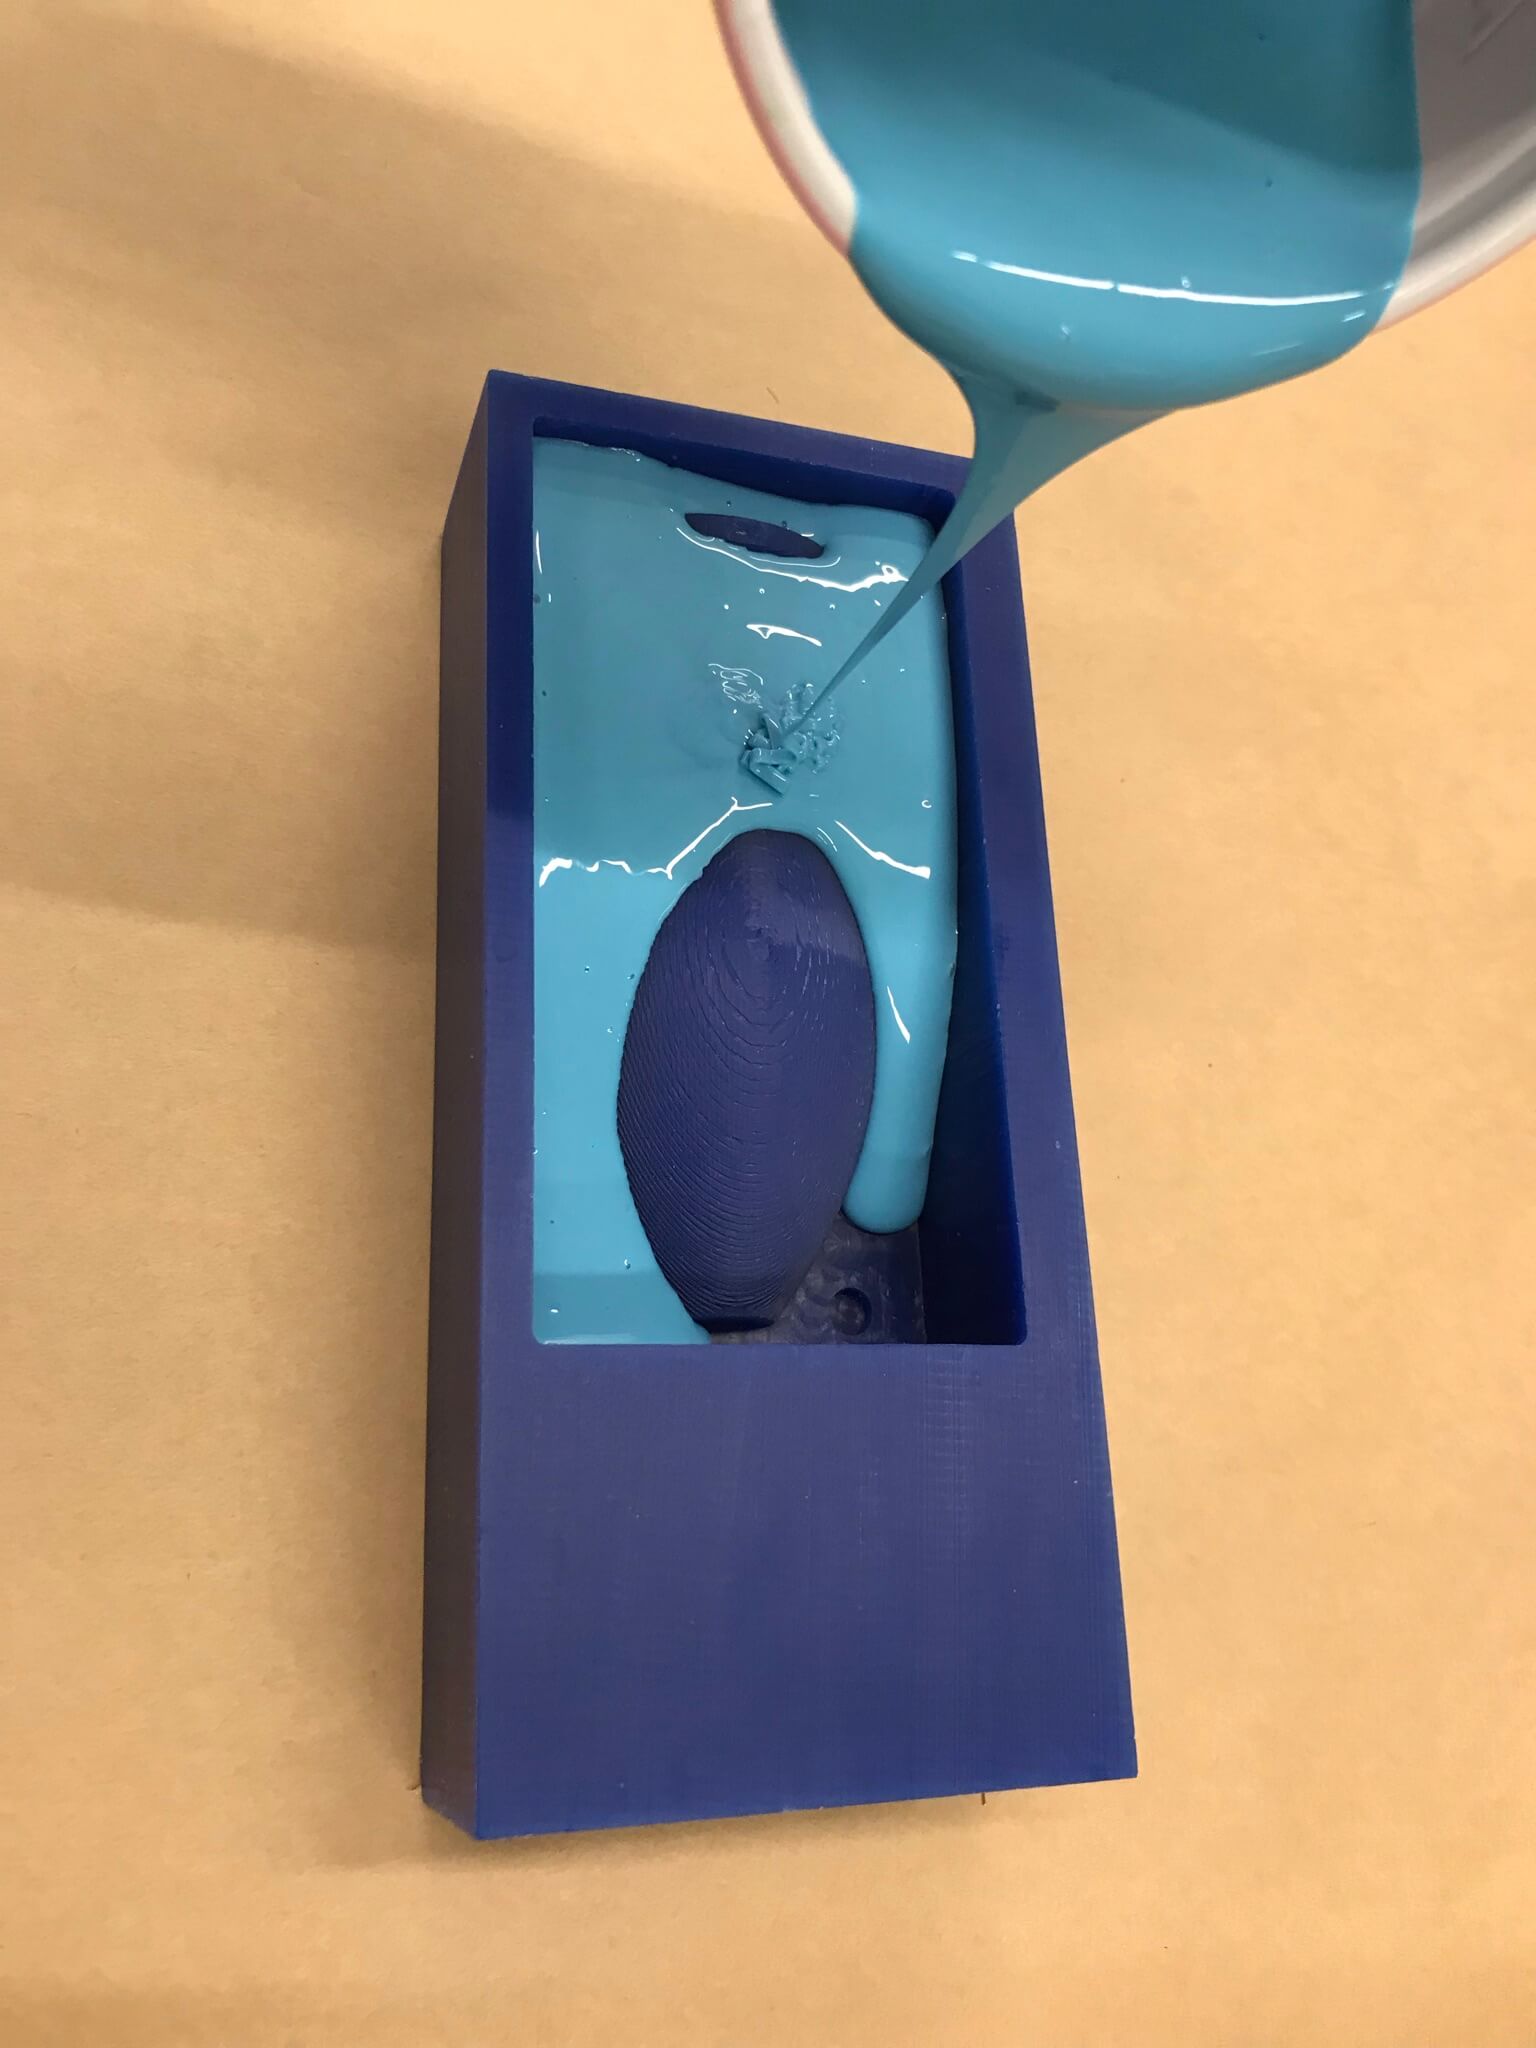
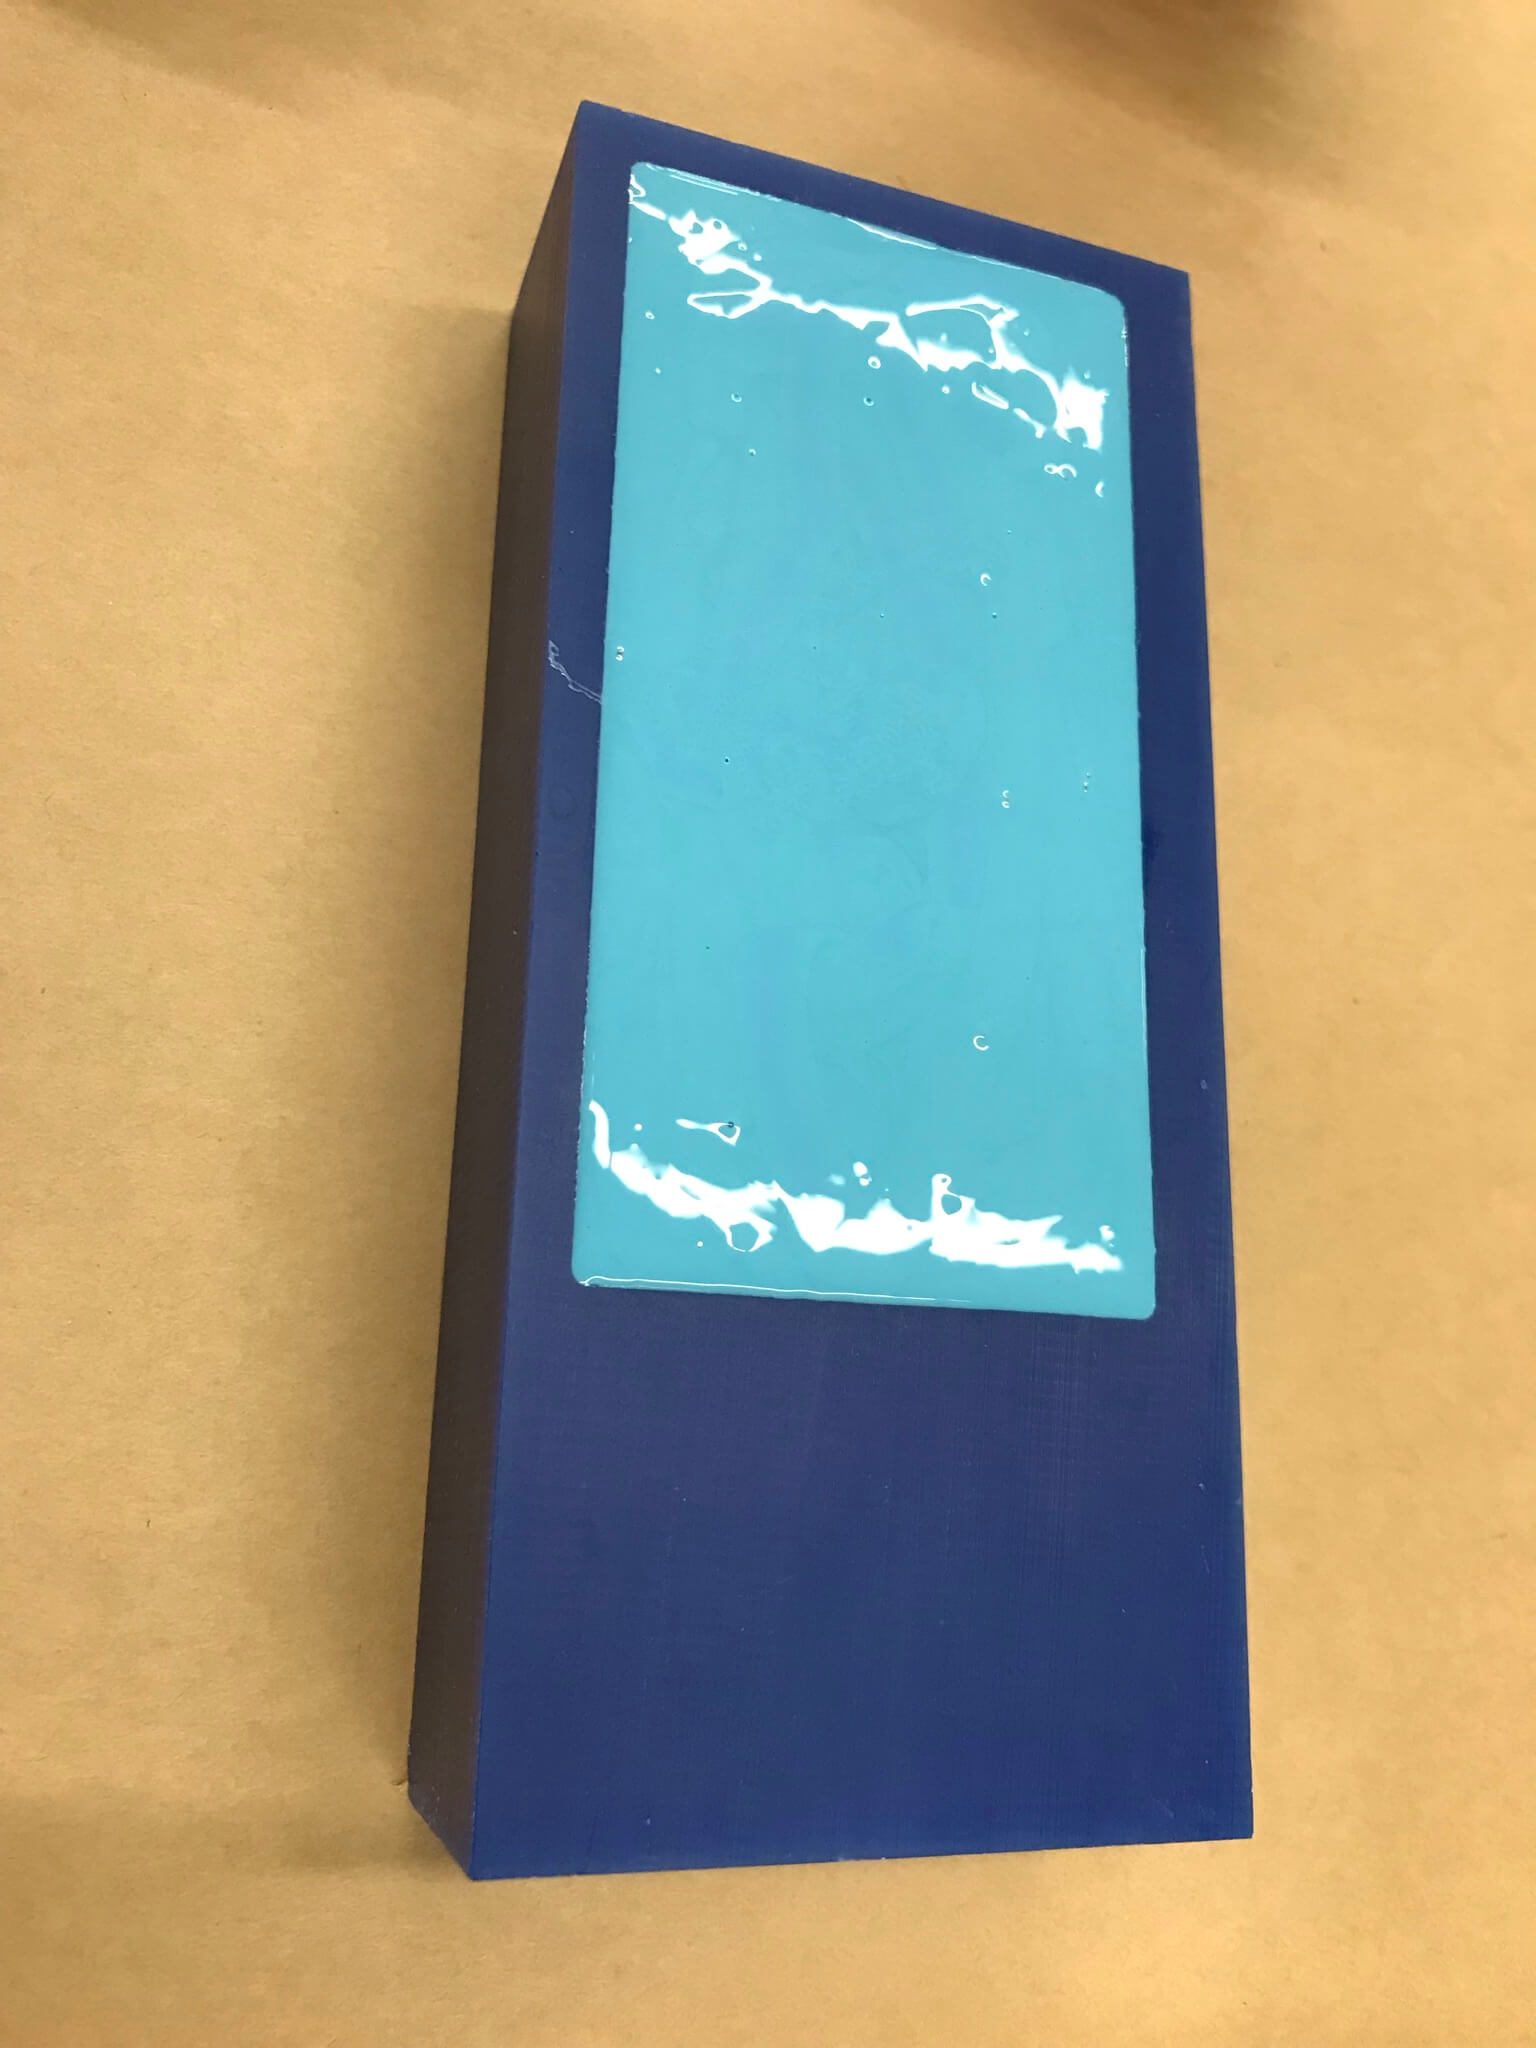
The resulting silicone mixture can then be poured into the wax negative, letting it gently flow from one corner to minimize air bubble inclusions.
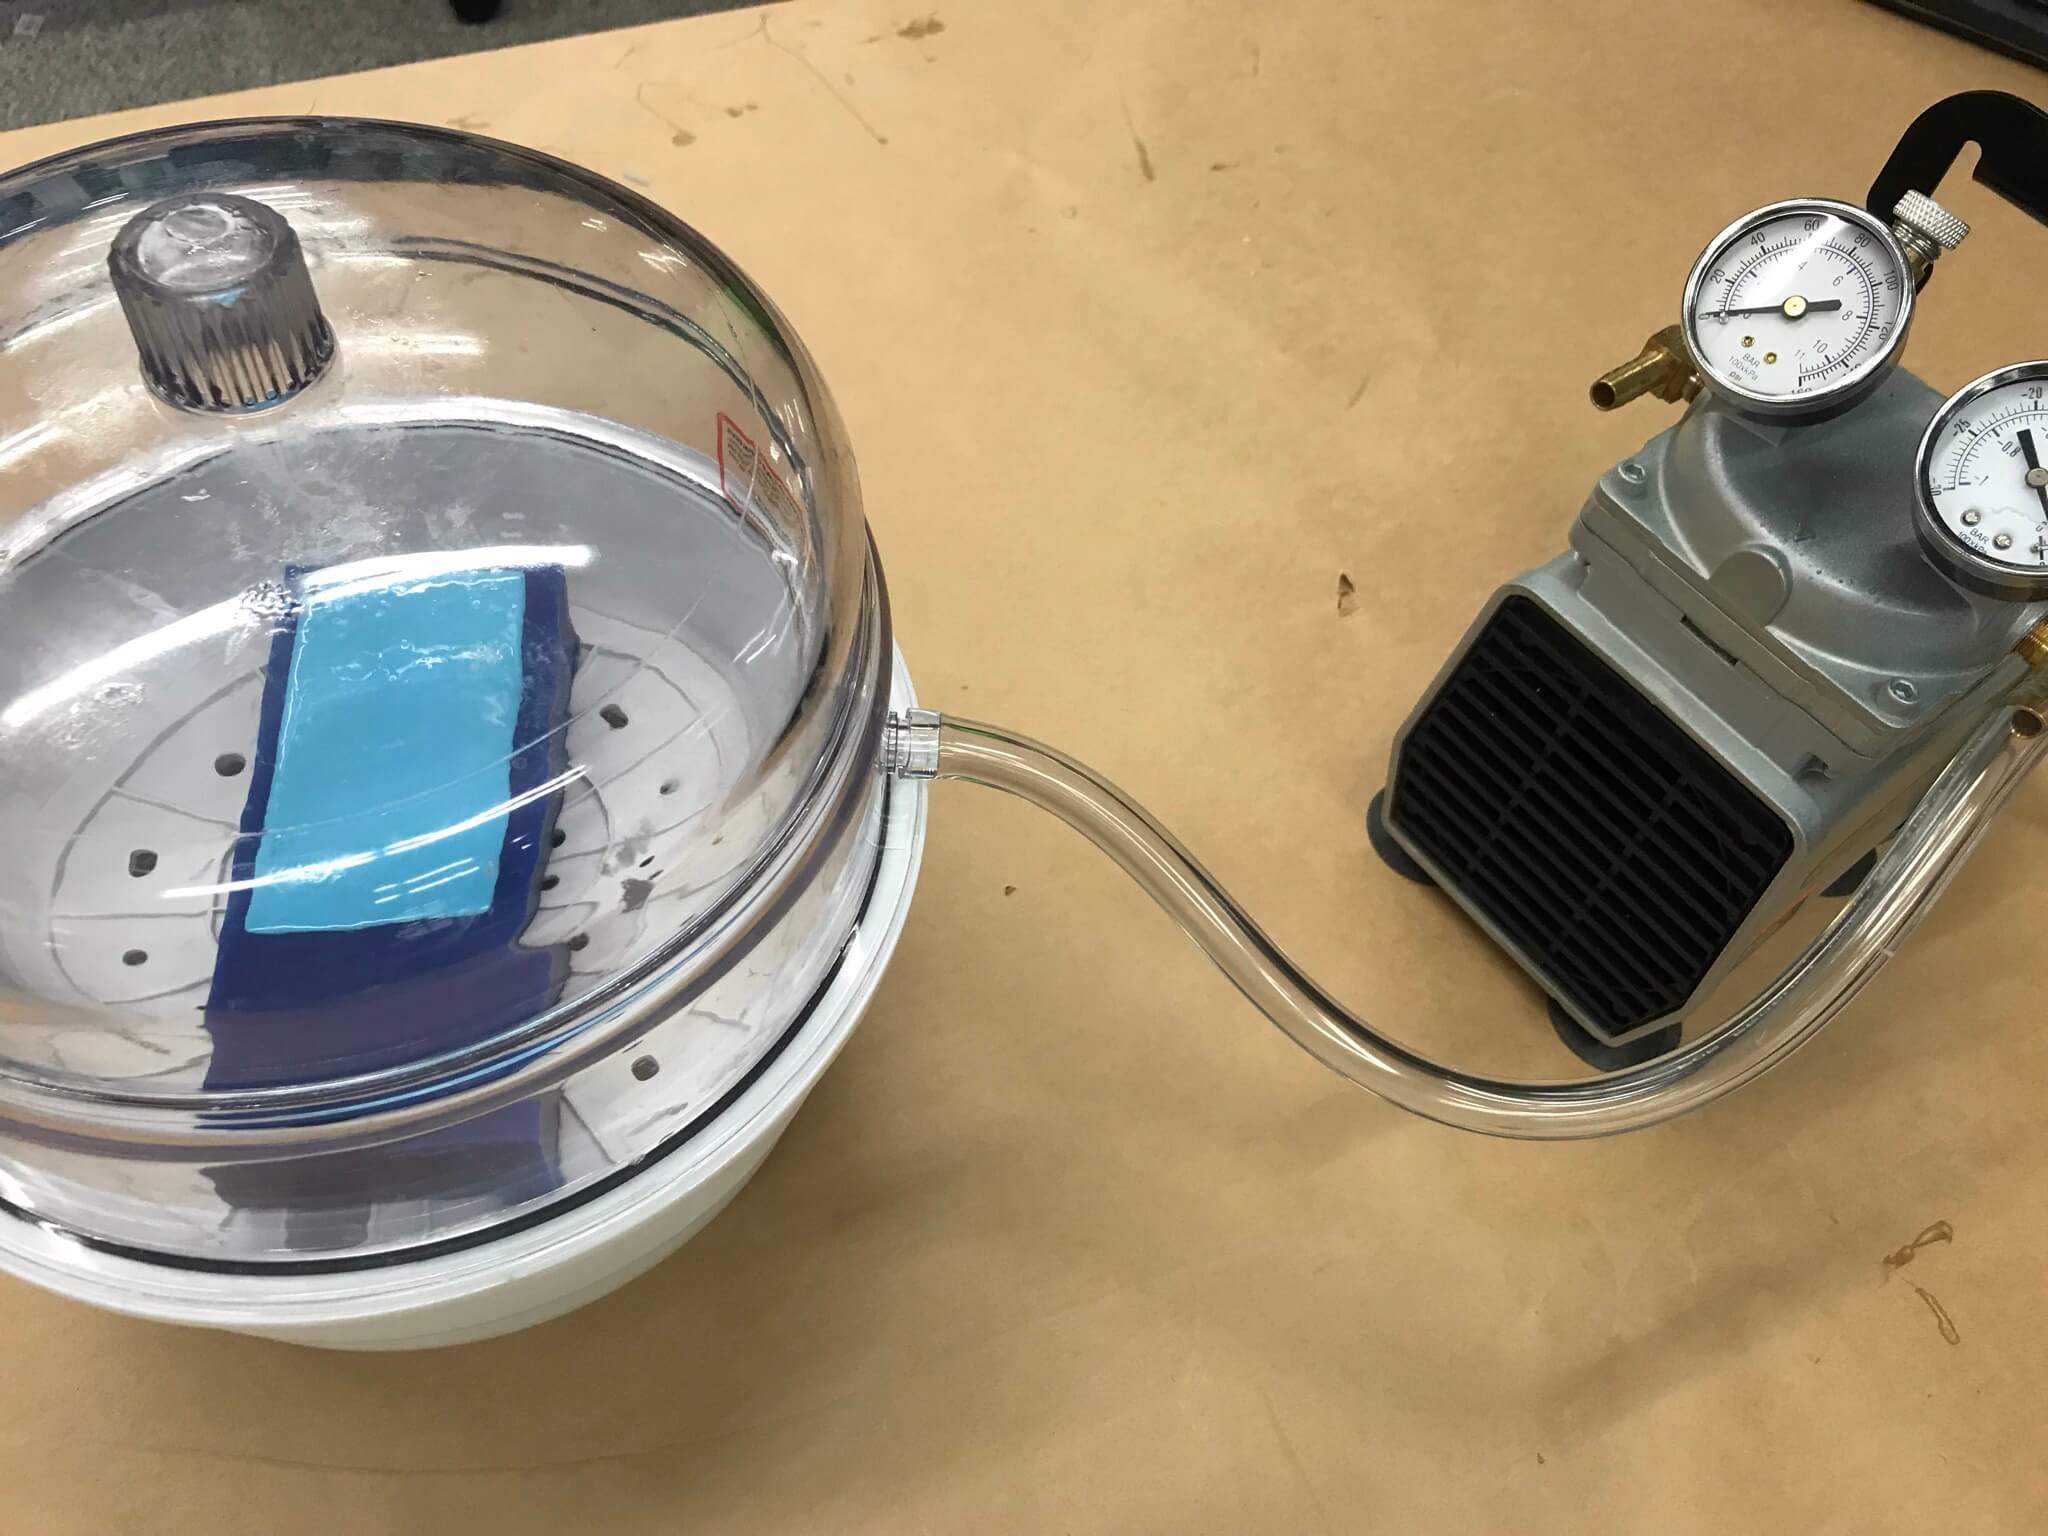
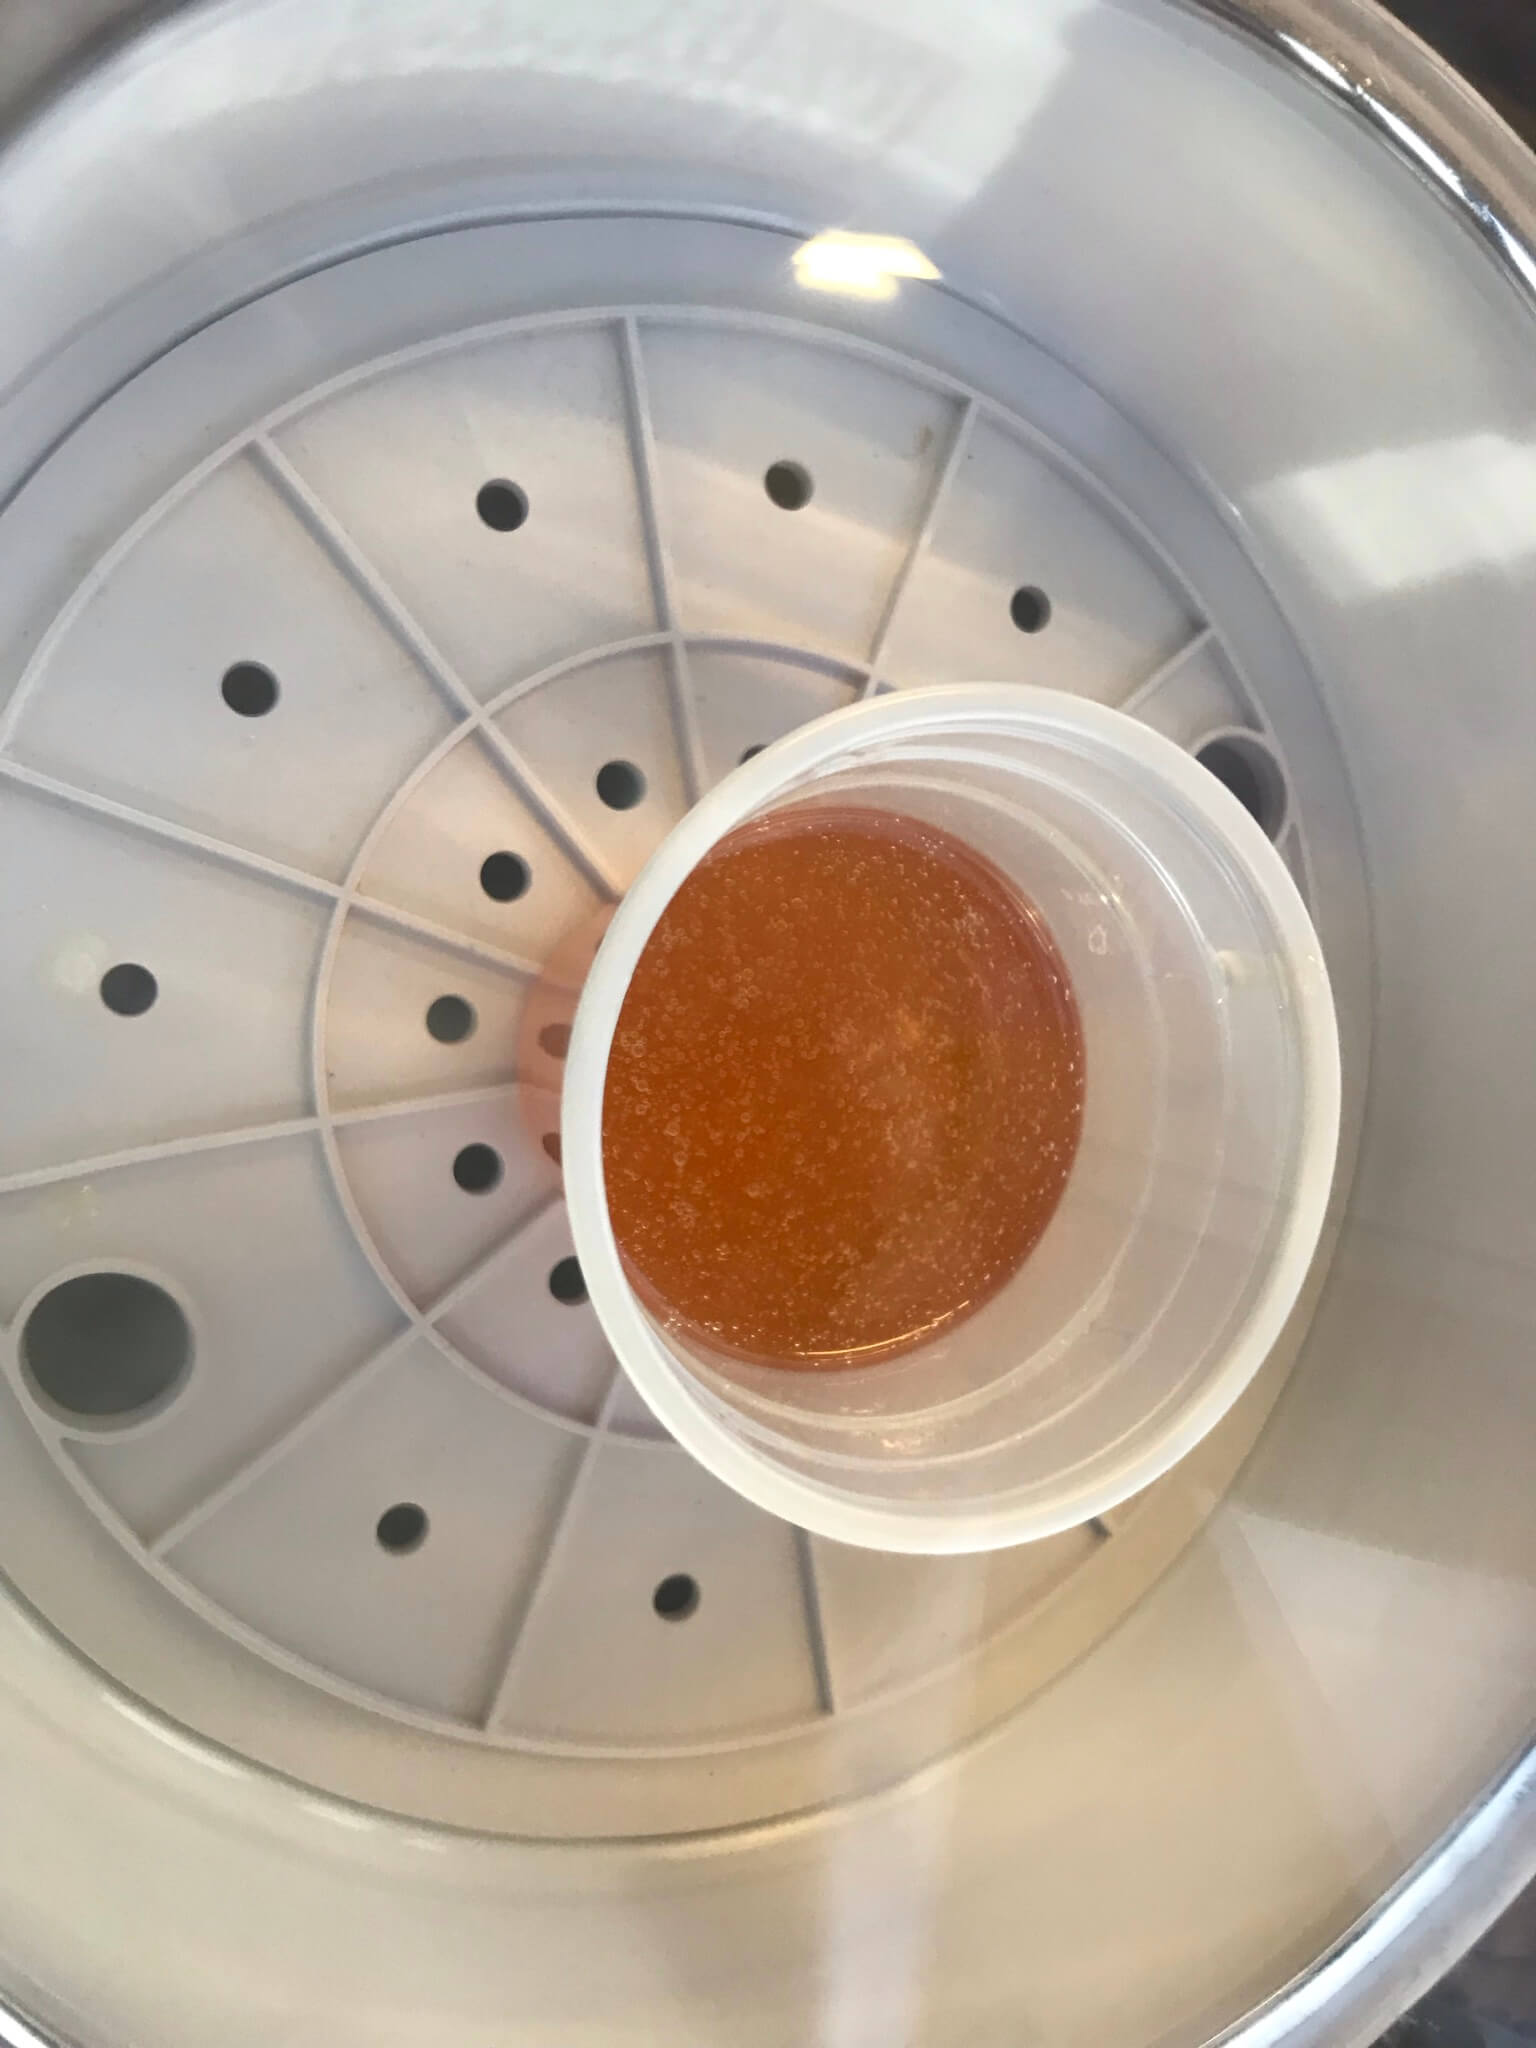
In order to remove air bubbles, I placed the mold under vacuum for about 10 minutes.
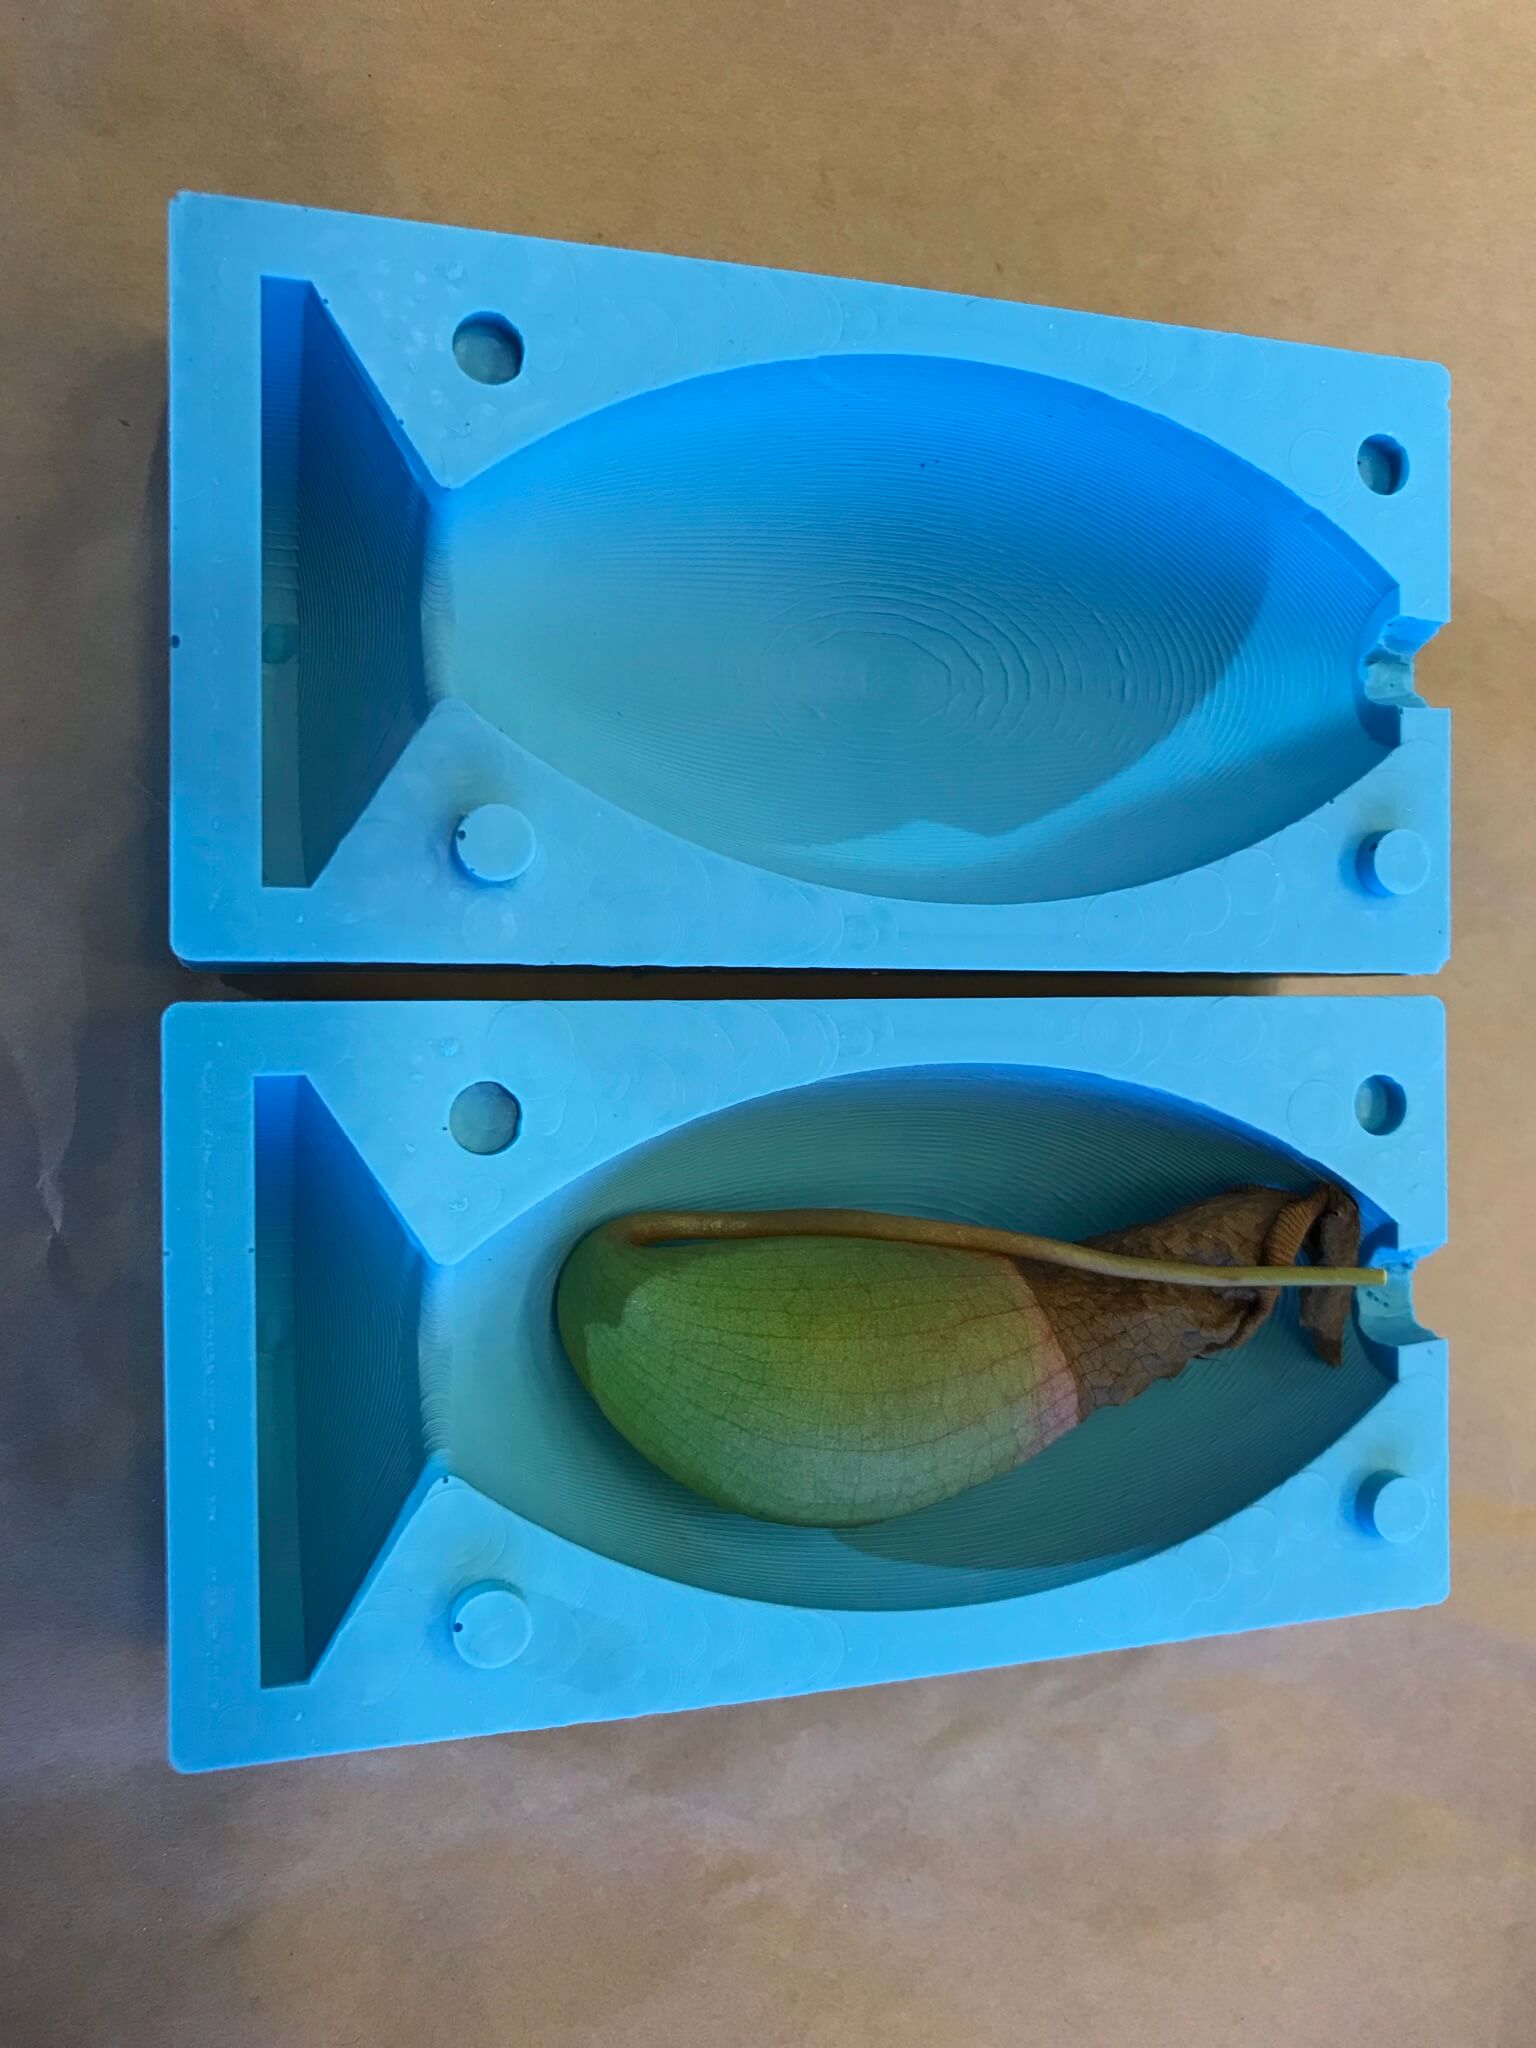
After letting the silicone fully cure for a few hours, I removed the silicone mold from the wax negative. It came out very nicely and almost bubble-free.
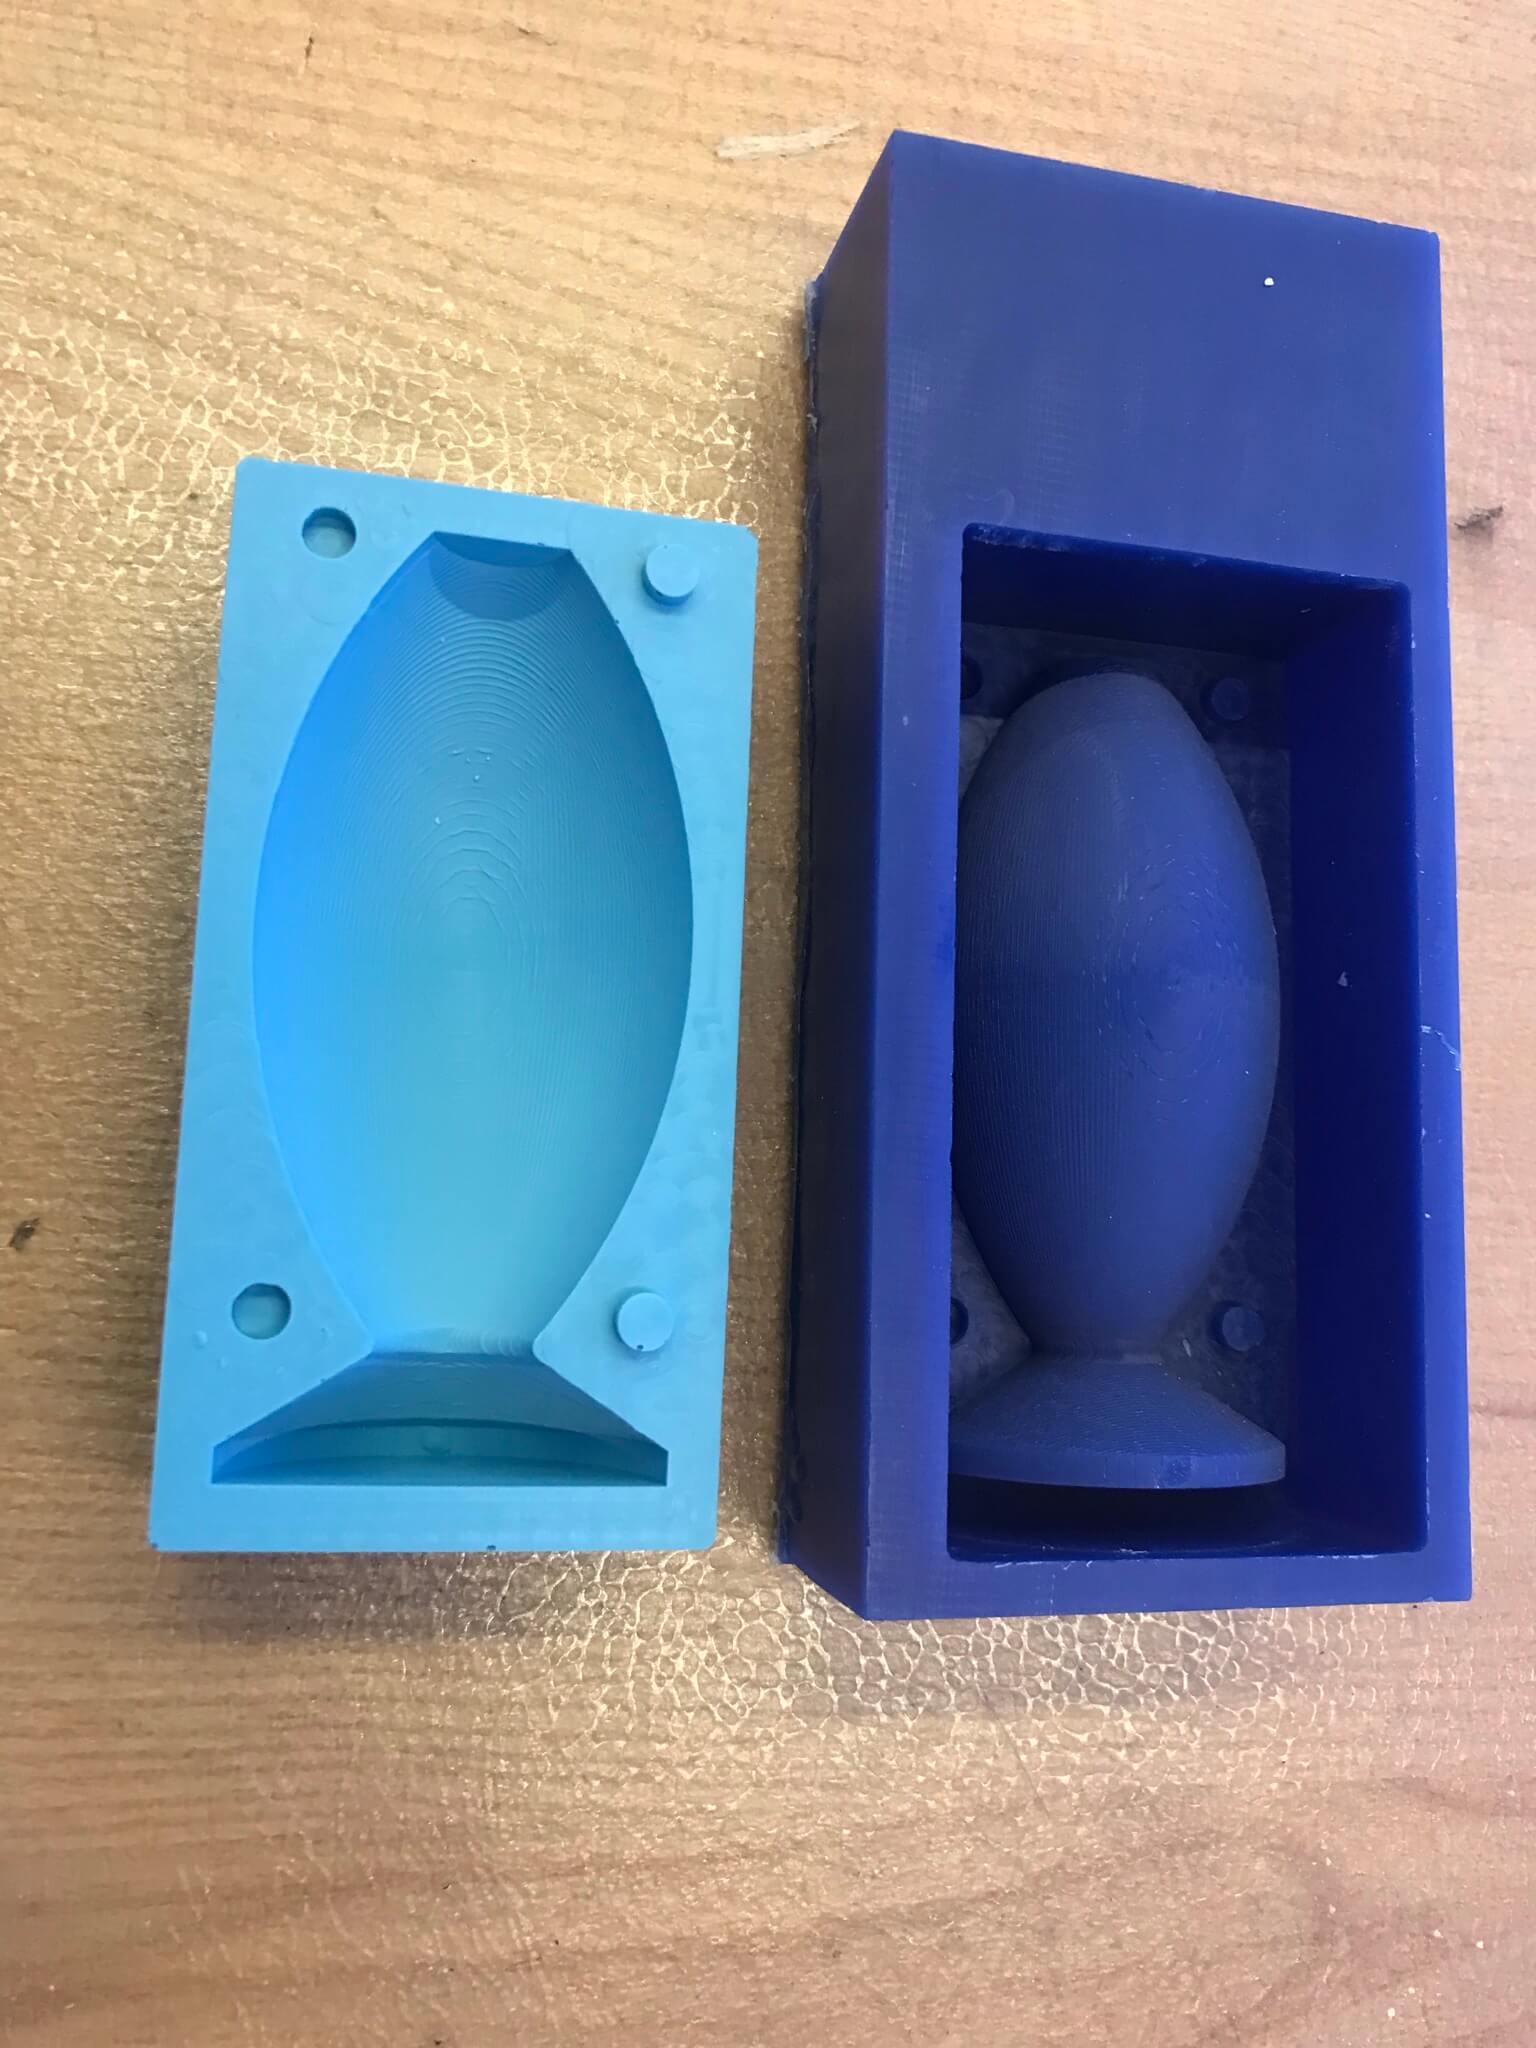
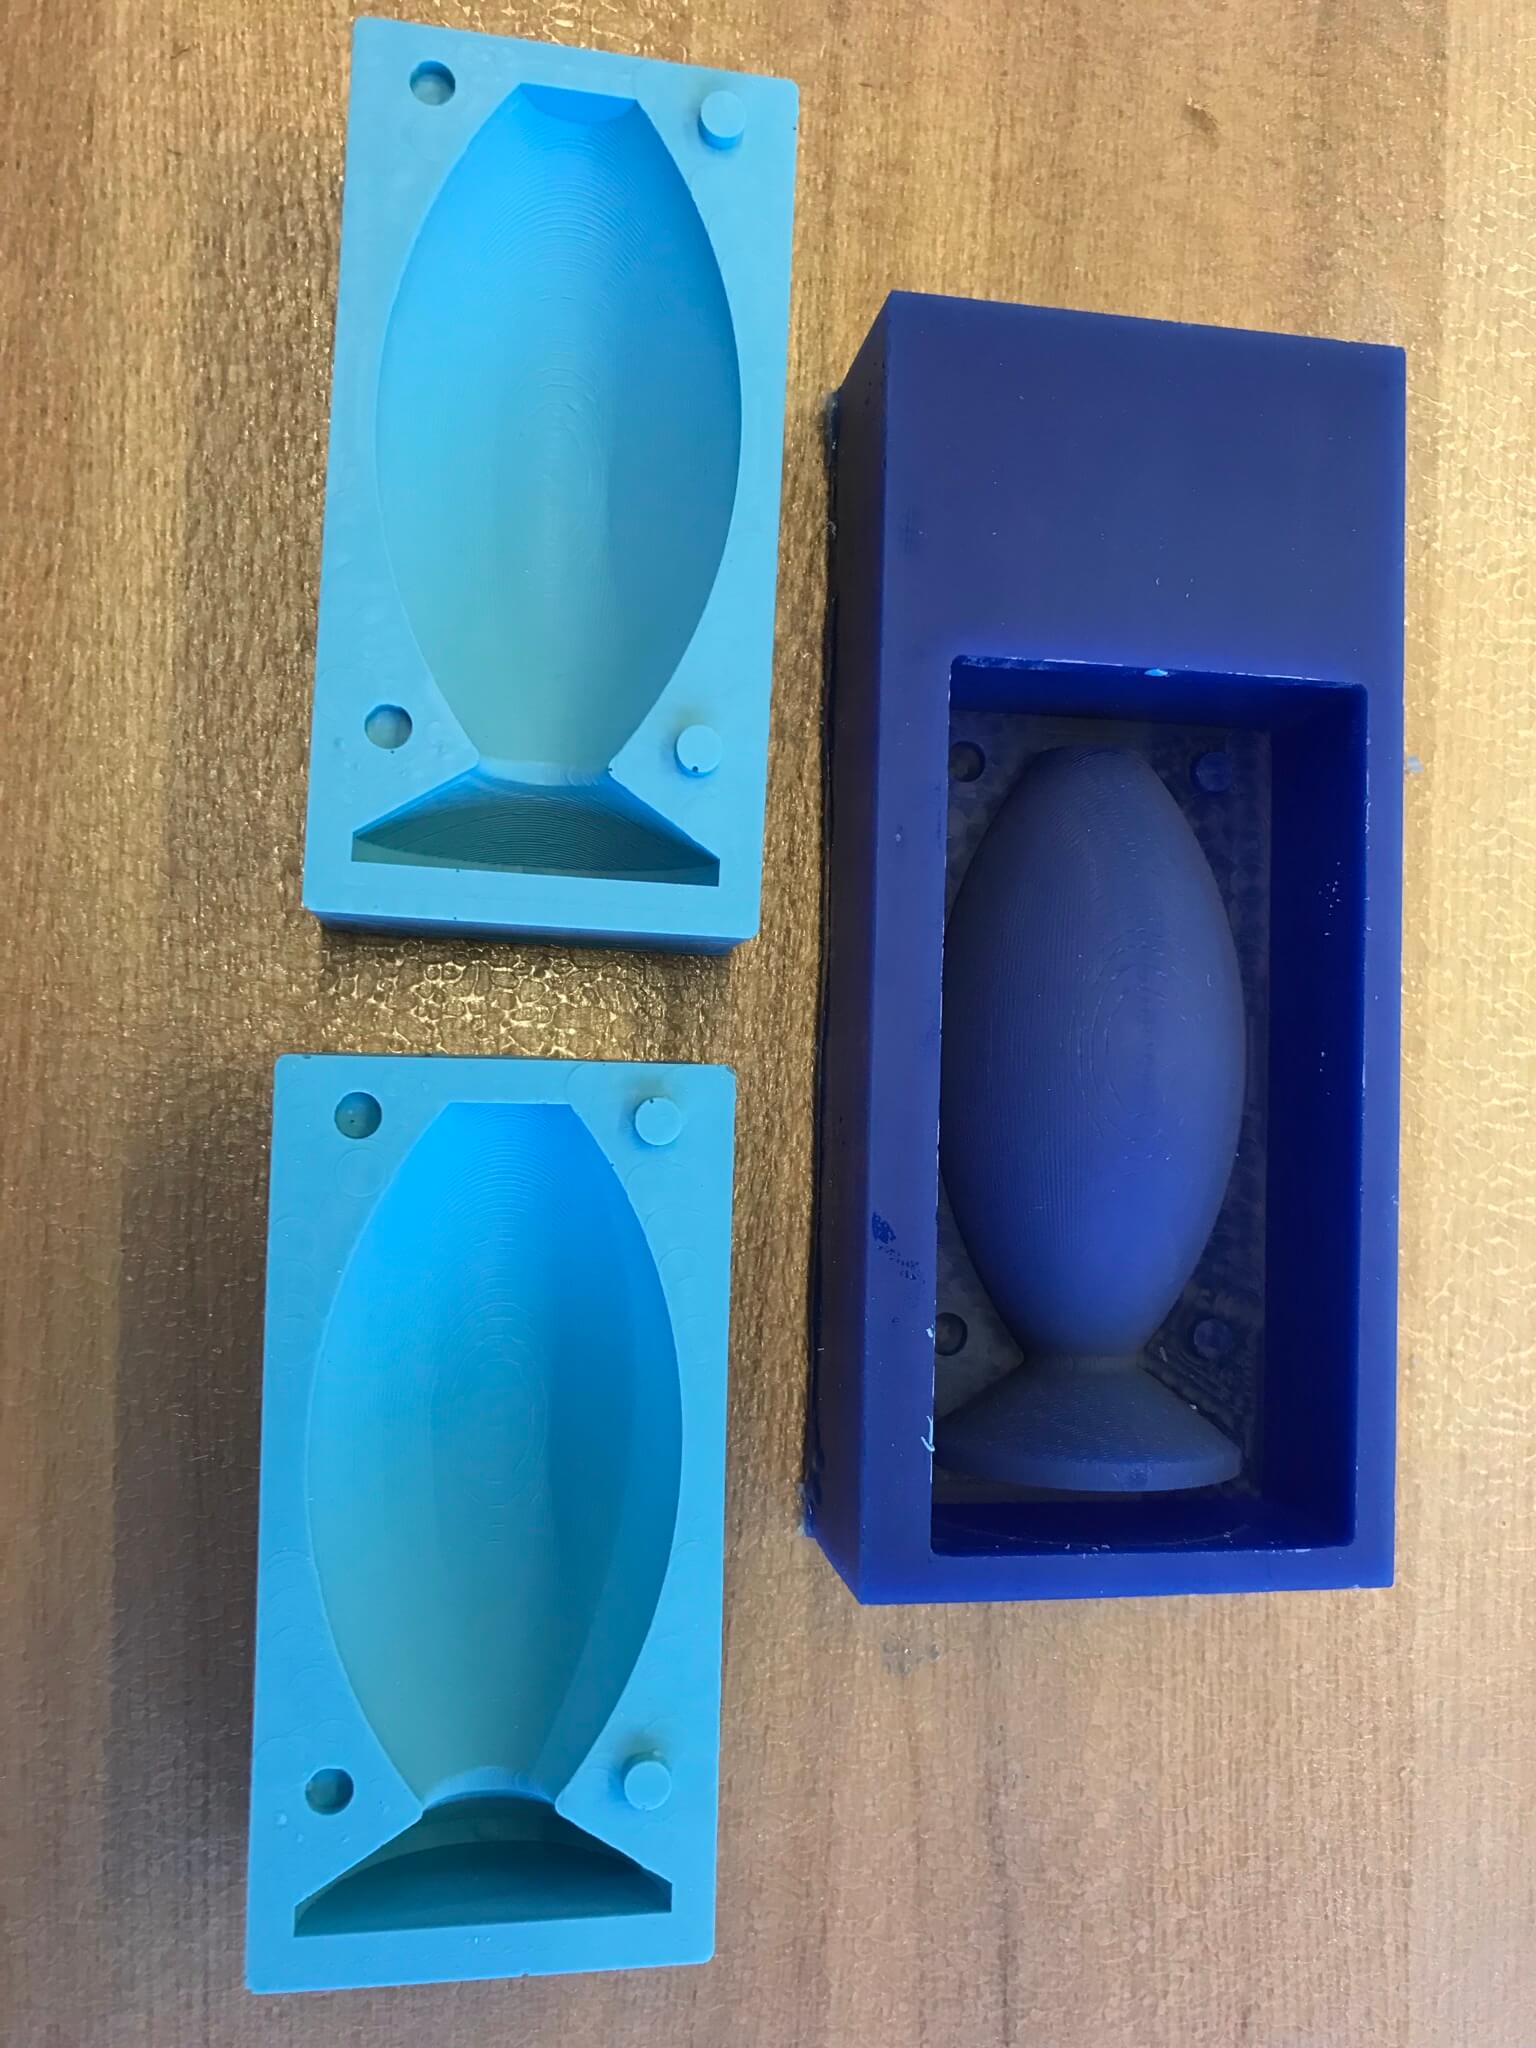
I then repeated the same procedure for the second mold half. They fit together perfectly!
Cast epoxy in Oomoo mold
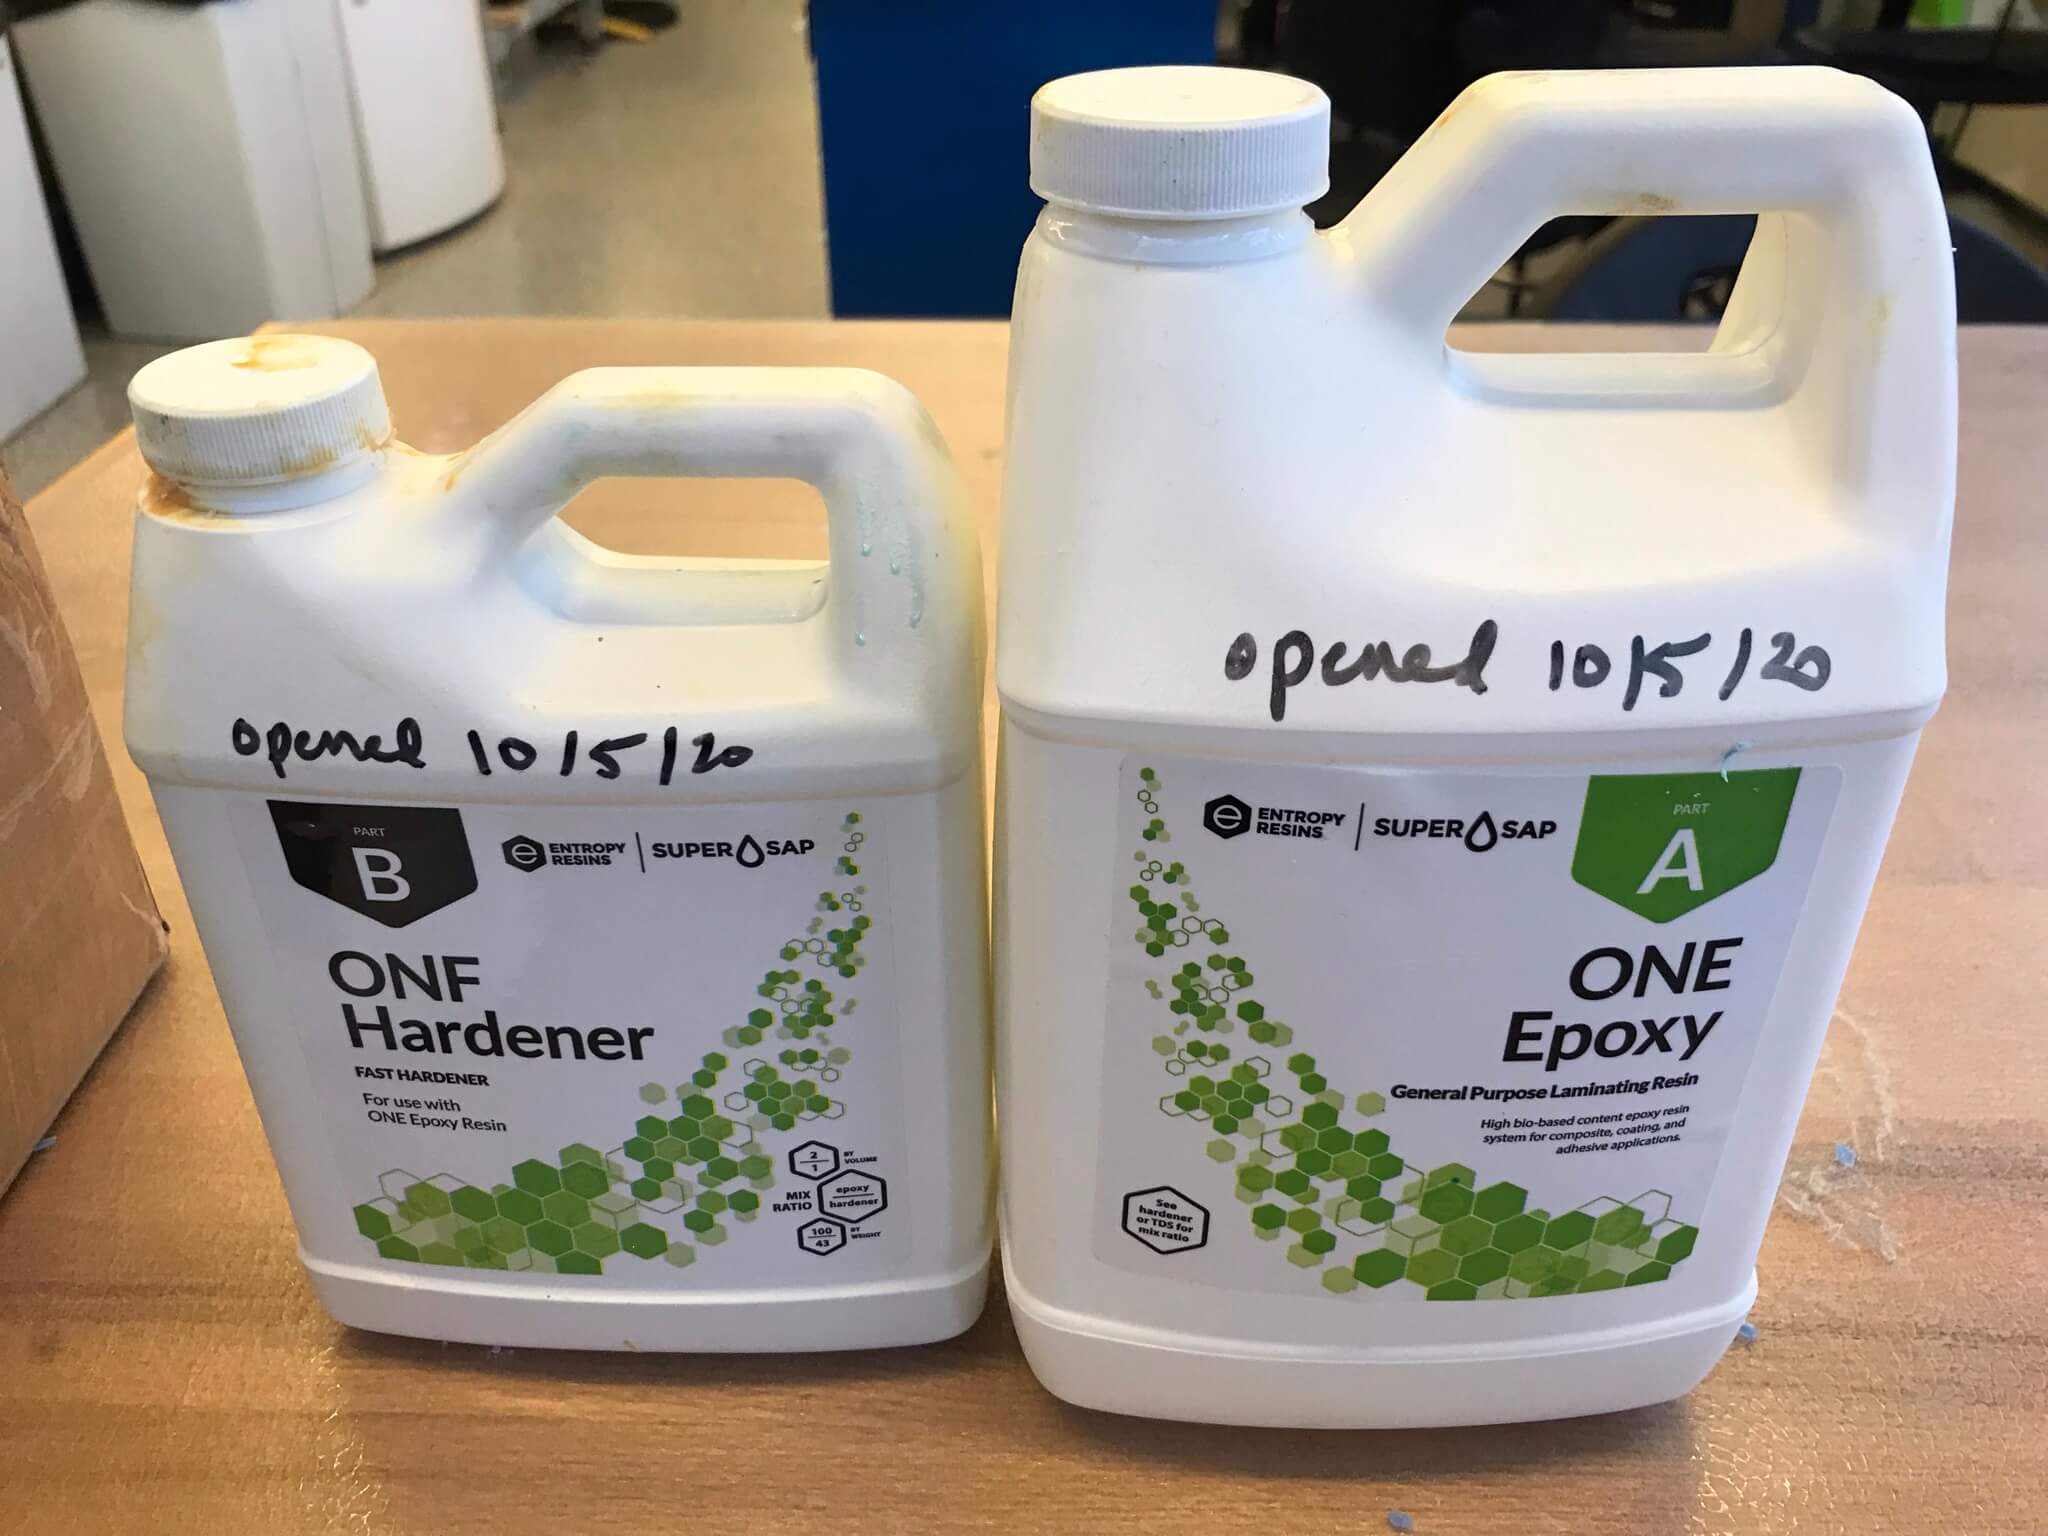
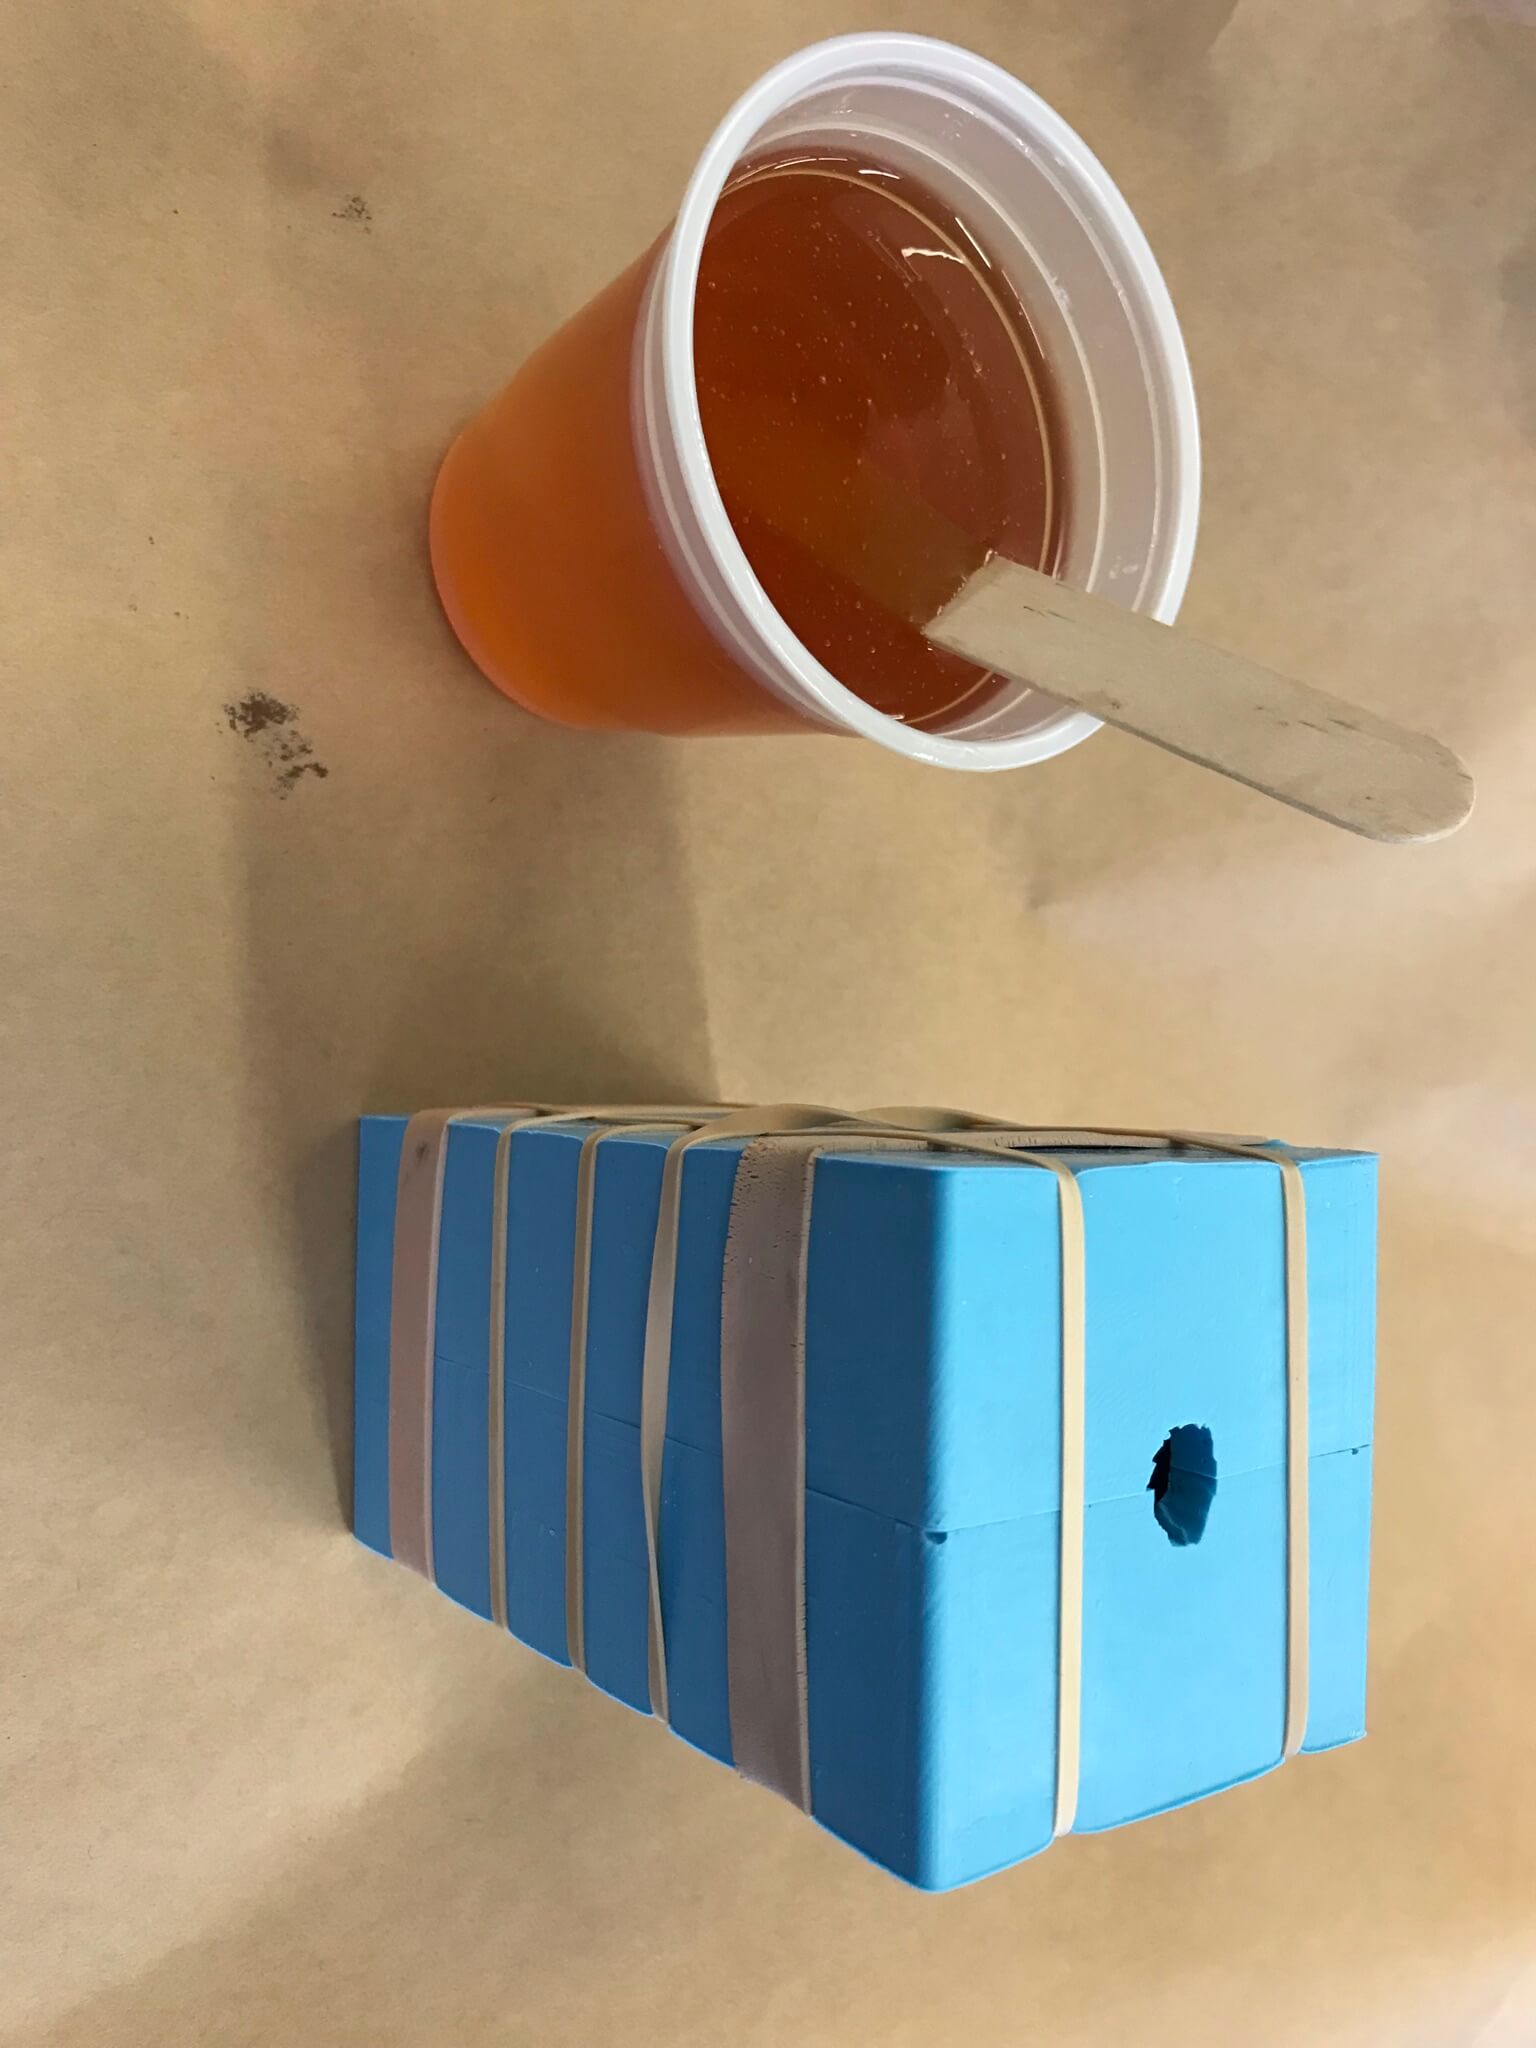
Now that the silicone mold is ready, I used the yellow two-part epoxy shown below to cast into my mold around the Nepenthes pitcher I obtained from my plant at home.
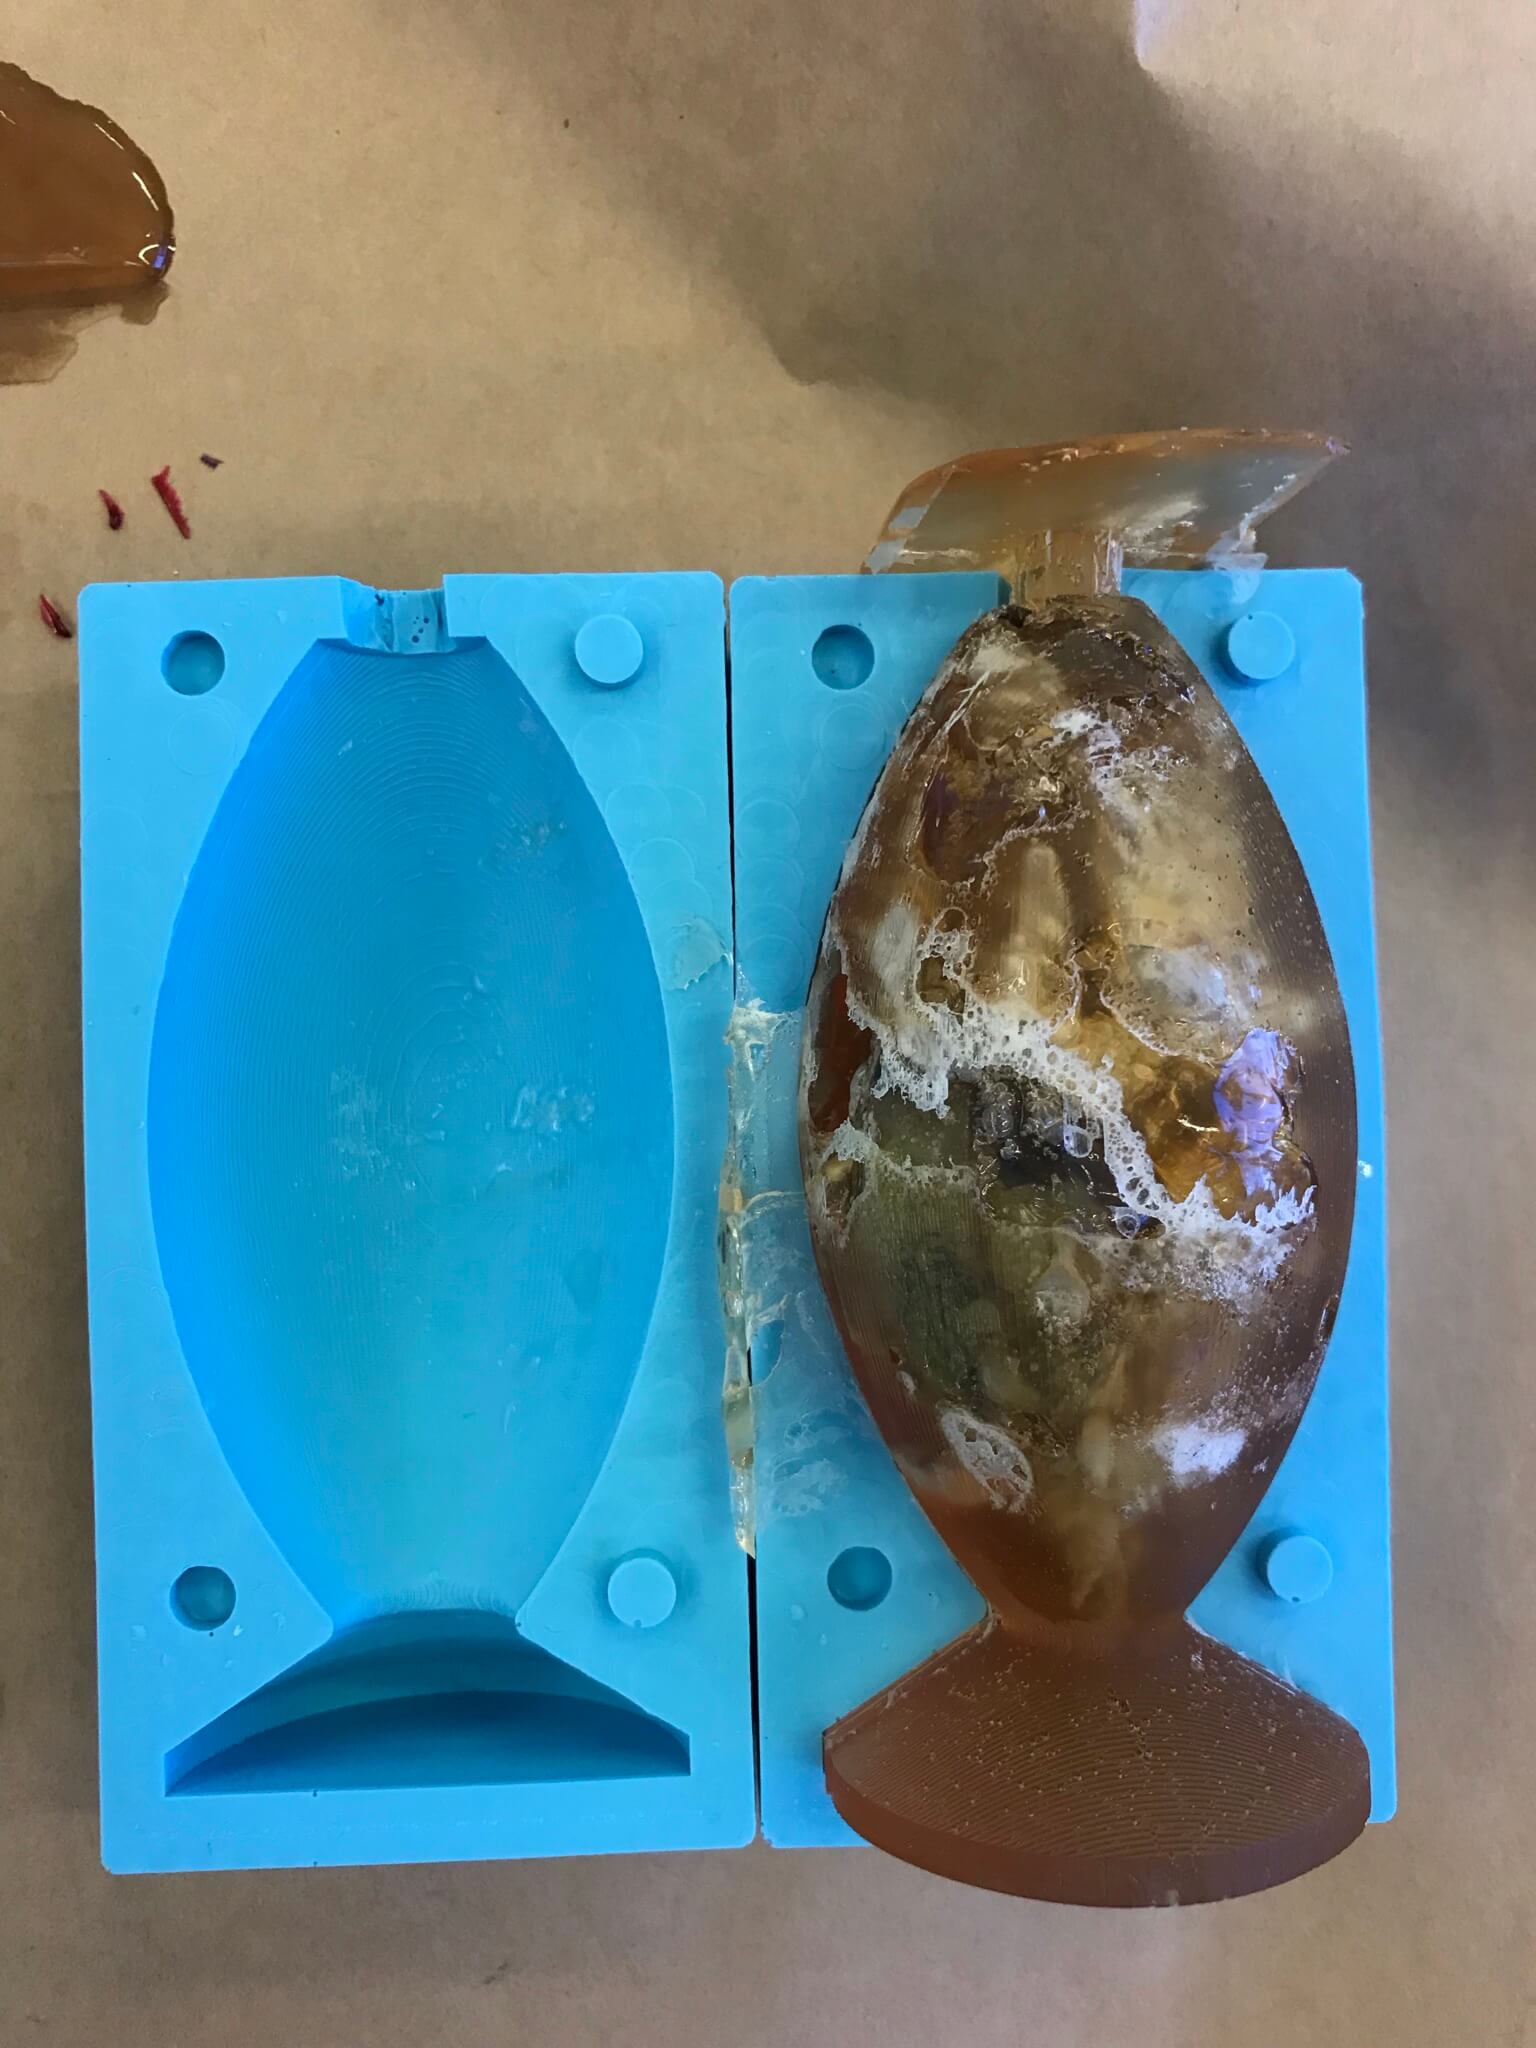
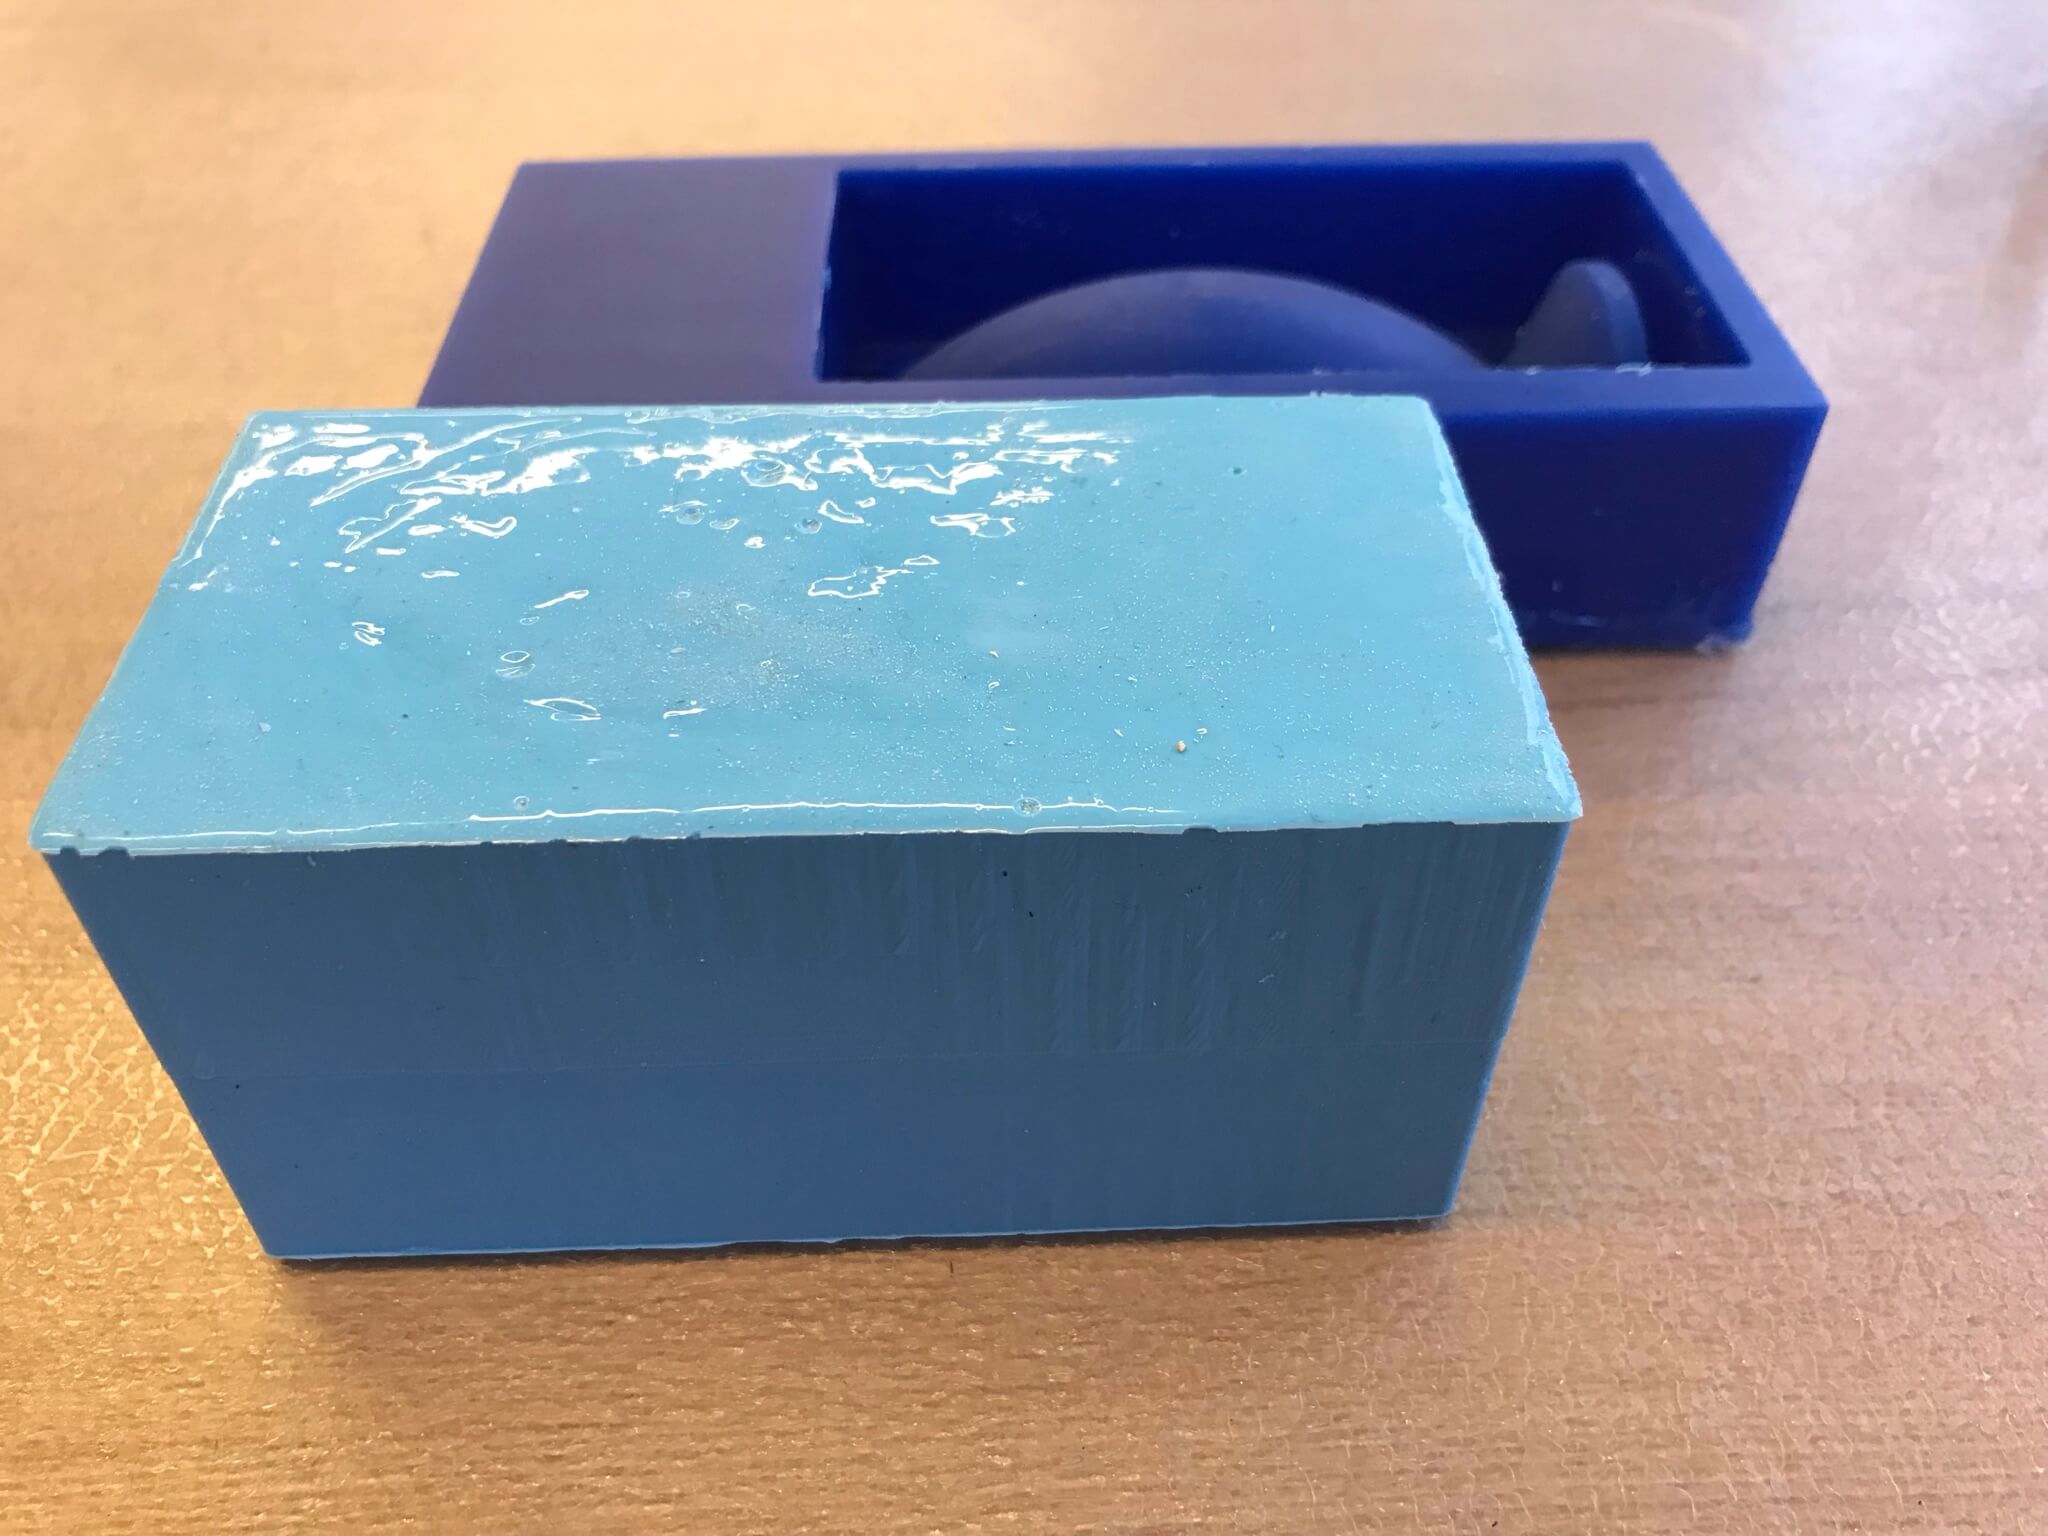
After thorough mixing of the two epoxy parts and air-bubble removal under vacuum, I tightened the two mold parts together with rubber bands. Then, I cut a whole in the top of the mold and with that I am ready for casting!
The mold is filled with epoxy up to the very top. I let this cure overnight.
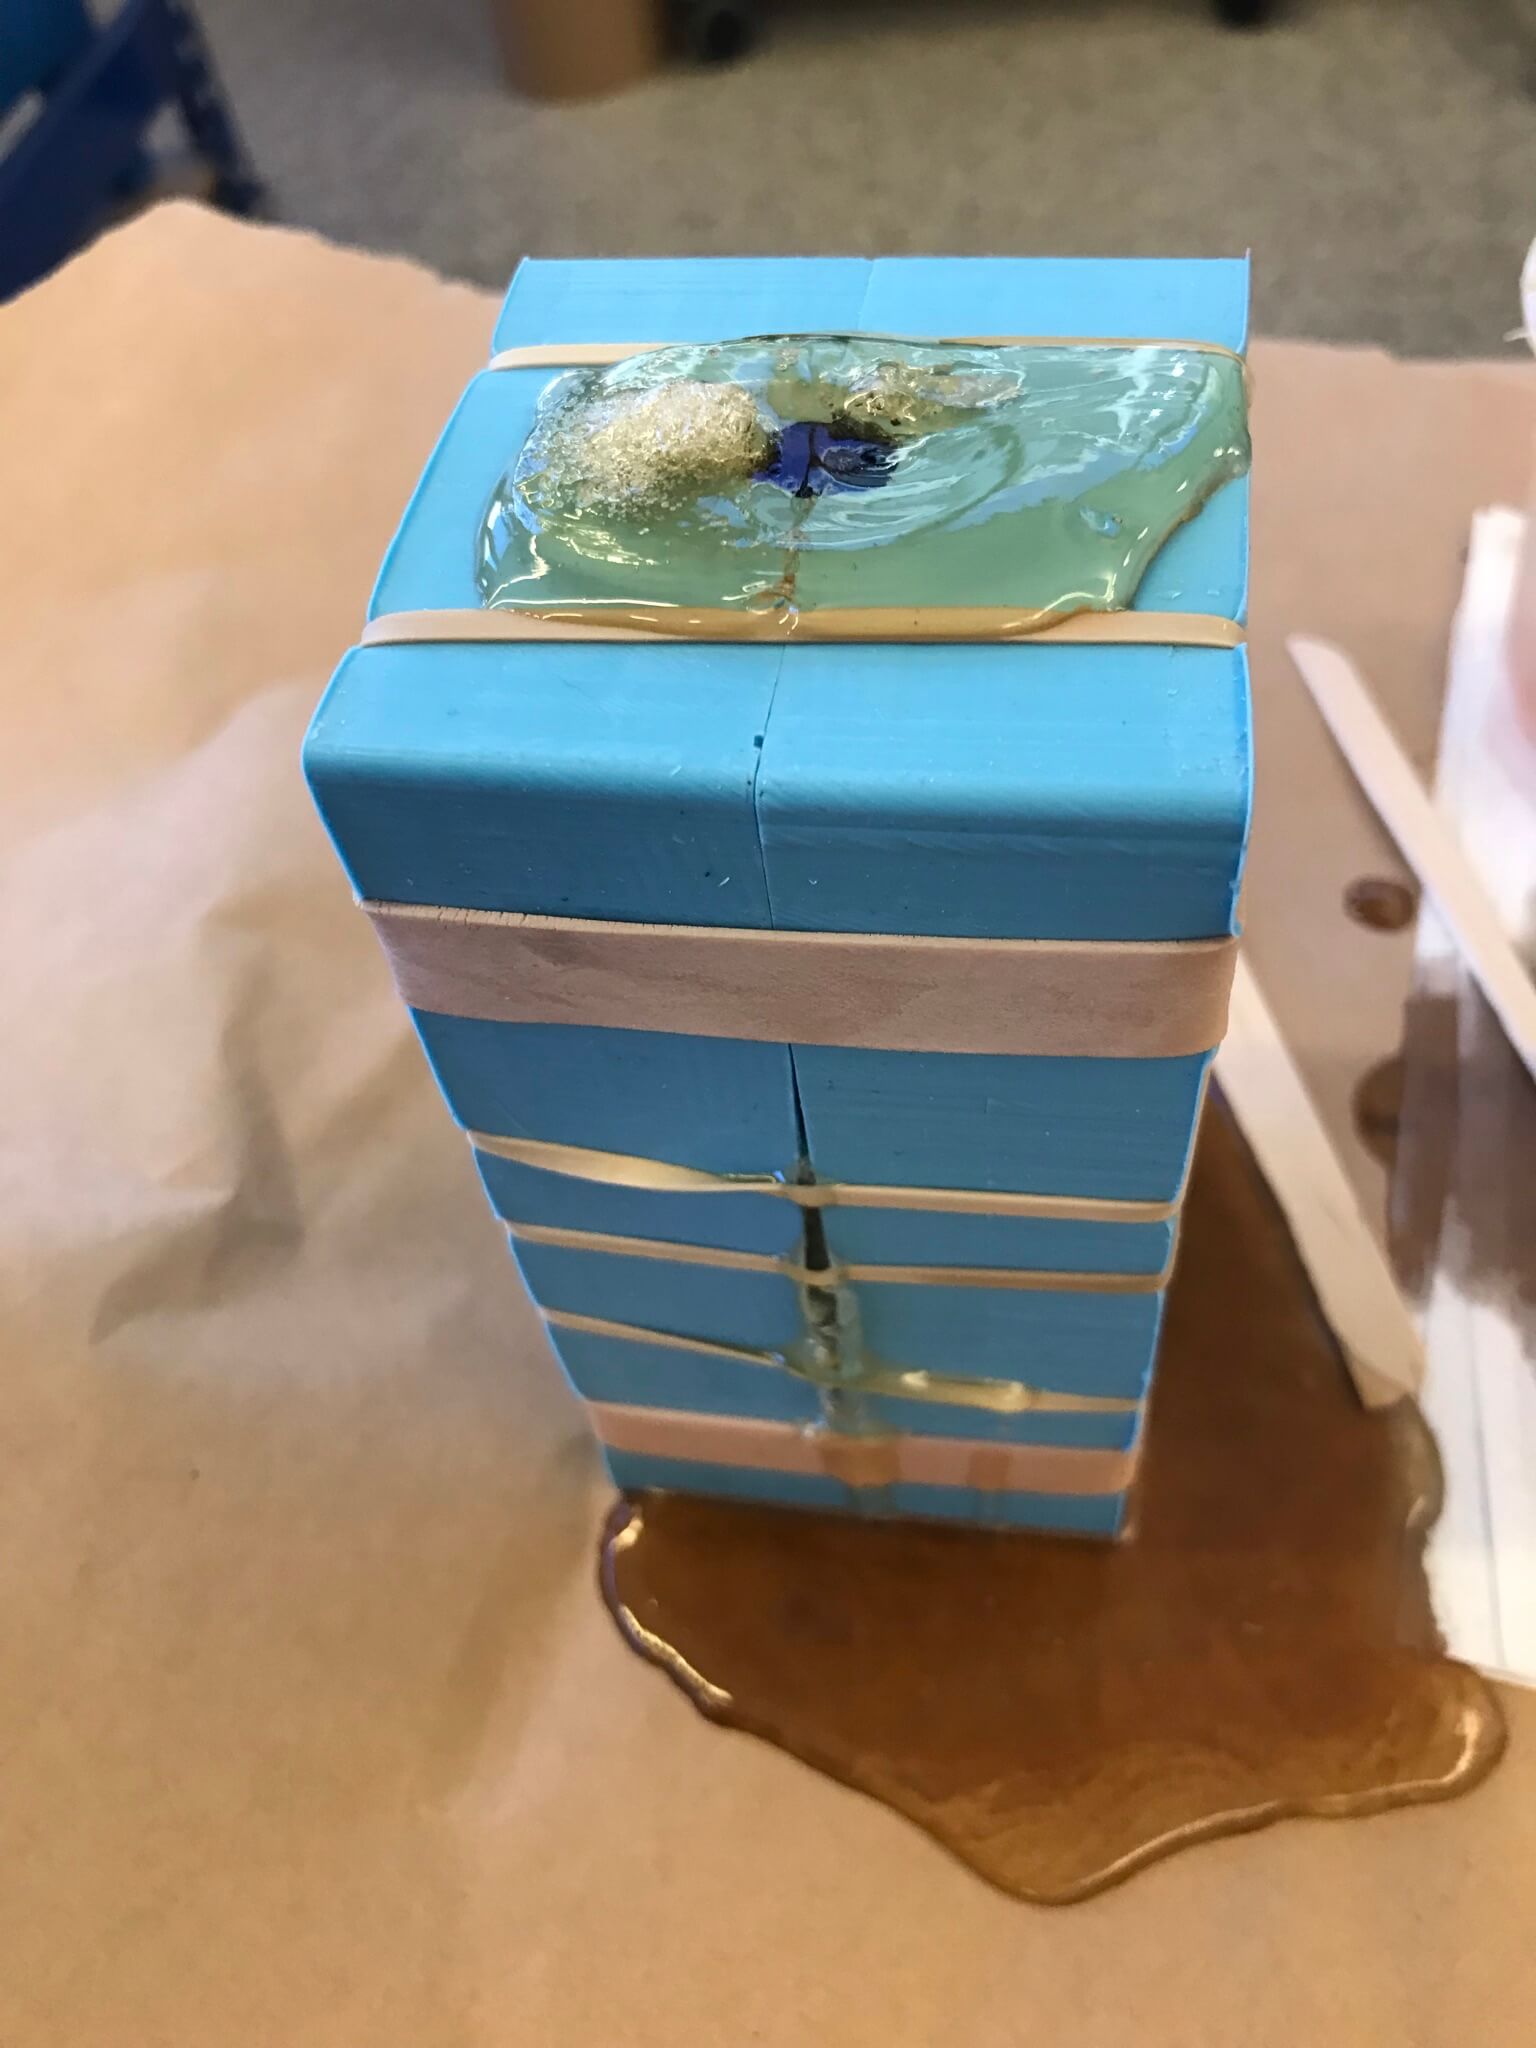
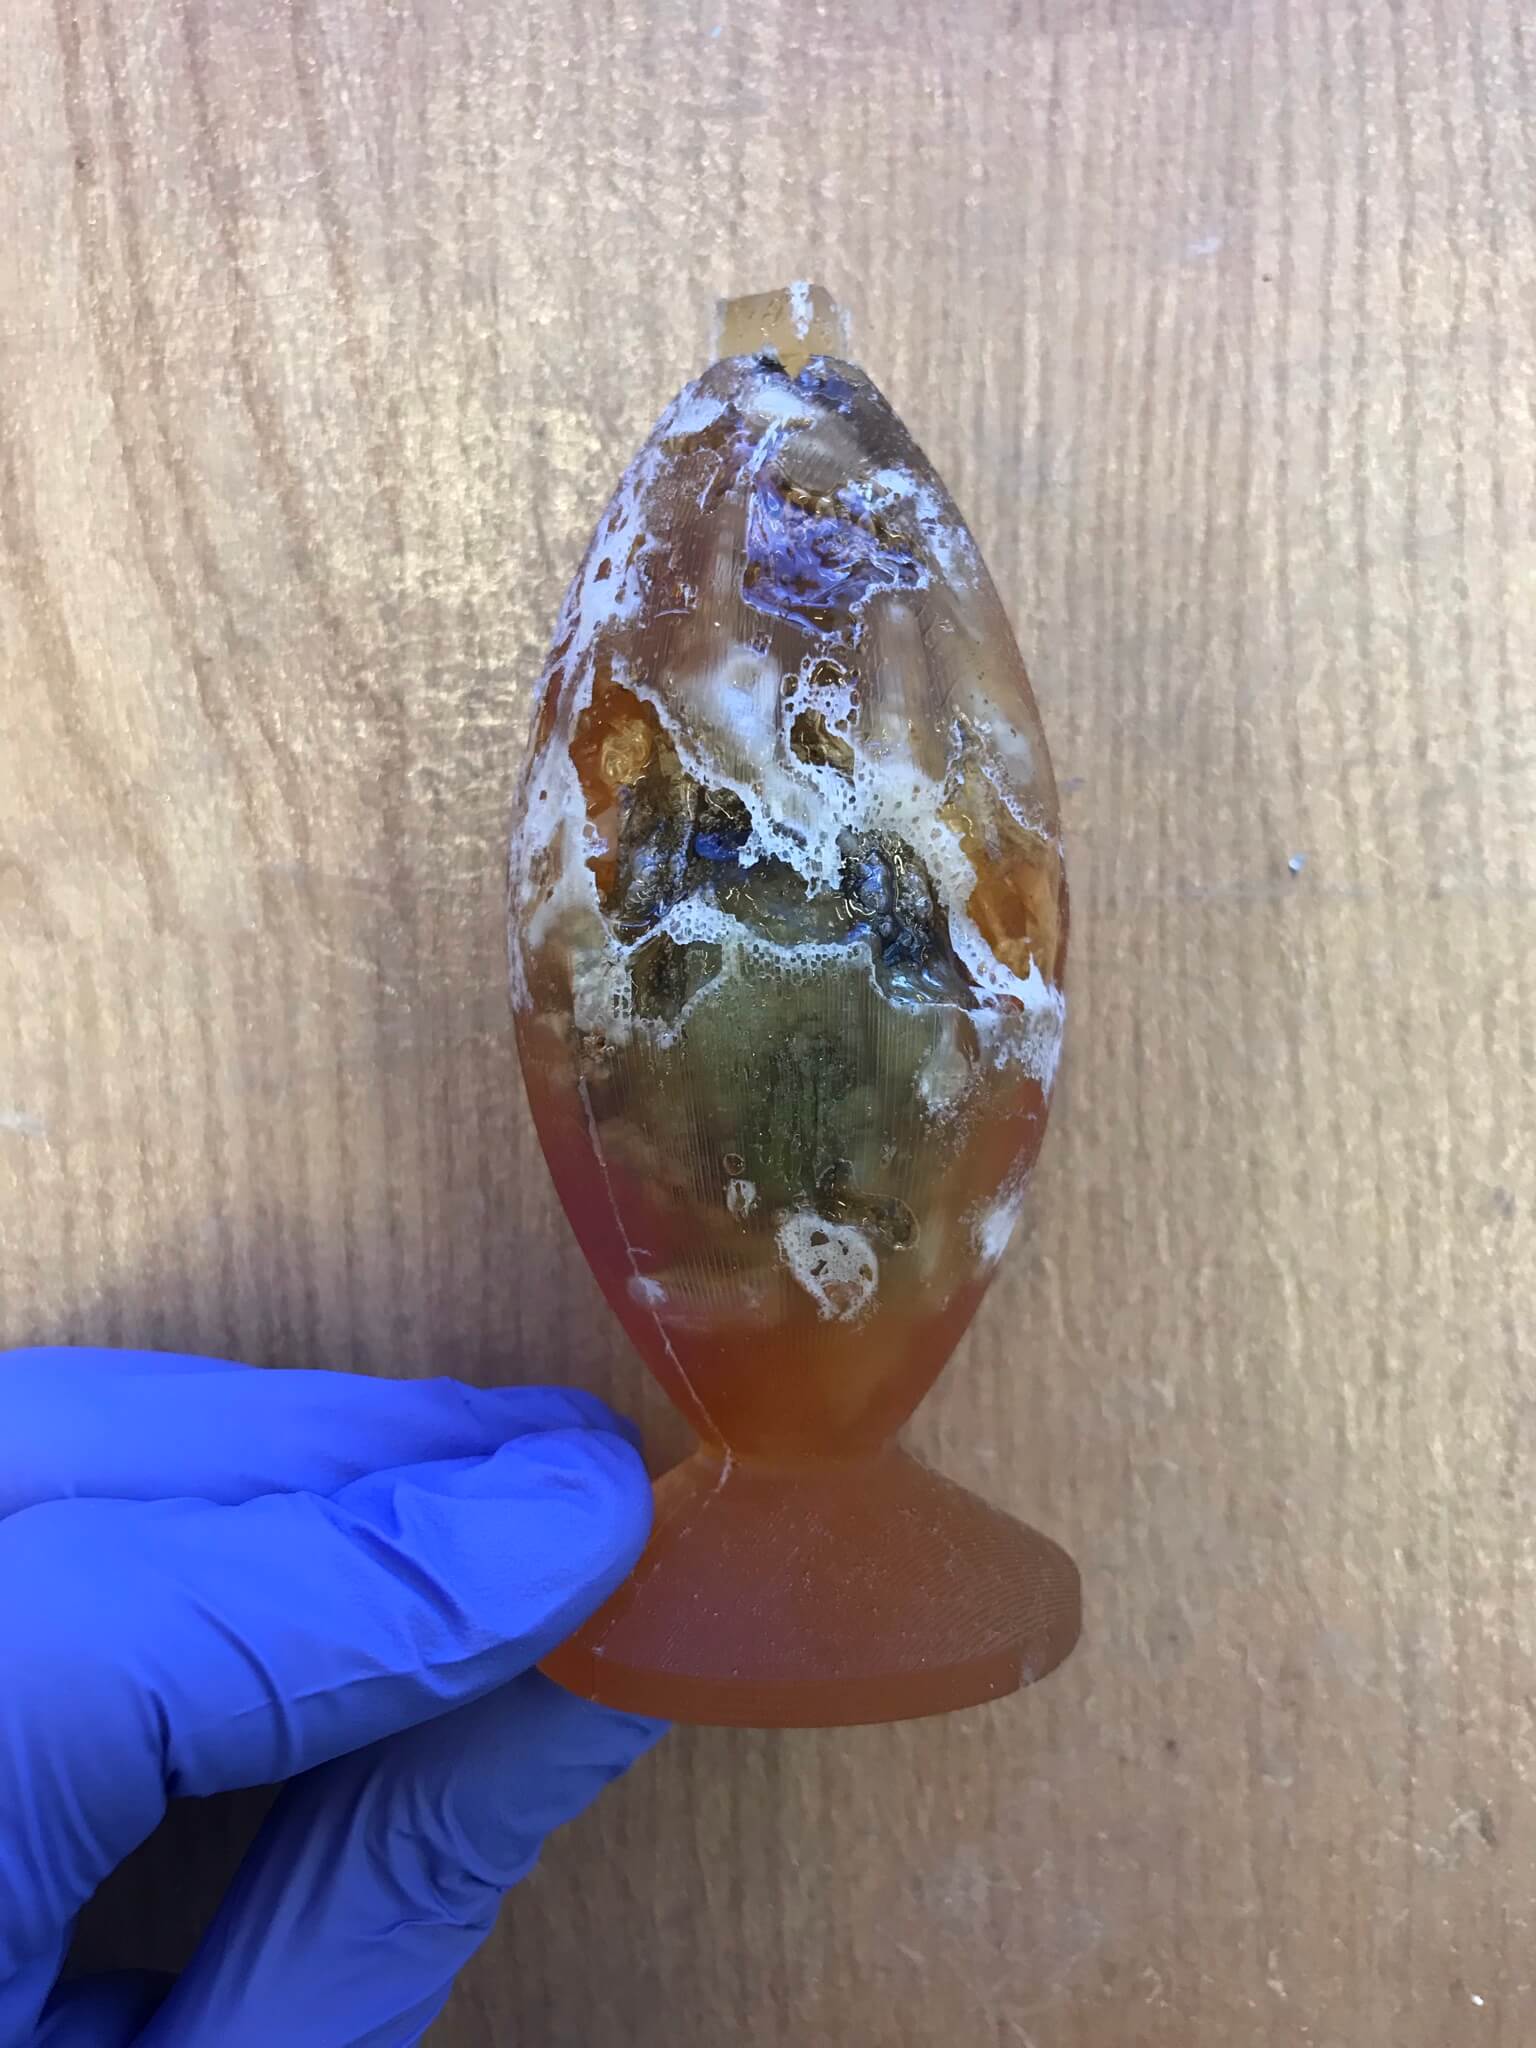
Sadly, after all this work, outgassing of the enclosed plant material was so strong that the resulting epoxy globe was not a pretty sight. I will try again in a few weeks with a dried pitcher!