
I thought about molding and casting the rest of the KBOS buildings to use it for my final project. However the buildings would simply end up extremely tiny (at most 1 cm in height), so I chose to mold and cast the air traffic control tower that I 3D printed in Week 4 to compare and contrast the two.
Anthony recommends building the part and then building the walls around it until you have a CAD of what the wax would look like. I split the building into two and at first tried to fit both halves onto the wax, so I could use one oomoo mold to cast. (In retrospect, this wouldn't have worked anyway, since I would either have had to glue the two casts together or made a second mold.) The building was too big to fit entirely so I stuck with one half. I forgot at first to ensure that the building was centered, so the two molds I would cast could fit together perfectly, and I had to spend some time fixing that.
If a two part mold, register the top and bottom halves.
The CAD file can be found here.
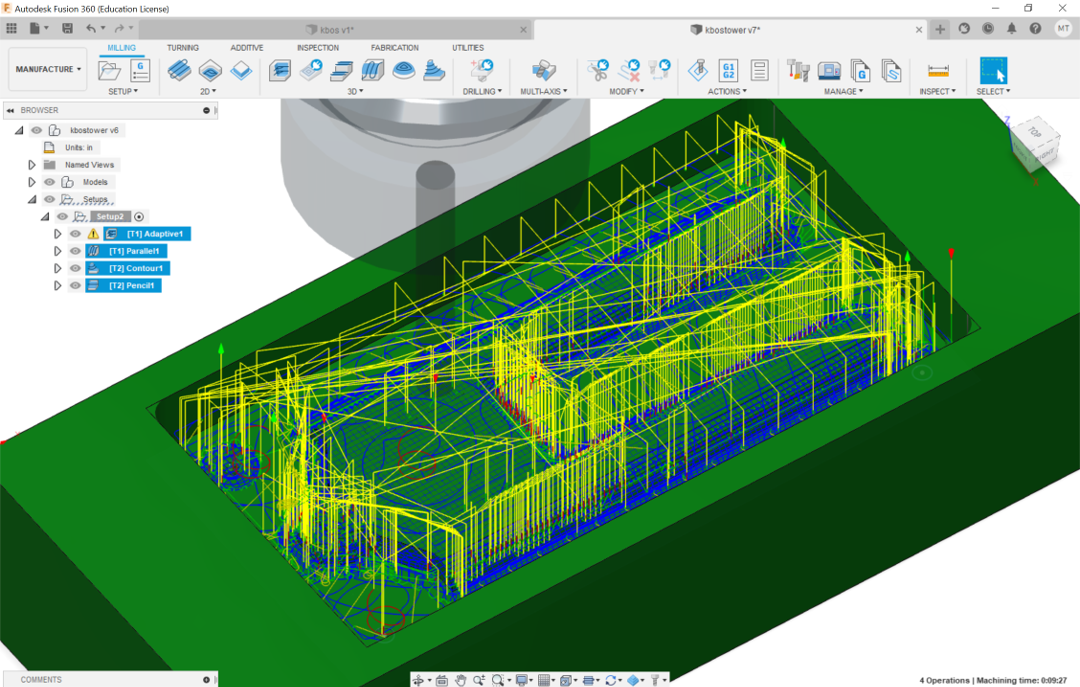
This week helped validate my choice of Fusion for CAD, as Fusion has an excellent interface for CAM. I referenced Anthony's recitation documentation for setup settings, then Anthony helped me generate tool paths. To rough out and finish the shape of the tower, we used adaptive clearing, parallel finishing, and contour finishing.

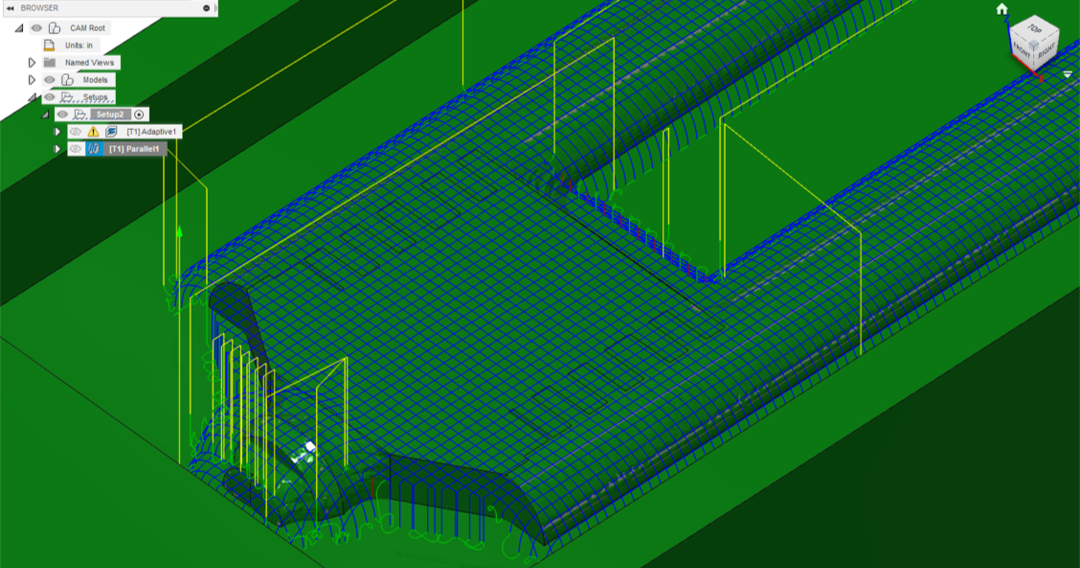

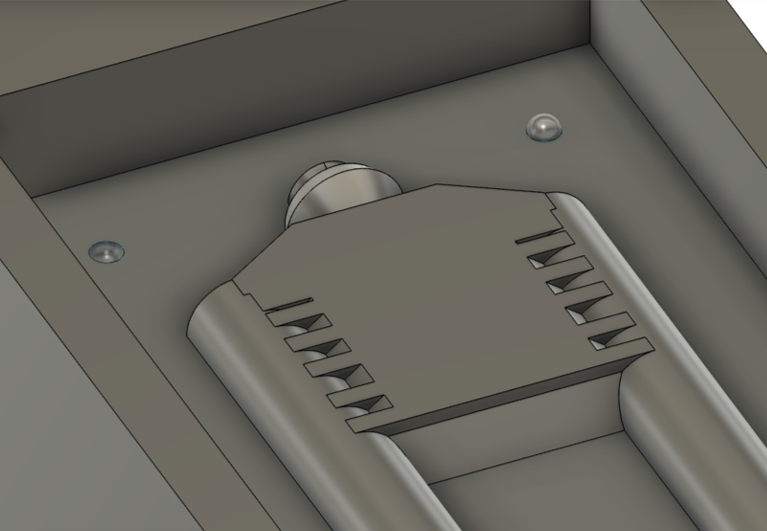
It took Anthony and me a couple of tries to find tool paths that would mill the window indentations. Pencil finishing turned out to the best choice.


And here are all the CAM tool paths! Estimated machine time is about 9.5 minutes, though Anthony recommends just doubling the suggested mill times for a more realistic estimate.
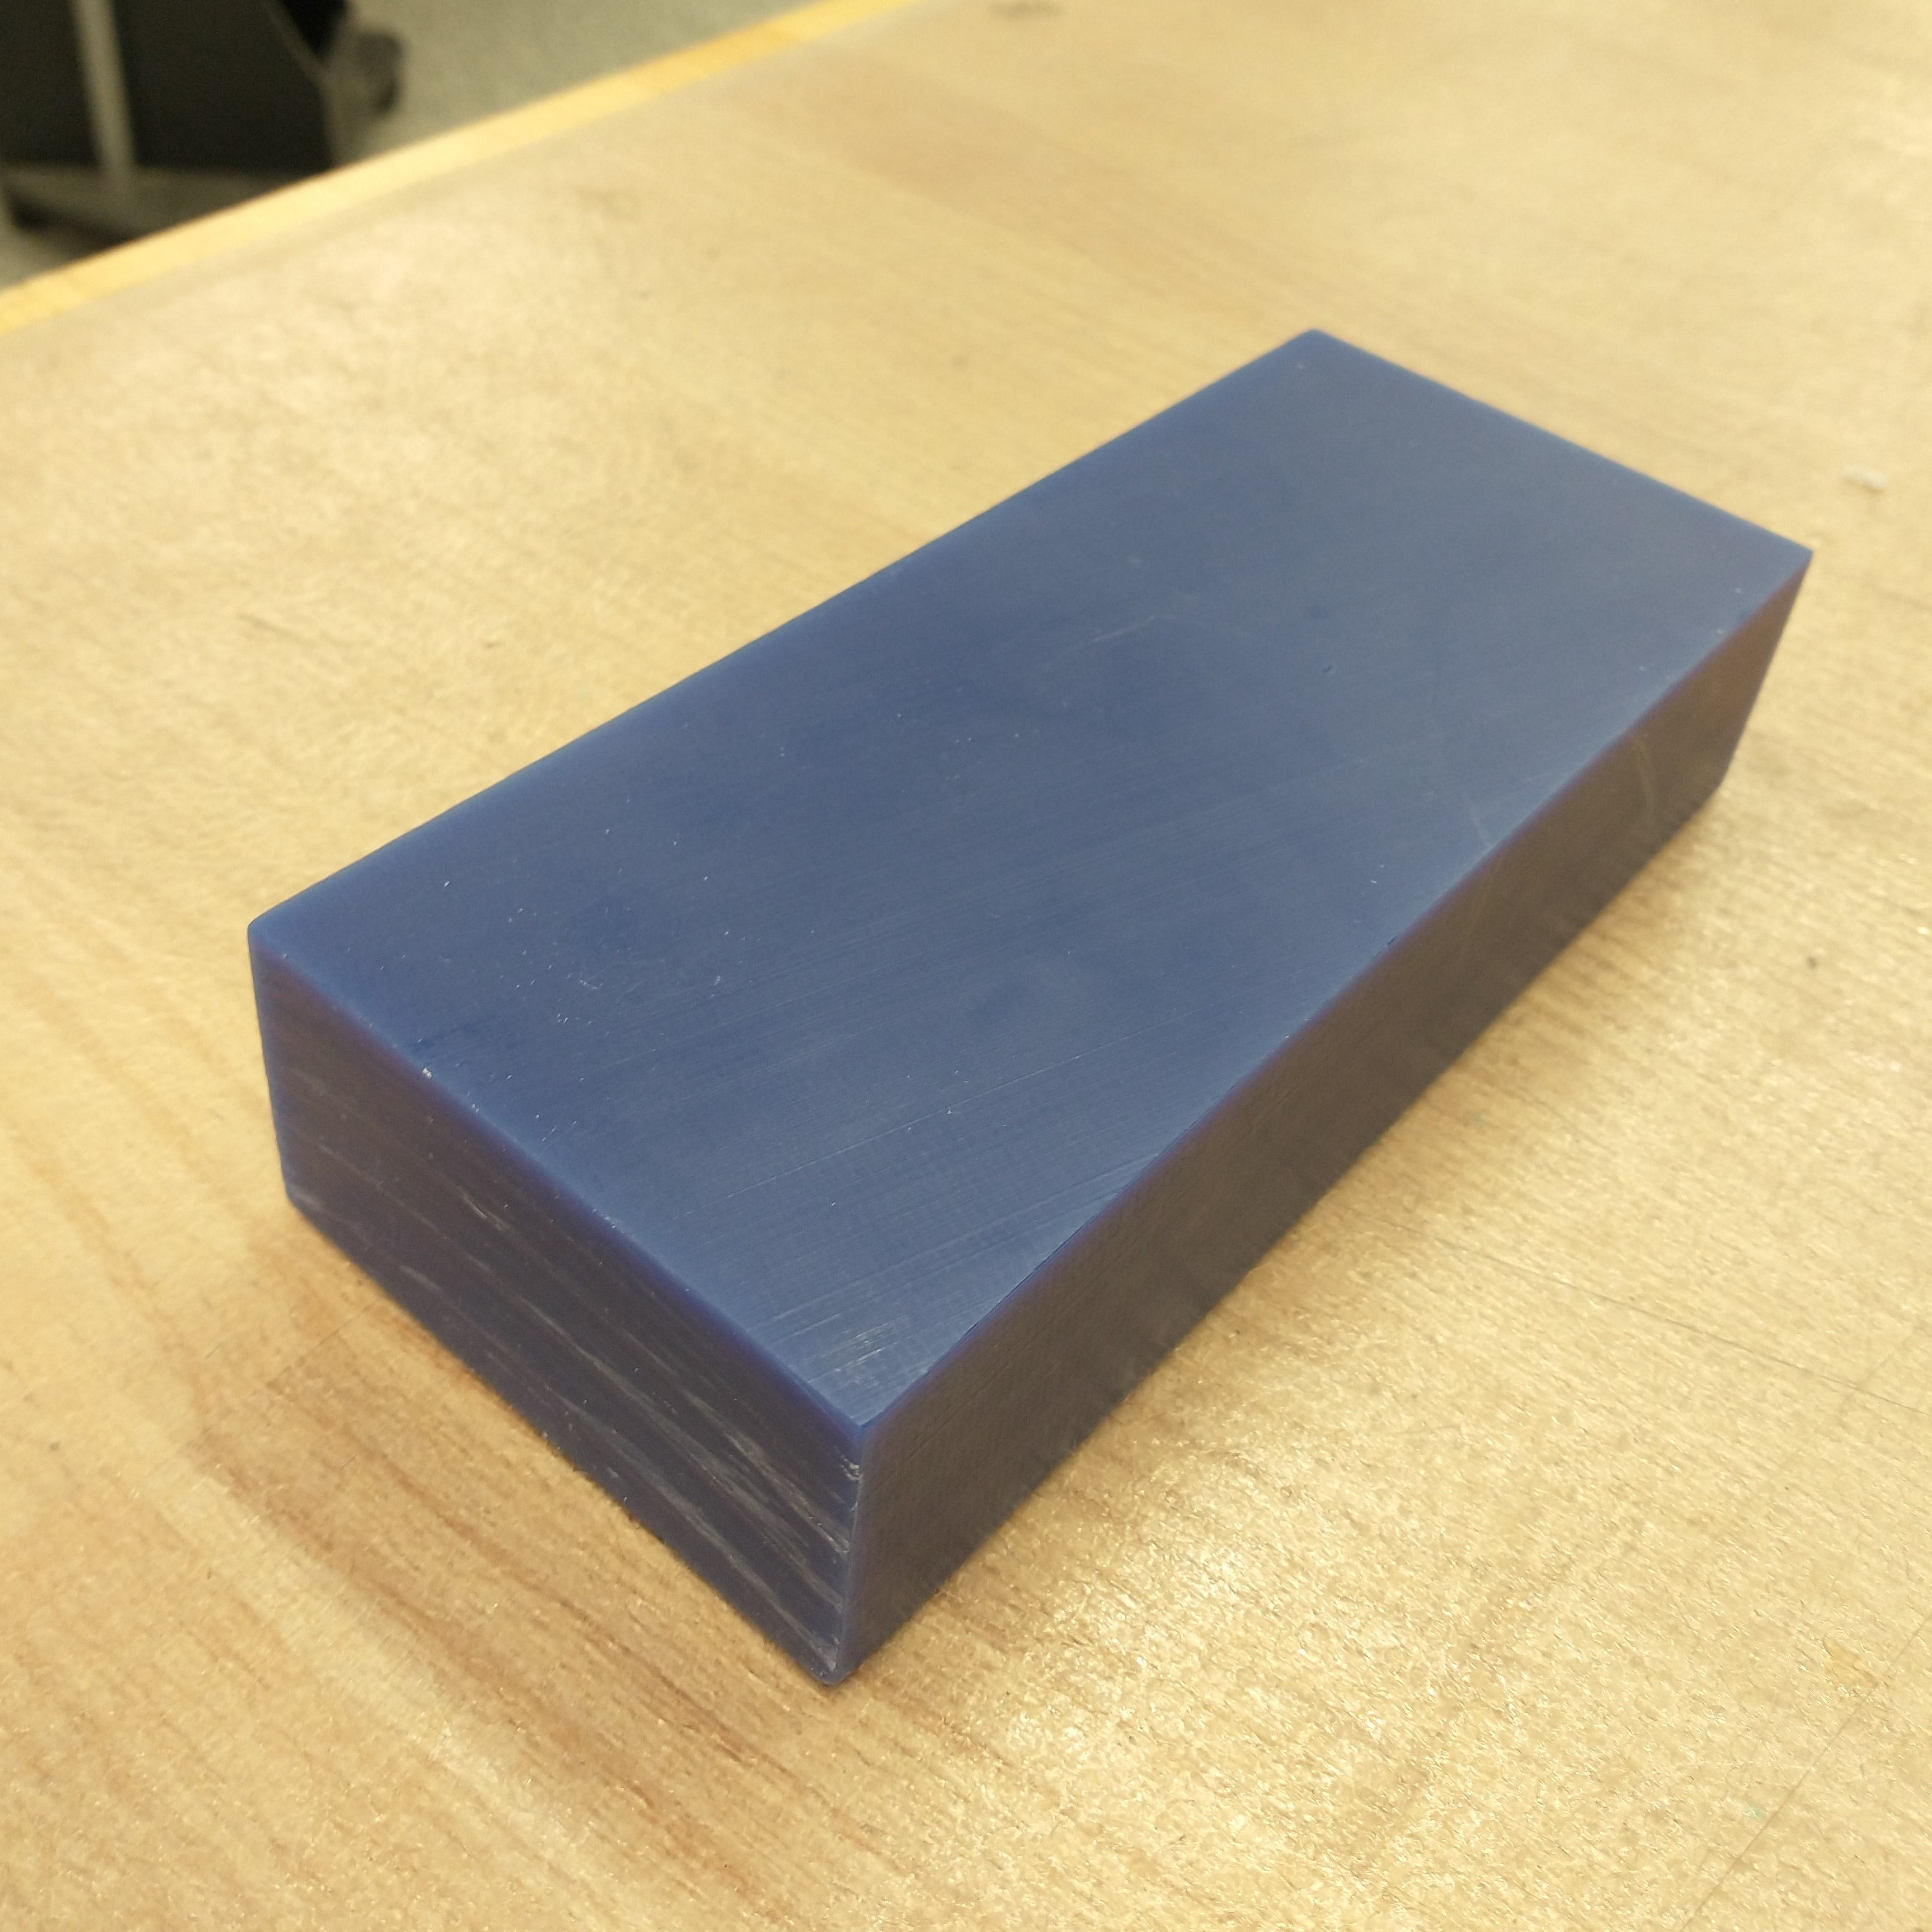
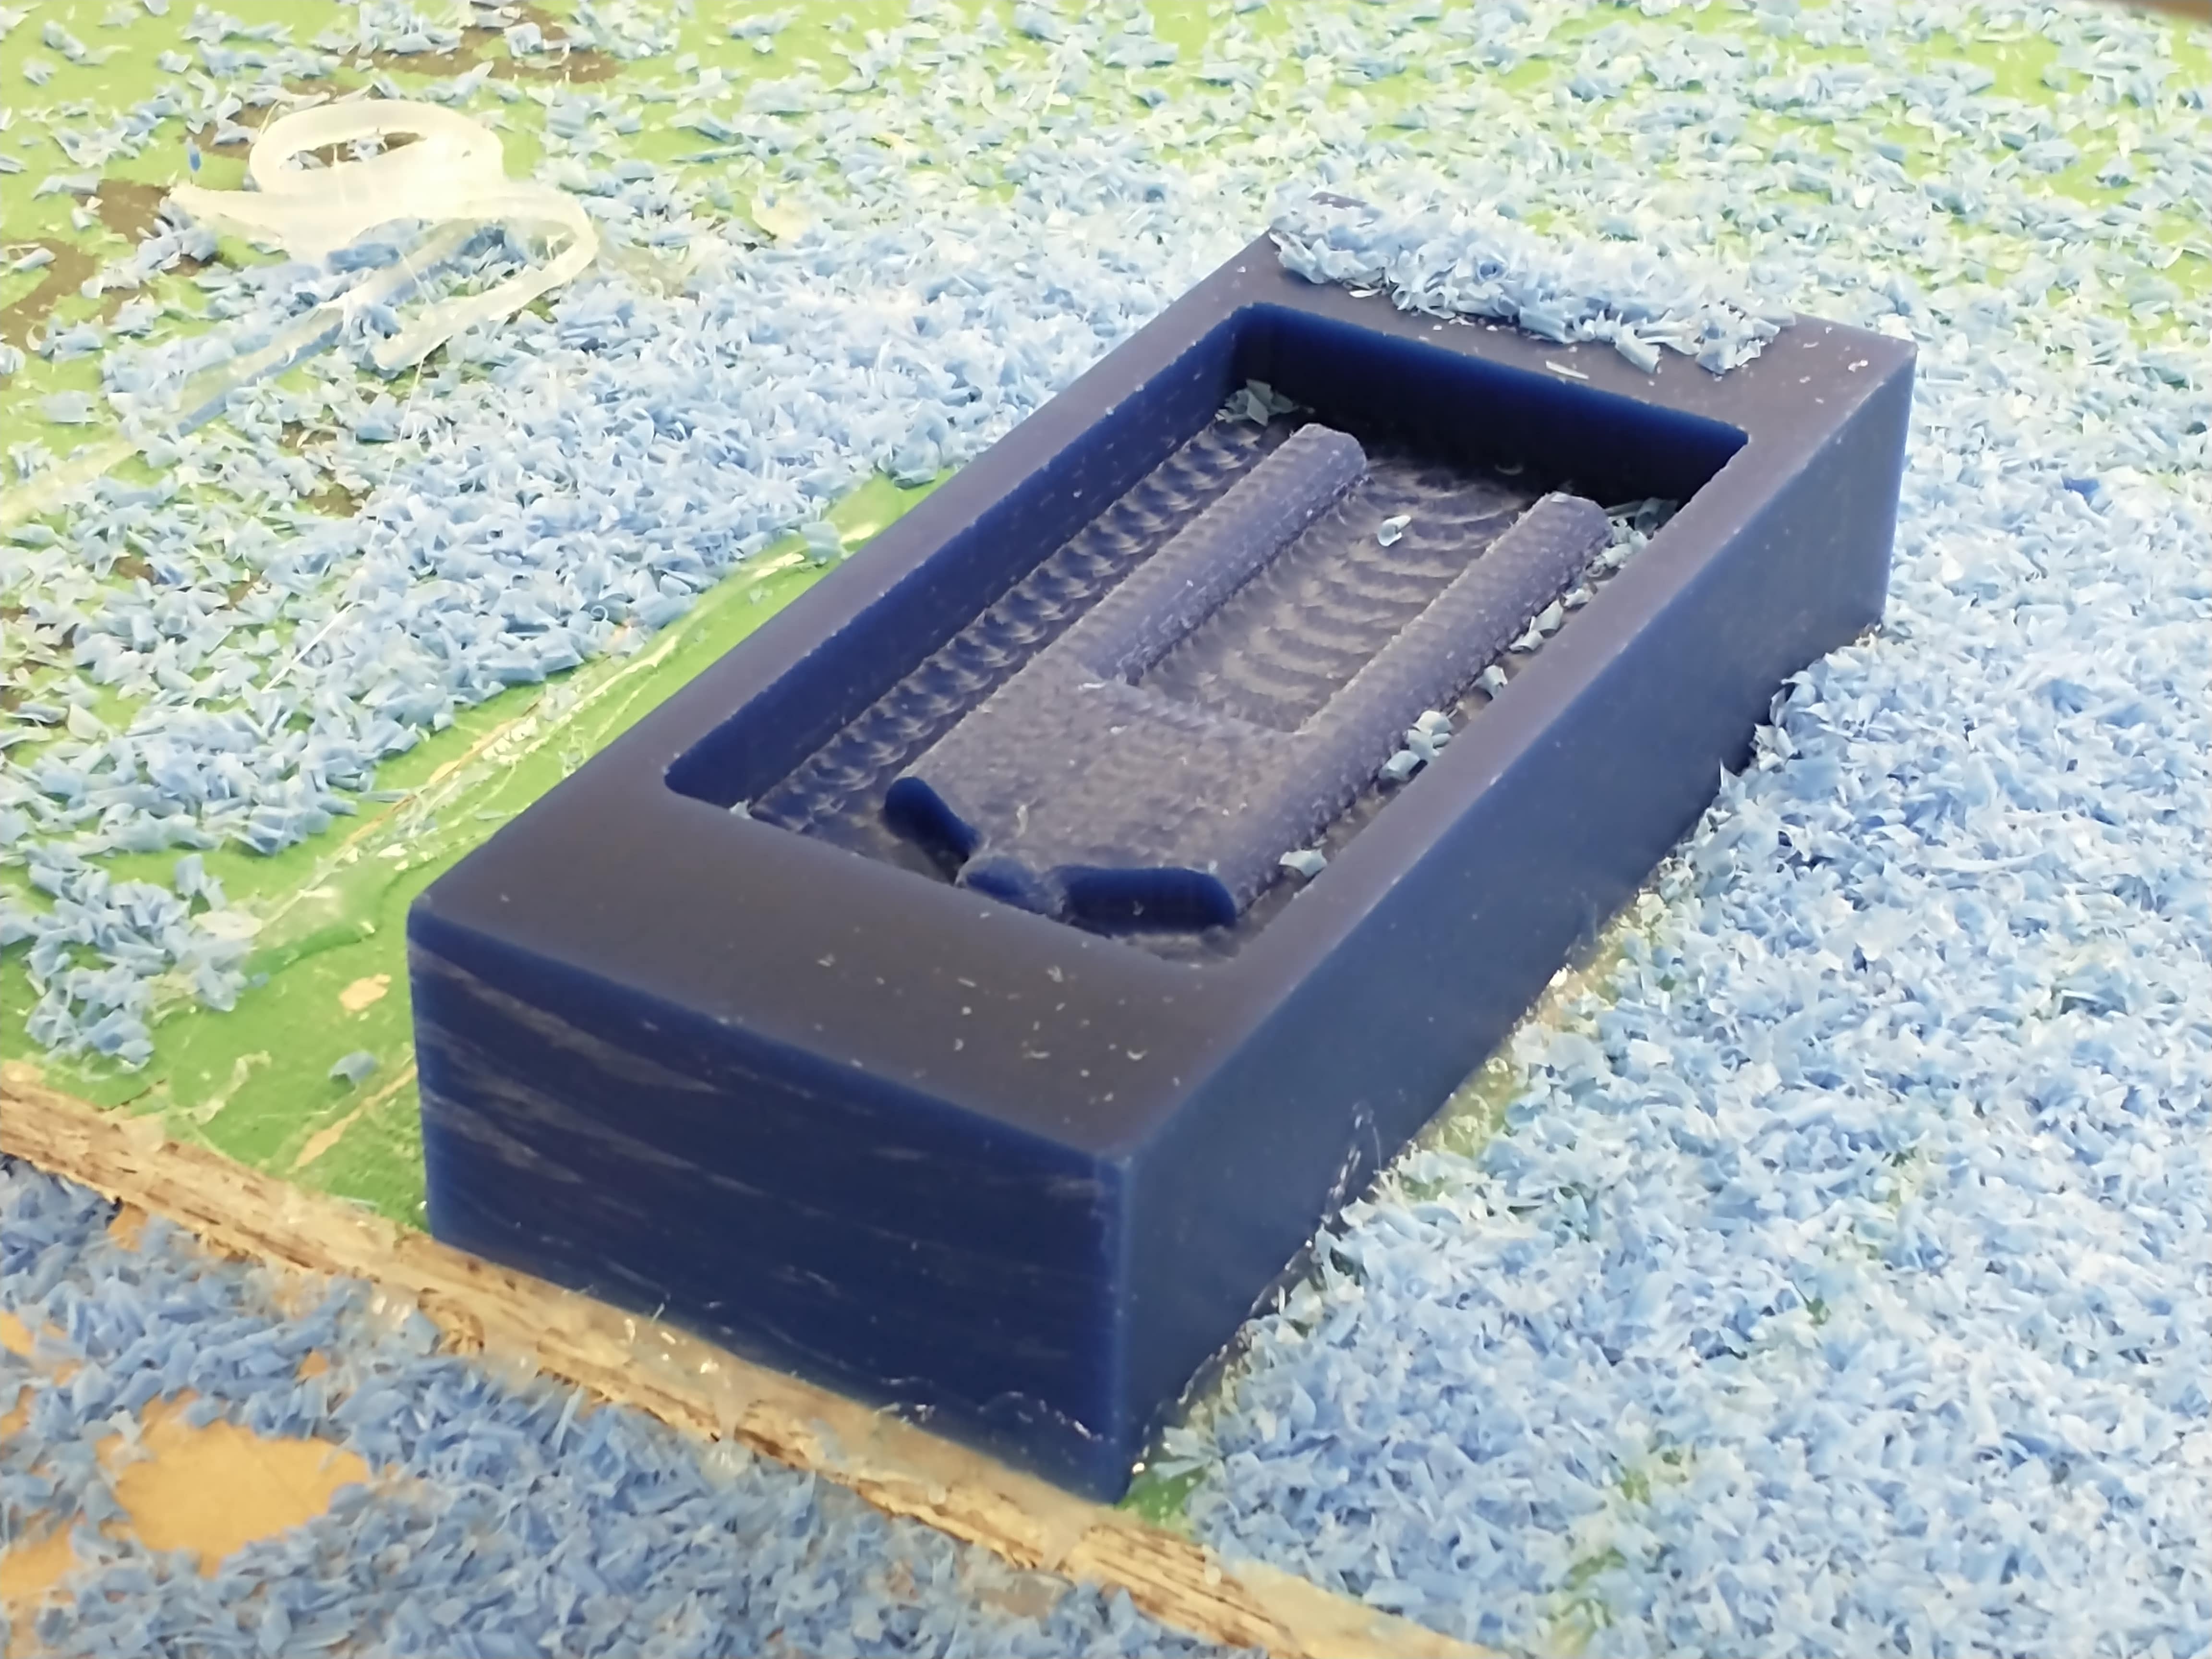
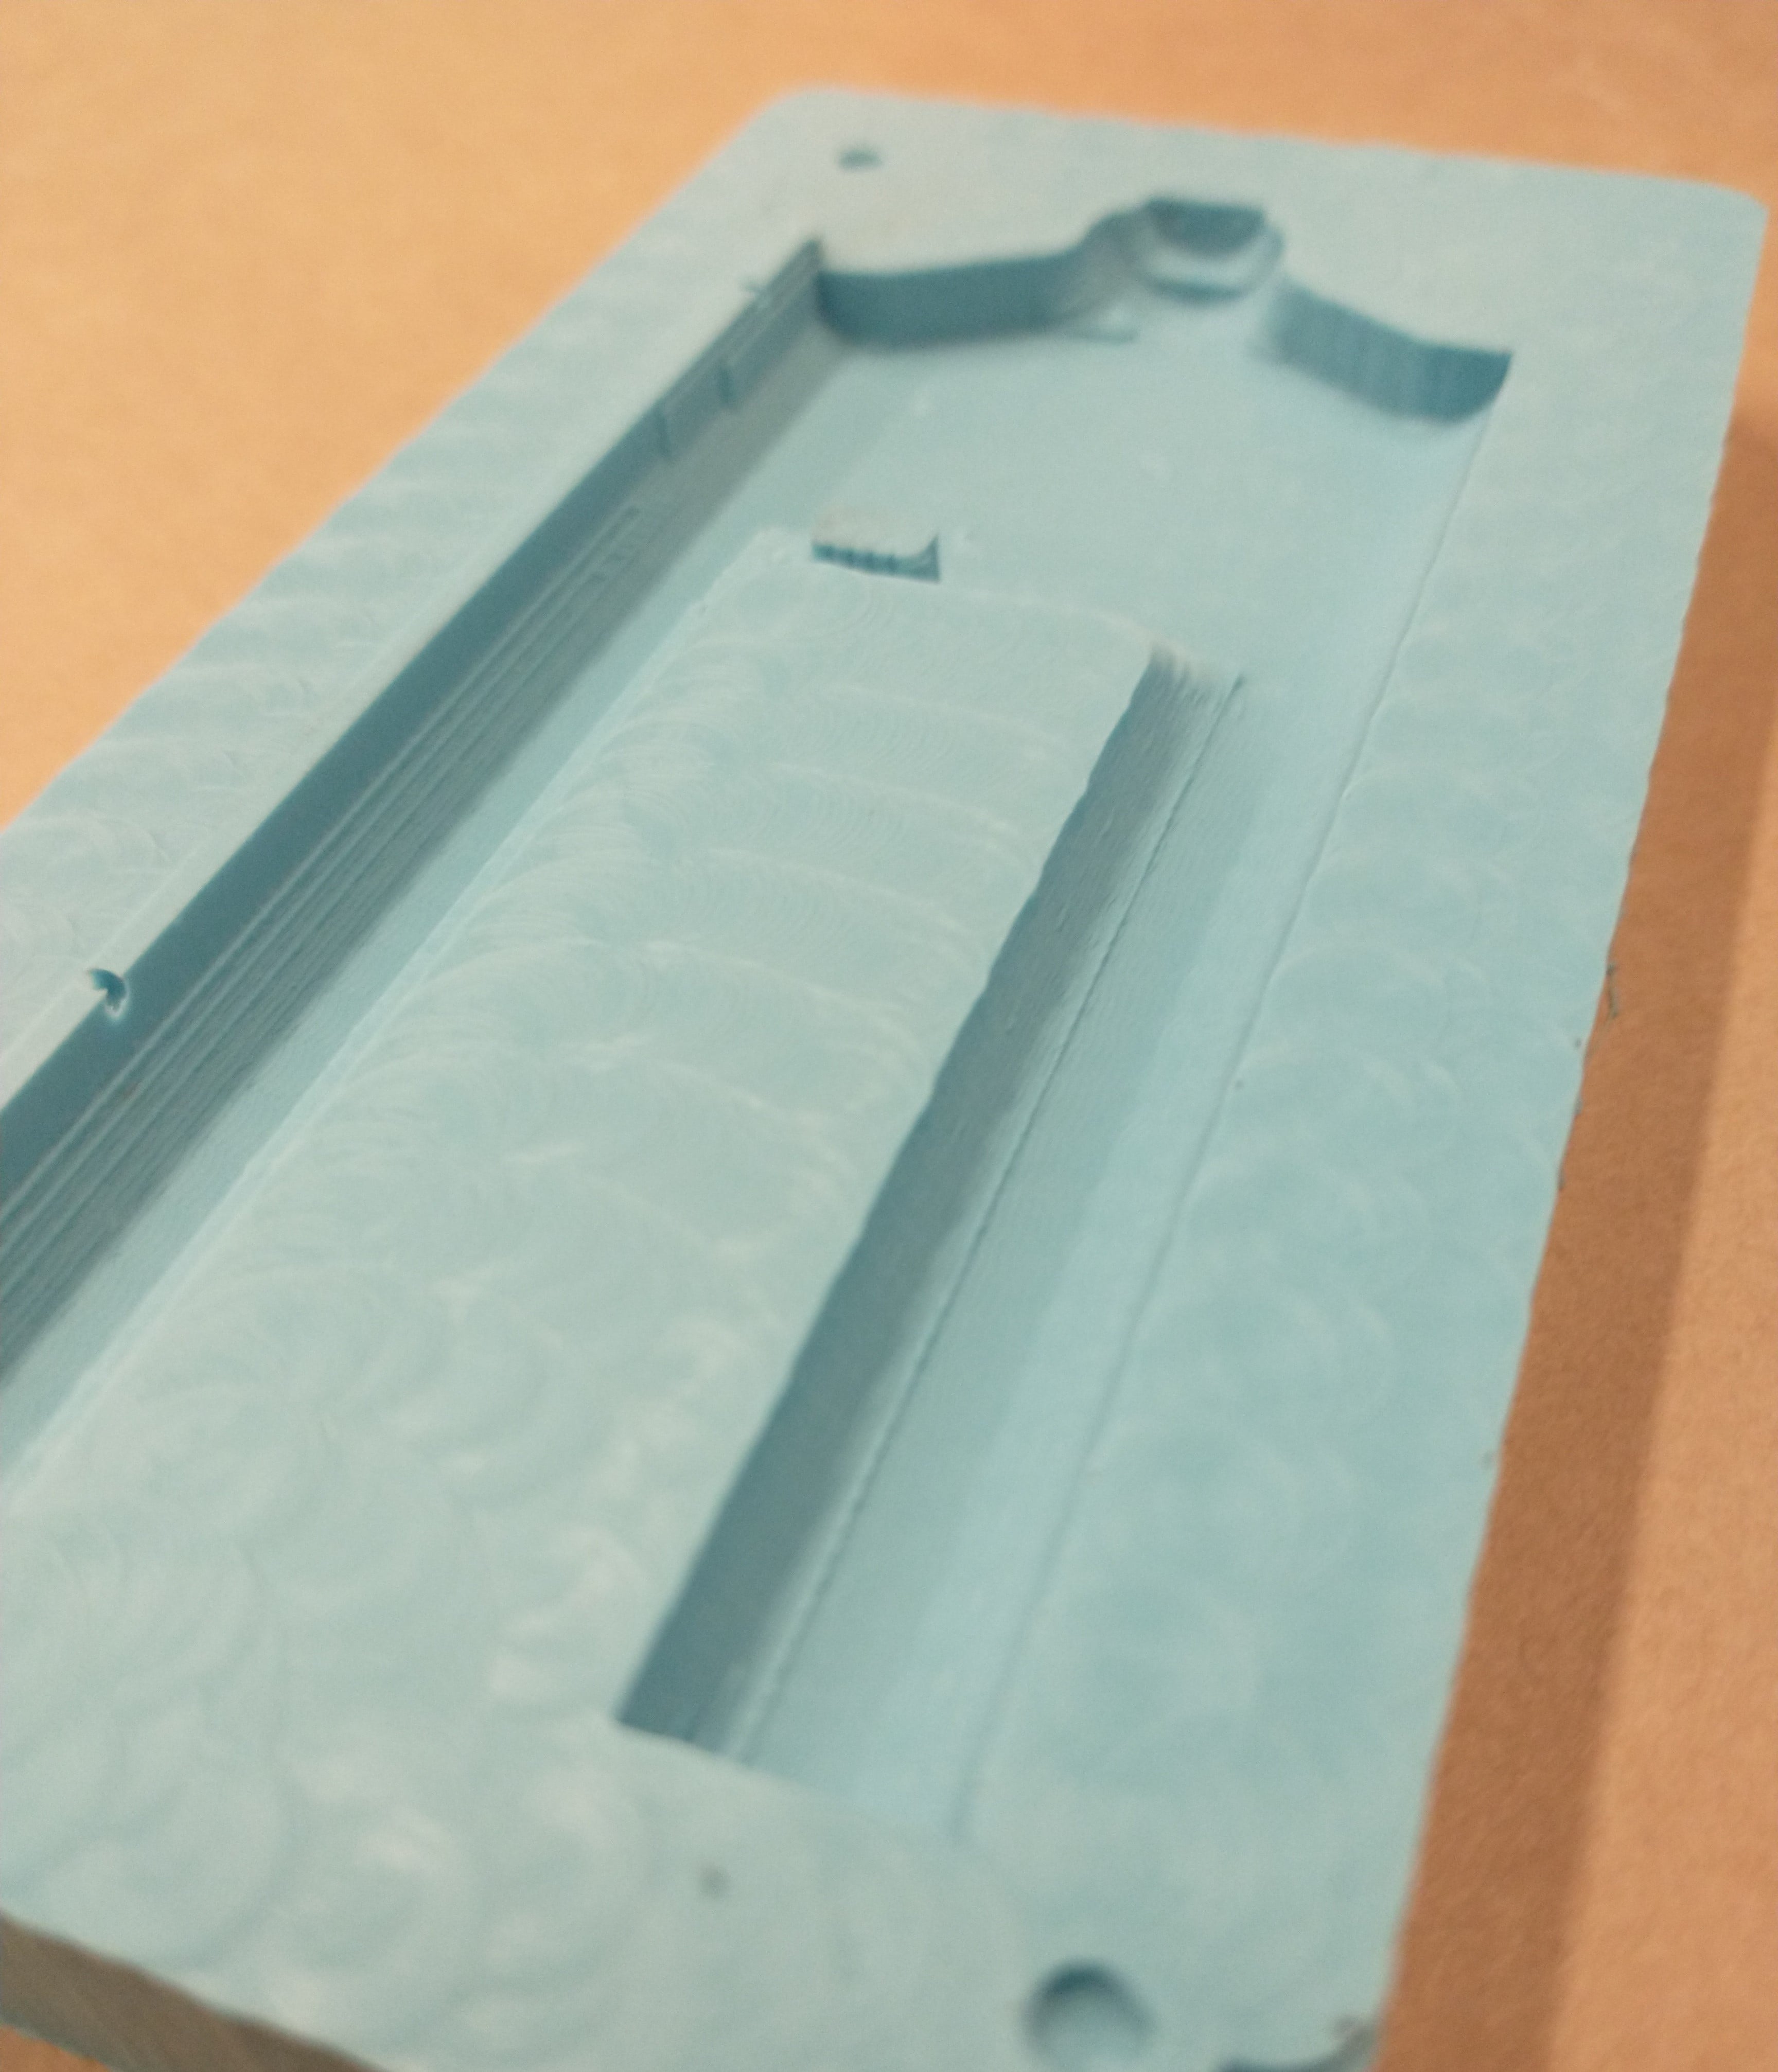
We're using machinable wax, which can be sanded afterwards and even smoothed out with a heat gun. We hot glued the wax to the machine bed to keep it stationary. Calibrating the axes of the mill involves using a small metal plate, rotating the threads of the tool to match intended axis, and running an electric current through the tool head.

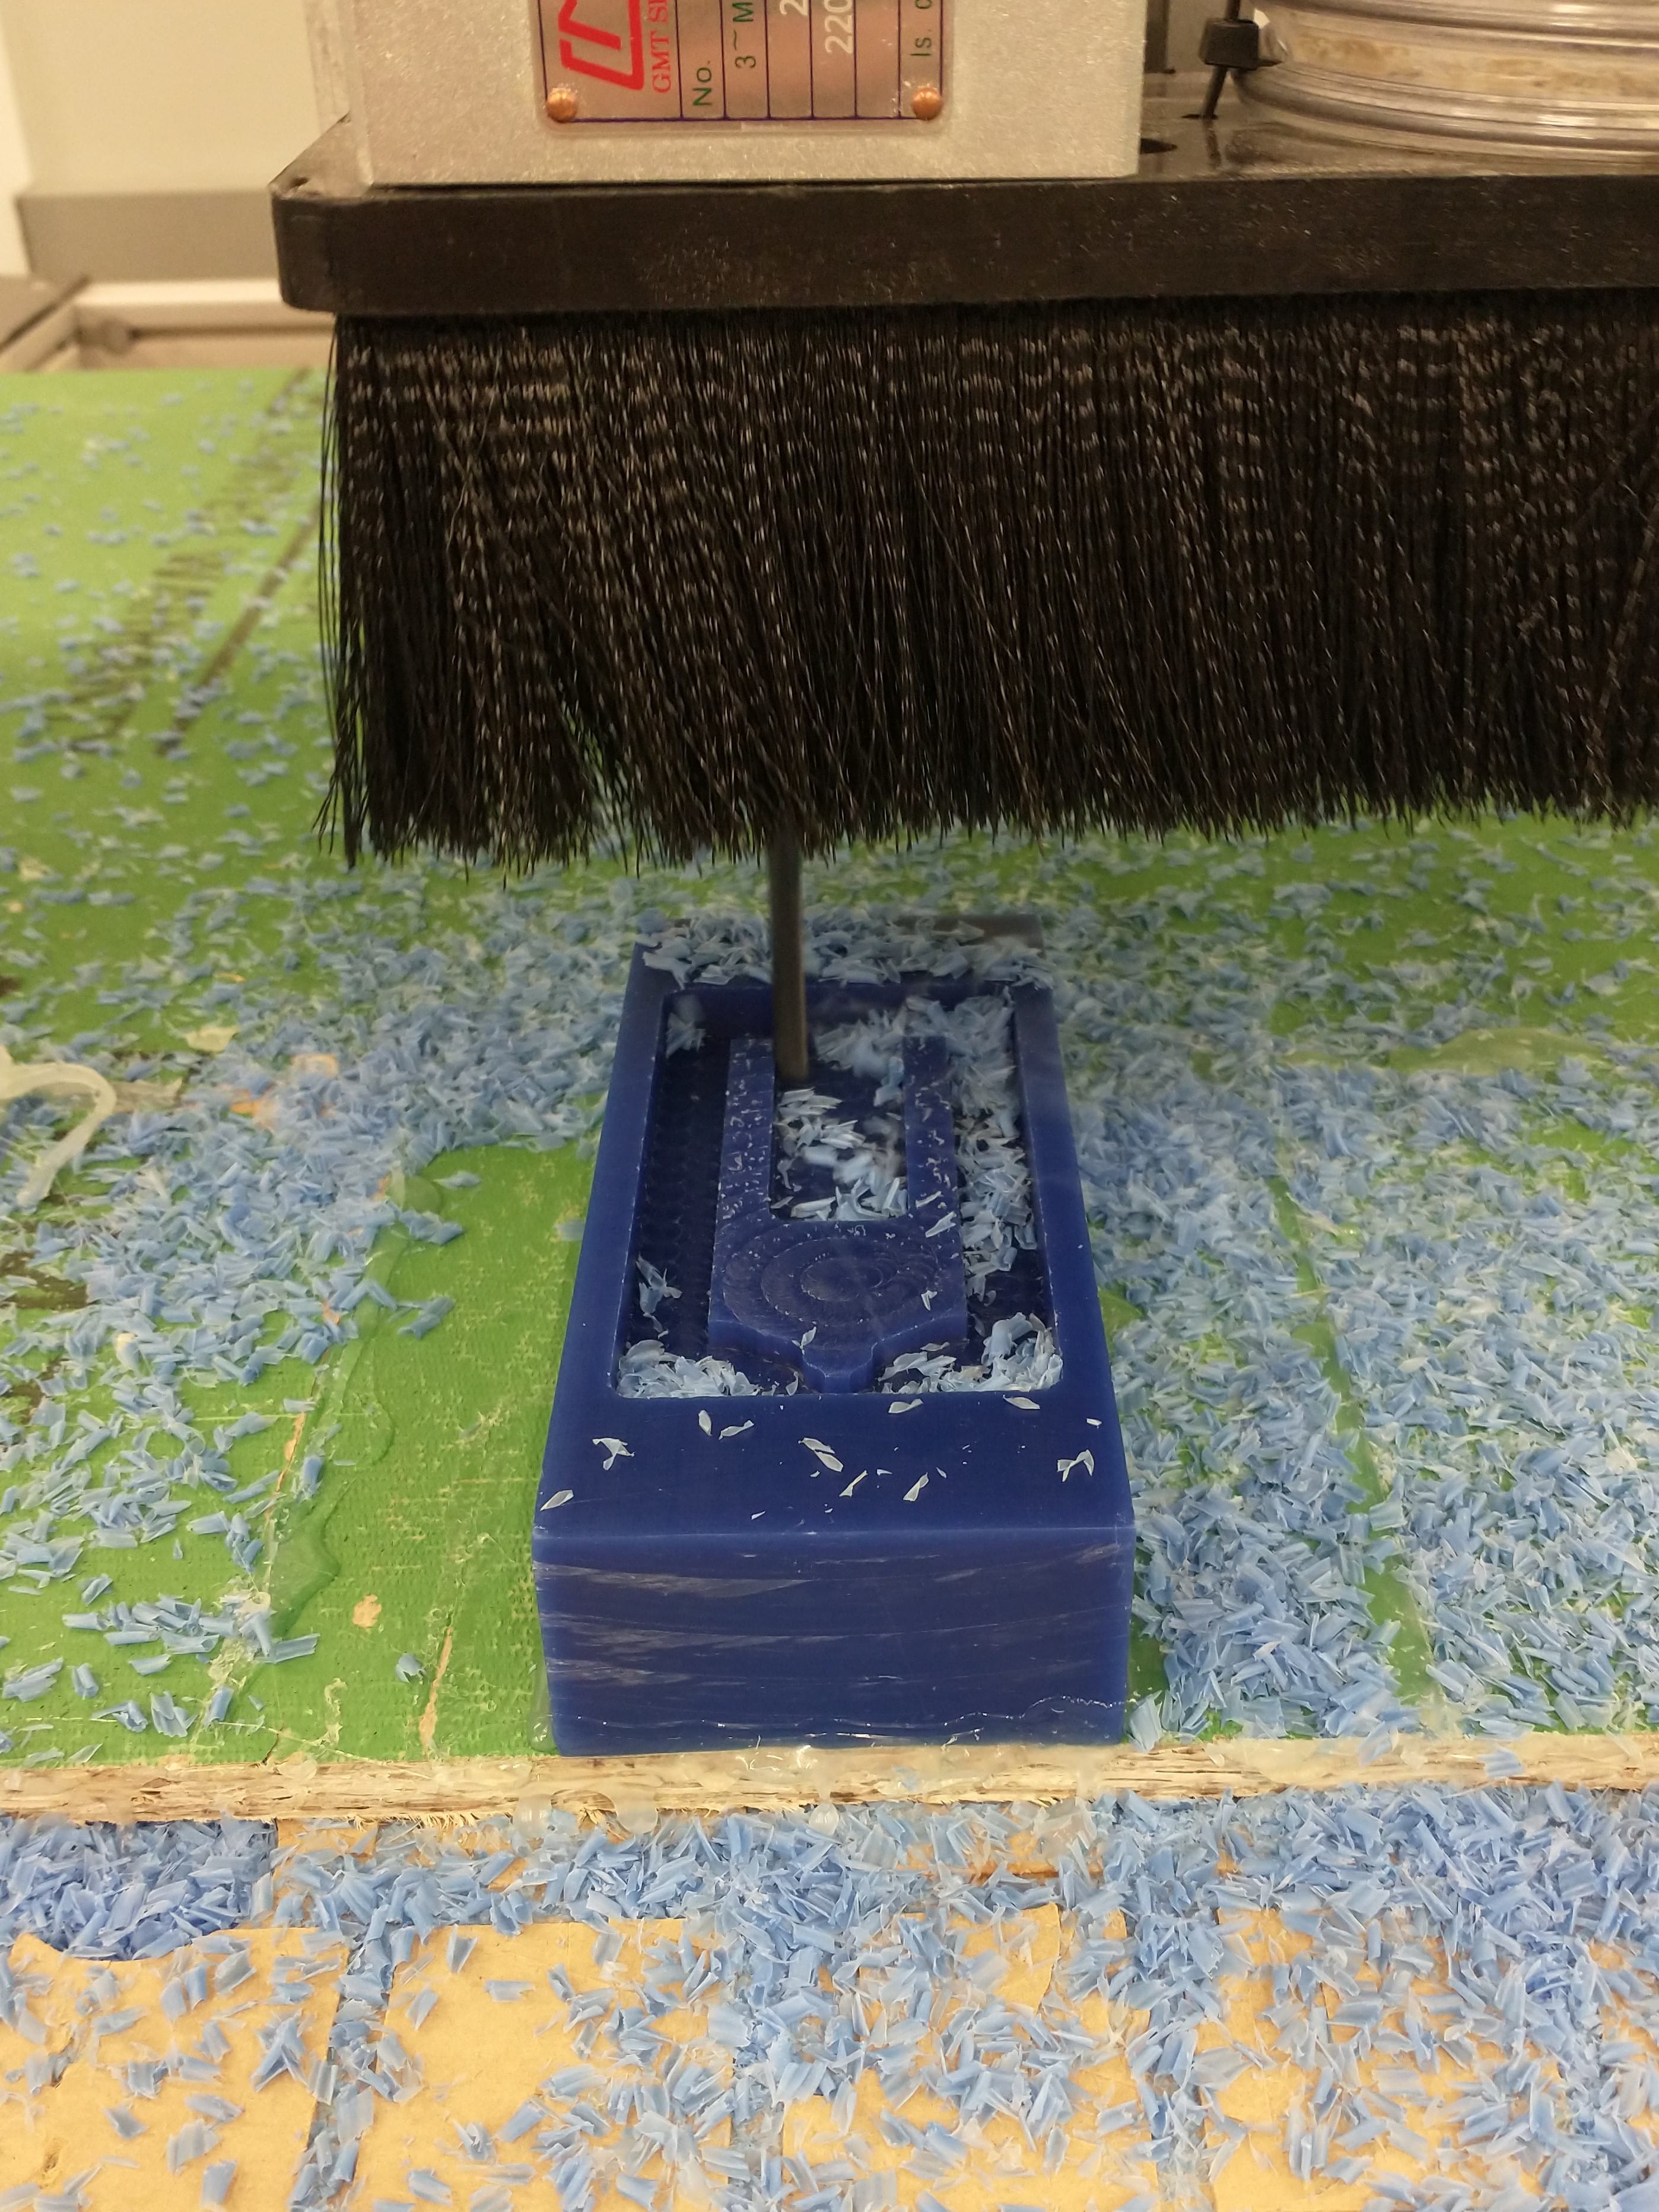
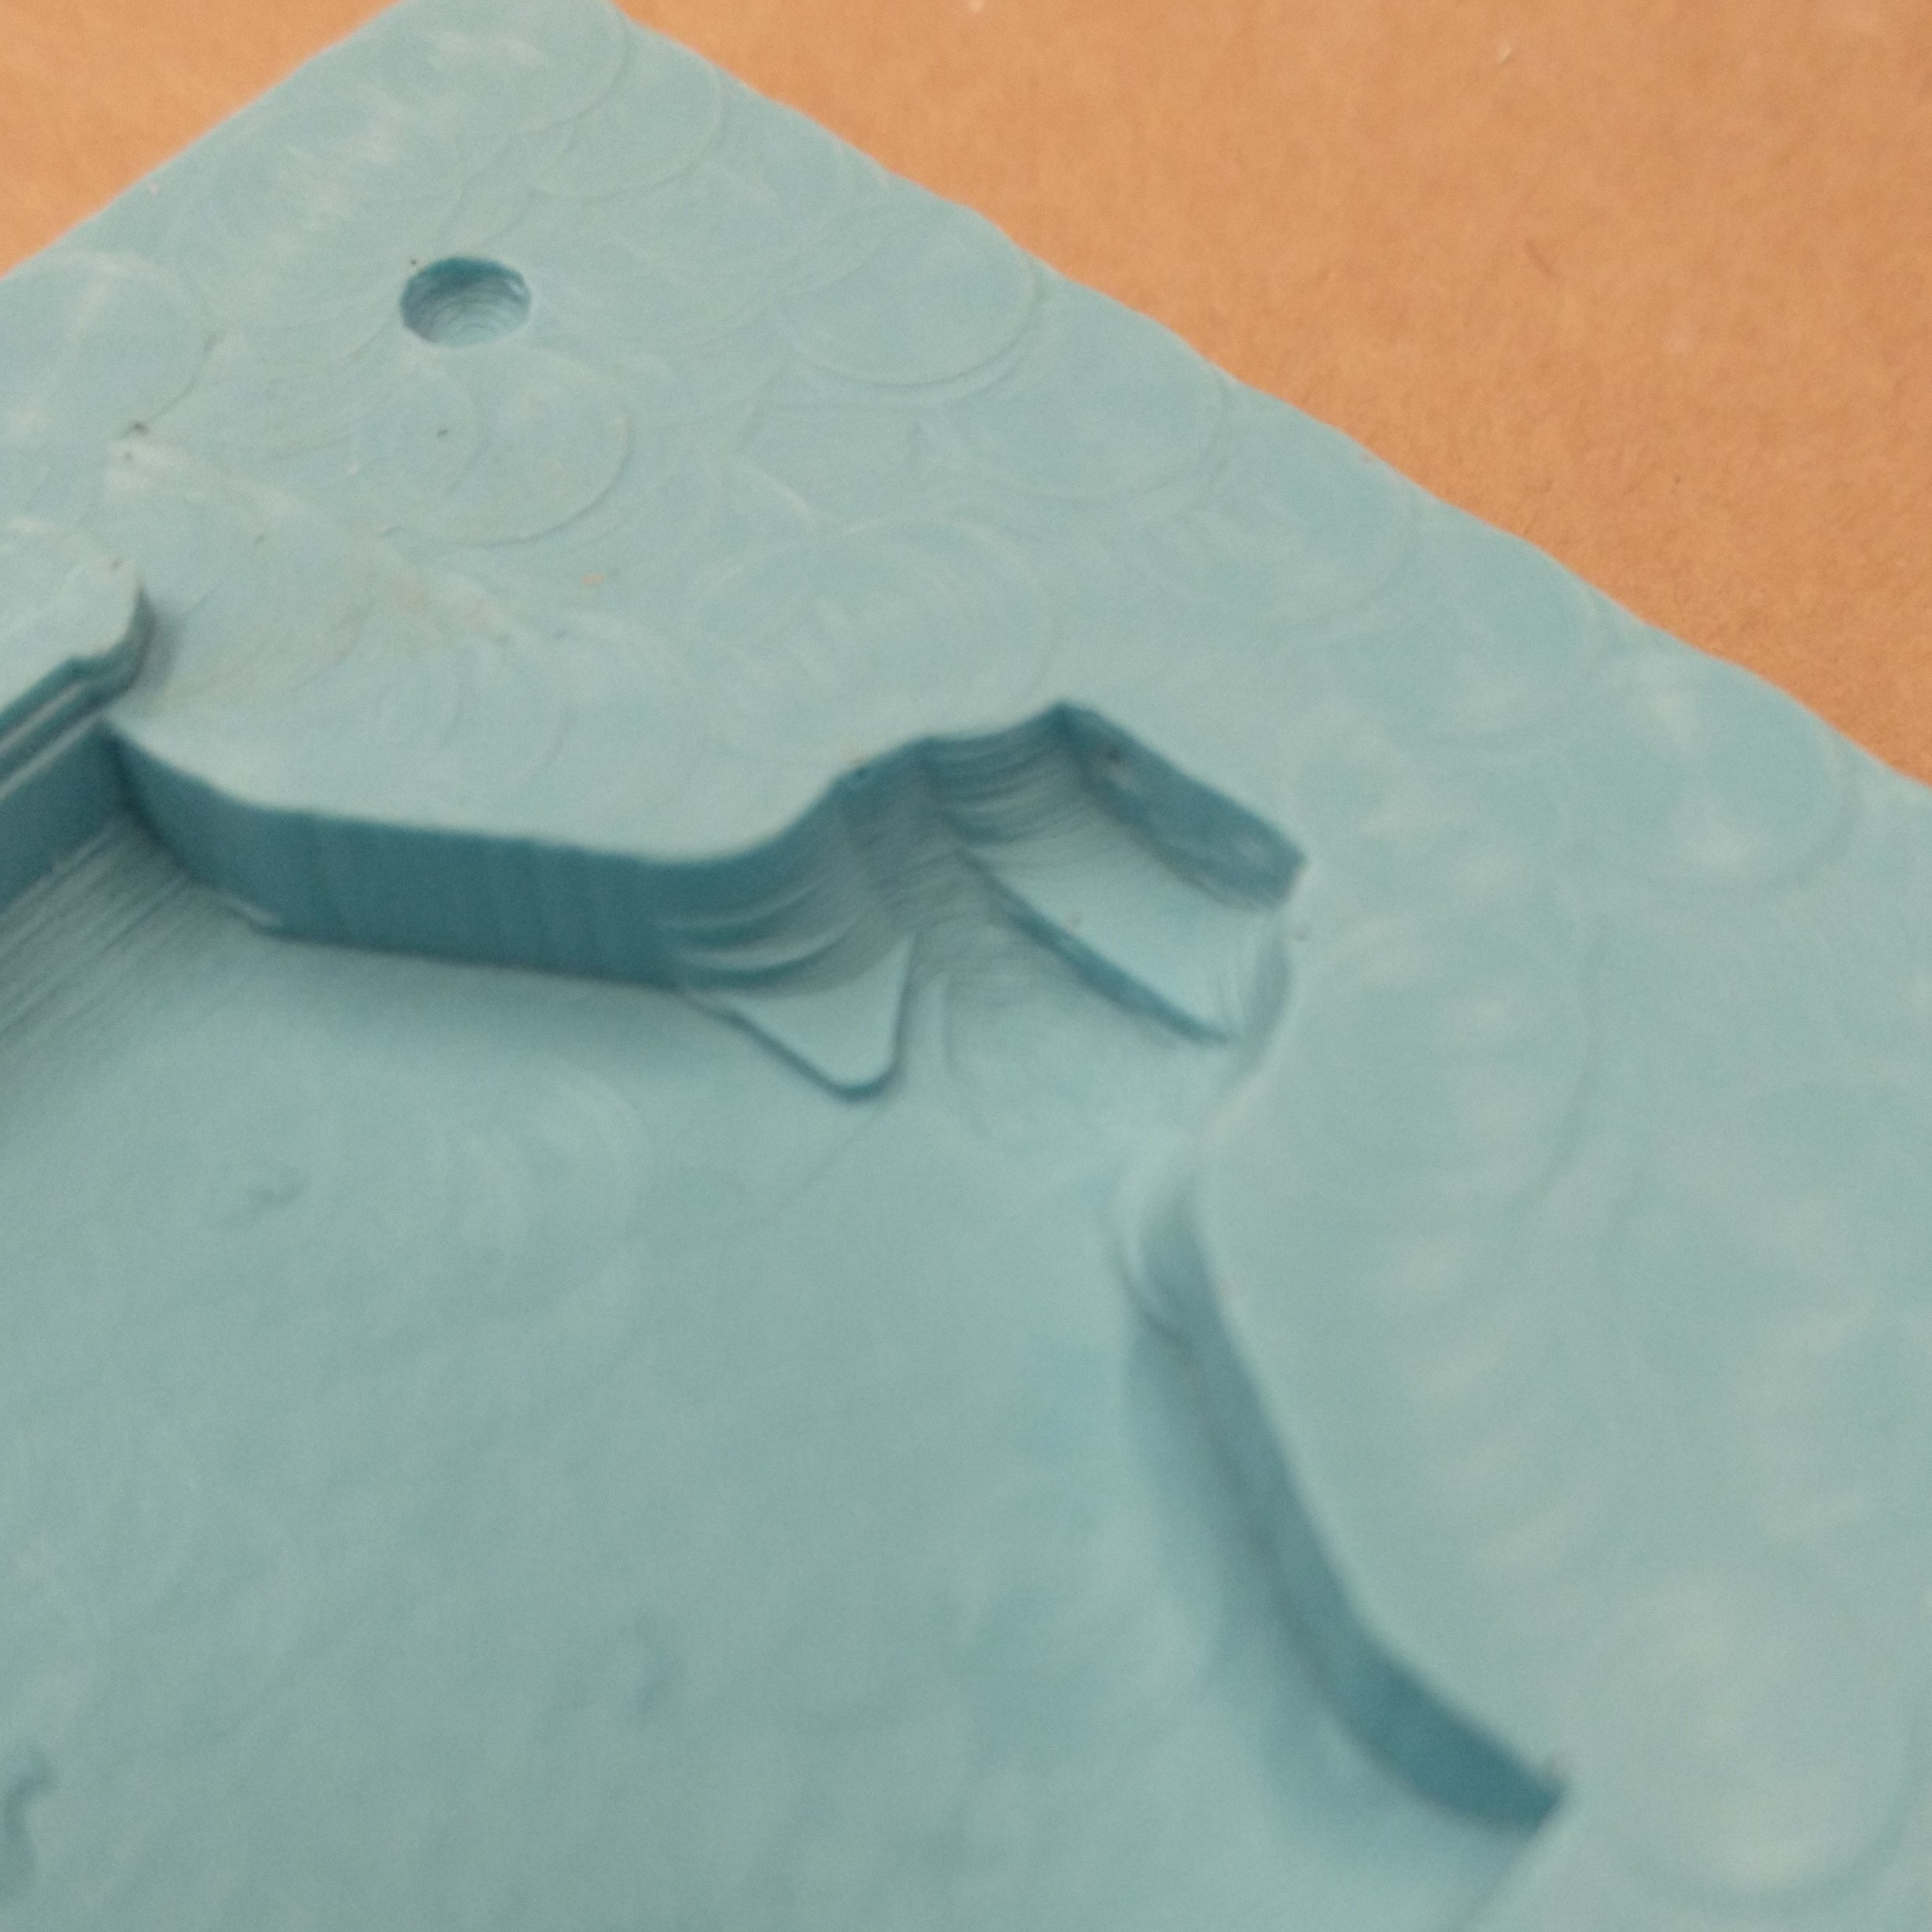
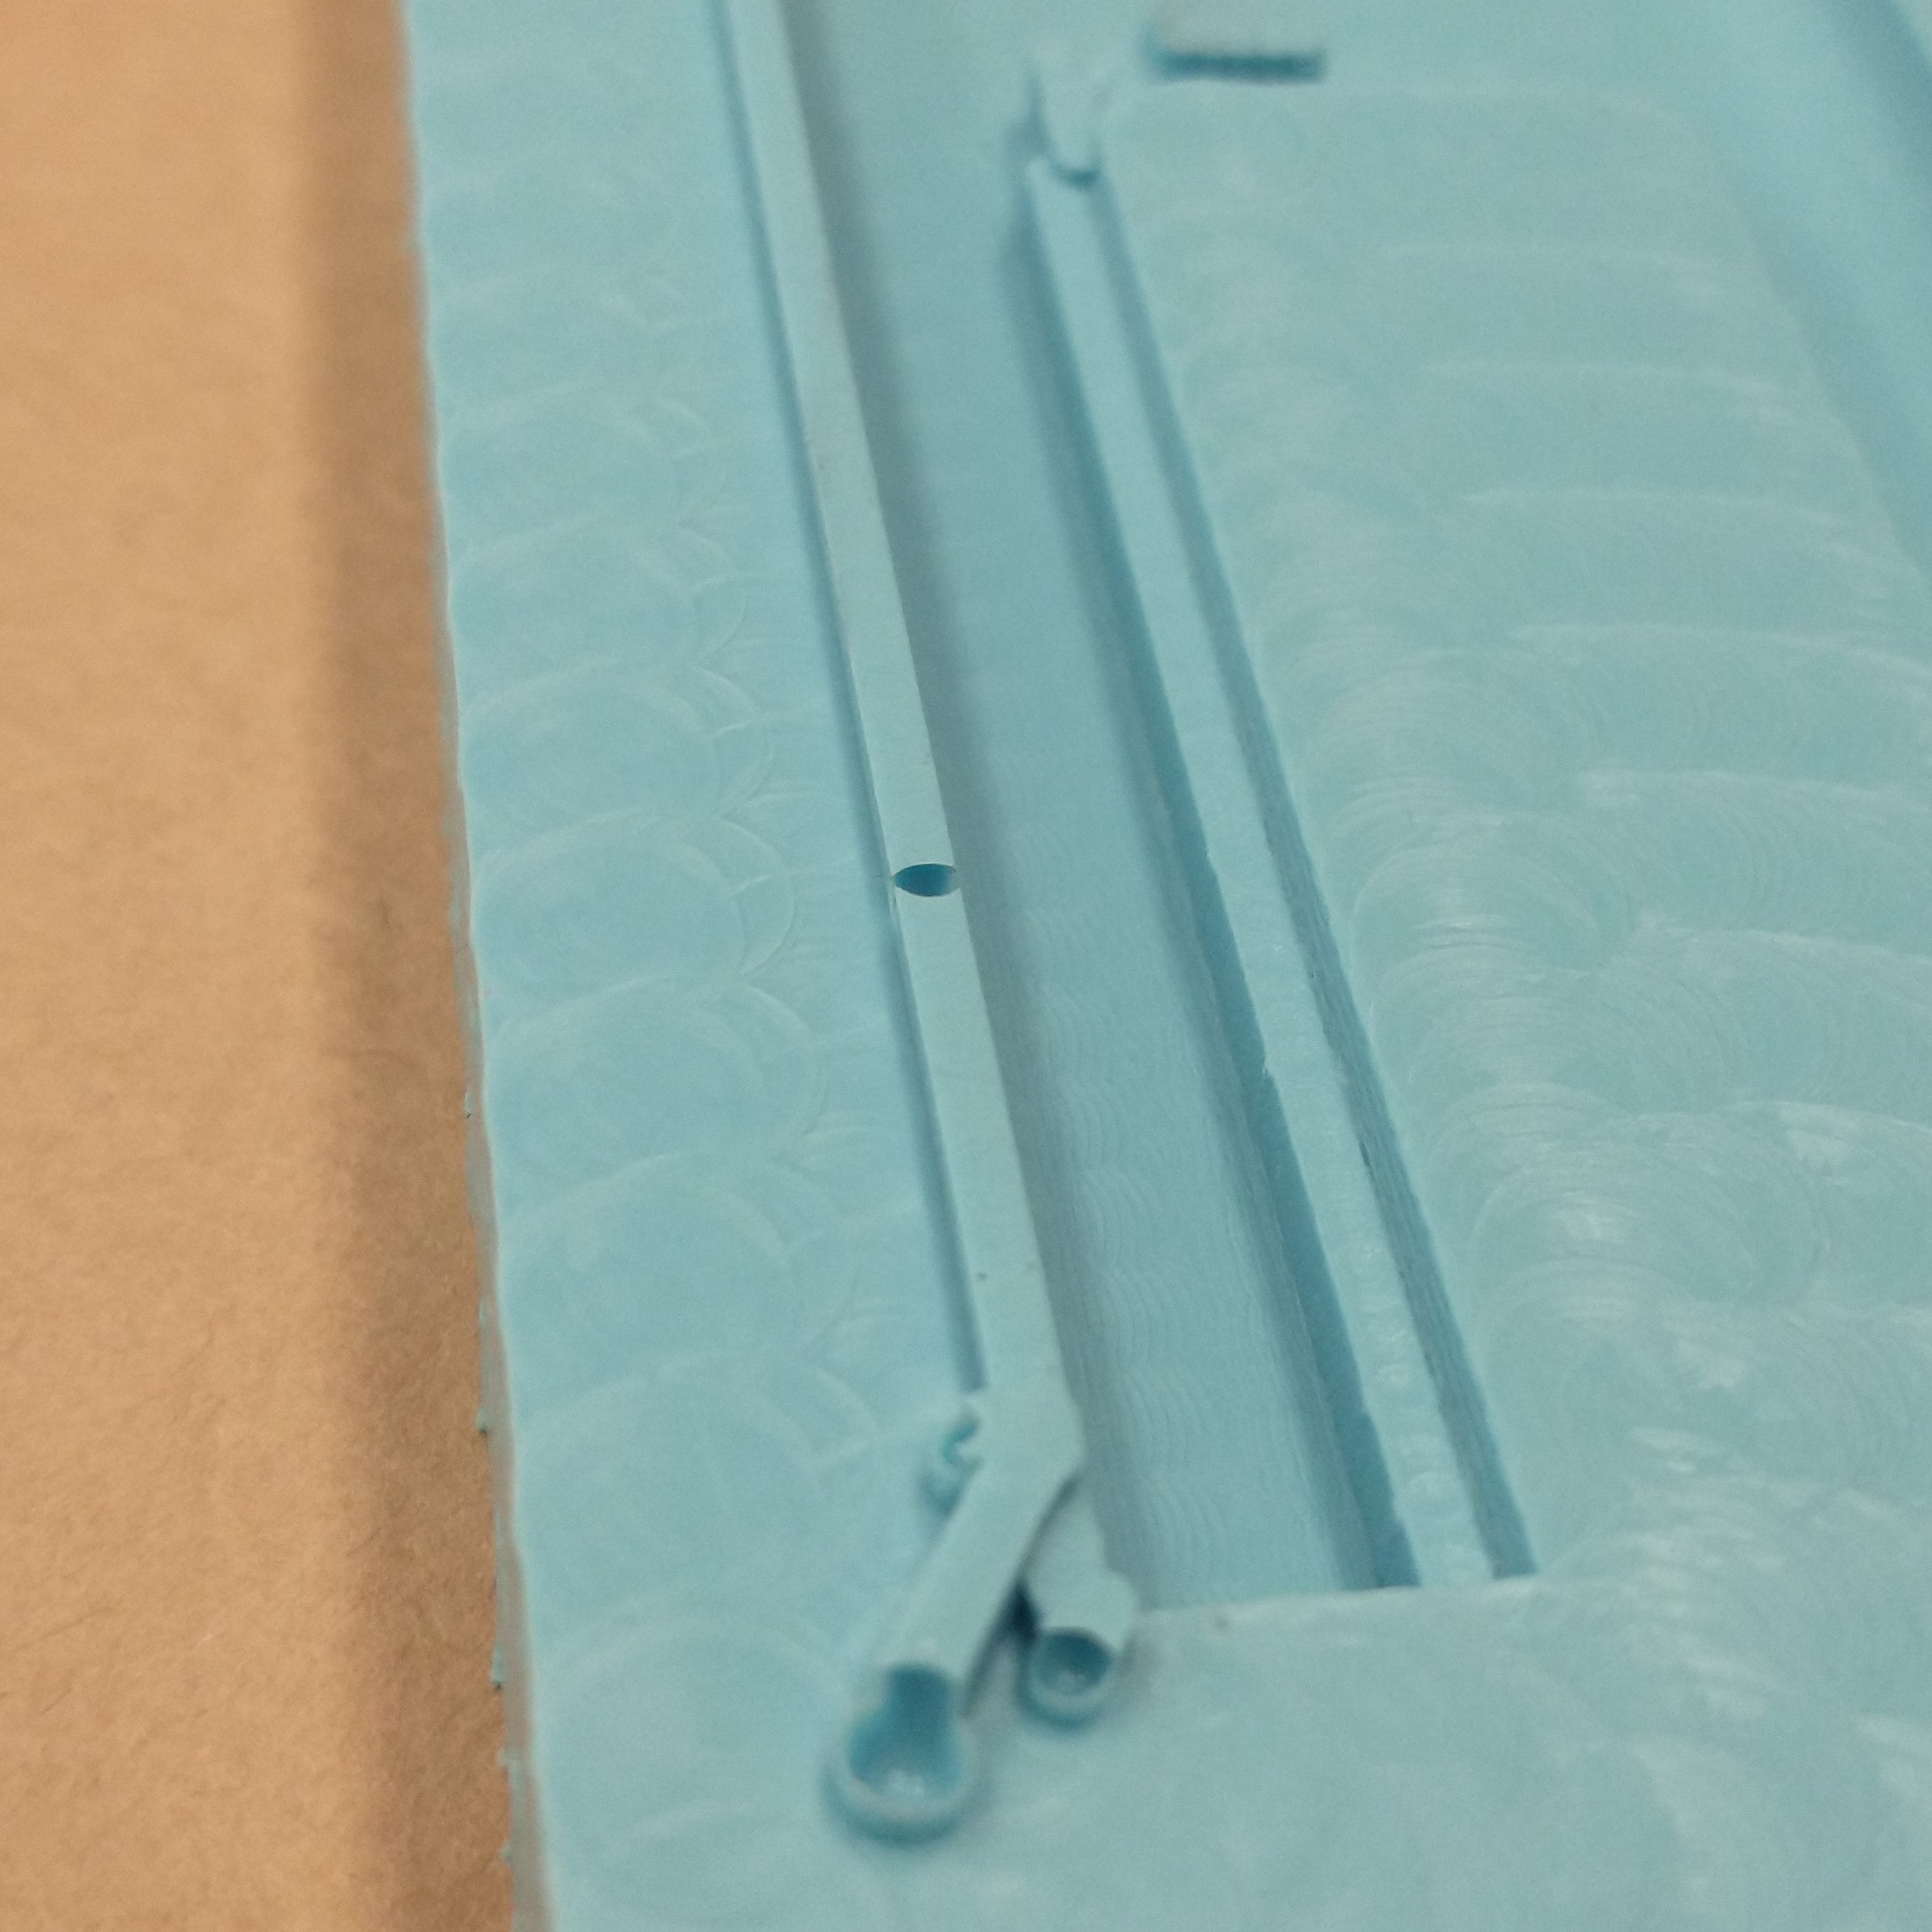
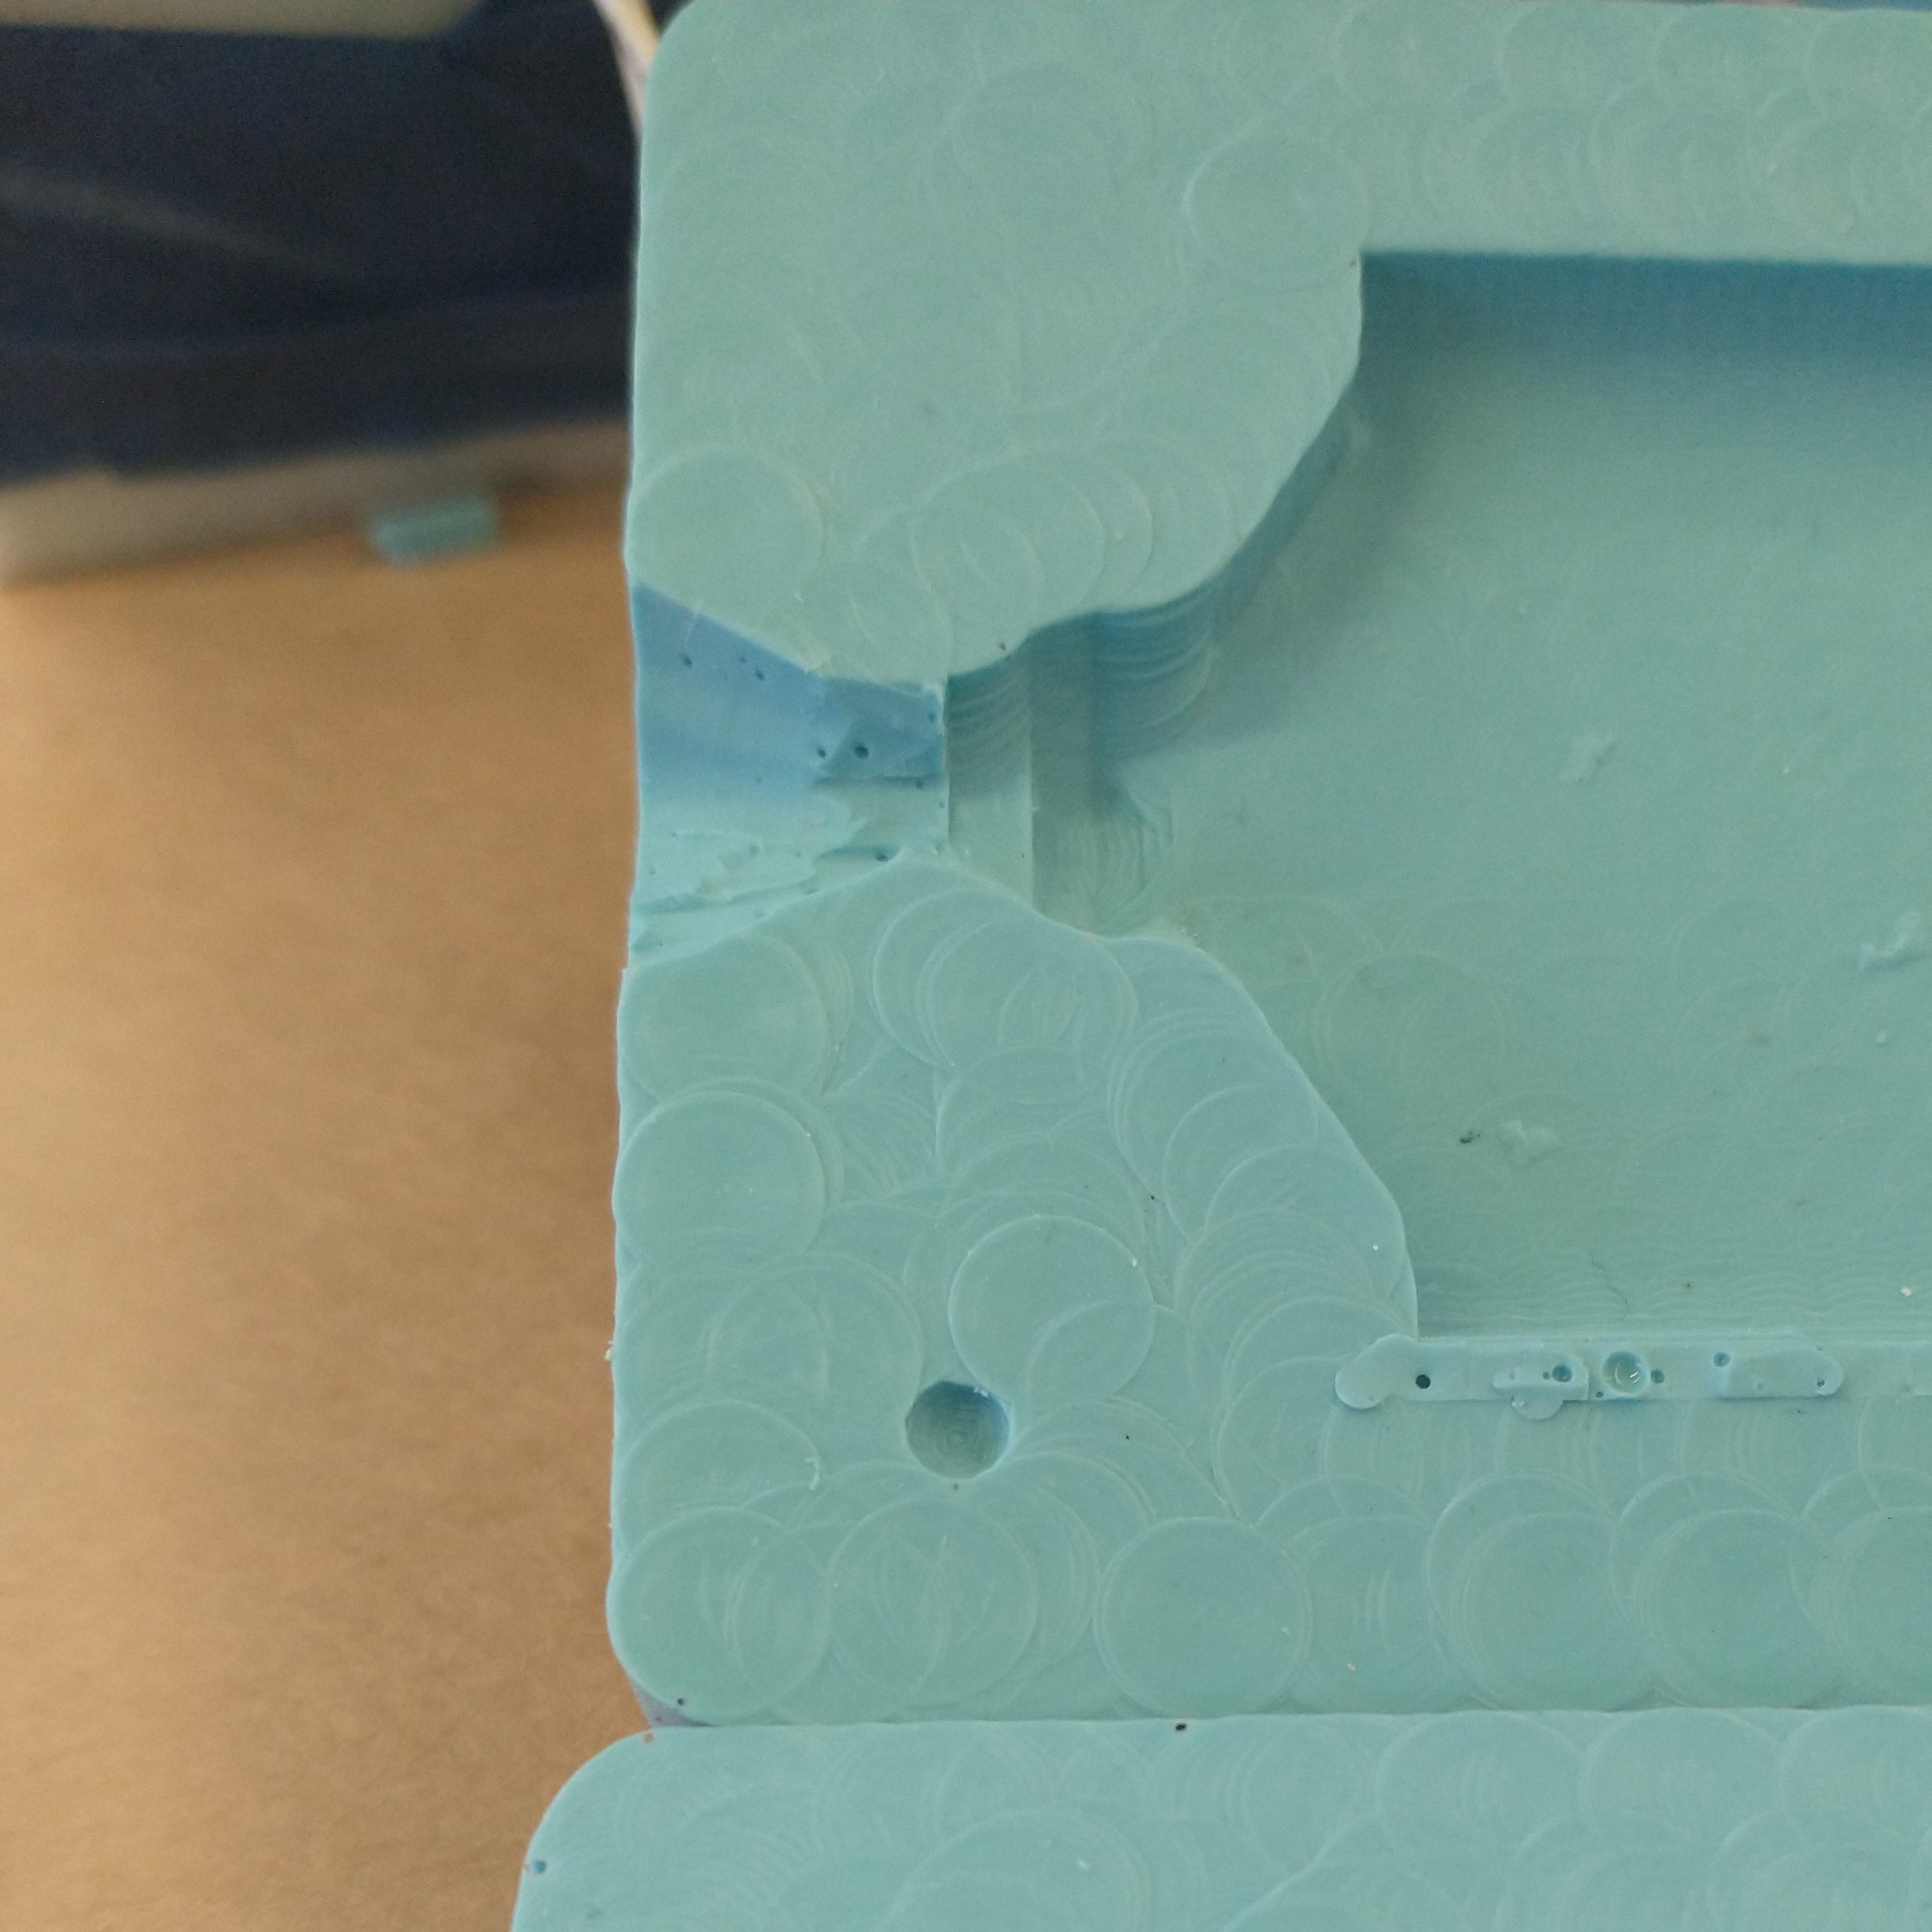
Unfortunately, the machine's router seemed to encounter a bug, causing the tool head to "hiccup" every so often, so we stopped my milling job partway so Anthony could figure out the problem. Fortunately, my mold had been sufficiently milled out such that I'd be able to use it to mold and cast, even though it was a bit rough, and one of the legs had gotten damaged from the bug.
It turned out that the rack and pinion had gotten loose from machine vibration from all of the Week 6 OSB, causing it to lose position and skip a gear tooth or two. The machine then had to stop and accelerate to catch up, resulting in the "hiccuping" we'd seen. Anthony tightened the spring that sets how closely the rack and pinion are engaged and mentioned that it should have a lock washer or nut to reduce the effect of high frequency noise.

Removing the wax mold from the machine bed turned out to be the most difficult step in the process. I spent a number of minutes trying to cut through the hot glue with a box cutter and attempting to pry out the wax with a spackle knife and for whatever reason somehow alarming the rest of the section.
Some fun facts about Oomoo! It's actually spelled in all caps. The shelf life of unopened Oomoo is a year. It has a 25 min potlife (the amount of time you can leave it in the cup for and still use it). Molding with Oomoo means that internal bubbles do not matter. Otherwise the usual process, particularly for thin parts, is to reduce bubbles is to blowtorch them to break the surface tension. Oomoo is good until 500 degrees F. (Algenate is another mold-making material, for objects that can't get hot.)
How To OOMOO:

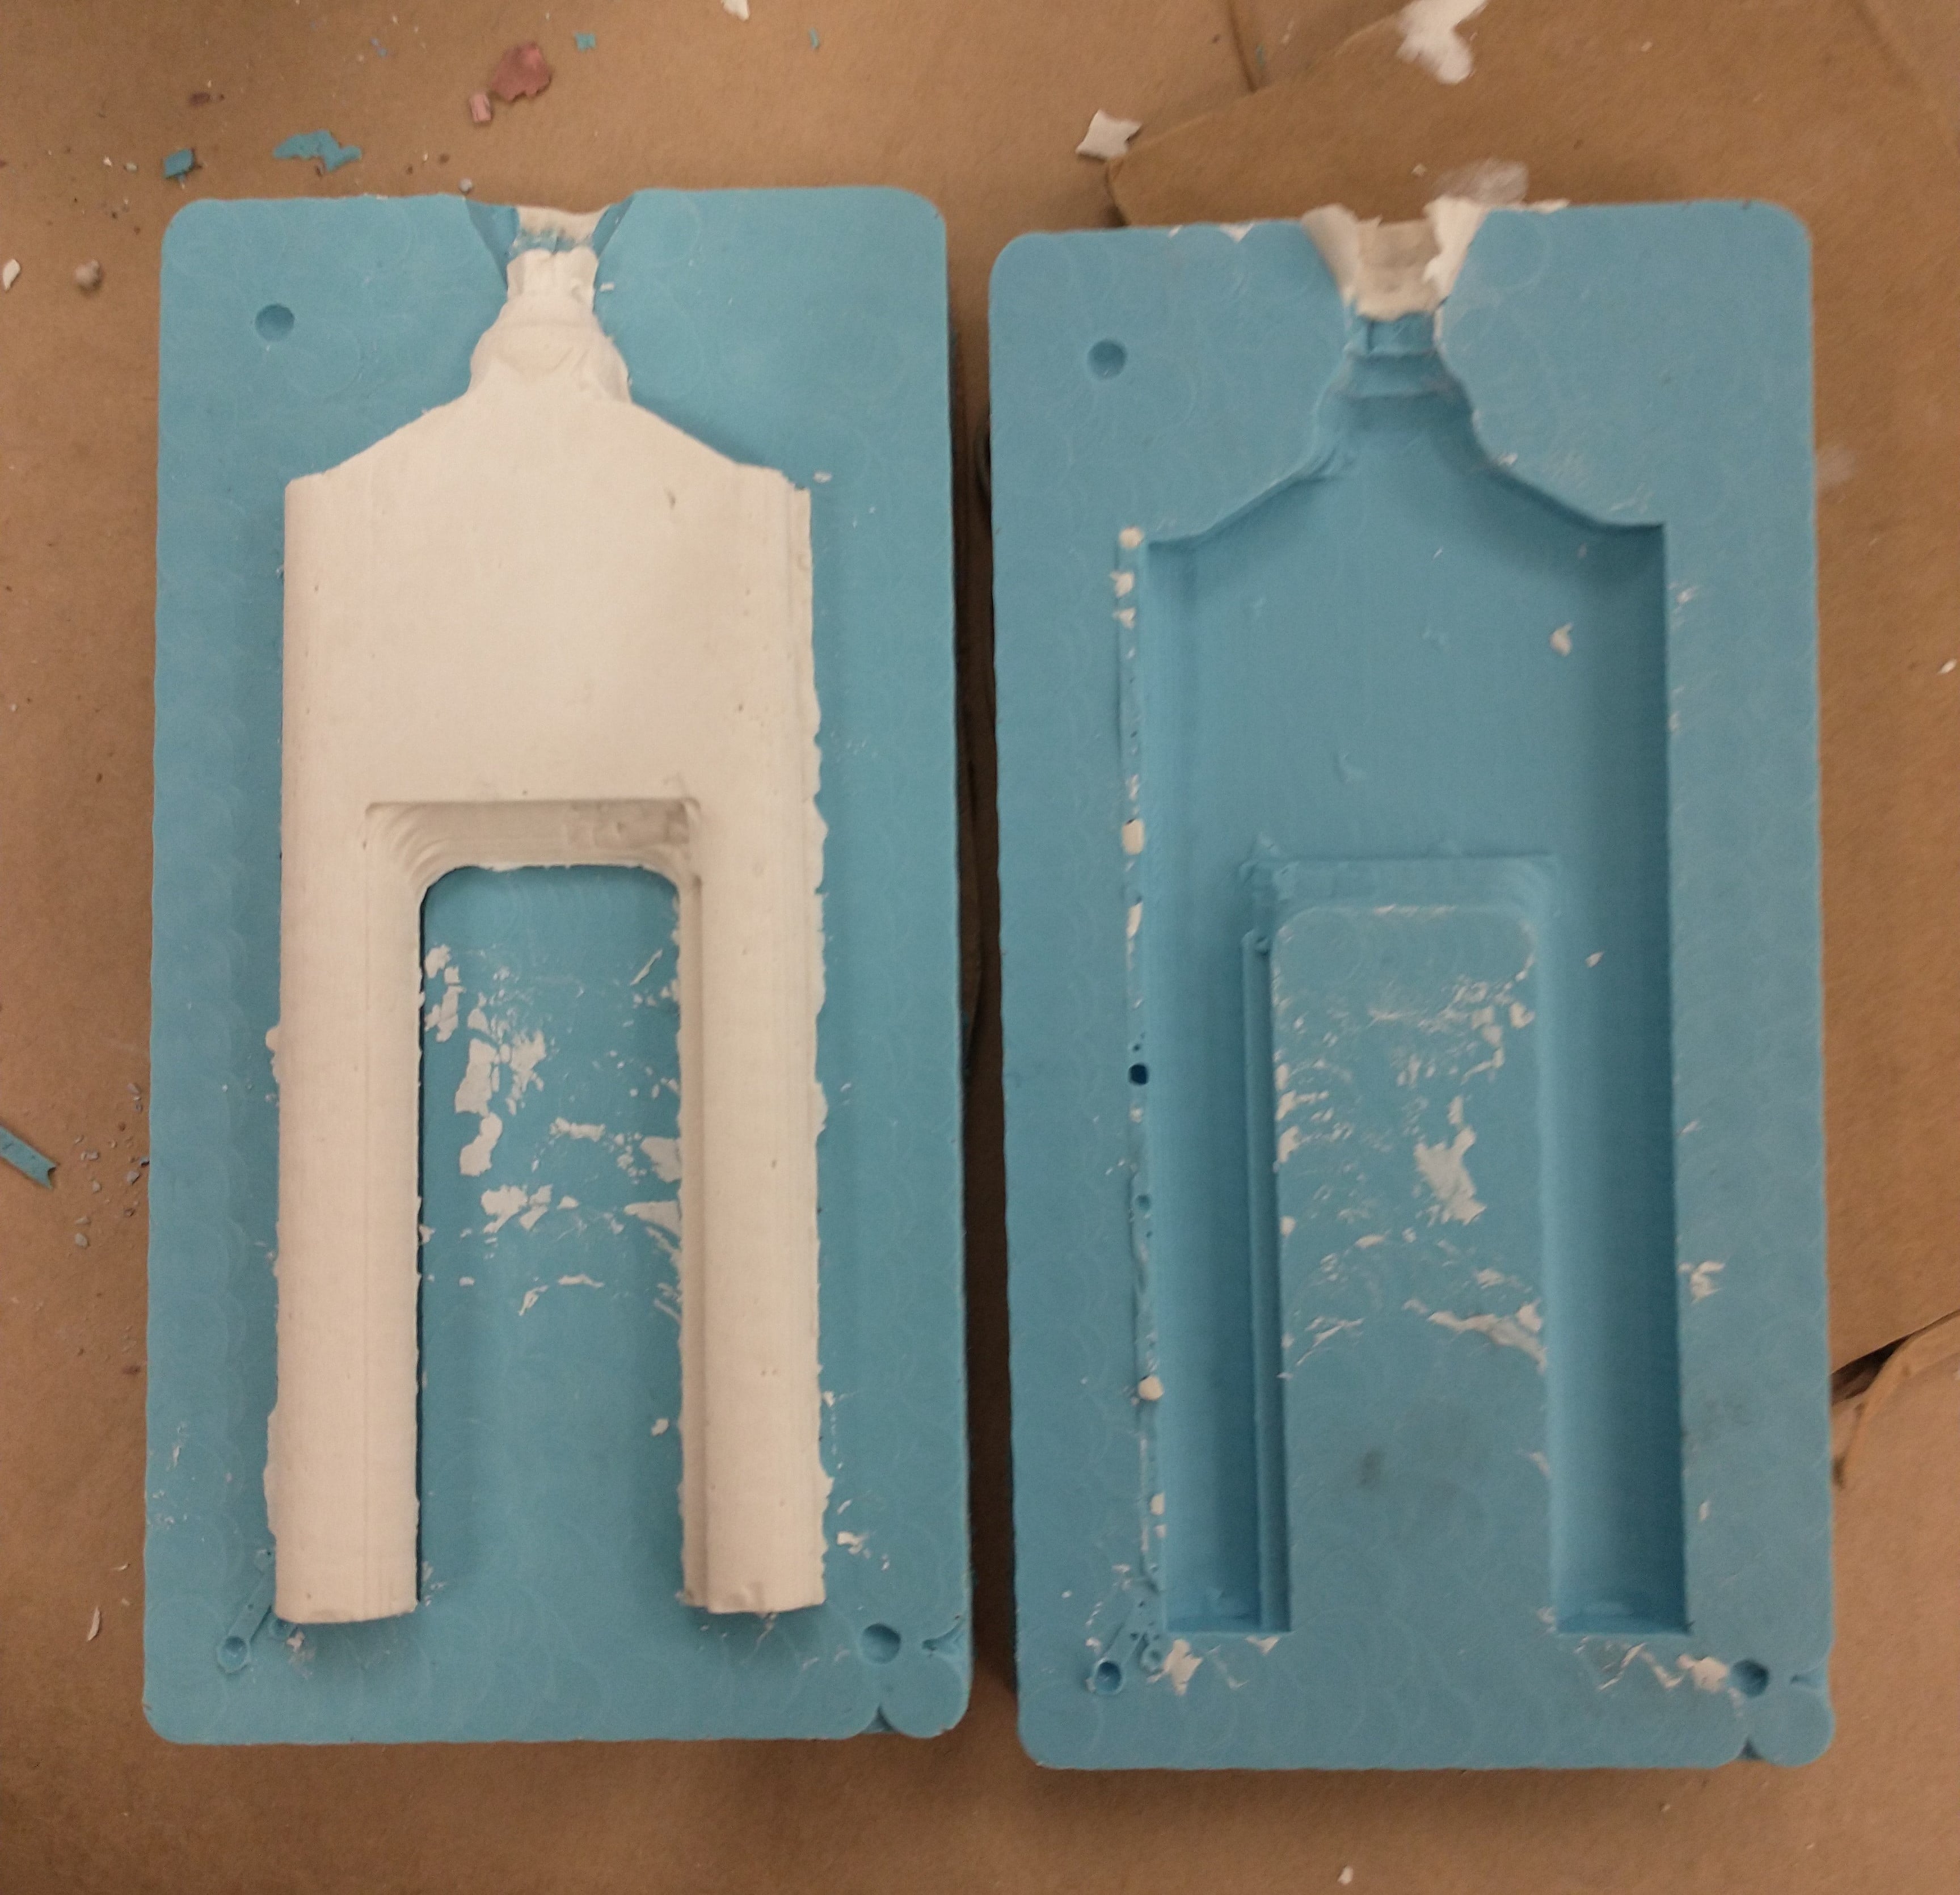
Once the Oomoo molds were ready for use, I cleaned the edges up with an exacto knife to compensate a bit for the CNC mill's bugs.
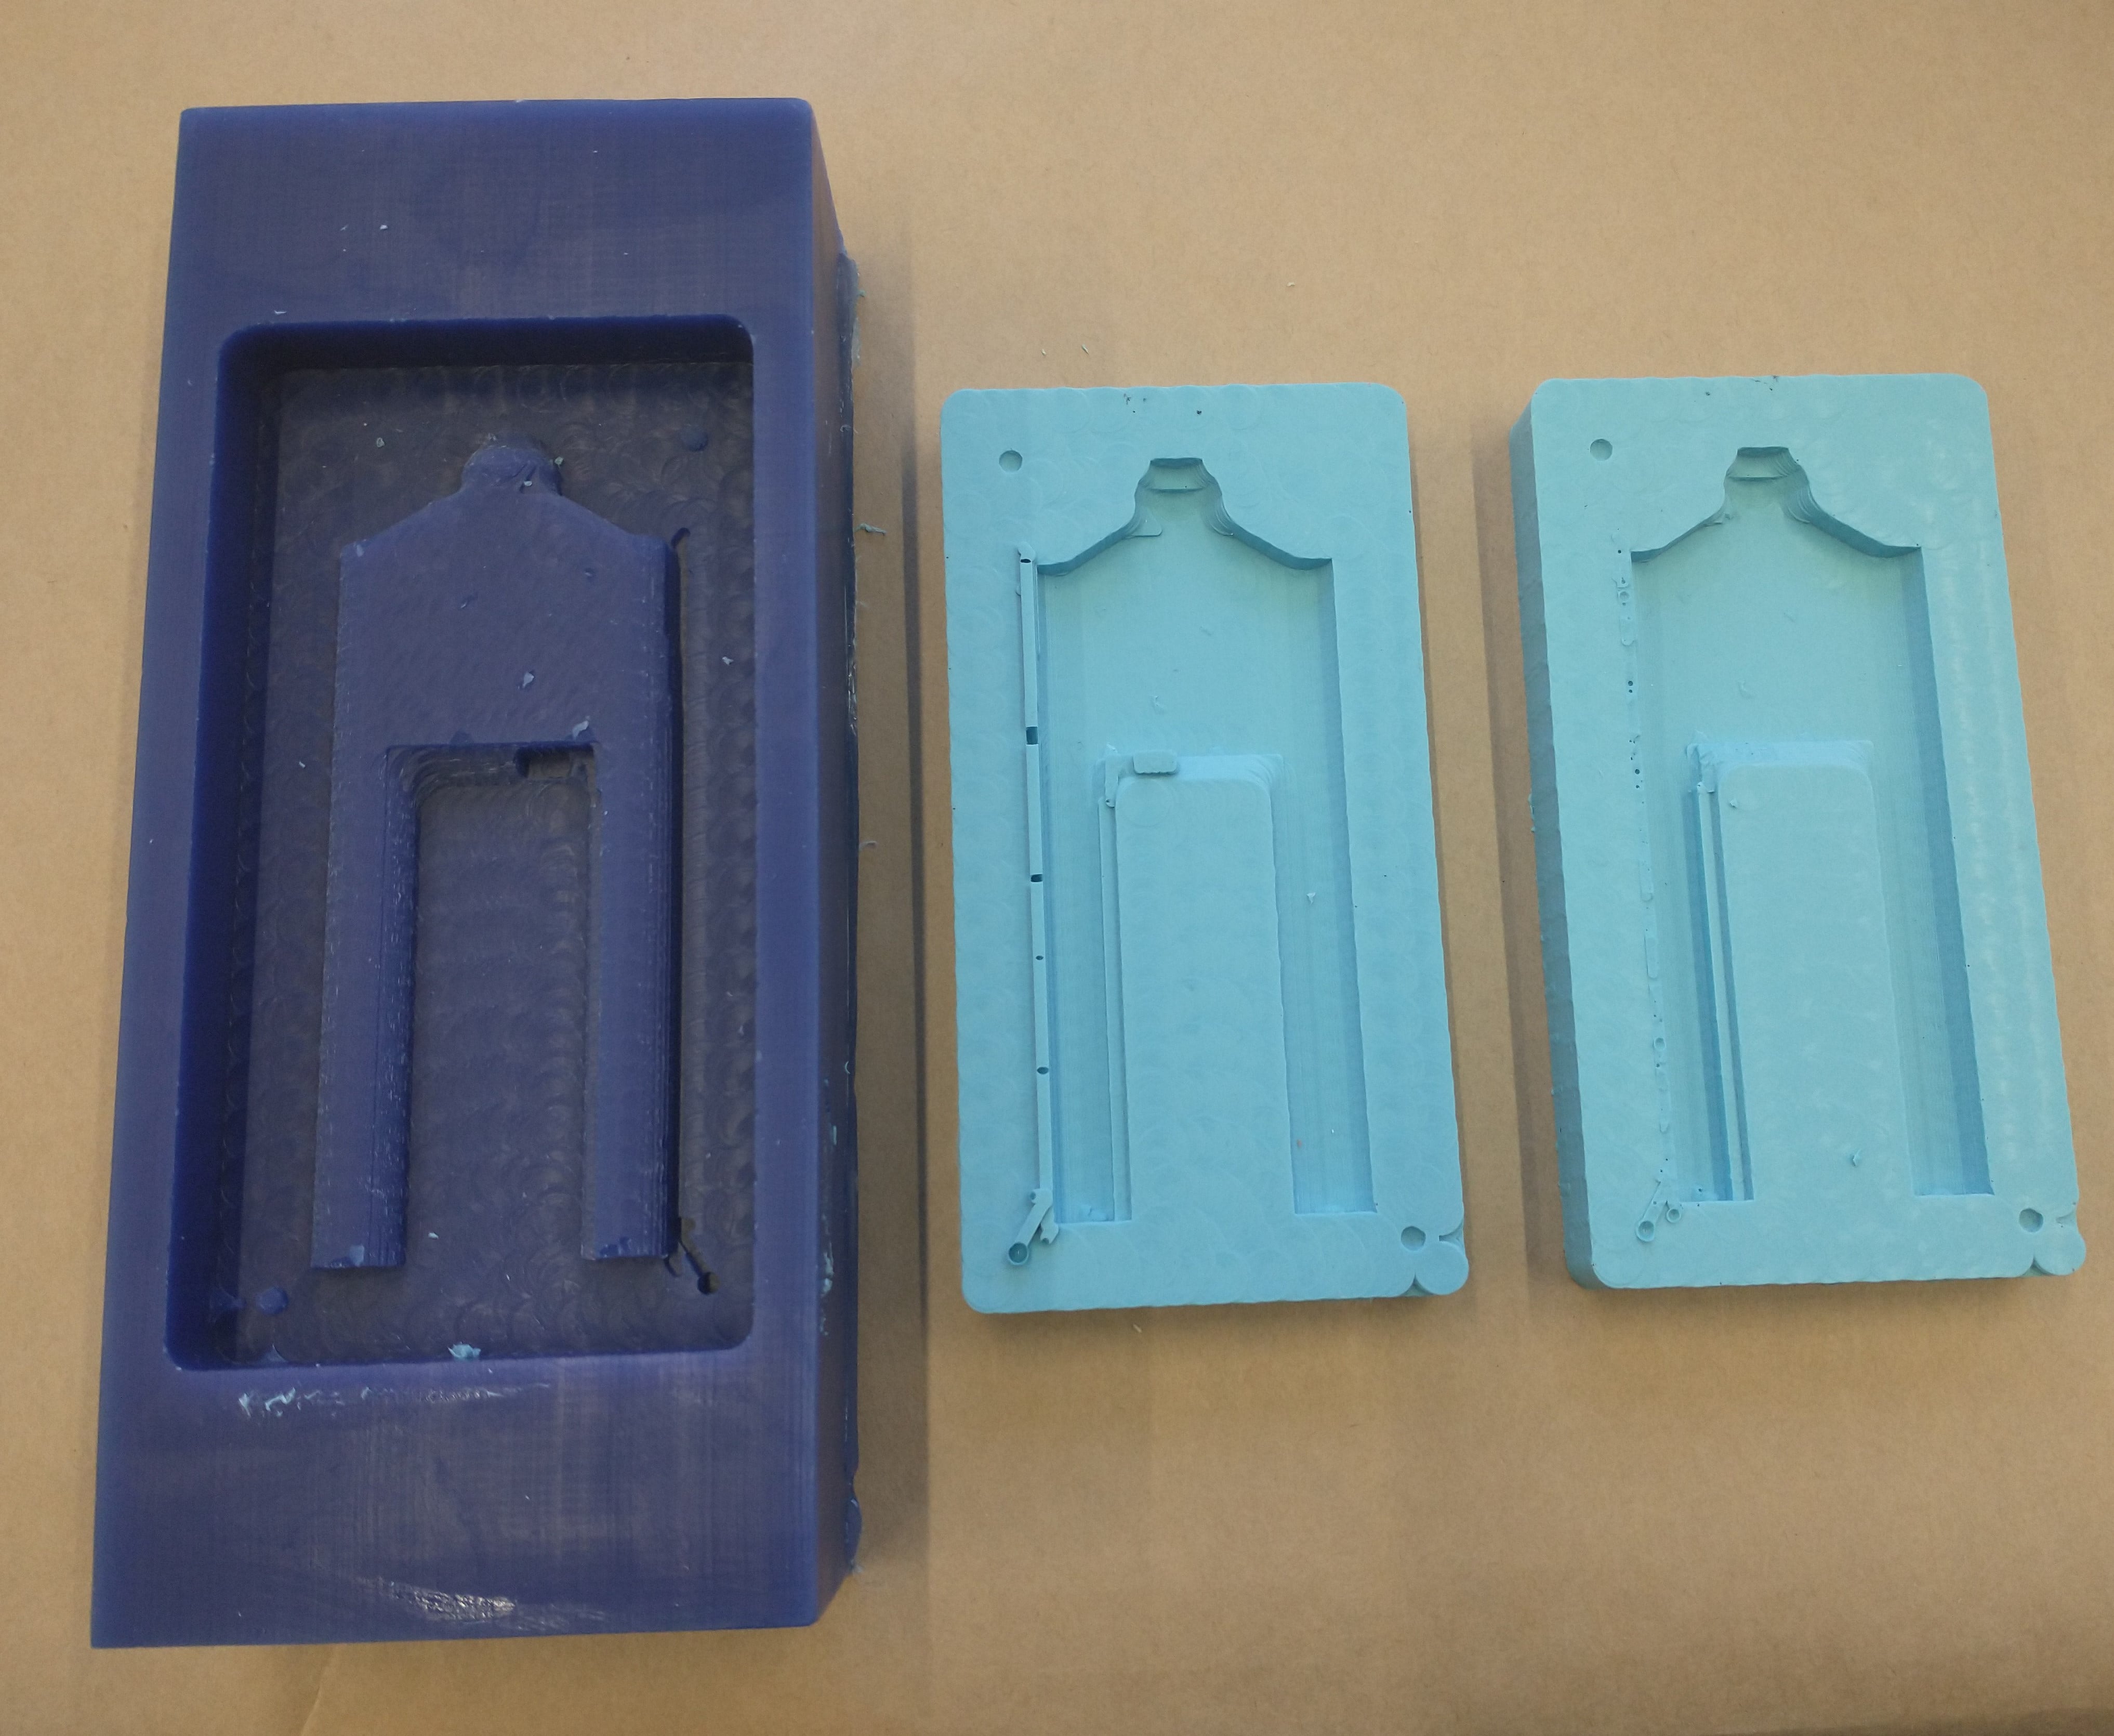
And now I'm ready to cast my tower!

Some fun facts about casting:
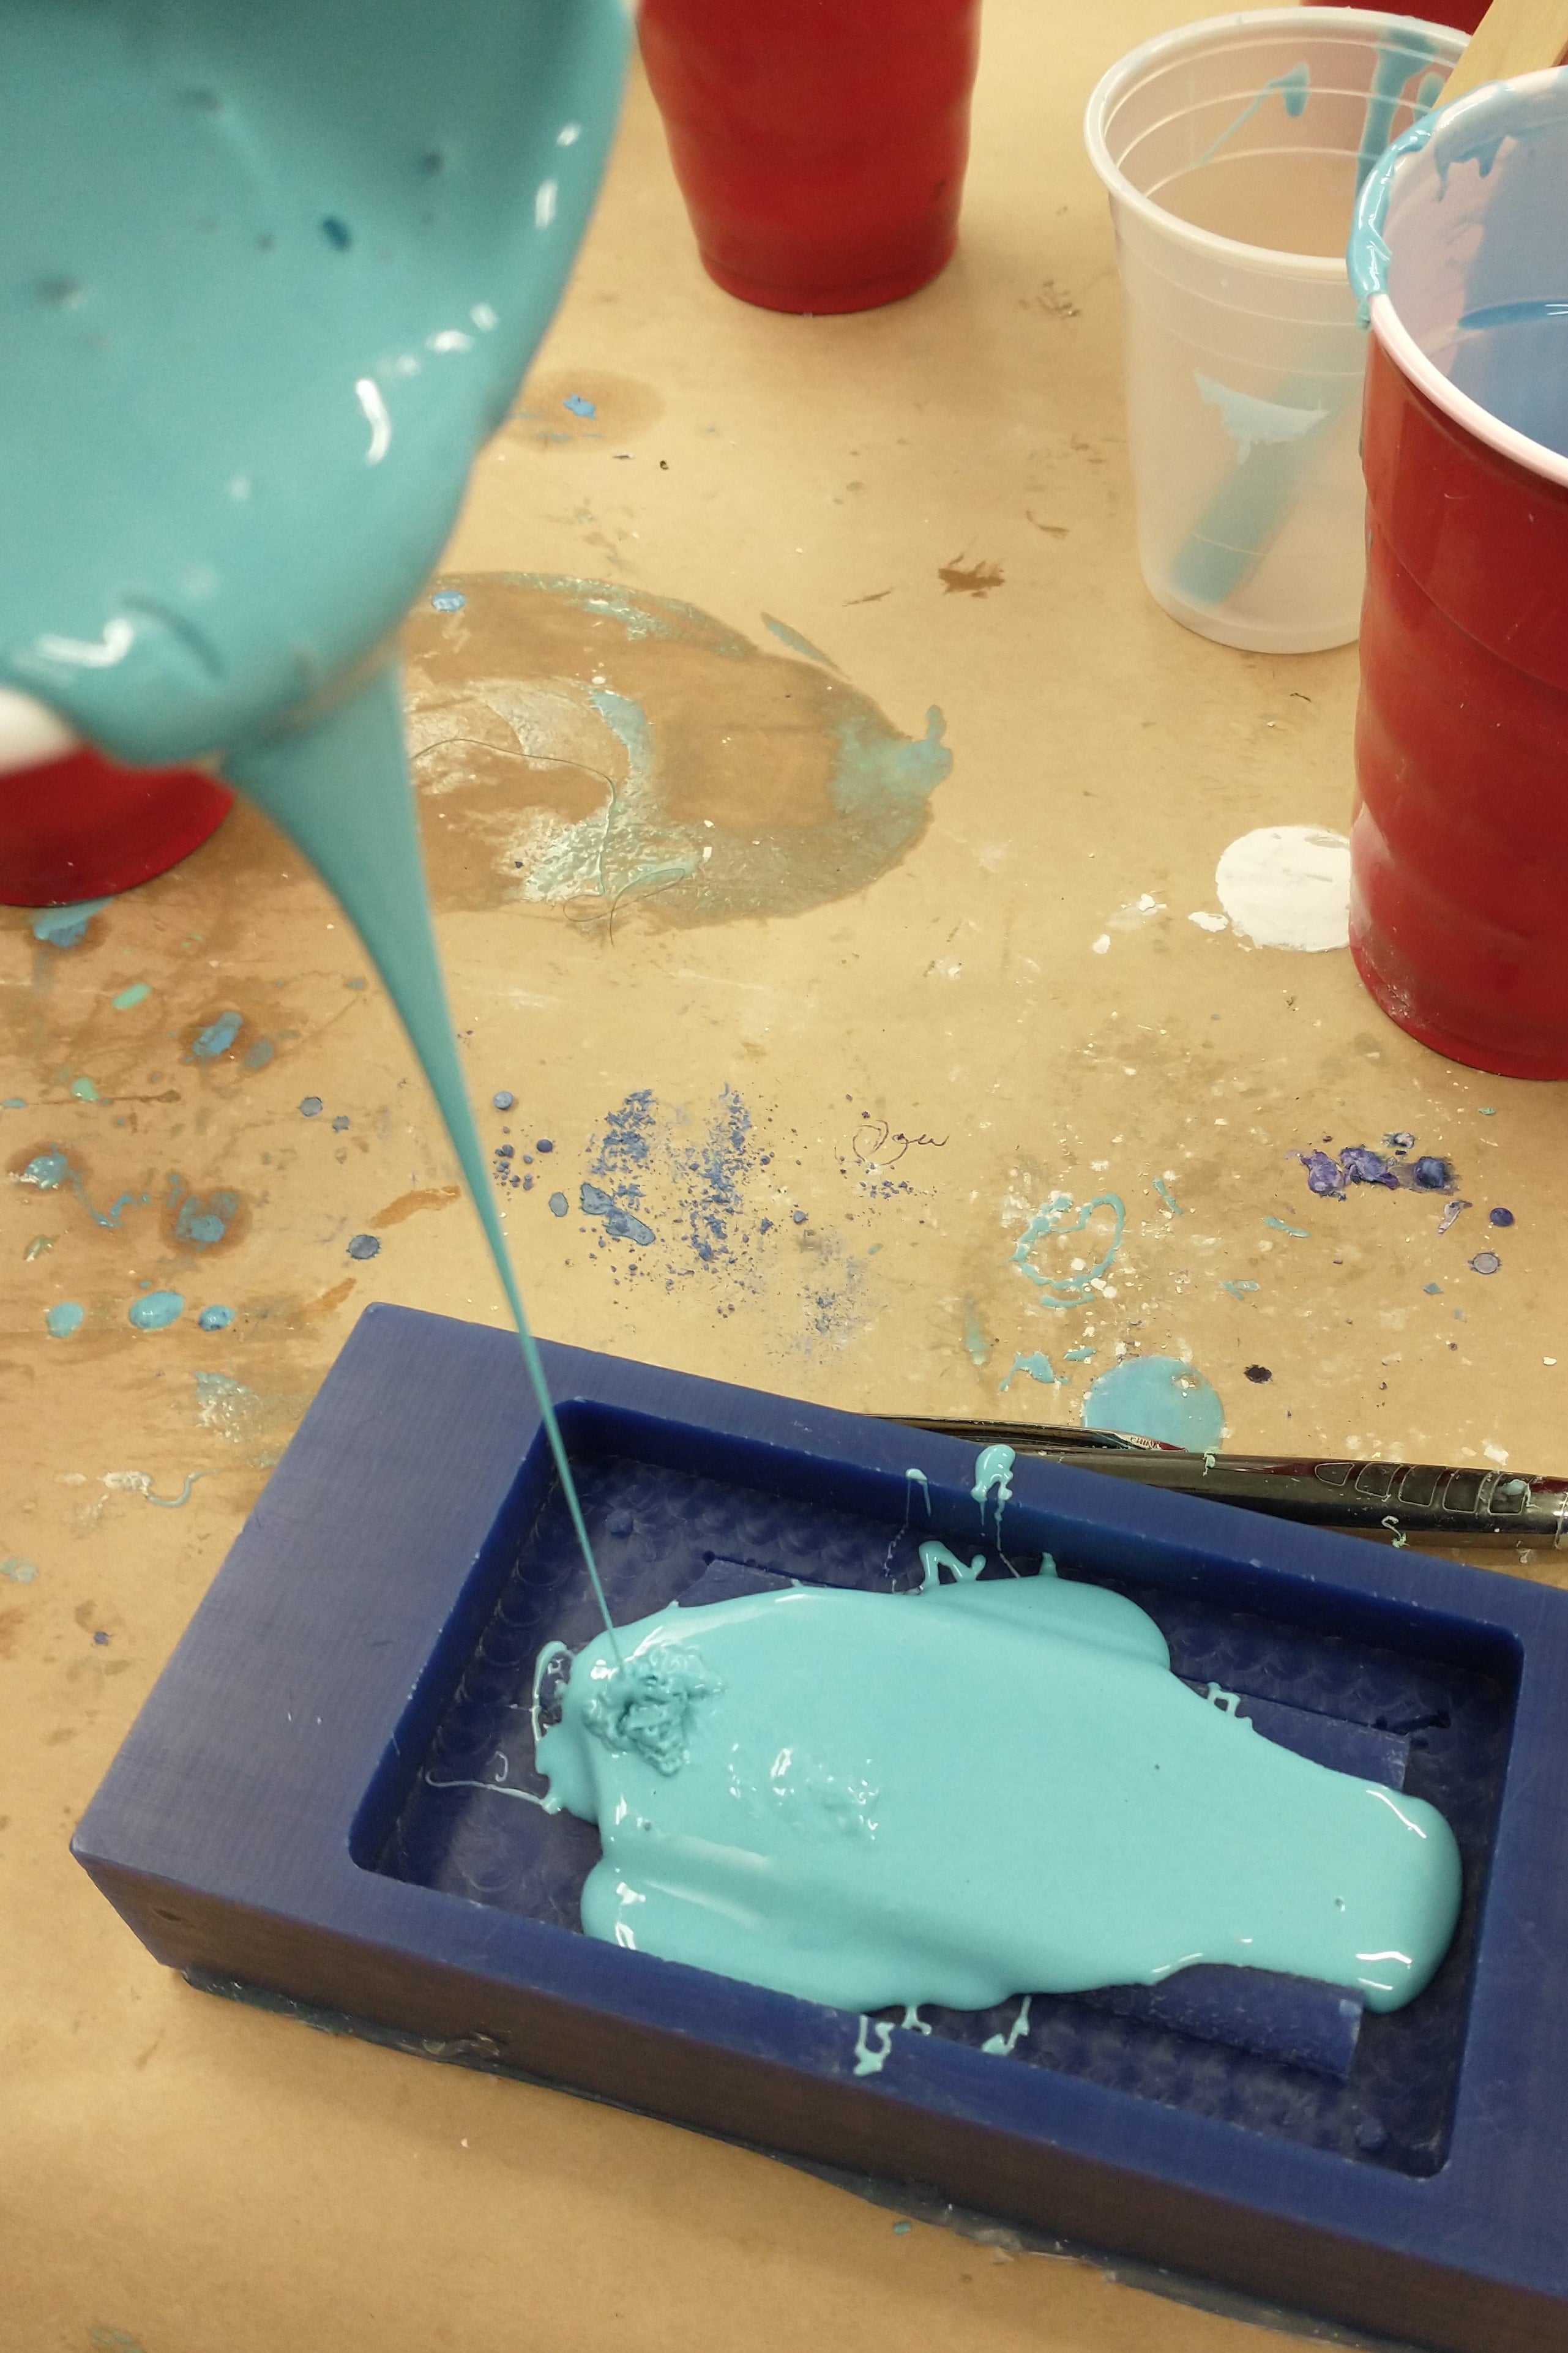
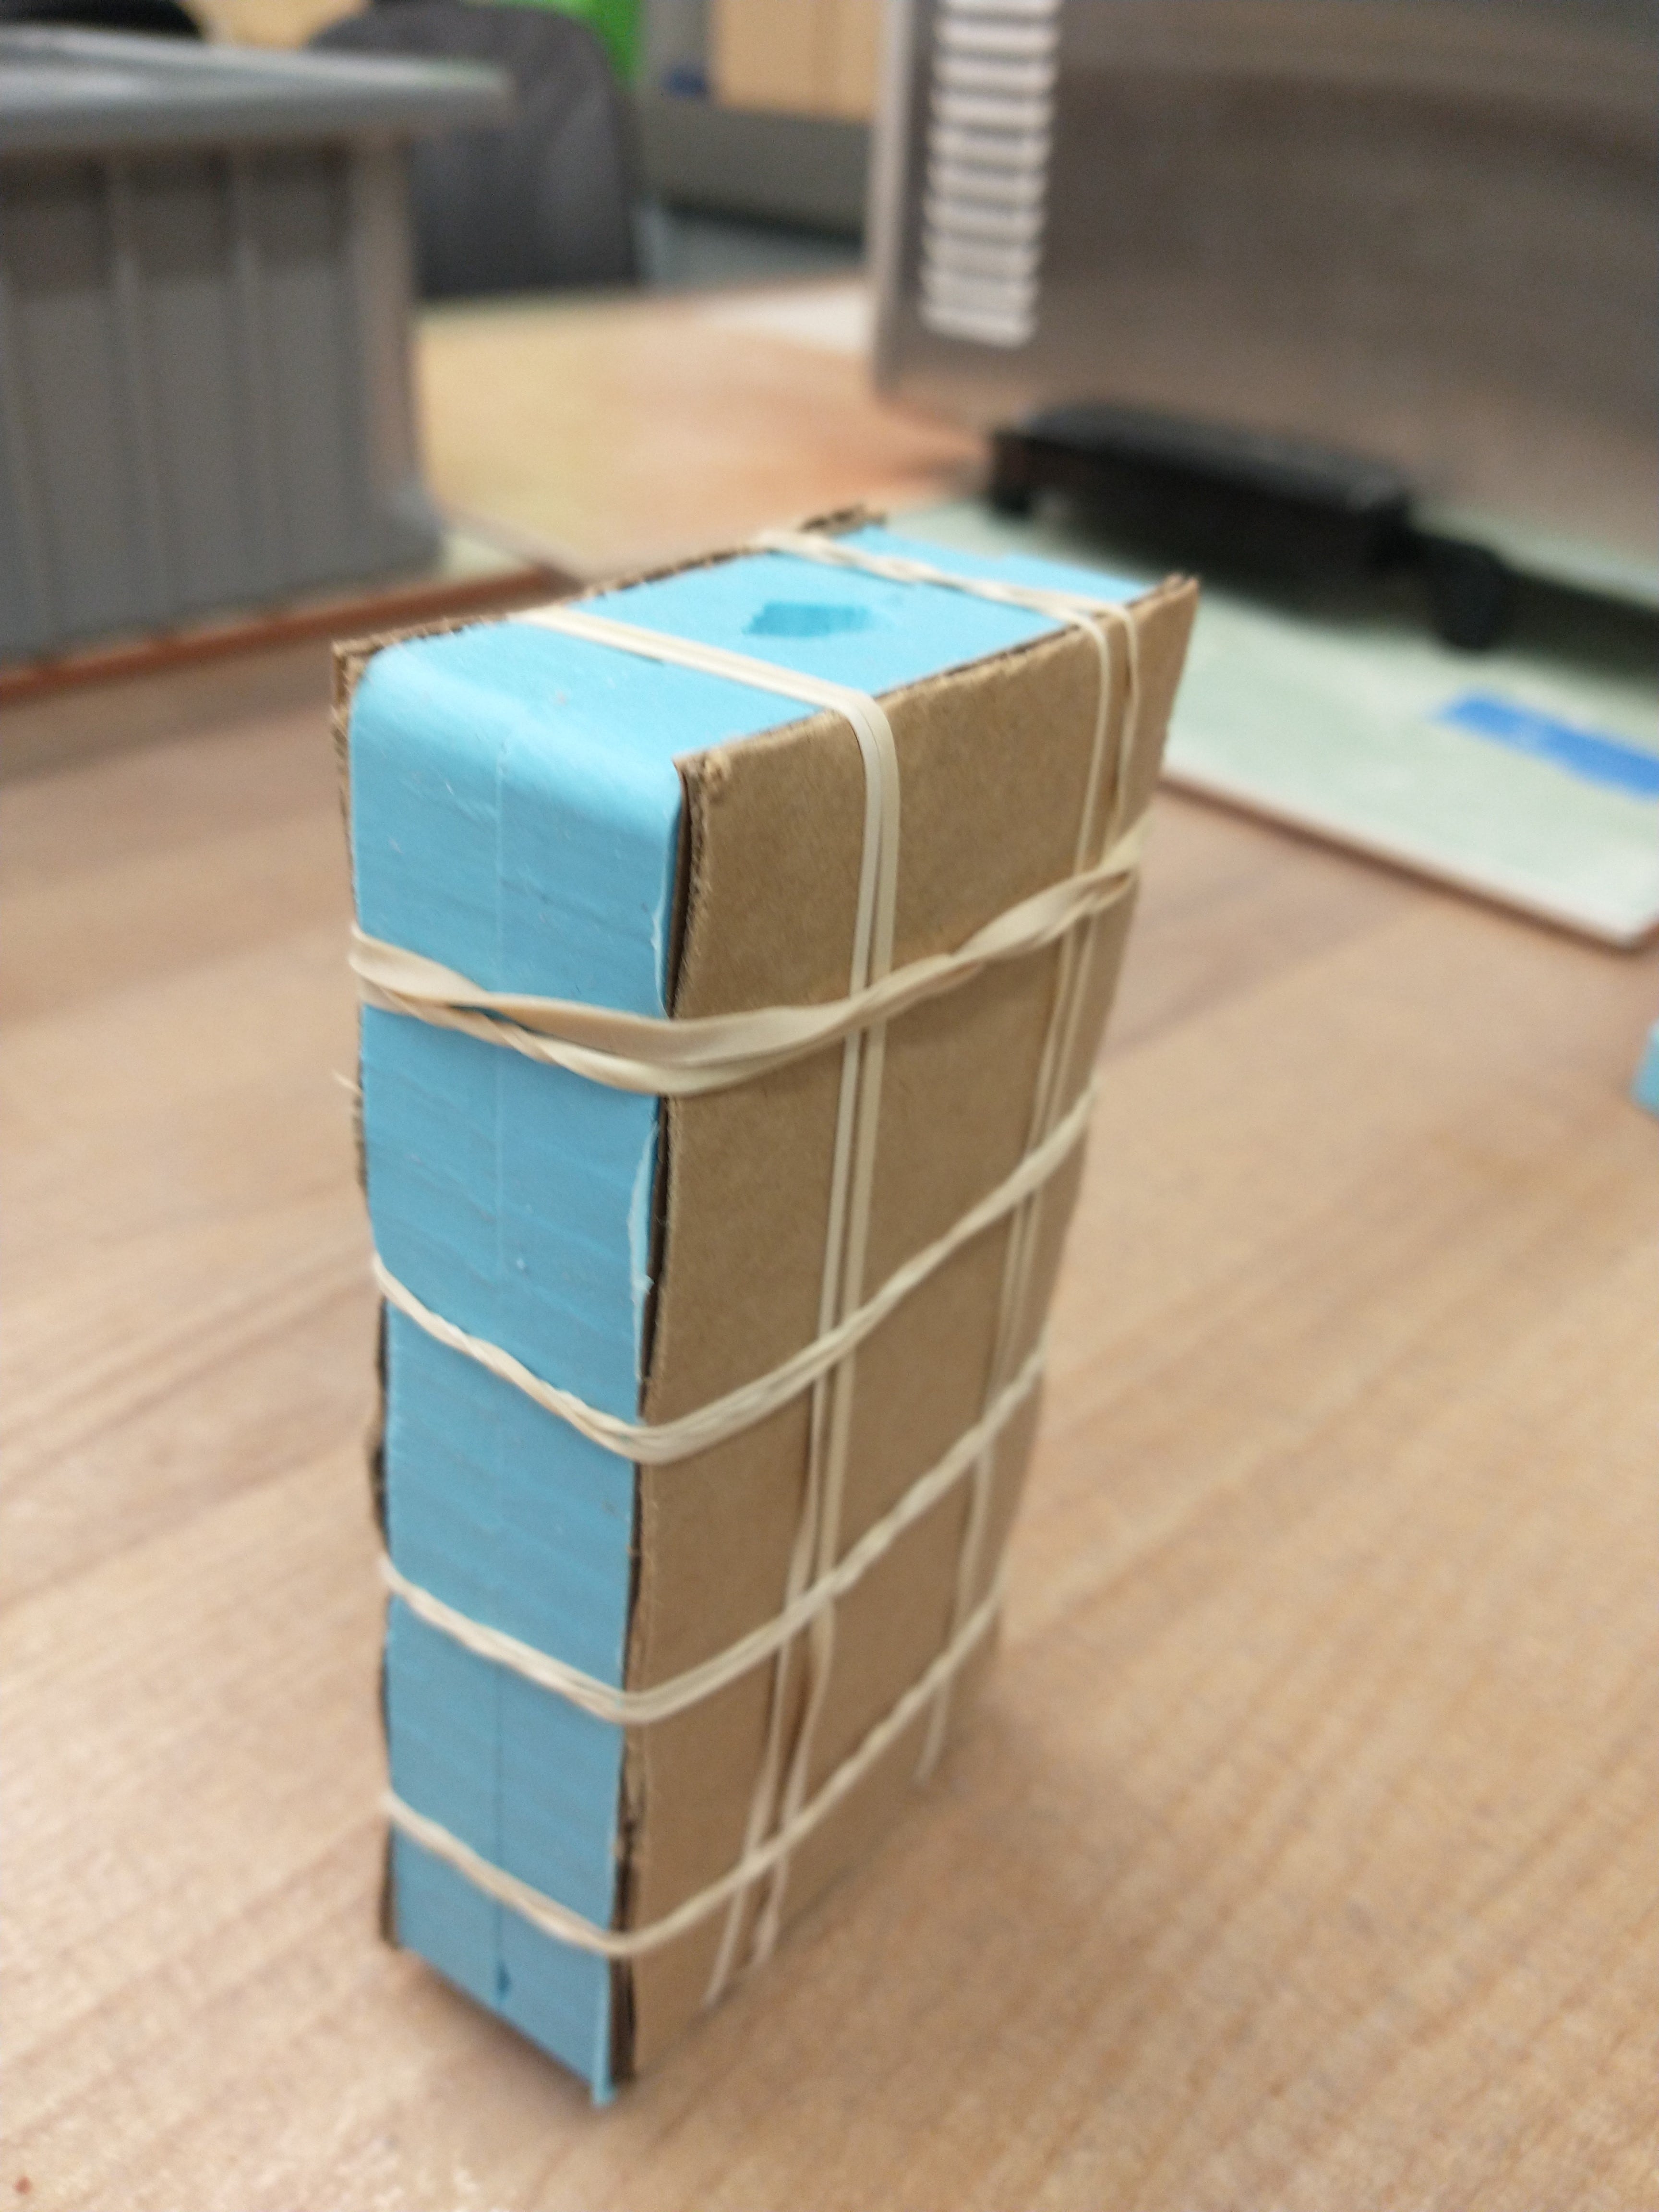
Given that my mold wasn't fully milled, the registers weren't functional, so I took extra care to line the molds up. I tried drystone at first, but my mixture was too viscous to be easily poured into my mold, so I switched to using hydrostone.

After 30 minutes, the tower was ready to demold, though multiple days are needed for it to fully cure. The excess hydrostone at the top of the mold (that filled in the hole above the tower) broke off on its own.
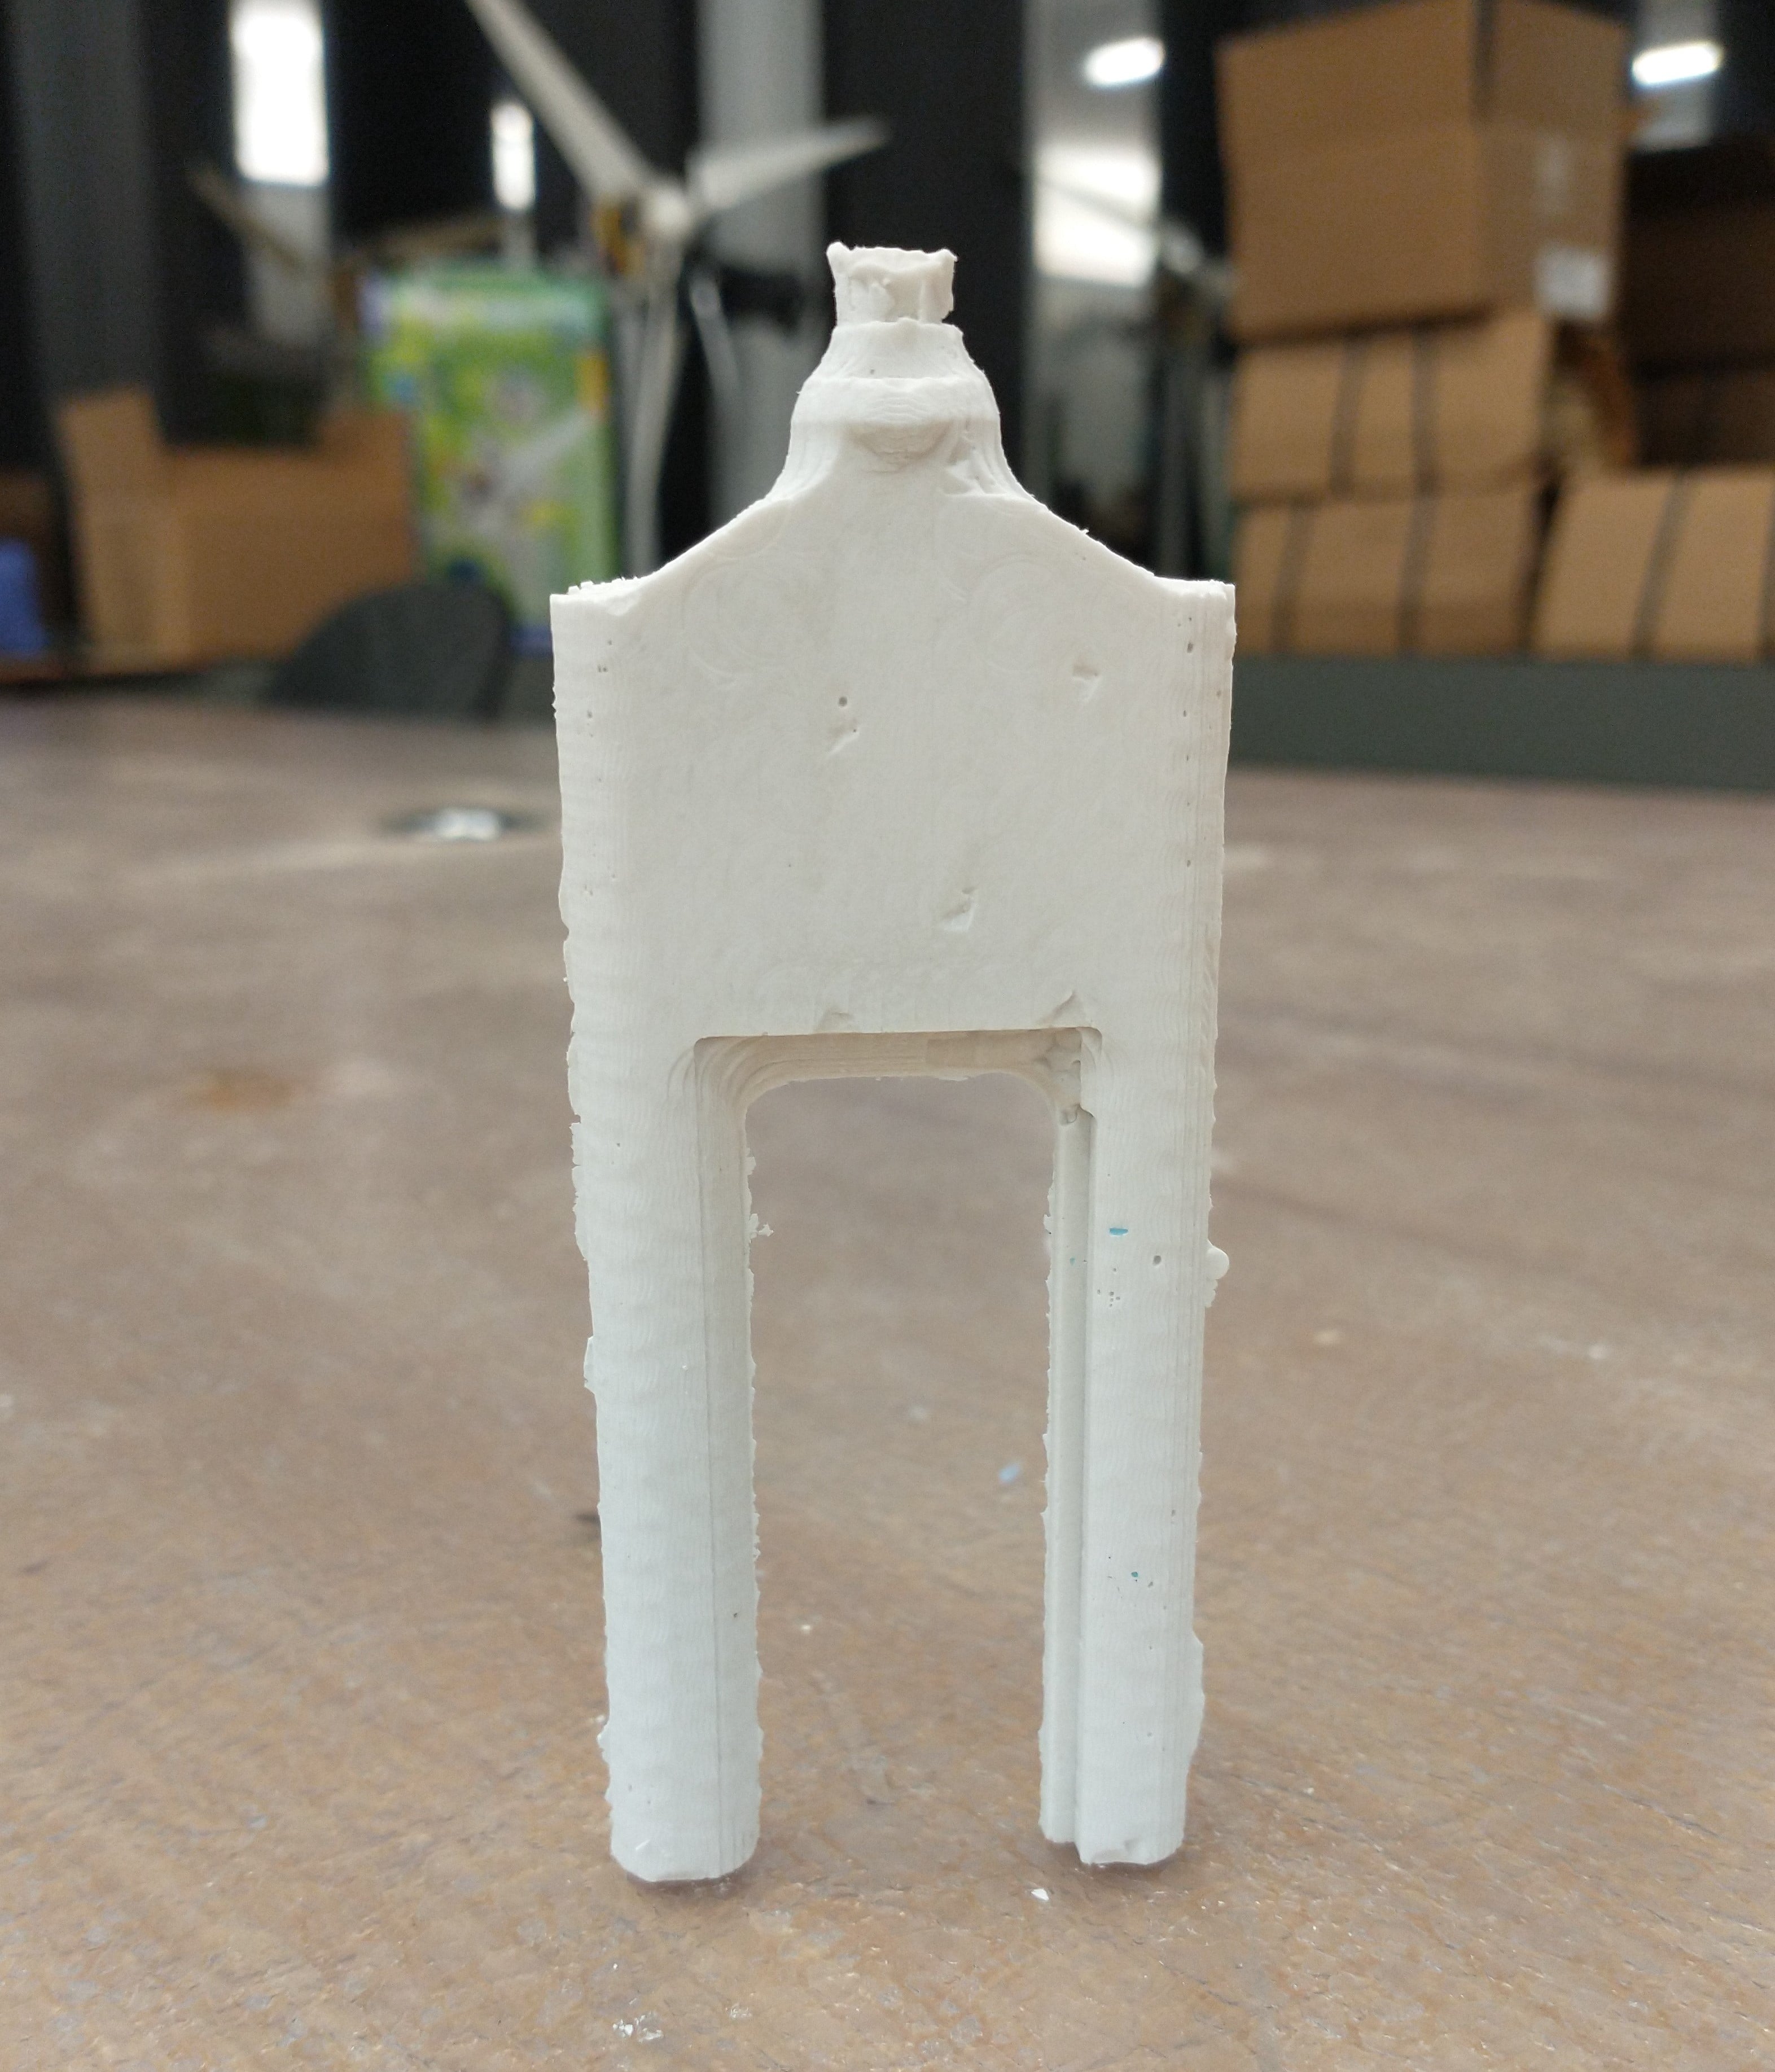
After some filing, here's the final product!

Thanks to Anthony for his excellent recitation and CAM help, Dave for his apron, and Ben for making challenge coins for all of us.