Week 8:
Molding n Casting
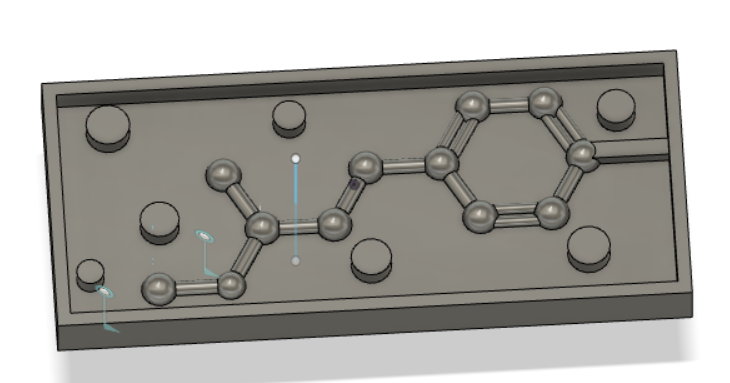
Again, design is key. Long/thin molds are bad...

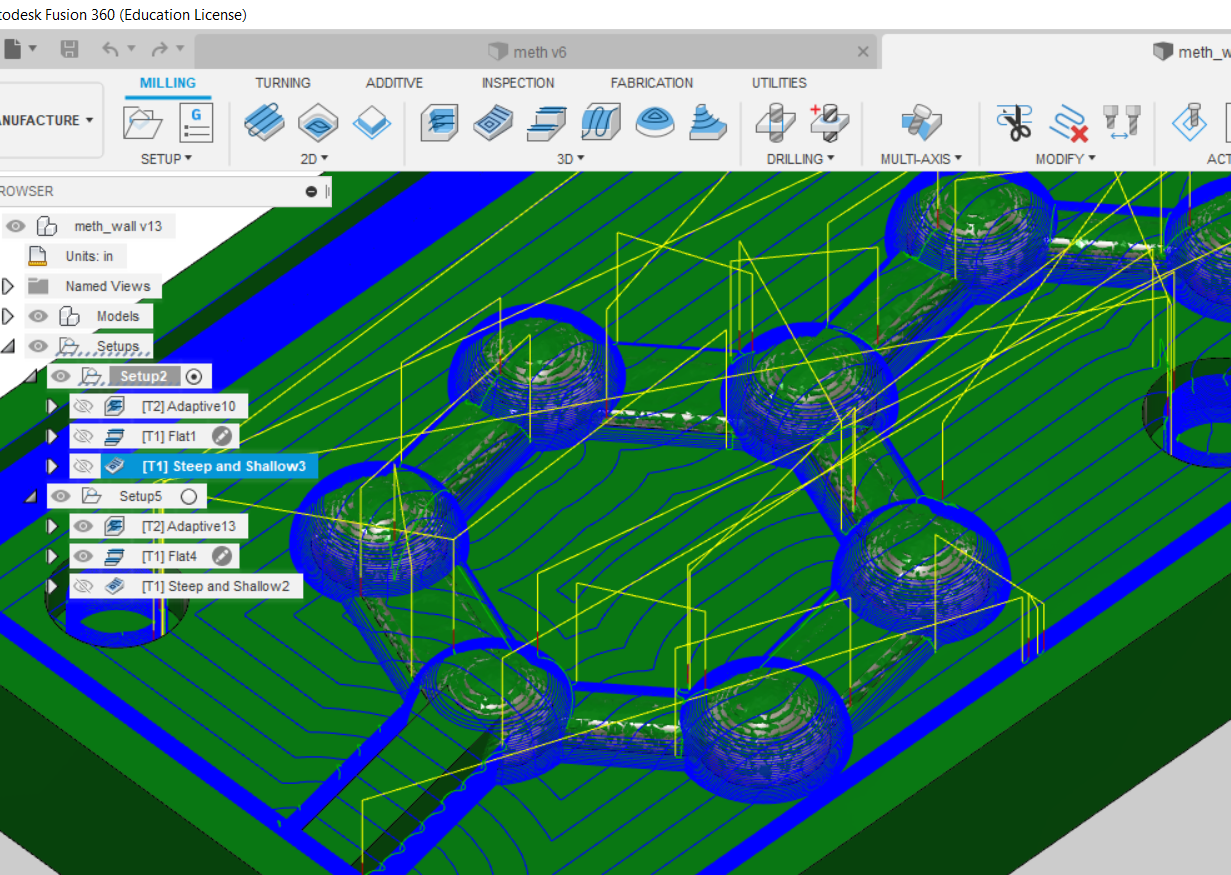
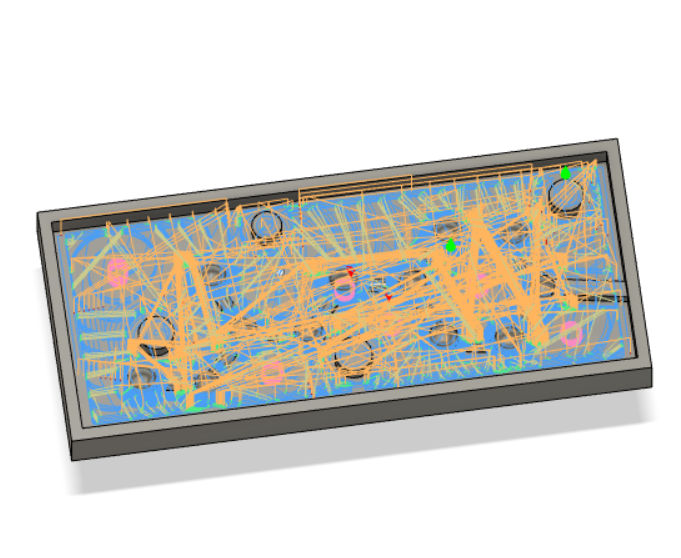
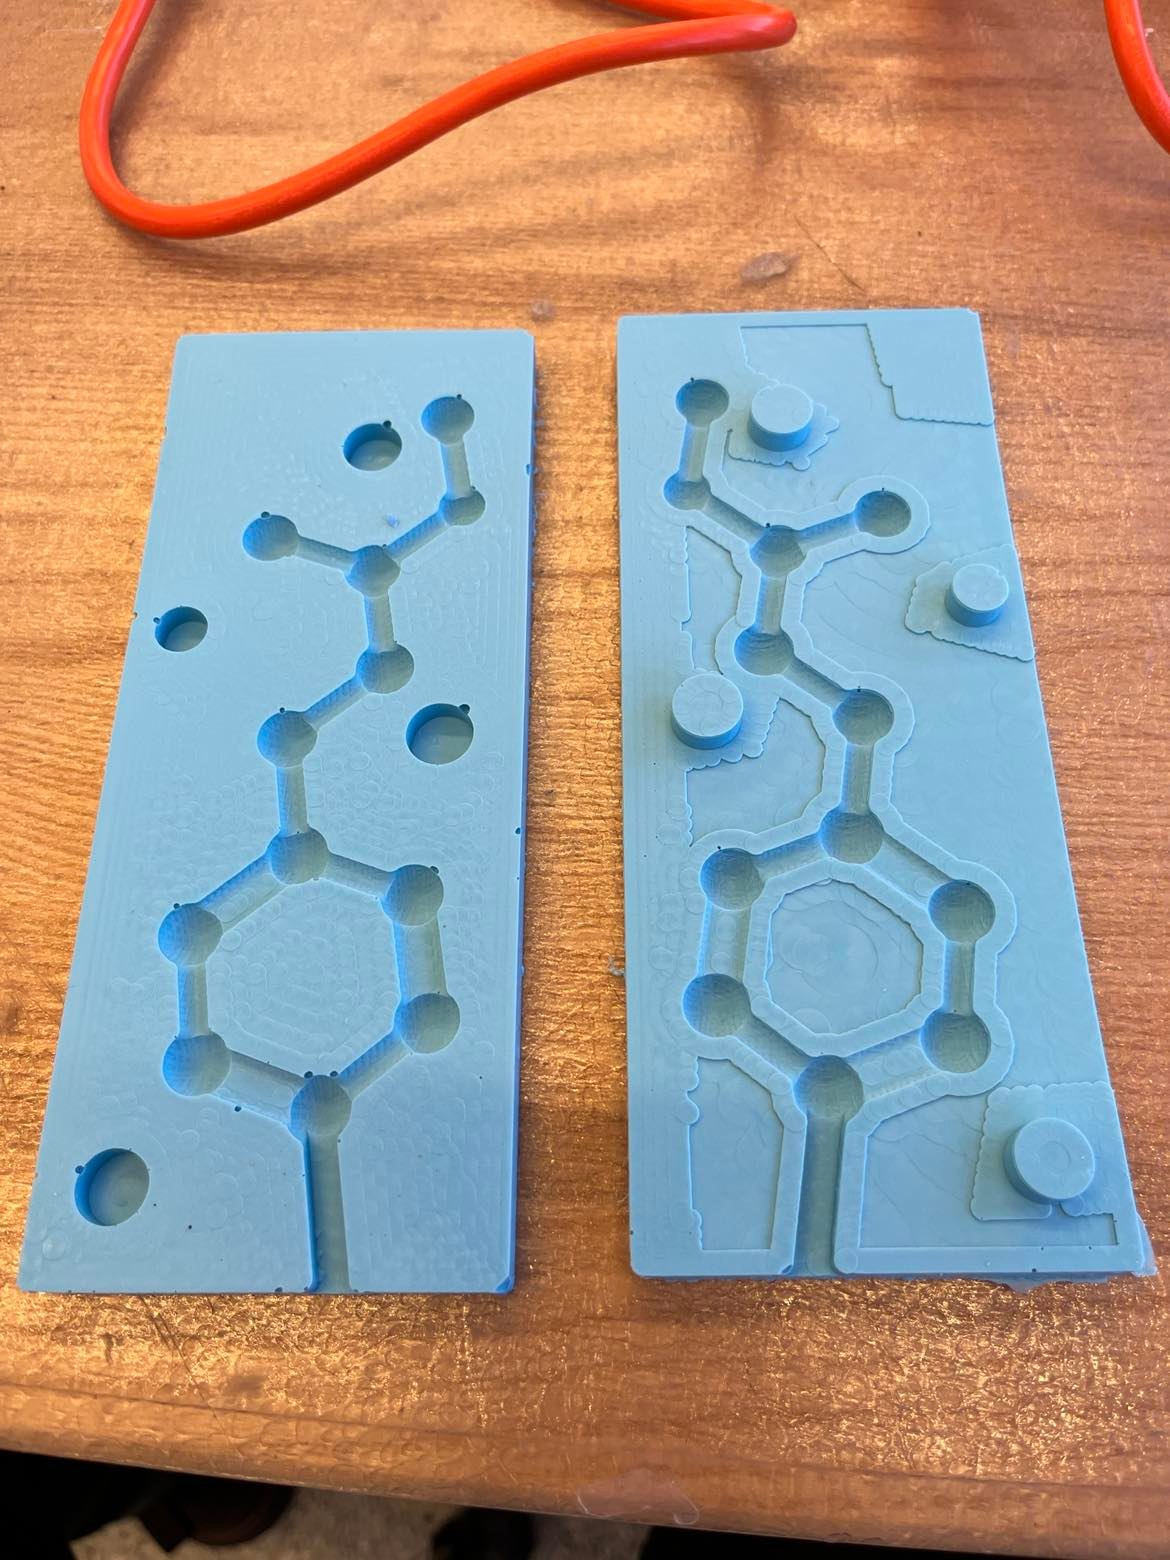
Fast forward to CAM and toolpath planning (see images above). The for both side of my mode, I used 3D adaptive clearing with 1/4" bit for the first operation. 1/4" bit is actually too big to get in most of my details, but is faster for clearing large amount of material. After that, I stepped down to 1/8" bit to get to my fine detaials such as mold notches, double bonds, and parts close to the wall. In this process, one of the main goals is to have minimal machining time. To do that, selecting rest machining and avoid touching area was the key (thanks anthony!). Manually modifying tool paths also helped trimming down machining time. For the final finishing operation, I chosed steep and shallow for time management reason. The parallel operation arguably might generate better finishing surface, especially for my carbon atoms and single bonds, but will double the machine time.
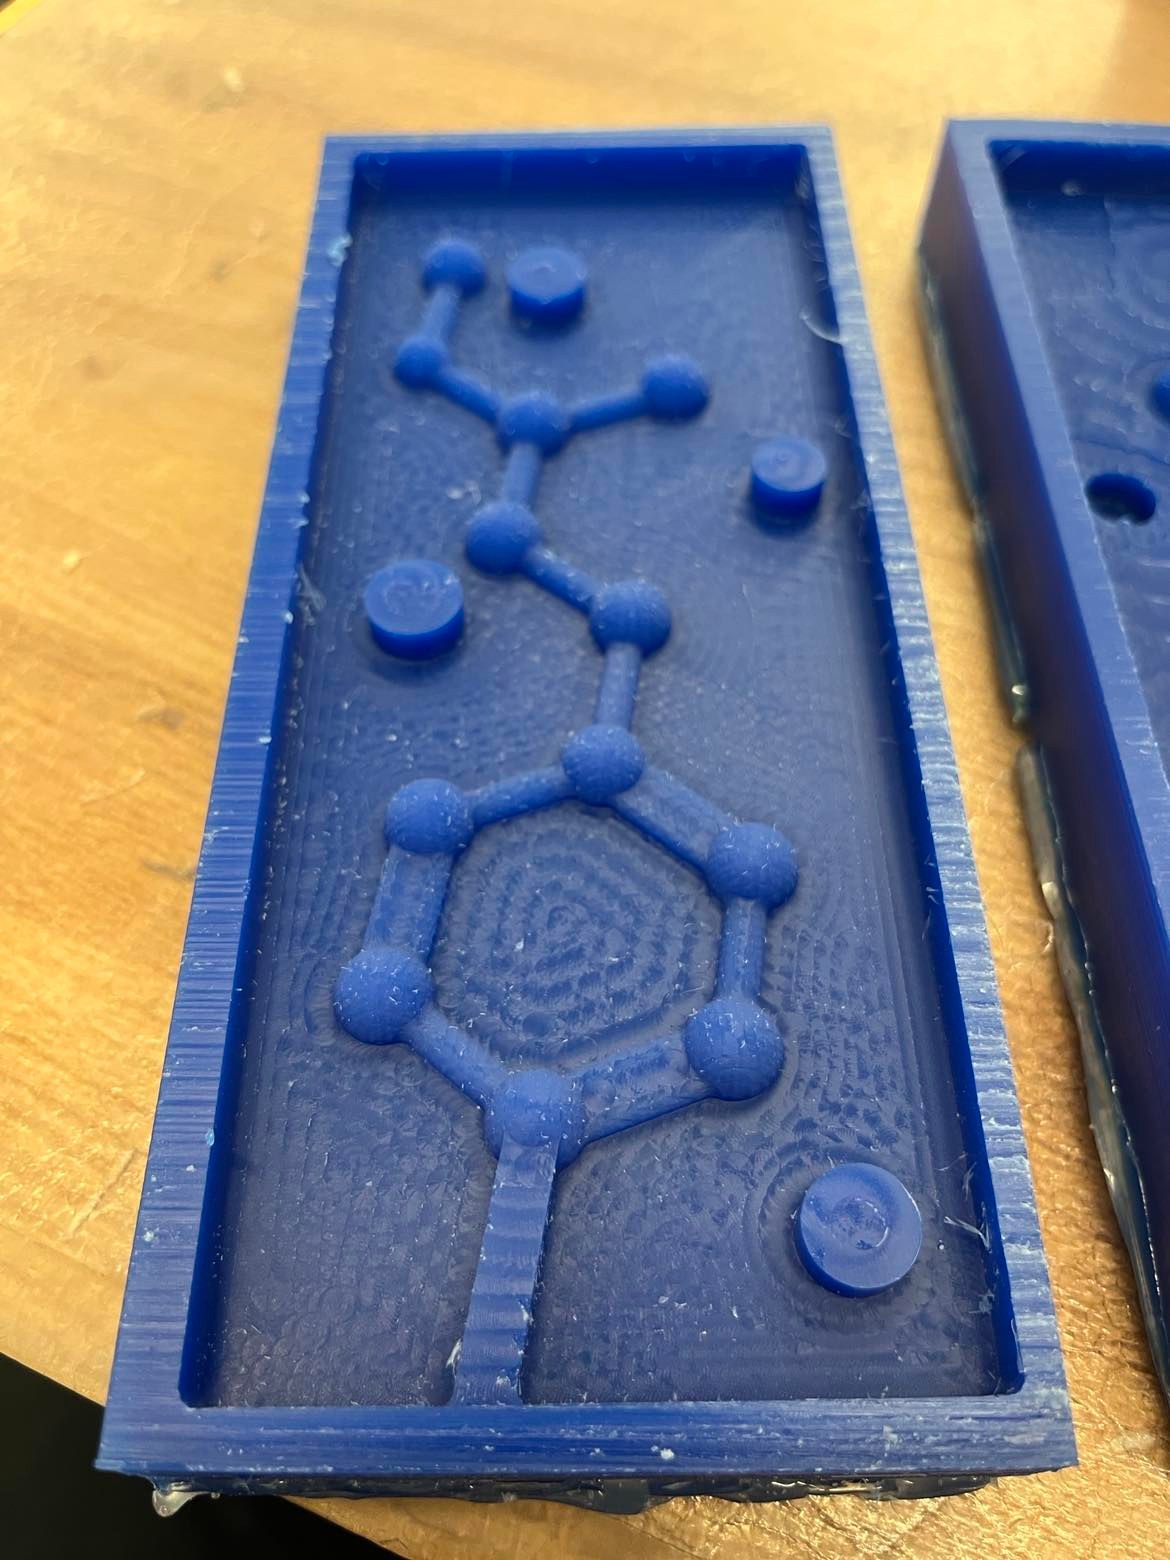
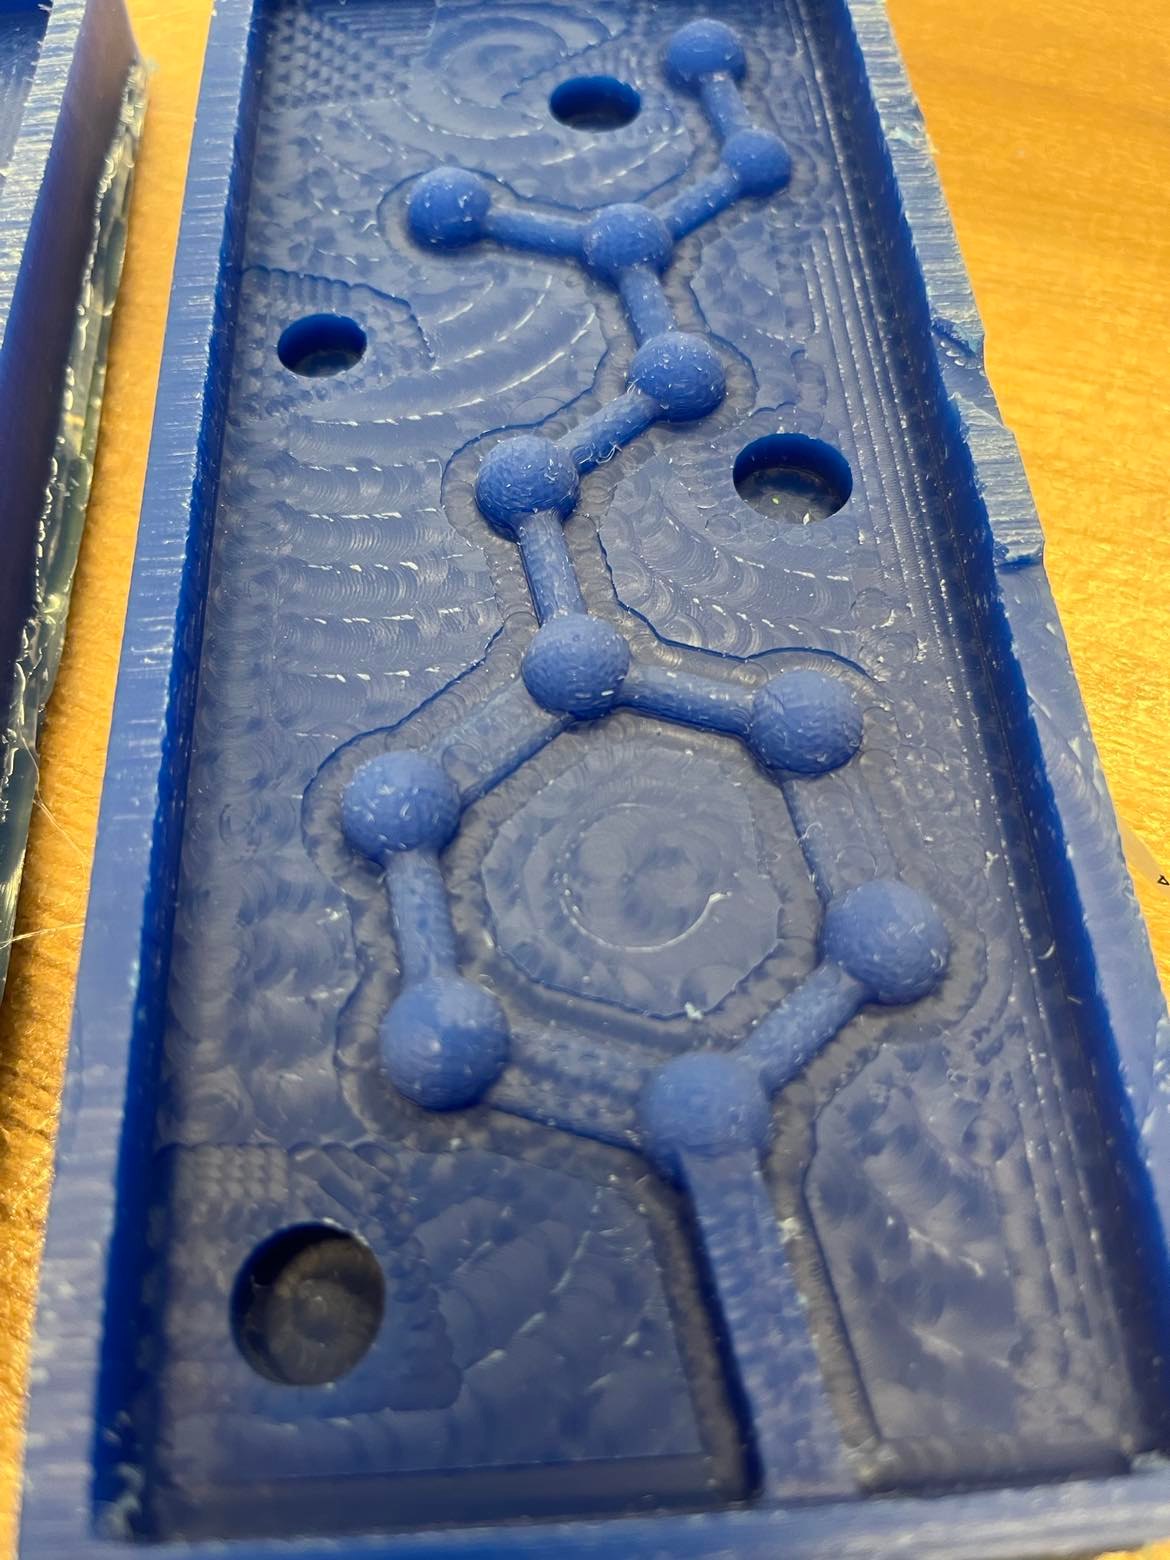
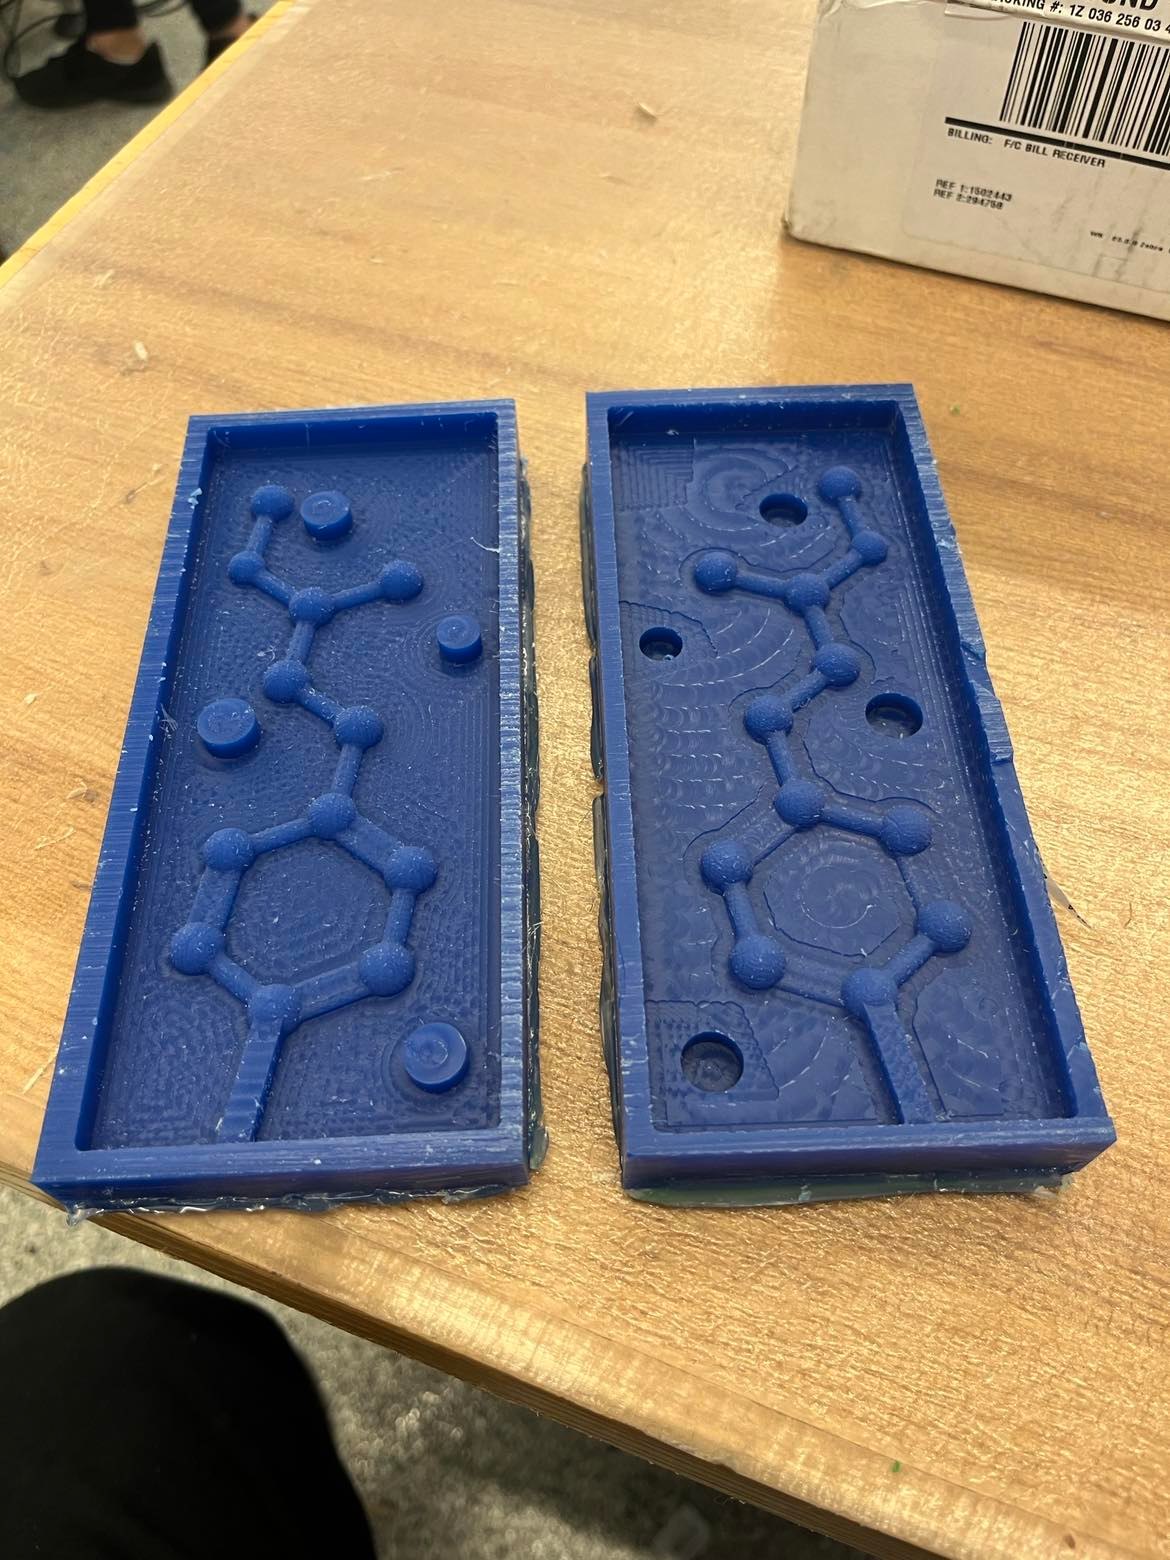
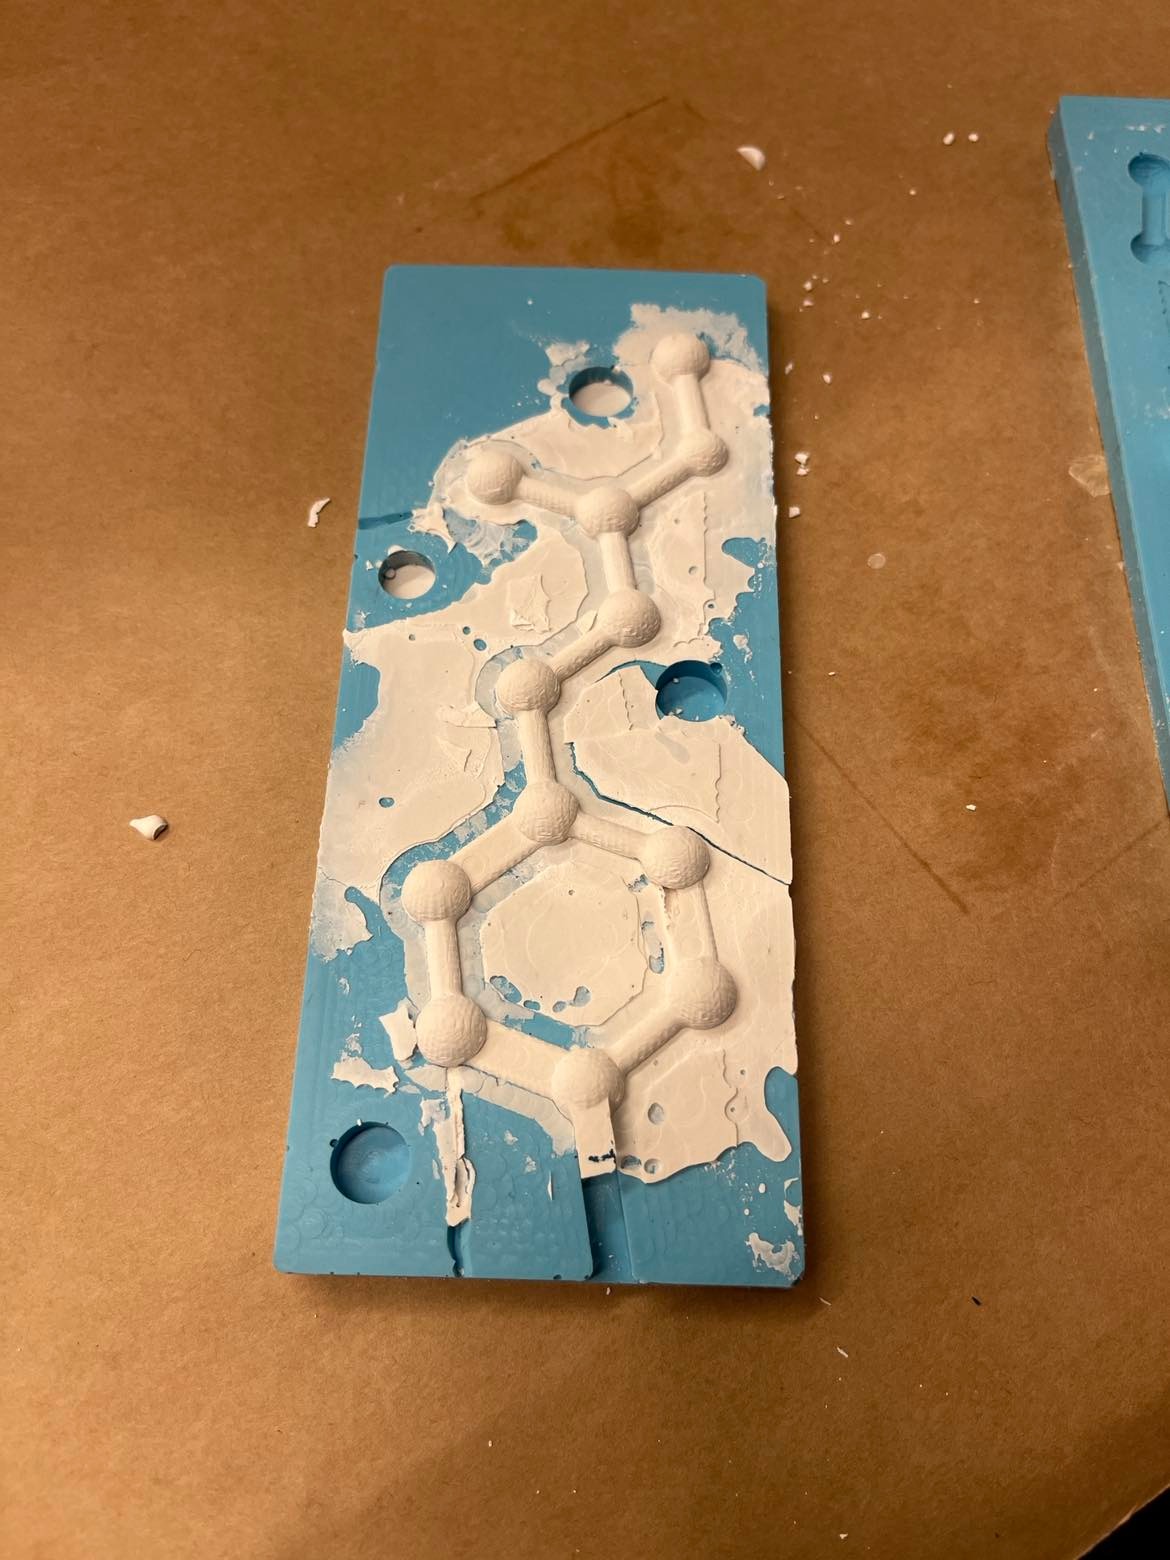
The wax molds are done after some magic. You can see the difference in the right and middle image above, especially the contour around the molecules, this is due some selection process in avoiding/don't touch area and differences in one of my finishing operation steps. But it's about 0.01" and wouldn't affect the final product.
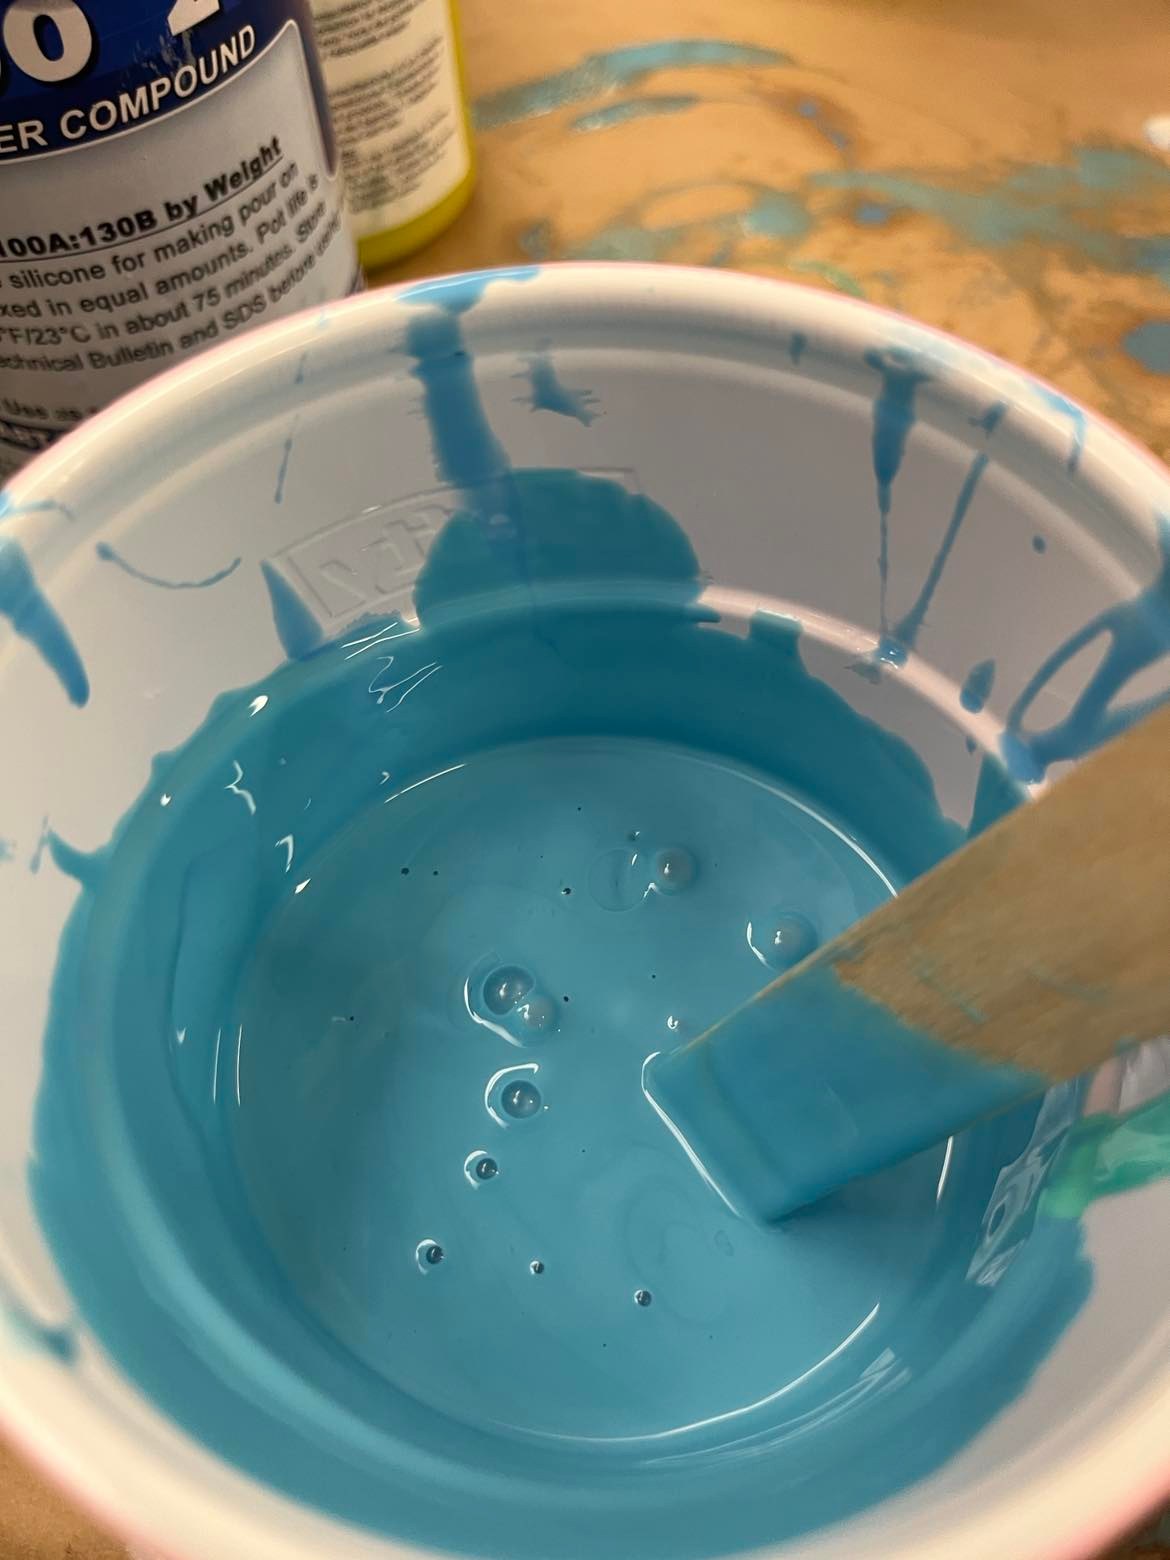
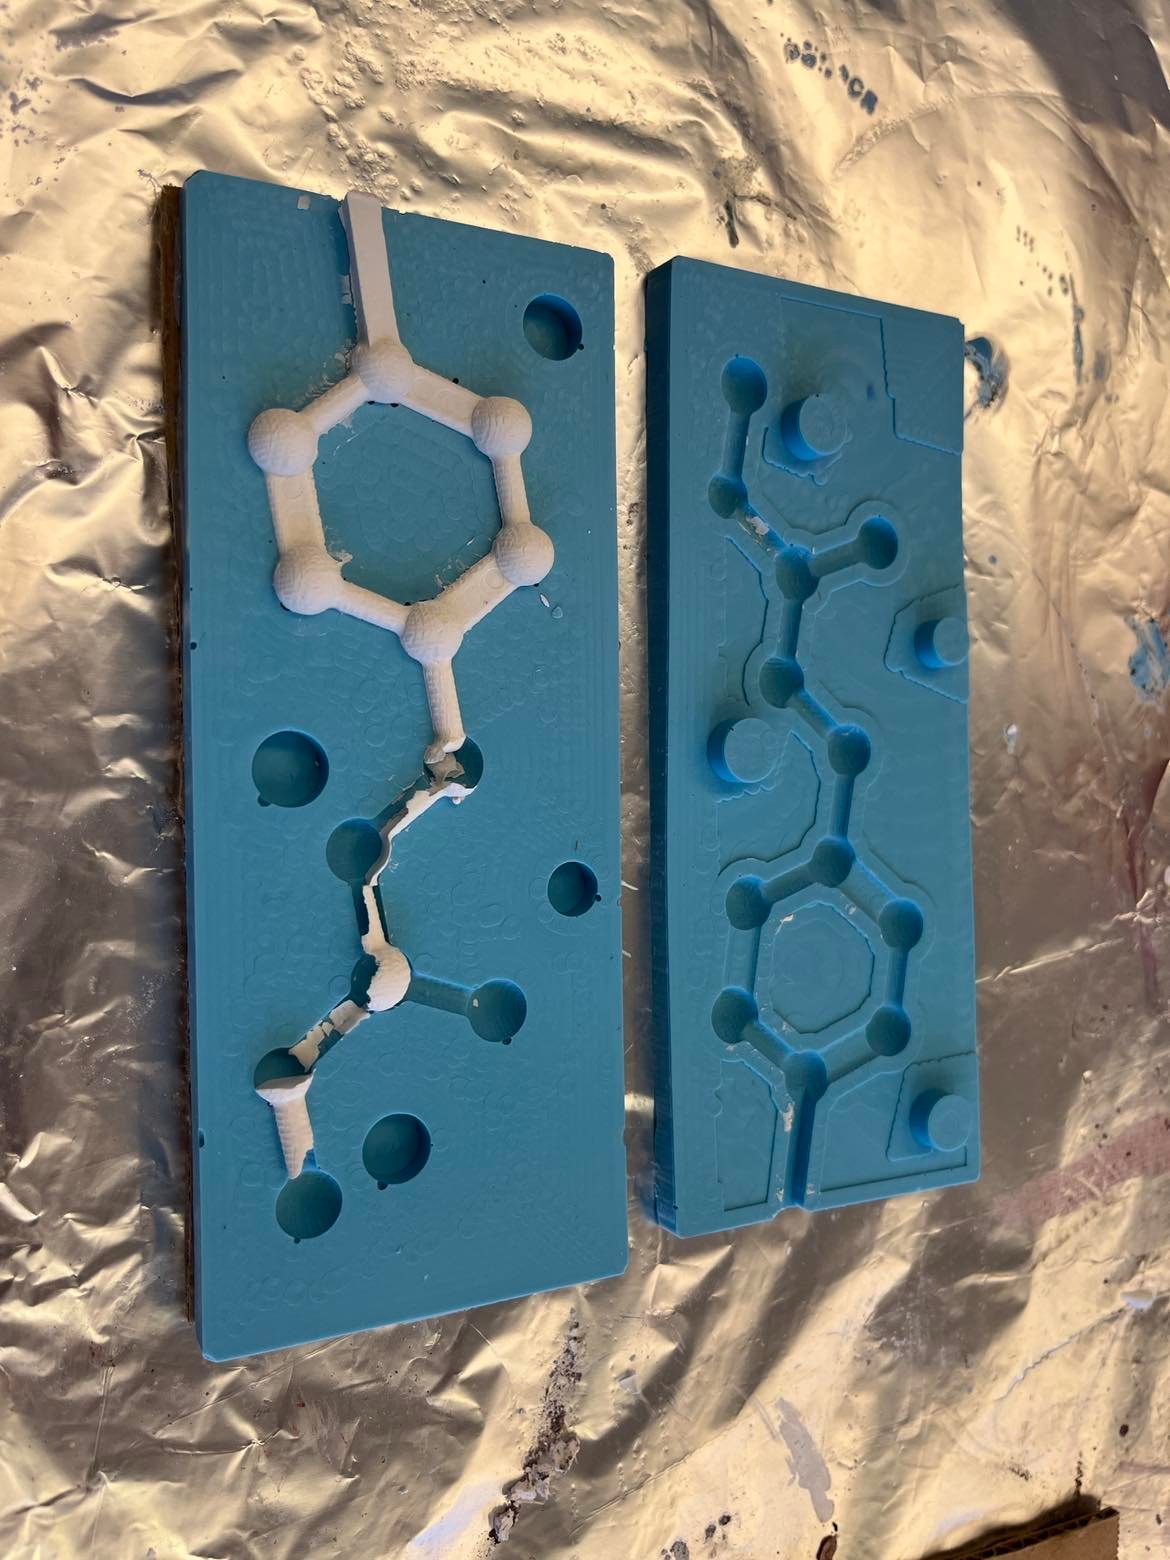
And then it's oomoo time. As you can see in the right image, I got excited and ended up mixing oomoo too fast, introducing a bunch of bubbles into my mix, luckily I discovered this before I started pouring. I spent my next 5 mins gently stirring and popping bubbles to the best of my ability. The finish product are nice! The only imperfection I had was that the back of the oomoo molds wasn't exactly even, this would cause some awkwardness later on when I need to add backing cardboards to them. This might be fixed with some vibration and more generous pouring next time I get to do this. After getting my molds together, I was excited to get my first pour done, but you can see result in the left image above, it was the beginnign of my nightmare... Due to the shape of my model and lack of planning in air/bubble vent the drystone mix had hard time flowing all the way to the bottom. I also did not have a good way to guage if the mold was properly filled either. All of these could have been solved rather elegantly with better designs (air vent, mold orientation, etc). My solution at this point was to mess with the mixing ratio and cutting improvised air vents with an utility knife.
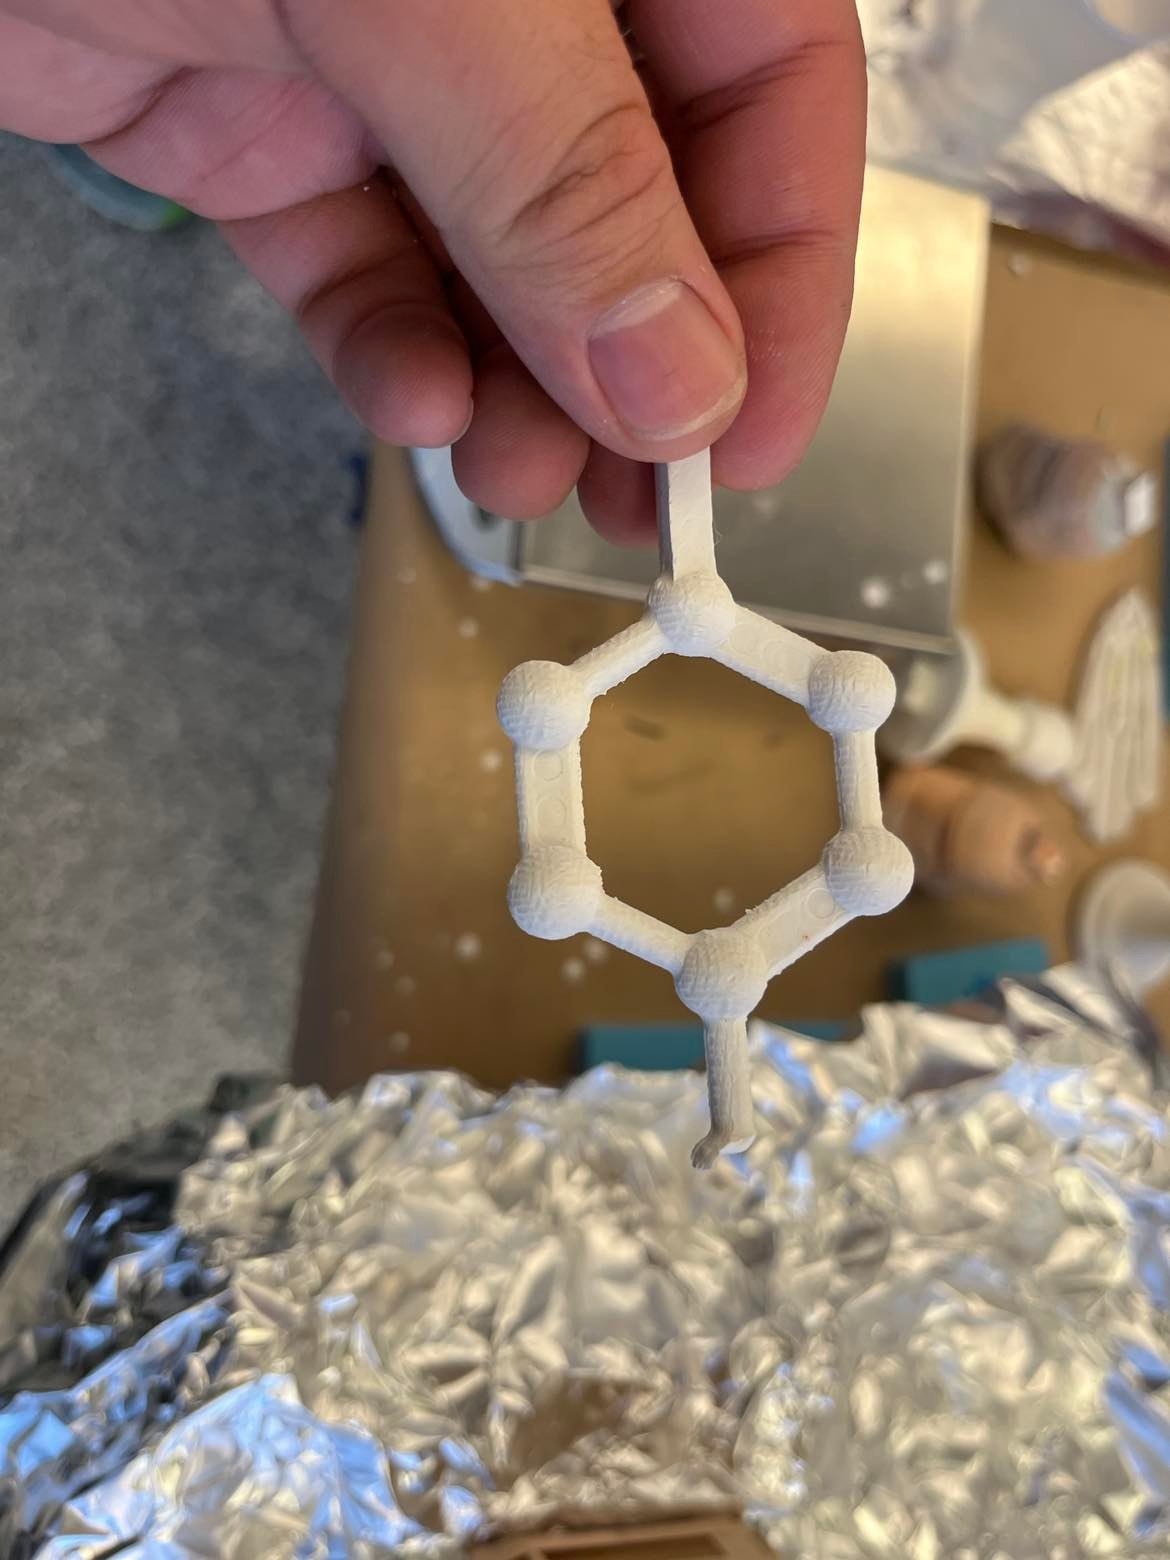
Some more sad failures with pouring a long/thing mold. I stuck with drystone for the fast curing time. I understand that epoxy might ultimately give me better results, but I can't afford the long curing time. The image on the right showed that I was getting really close to a complete pour. However, air pockets had ruined it again and I am pretty much out of tricks to and air vents to cut. I was also concerned about leaking drystone though bottome air vent, which might be why the middle connecting was missing (some matterial sunk to the bottom, following the leak, but not all of them).

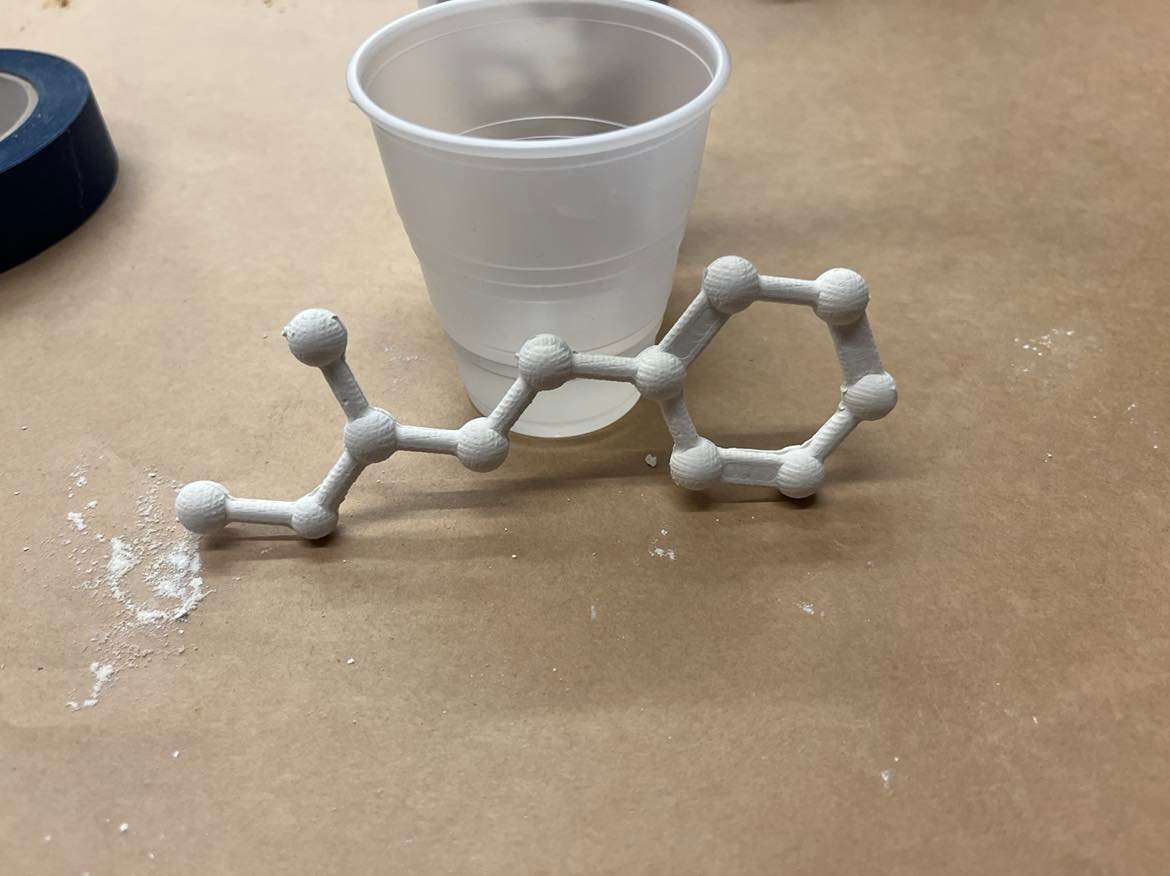
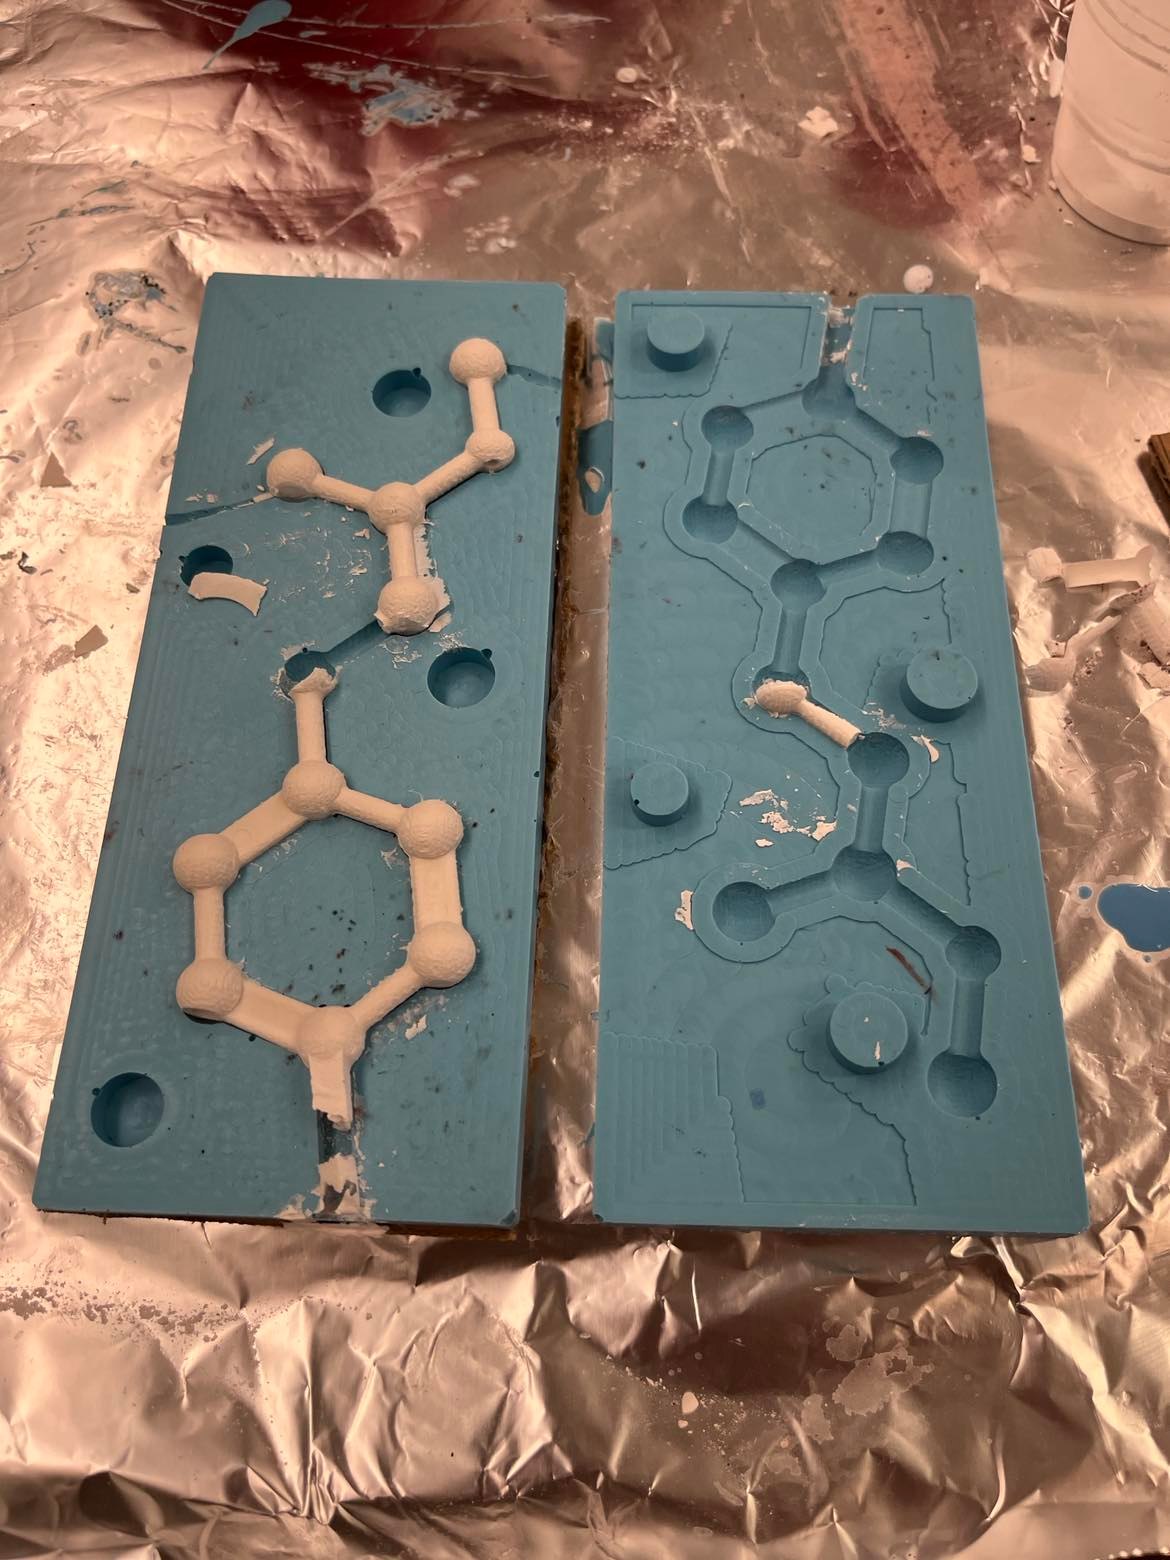
Out of desperation (on my 5th attempt), I decided to just pour two halves of the mold seperately with both molds laying flat. This ensured that I would have any problem with trapped air pocket. After pouring and waiting for the exposed surfaces of my pour to dry out a bit. I slammed on a generous amount of drystone mix as 'glue' on one side of the mold and just salpped the two half molds together (while praying). It actually worked (left image)! The final product required some cleaning (chipping off my excessive flue with a knife and file away soem imperfections). But it looked pretty good!
Today I Learned:
1) Plan air vents wisely. They should always come out to the top of your mold.
2) Avoid long, thin mold if you can.
3) Some vibration helps the pour a lot!